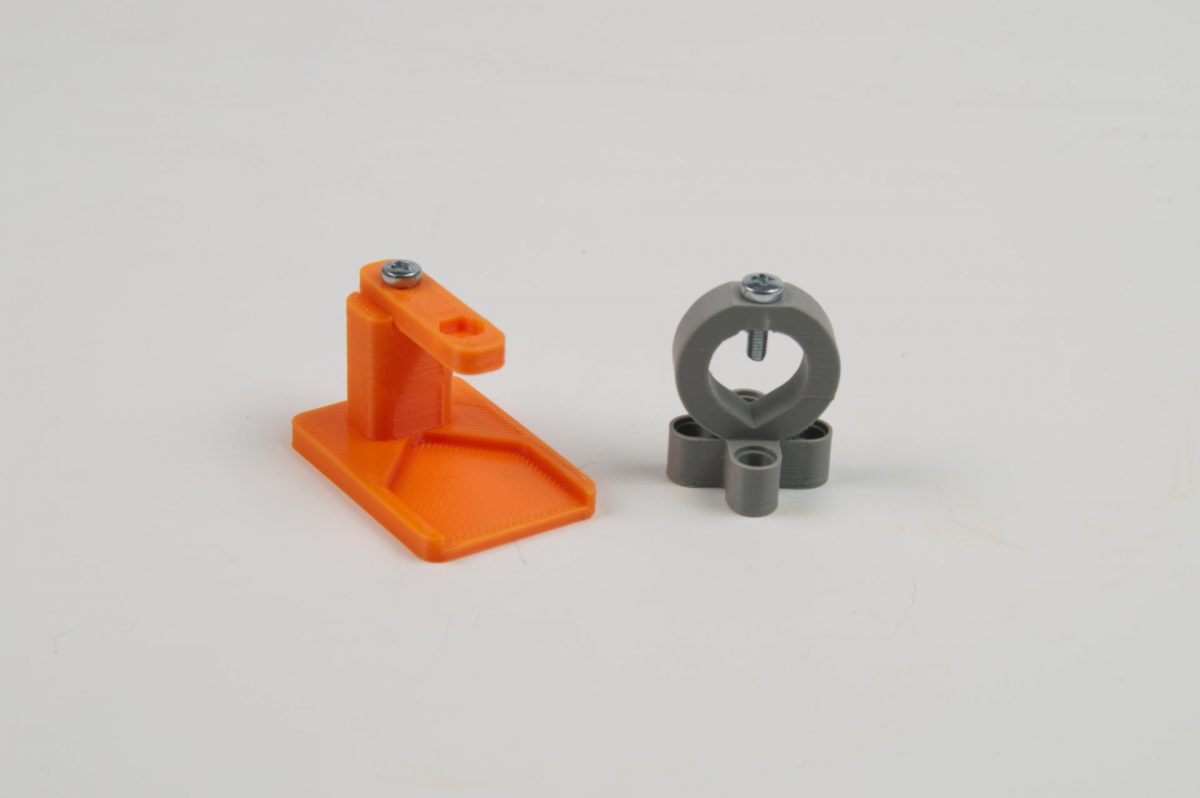
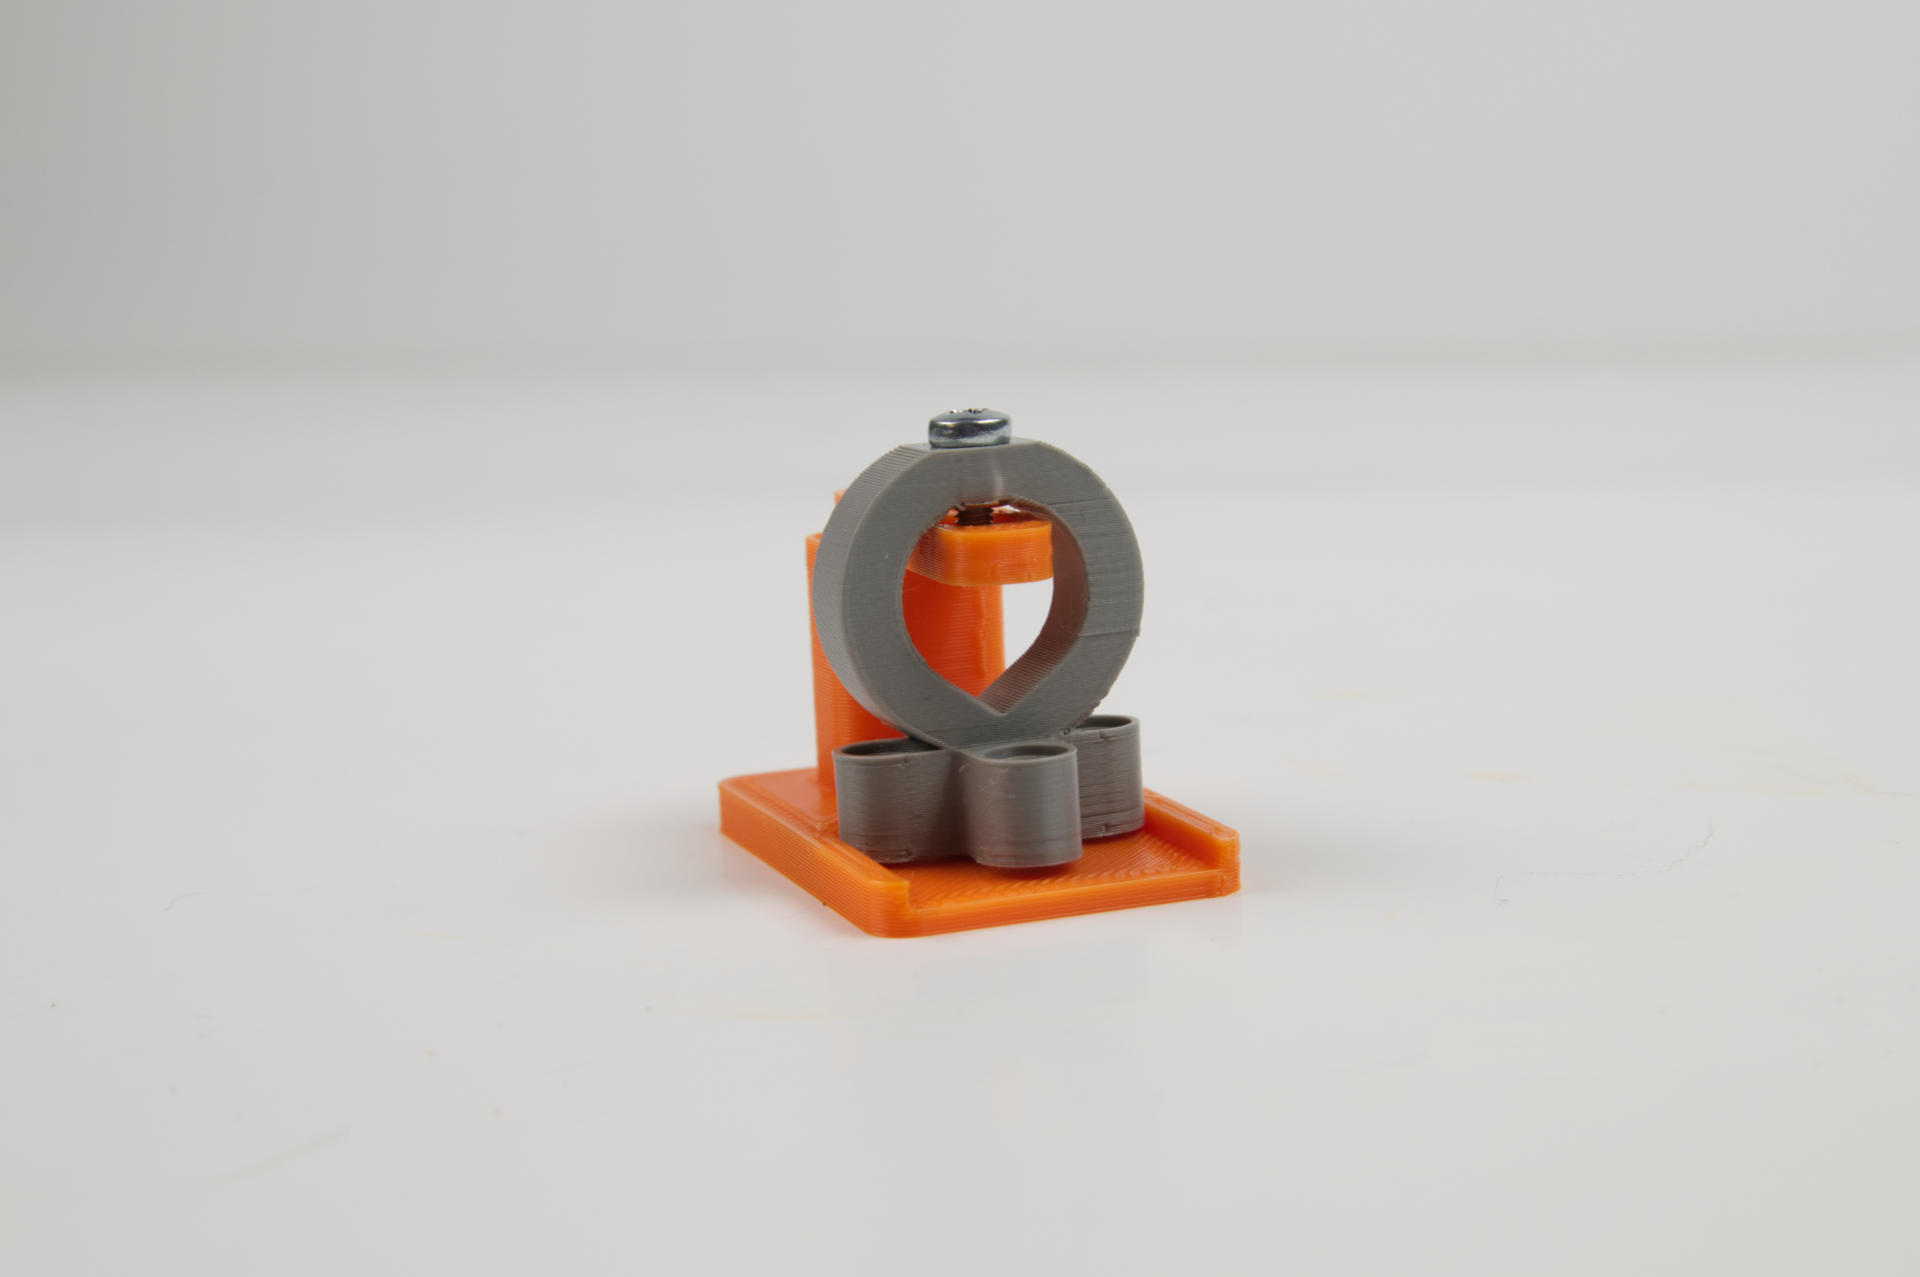
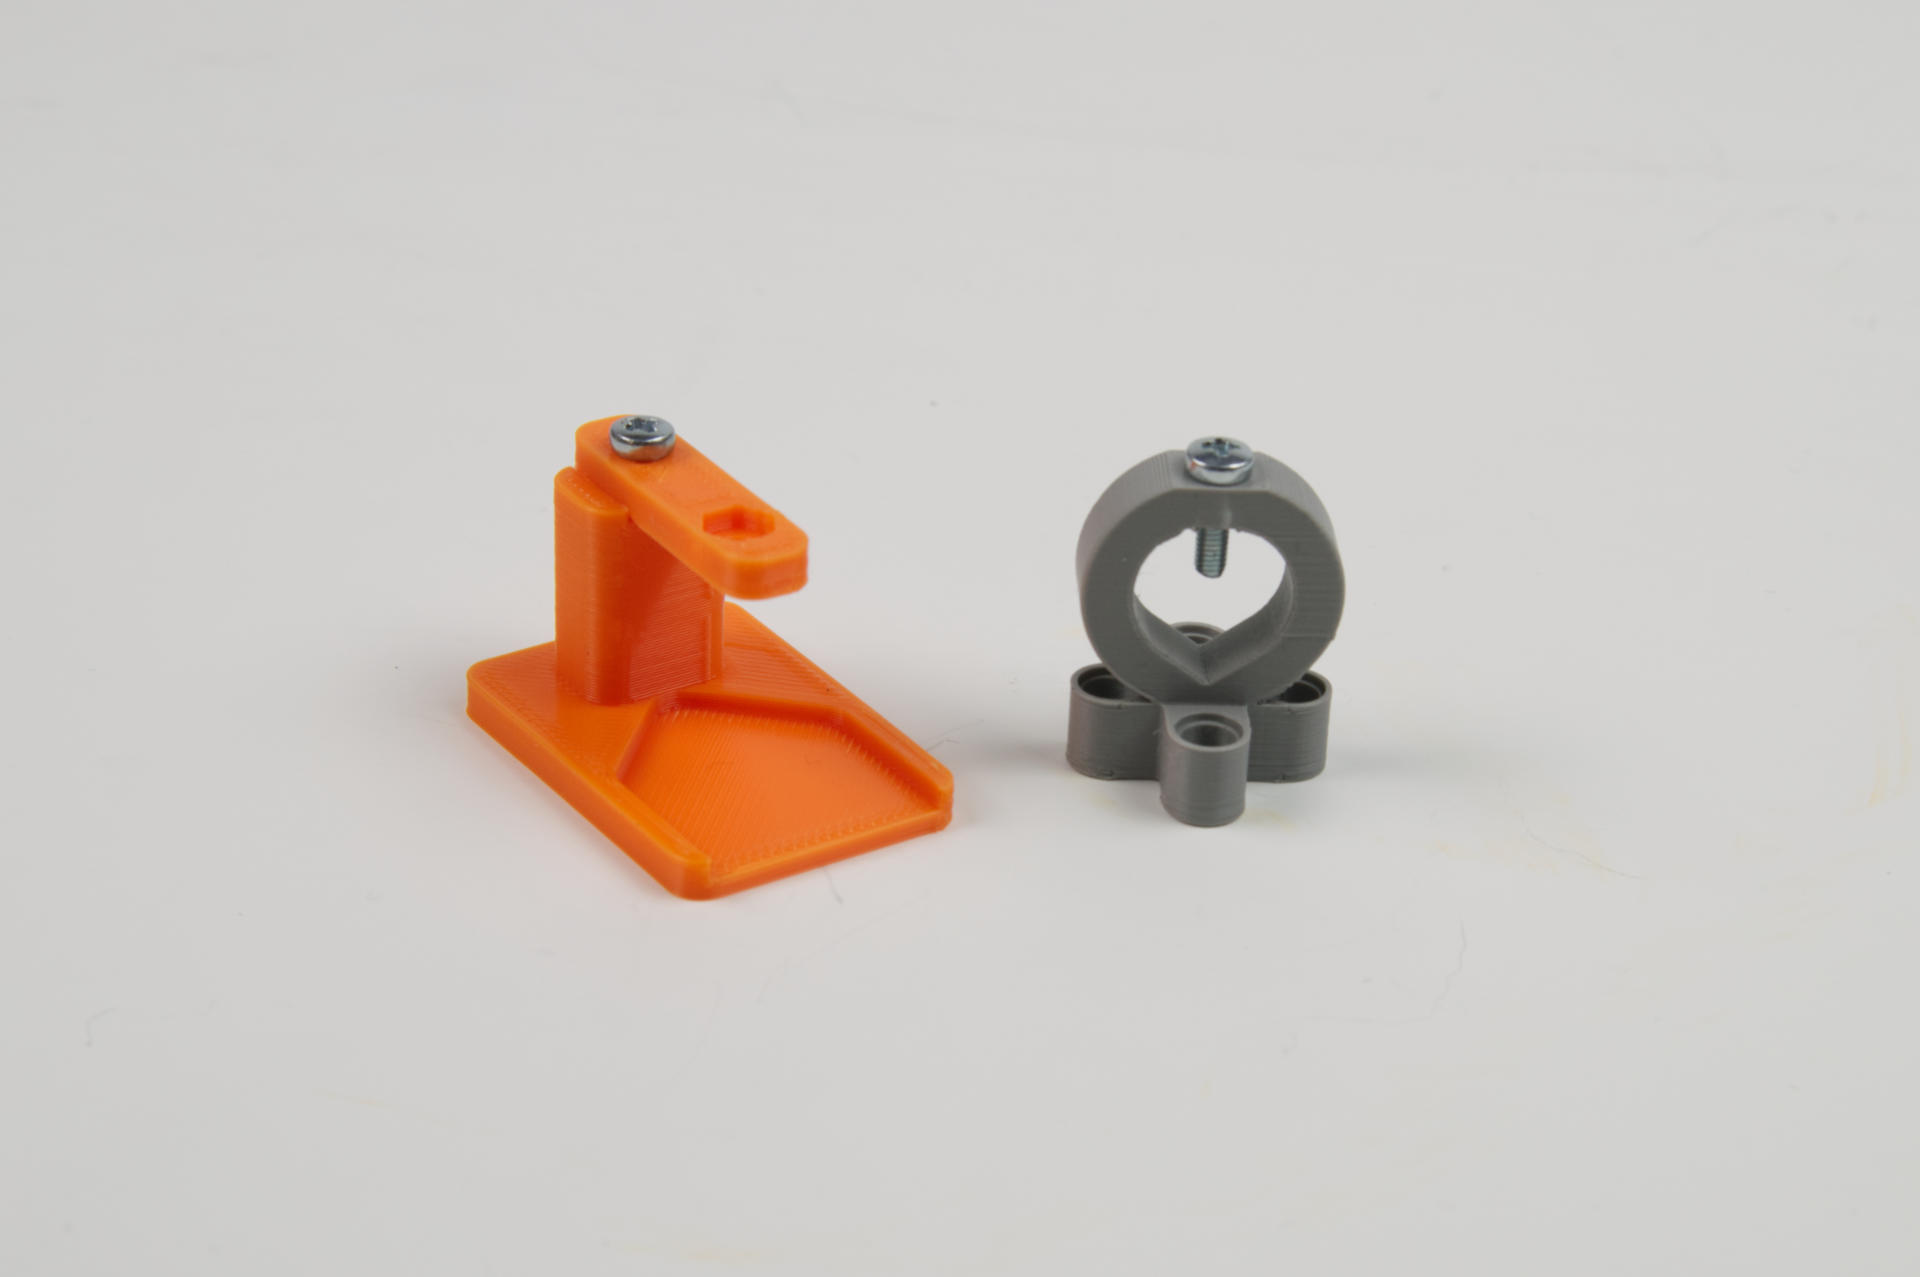
I designed a Pen Holder for Brown Dog Gadgets Rover project. When we were prototyping it was easy to make one. I would just 3D print the part and then carefully hold a 3mm hex nut in place with some small forceps and tighten the 3mm bolt until it drew the nut up into the hex-shaped cavity…
When it was decided we needed to print and assemble a lot of them I had to find a better/faster way to do it. Obviously the answer was a jig. So here’s what I came up with.
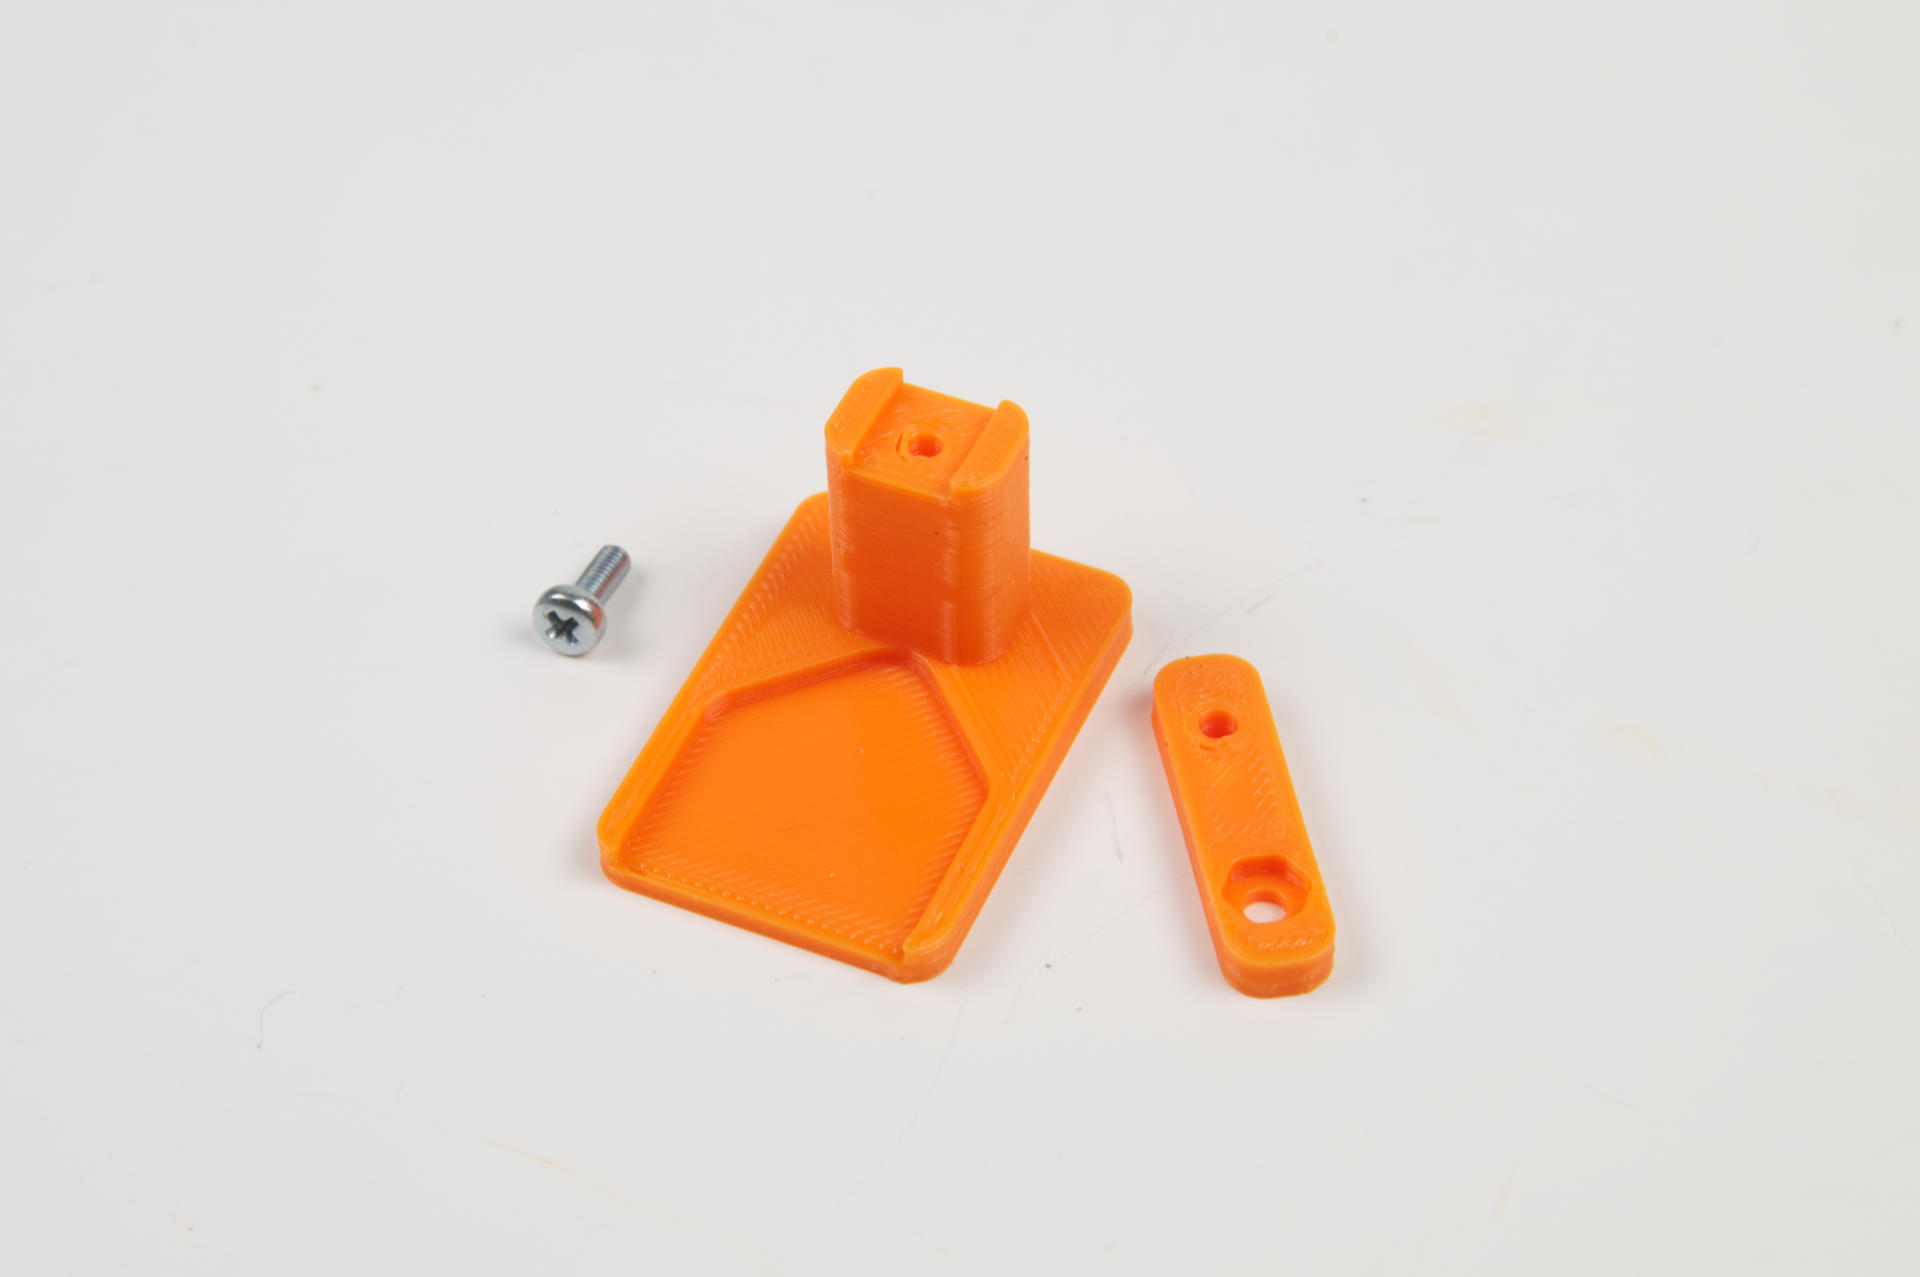
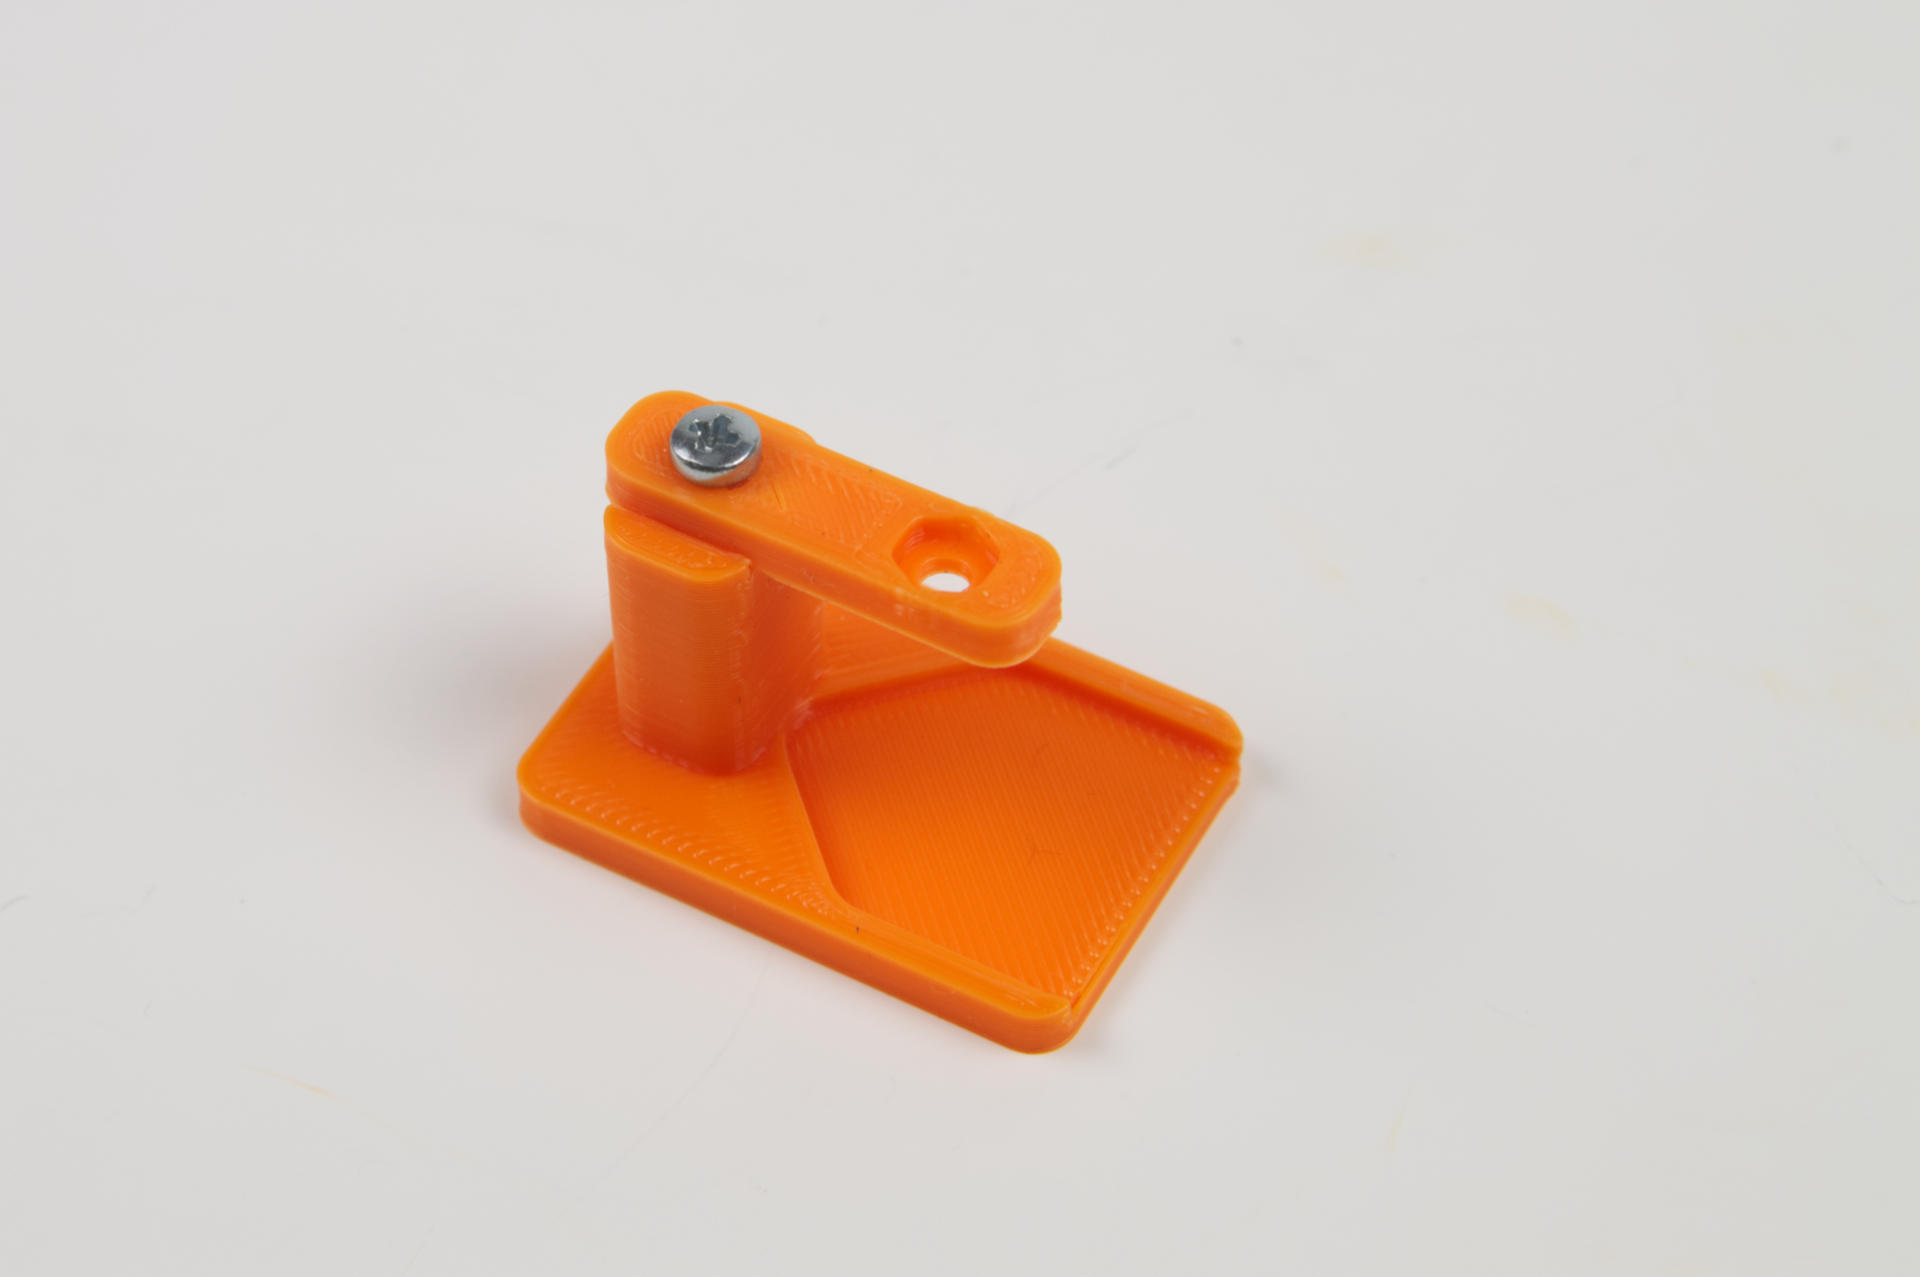
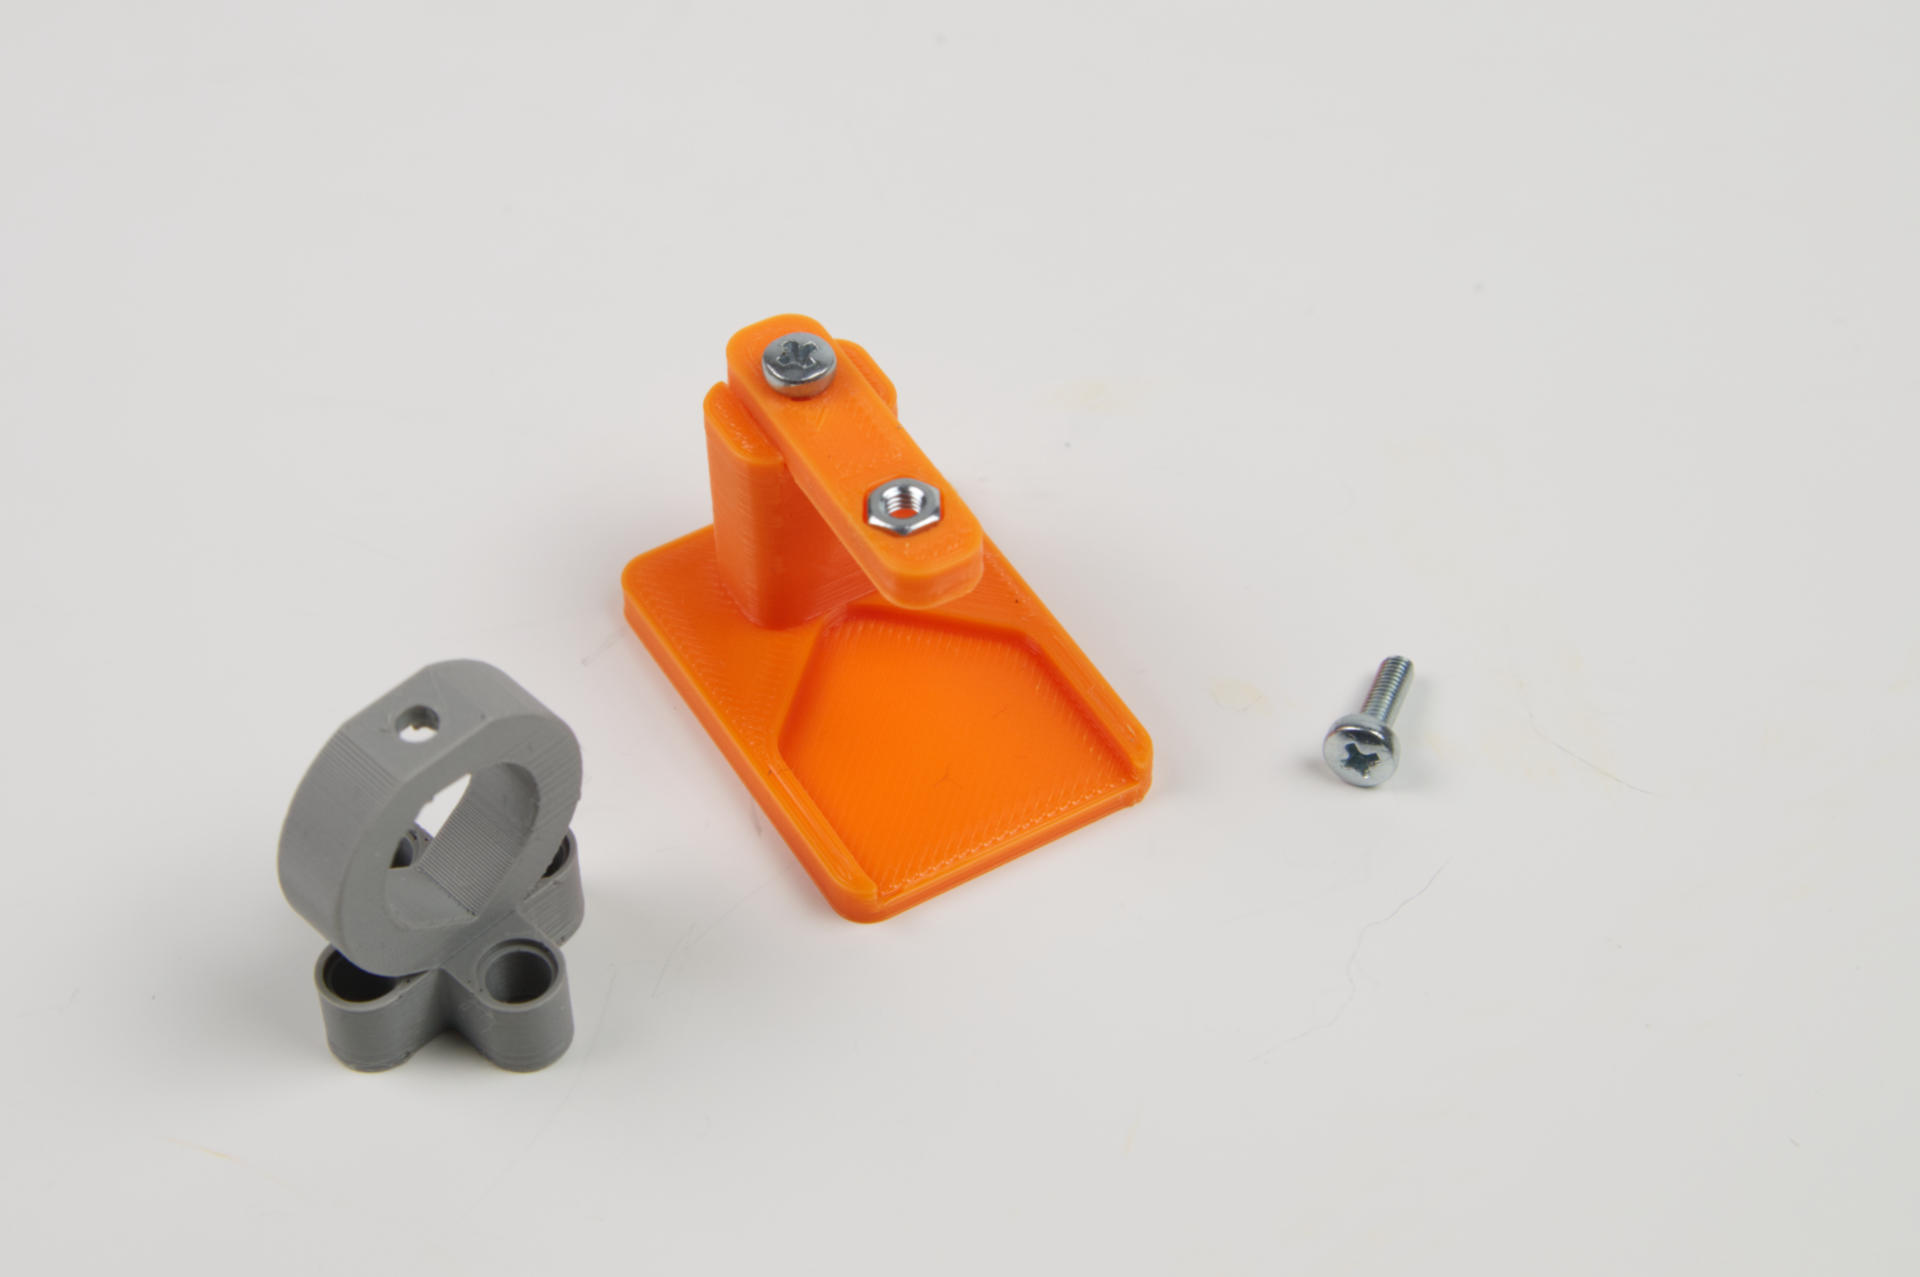
The jig is basically a little stand with an arm going straight out at 90 degrees. This is the sort of thing where it’s silly to print it all in one piece and mess around with supports when a single screw will do the job.
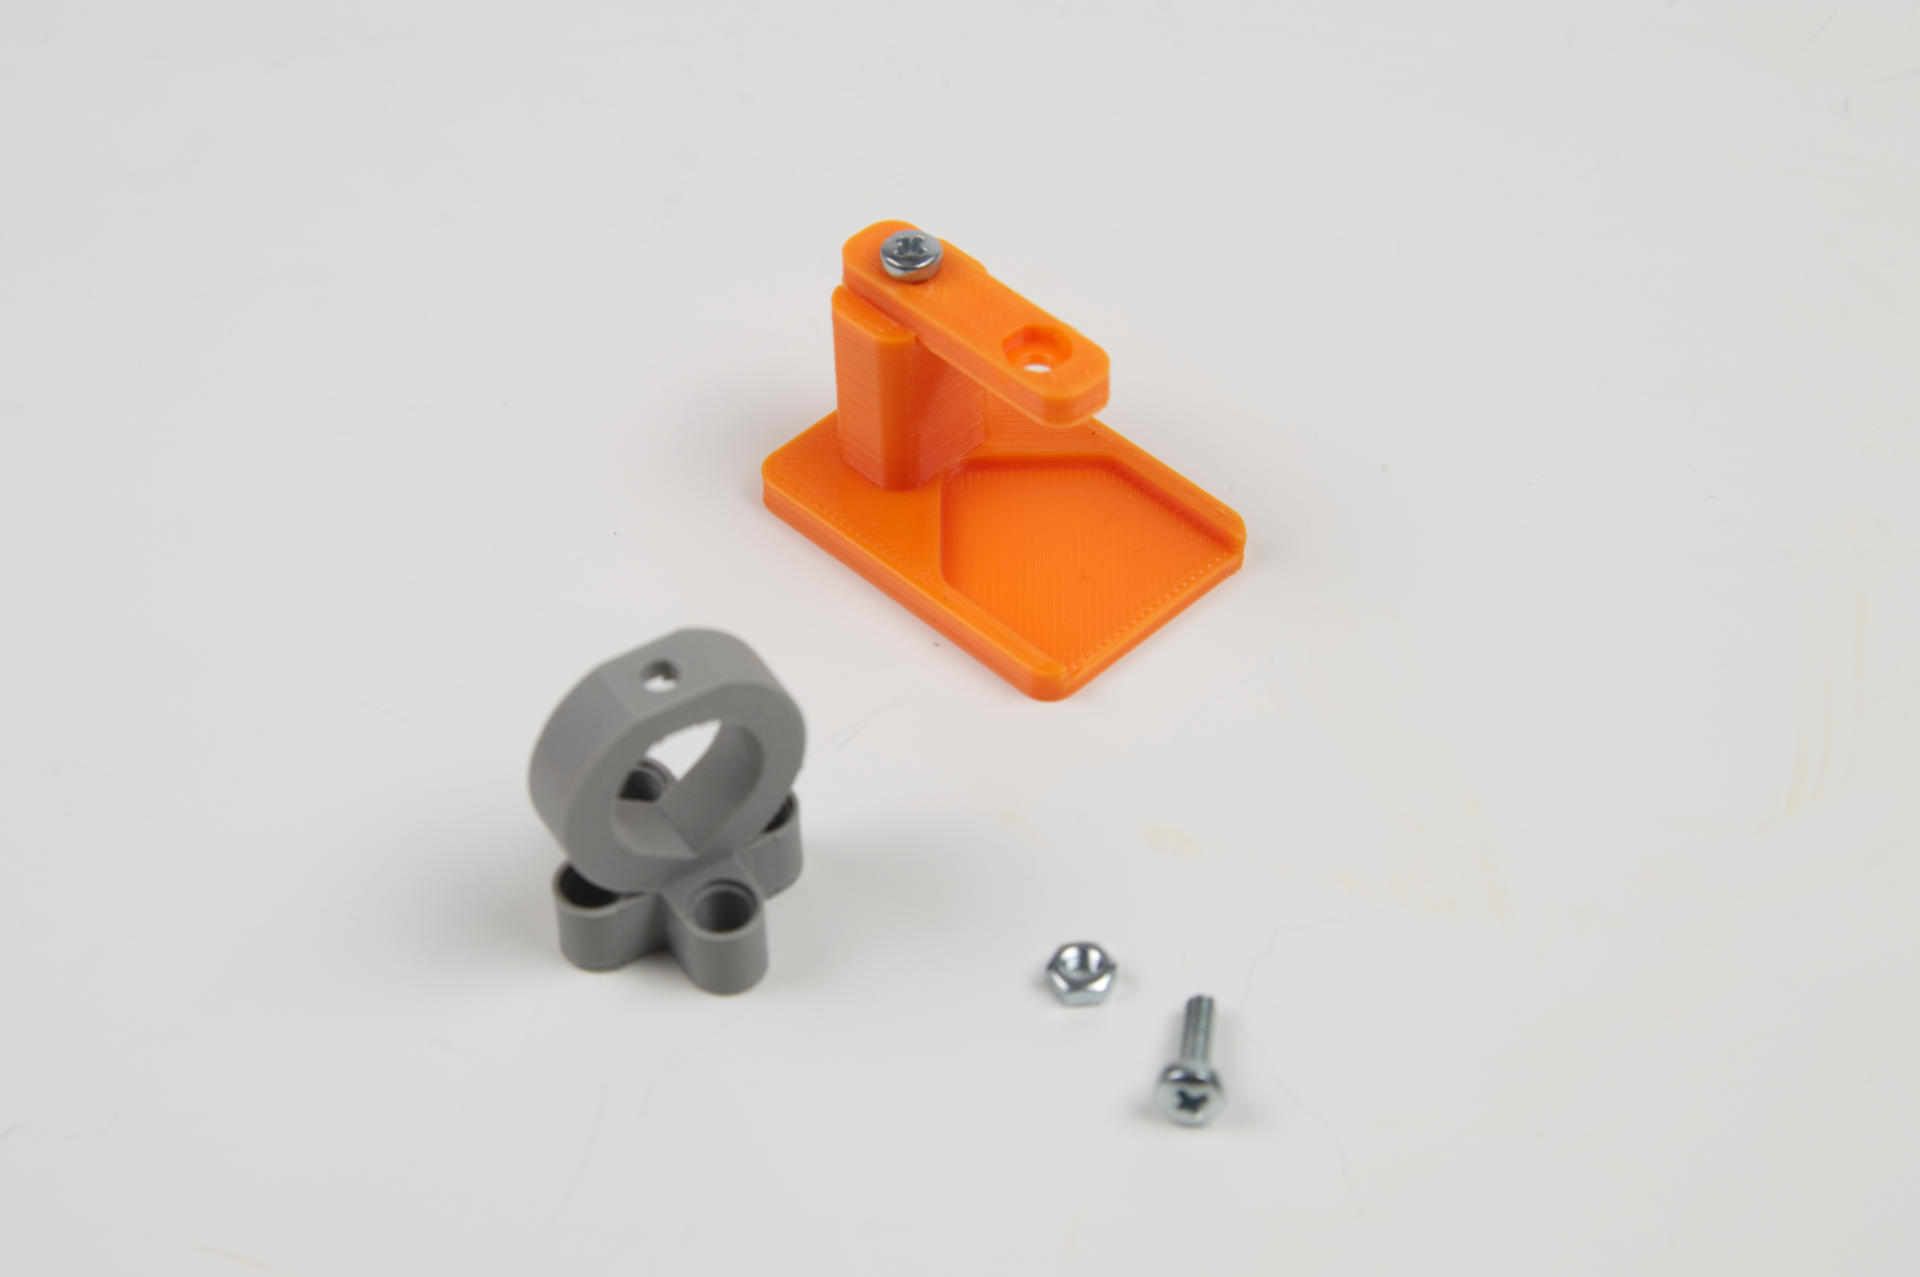
With the jig assembled we are ready to put together a Pen Holder. You also need a 3mm bolt, and a 3mm hex nut…
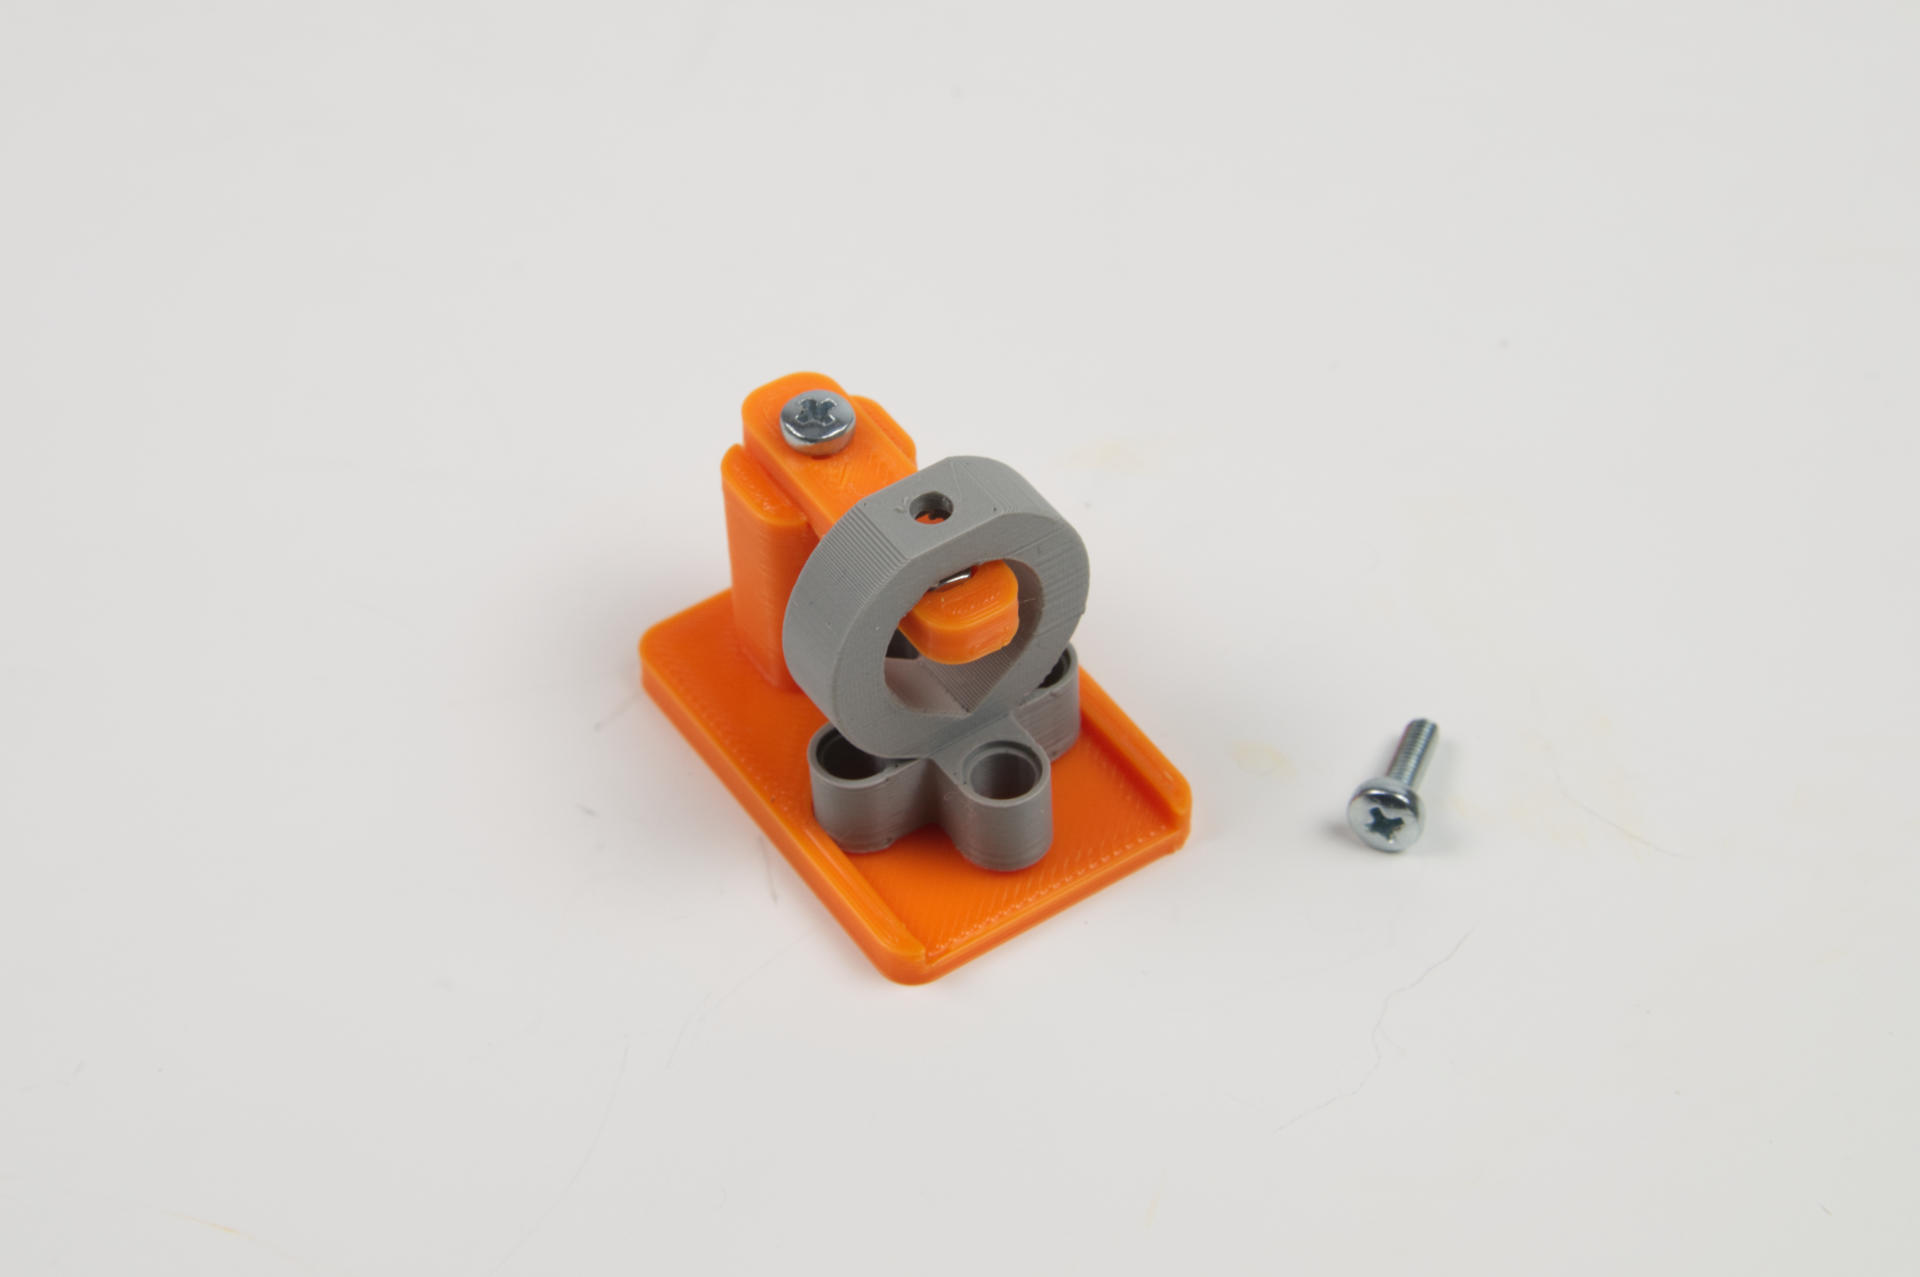
You place the hex nut into the hex-shaped pocket on the arm of the jig…
And then you slide the Pen Holder into the base all the way. It will be aligned wit the hex nut and ready for the next step…
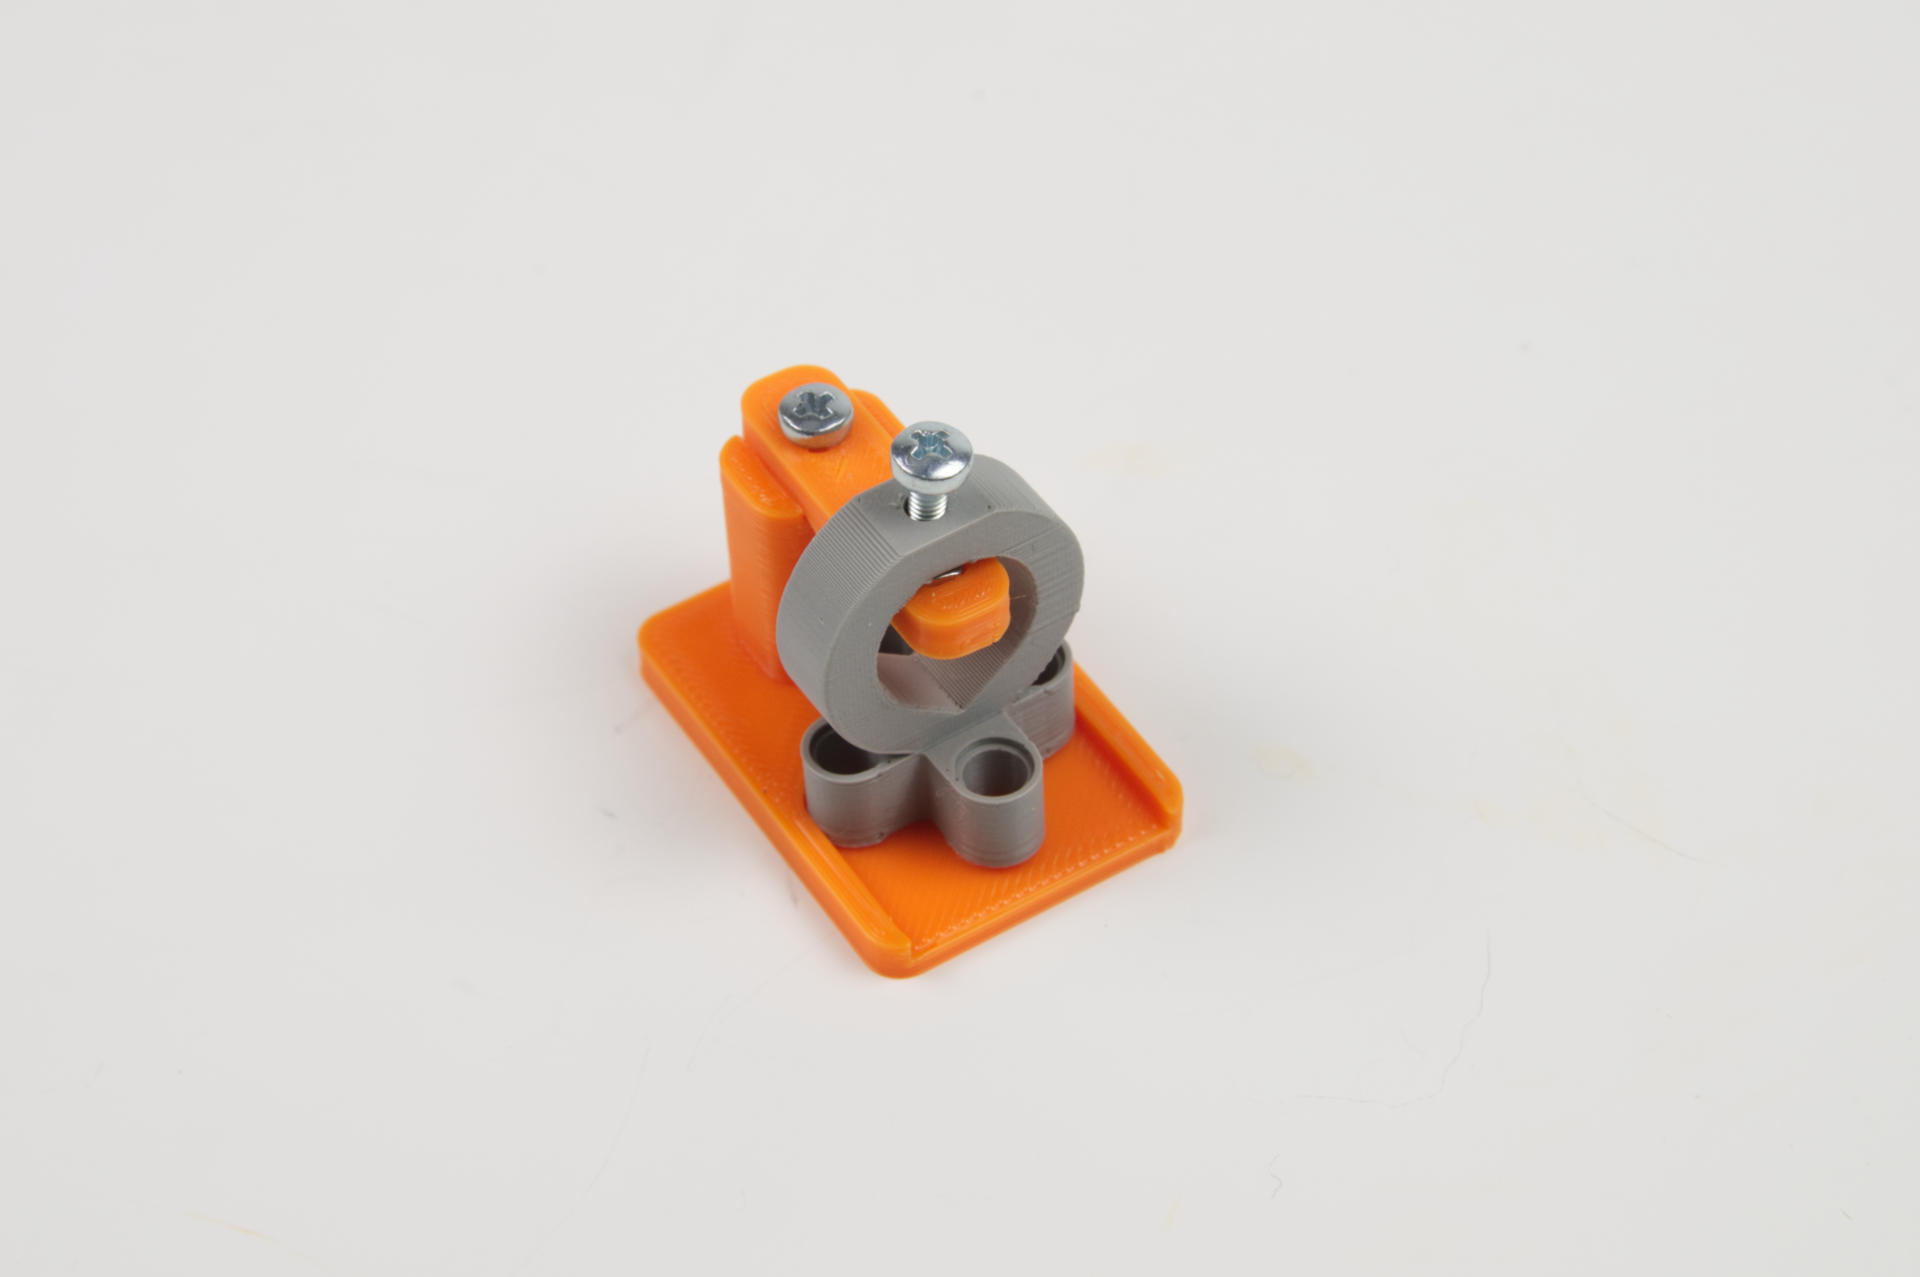
Add the screw and turn it a bit with your fingers to get it started…
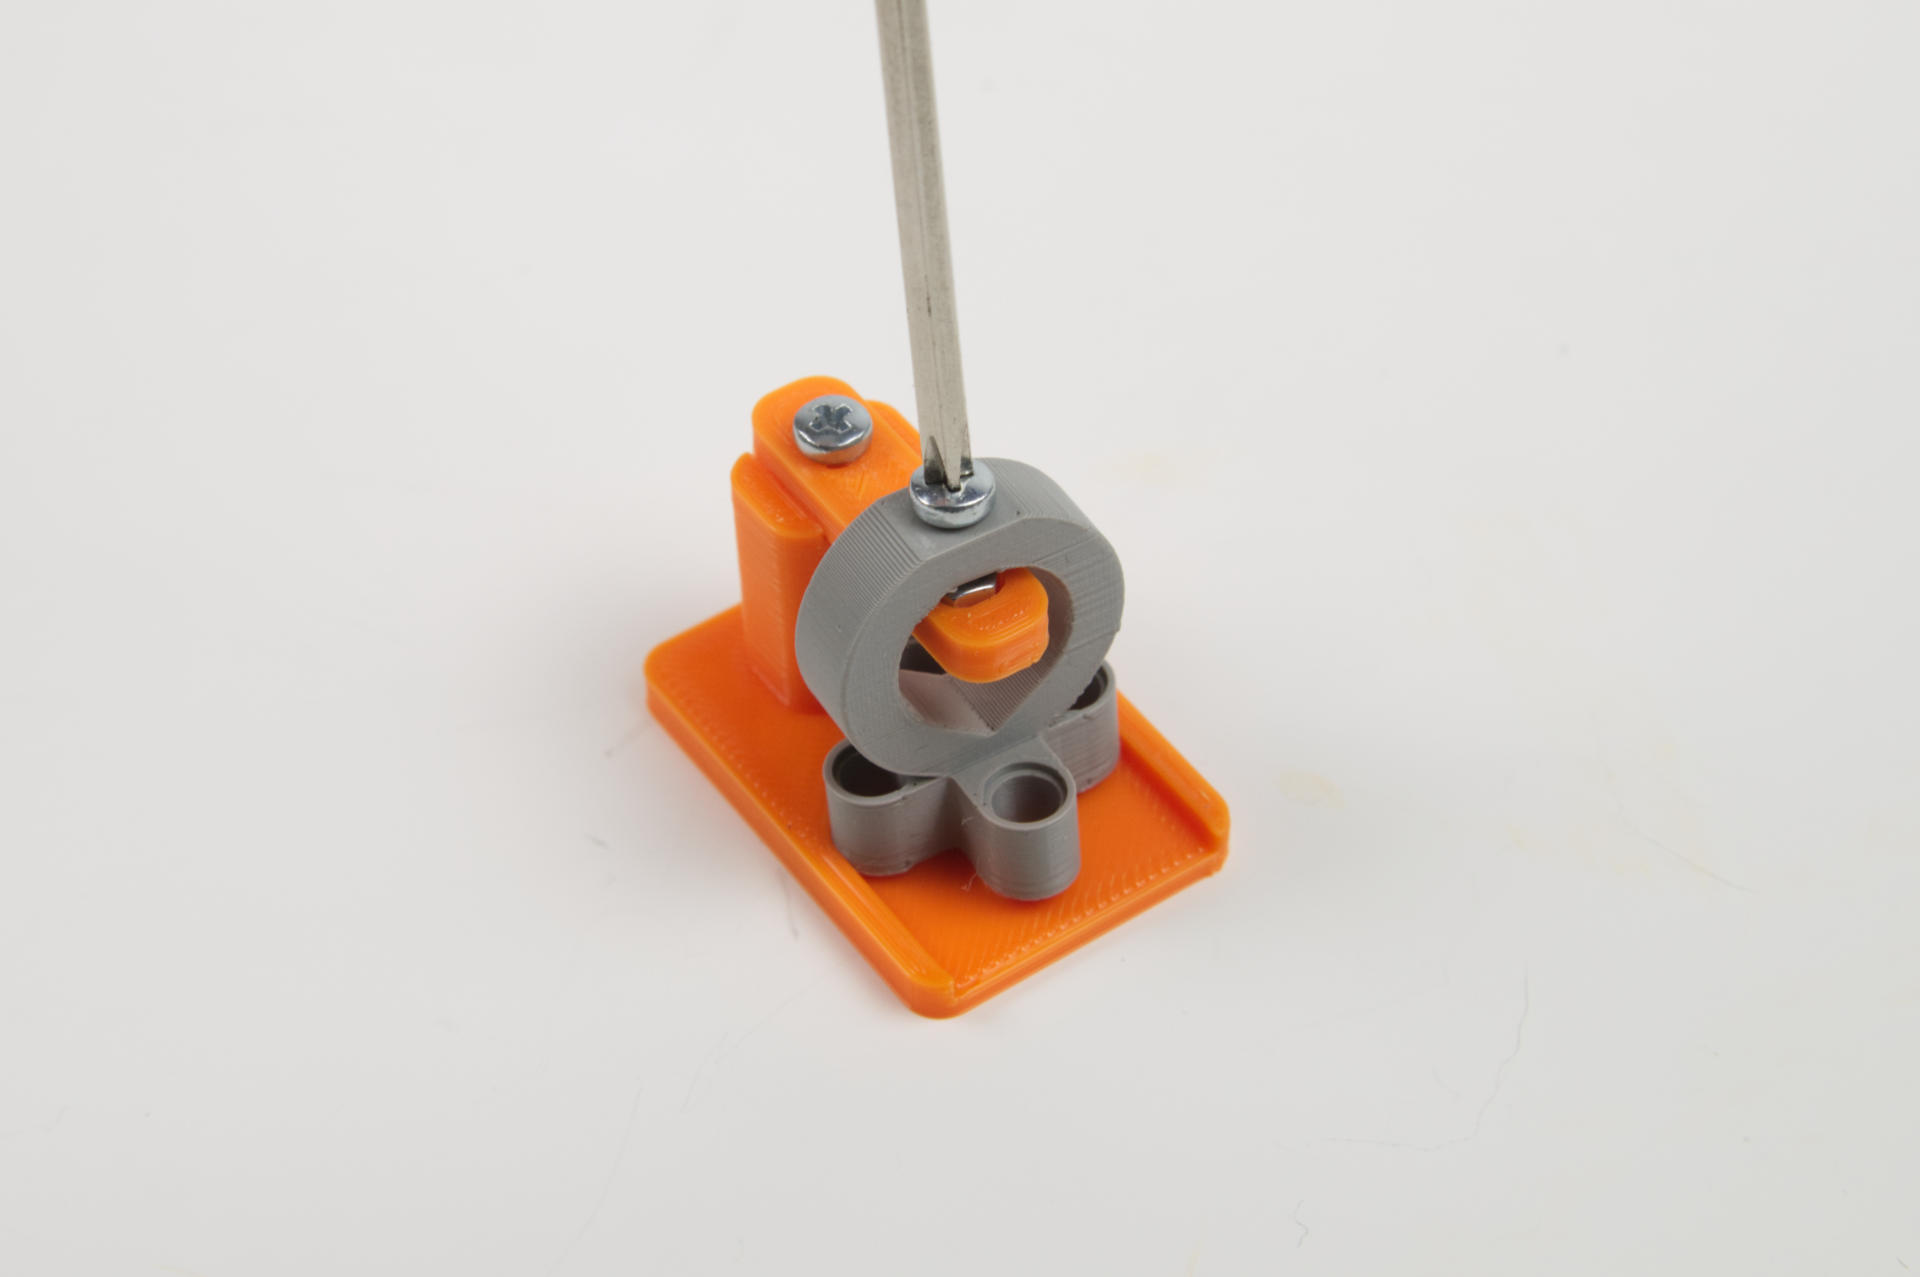
Then grab a screwdriver and start screwing around… and around…
The hex nut will lift up and insert into the hex-shaped cavity on the Pen Holder…
You then lift the Pen Holder (which now has a screw sticking into the hole in the center) straight up and pull it out of the jig. So far it’s the best solution we’ve come up with for quickly (and easily) assembling these Pen Holders.

