
Since last time (and this) I figured it was time for an update.
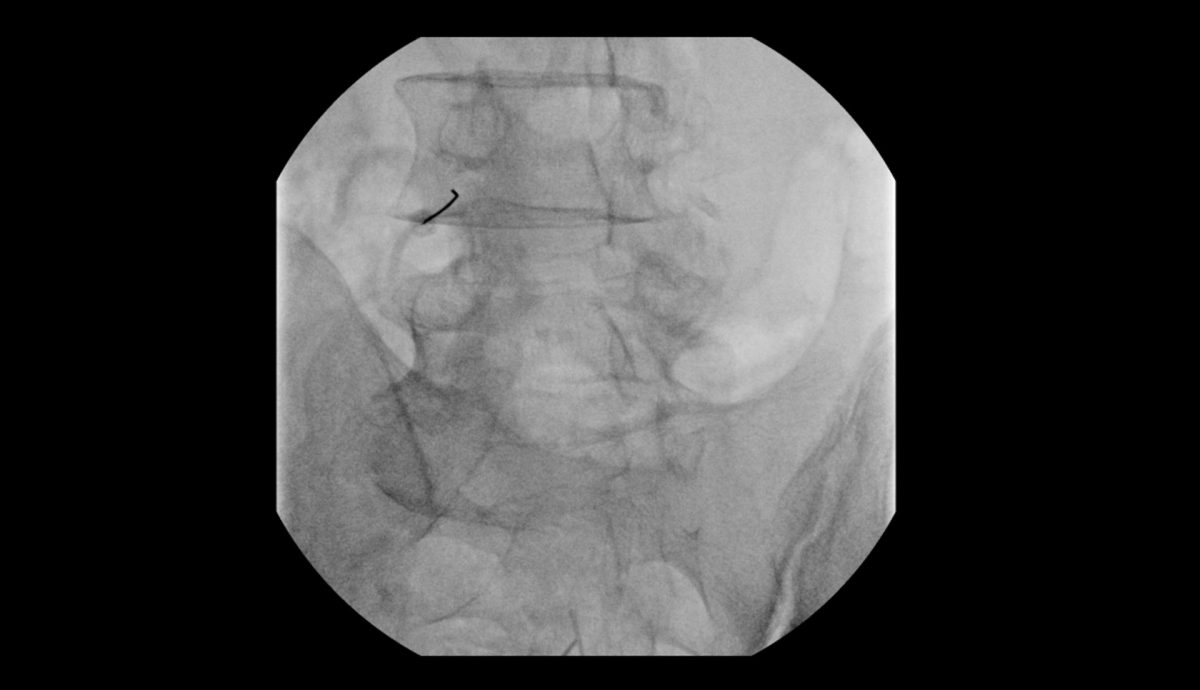
I saw the pain management doctor (who gave me the injections) and he said I needed to have part of my spine widened since the injections did not work. The “spine hole widening” is a surgical procedure, so he suggested I see a surgeon. So I did.
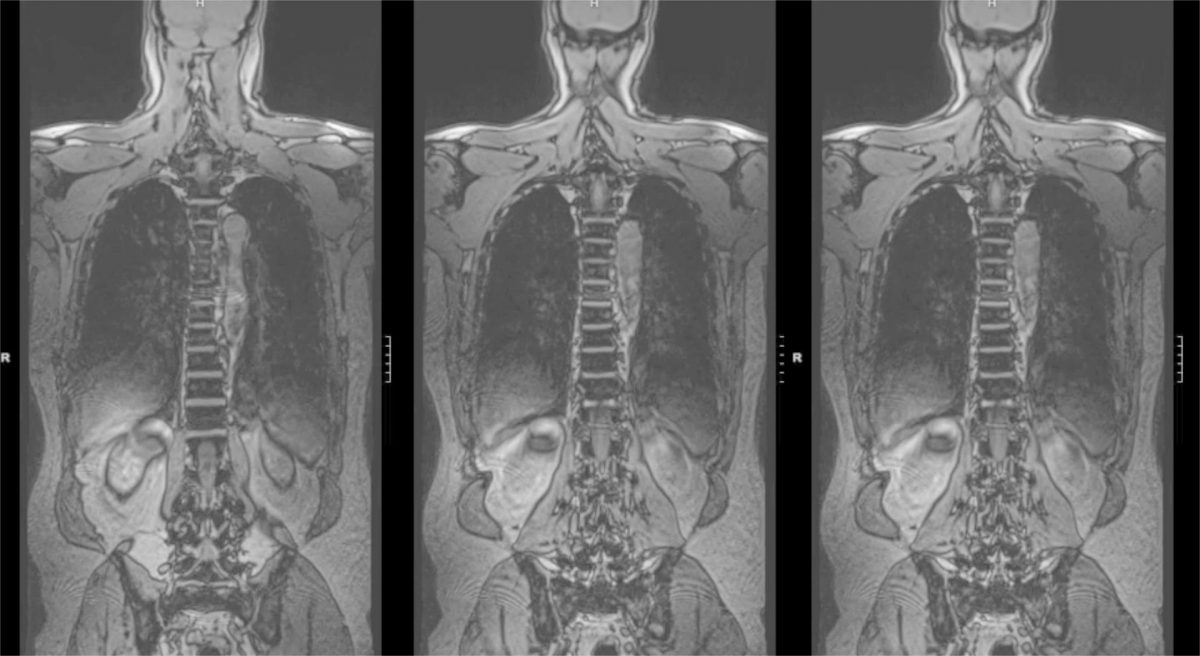
The surgeon looked at my MRI and said “You’ve got a senovial cyst!” So yeah, there is a cyst on my spine pressing against the nerve that runs down my right leg, hence the terrible horrible pain in my right leg.
If you want to get technical I need a Laminotomy which is the opening of the space around the nerve, in this case by removing the cyst. (A Laminectomy on the other hand, is removal of part of the spine. Luckily a Laminotomy is a somewhat less invasive procedure.)
It seems plenty of (older) people get these cysts but never even know it because they do not cause any pain. Lucky me!
Other fun things from the diagnosis: “severe lumbar spinal canal stenosis” and “multilevel cervical spondylosis neural foraminal narrowing” and of course “degenerative disc disease” for good measure.
So the good news is I am scheduled for surgery. The bad news is I need to wait for three months after the injection, which would mean the first week of July. The other bad news is that due to my work schedule I can’t take off for the surgery until the last week of July. So as I am typing this it’s over 70 days until my surgery.
The surgery could get moved up if I start to lose control of my bladder and bowel, so that’s fun.
Otherwise I figure I’ve already gone over 120 days in pain, what’s another 70 or so. Are there days I wake up (in pain) and scream in agony? Yes. But hopefully we’ve got a solution to this nightmare.
Fingers Crossed and all that!