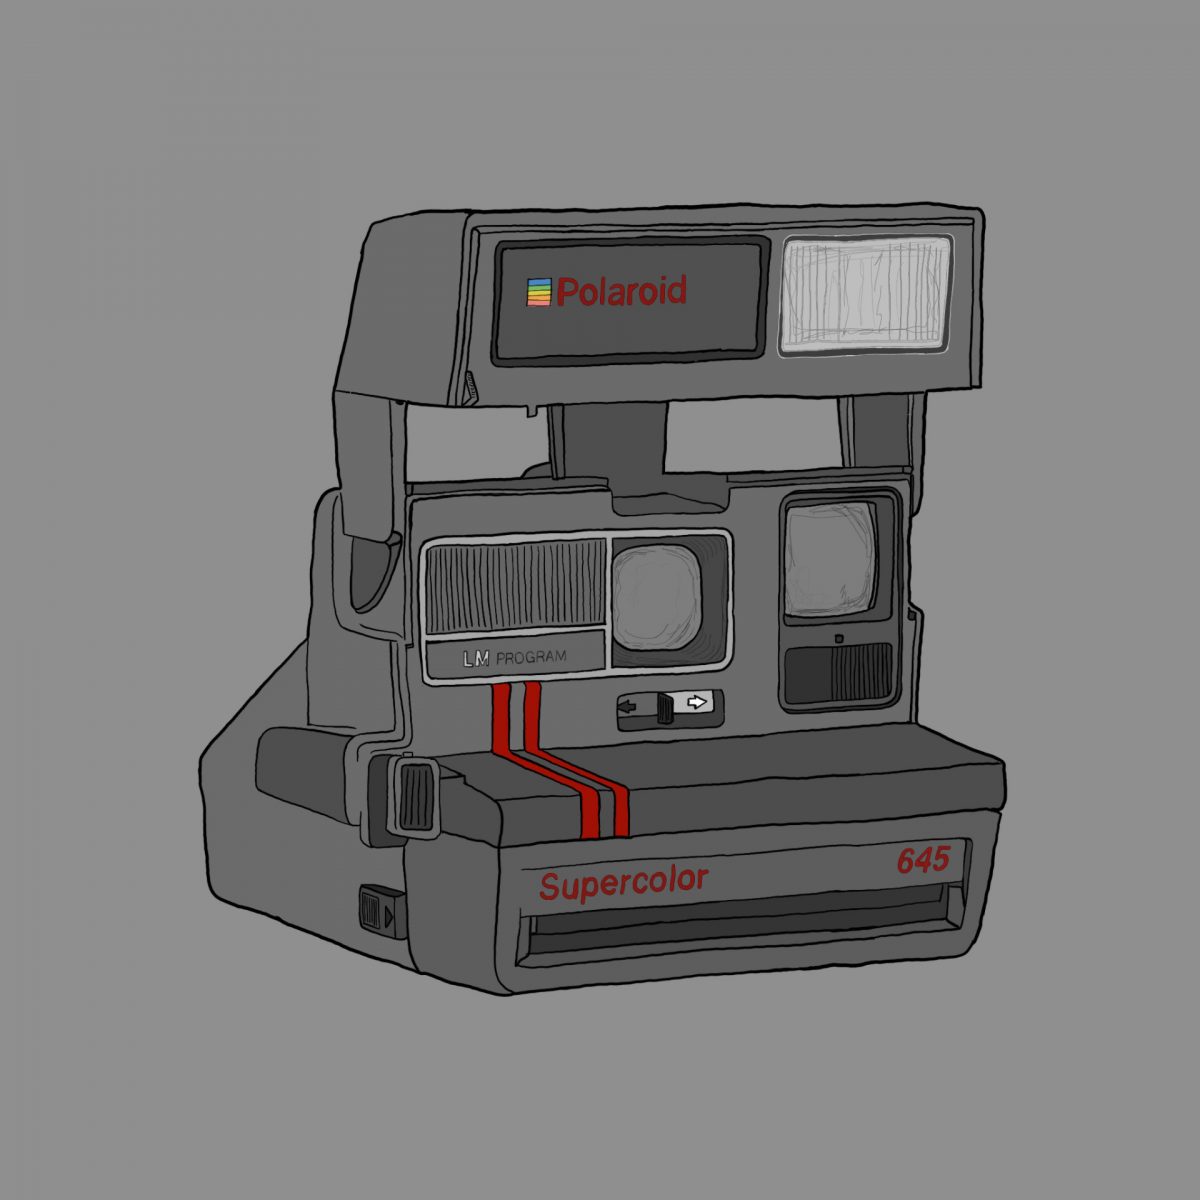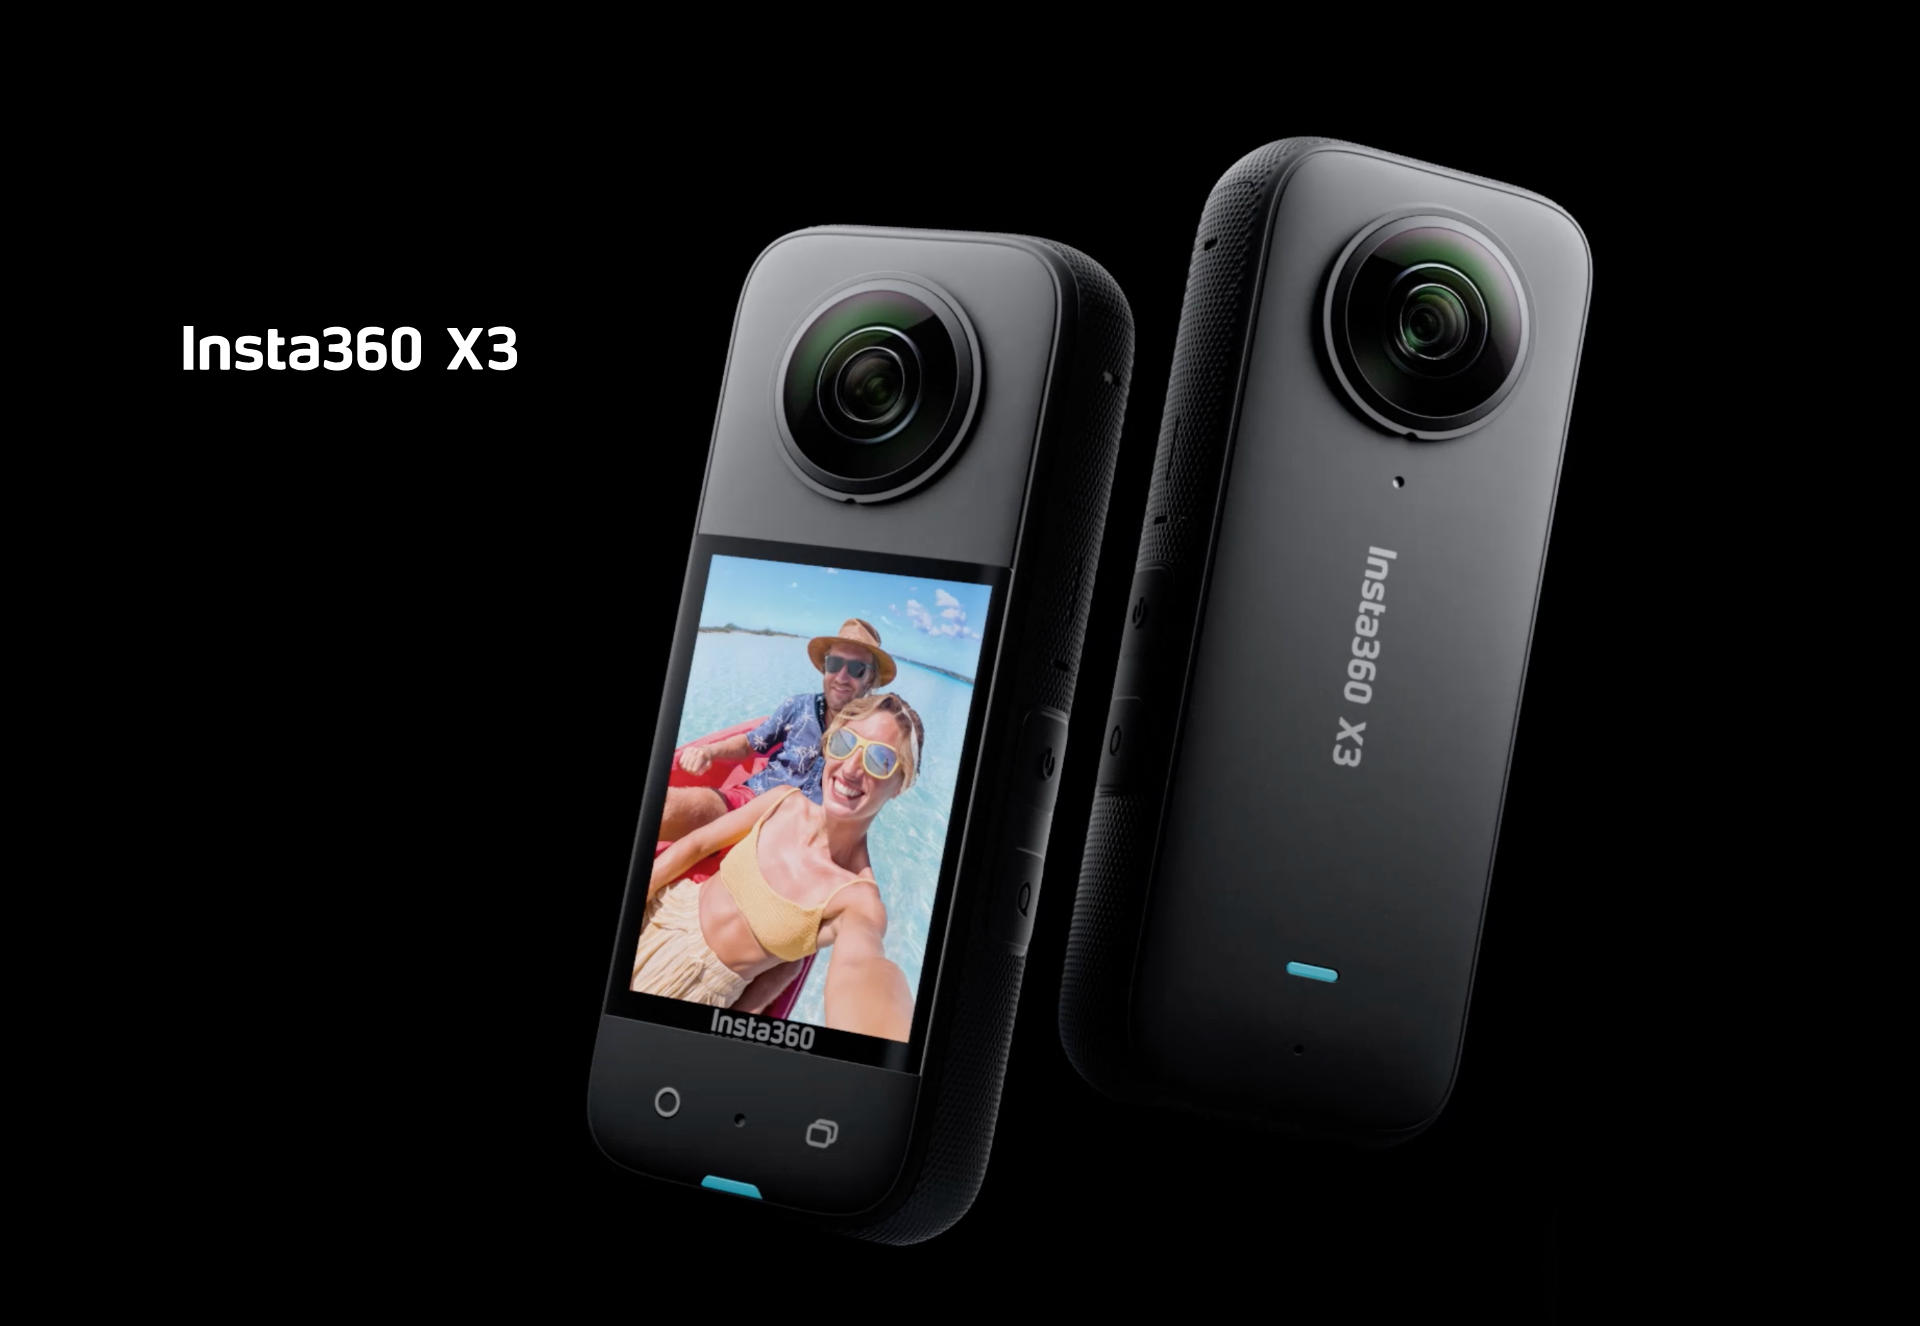
I recently got an Insta360 X3 Camera (affiliate link) because it was my birthday and somehow there was a sale and it’s been two years since I bought a camera.
Disclaimer: I had some credit card points to use up before the card goes away next month. The camera was $230, minus $90 I got it for around $150 USD.
I got a GoPro back around 2012 and used it to film the Power Racing Series until around 2019. I did not use it in 2020 because pandemic, but I did use it as a webcam for a bit. Then it sat unused for a while and it never worked again. I dug into the problem and the issue is a common failure. So while I still have it, the GoPro is non-functional.
That said, I considered getting a new GoPro, but the combo of the old one failing and seeing that GoPro the company was most likely failing, I decided to look elsewhere, hence Insta360. We use their webcams at work (and the quality is amazing, and an action sports guy I know loves his as well.
So I figured it was time to try something new. Here’s what I got besides the camera.
SanDisk 128GB Extreme microSD Card – I have a pile of microSD cards but they are older and slower and smaller. I tried one to start with and the camera basically says “This is an old slow card and it sucks”. Well, not those exact words, but it displays a warning.
Clamp Camera Mount – I’m no stranger to making my own camera mounts, but with this camera (which does not have a protective shell like the old GoPro cameras did) I wanted something strong and secure. I’ve read that one thing lacking on the Insta360 is a lanyard mount for extra security so a solid mount seemed like a good choice.
Insta 360 X3 Lens Guards & Screen Protector – The X3 does not have easy to replace lenses (like some later models) so that means if you scratch up one of the lenses you need to send it in for repairs. The lens guards are little half-dome plastic pieces to cover the lenses. They do add some distortion when the images from the front and rear cameras stitch the image together. I still need to work on minimizing this in the settings and software.
At this point I’ve only used the camera for a few bike rides, and for two of those rides I thought I had it recording and somehow did not have it recording. After the first time I read the docs a bit more (duh!) and thought I figured it out. Somehow I screwed up twice. Still, I think I just need to learn the controls a bit more.
I started to make a playlist of videos called Bike Riding.
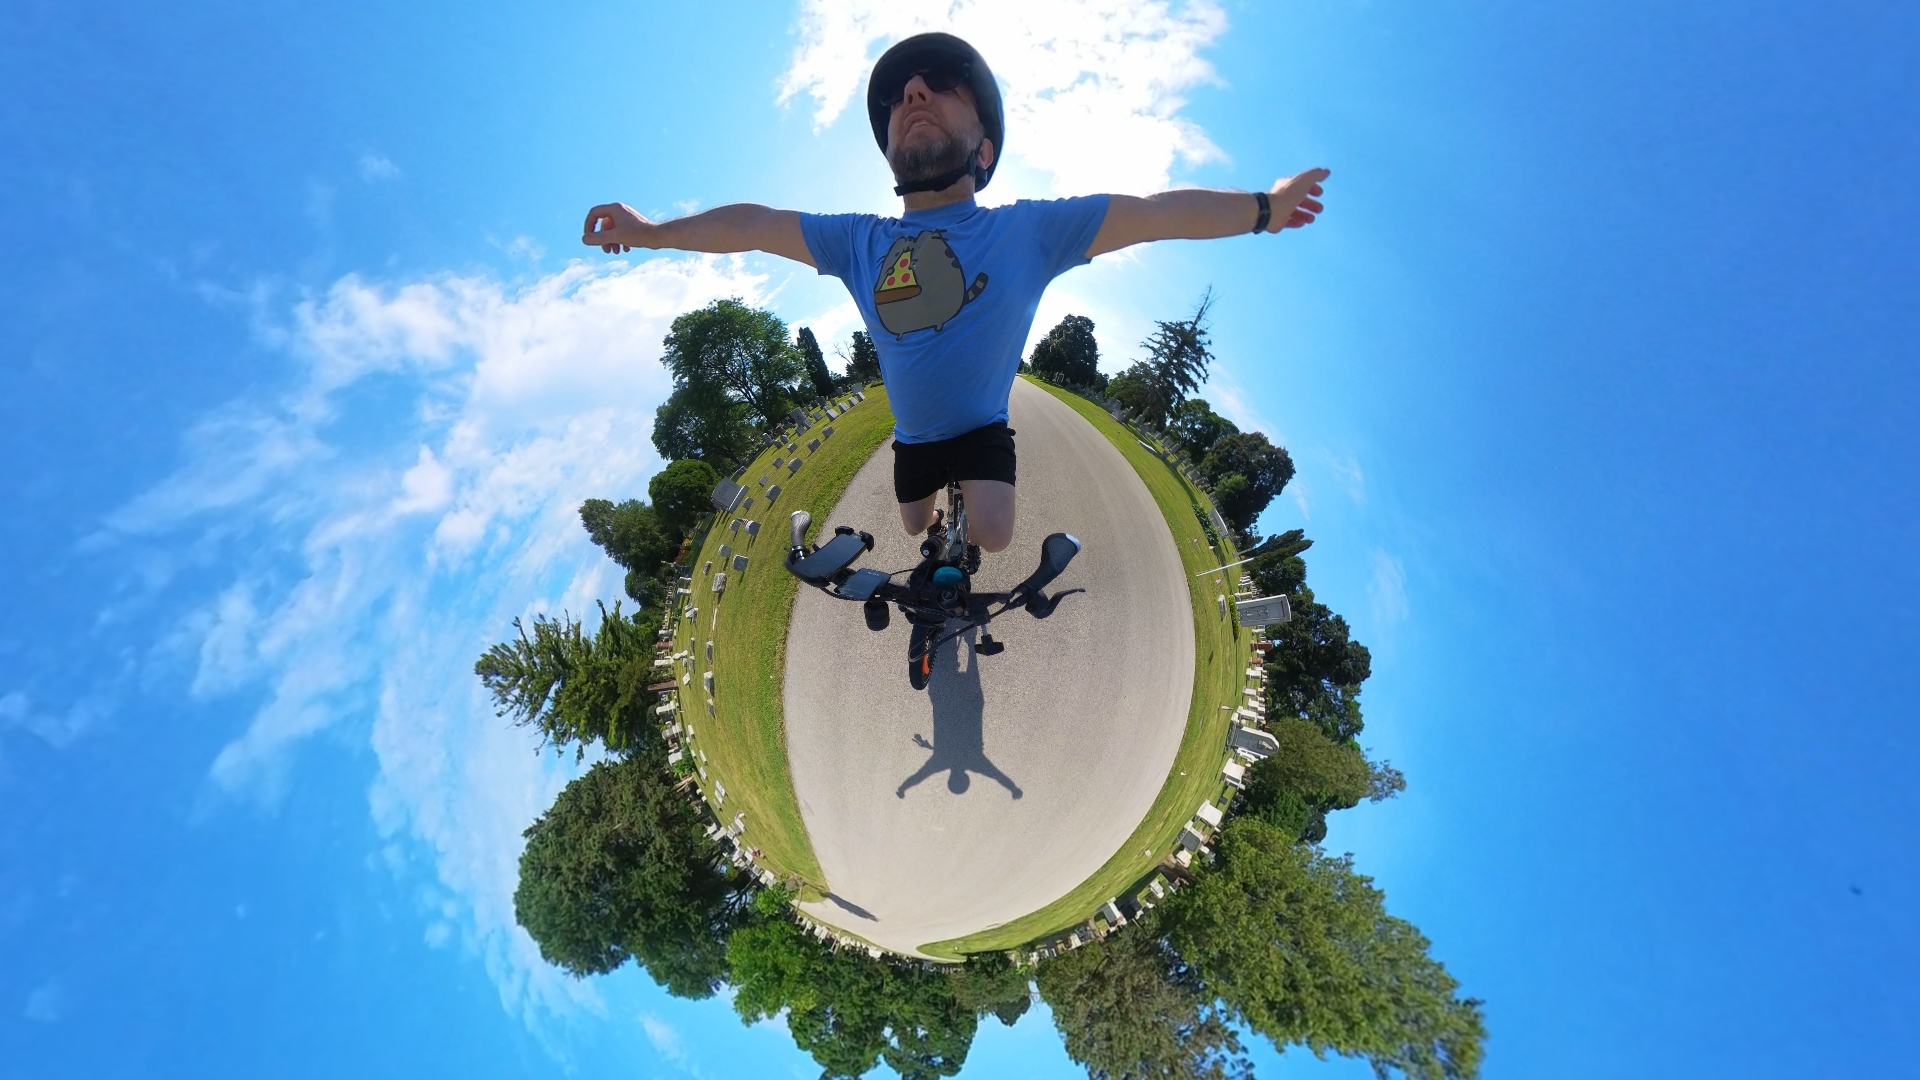
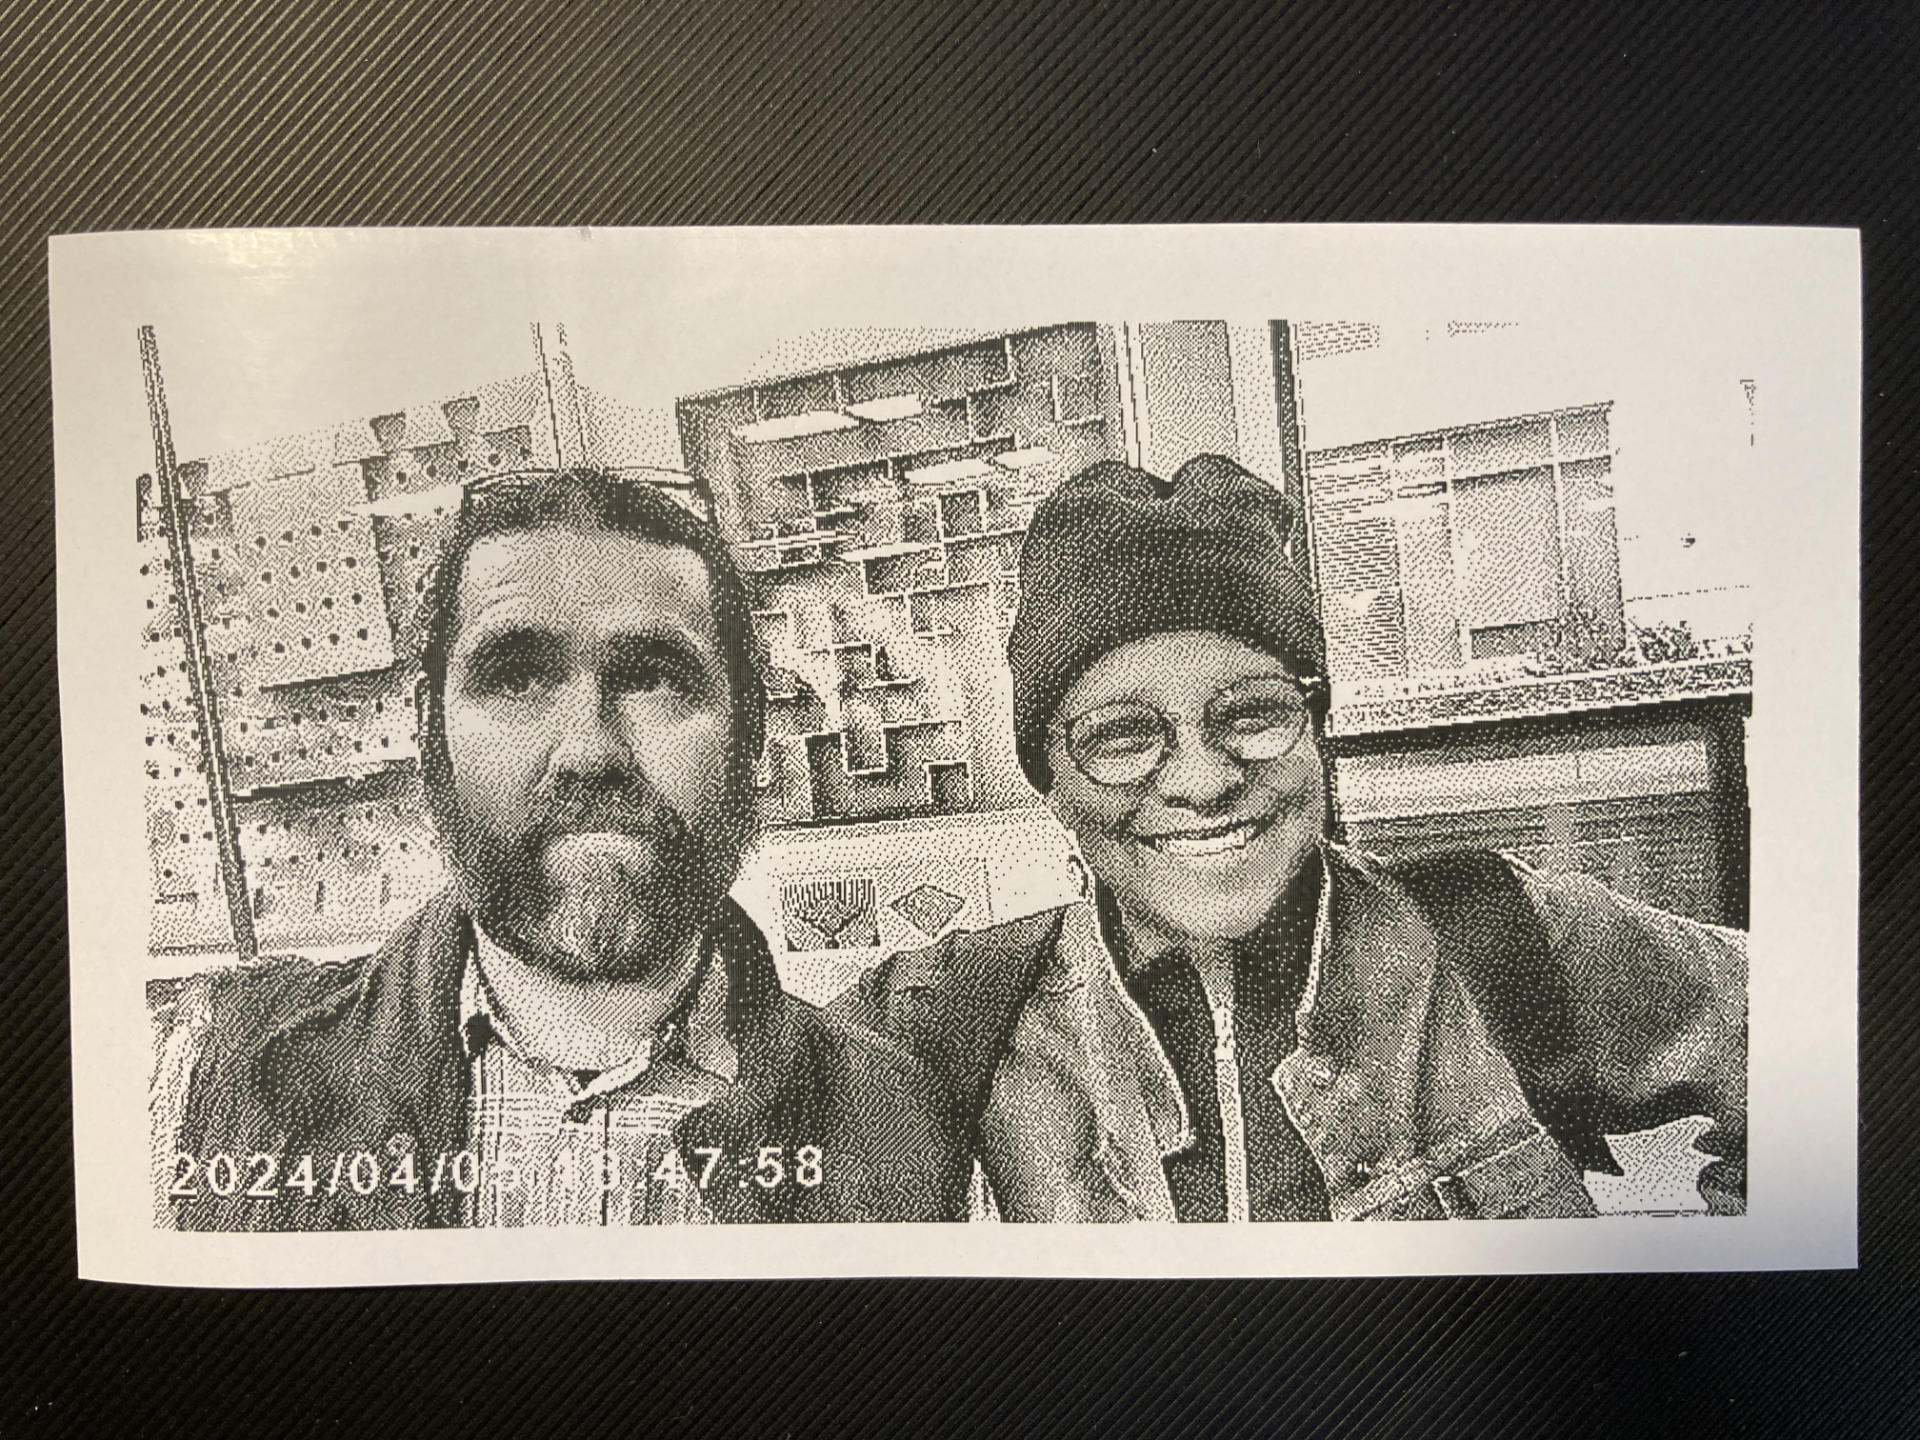
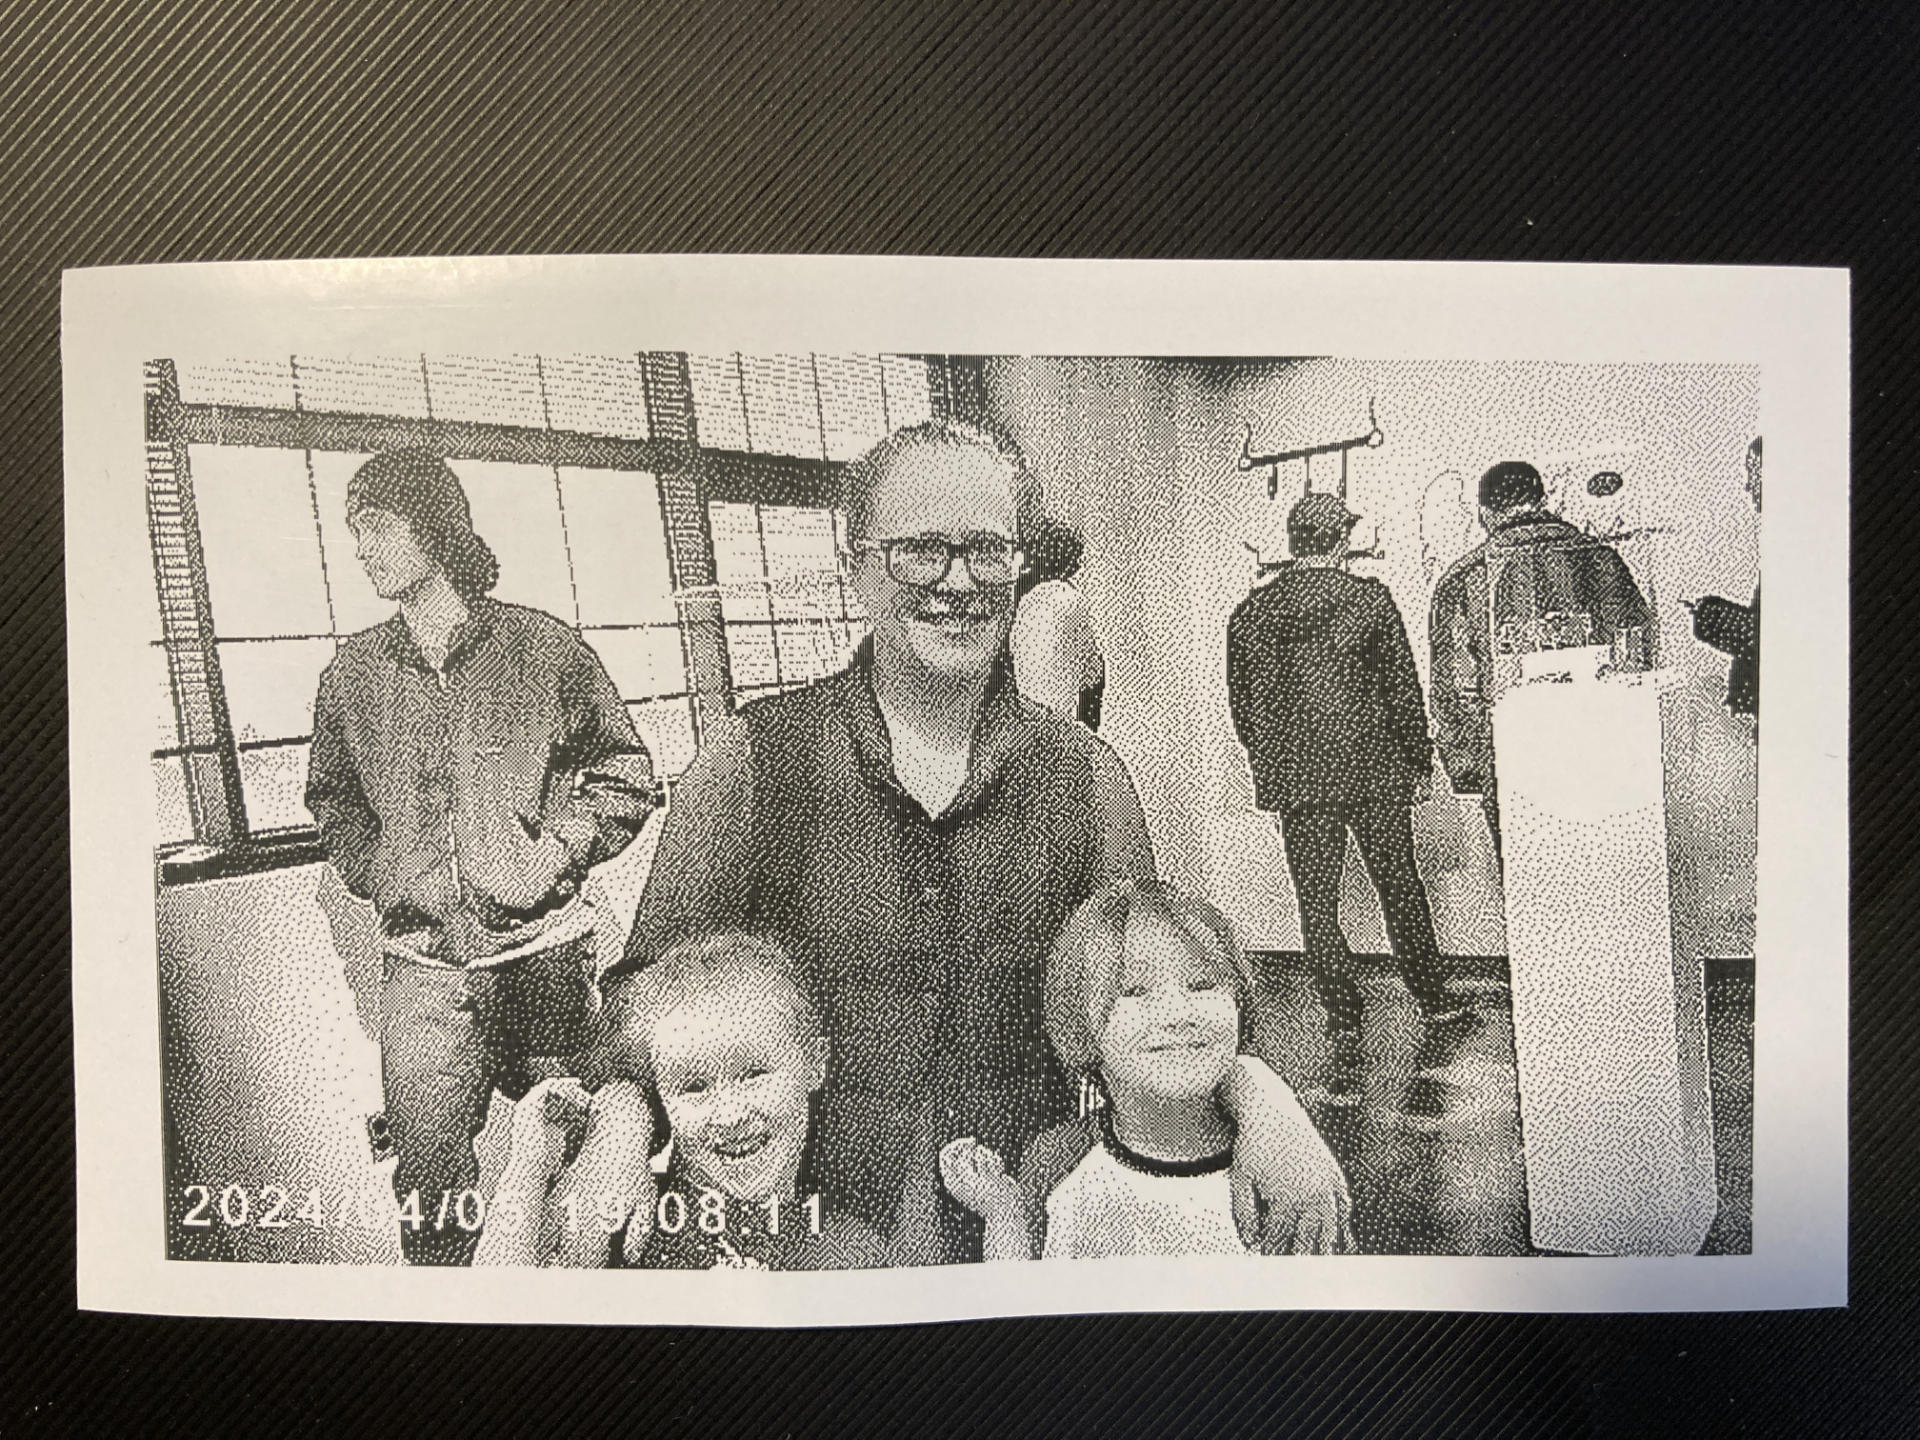
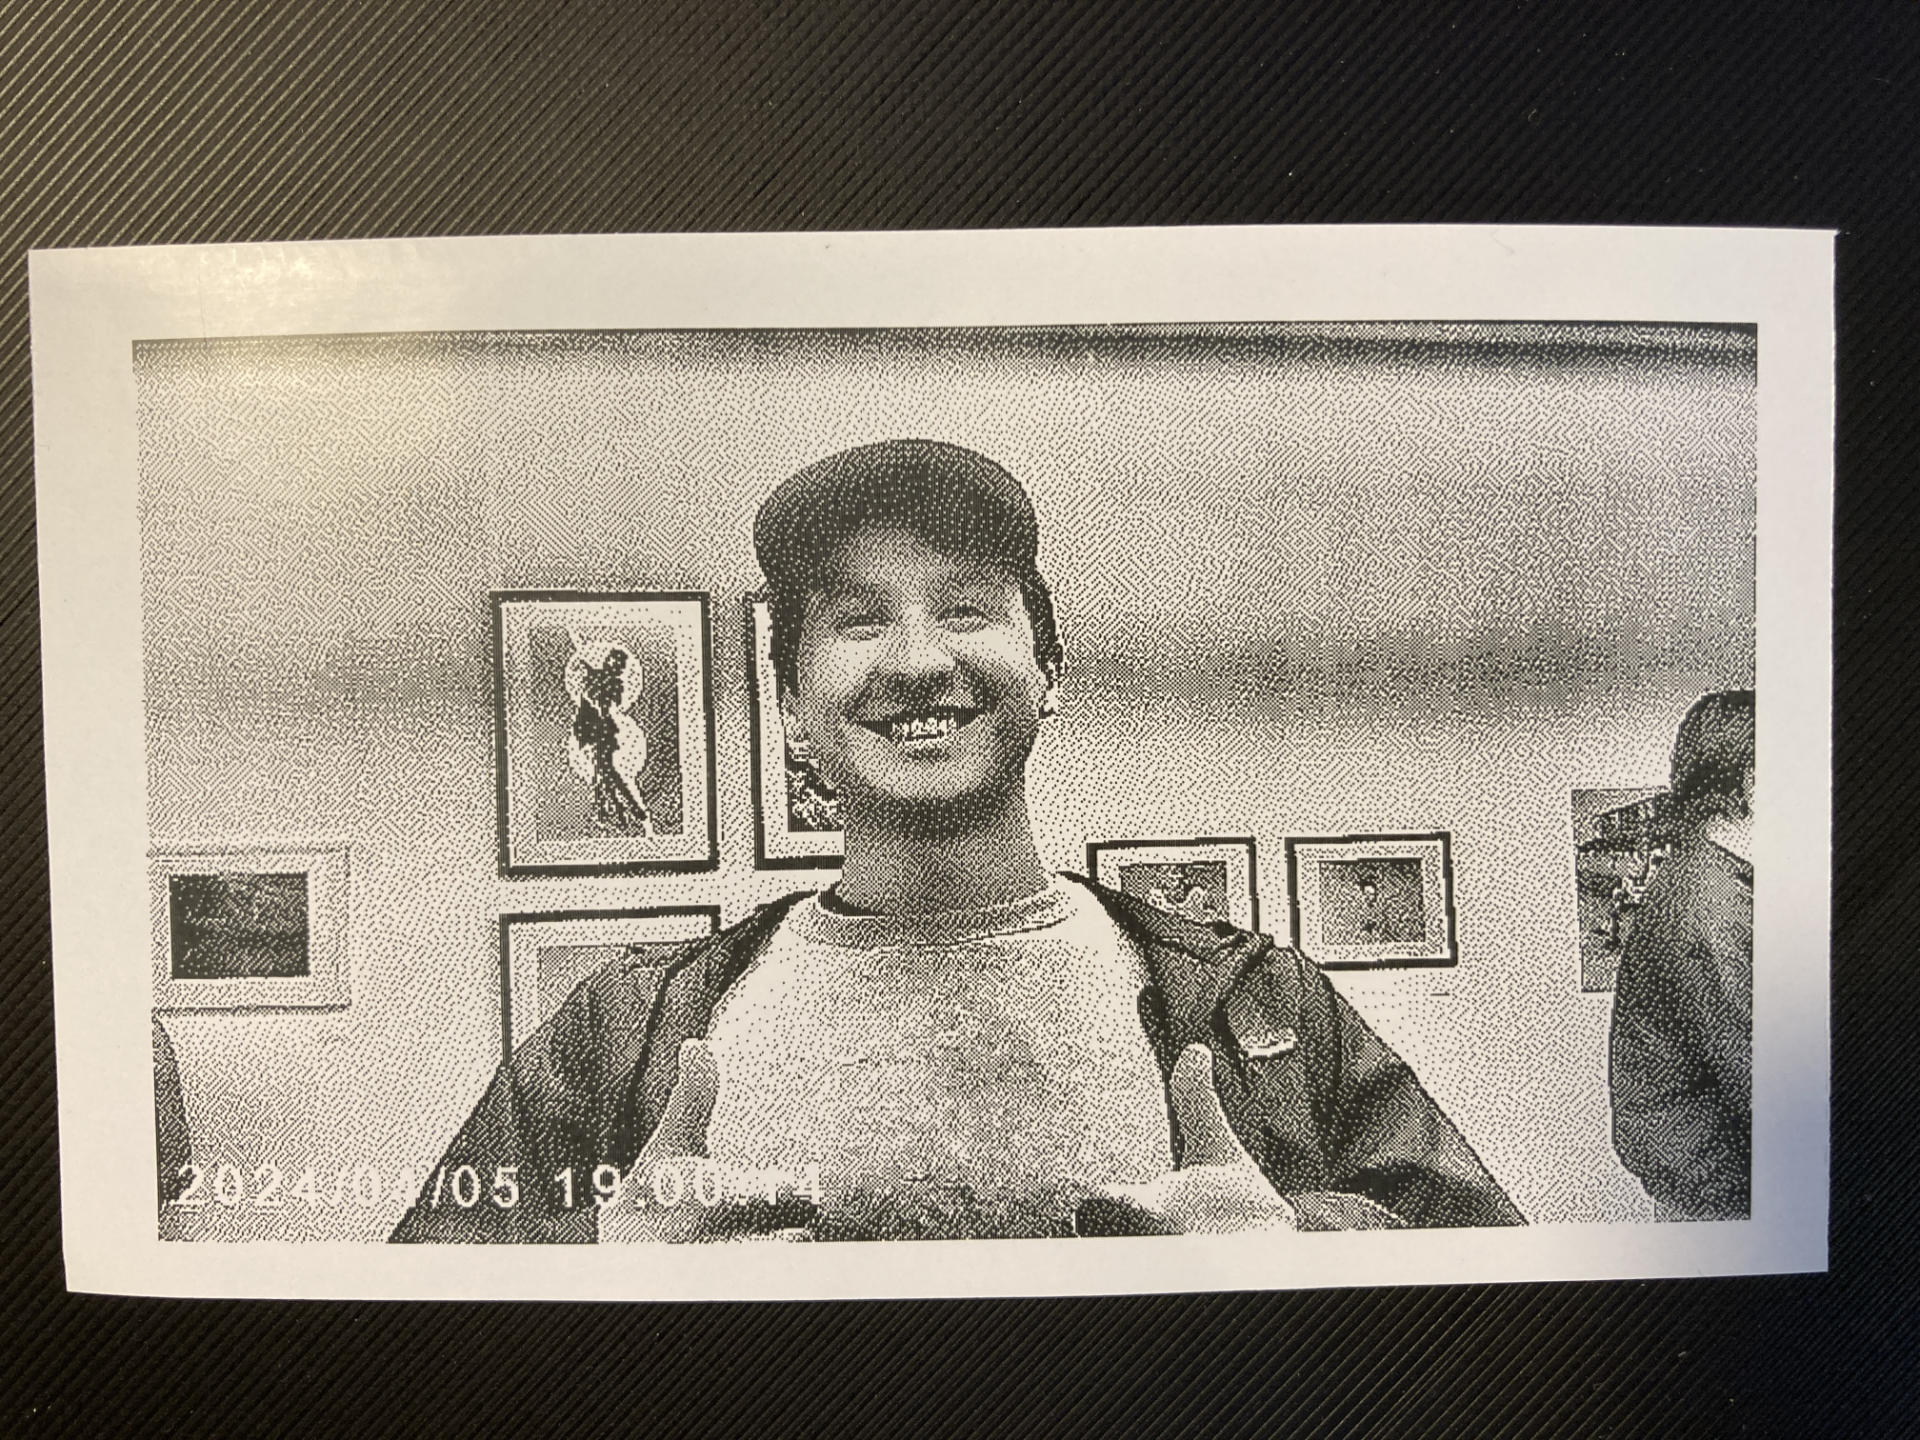
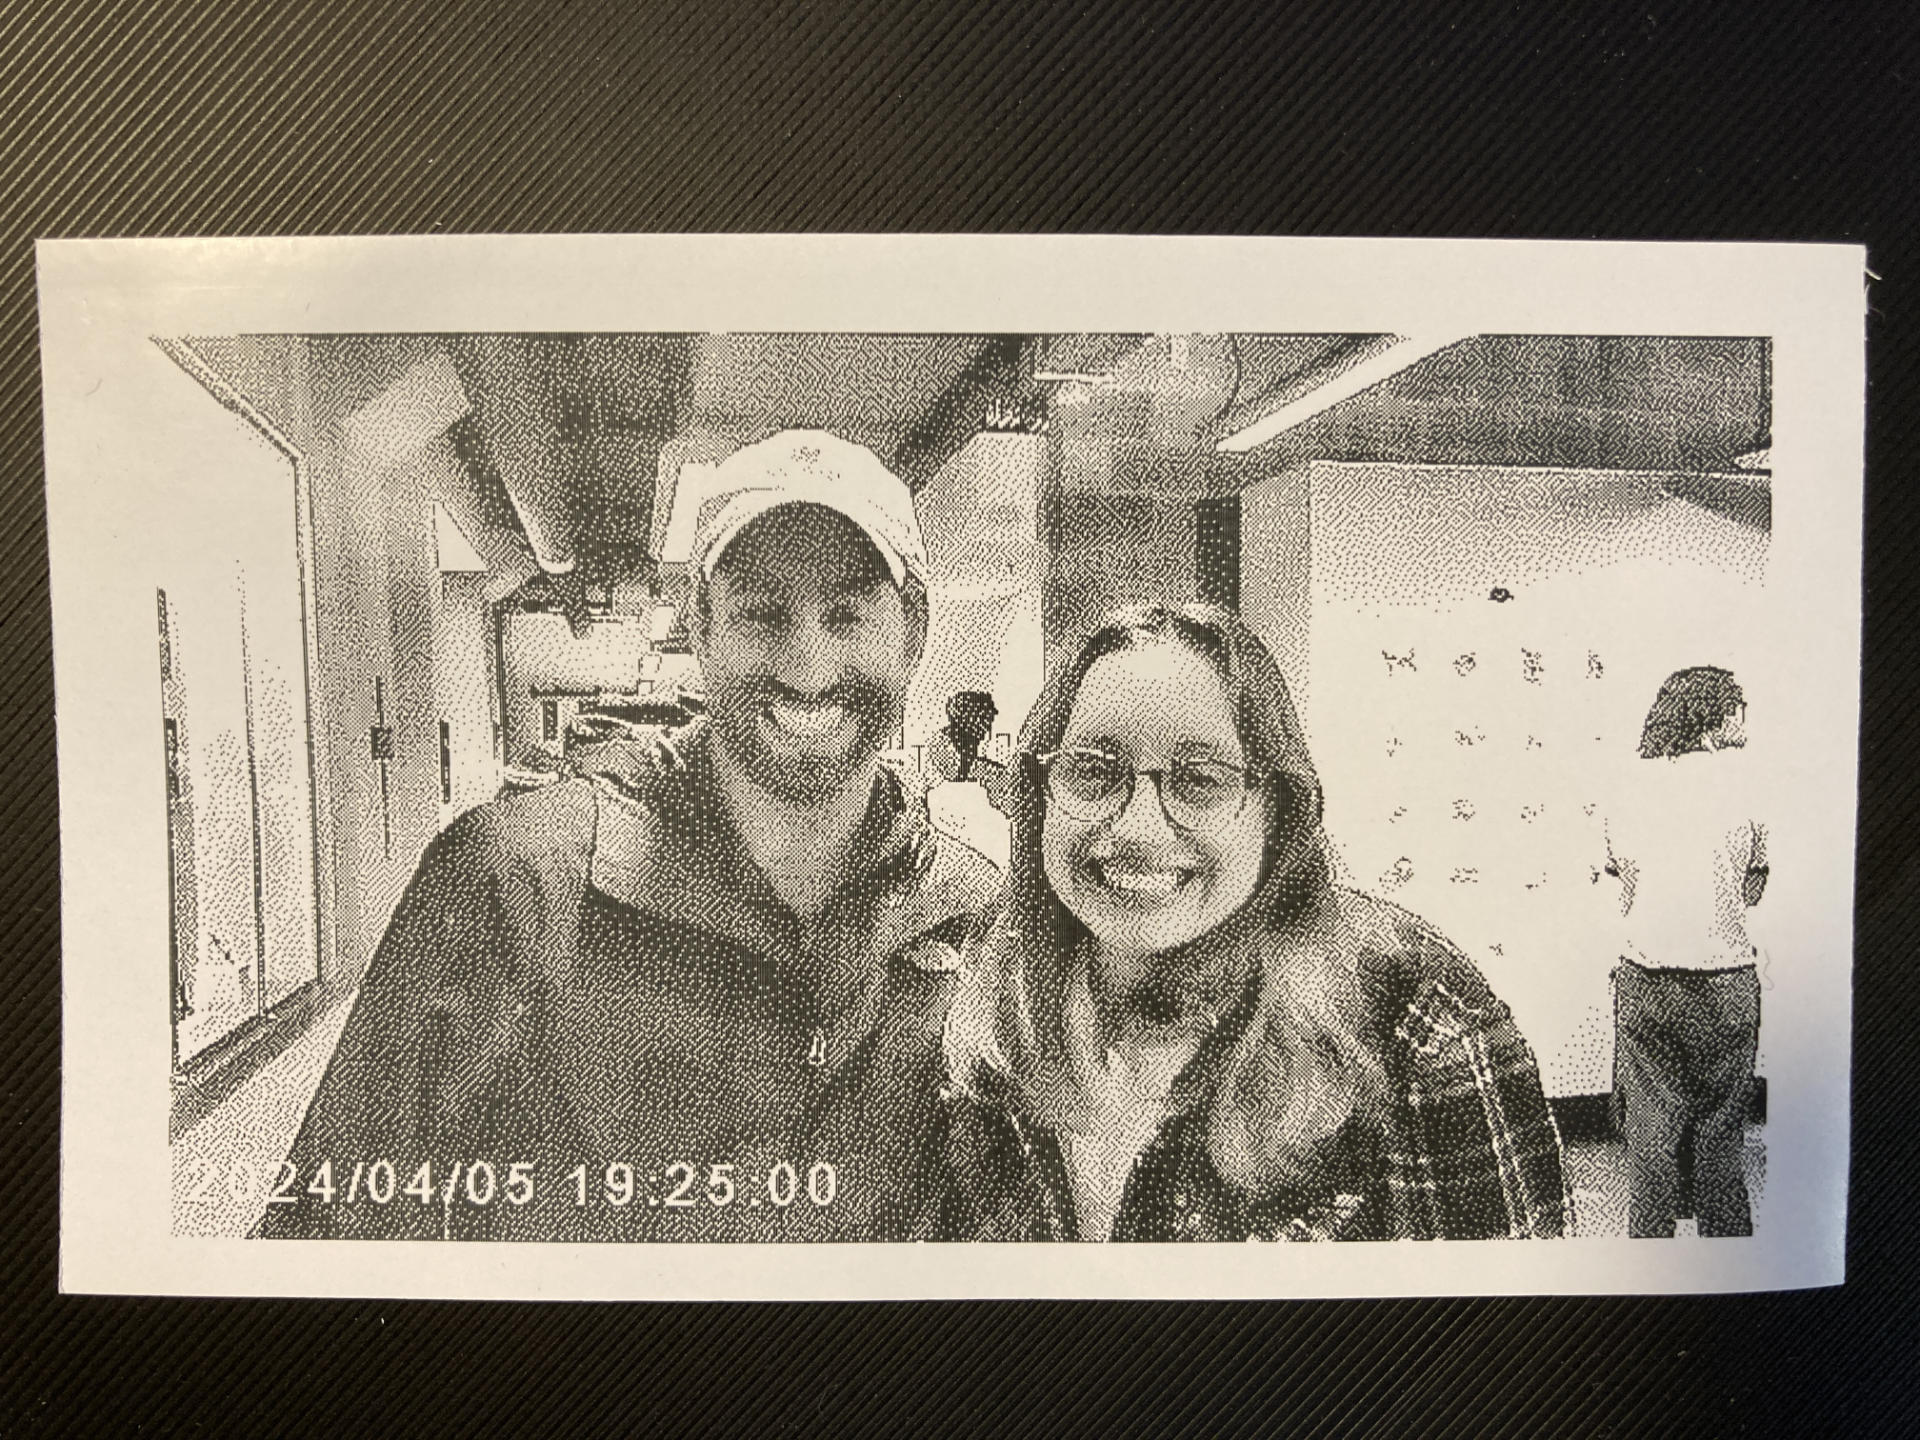
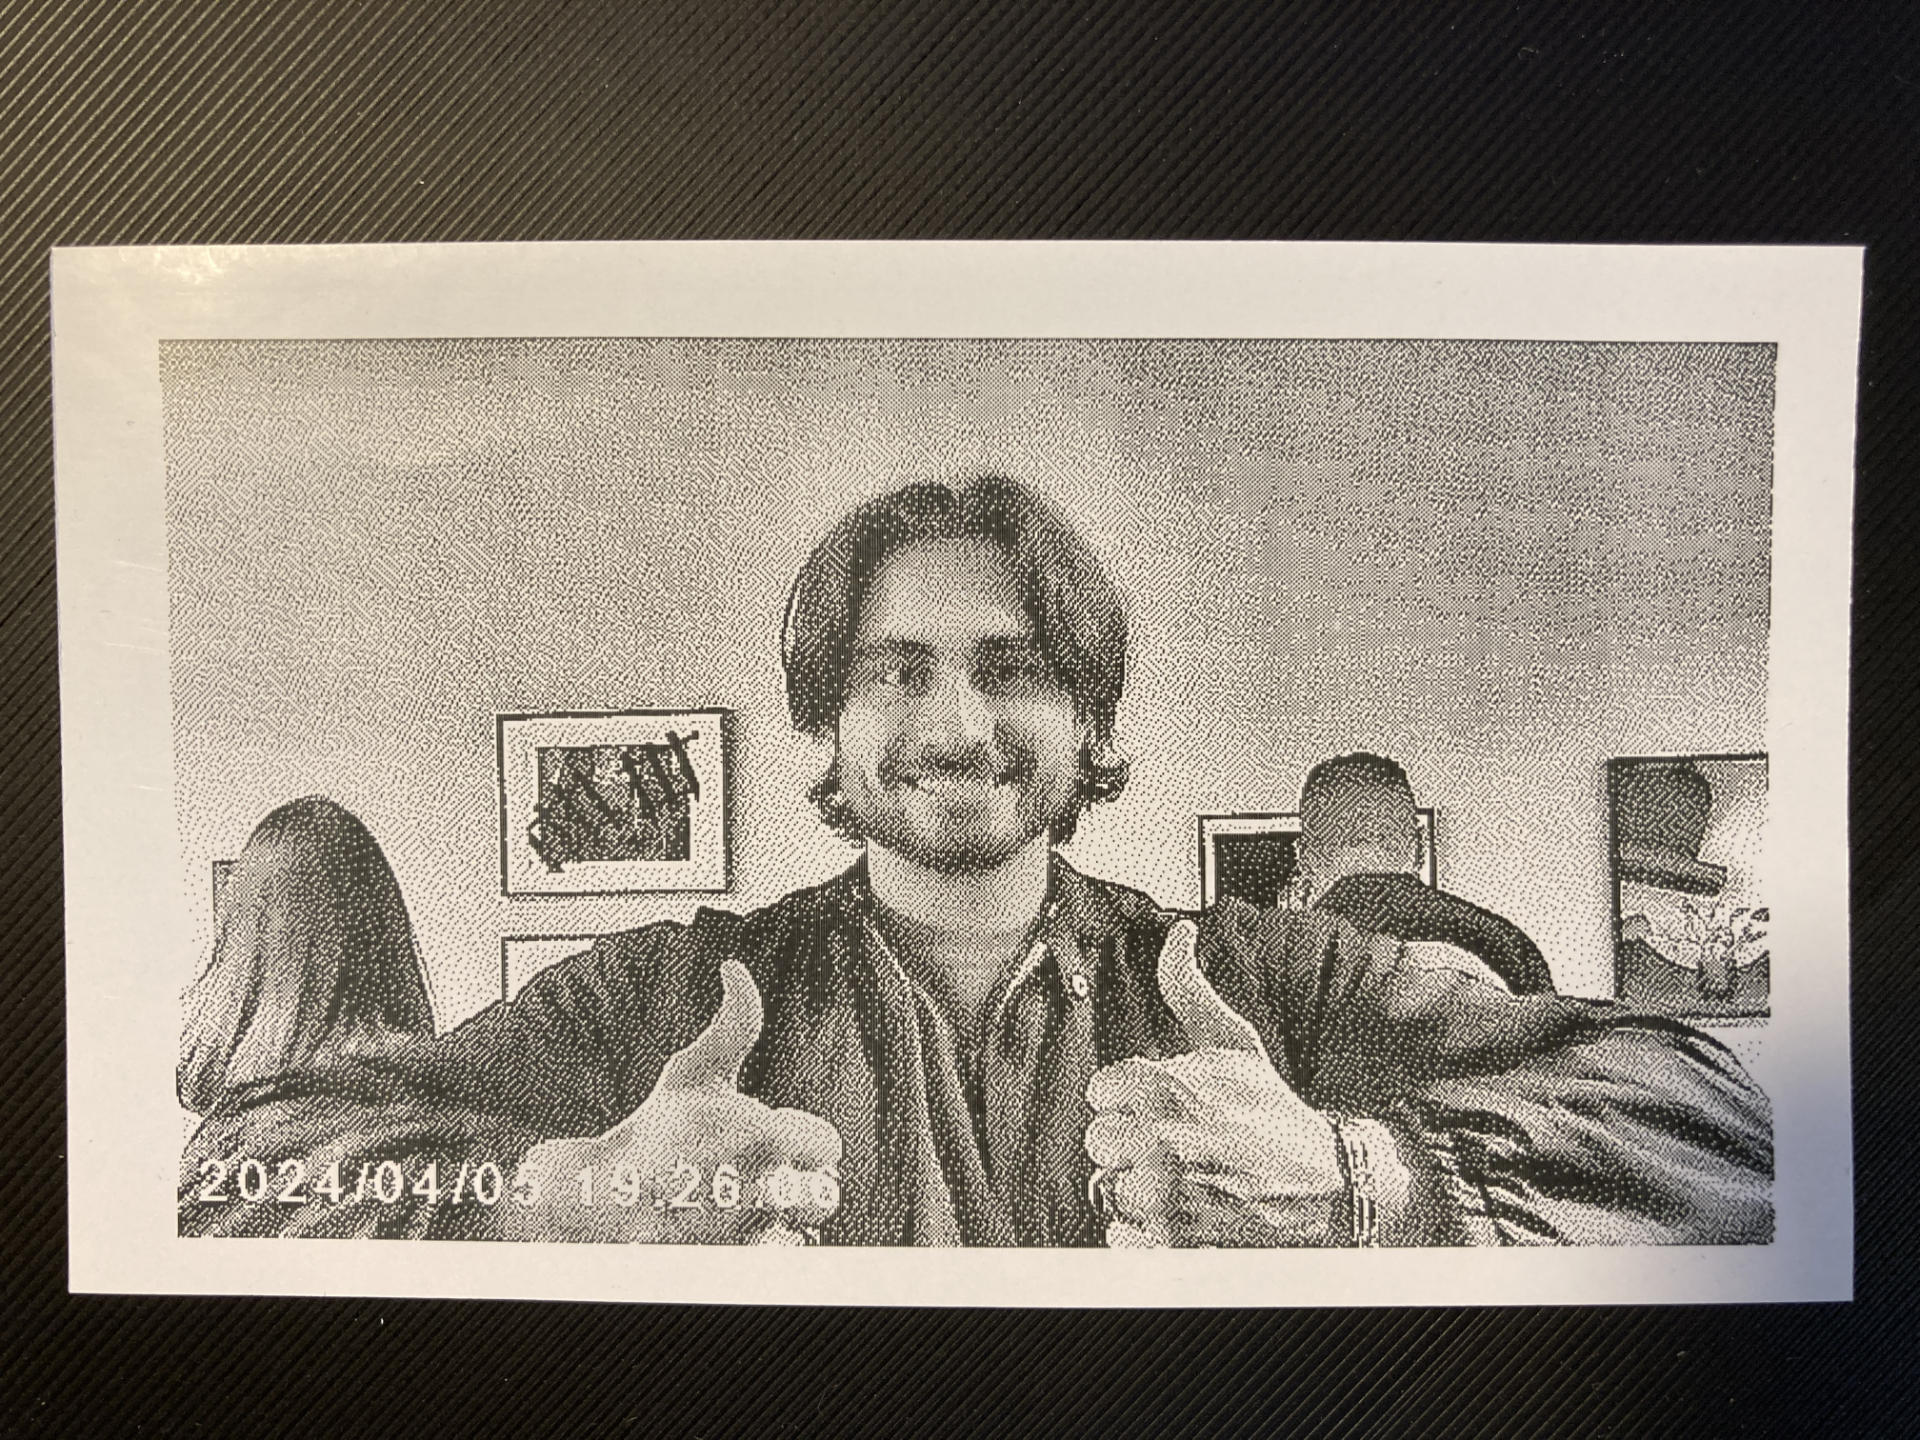
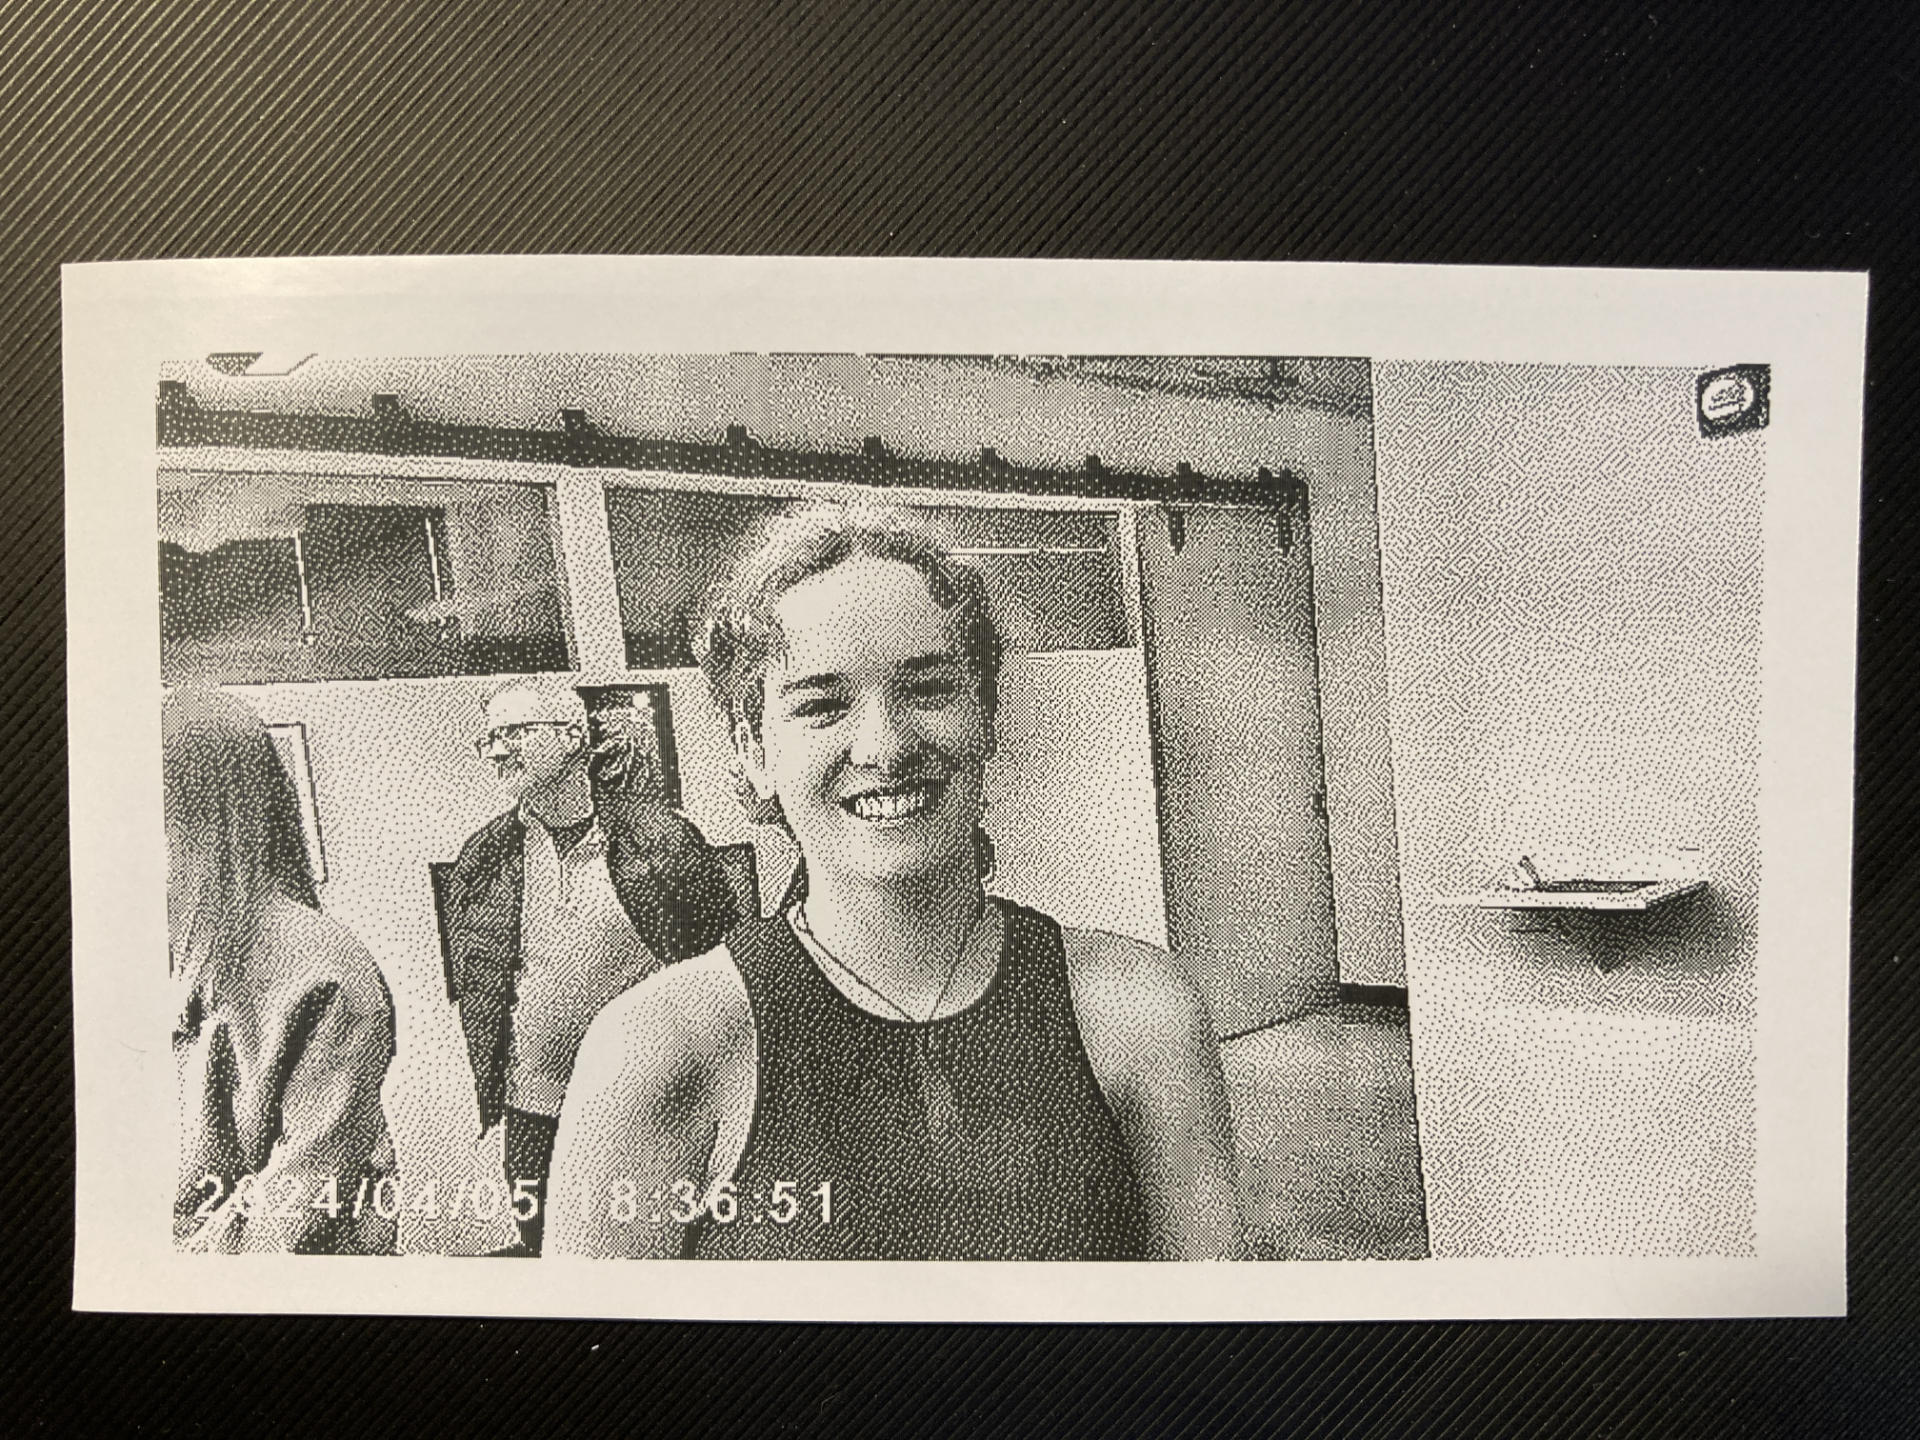
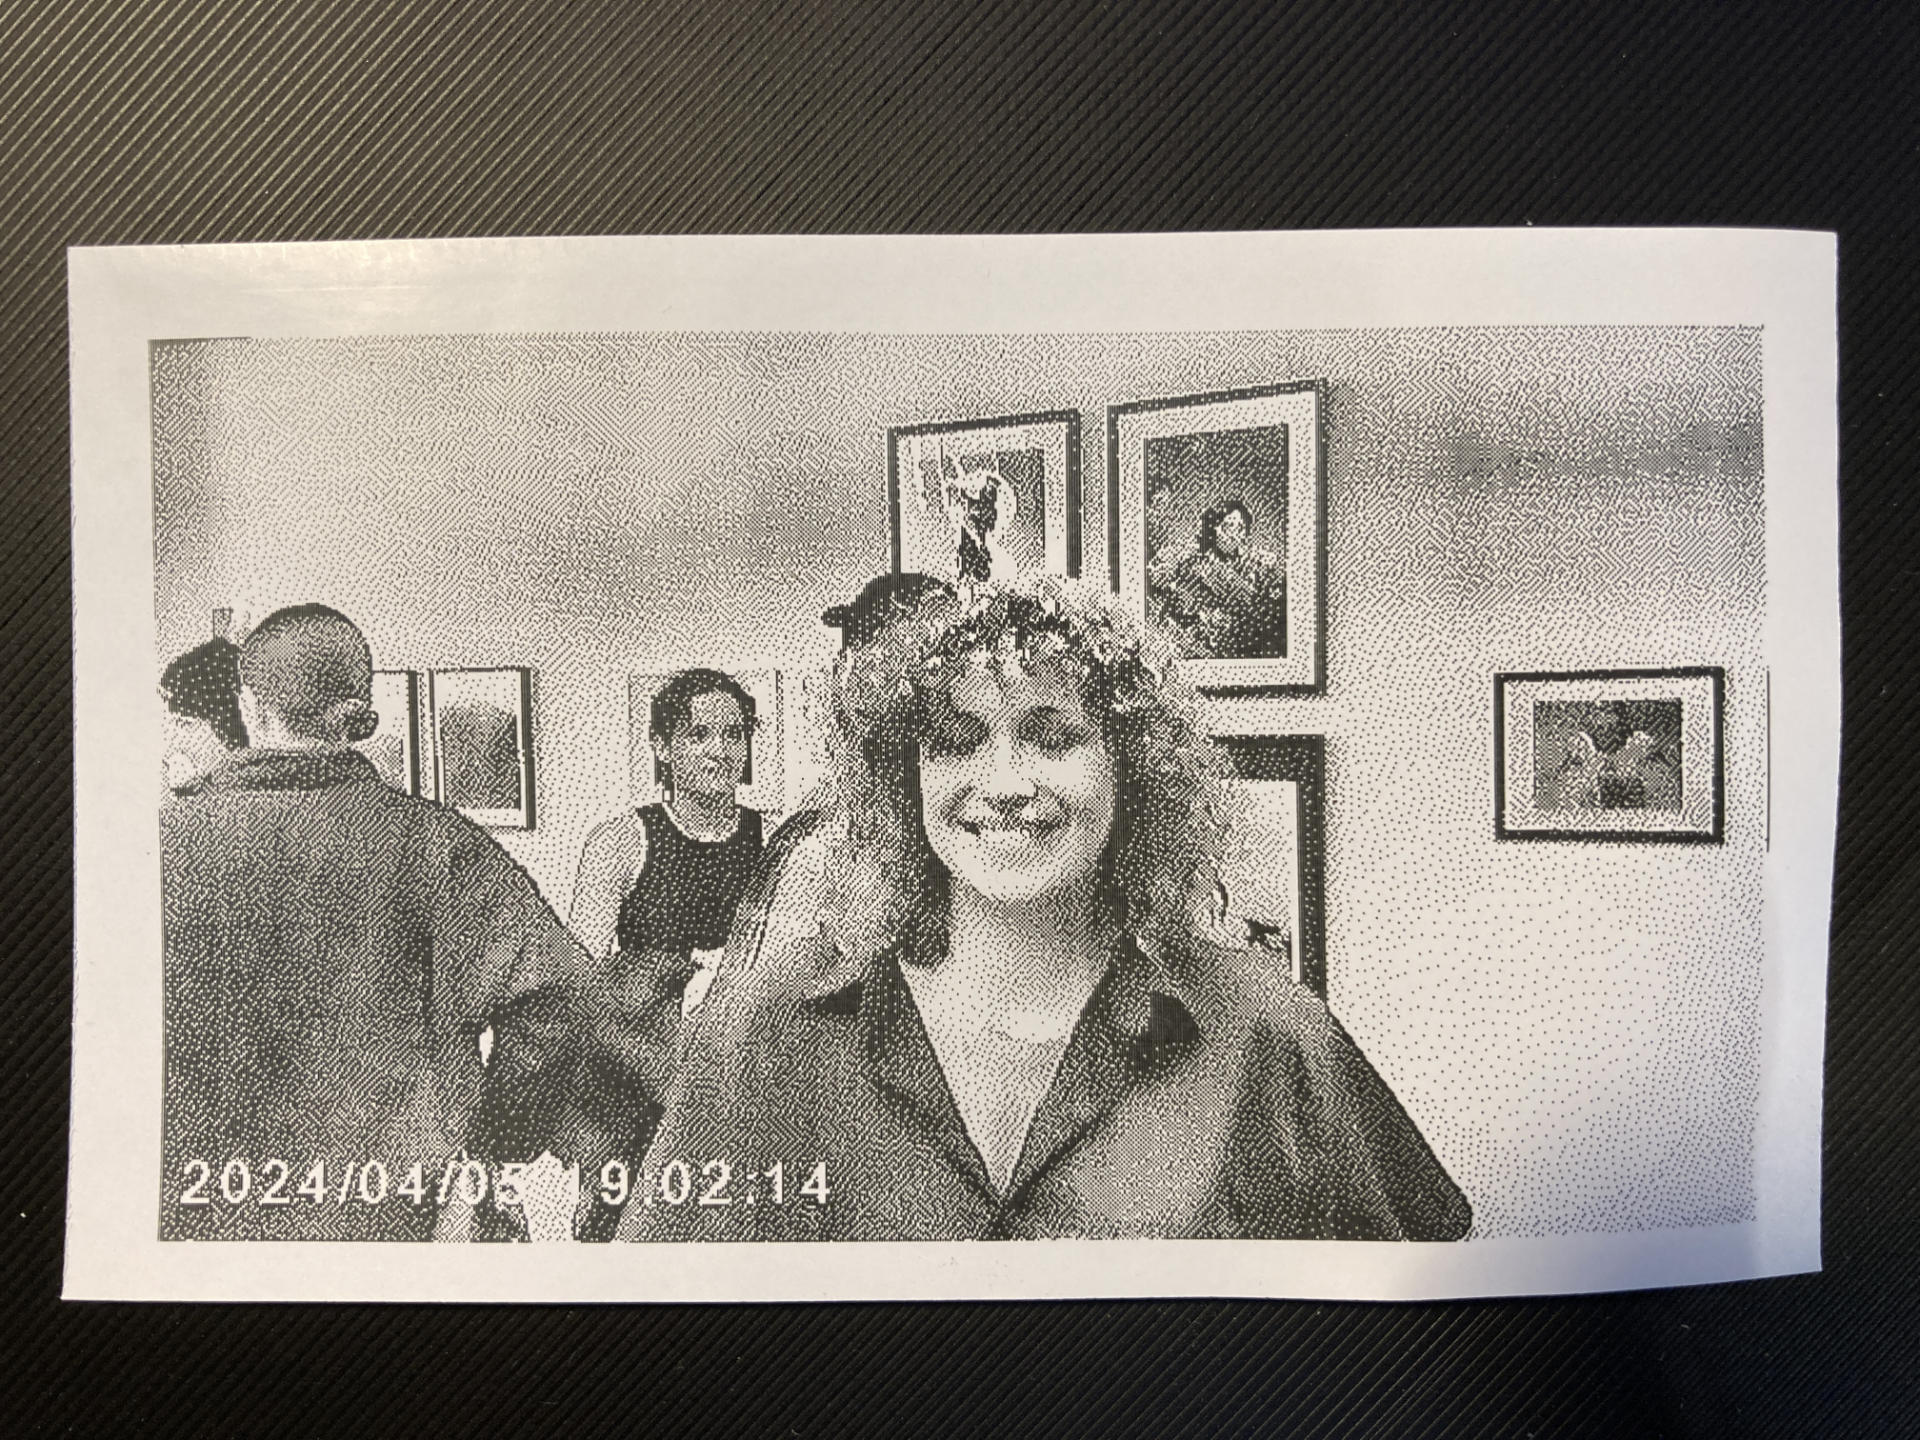
Oh! And as you can see from the photo above you can do some silly/fun/neat stuff with a 360 degree camera. Sidenote: Did you know I used to do 360/Panoramic photography? Back in 2010 I did it for work, and built my own head. (See a Photo Album of Panoramas!). So this is not totally new. I mean, the video part is, but hey, it’s been 16 years.
So far there is a lot to like about this camera, but this is First Impressions and I don’t want to overload things, so in the next installment I’m going to cover a few more things… some good, some bad.
Note: This post may contain Affiliate Links. Read More.