
Hapto has been working on a project using cut up bits of orange traffic cones to do relief prints, and asked if she could try using my Provisional Press to see if it would work well as an alternative to hand burnishing prints. So I packed up the press and took it to Milwaukee Makerspace (Norwich Edition) to give it a try.
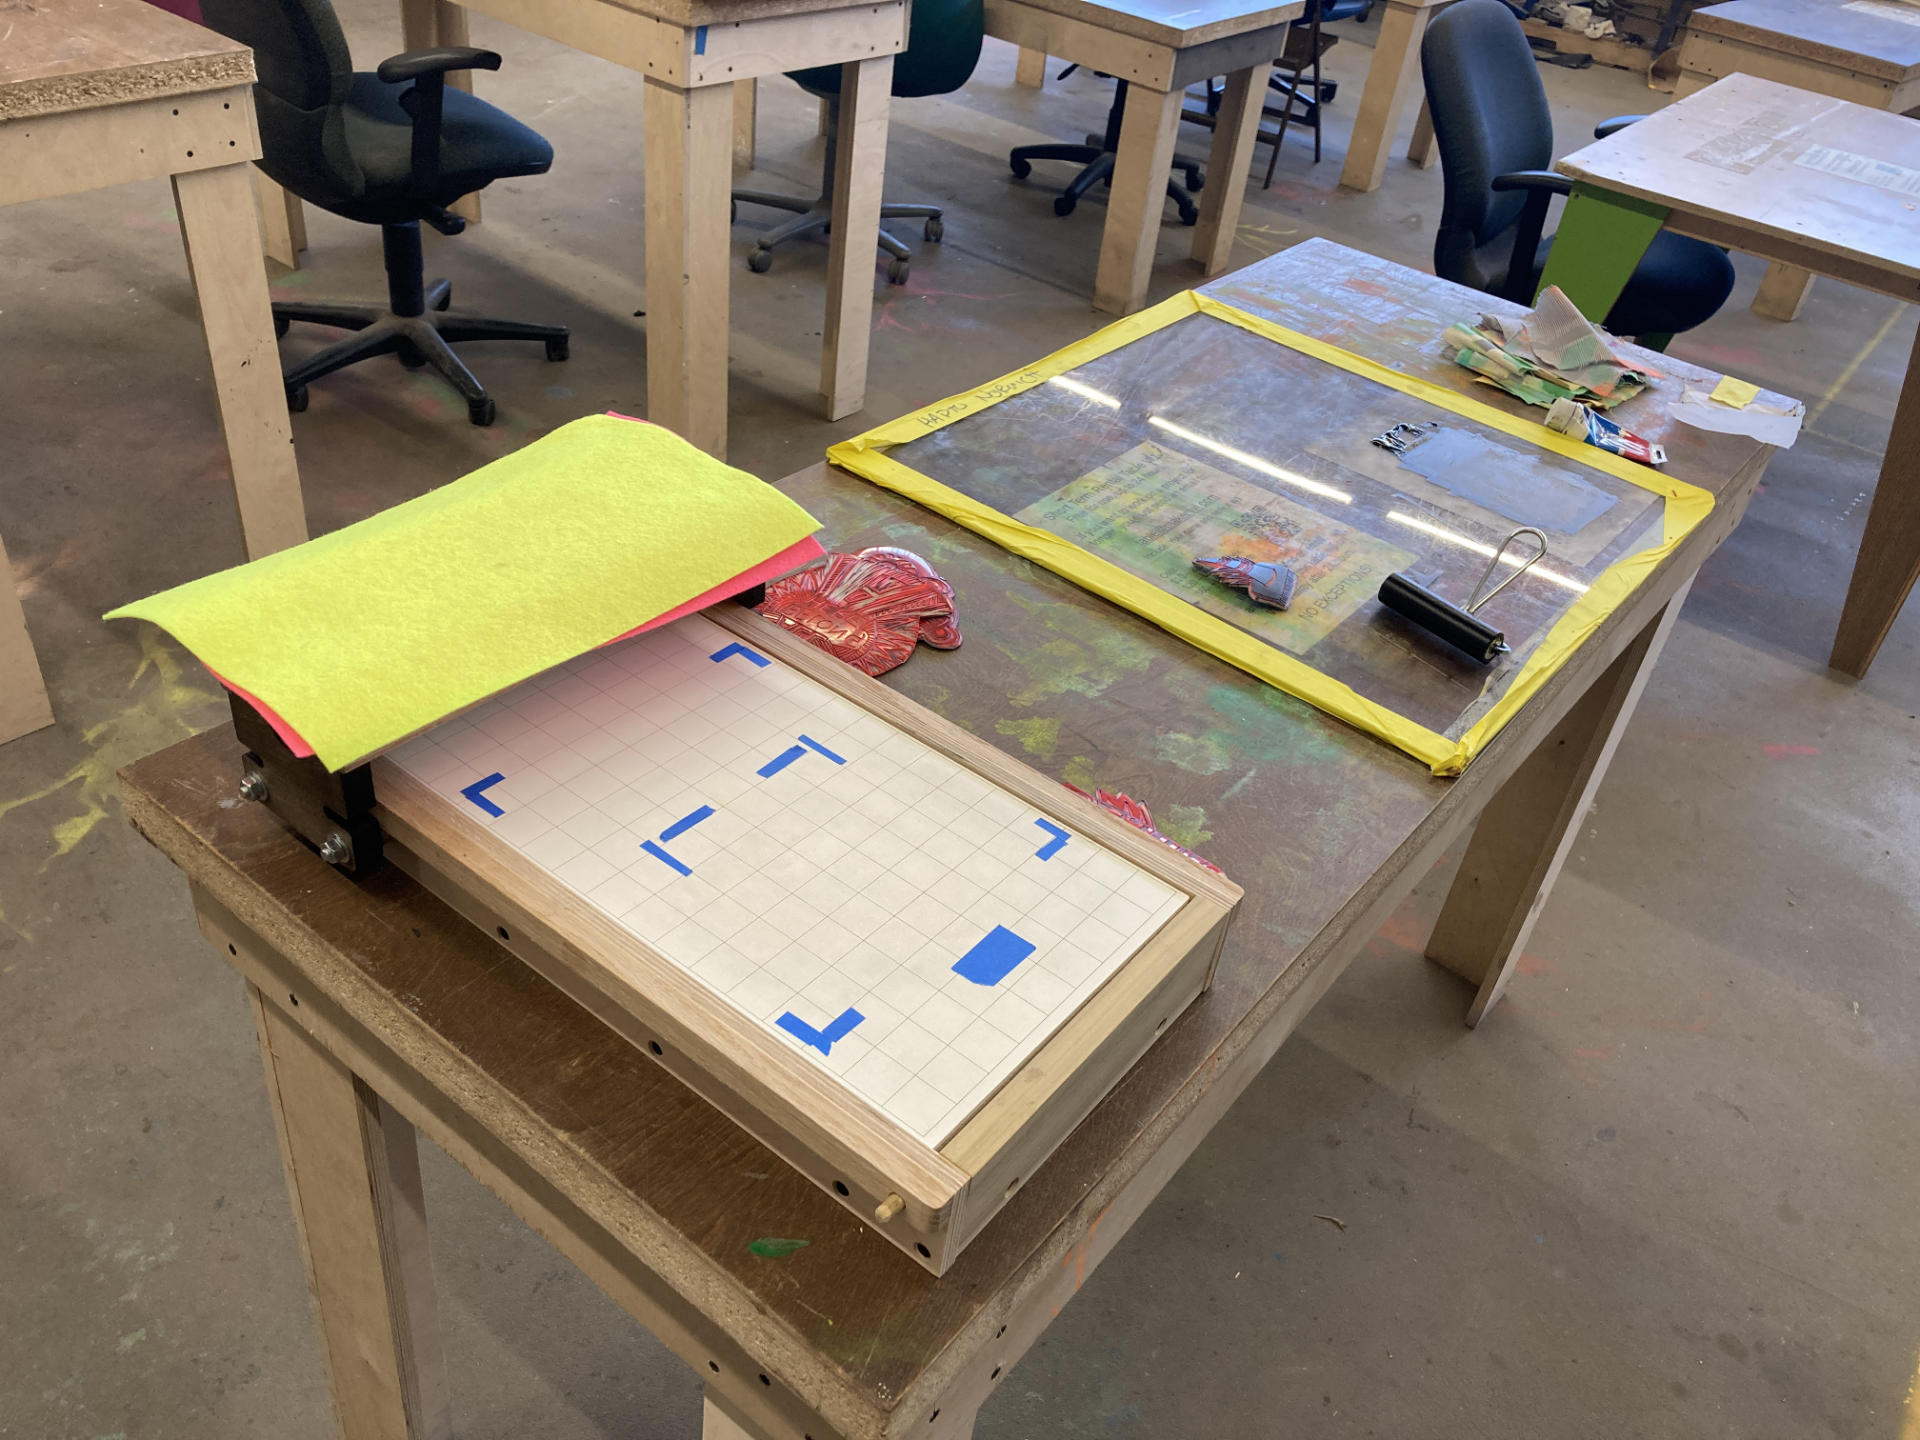
Hapto did all of the printing, and I just watched, after giving a quick lowdown on the press and how it works compared to a more “normal” press with adjustable knobs and a moving bed and all of that.
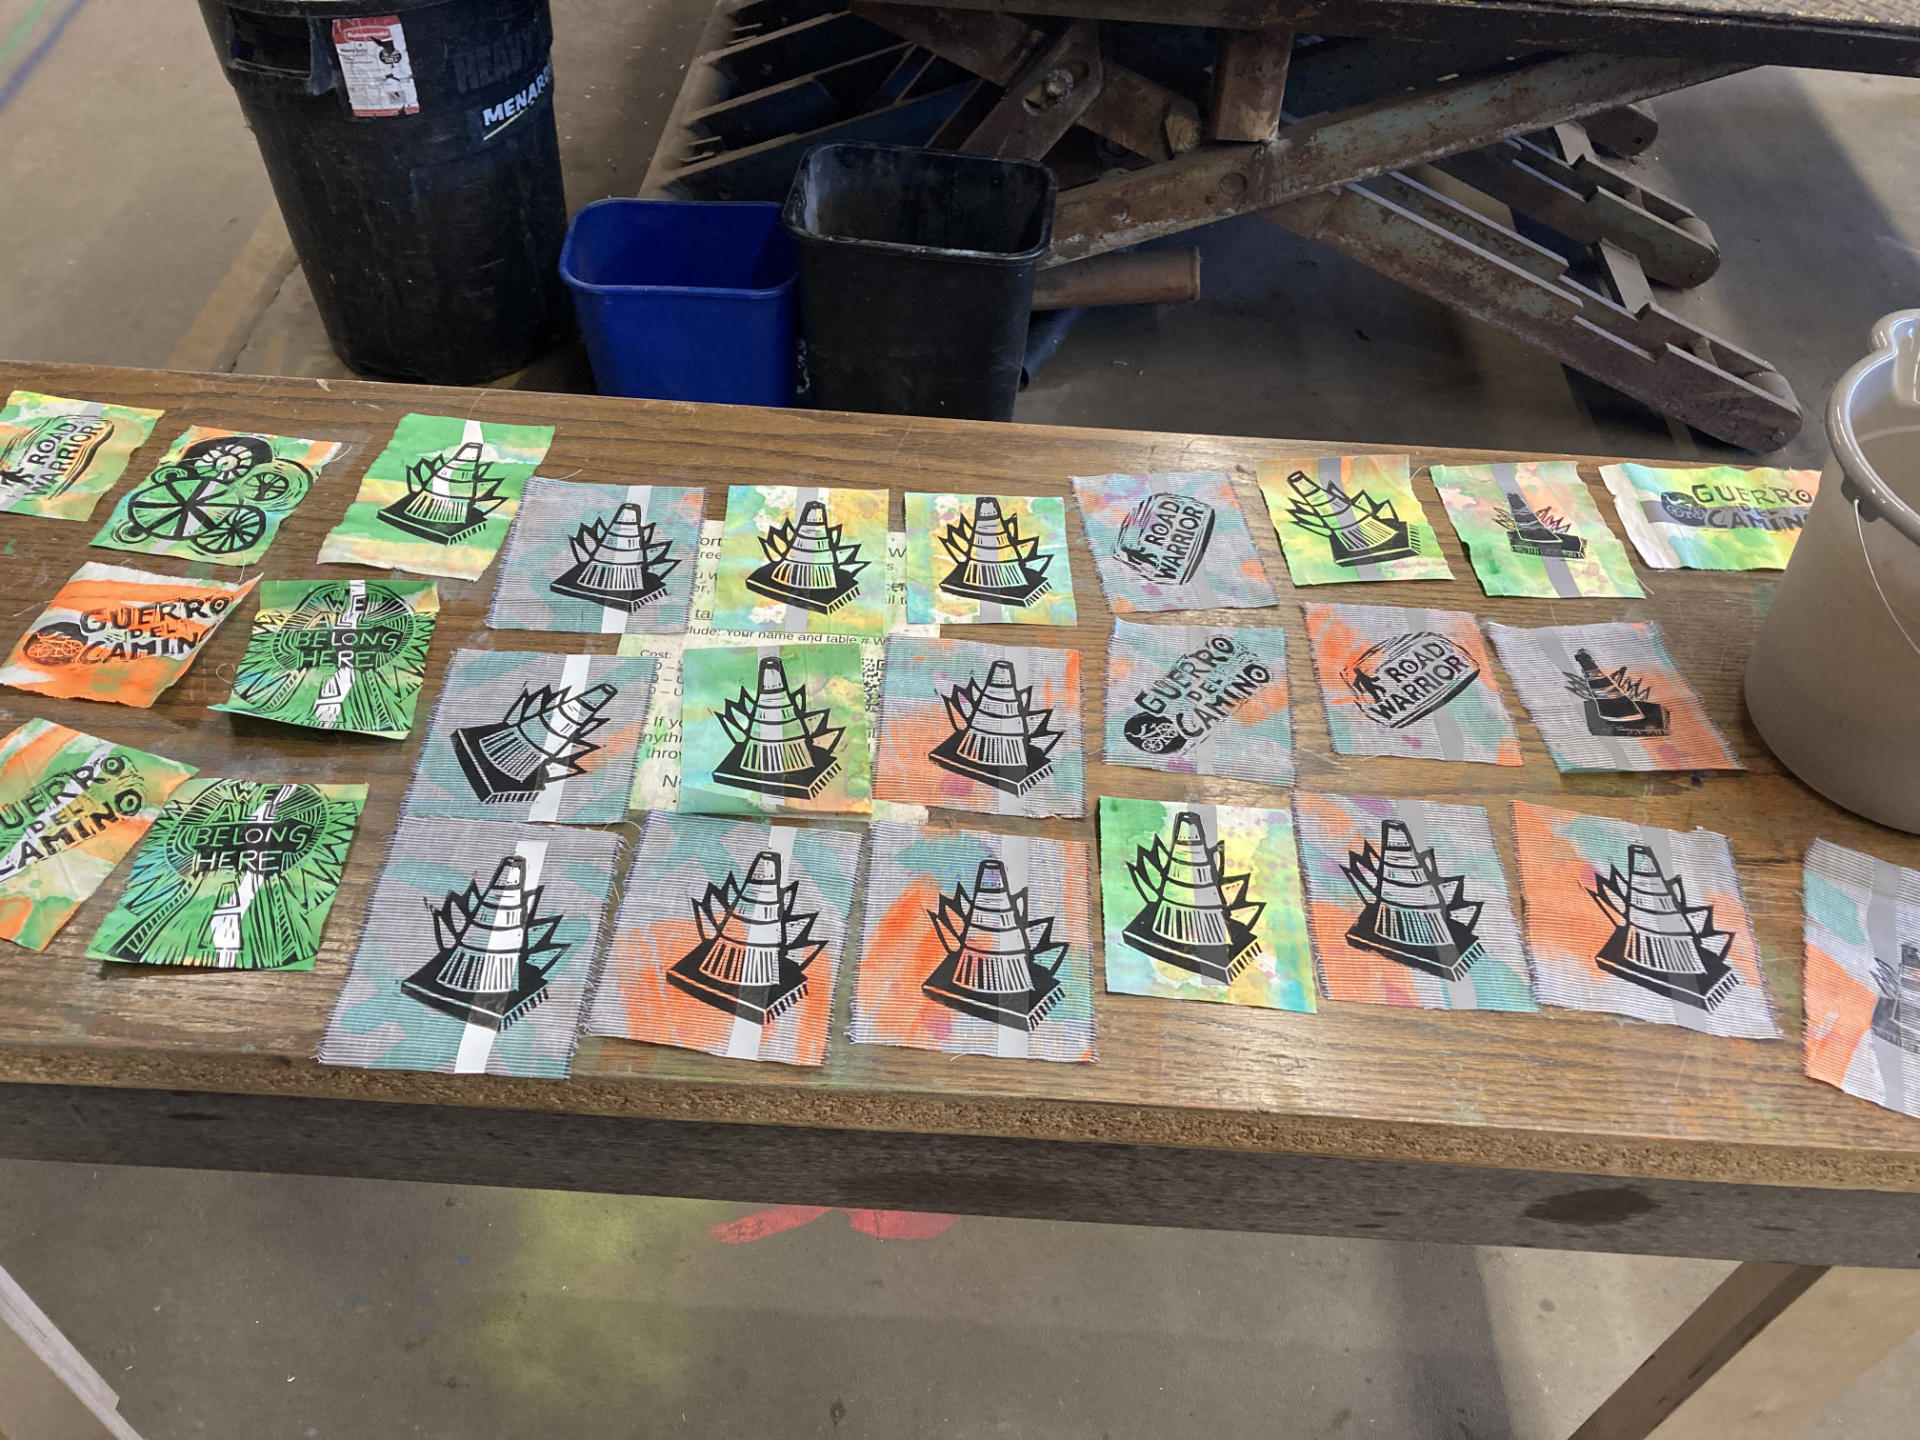
She made a whole bunch of prints! And the verdict was that the Provisional Press would probably work quite well for her printing needs. Note that she printed on fabric that had retro-reflective material on it and had been treated with various paints to get the crazy color. She also used fabric block printing ink. The last time I did relief print patches I just used regular water based ink because it was all I had.
The nice thing about working with another artist is that you can teach and learn at the same time. I picked up a few techniques for printing, and I told her about how vegetable glycerine can help slow the drying of water based inks…
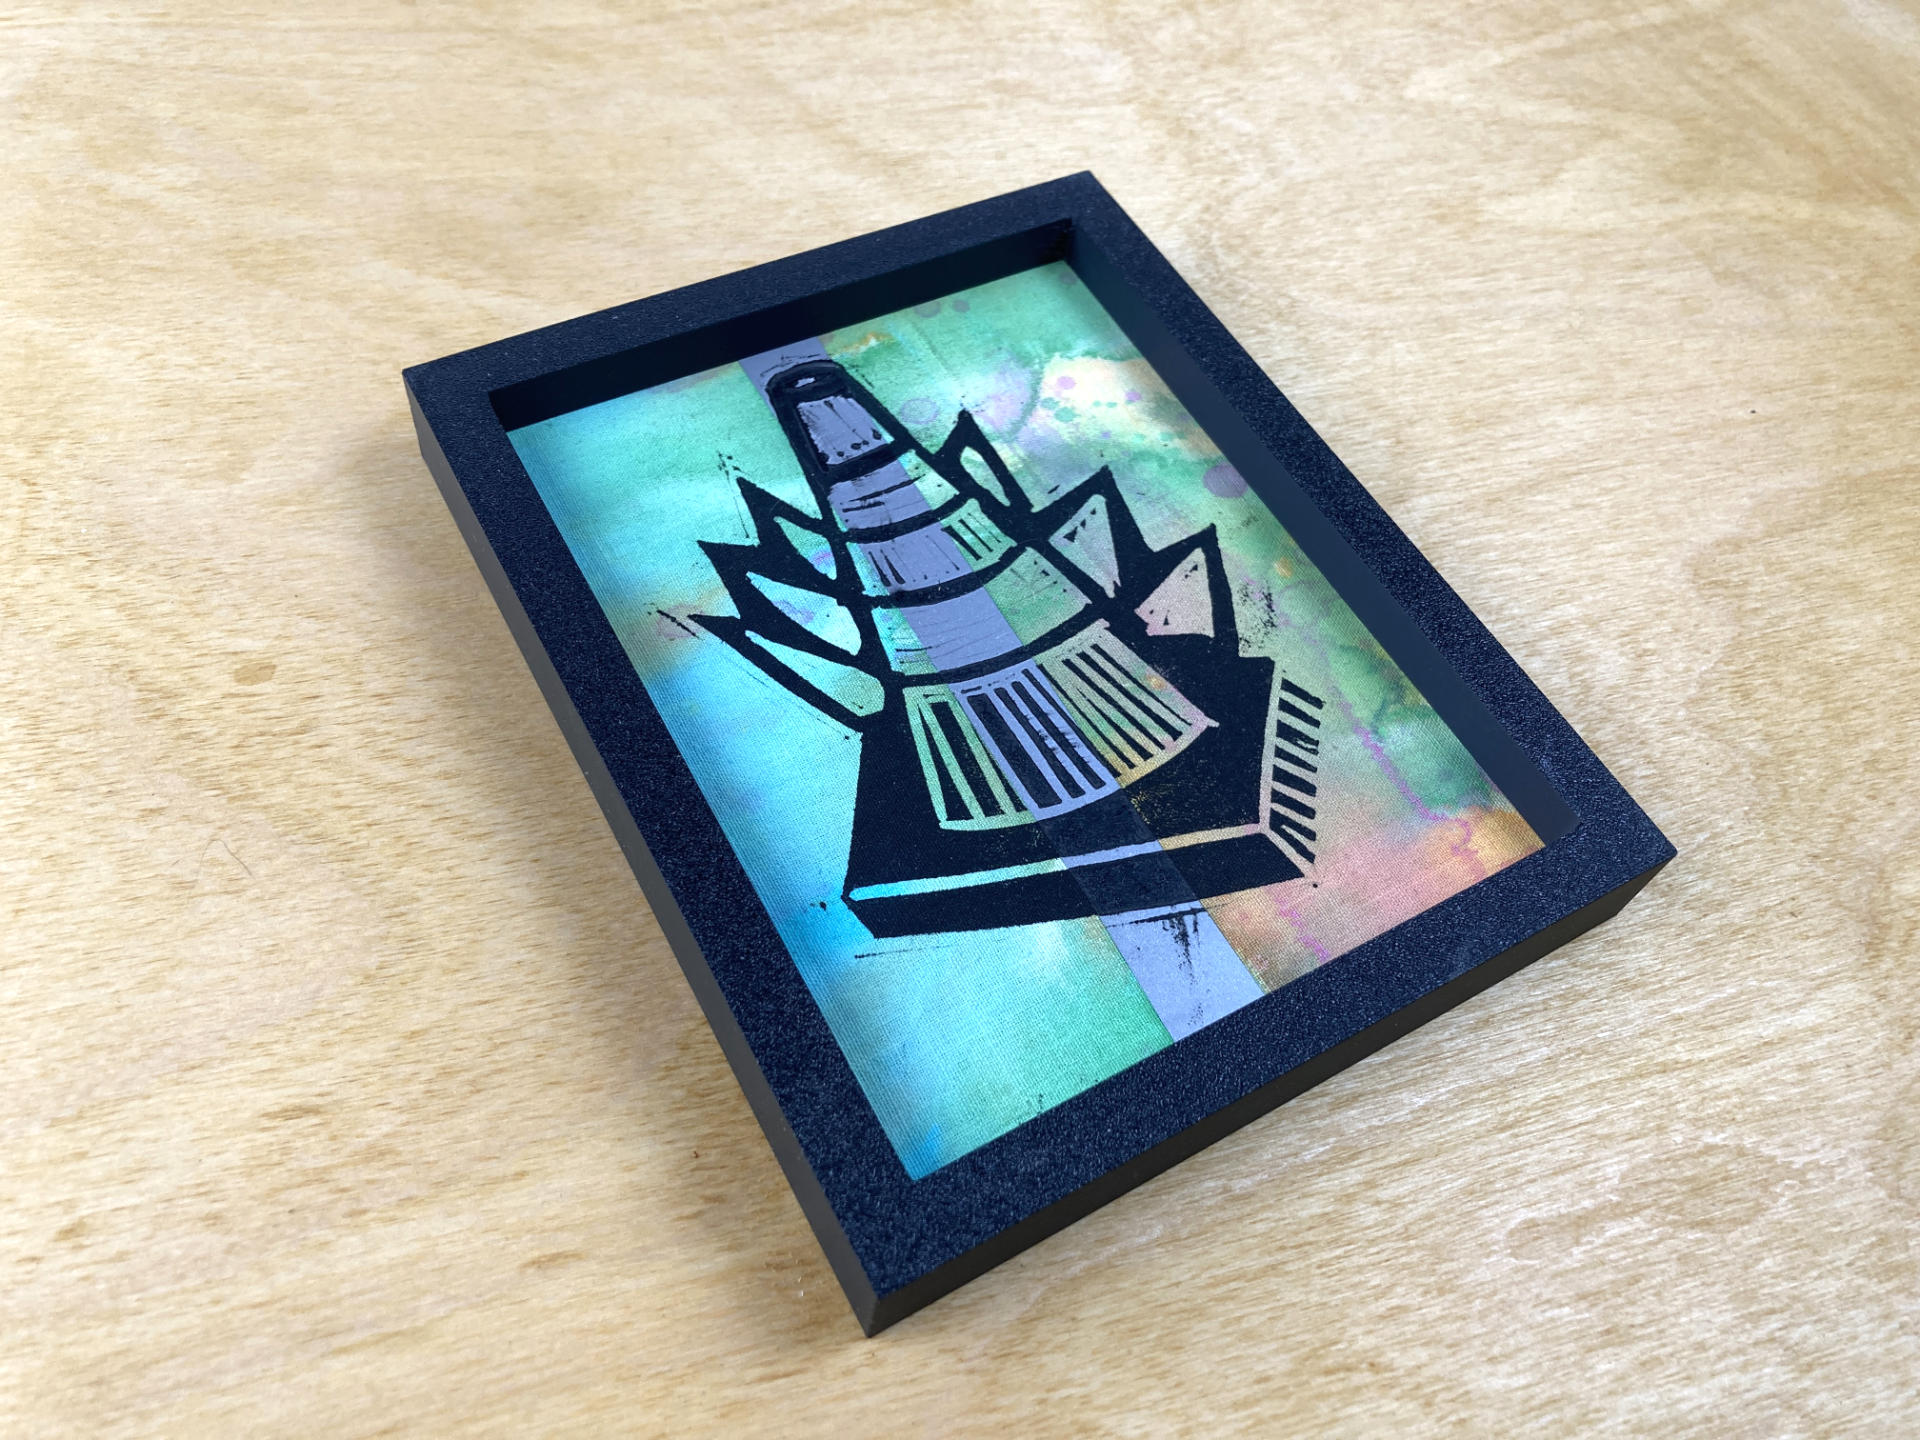
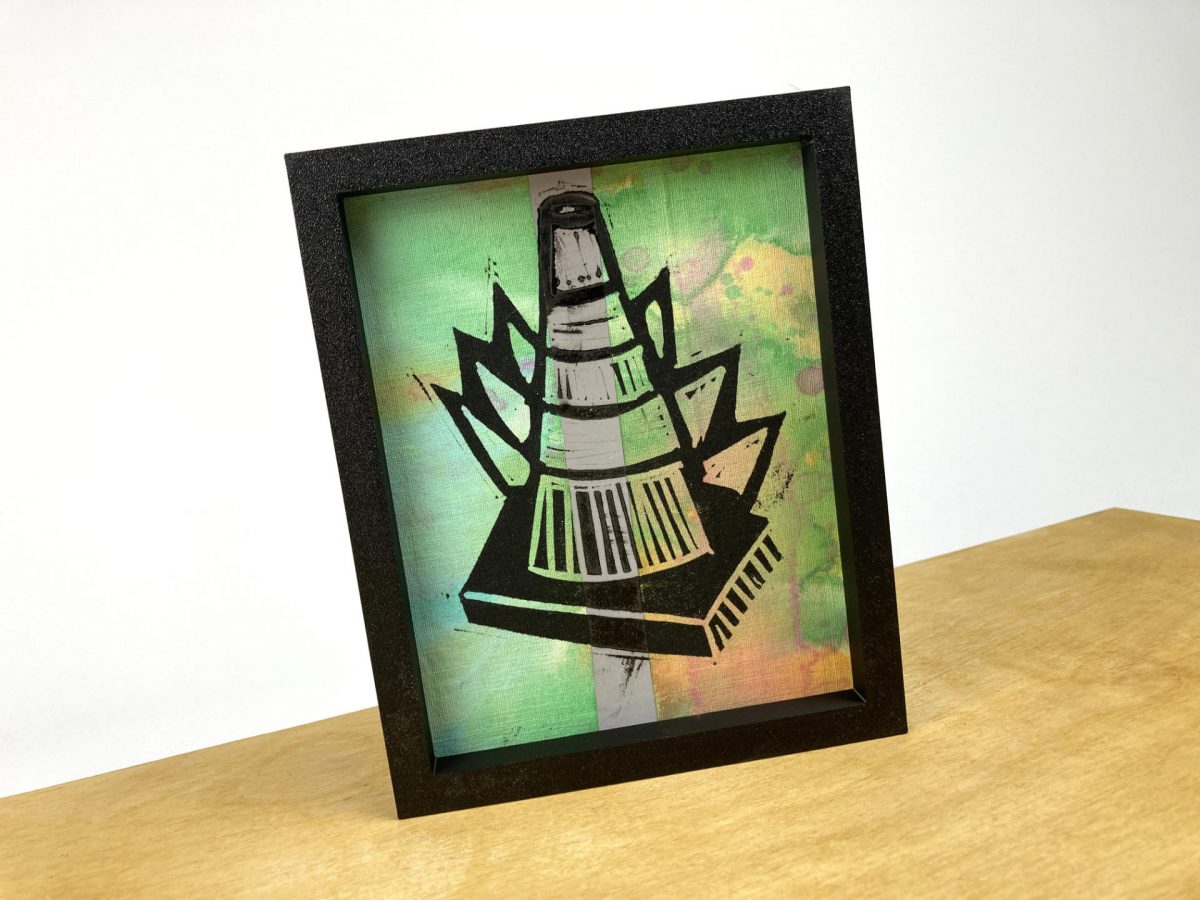
I got to take a print home and I figured I should frame it. Since I’ve been working on an OpenSCAD script to help me create 3D printed frames I thought I would give it a try.
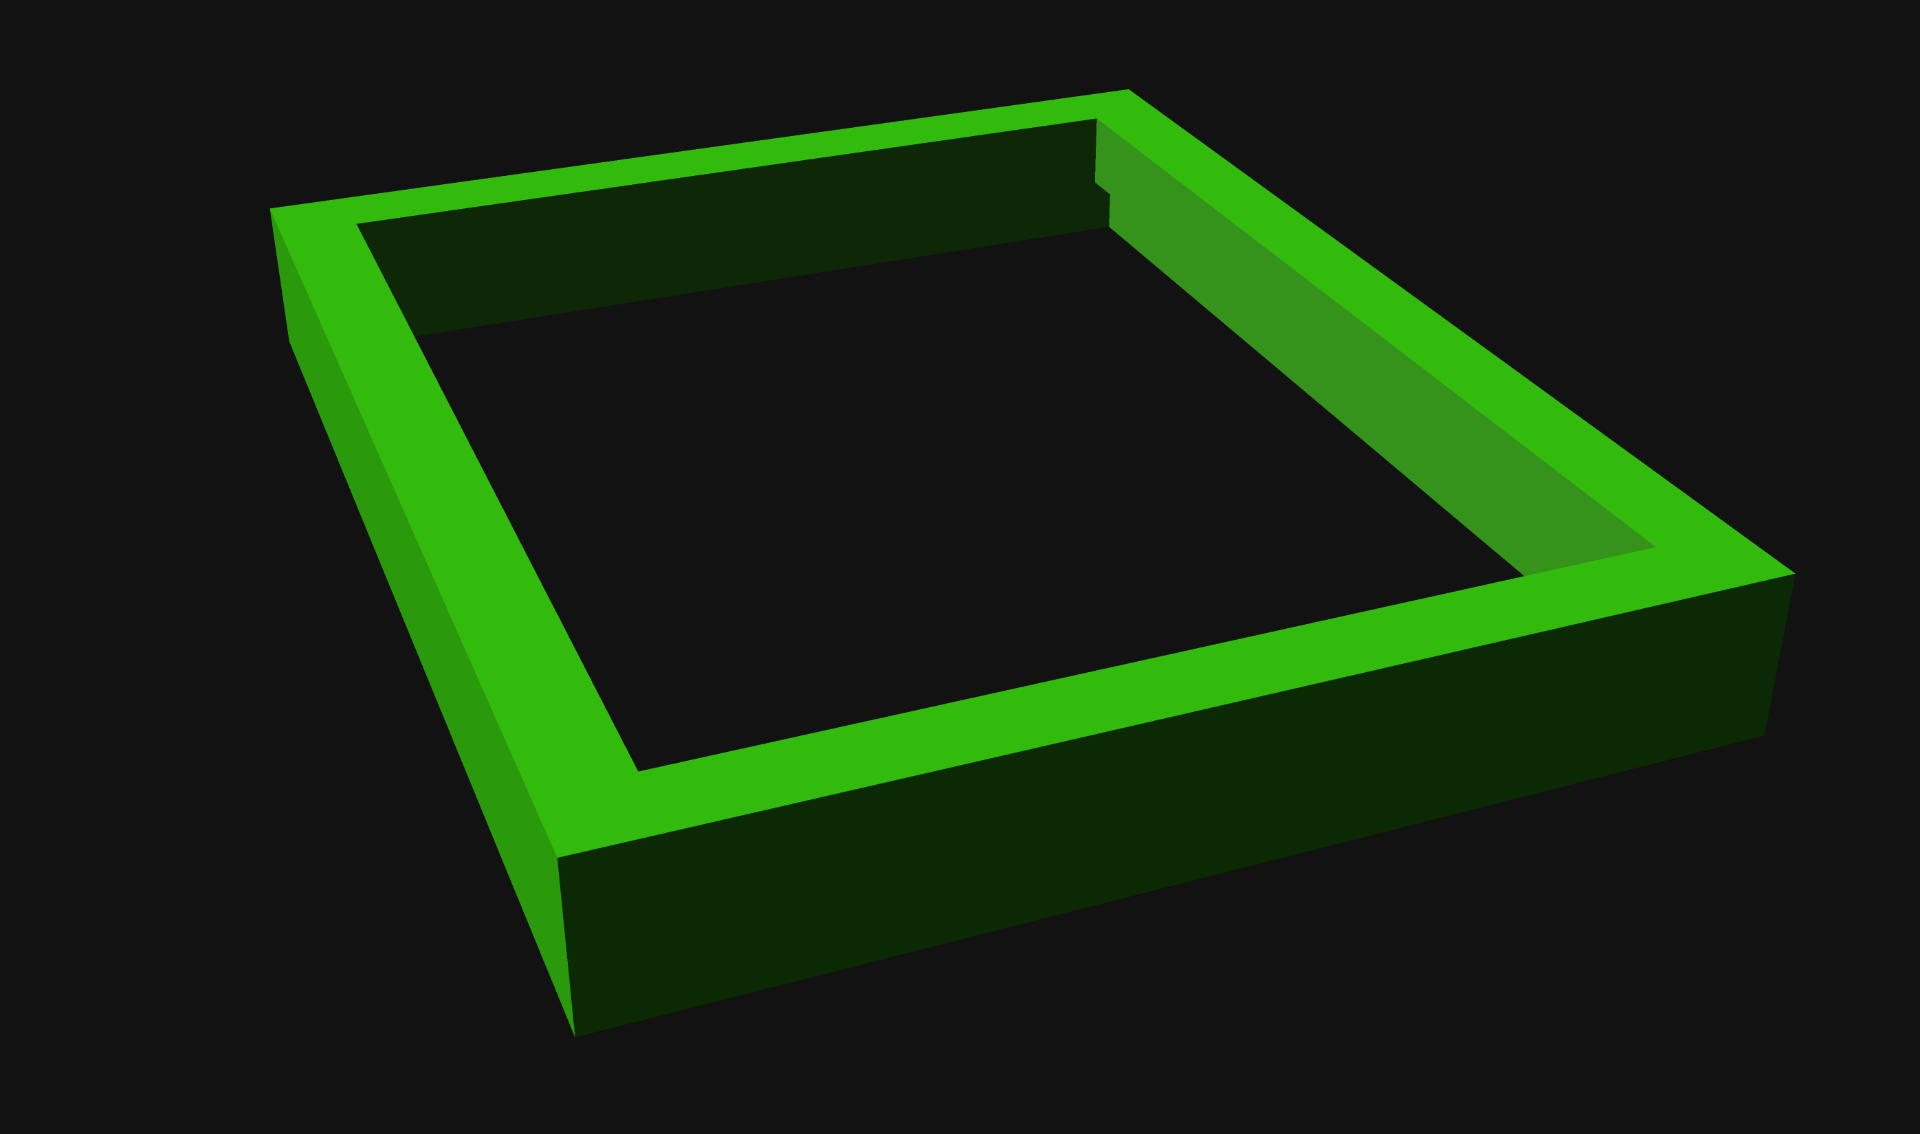
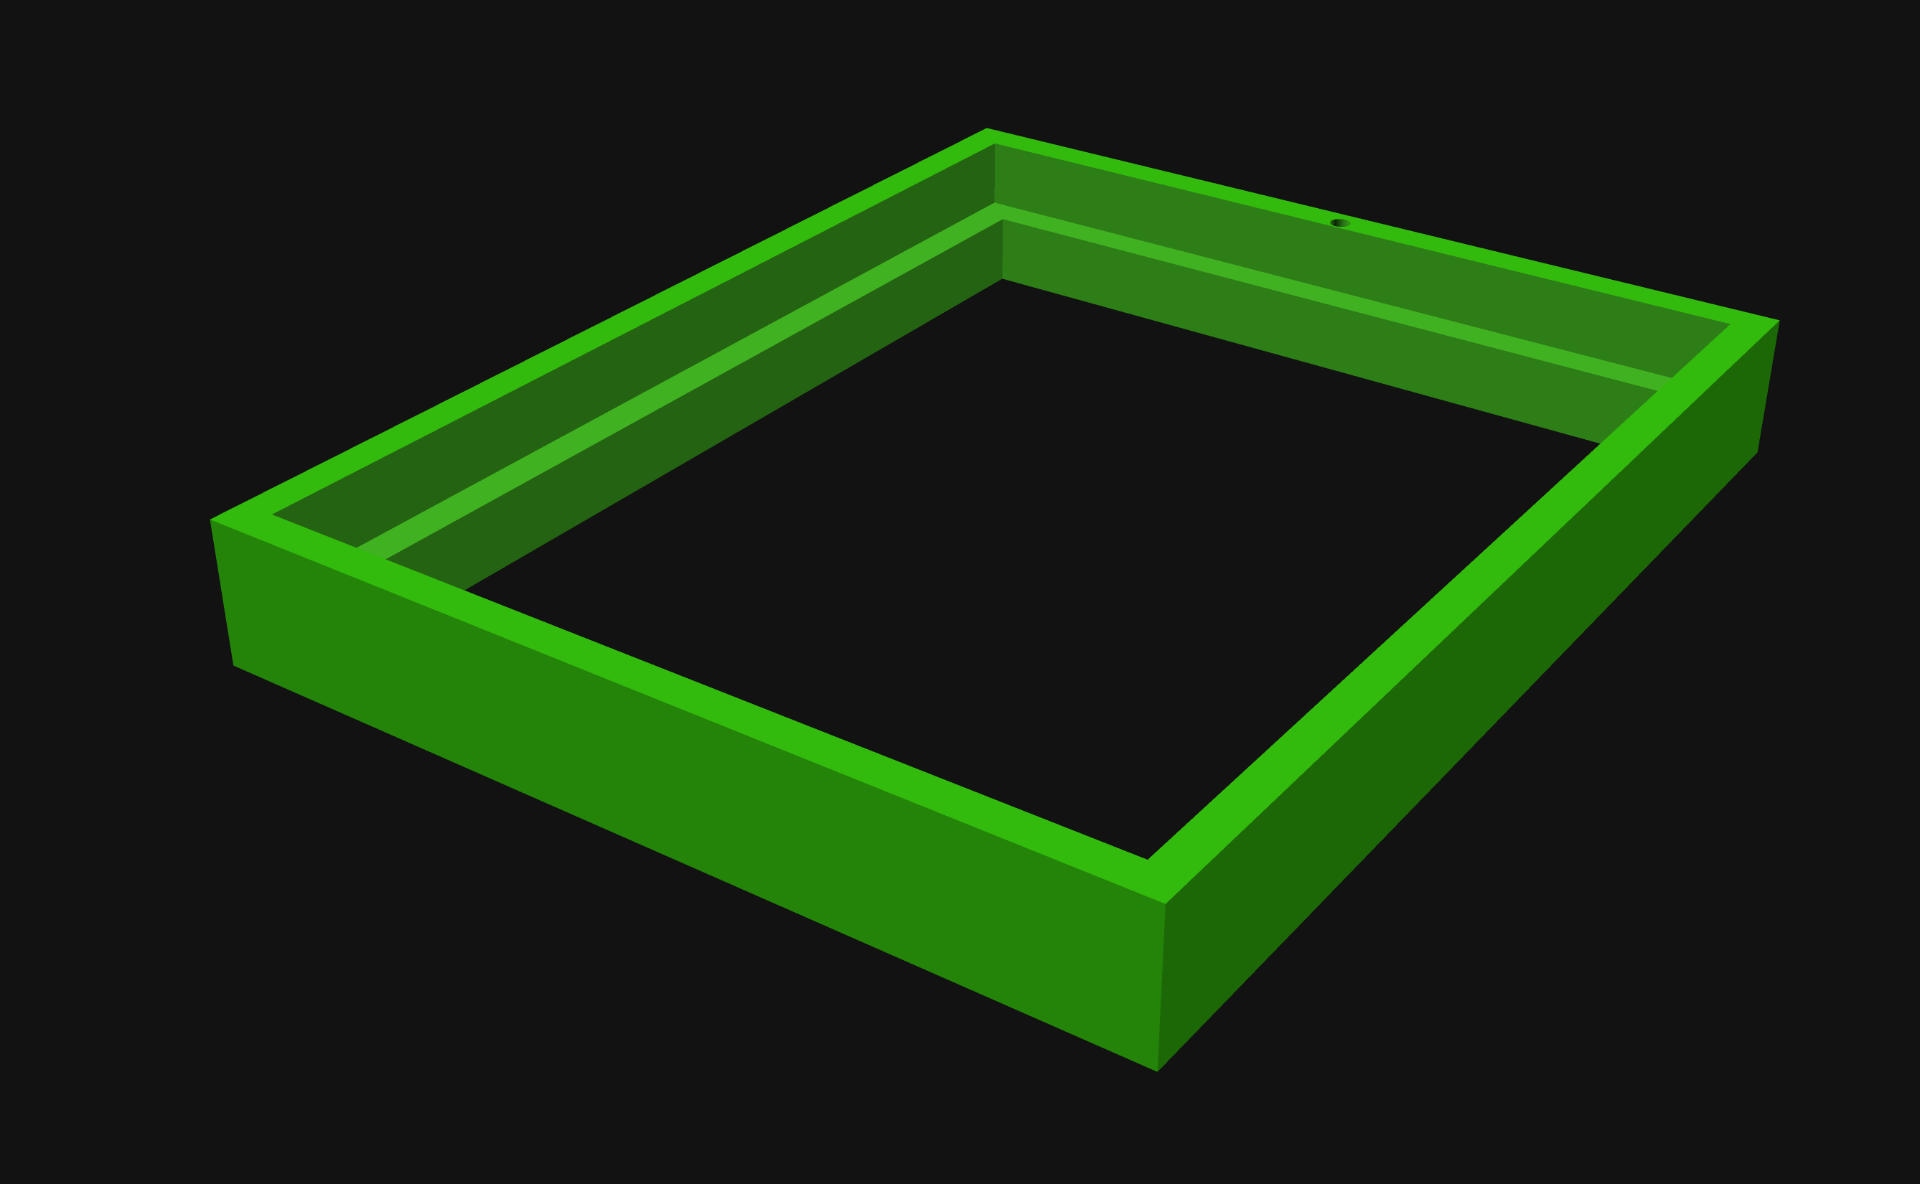
The frame consists of two parts, the frame itself, and the back piece that fits into place.
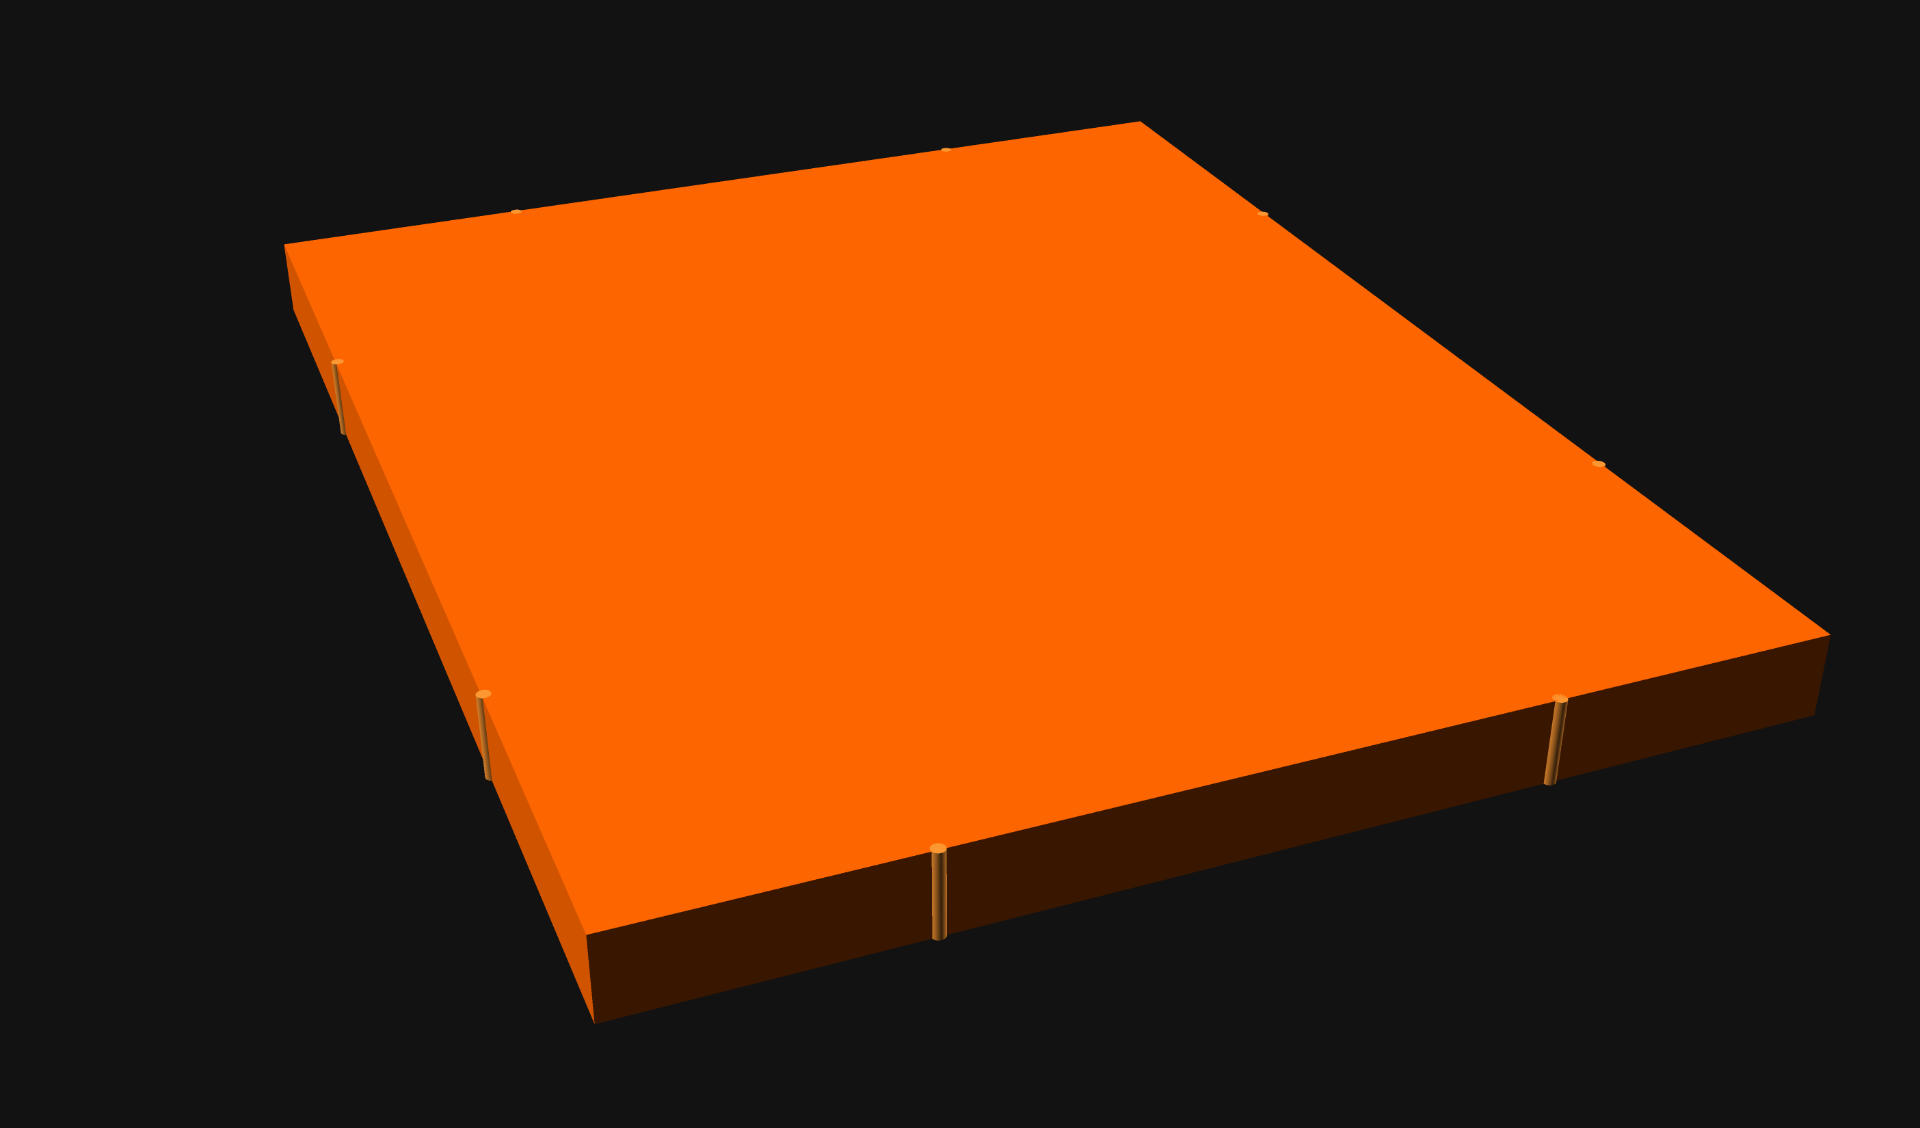
The two images above show the “front” facing parts of the design, and the two images below show the back sides of the pieces. It’s pretty darn simple, and yes… I know there are other 3D printed frames out there, but I (as usual) wanted to design my own… in OpenSCAD… and make it parametric.
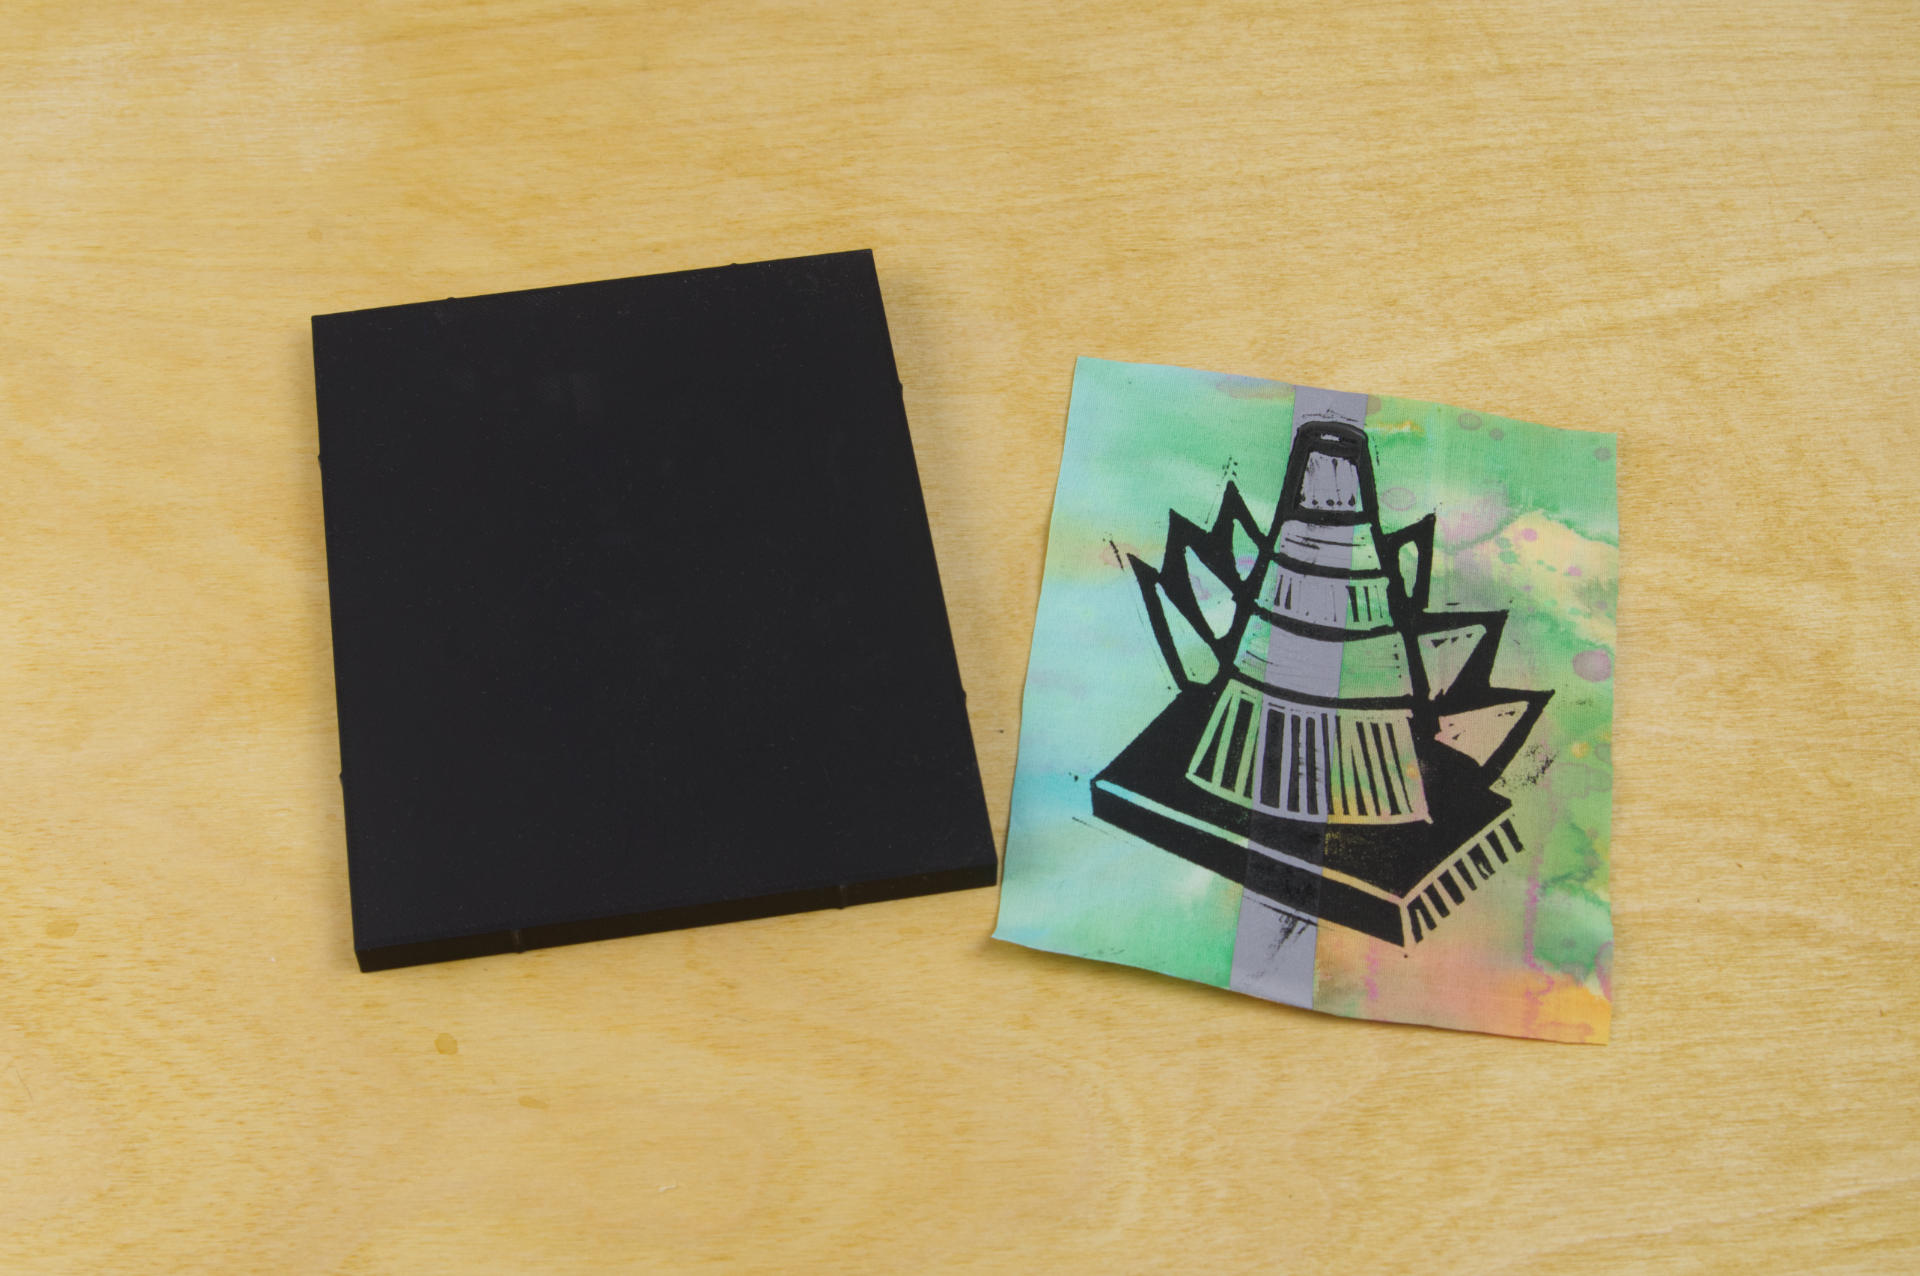
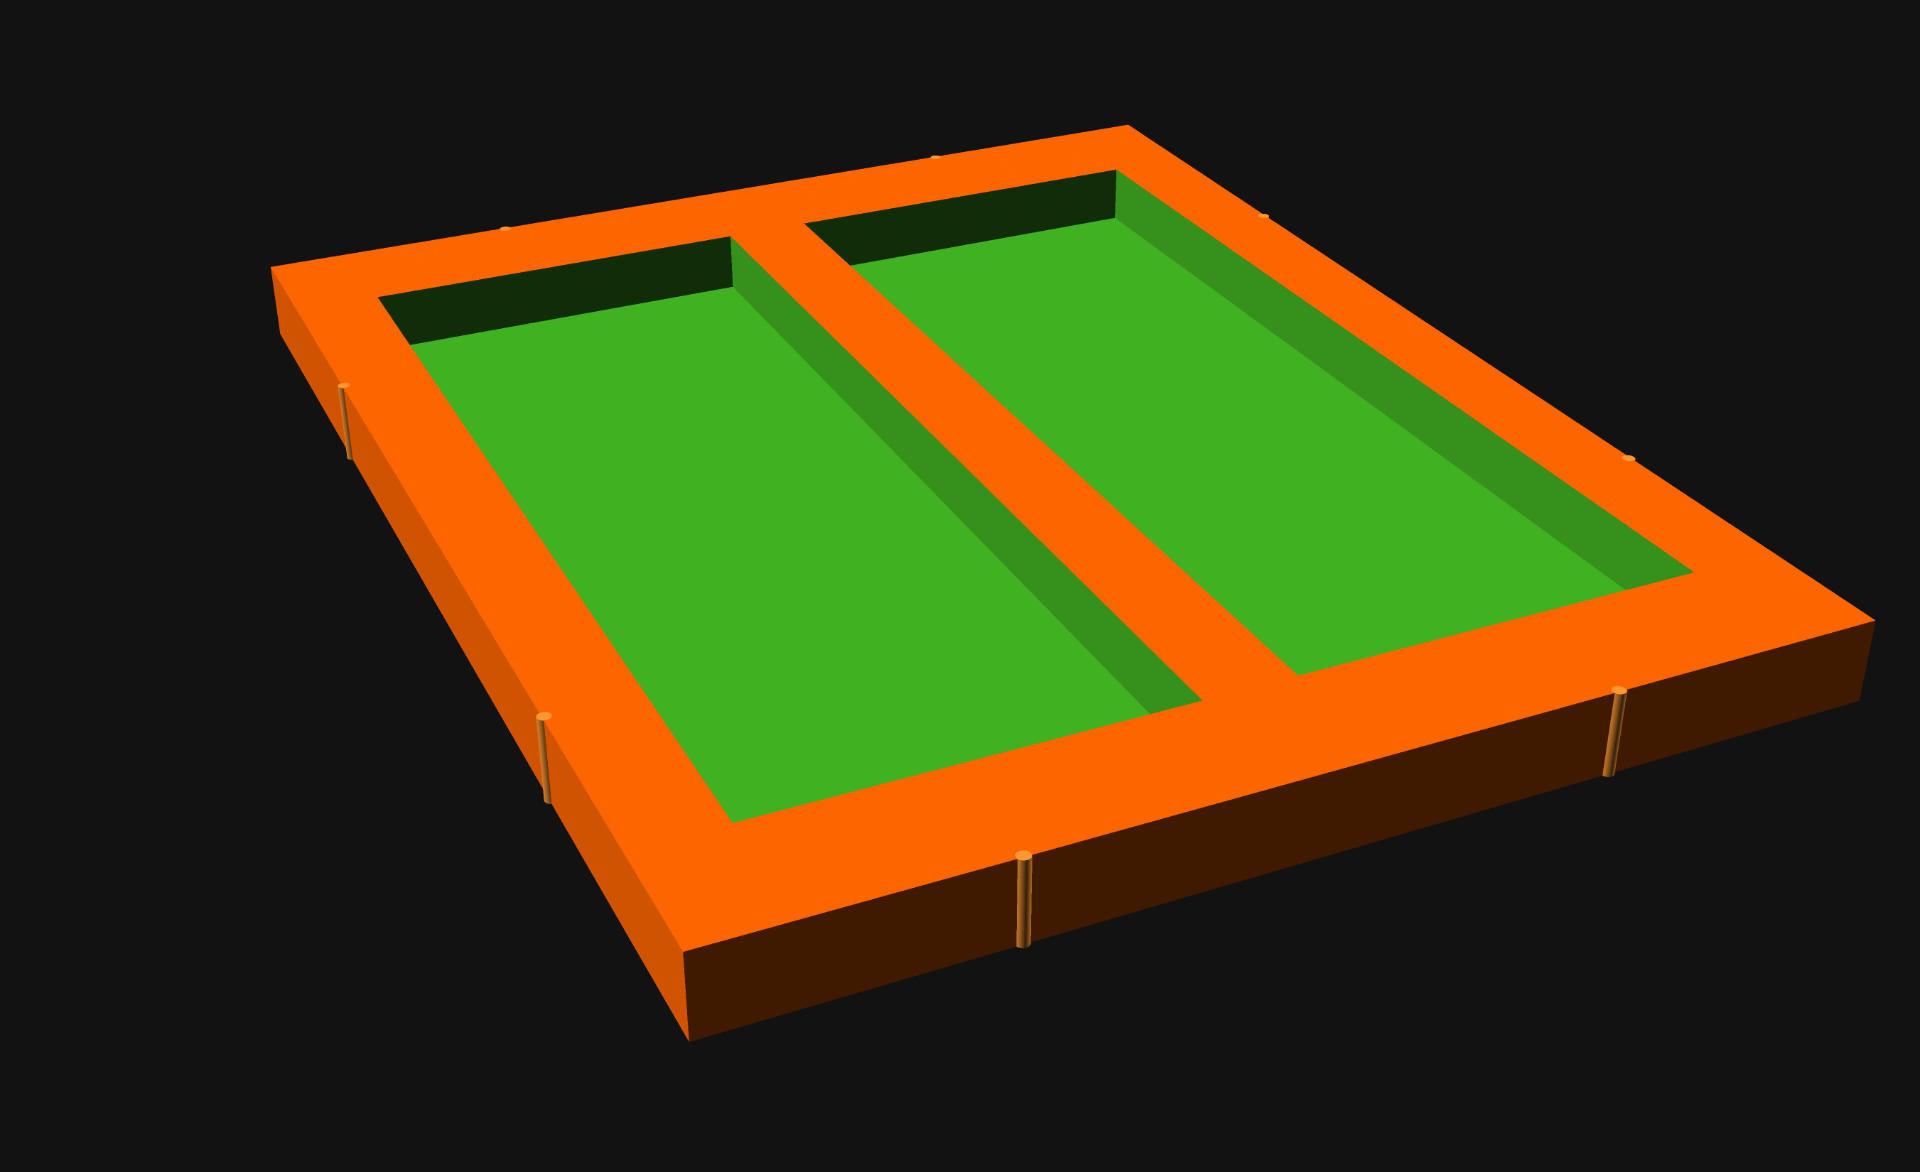
The ridges you see around the inside piece are meant to help create a press-fit so no additional hardware is needed. It’s a good idea to make them a little too large and then sand/shave them down for a perfect fit if you want it removable. Otherwise you can always glue it in place. I’ve also managed to laser cut some clear acrylic that can be placed into the frame before the artwork just like a standard store-bought frame. Without the acrylic I just spray glued the print to the back plate of the frame to hold it in place.
I’m glad Hapto invited me to do an art thing with her, and appreciate the print I received. After framing the piece it is now on the wall of my office right next to a piece of my own art.
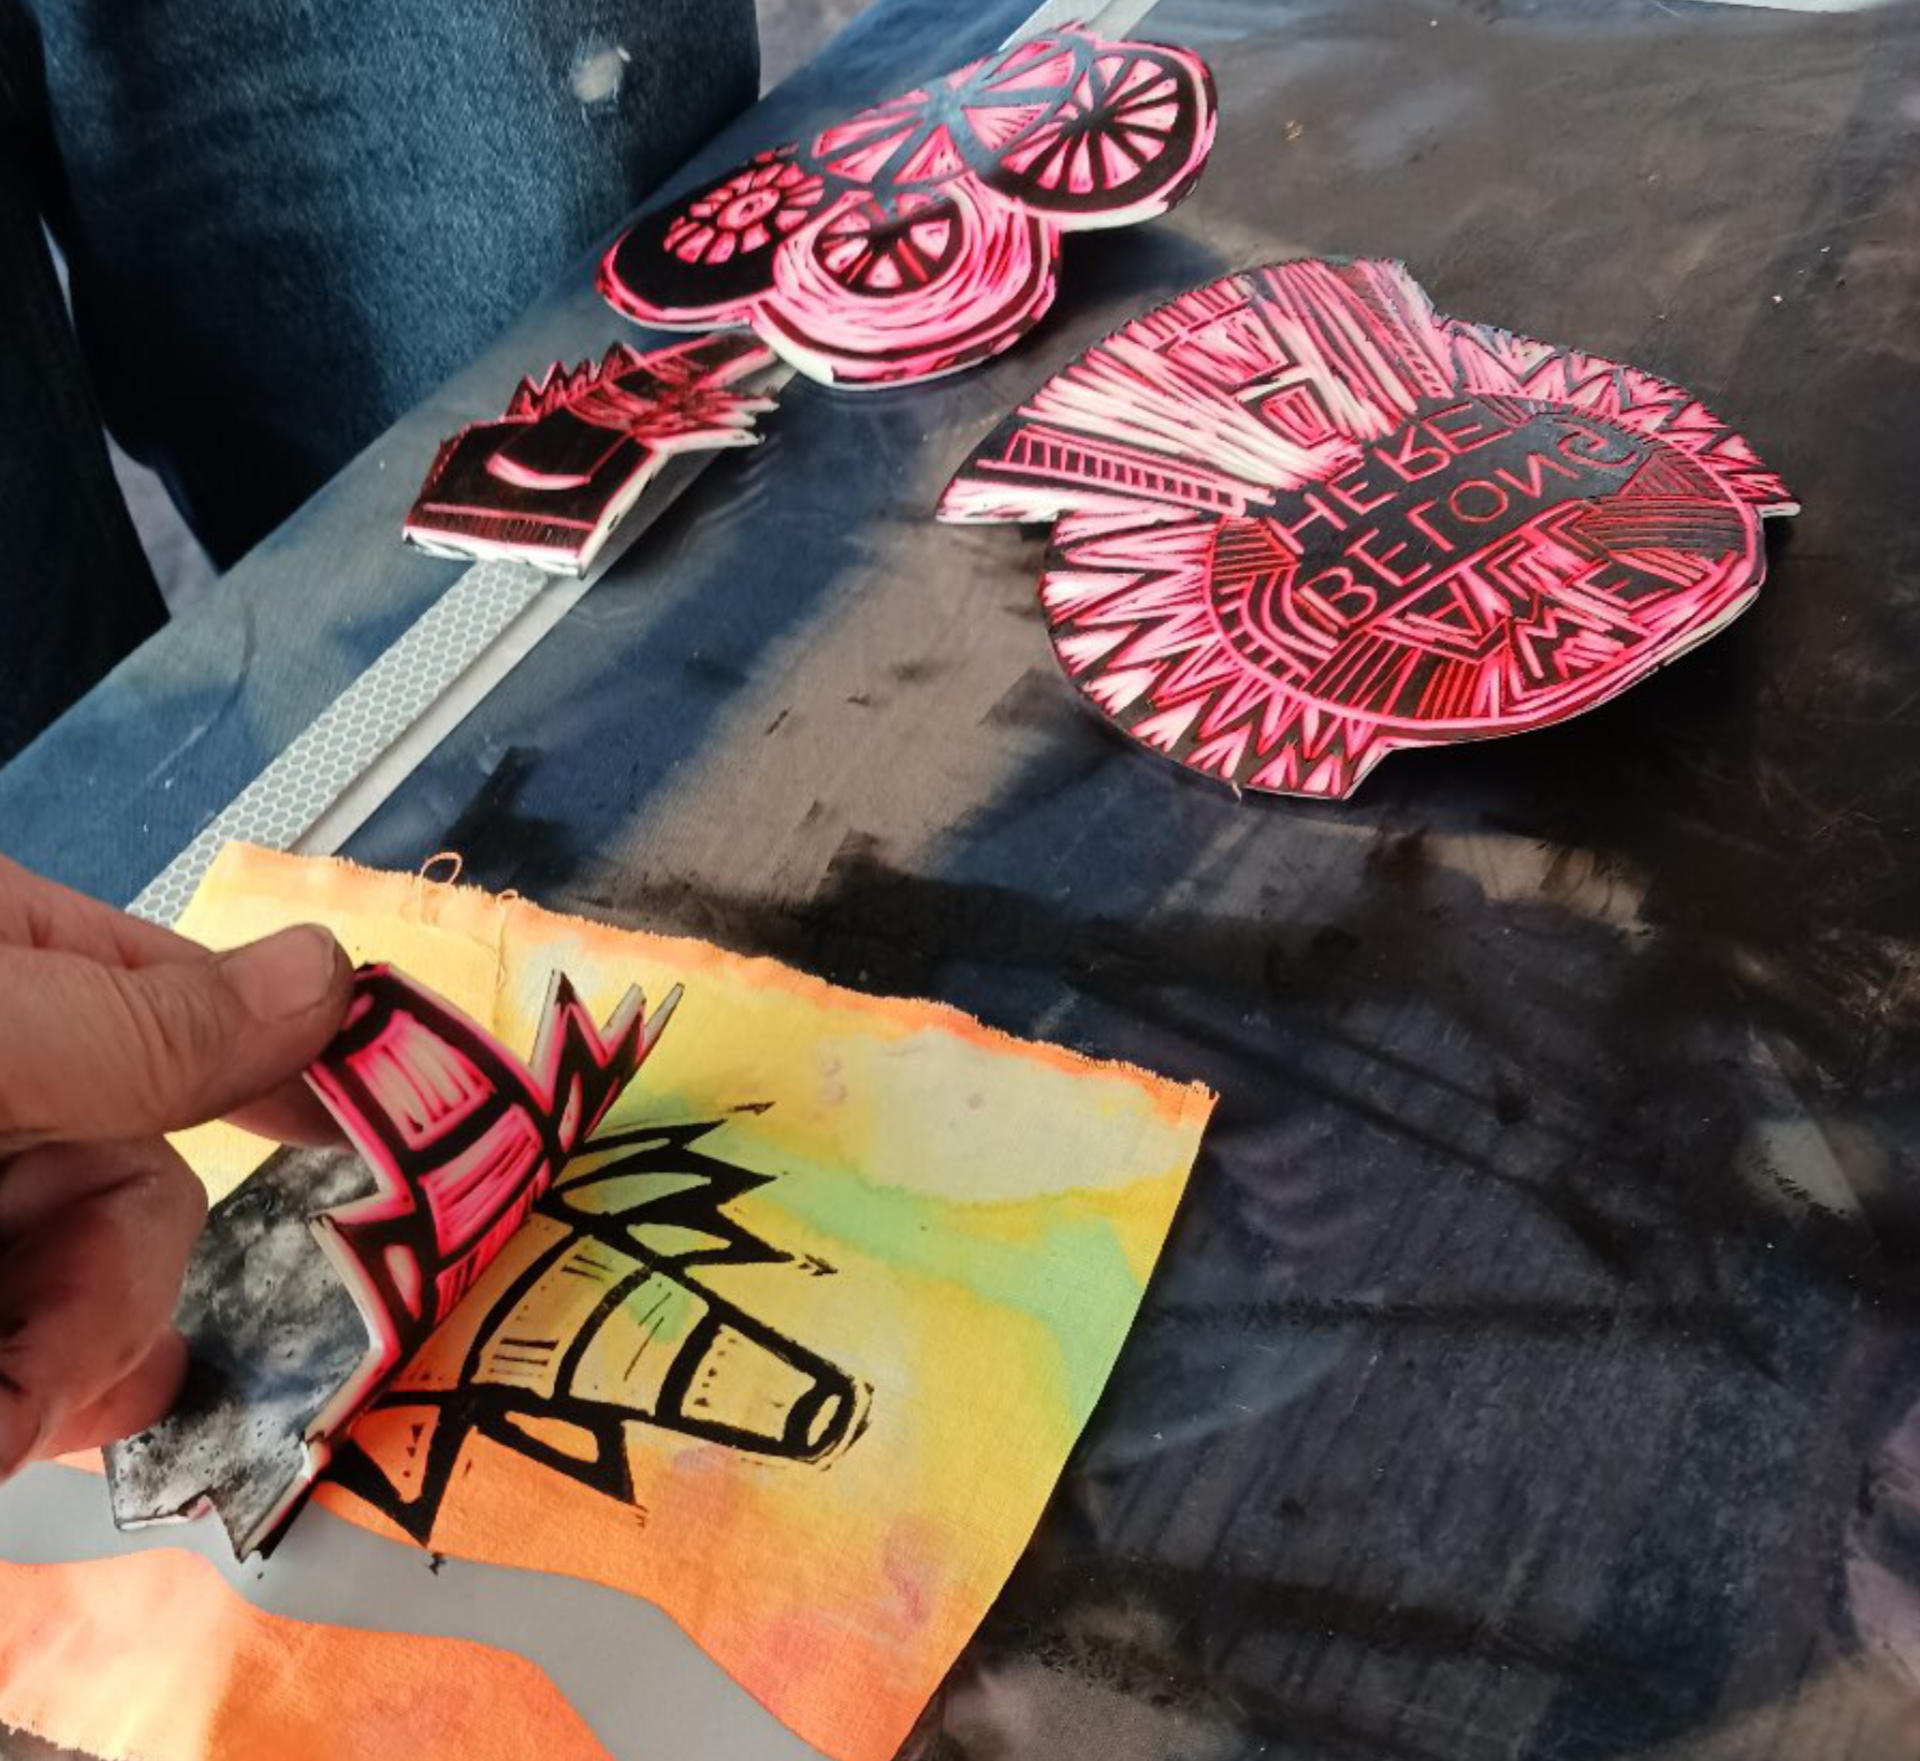
Note: I realized I failed to get a photo of a relief carved traffic cone printing plates that Hapto created so here’s a photo she shared from a previous printing run.
Note: This post contains an Affiliate Link. Read More.