
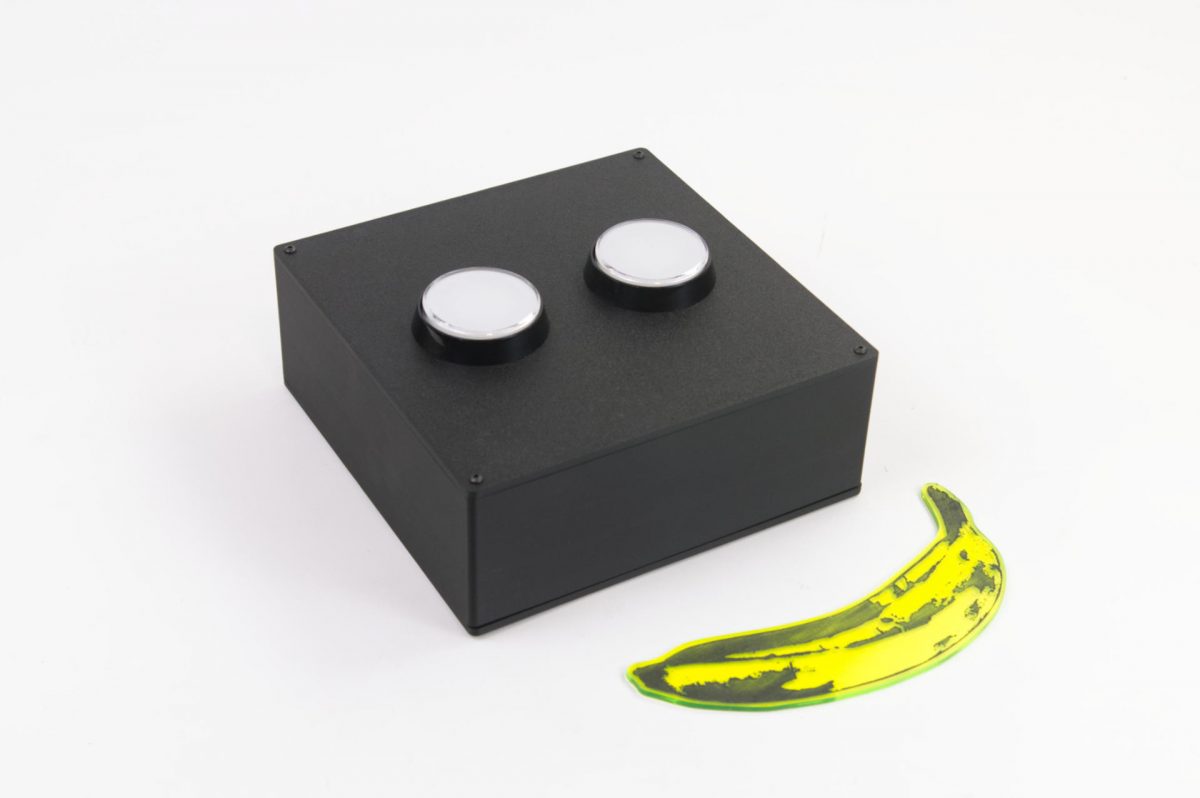
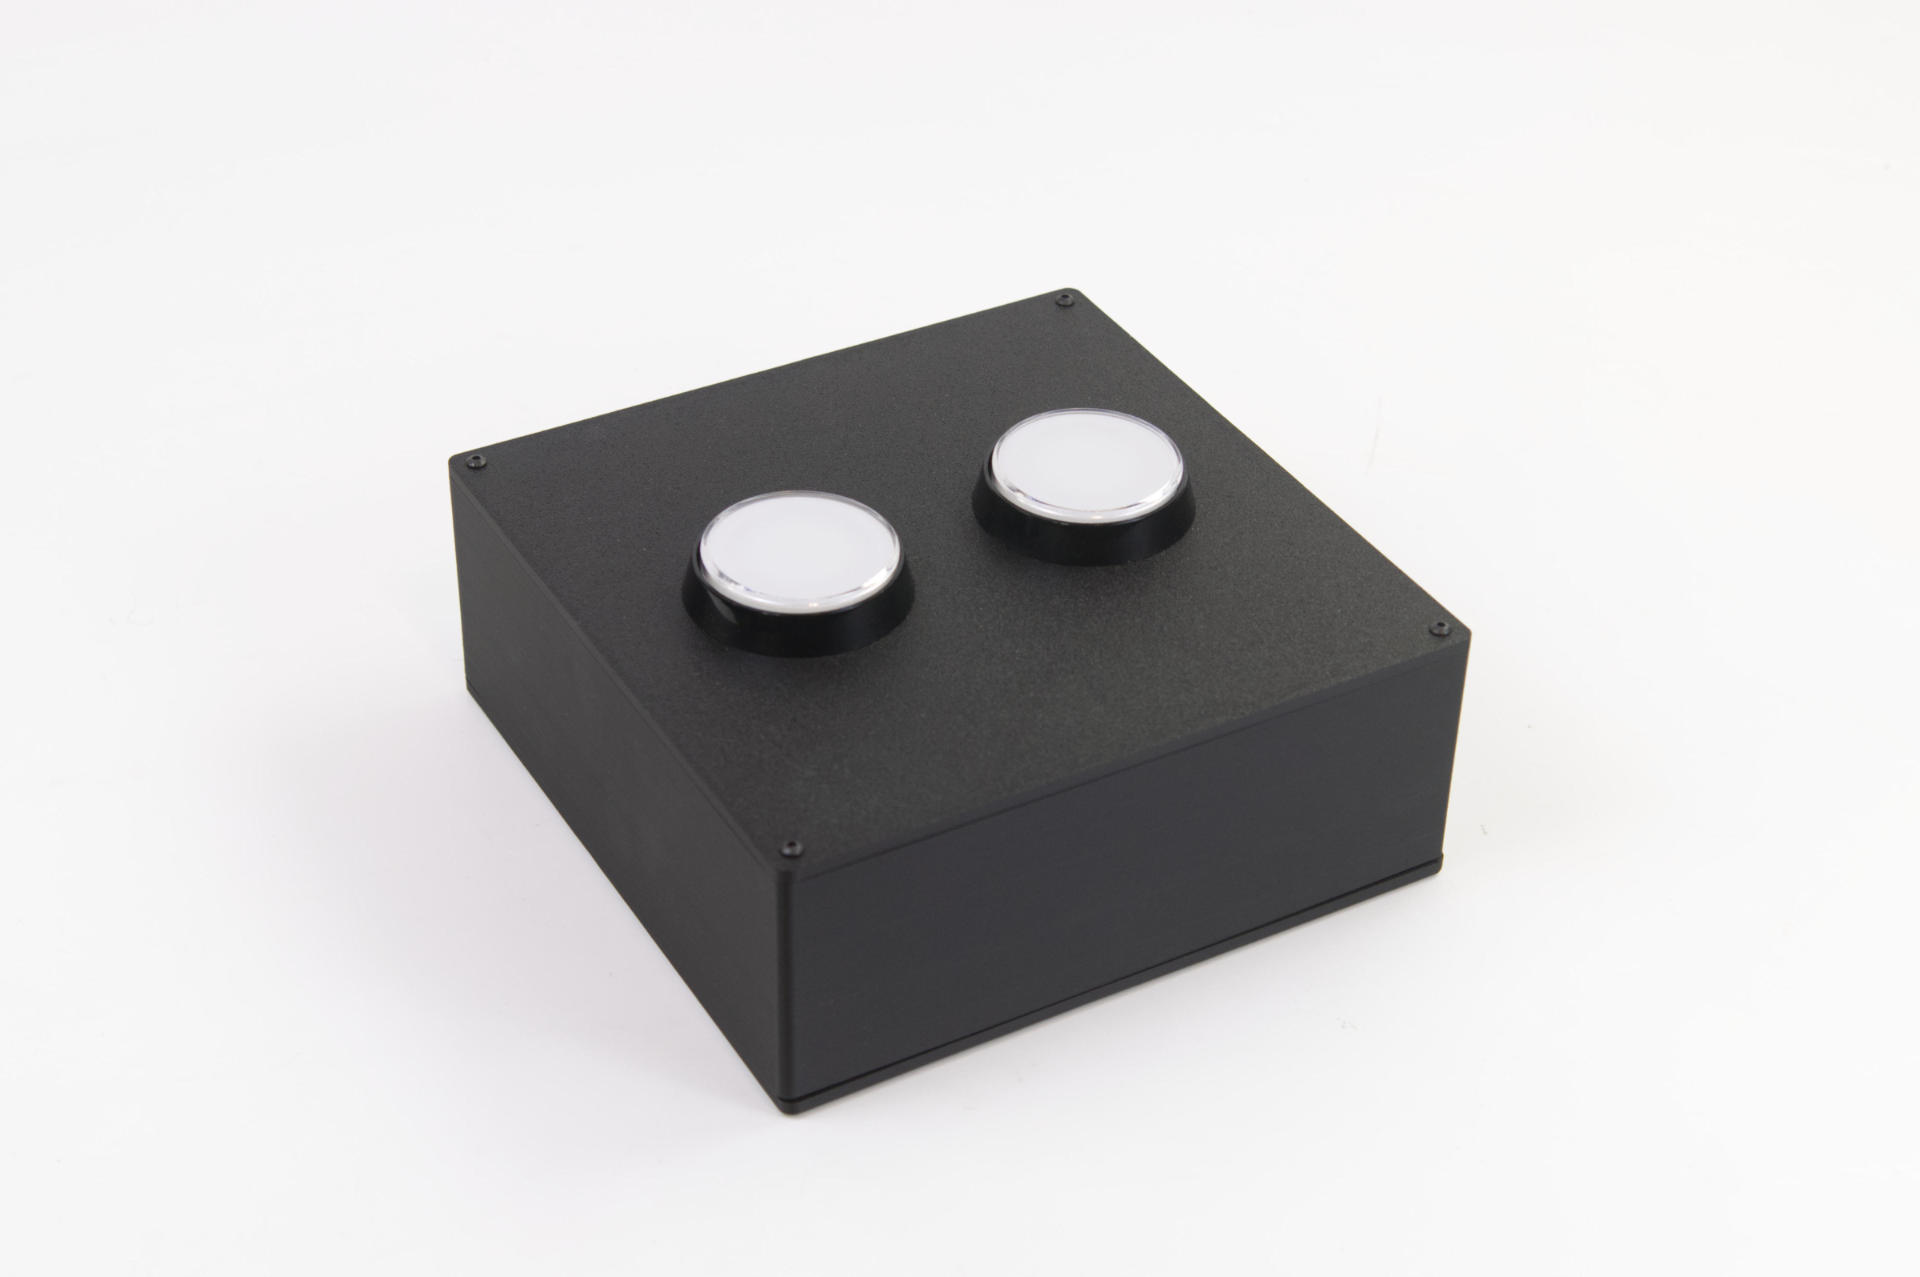
This post is mostly photos but I wanted to document a build a did back in February. I was contacted by someone working on a film who needed a prop. A large (202mm x 202mm x 83mm) device with two buttons that would light up when pressed.
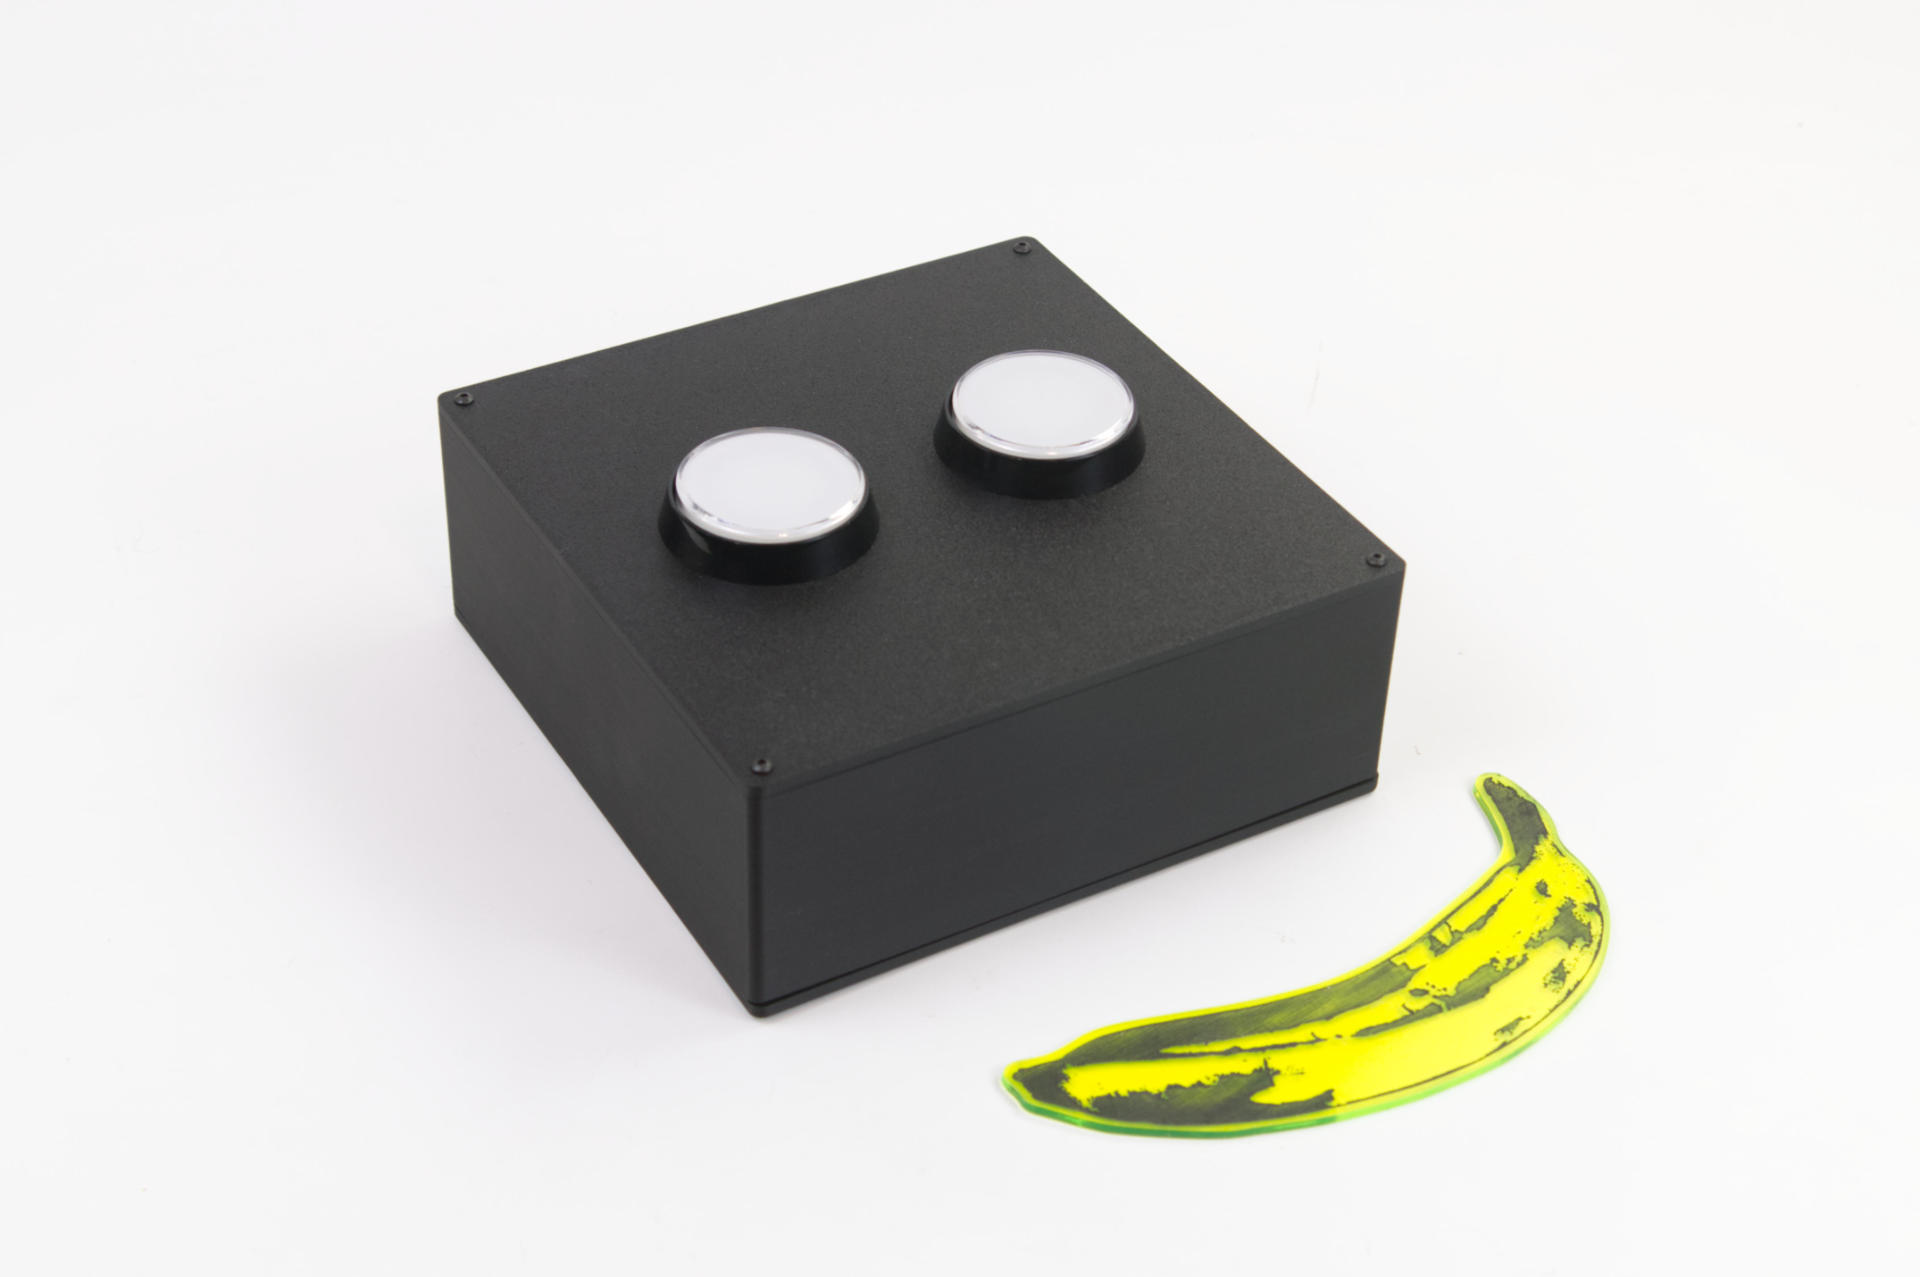
Banana for scale. This is a laser cut (and etched) banana but it’s approximately banana-sized.
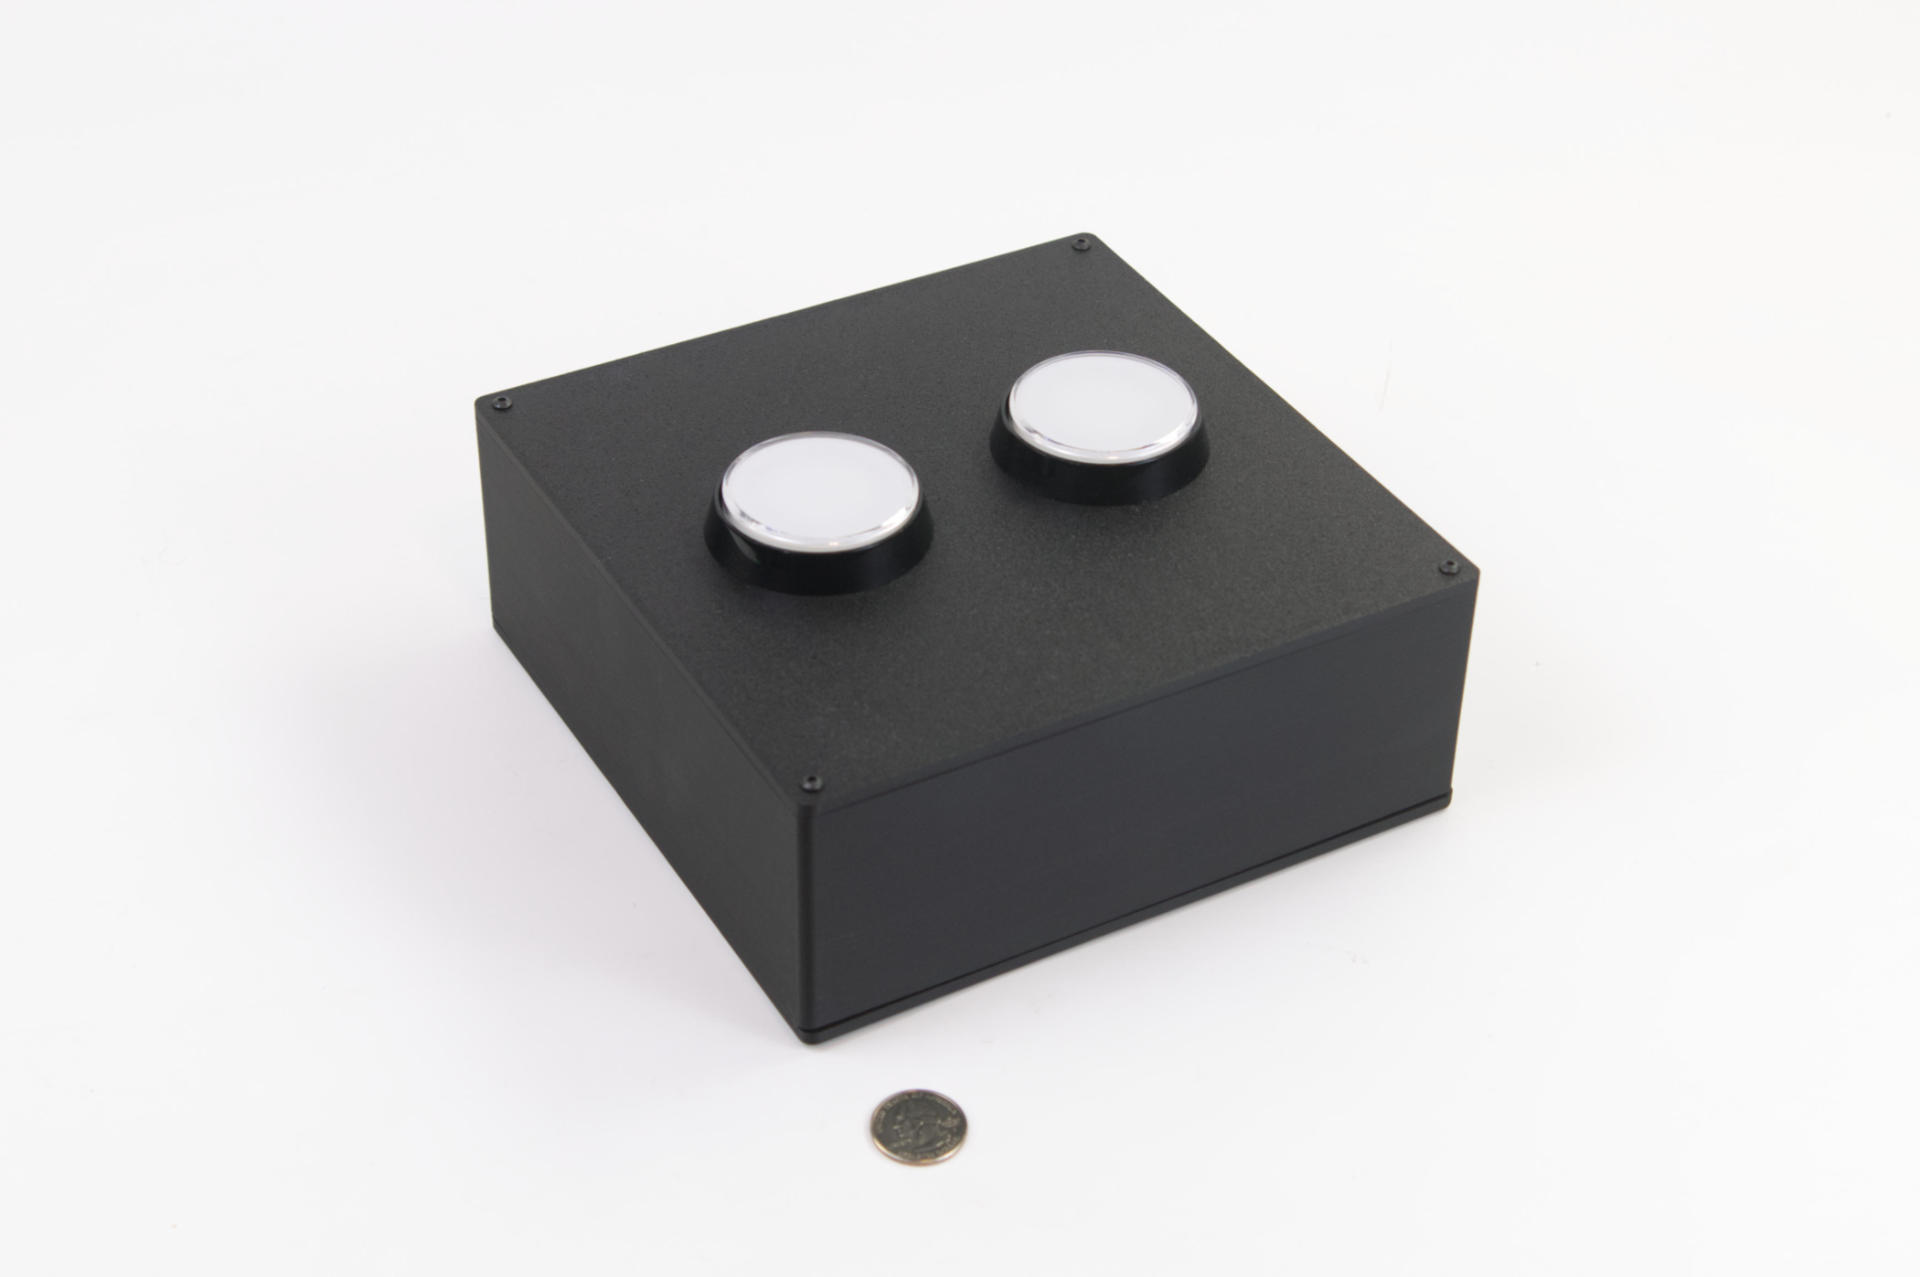
US quarter for scale… just in case you don’t like bananas used for scale.
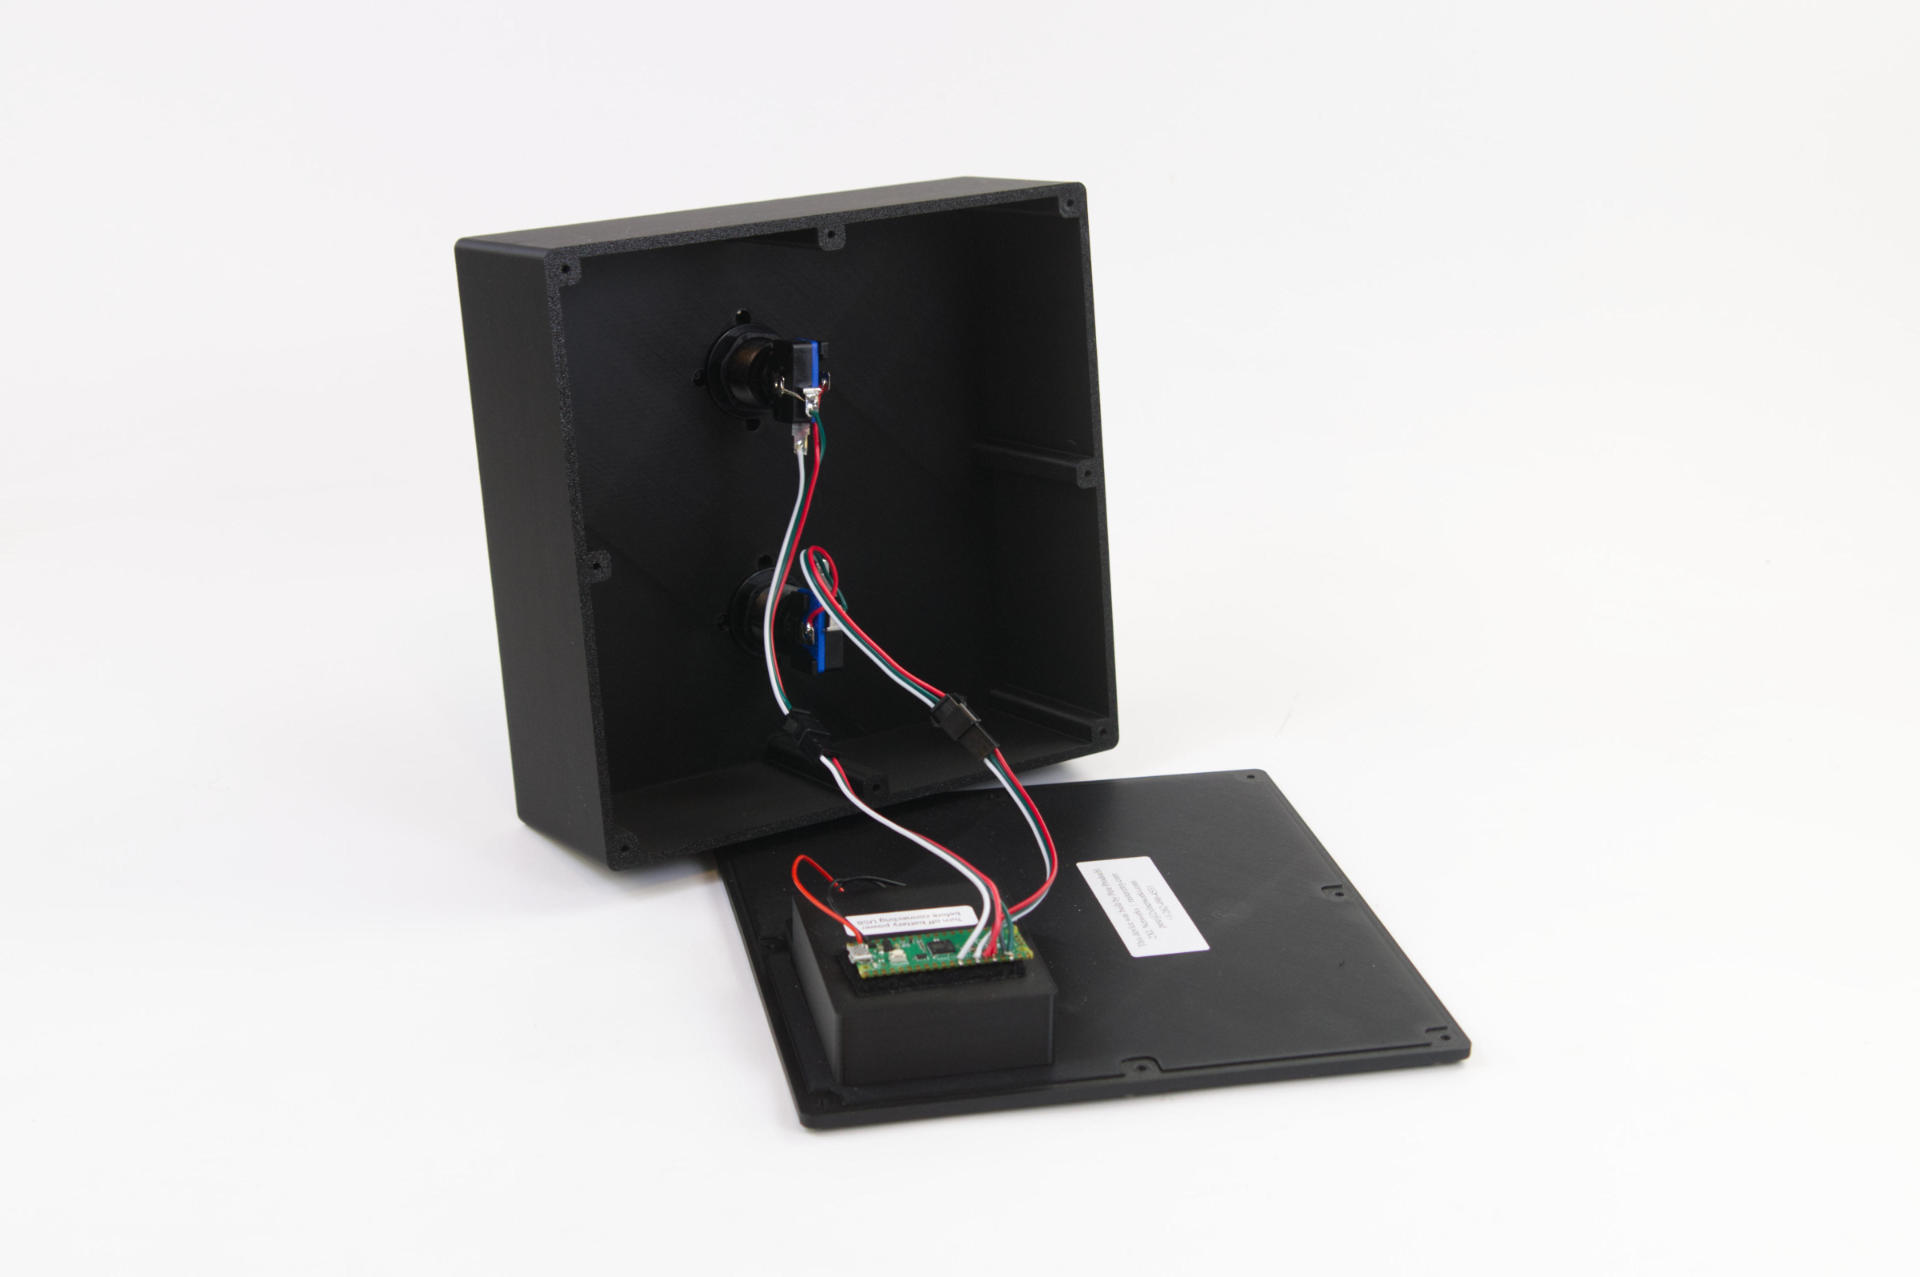
Usually (when I build USB devices) the bottom cover is just a flat piece that gets screwed on. For this one I ended up using connectors for the wiring and mounting the electronics (and power) on the bottom cover.
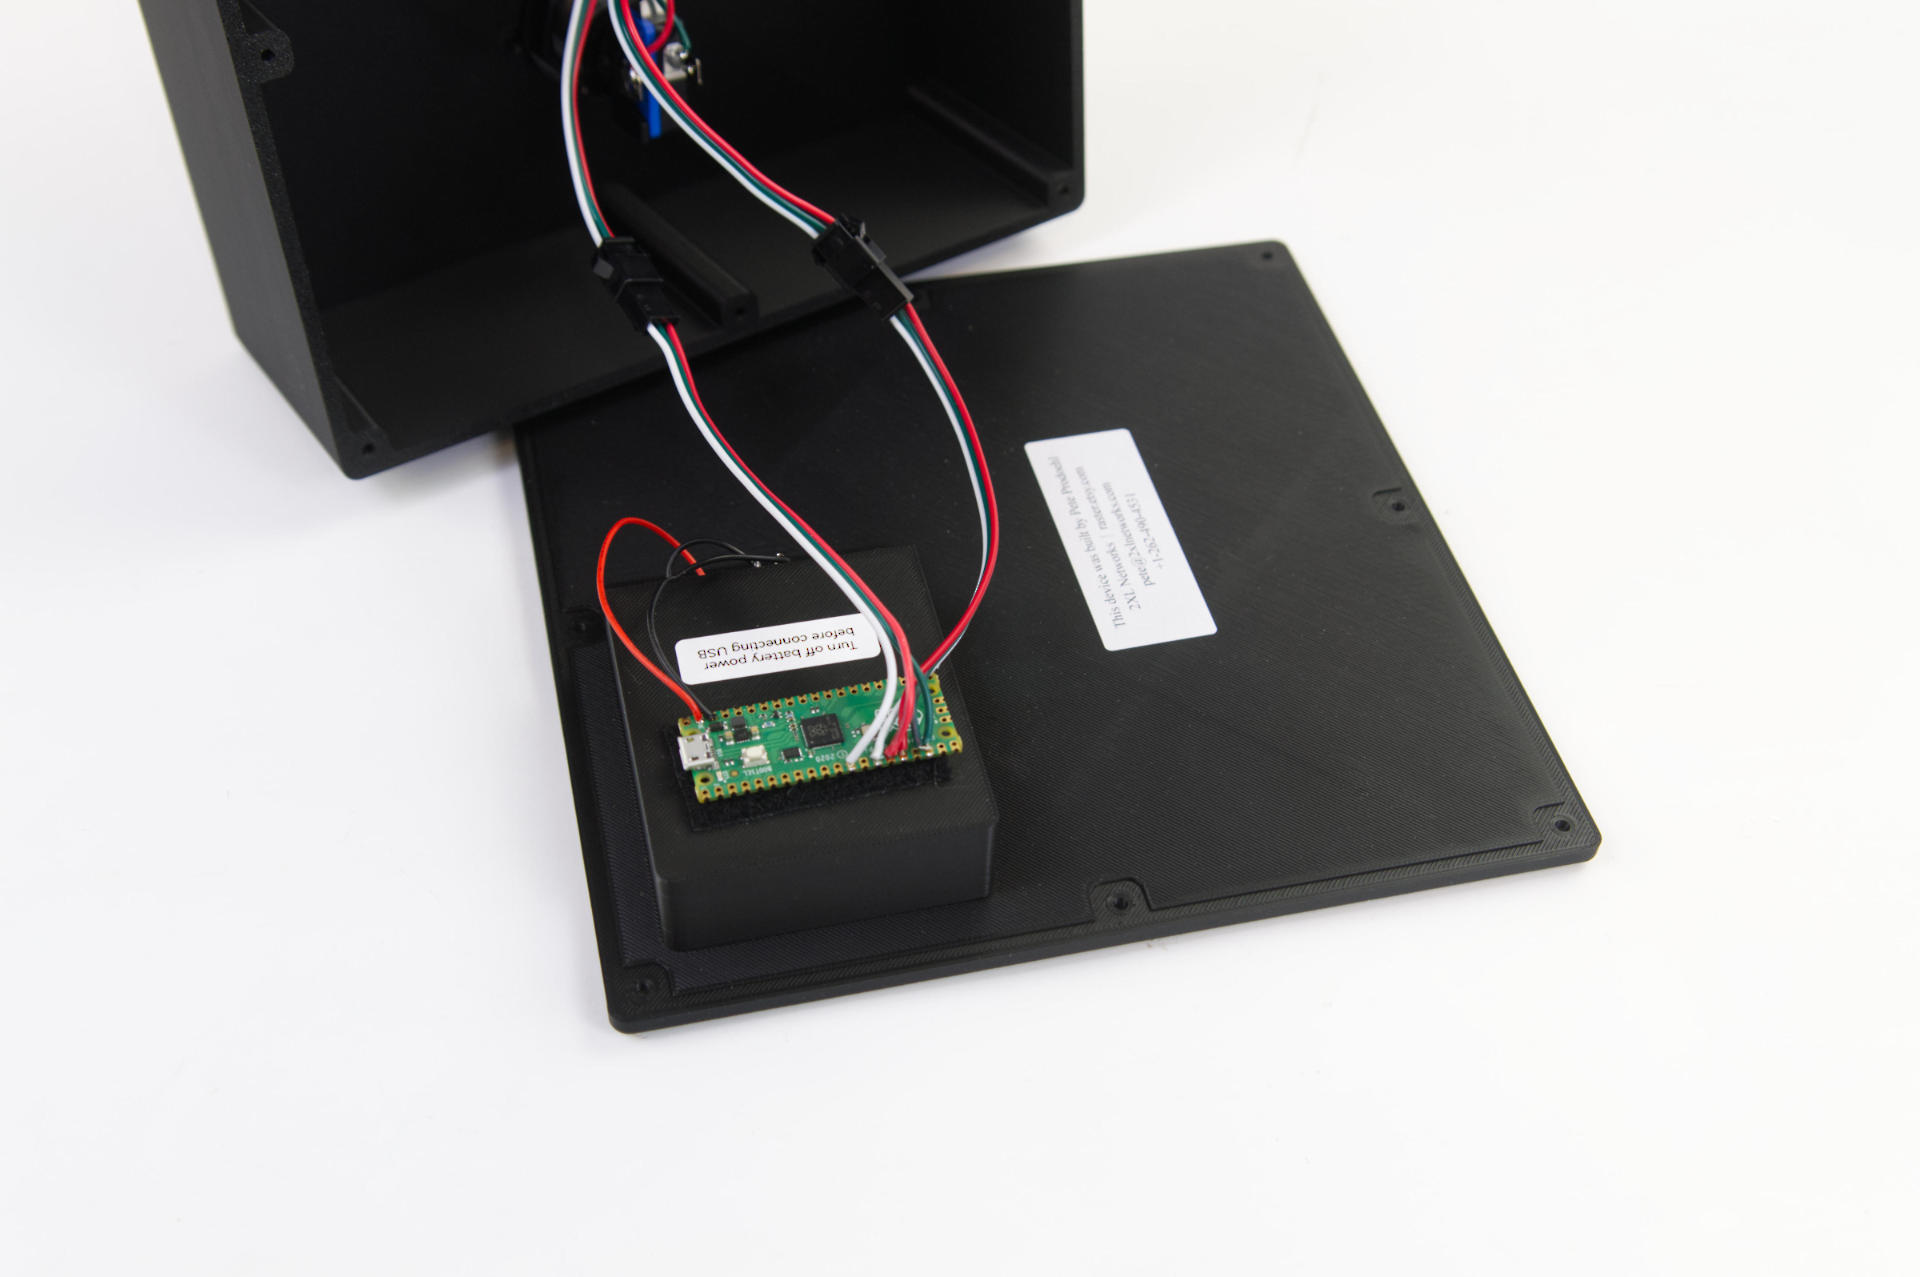
Since the firmware was simple enough I didn’t think it would need to be updated, but it is possible. This is handy if I ship something and things change and the customer wants some other behavior. I can just email new firmware with instructions for installing it.
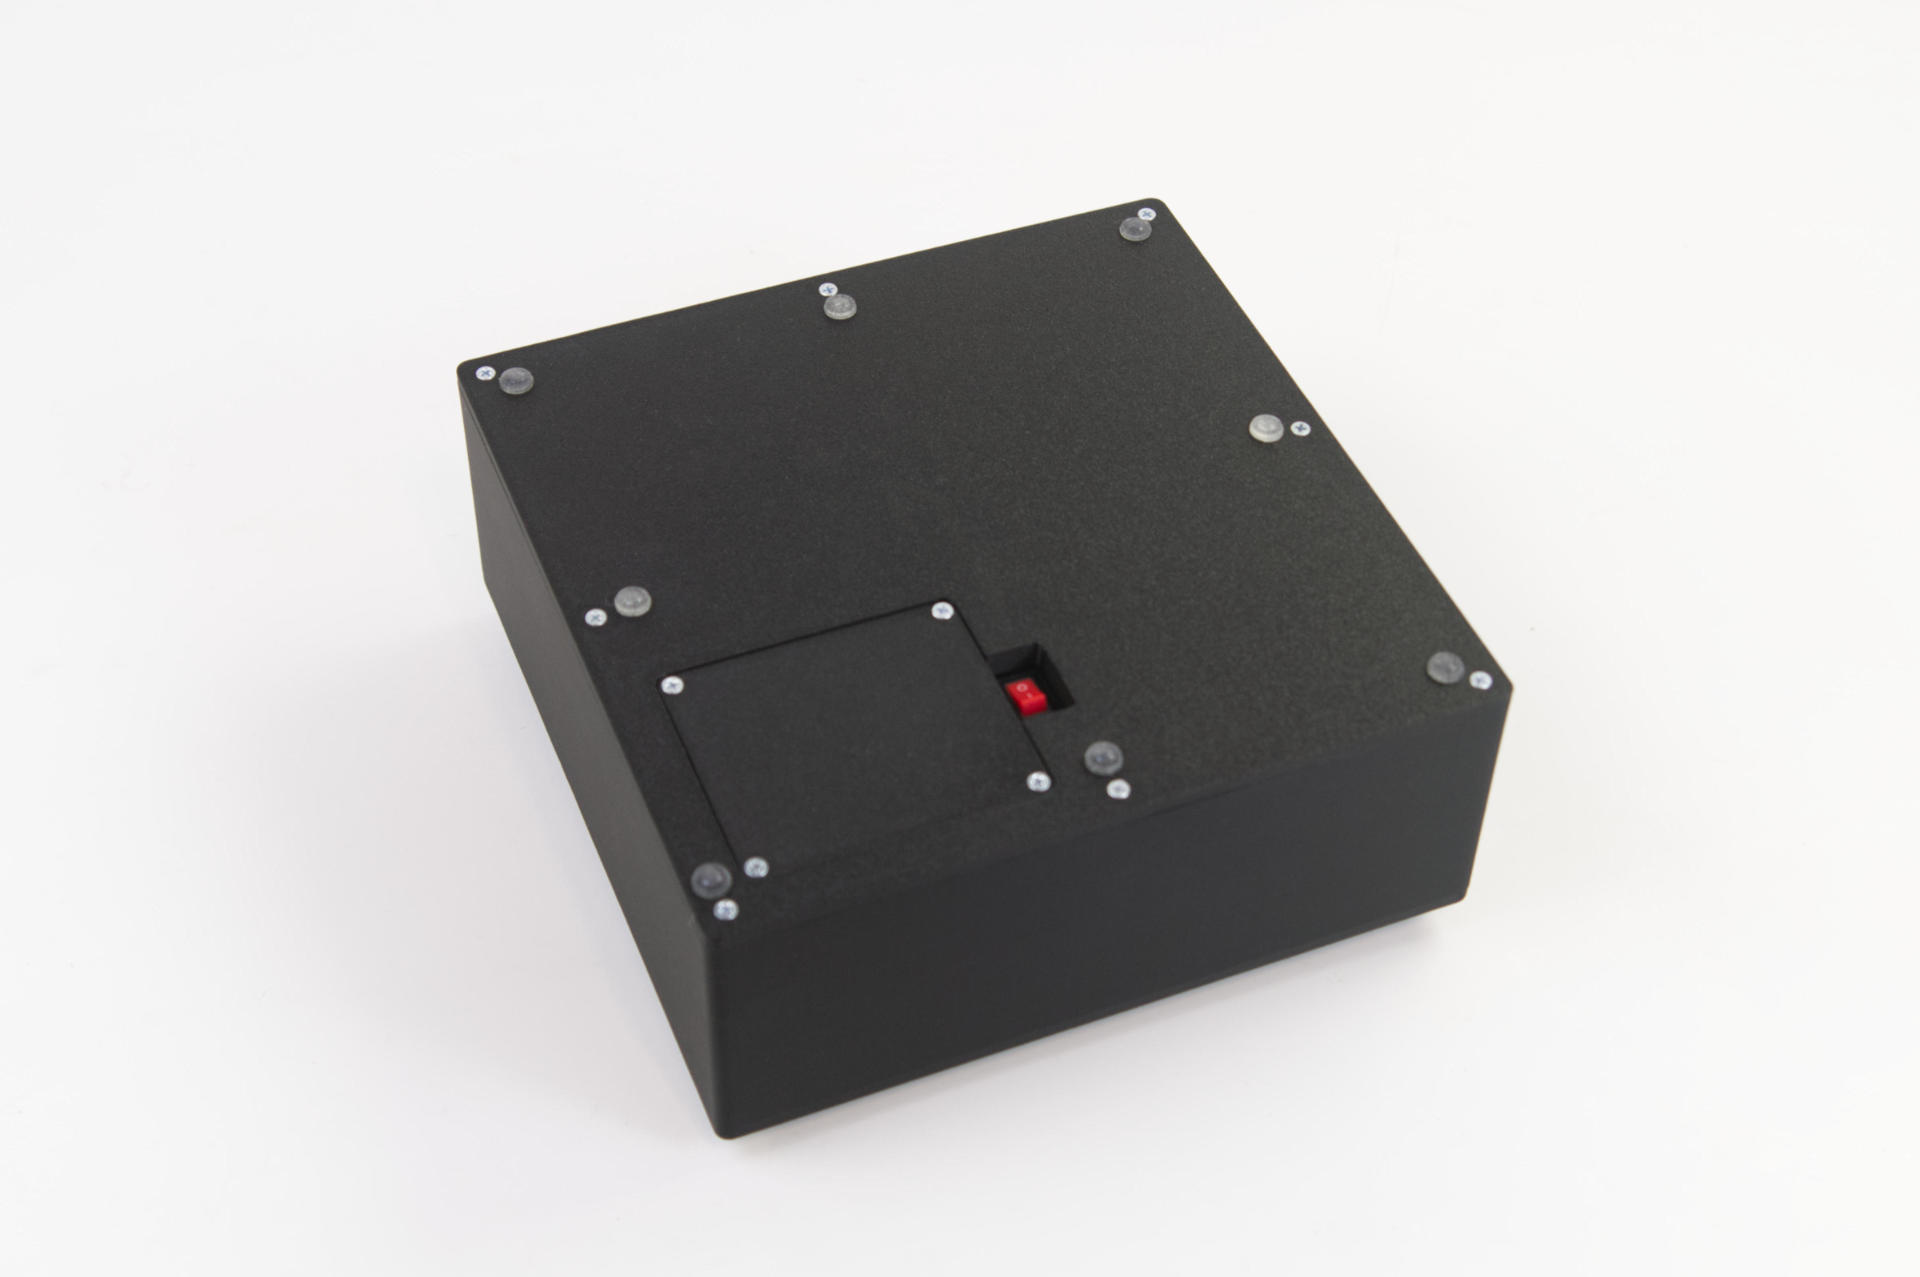
Here’s the actual bottom… and what I am most proud of. I didn’t want the customer to have to remove the whole cover to access the batteries… and we needed a power switch, which I did not want to put on the side of the unit.
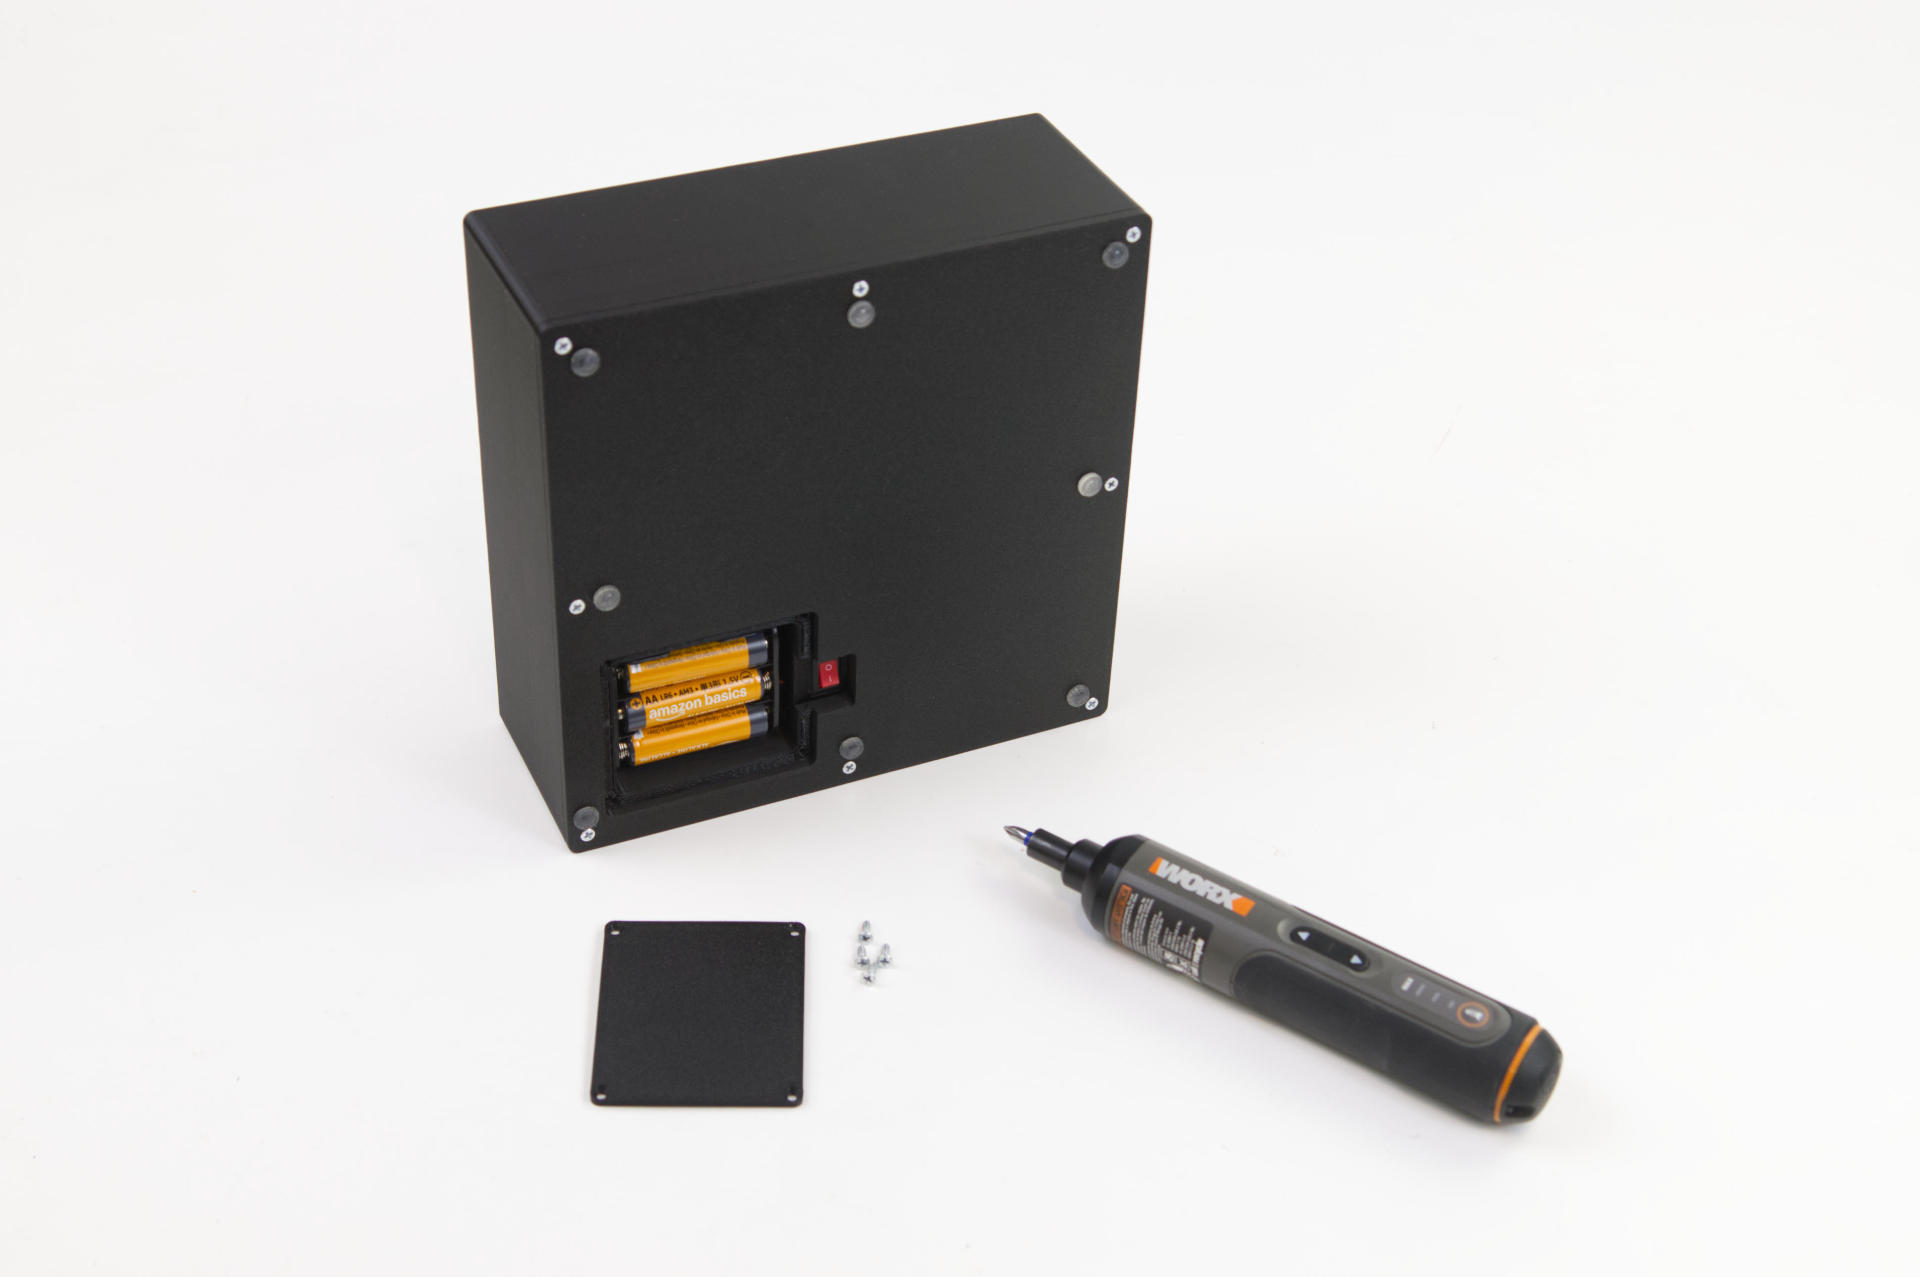
So there is a battery compartment (with its own lid) on the bottom, and a rocker switch for power.
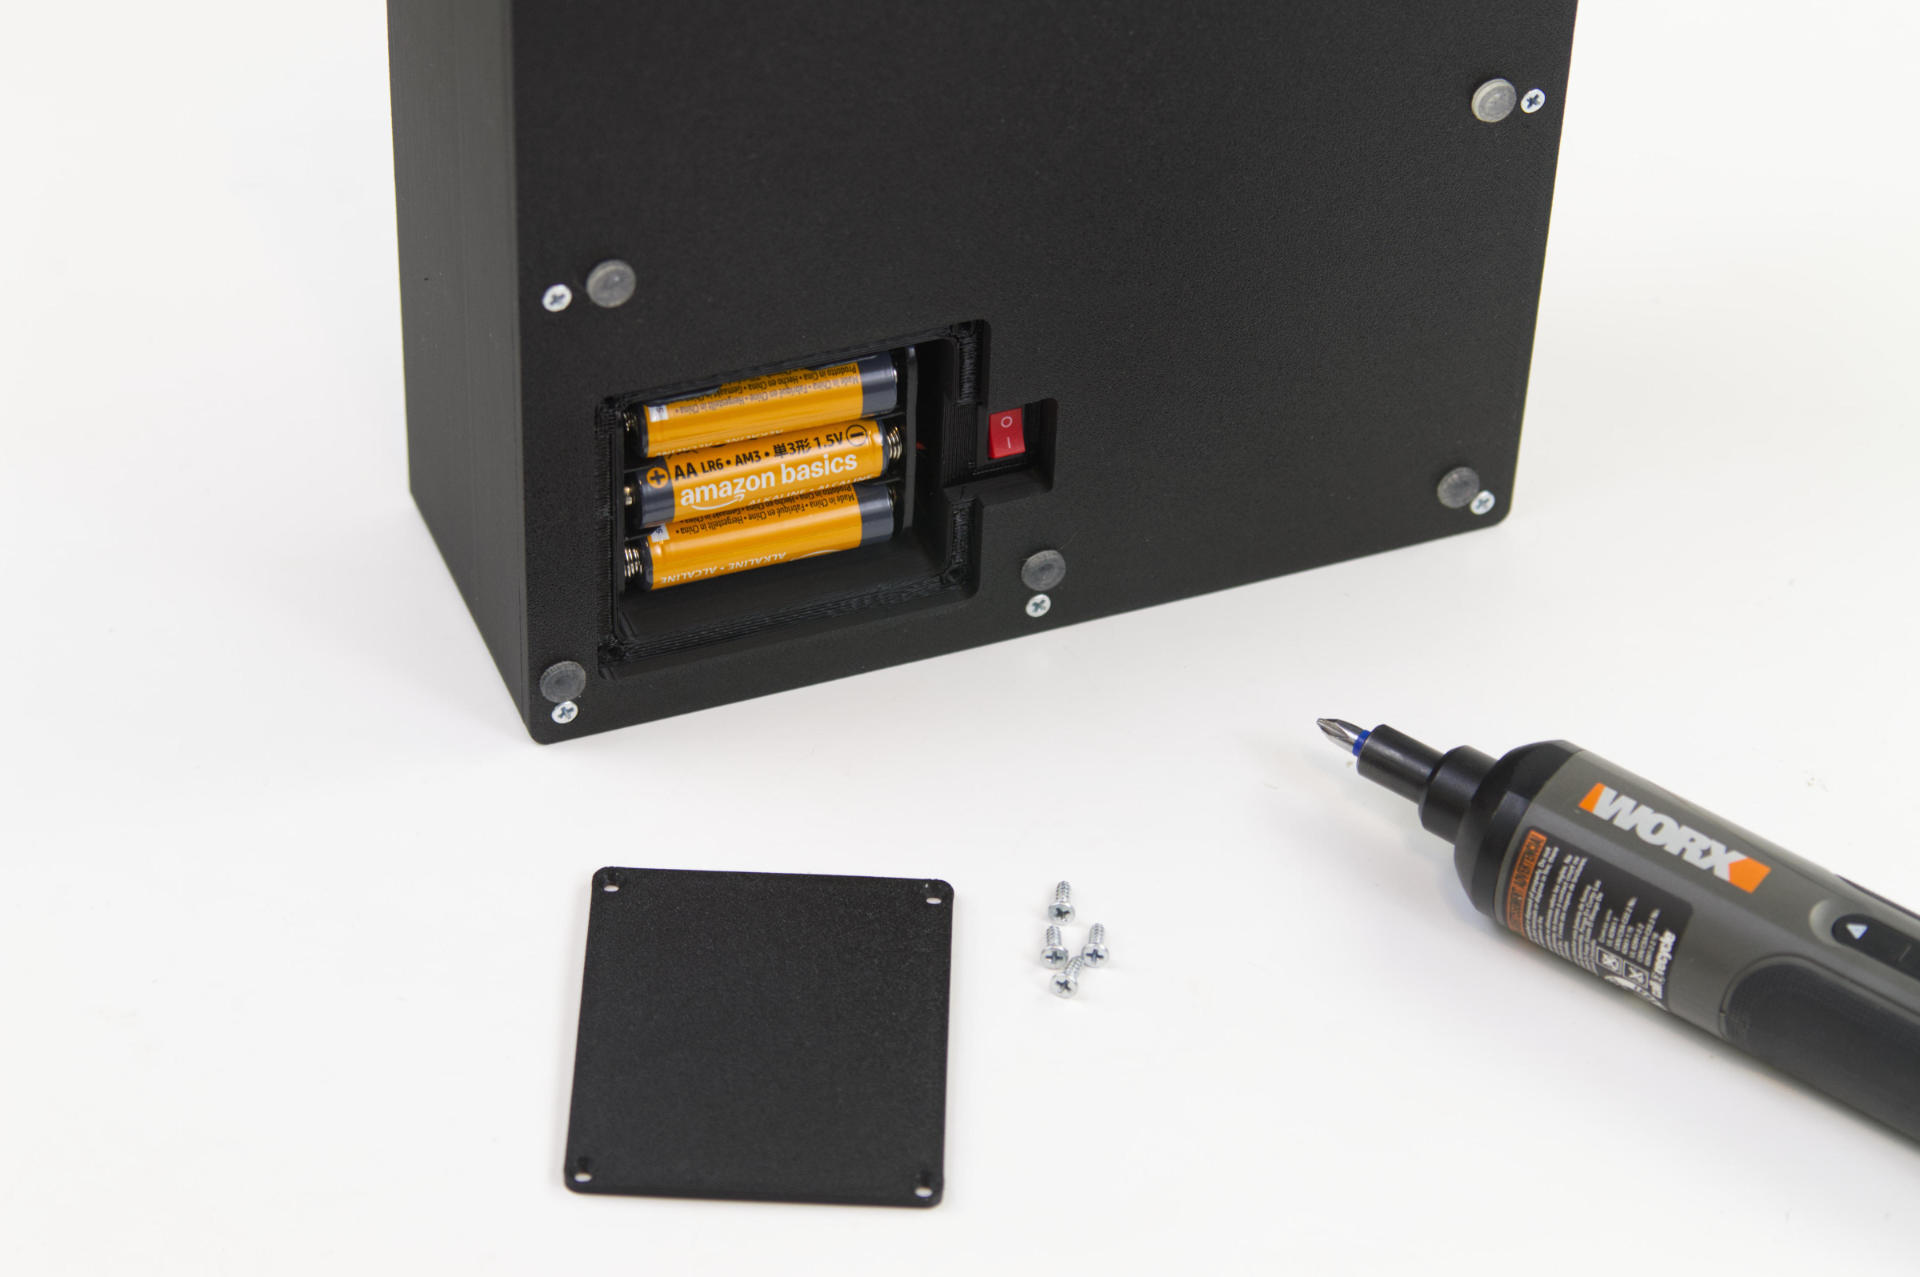
There are just four screws to remove to get access to the battery compartment.
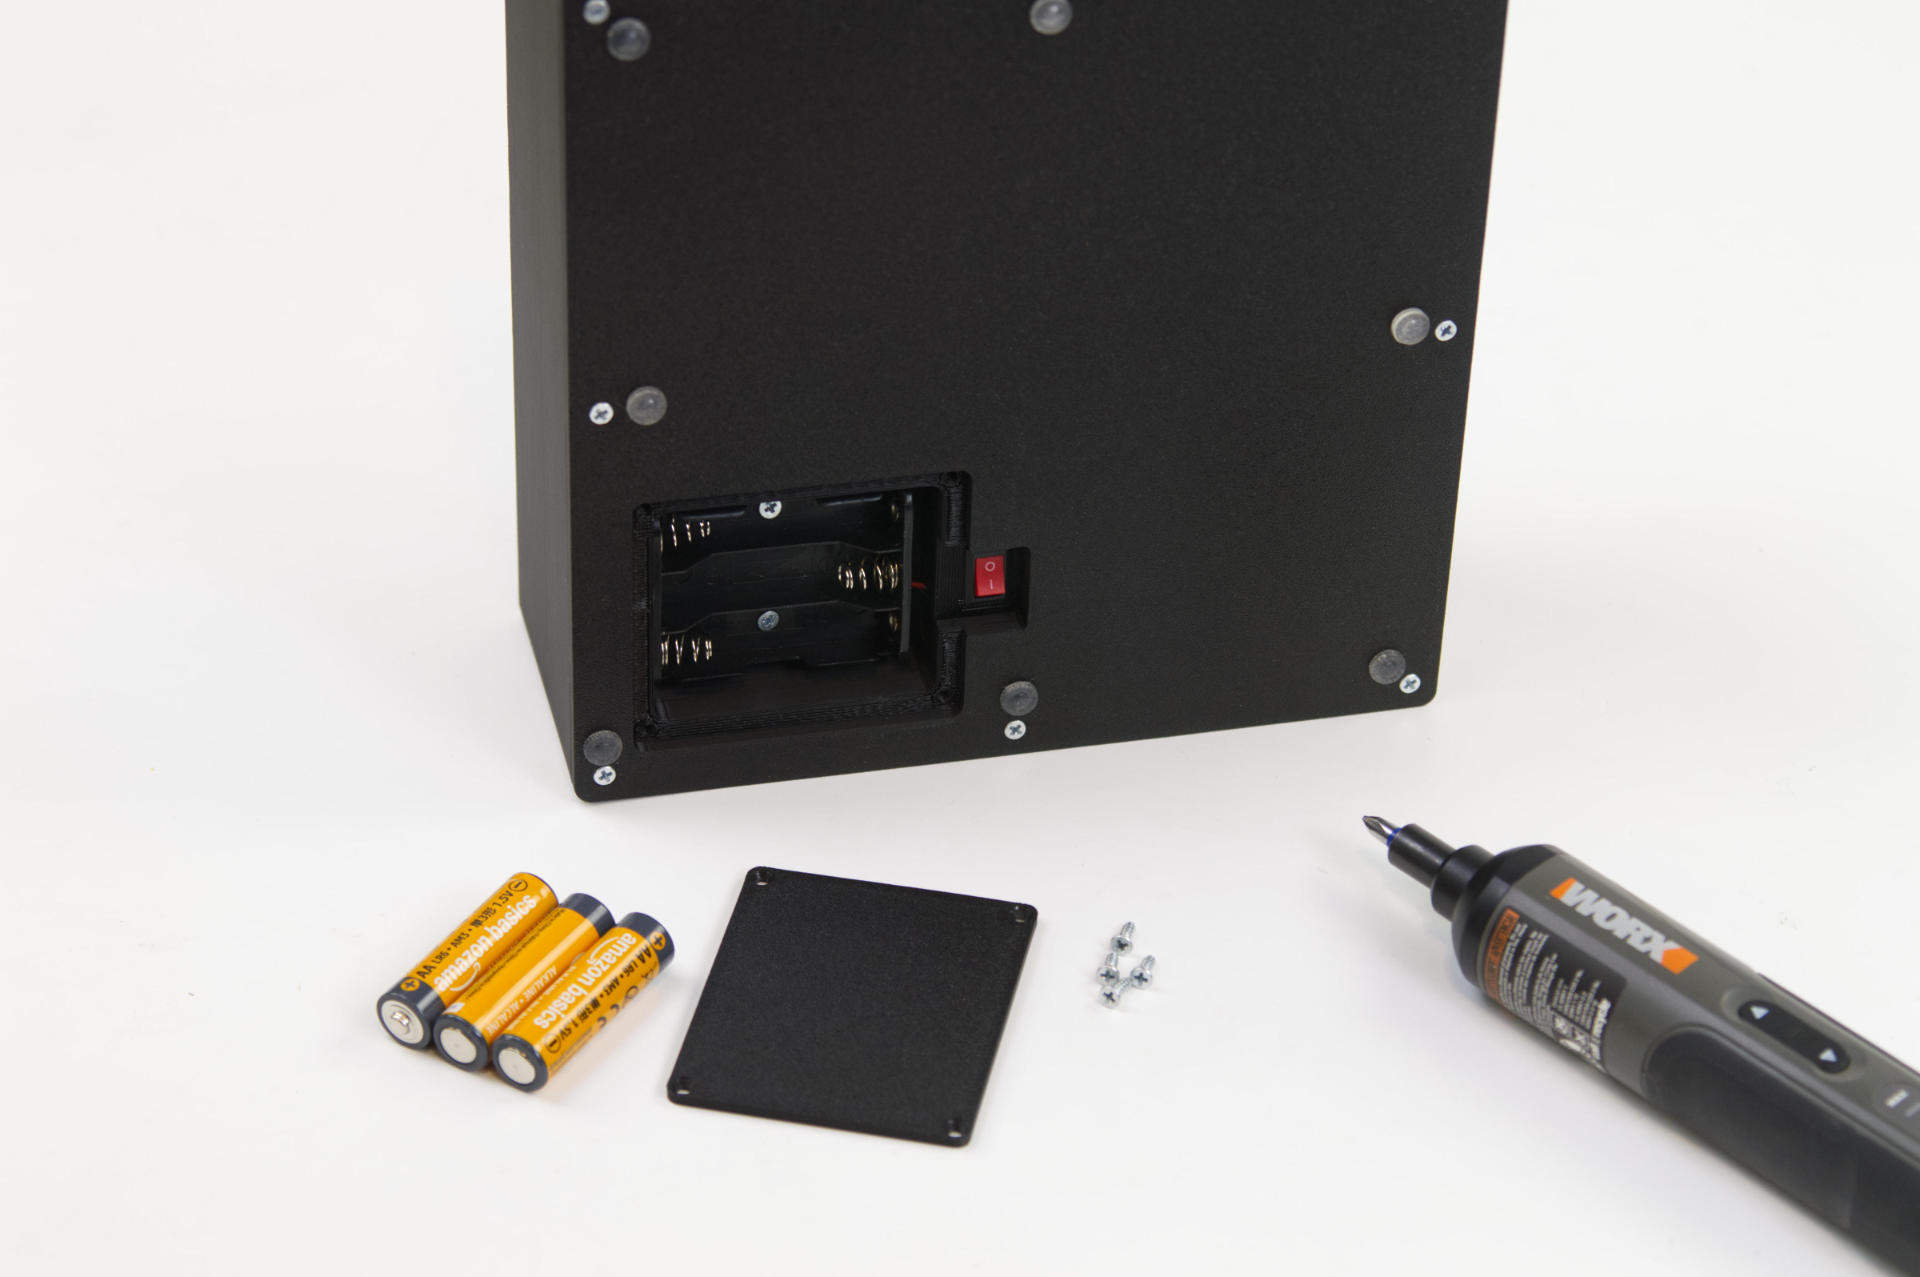
Typically for devices that are USB controllers I just use a USB cable for power, but this needed to be battery powered. Luckily the Raspberry Pi Pico can be powered from 1.8v to 5.5v on the VSYS pin. So three AA batteries coming in just over 4.5v when brand new works well.
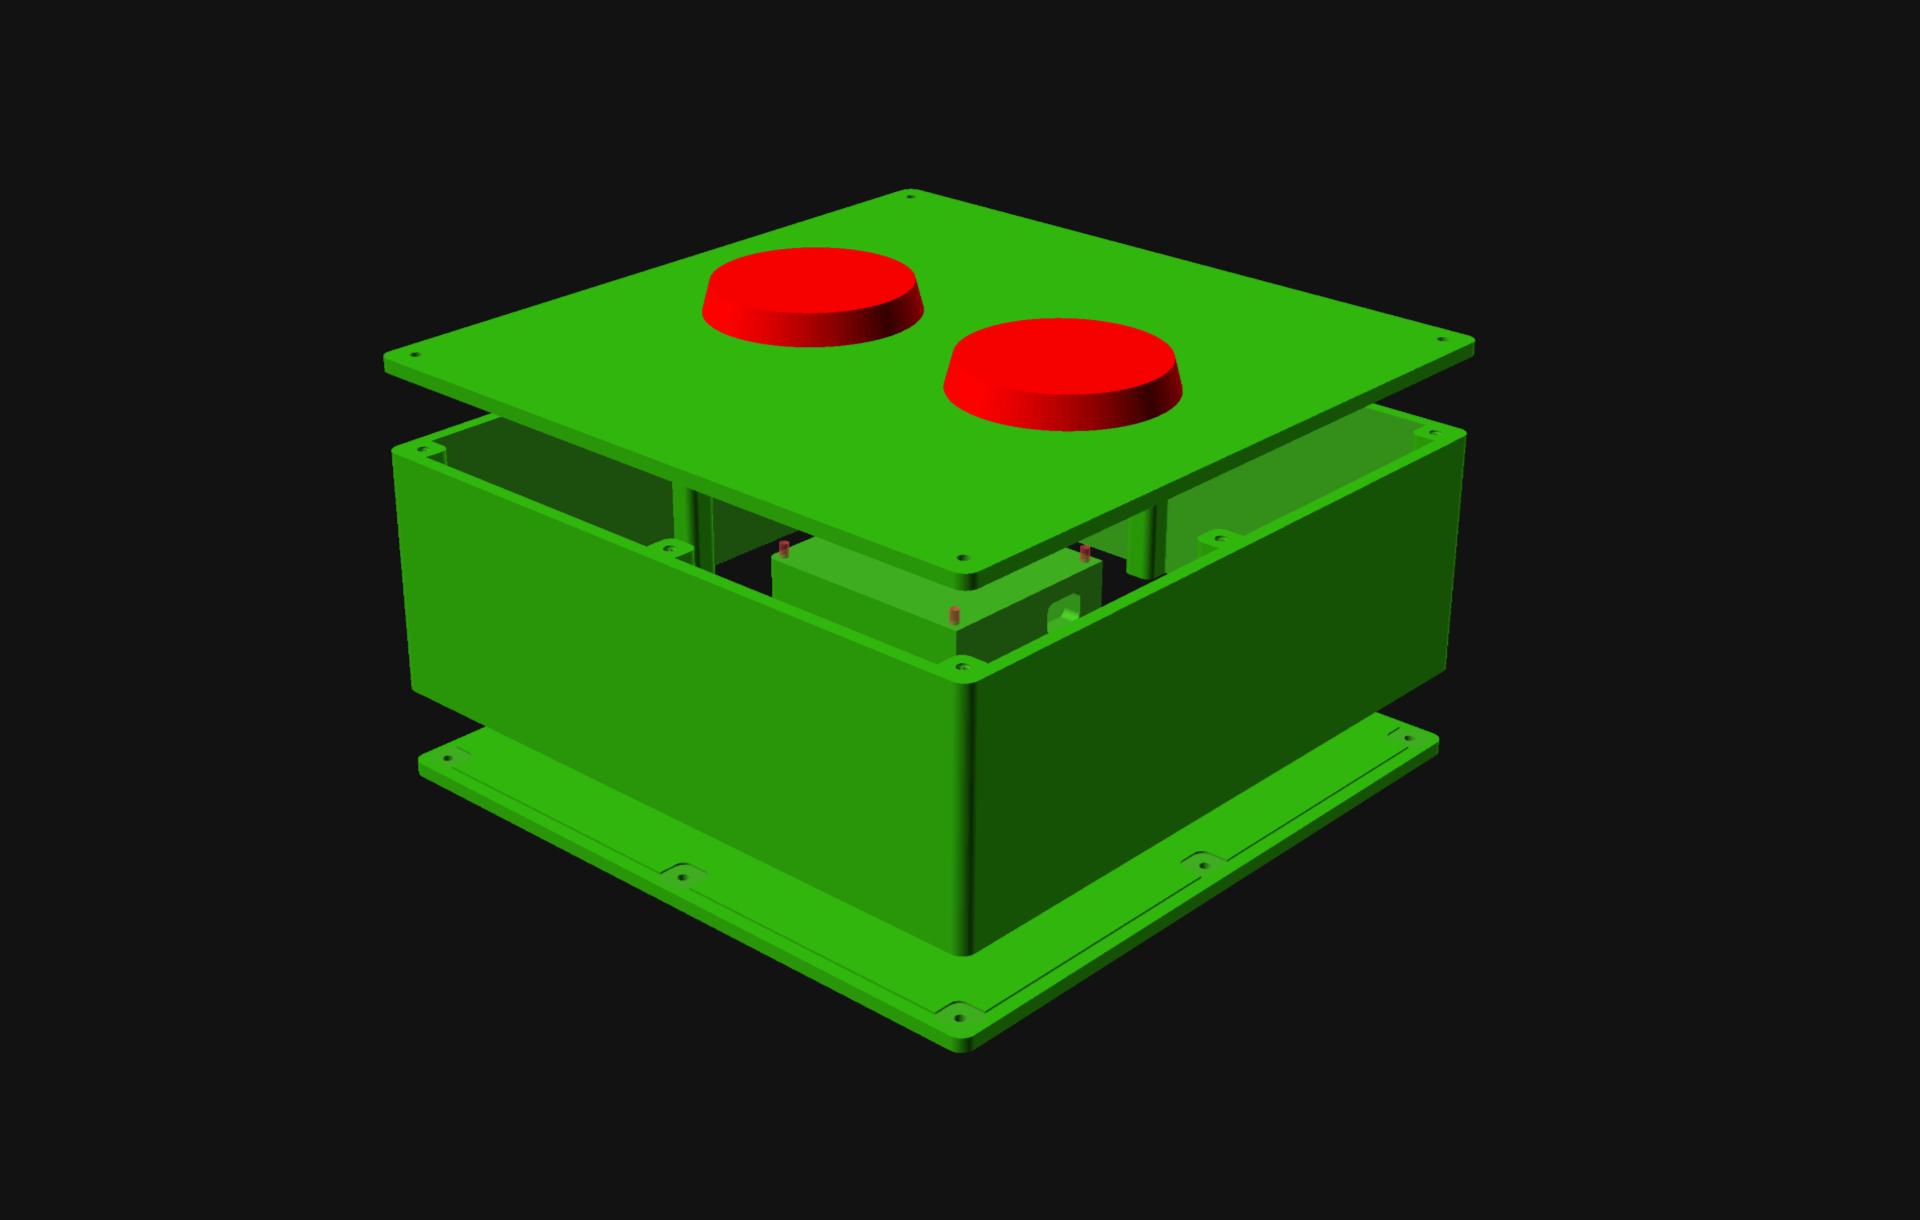
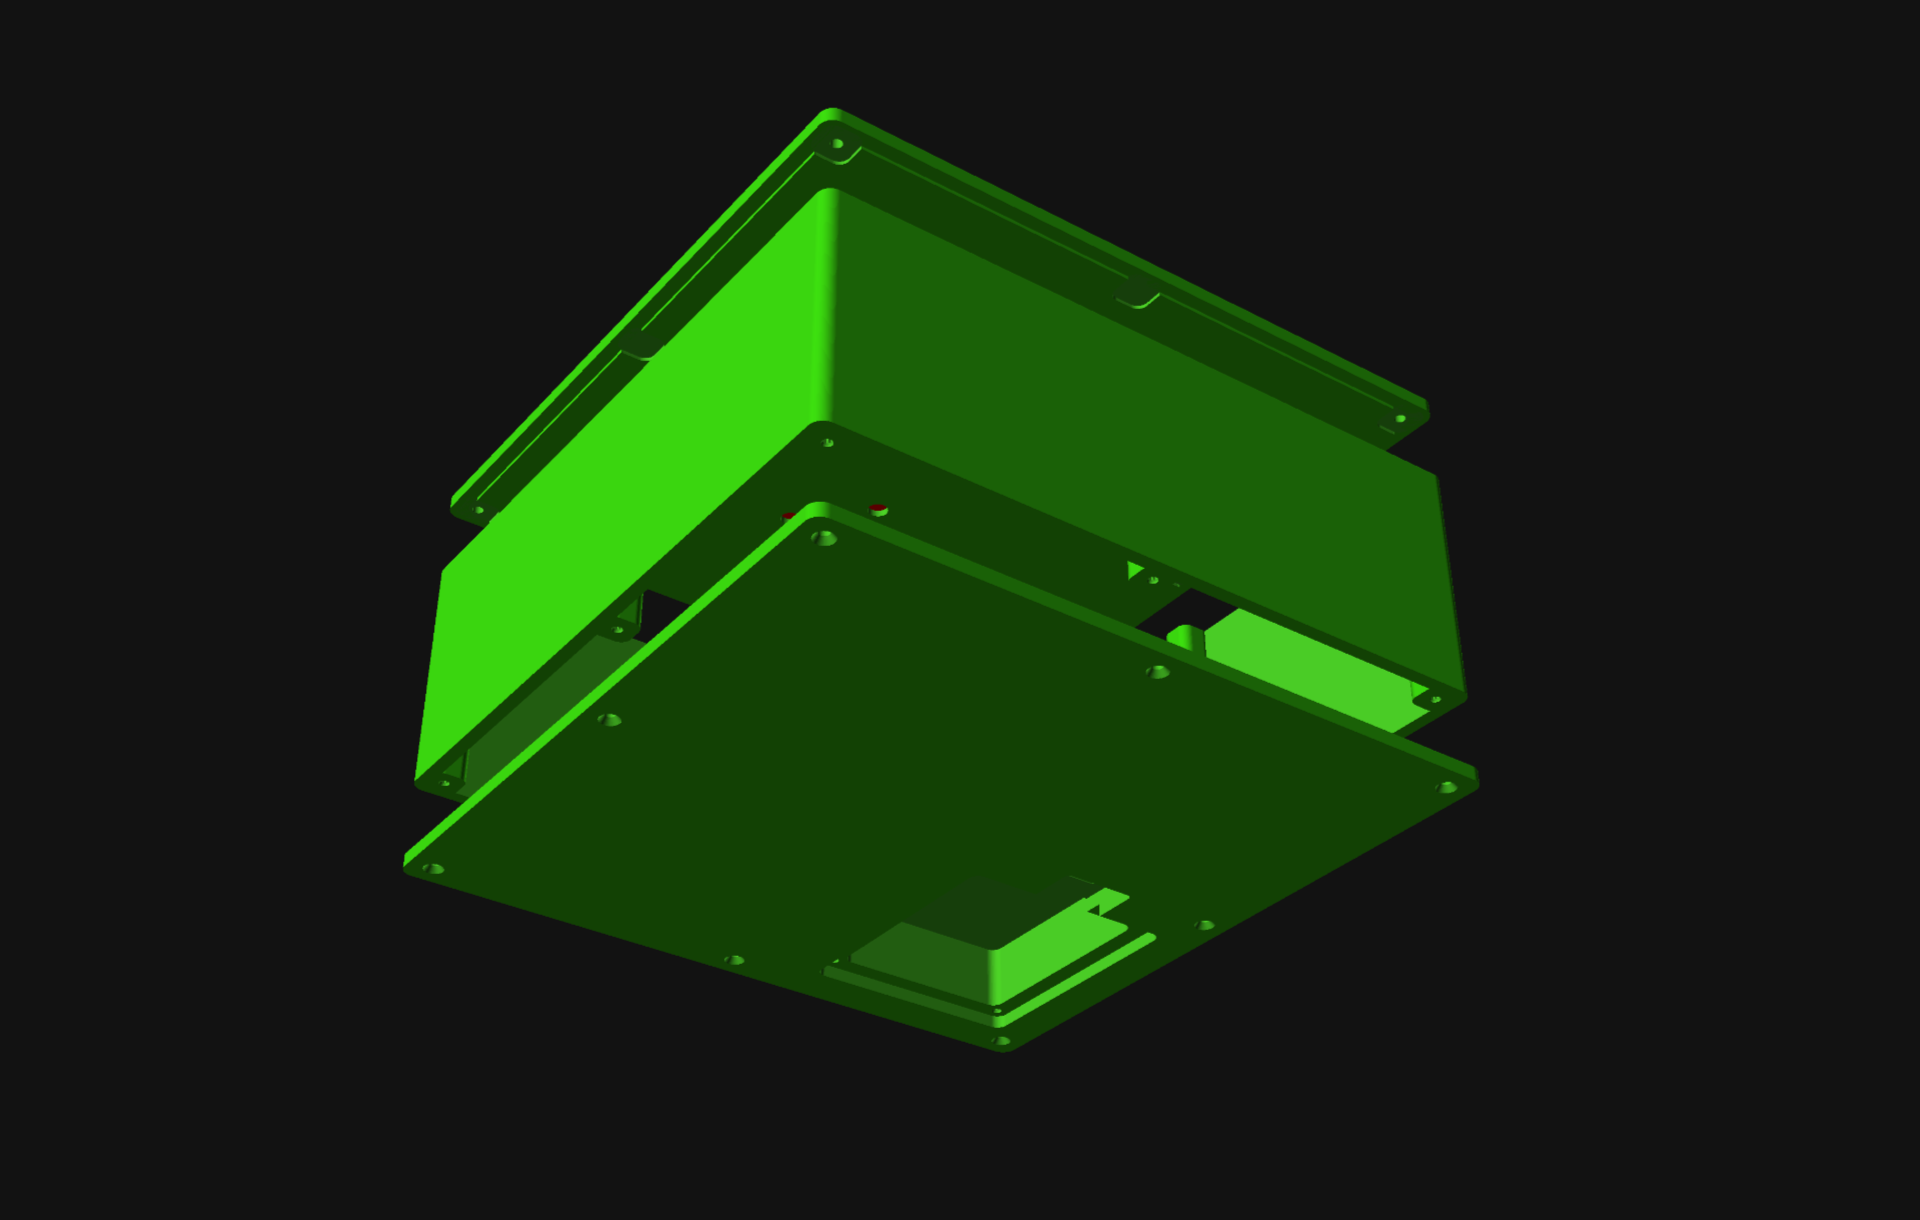
Here are some renders of the 3D model. I’d like to start incorporating some of these ideas into other enclosures I create. Often I got for simplicity at the expense of usability… and there is always room for improvement in the things I create.
(I have a list of other interesting custom devices I’ve built over on the wiki.)