It’s been a while since I did the Scrappy Hour Bike Ride… February!? Yeah, I missed March due to knee pain, April due to work travel, and May due to fun travel.
So Matt messaged me about it last week and I had completely forgot! I was also not happy with the heat, but I was in. Let’s do it!
I did invite three other riders, none of whom could make it, but all asked for a reminder next time.
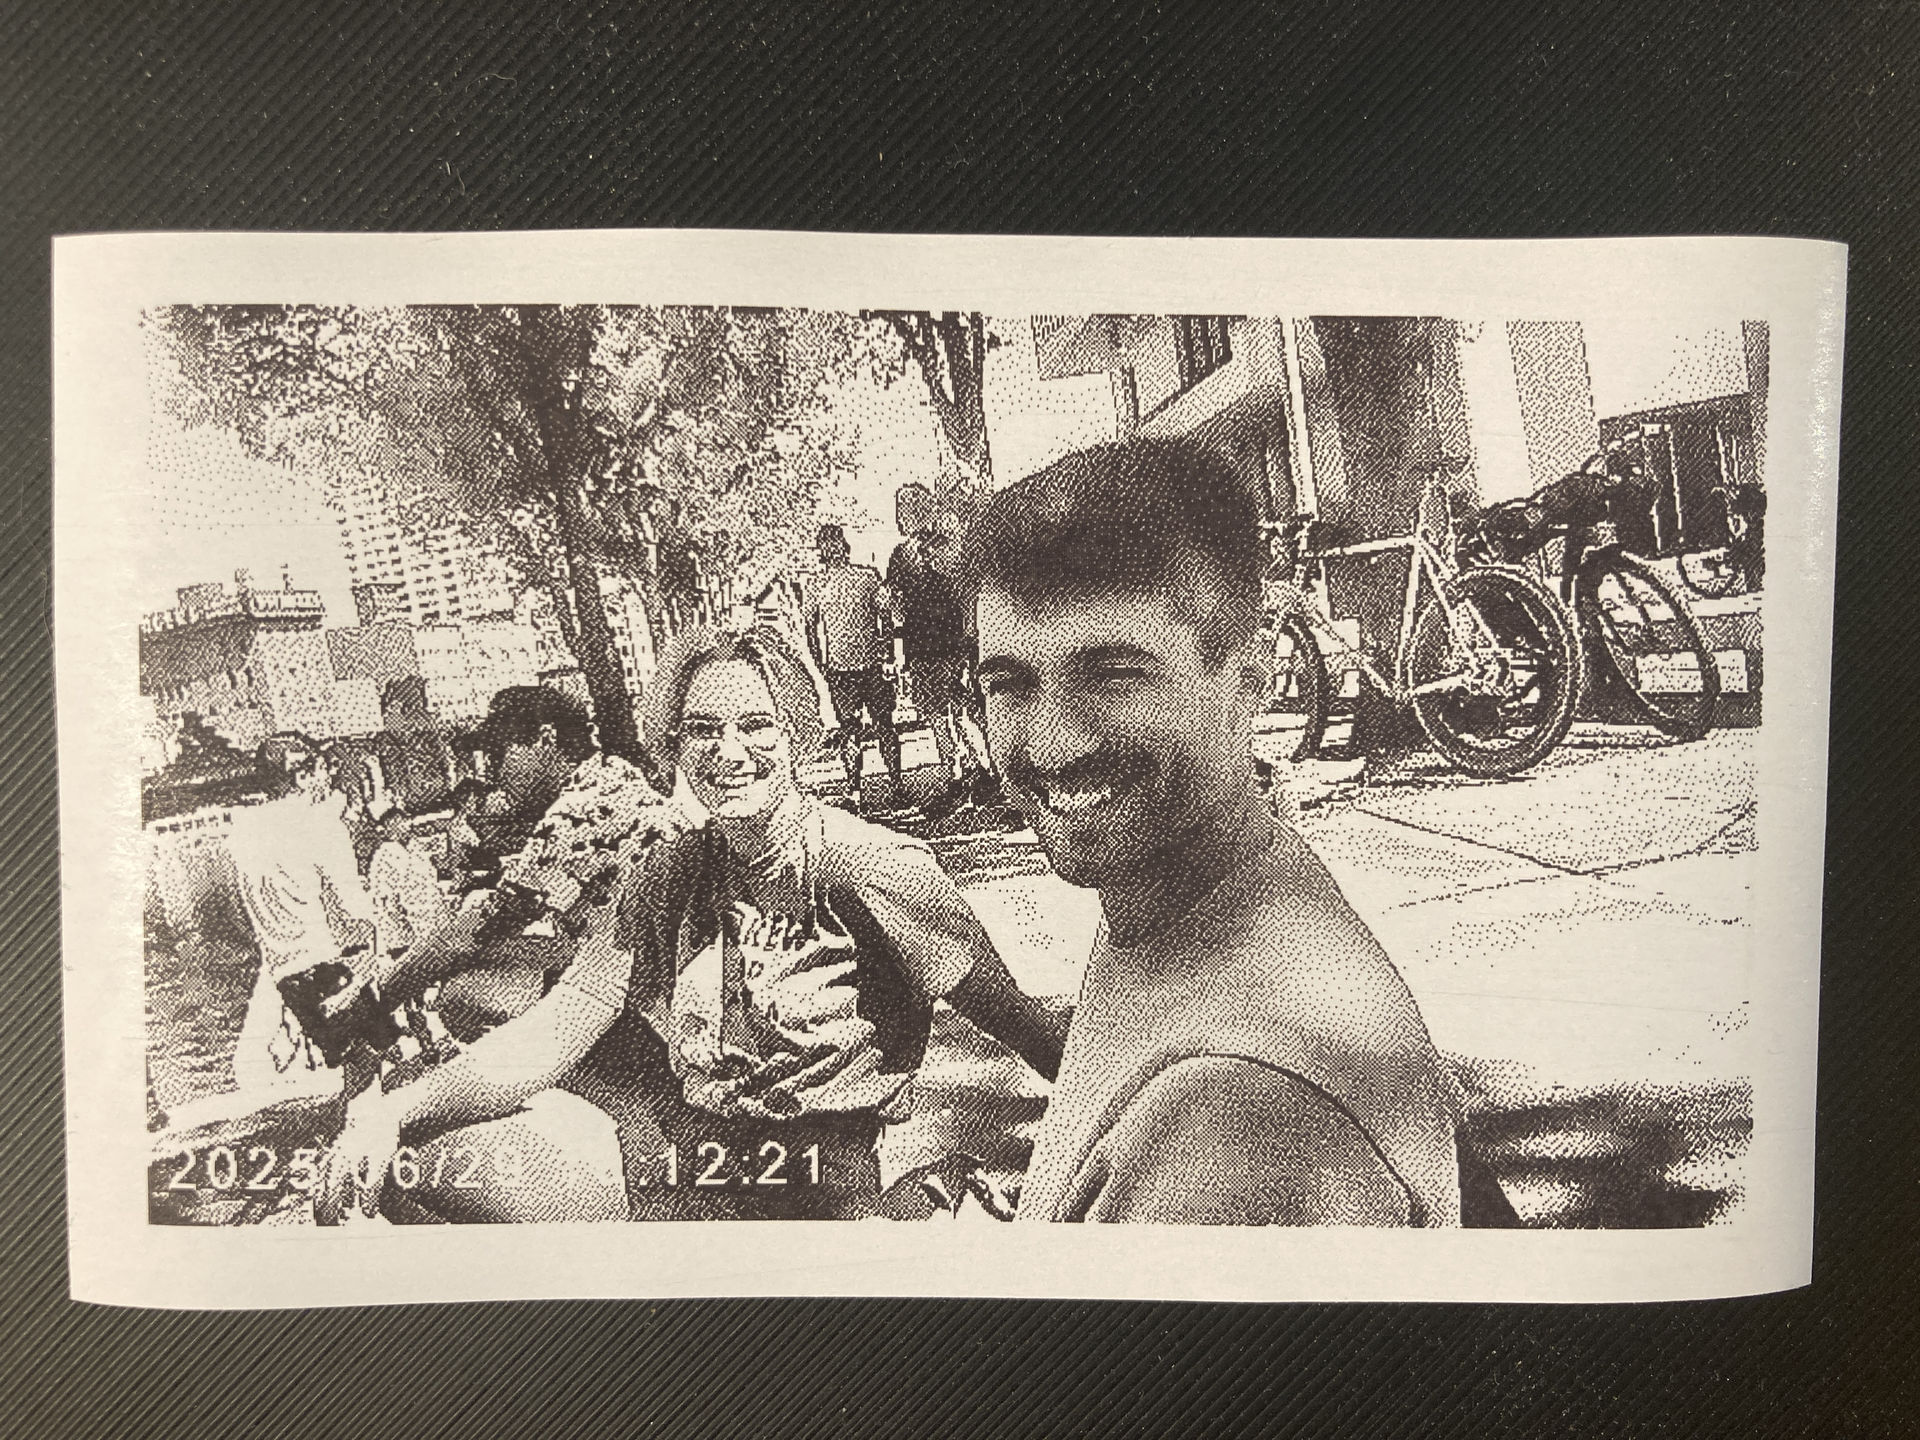
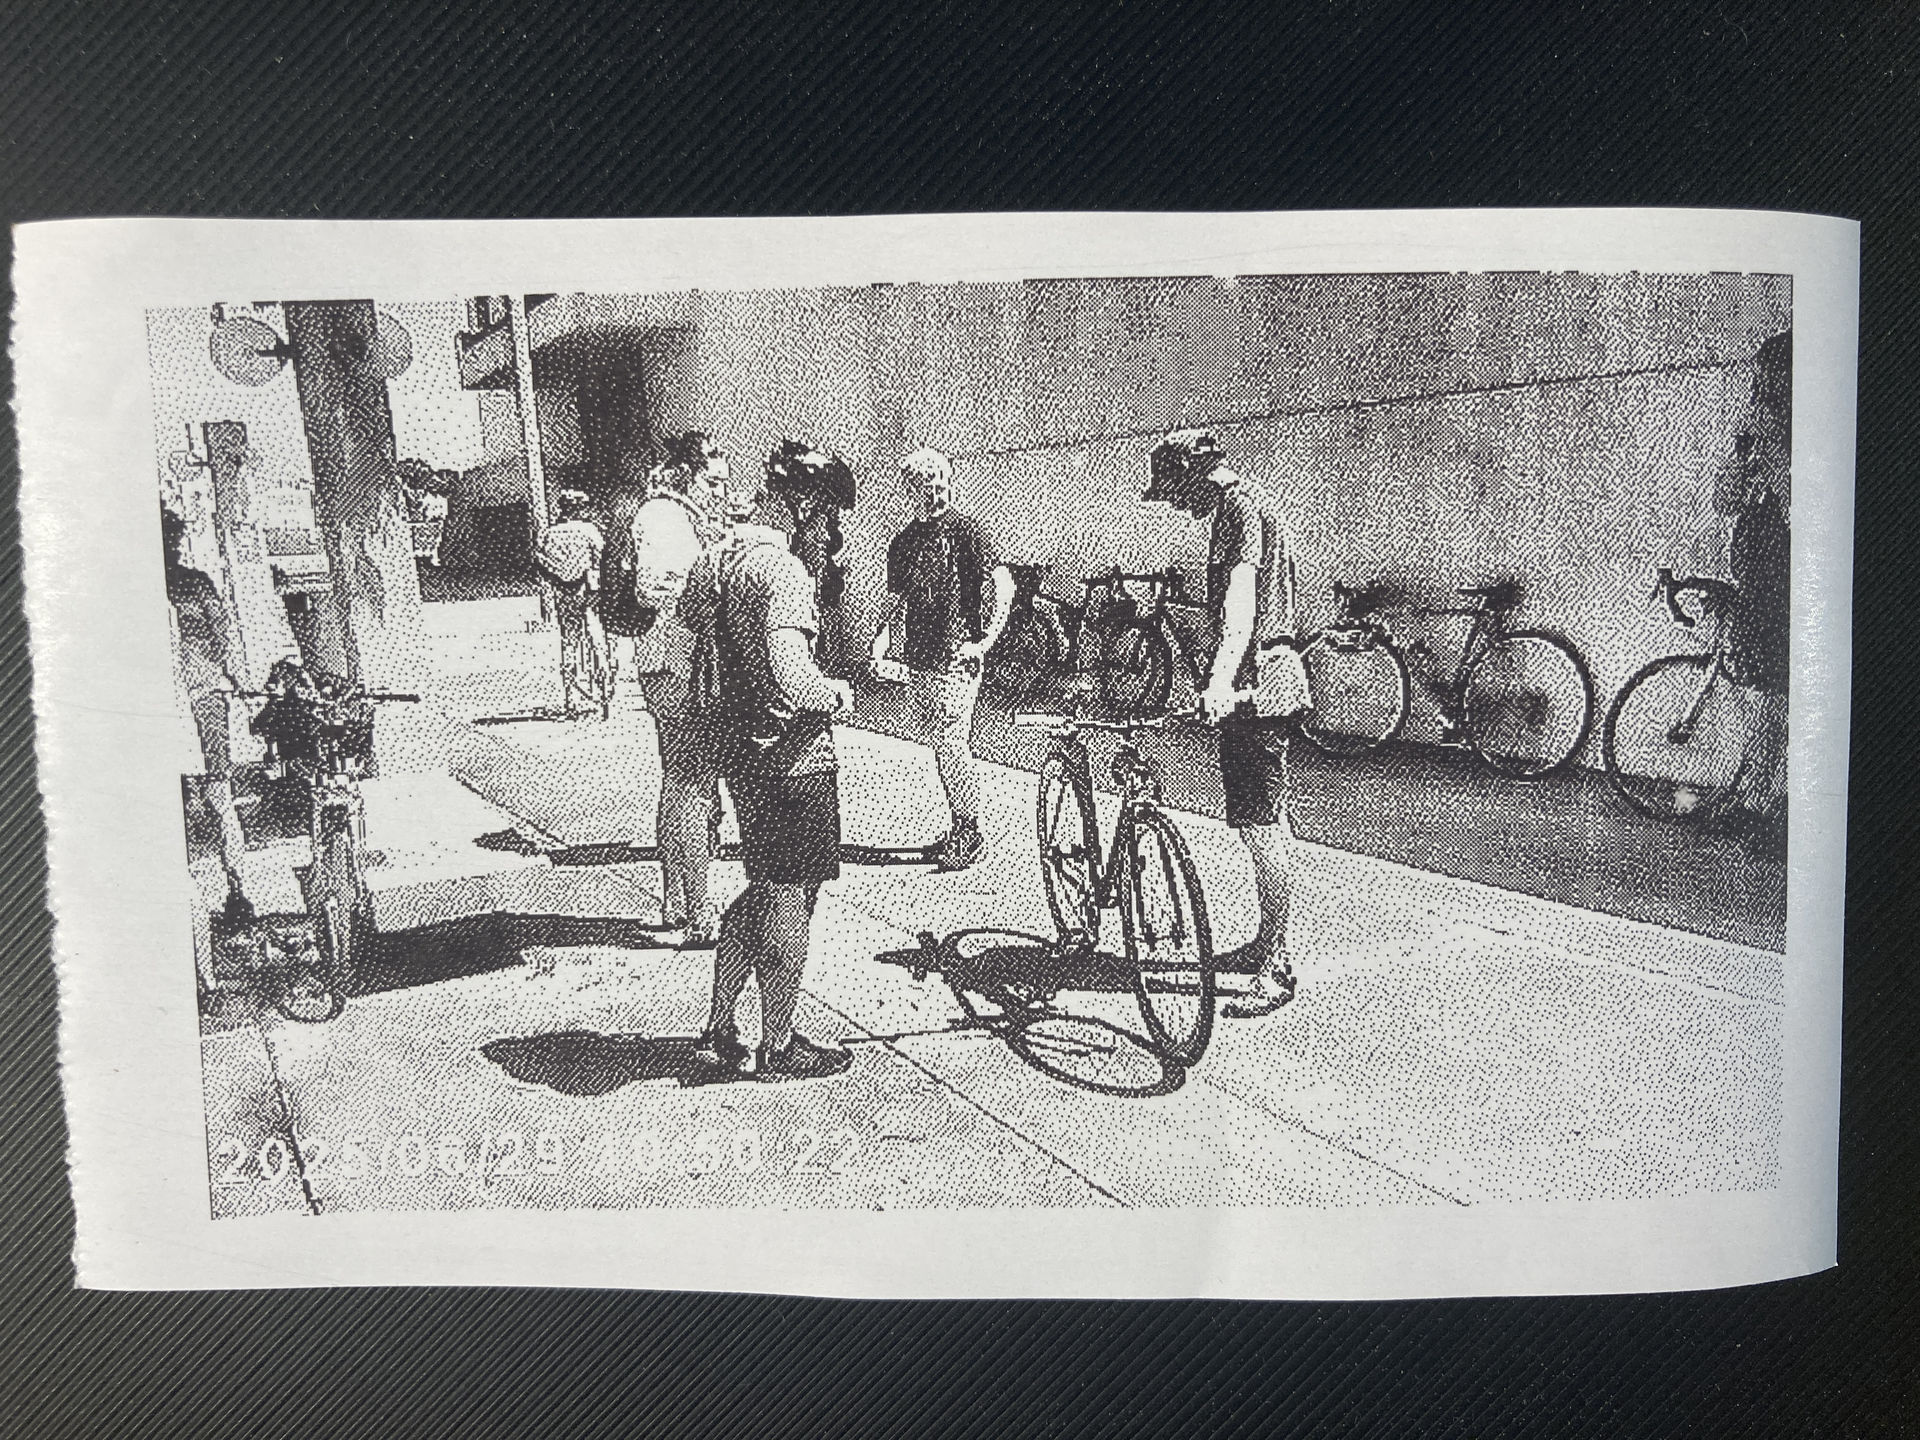
So from Tosa it was me, Matt, and Brian, who is one of the organizers of Scrappy Hour… Cool!
Brian is a lot of fun to ride with… we got going and a few blocks in he waved to some women on the sidewalk. I wondered if he knew them, but he sort of chuckled.
And this continued… He waved to kids, adults, and whoever else was out and about. It was actually pretty cool. I tend to be head-down when I ride on my own but seeing him wave to everyone was neat.
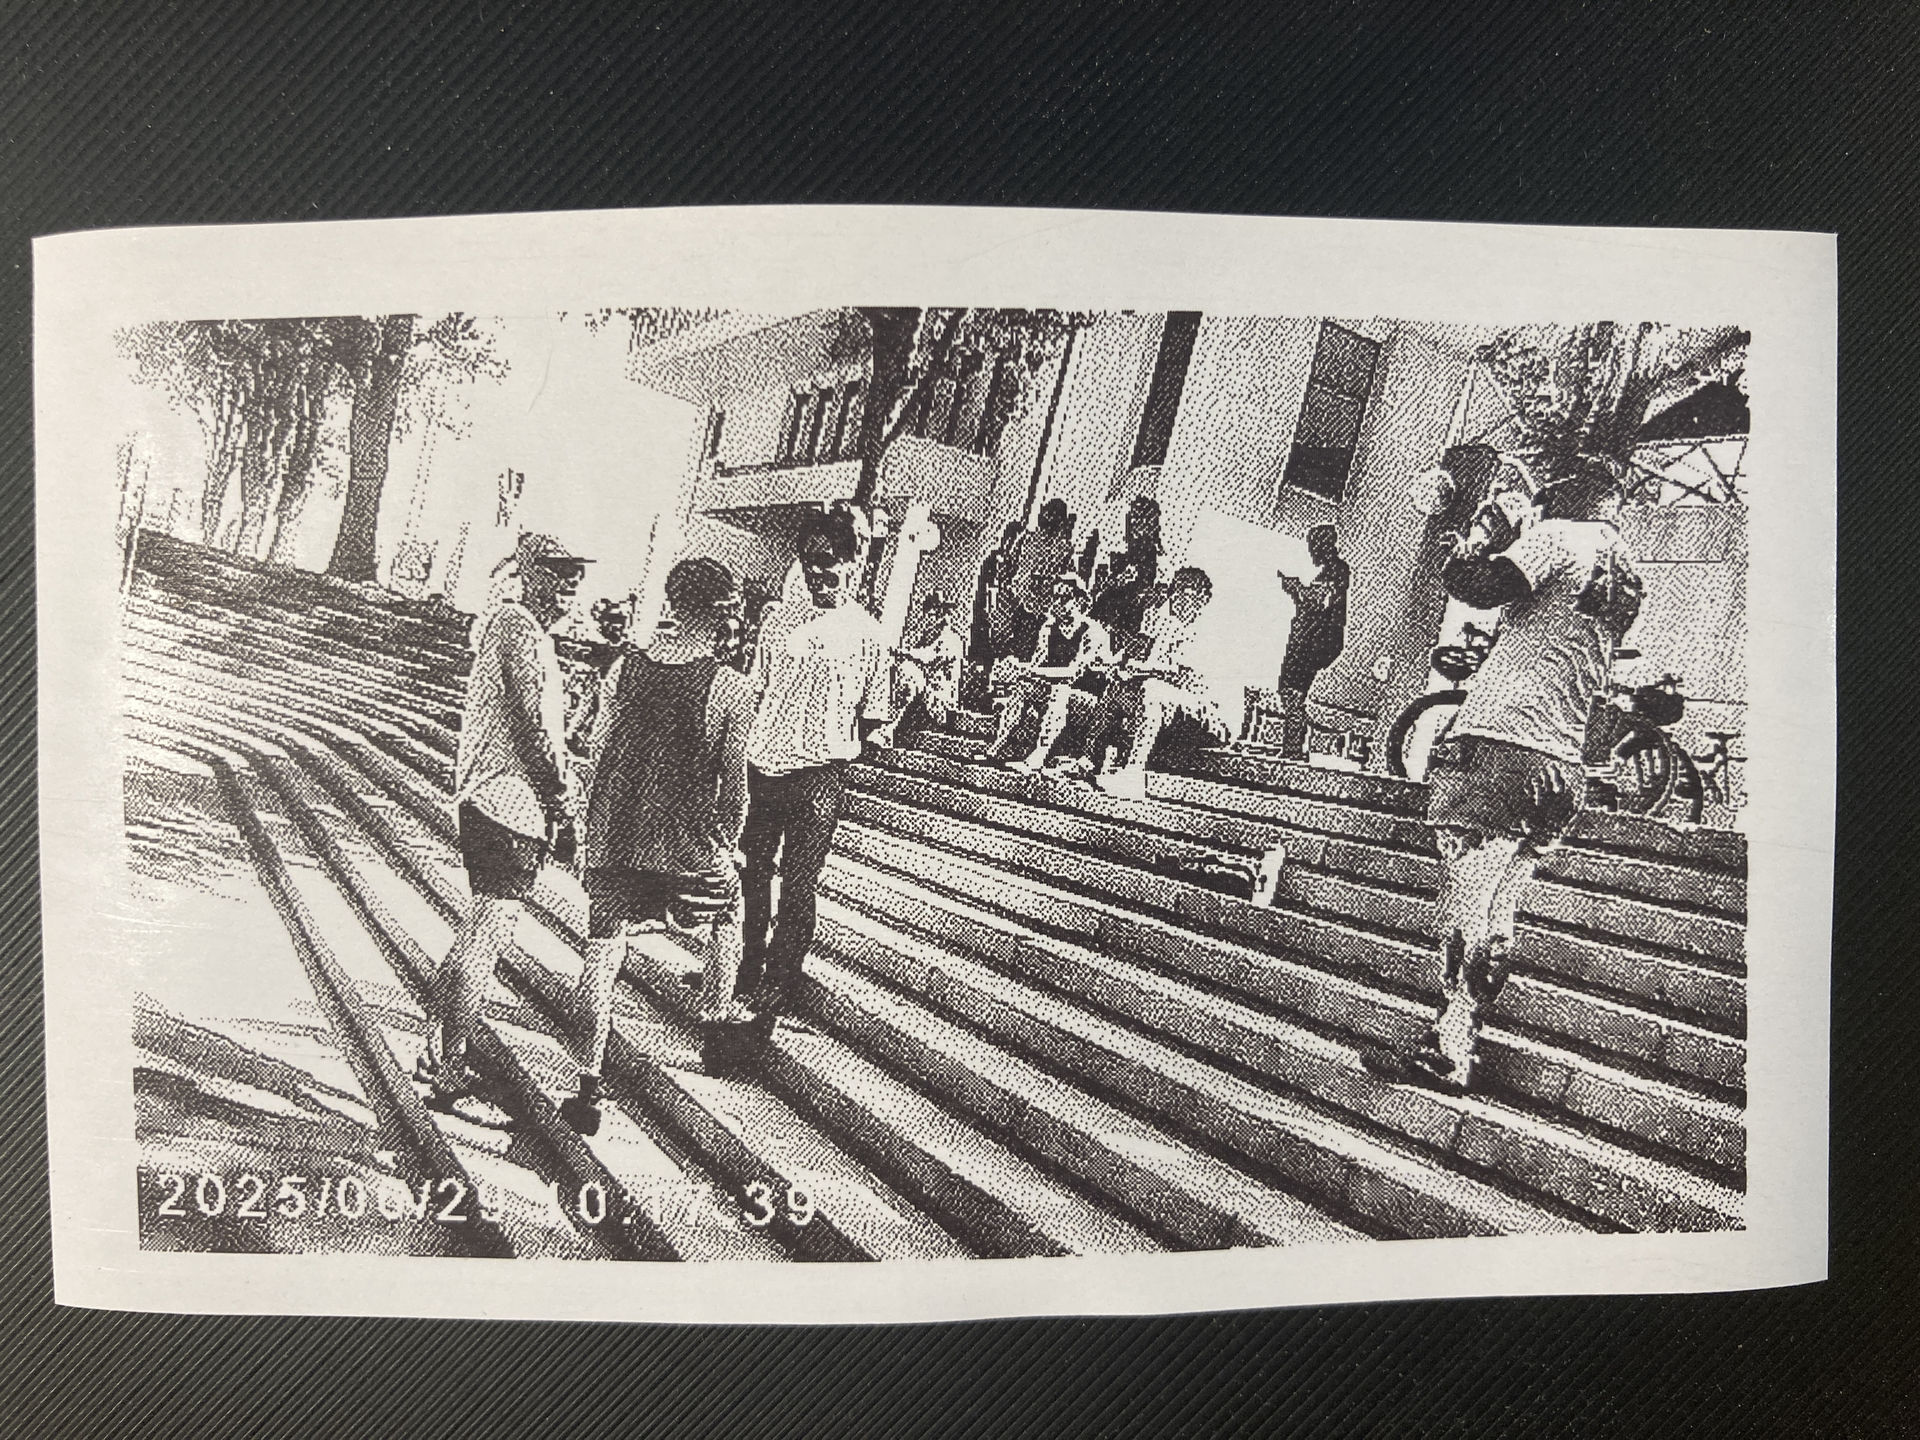
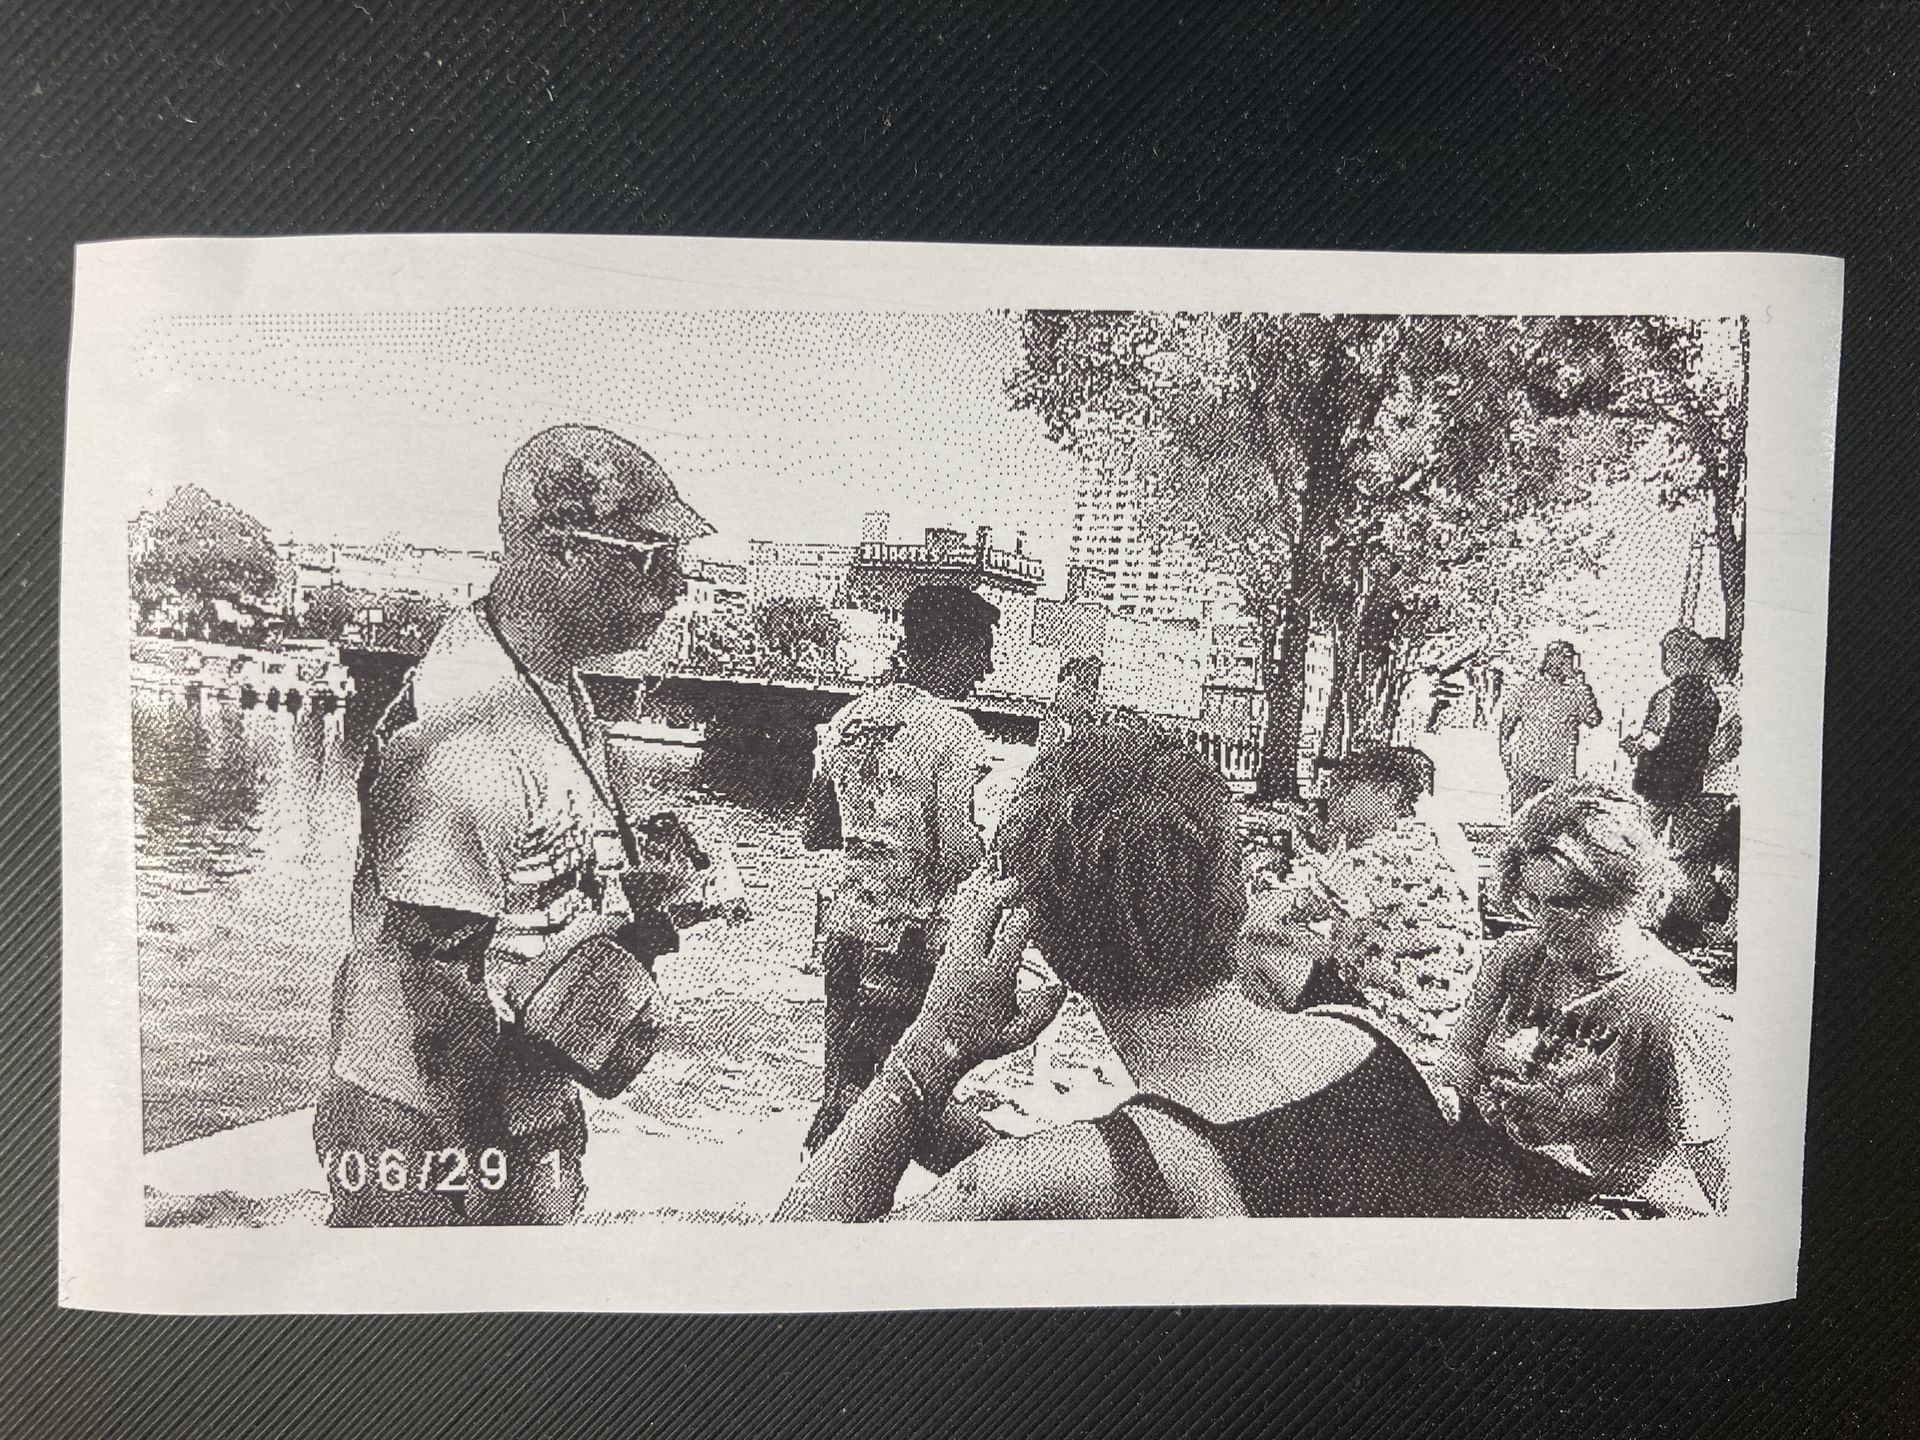
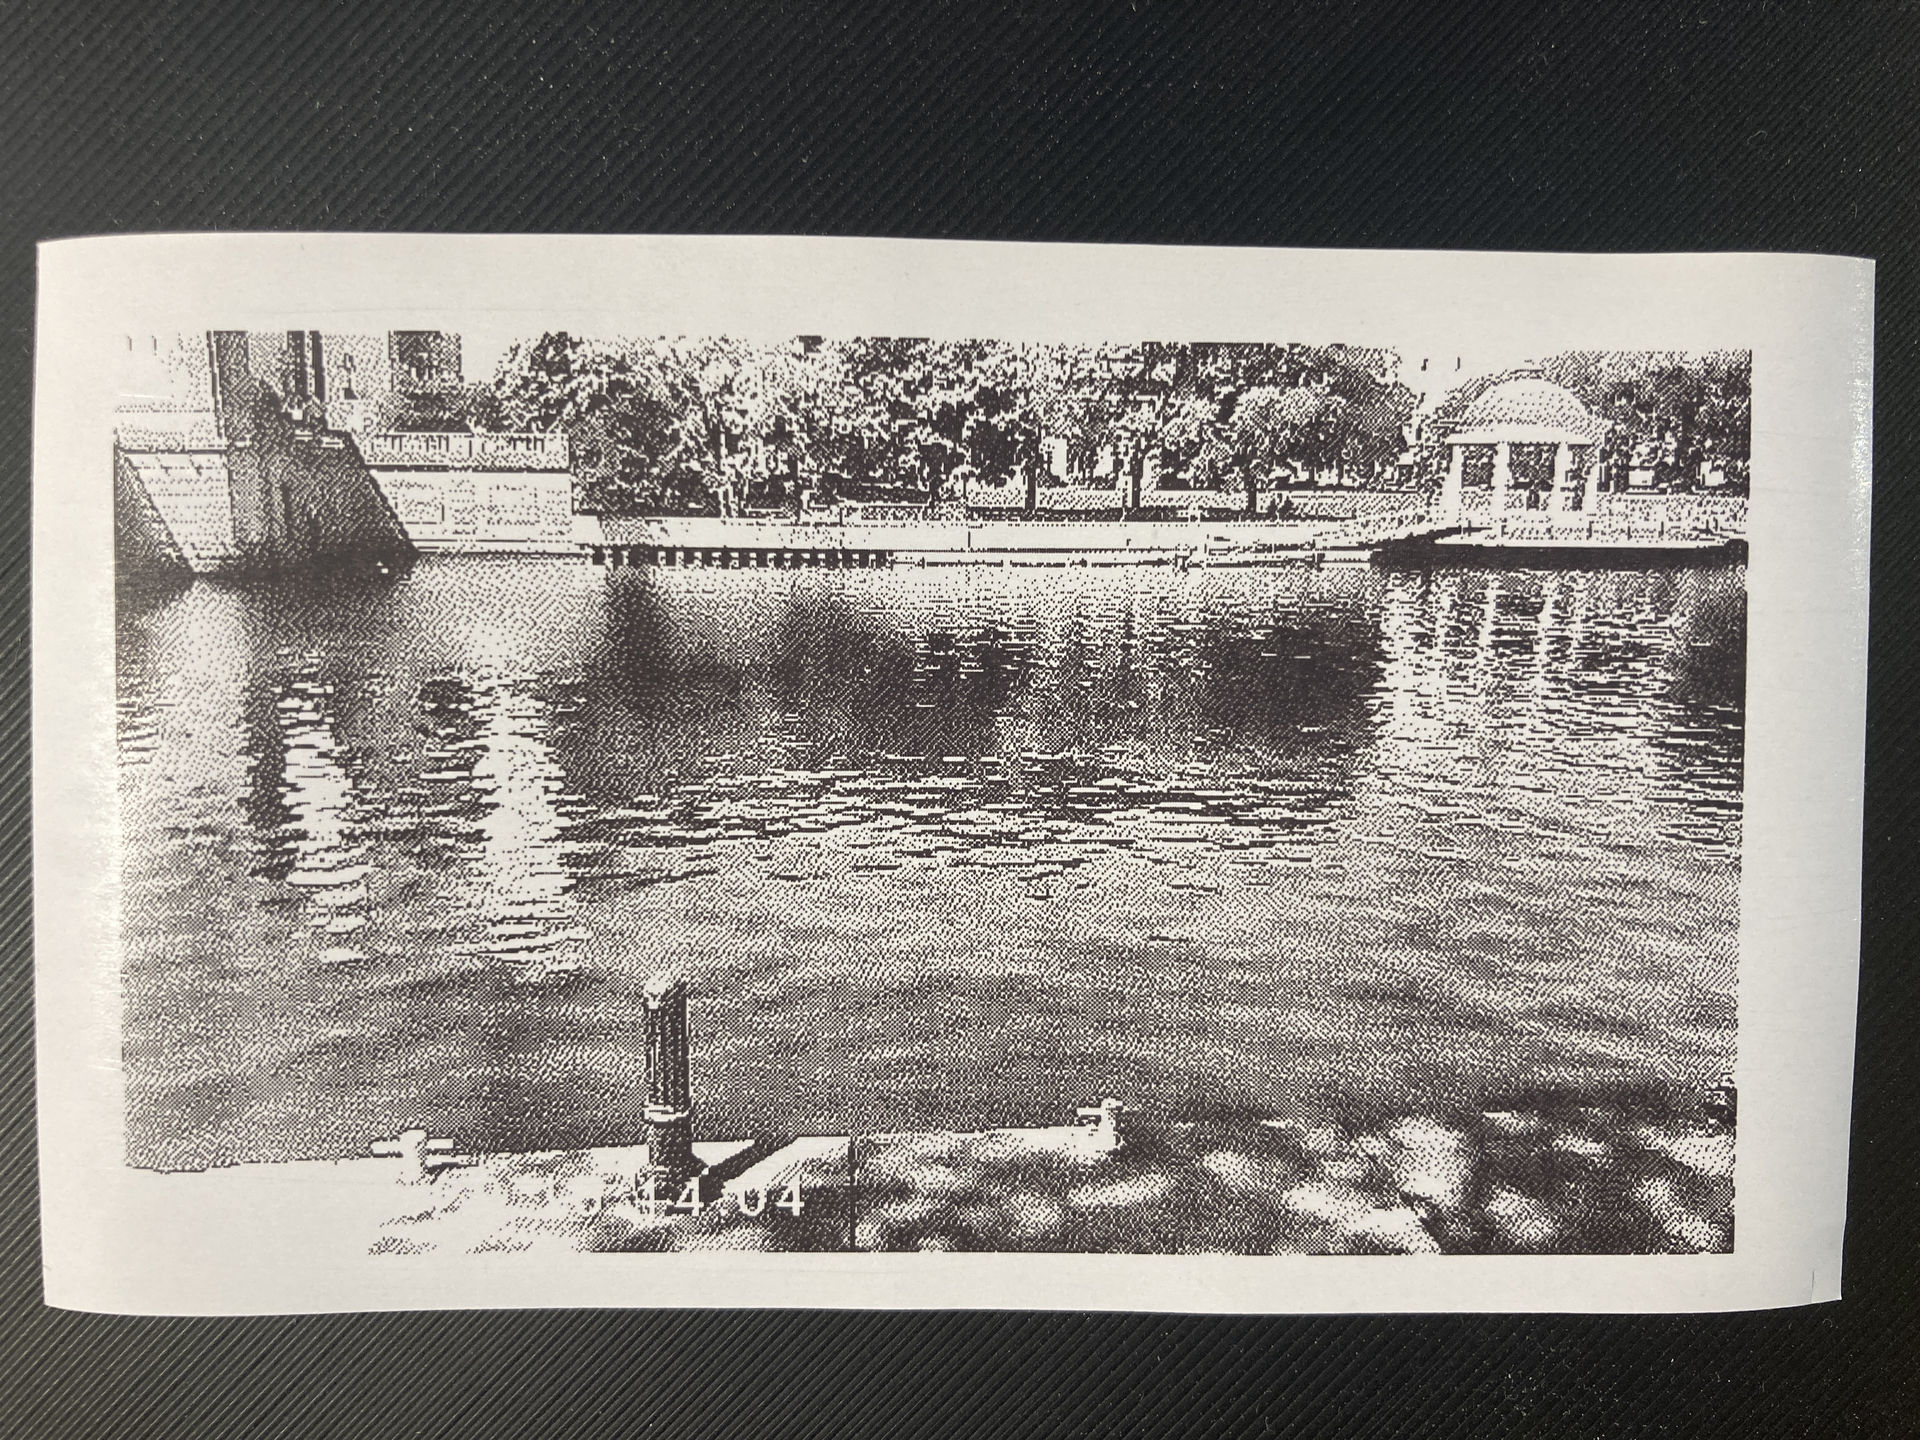
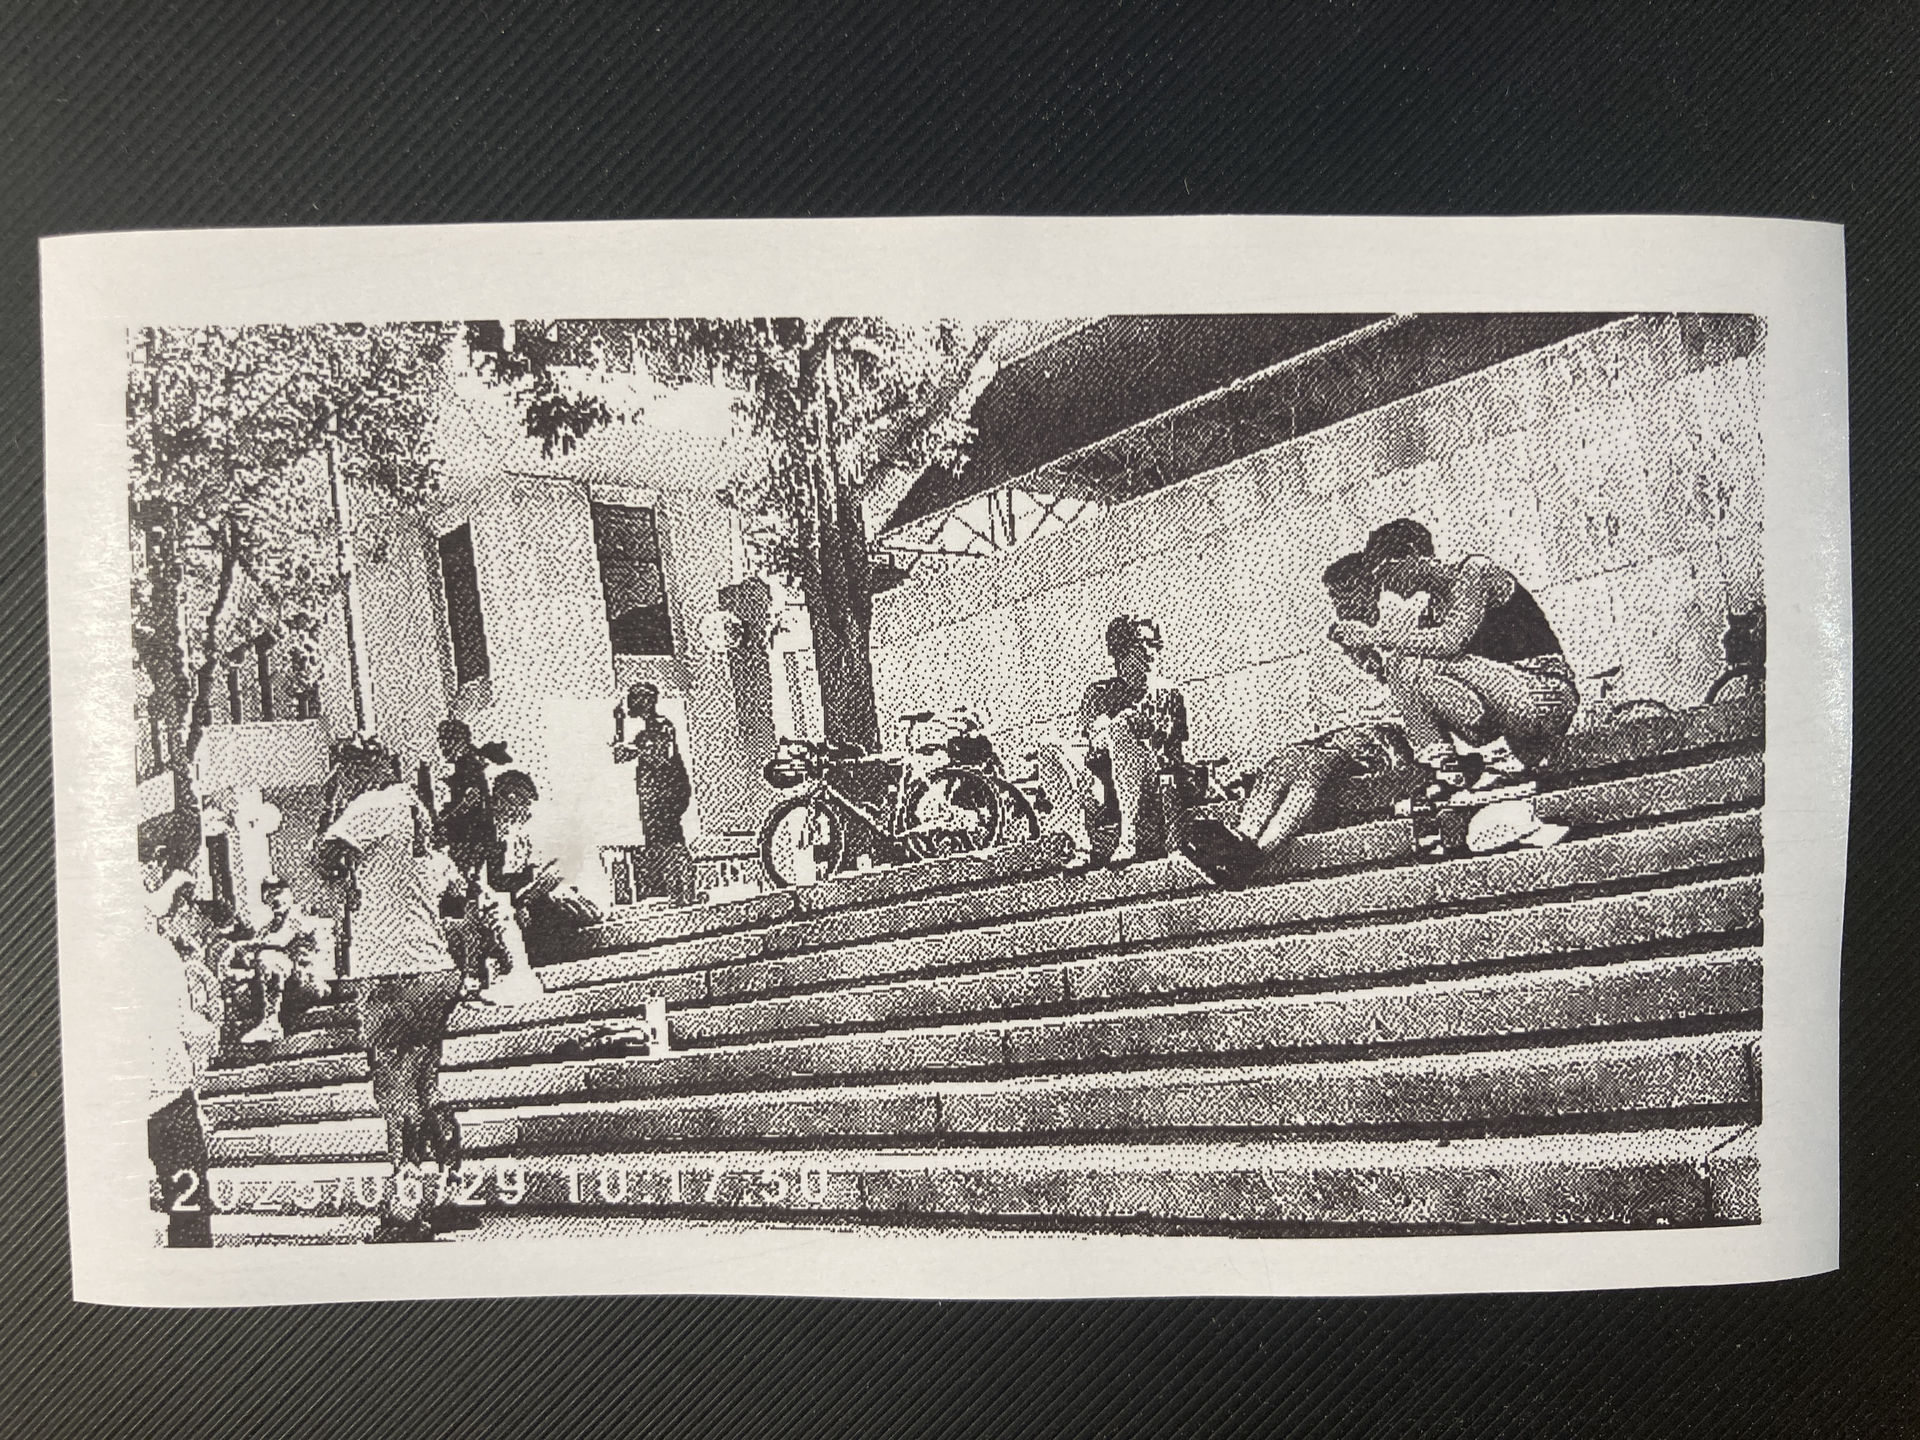
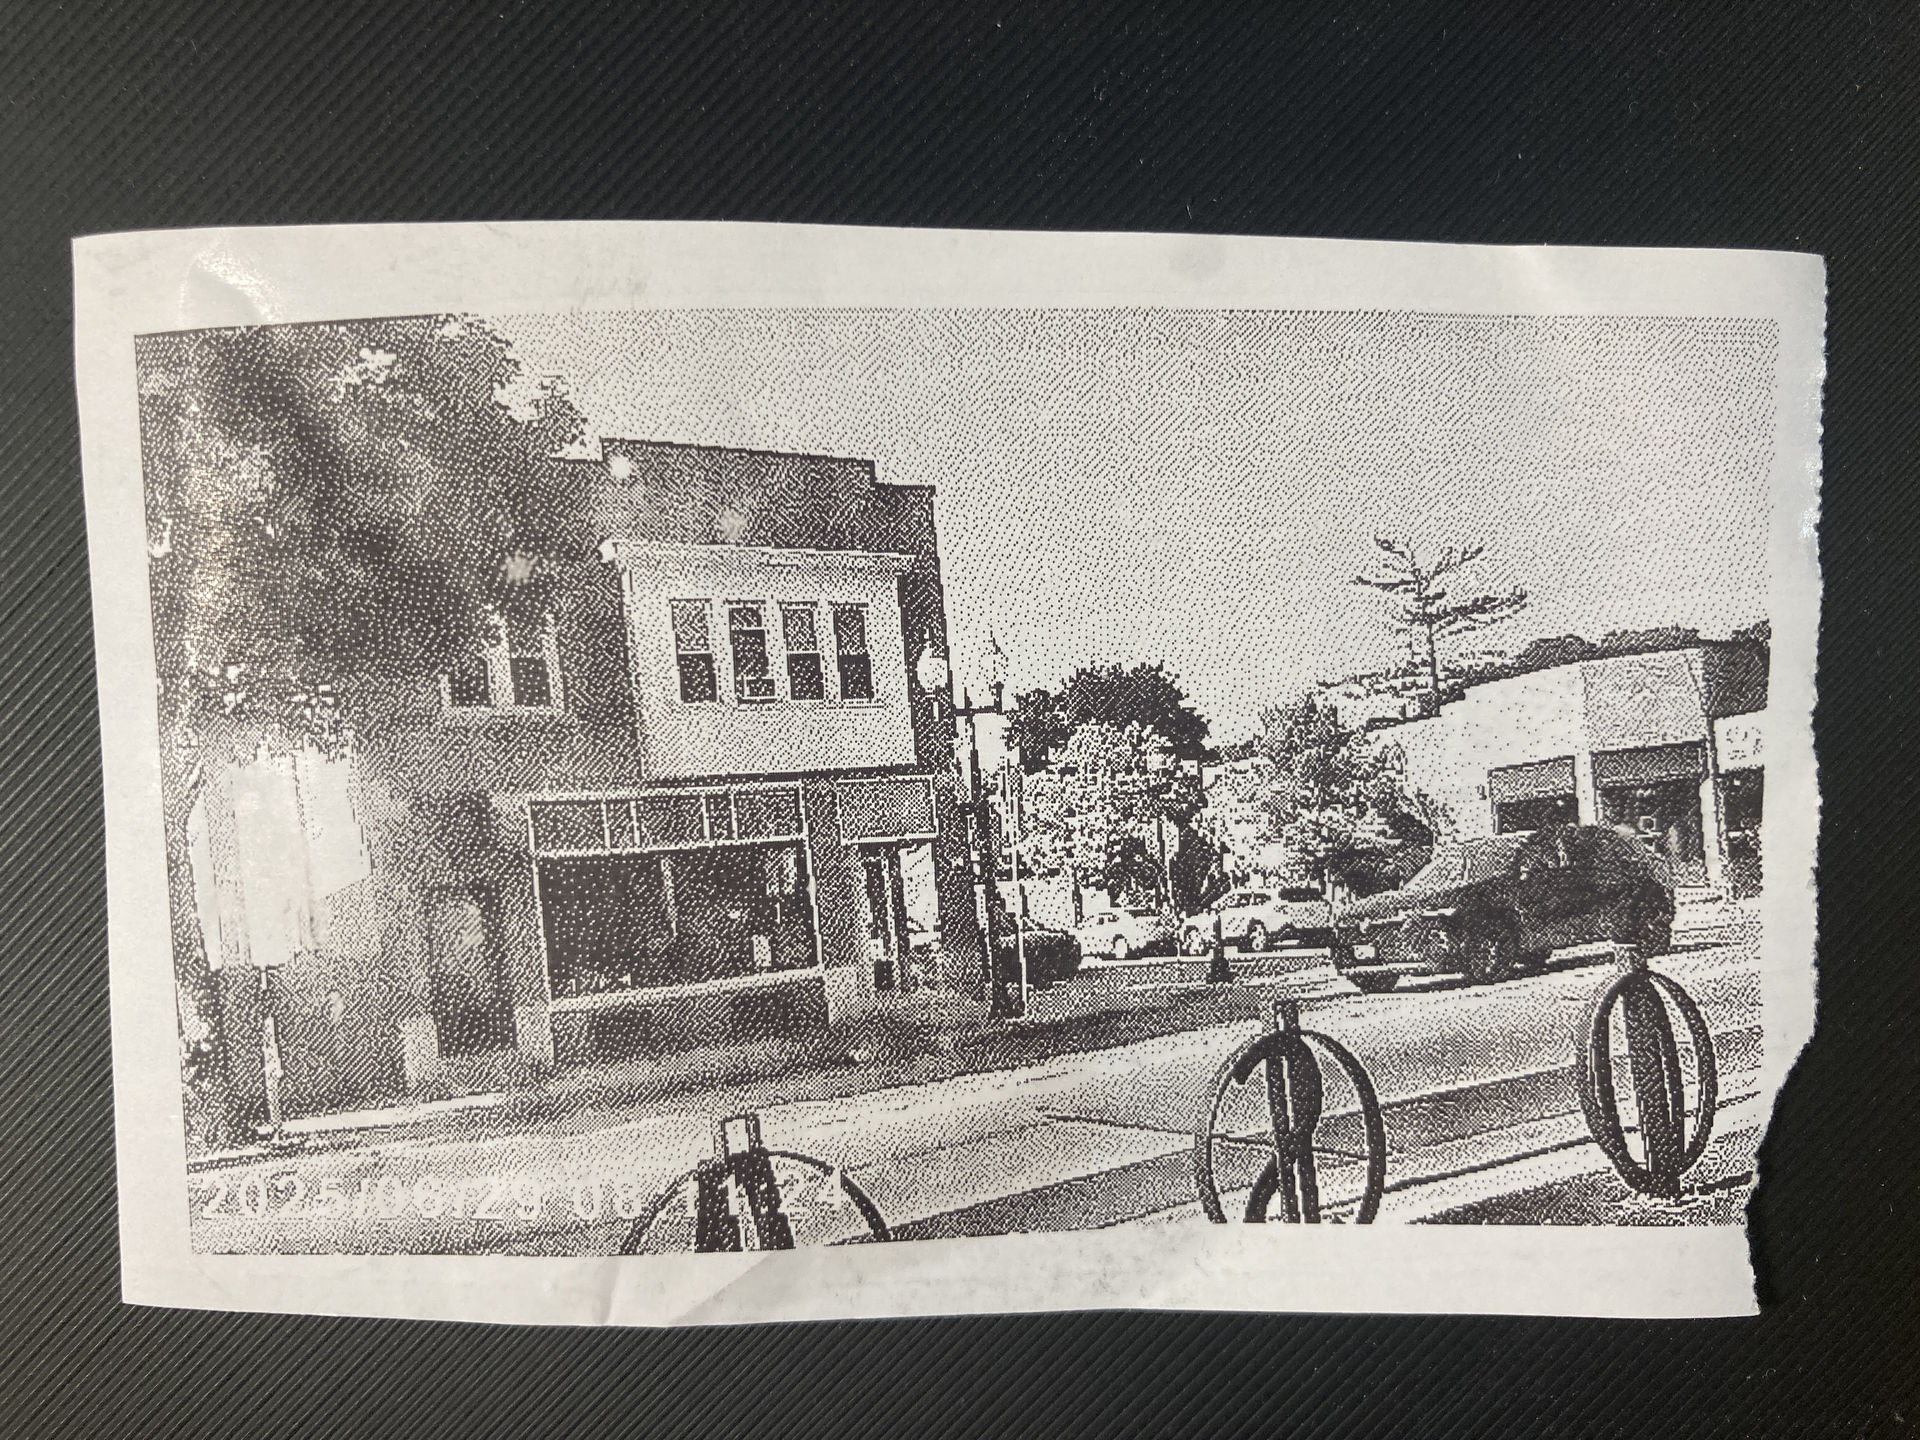
This time we rode to the steps behind the Marcus Performing Arts Center. We ride to a different location each month. For us riding from Tosa that usually means downhill there and uphill back. I’m getting better at uphill though…
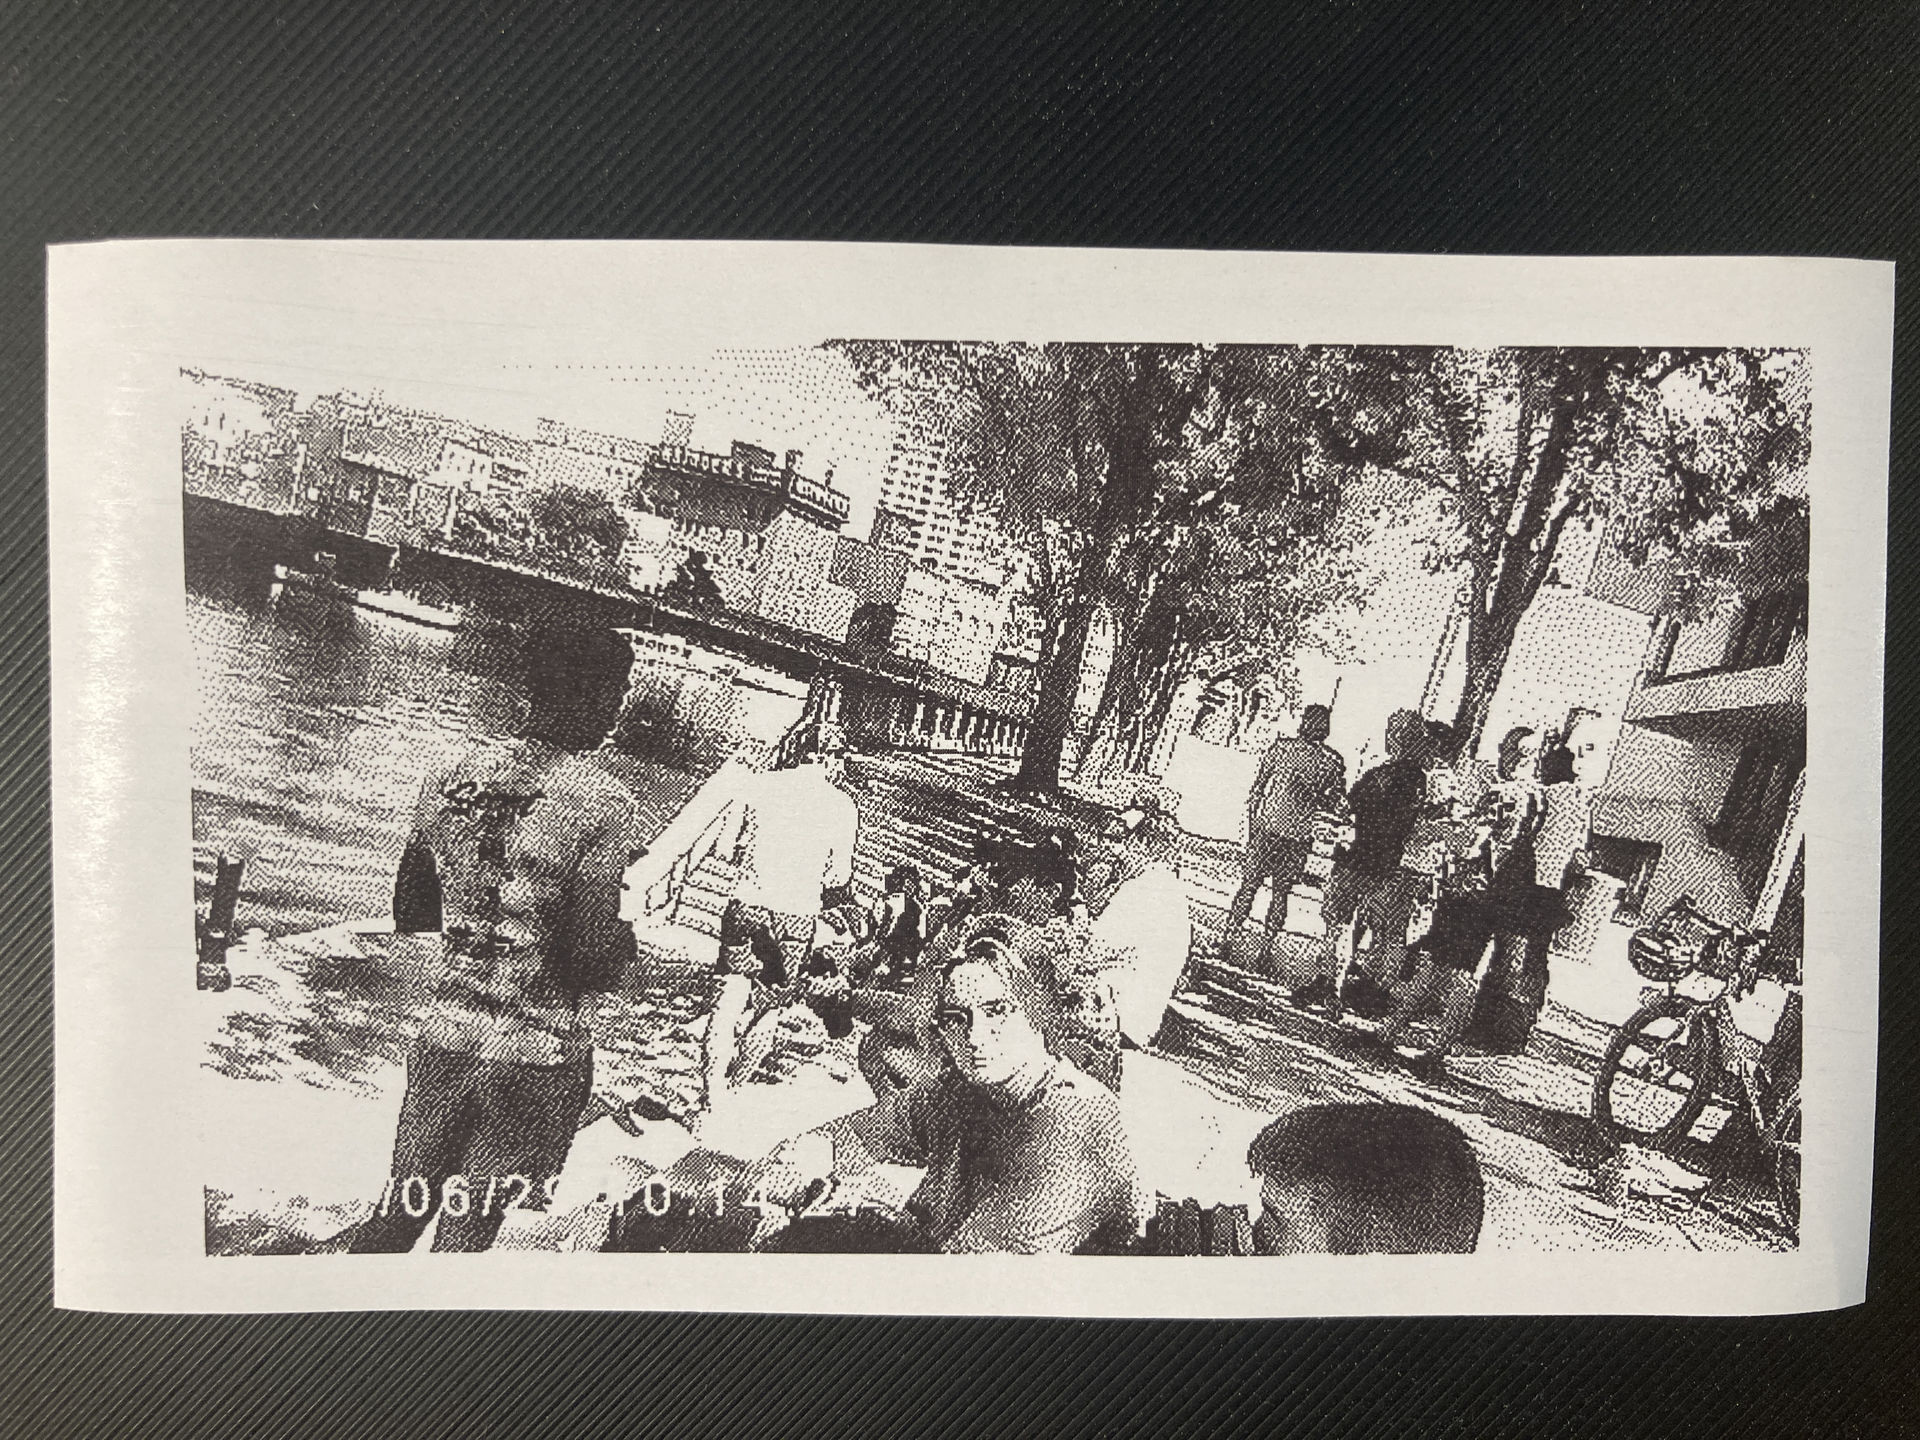
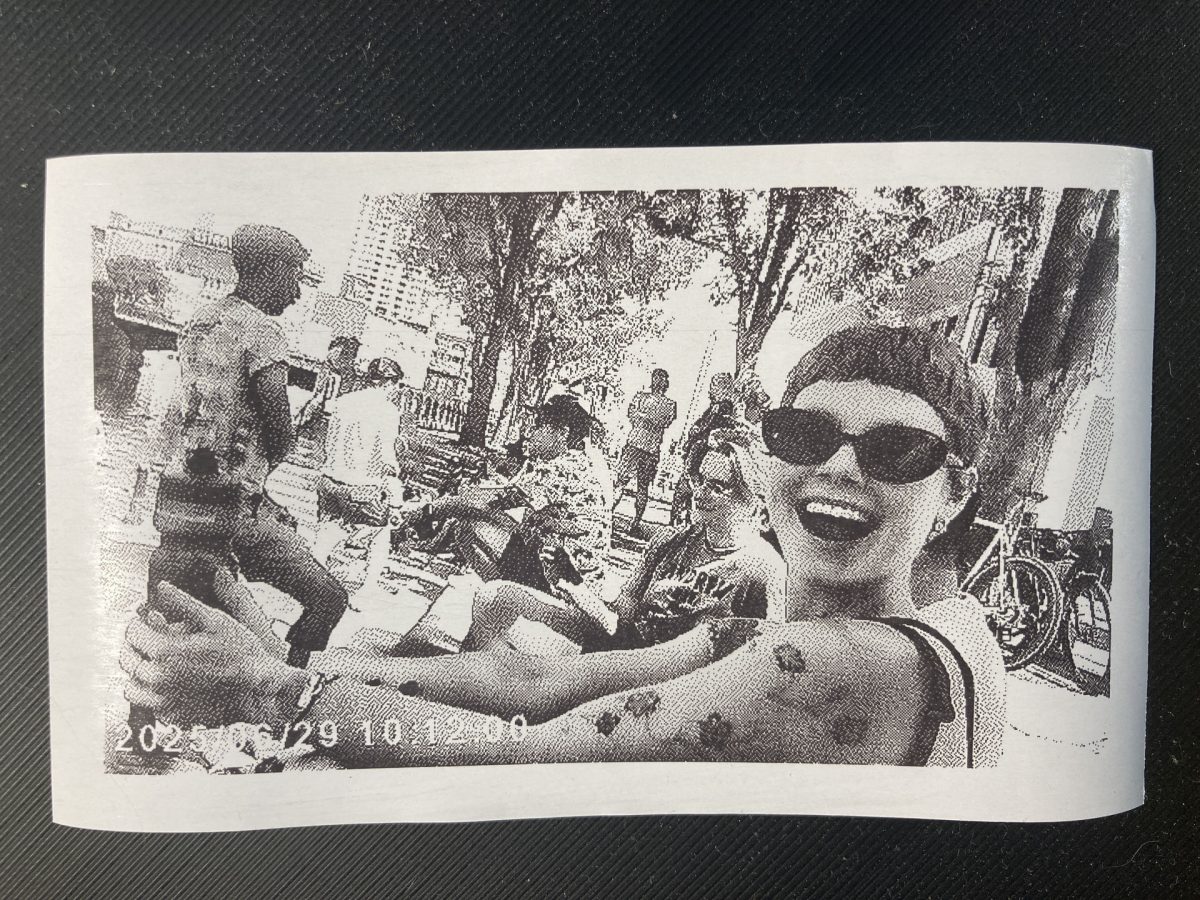
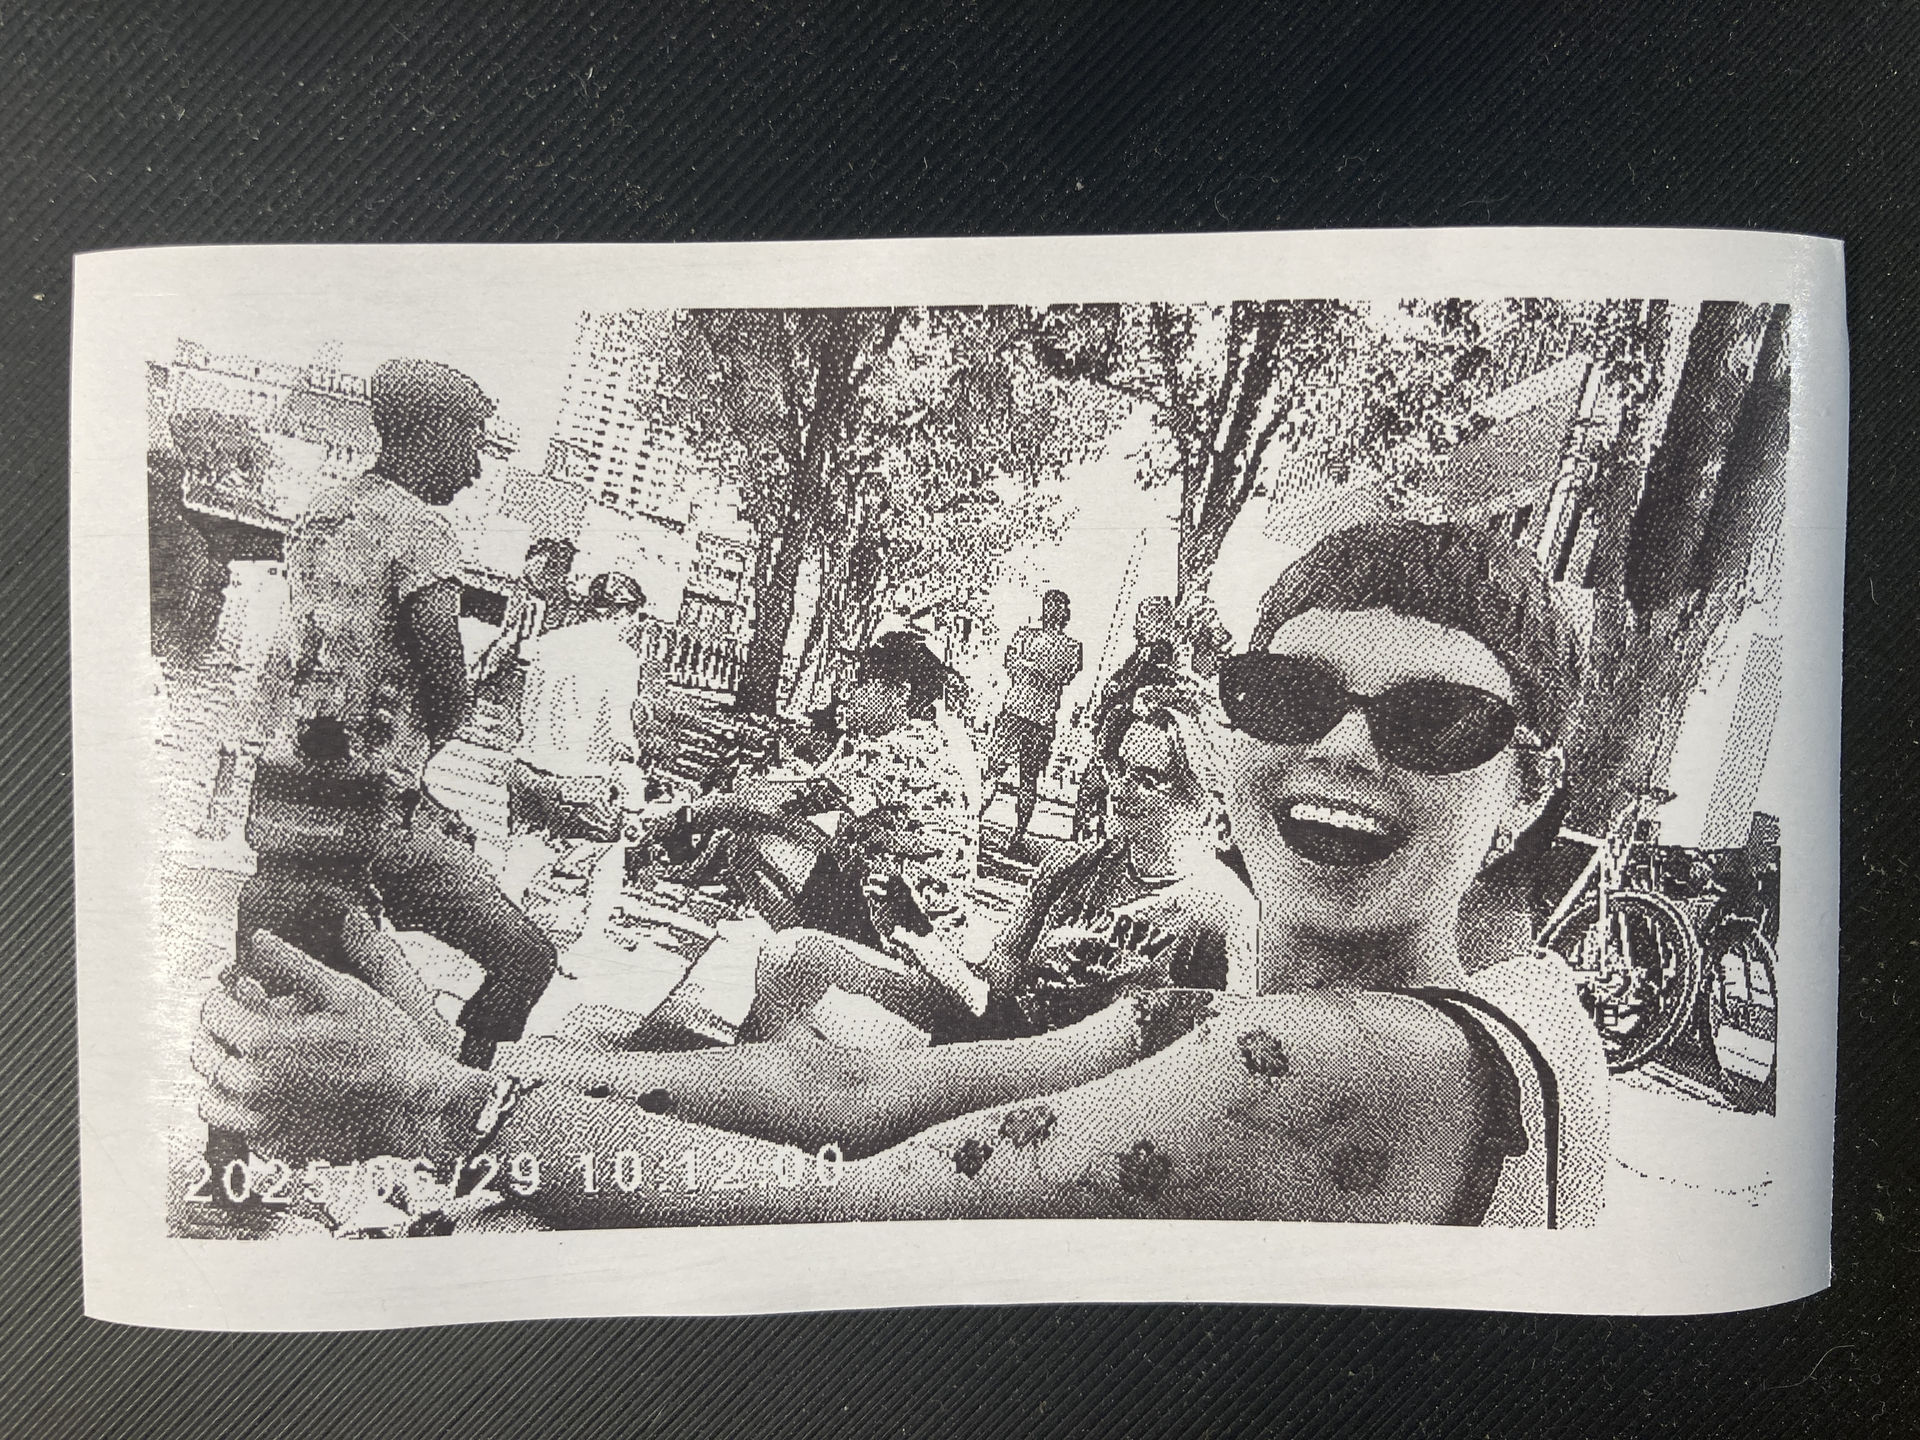
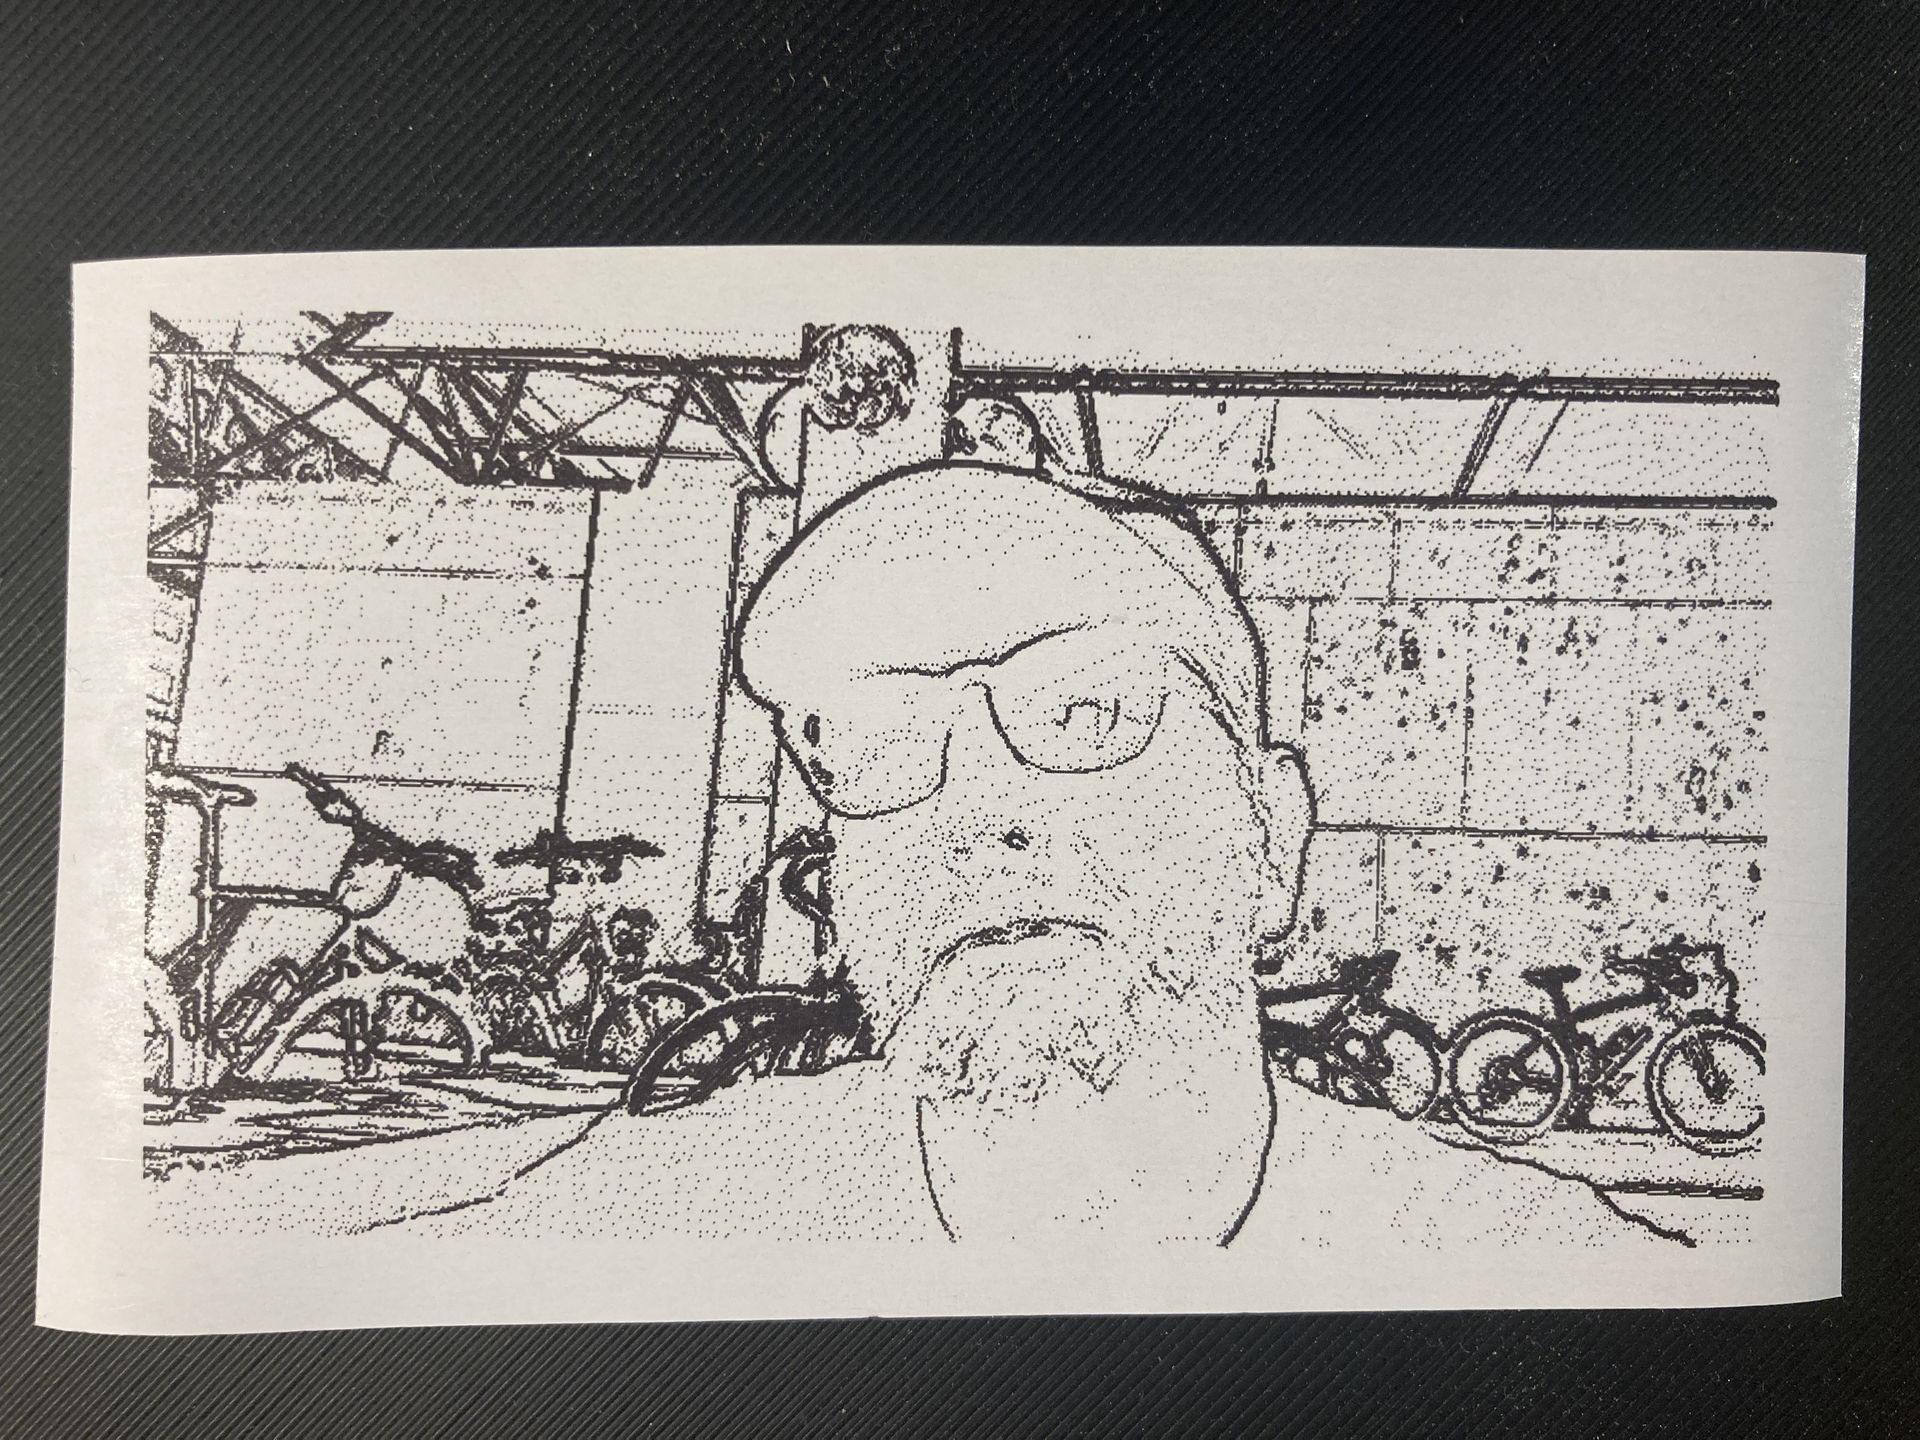
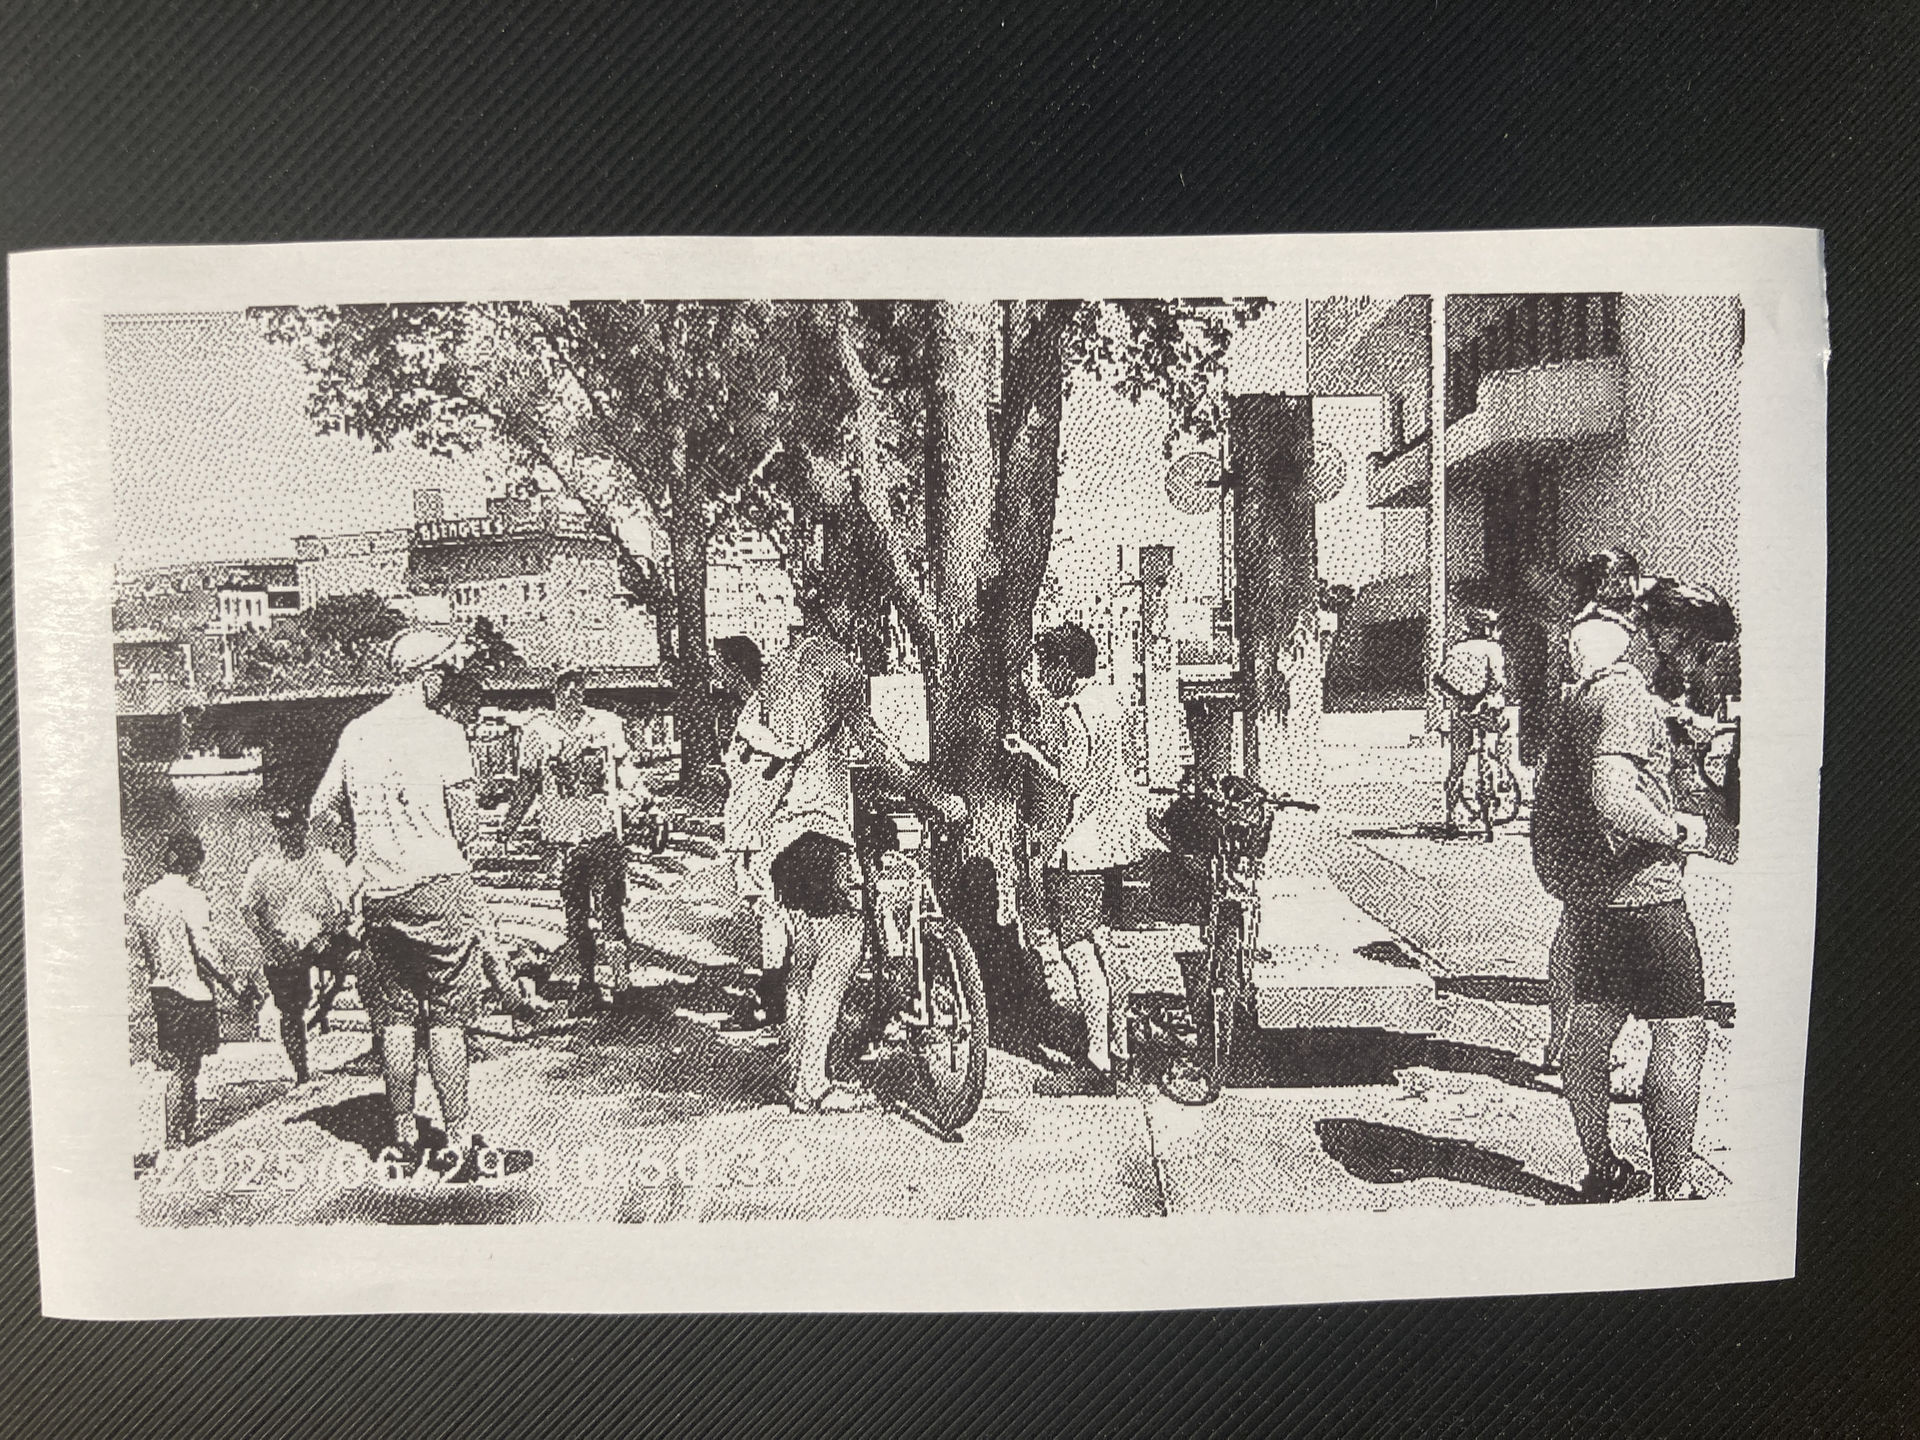
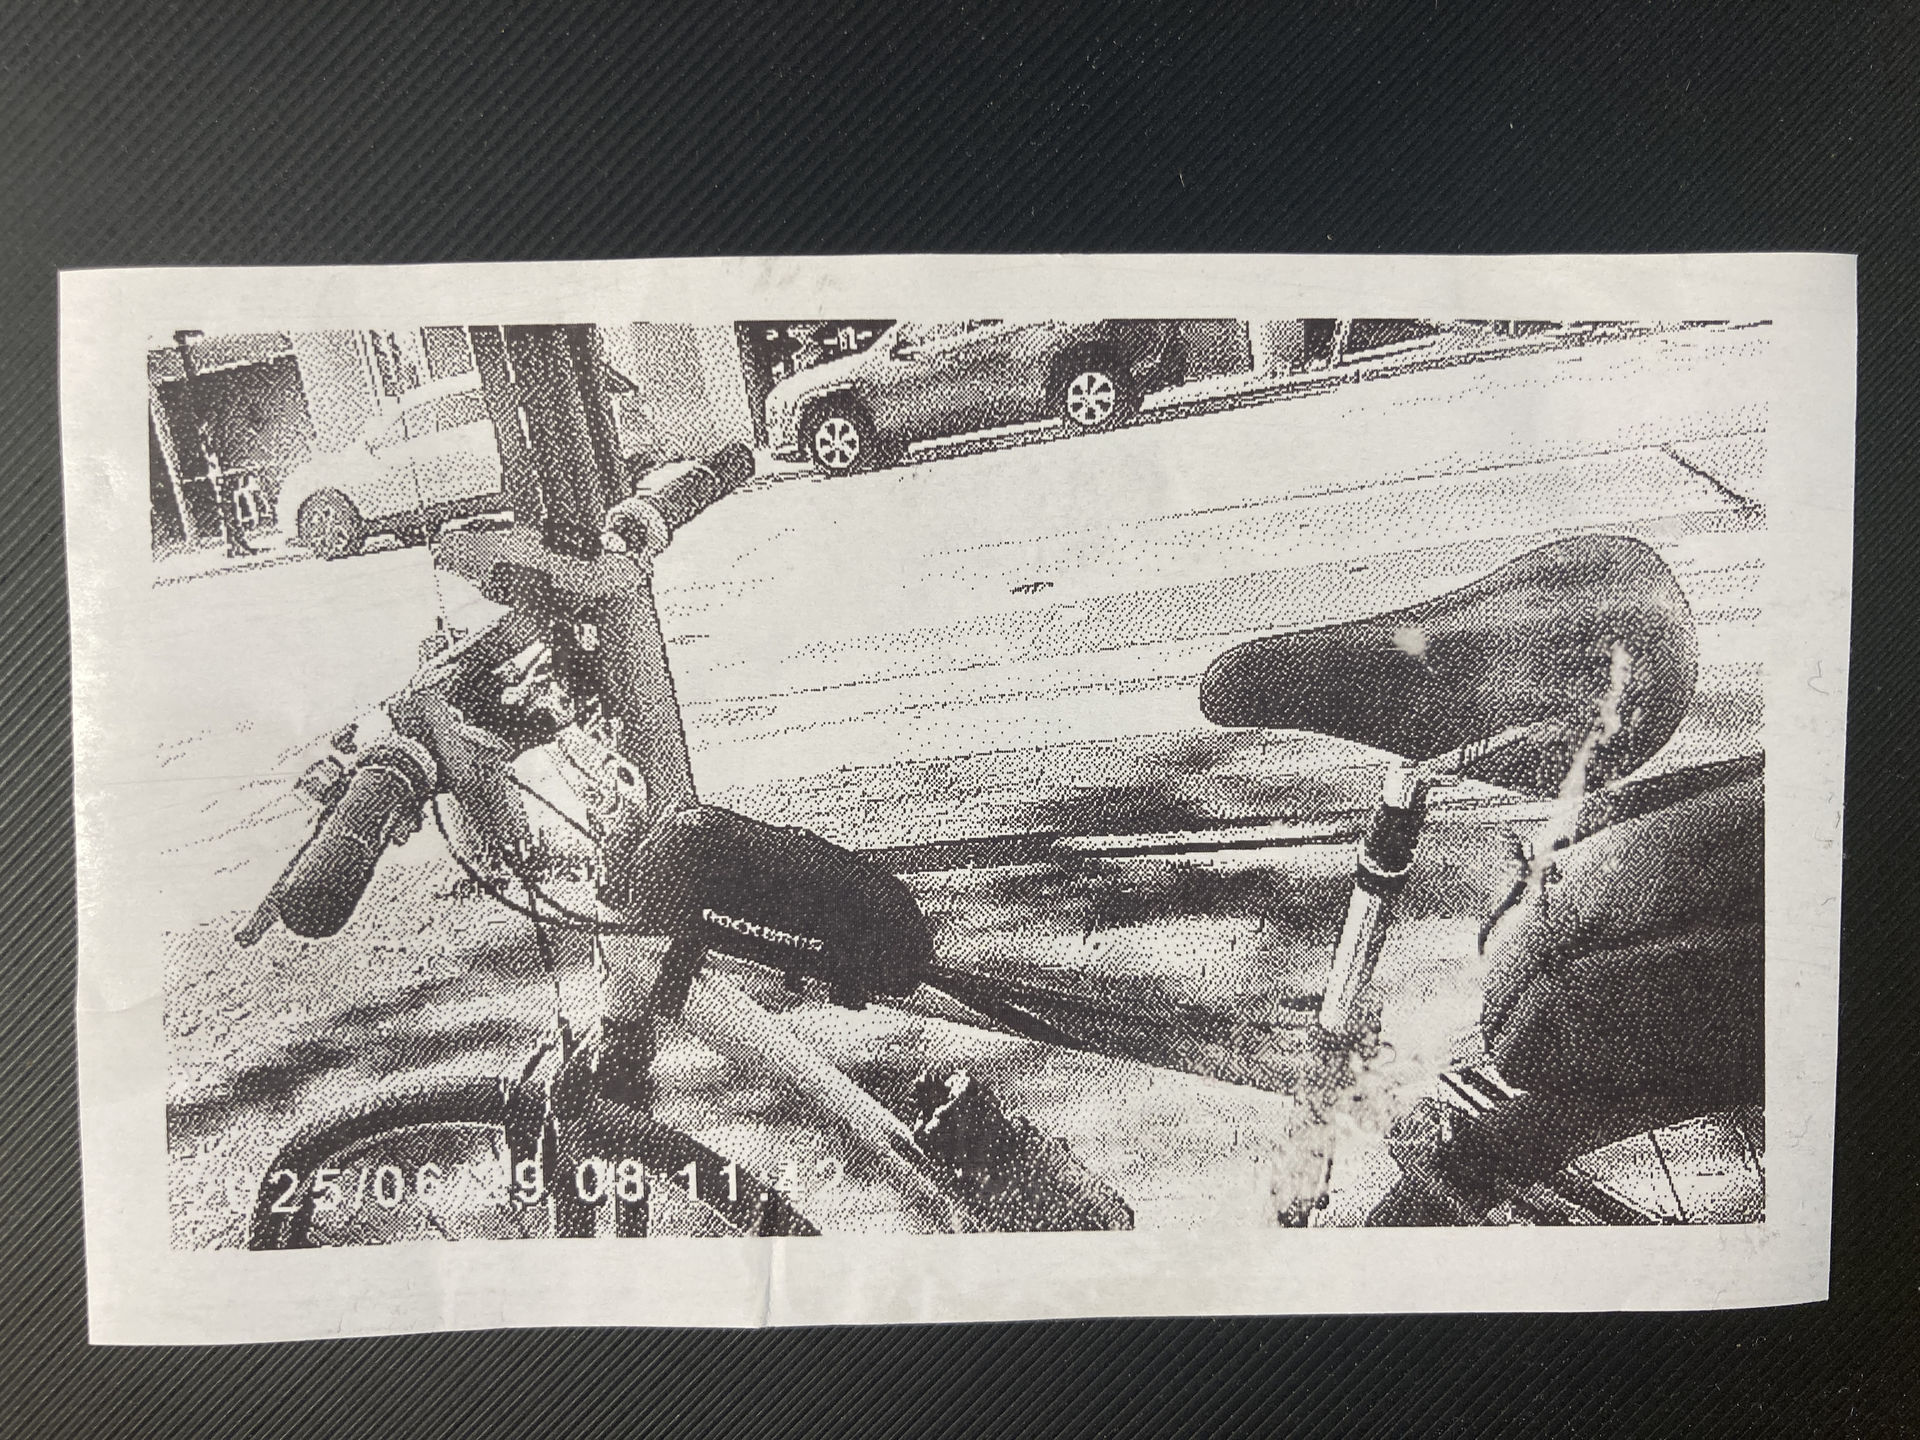
I once again had the Kids Camera Instant Print (get your own!) and shot some photos, which you see here!
Matt told me a lot about his riding and how to properly do stats by looking at watts generated instead of just miles and hours (which I do now). Maybe I’ll try to measure watts for 2026.
Did I mention it was hot? It was way too hot. I’ve learned that one water bottle is not enough for a hot day.
I still think I’m the oldest person on these rides… I’m guessing I’m twice the age of some of the riders, but it’s all cool… we all ride bikes!
Maybe we’ll see you time! The Scrappy Hour ride is the last Sunday of the month. Right now if you want to find out about rides check out Scrappy Hour MKE on Instagram. There is also mailing list. (Email scrappyhourmke@gmail.com to get added!)
Note: This post contains an Affiliate Link. Read More.