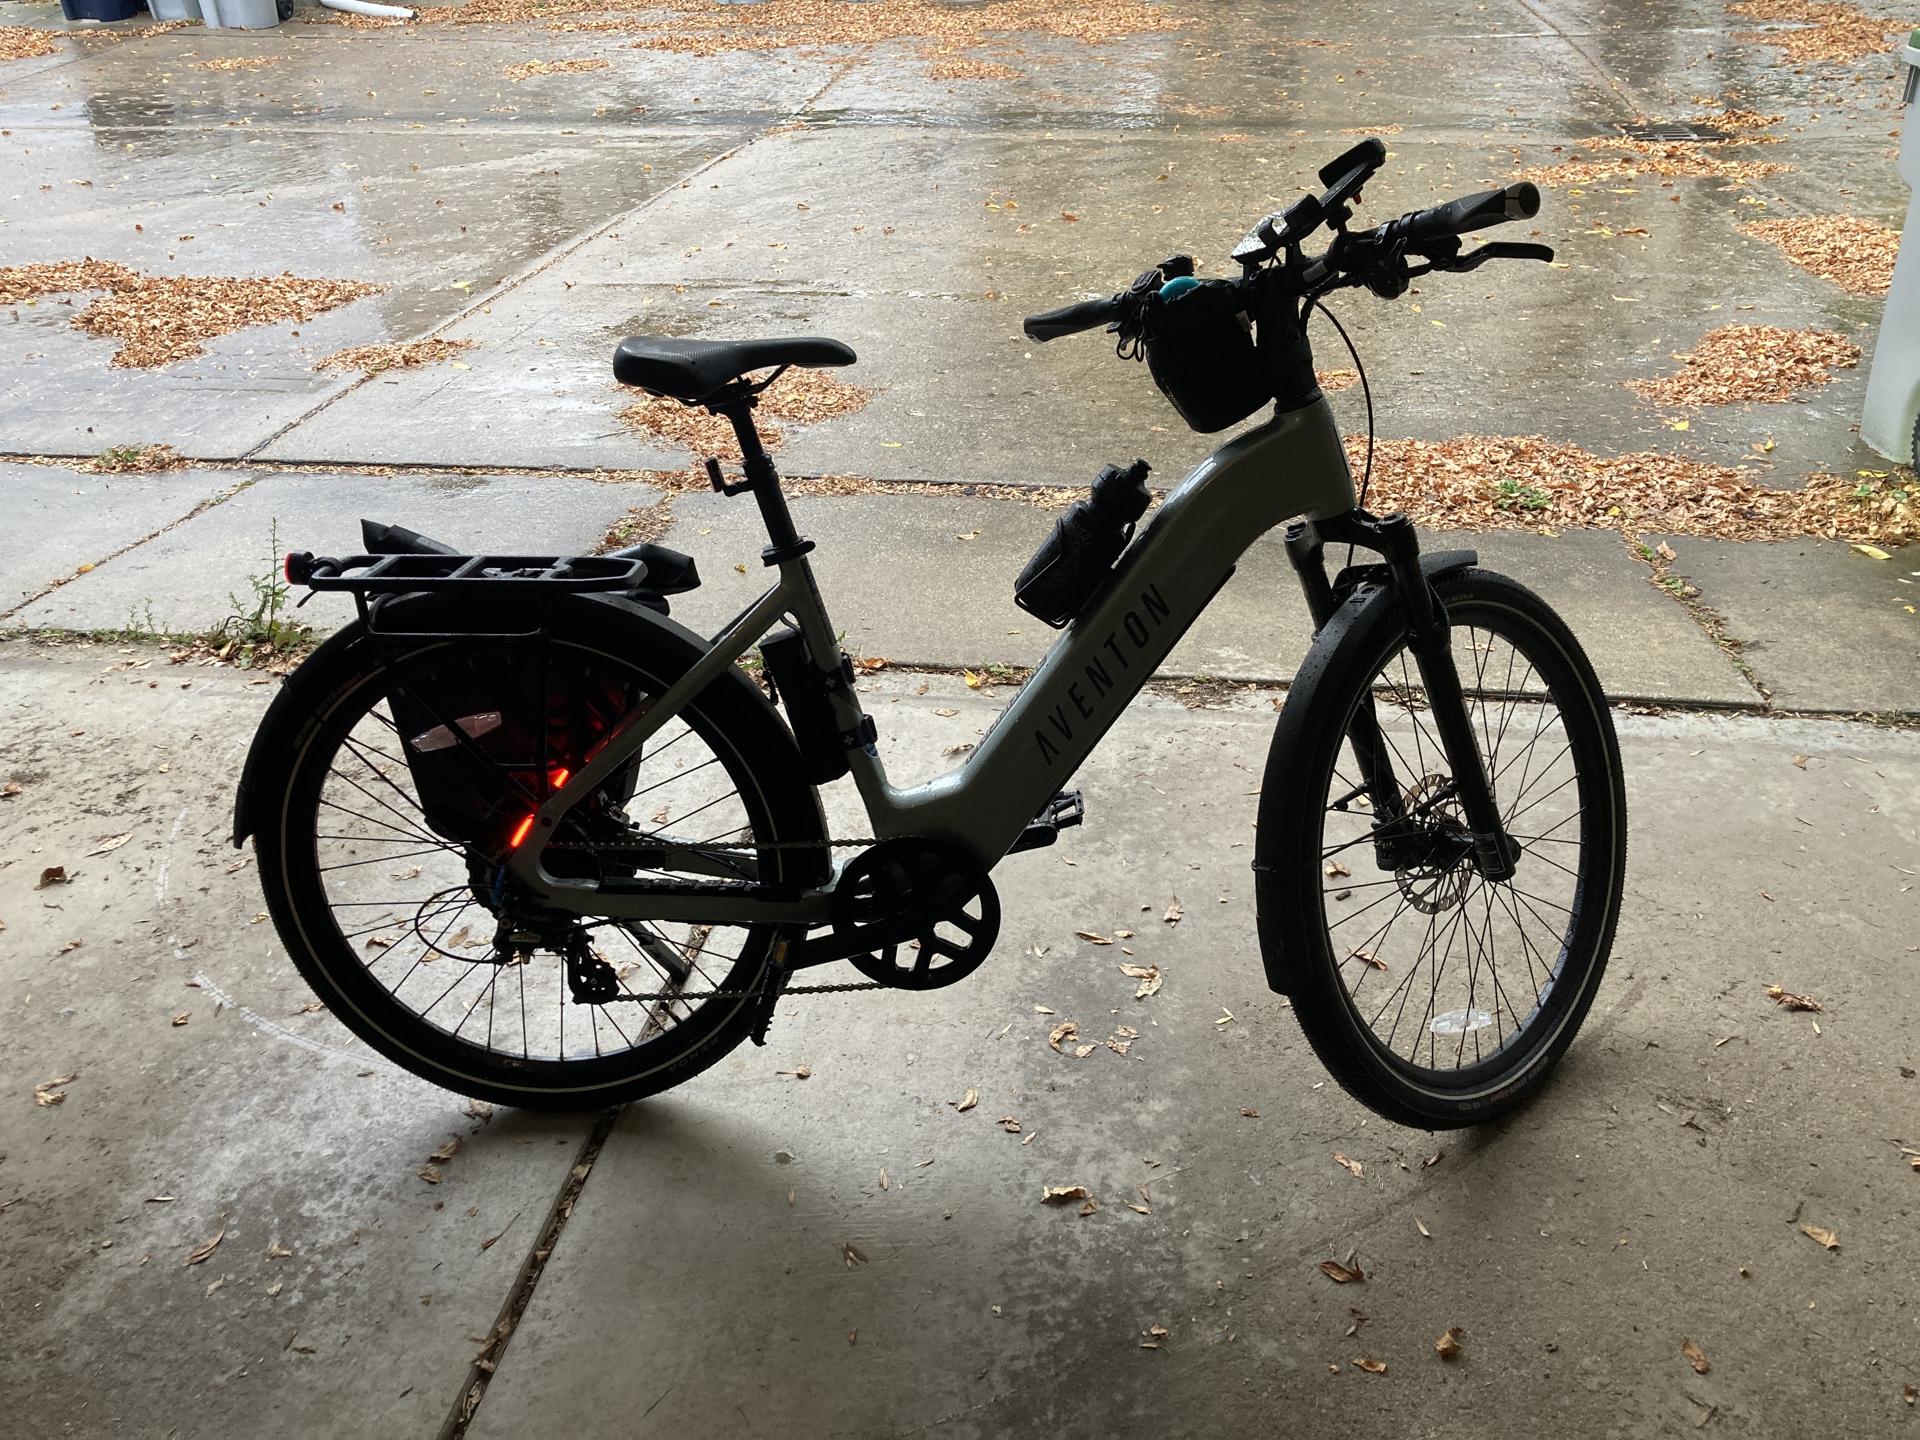
I use an Apple Watch along with an iPhone, and I start my “workouts” from my watch. If I am walking I just walk, but if I am biking I usually open the Fitness app on my phone (which is mounted to the handlebars) so I can see my progress.
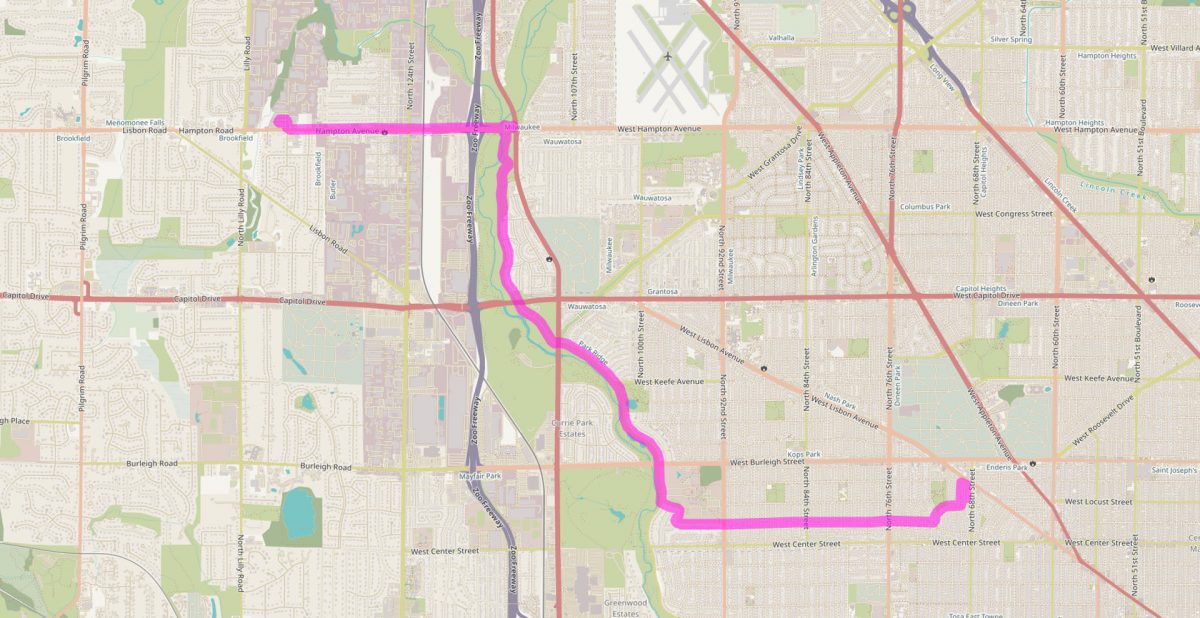
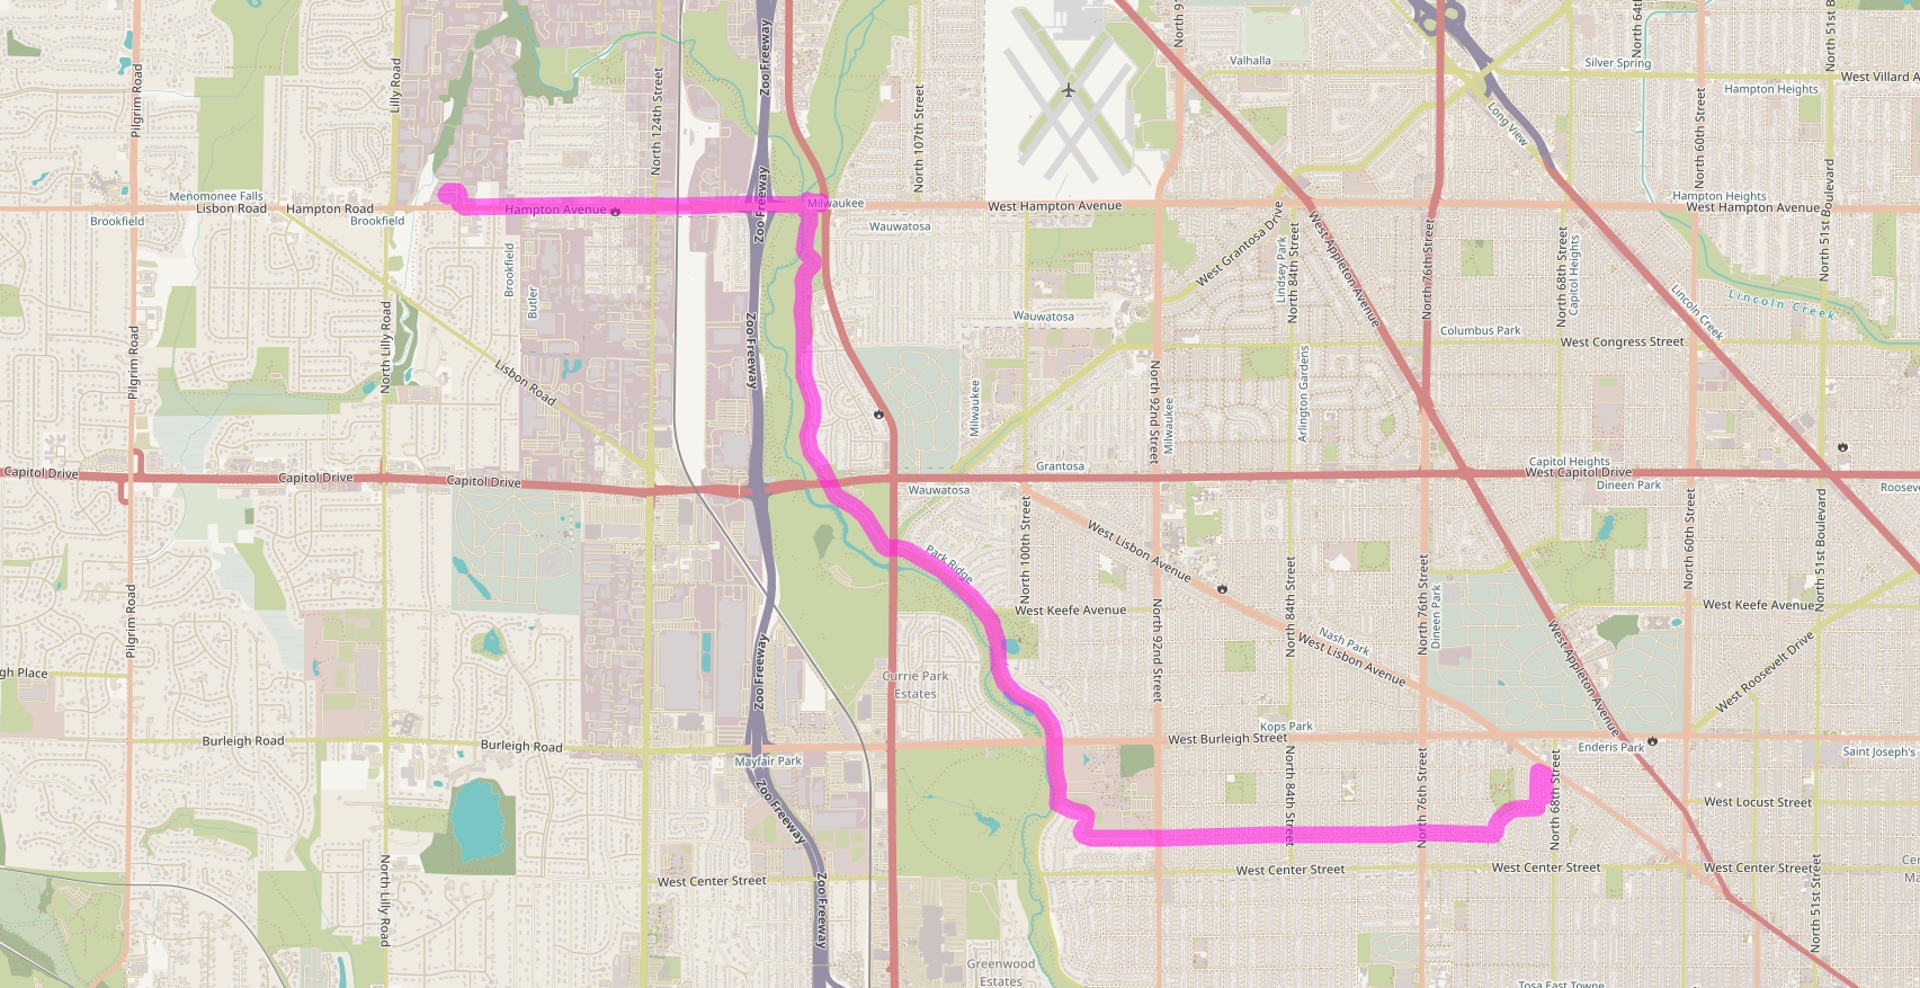
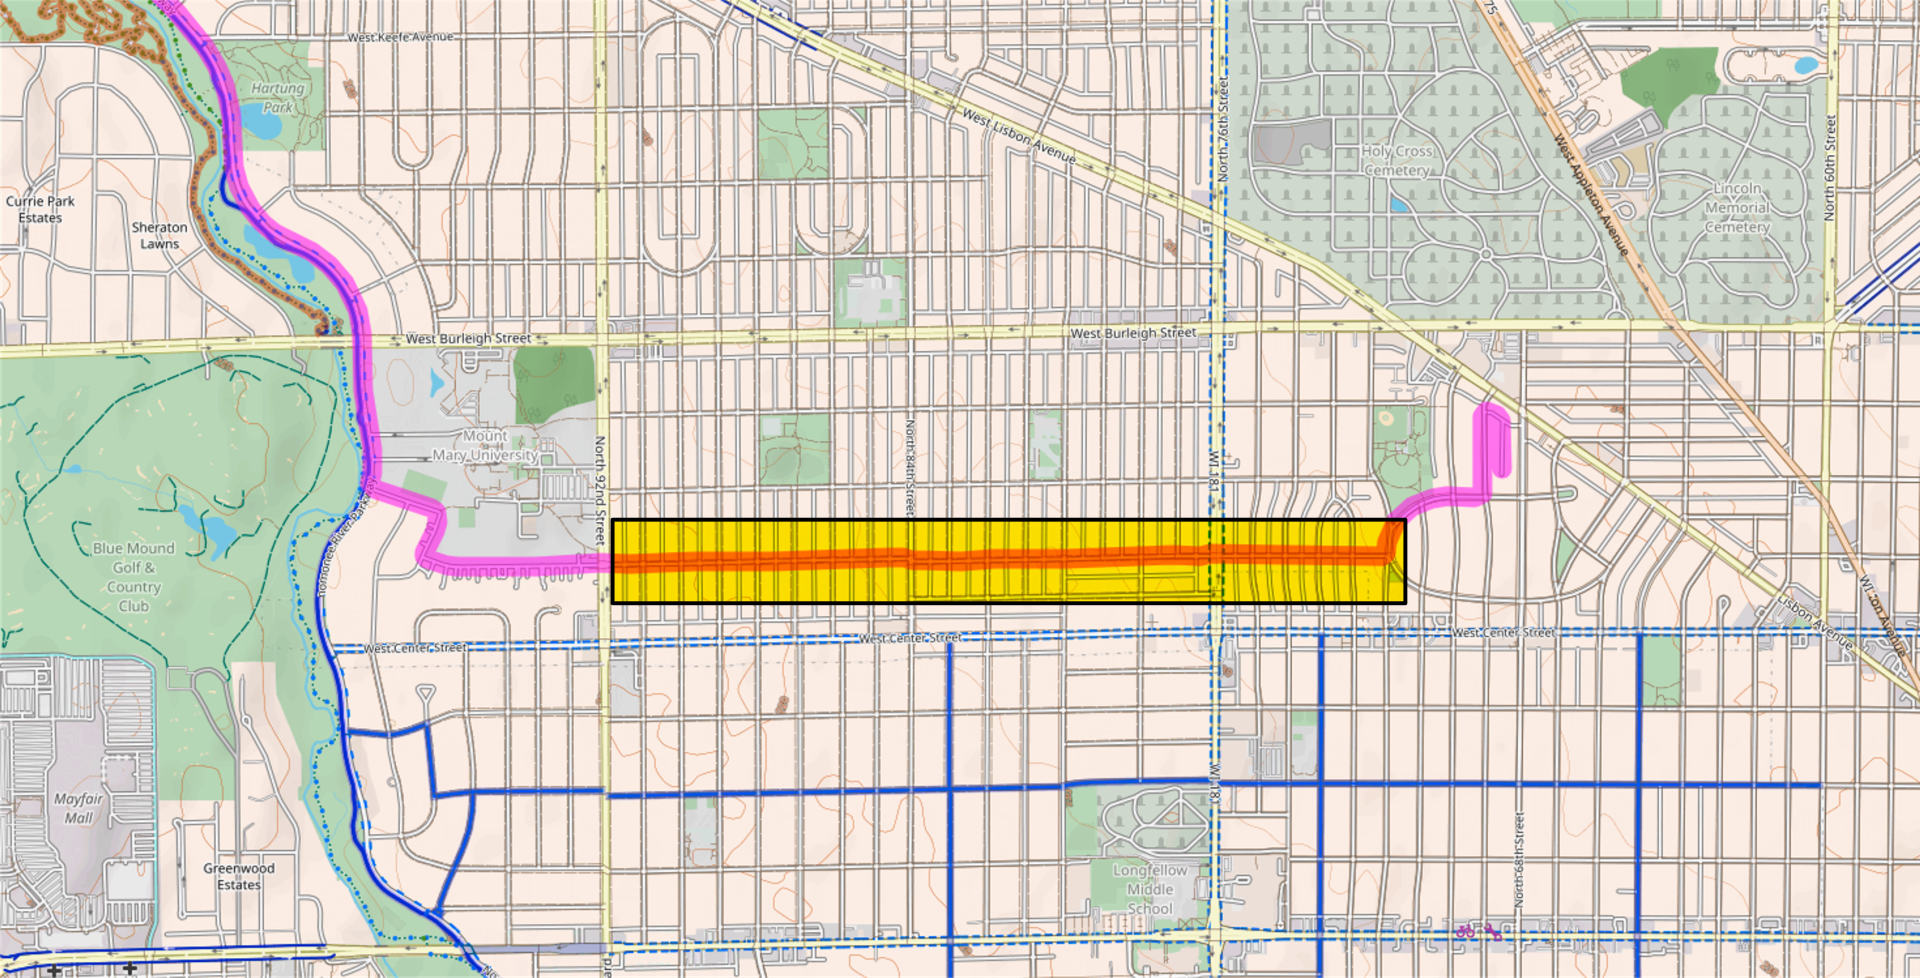
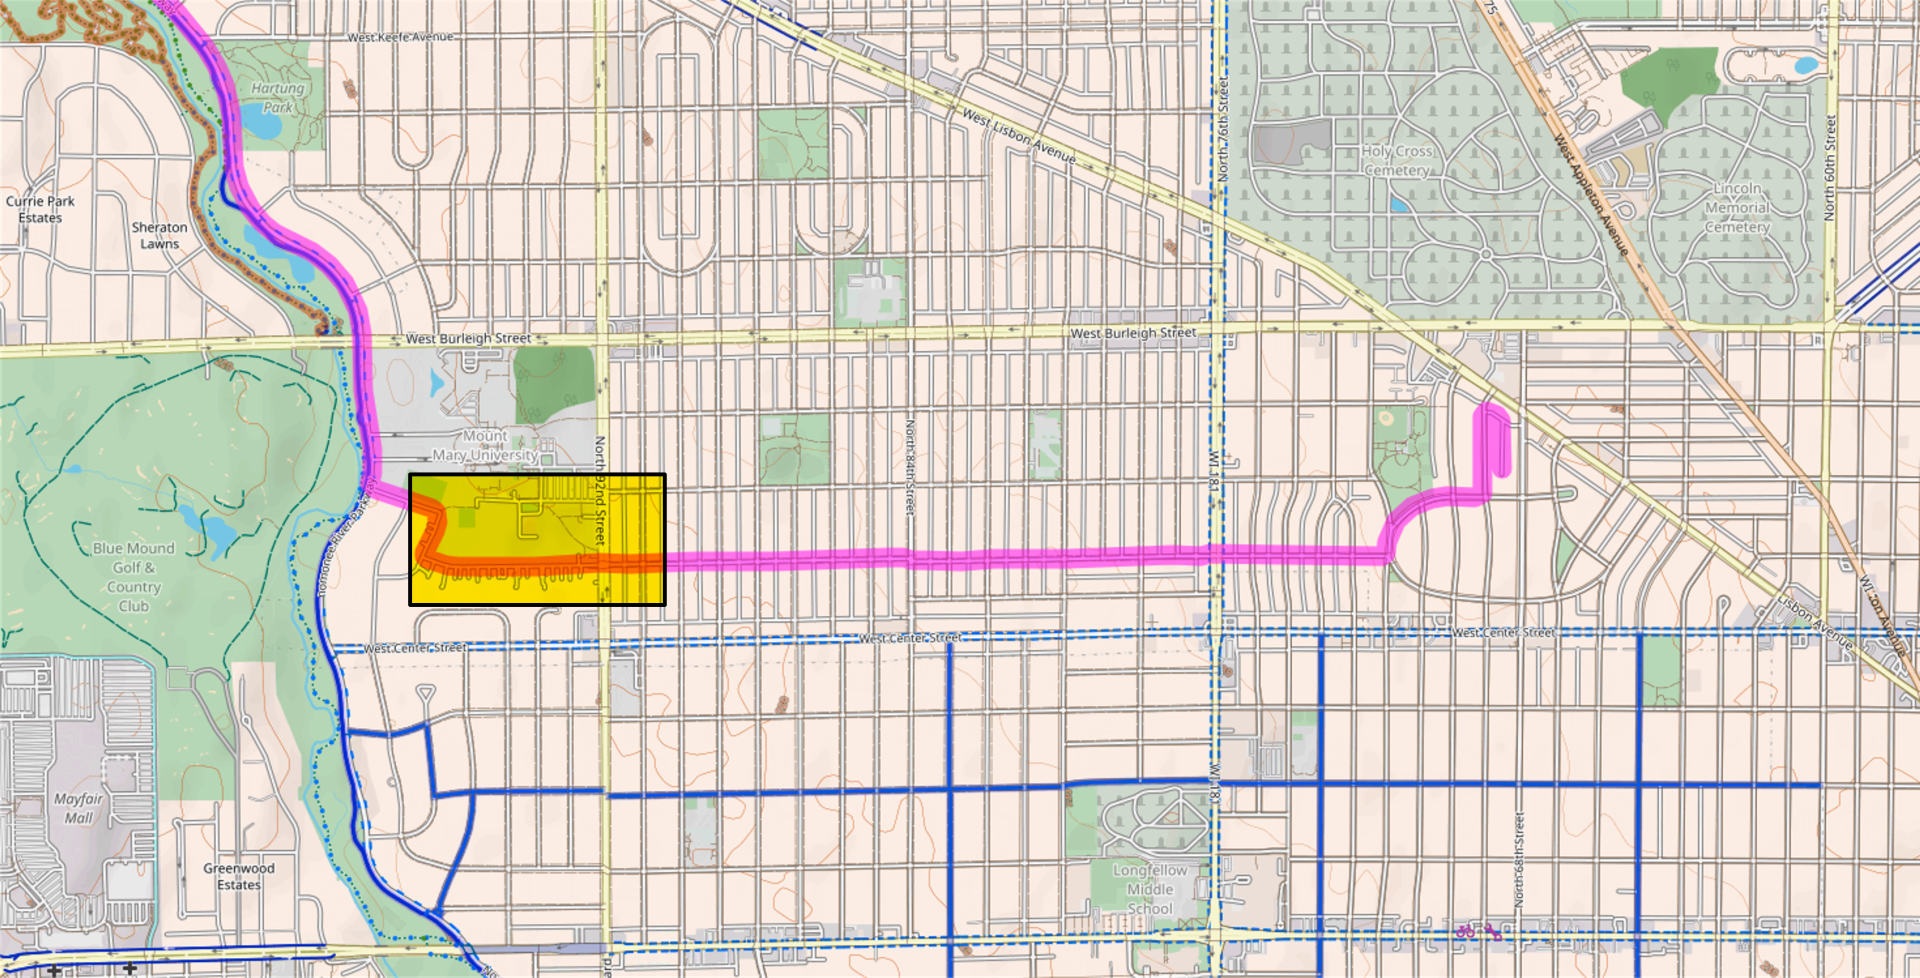
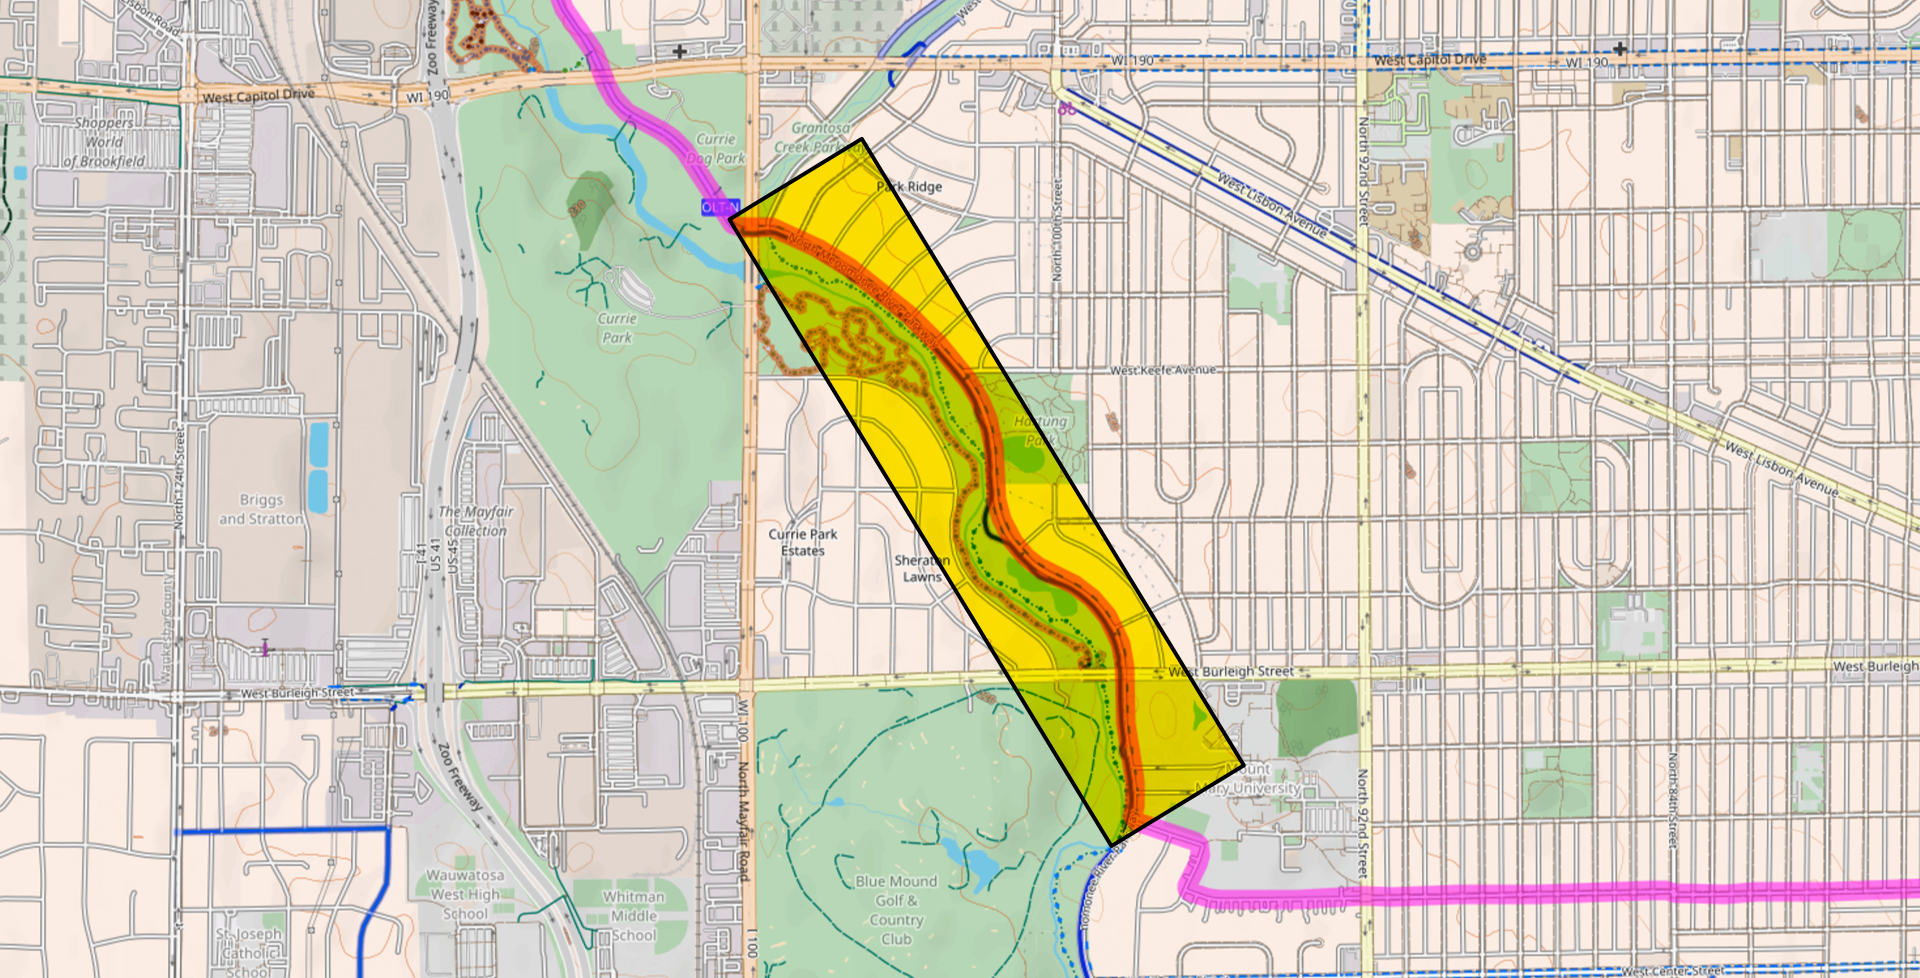
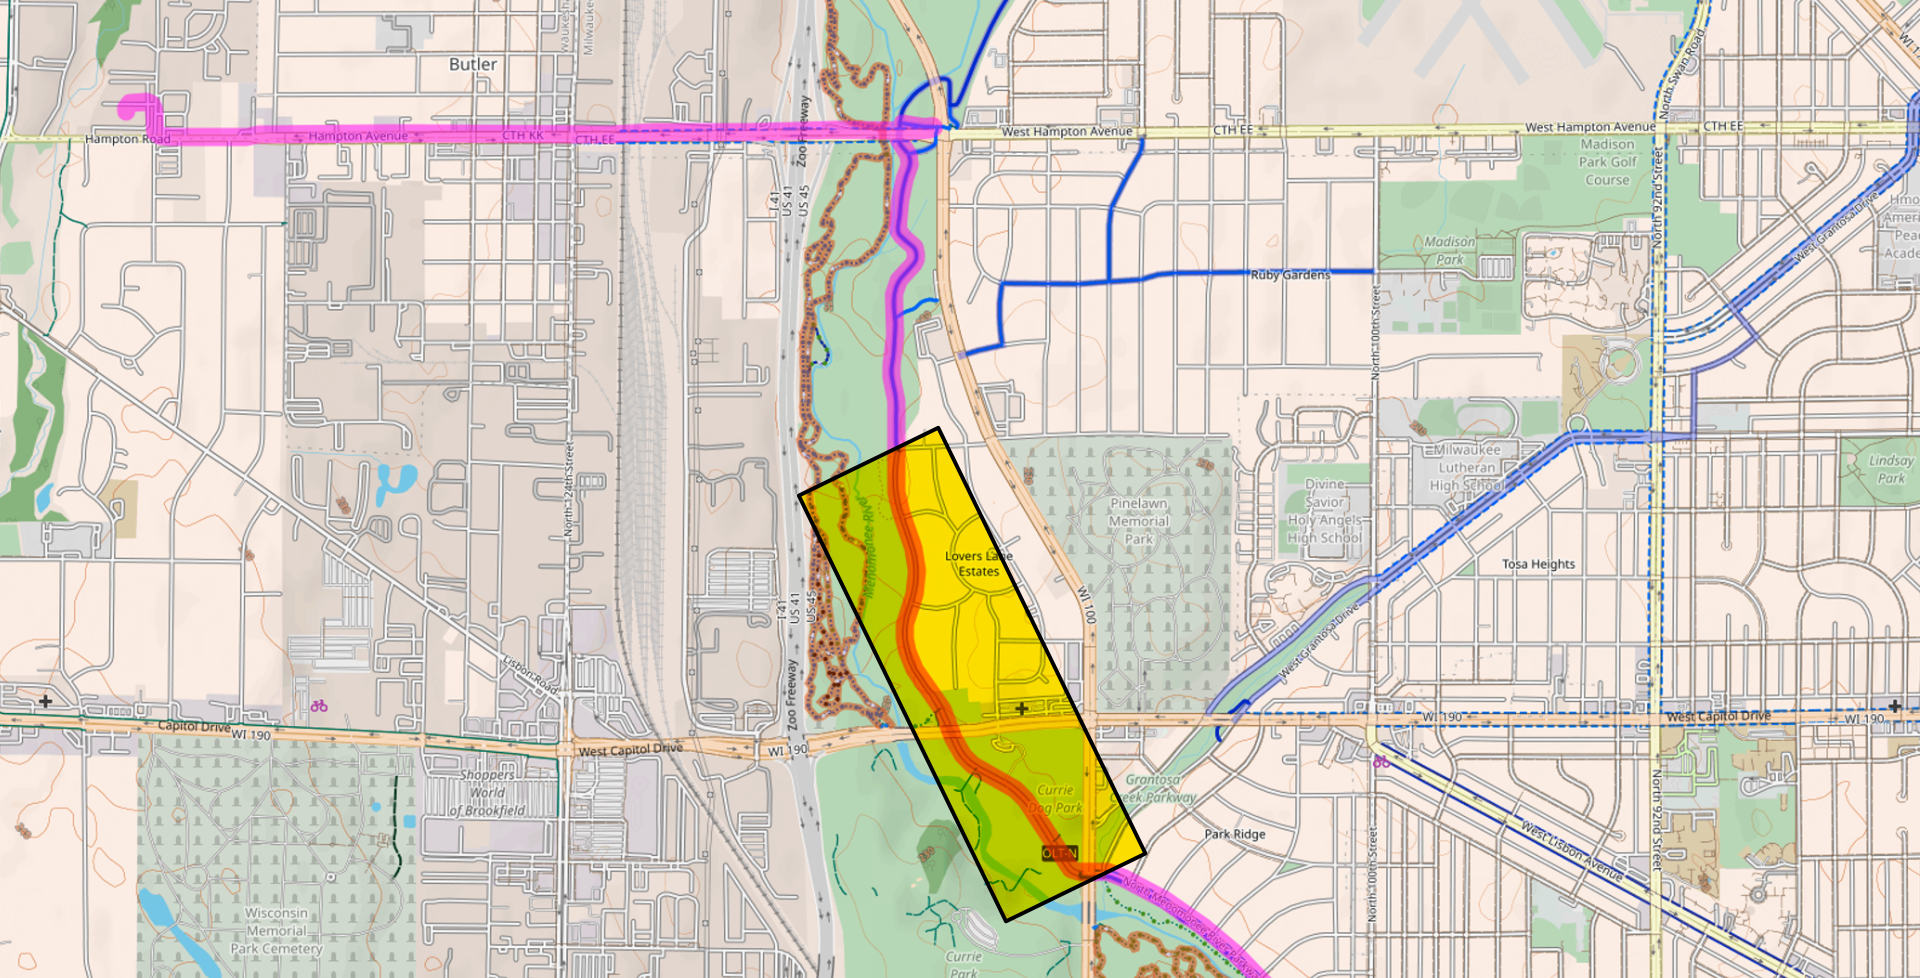
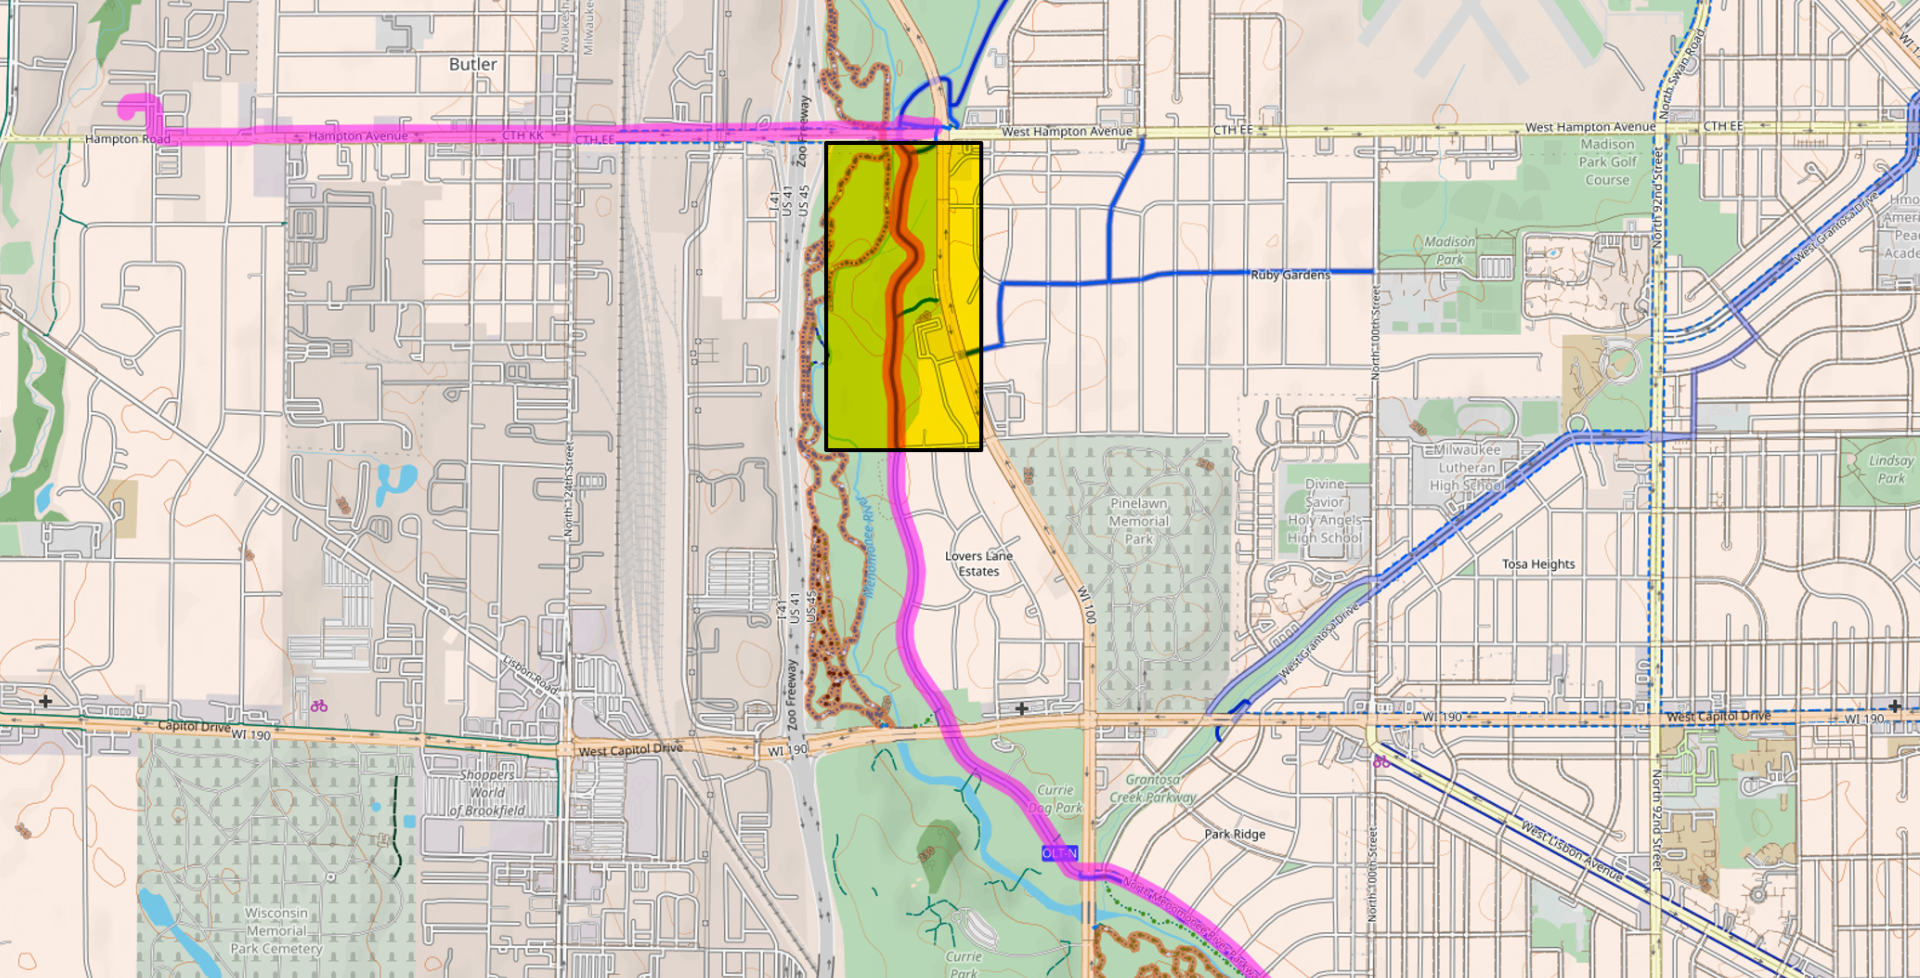
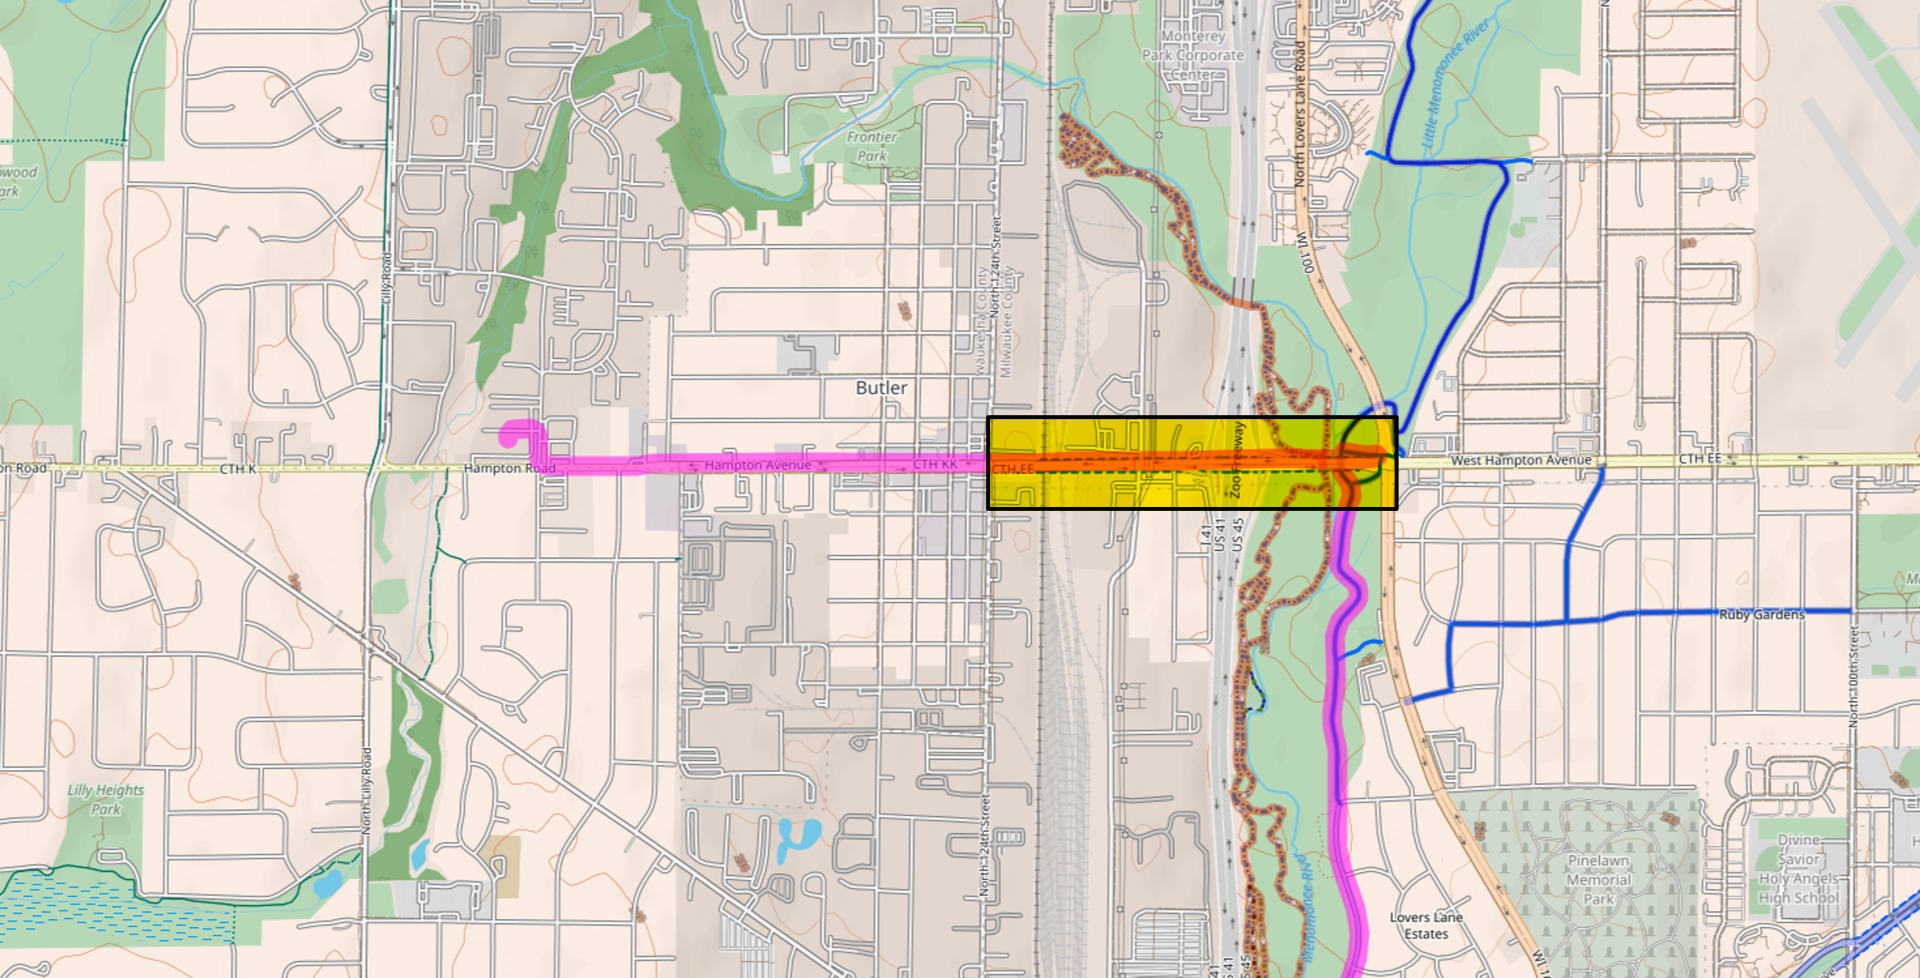
When I do these things “routes” get created. A route is a series of points on a map that show where you have traveled. This is the thing that lets you see a map of your walk, run, ride, etc. I love seeing those maps! I like to know where I went. I get that not everyone does, but some of us nerd out on that stuff.
If you want to see all of your routes you can export (all of) your data from the Health app on the iPhone. For me it takes a while and creates a huge file. It’s getting all of my health data, not just the routes. After I did this a few times I started to assume there had to be a better way… and there is!
I found two free apps, GPX Route Exporter and GPX Export that are basic, and do what they say on the tin. The will export your routes. (Routes usually exist as GPX files hence the “GPX” in their names.)
Both apps are basic, but I think I liked GPX Export a bit more than GPX Route Exporter. Once nice feature is that it names the route with “Walking” or “Cycling” which is super-handy, because with the export from Apple Health you have to figure that out on your own. (I ended up writing some Python code that looked at the speed in the GPX file and then marked them as “walking” or “cycling” but it wasn’t perfect.)
I was really hoping for something a bit more… then I found Health Export CSV (also at healthexport.app) which does allow you to export a CSV file with all sorts of data, though I don’t use that feature… I just want my routes!
And the routes I shall have! It has many options and will separate activities so cycling routes are named as such, etc. Things look good! (The naming convention is like so: 2025-10-11 09-44-40 Cycling.gpx and 2025-10-11 11-43-30 Walking.gpx, which I like.) So here’s how I do it.
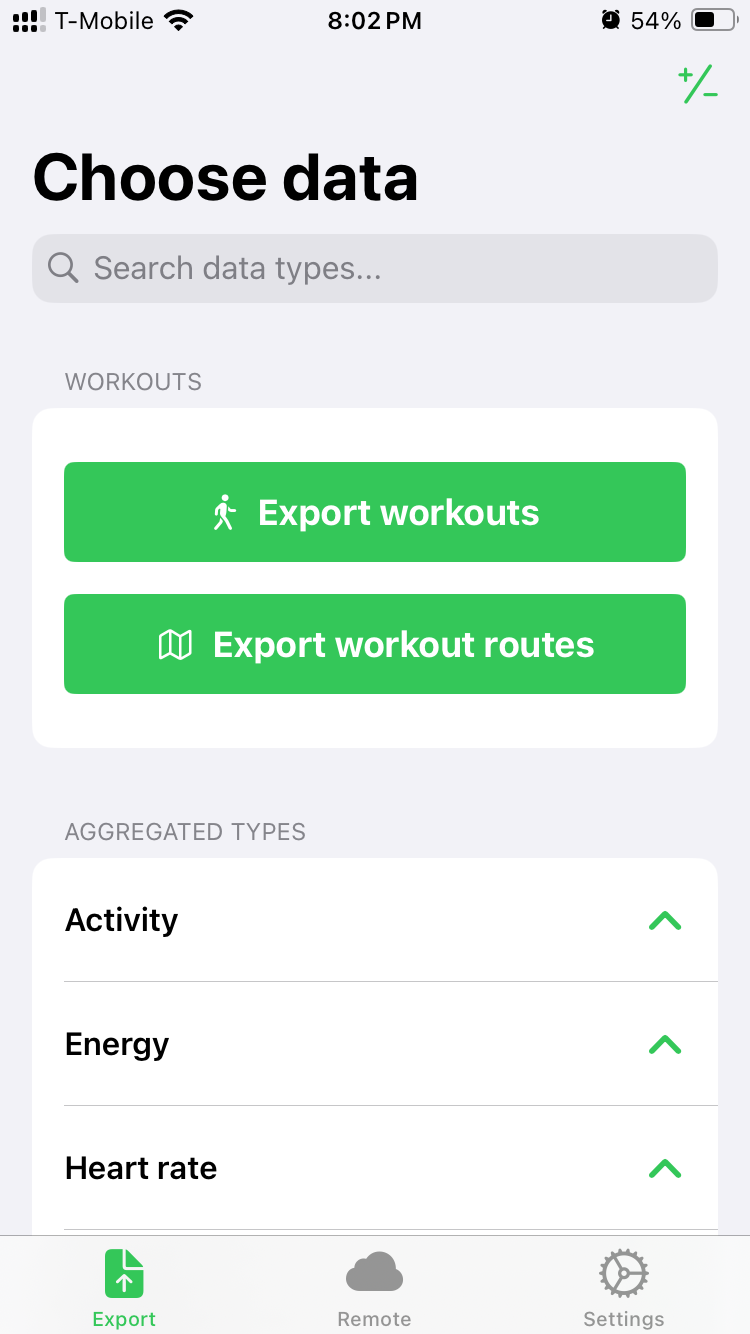
Launch the app and choose the Export workout routes button…
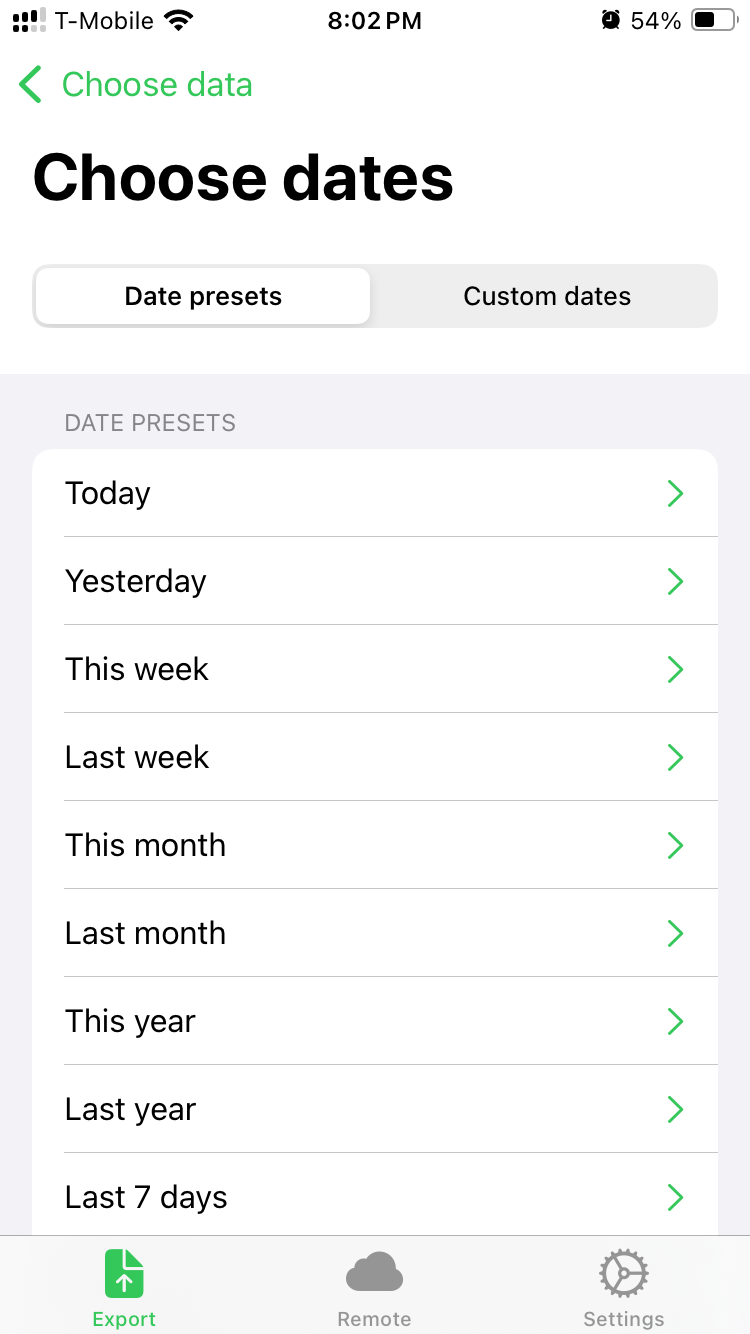
You can choose date presets or…
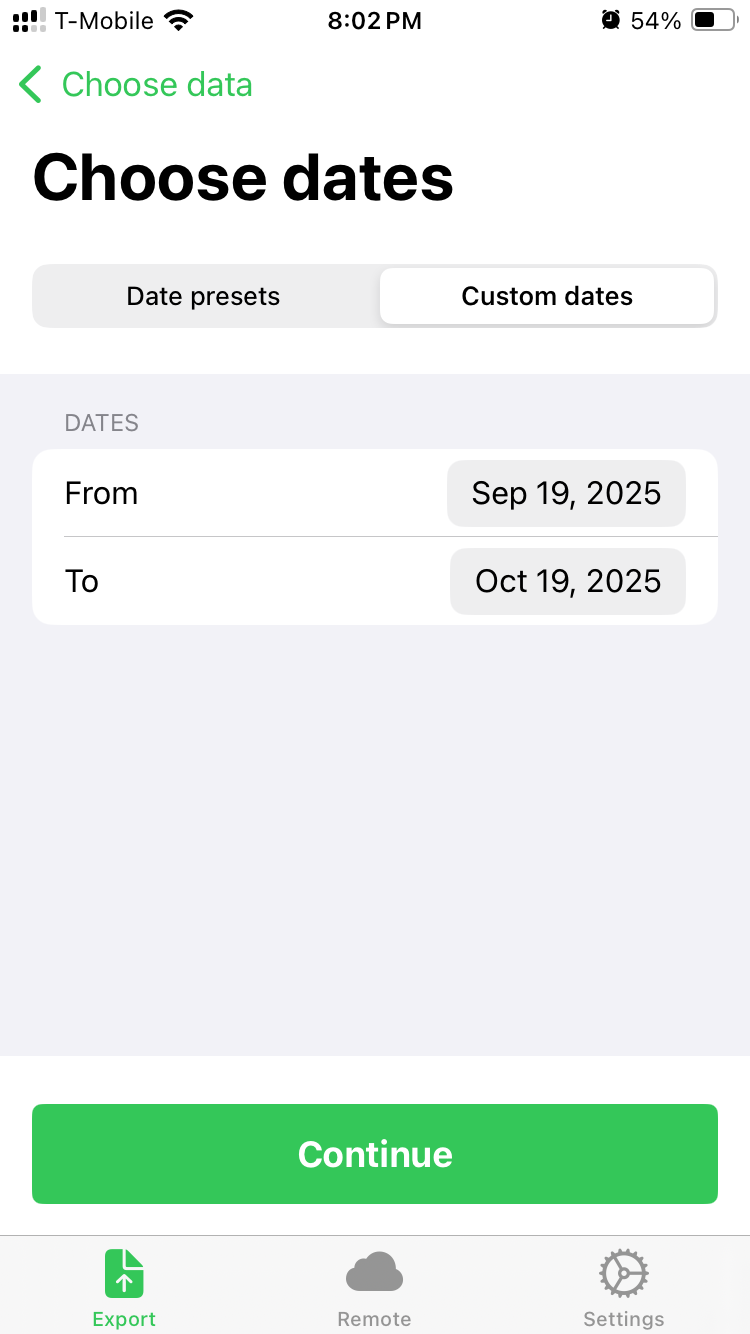
You can choose specific dates…
Once you make a date selection you press Share CSV which seems poorly labeled, but it is what it is…
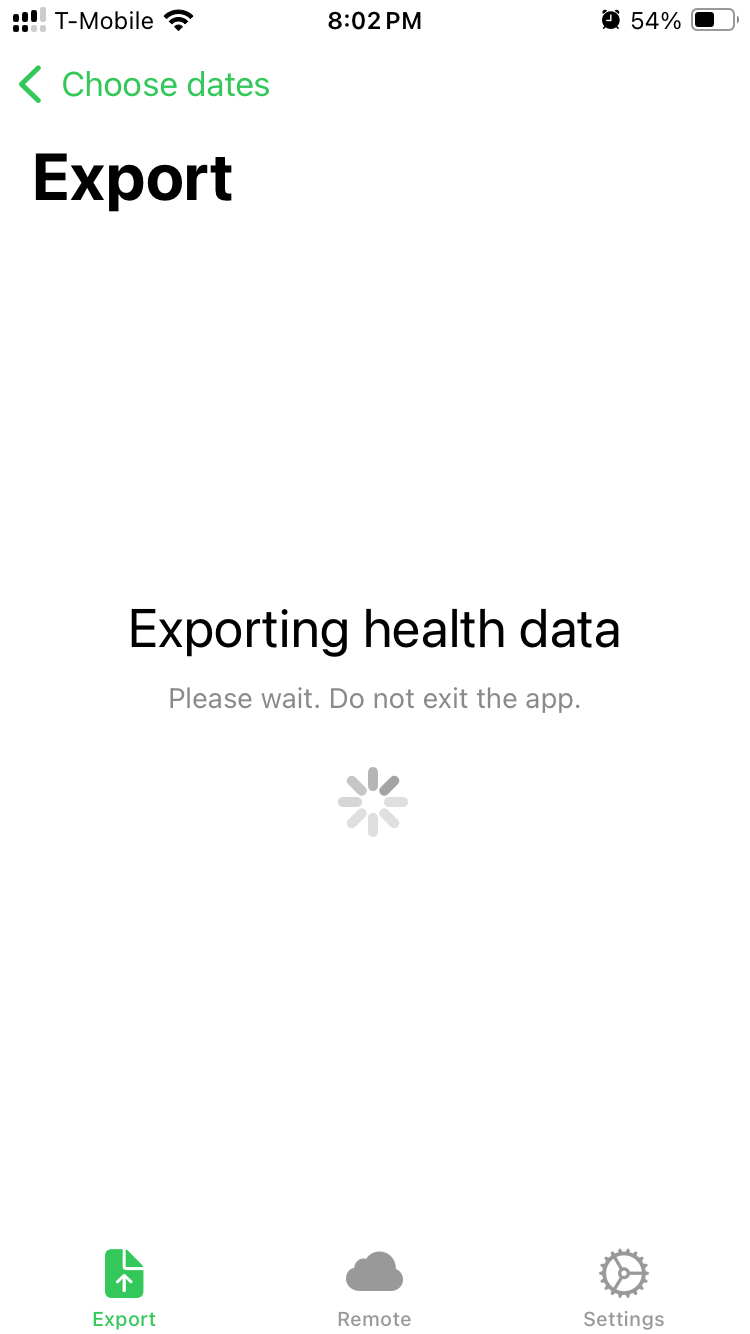
It will run for a bit, depending on how much data there is…
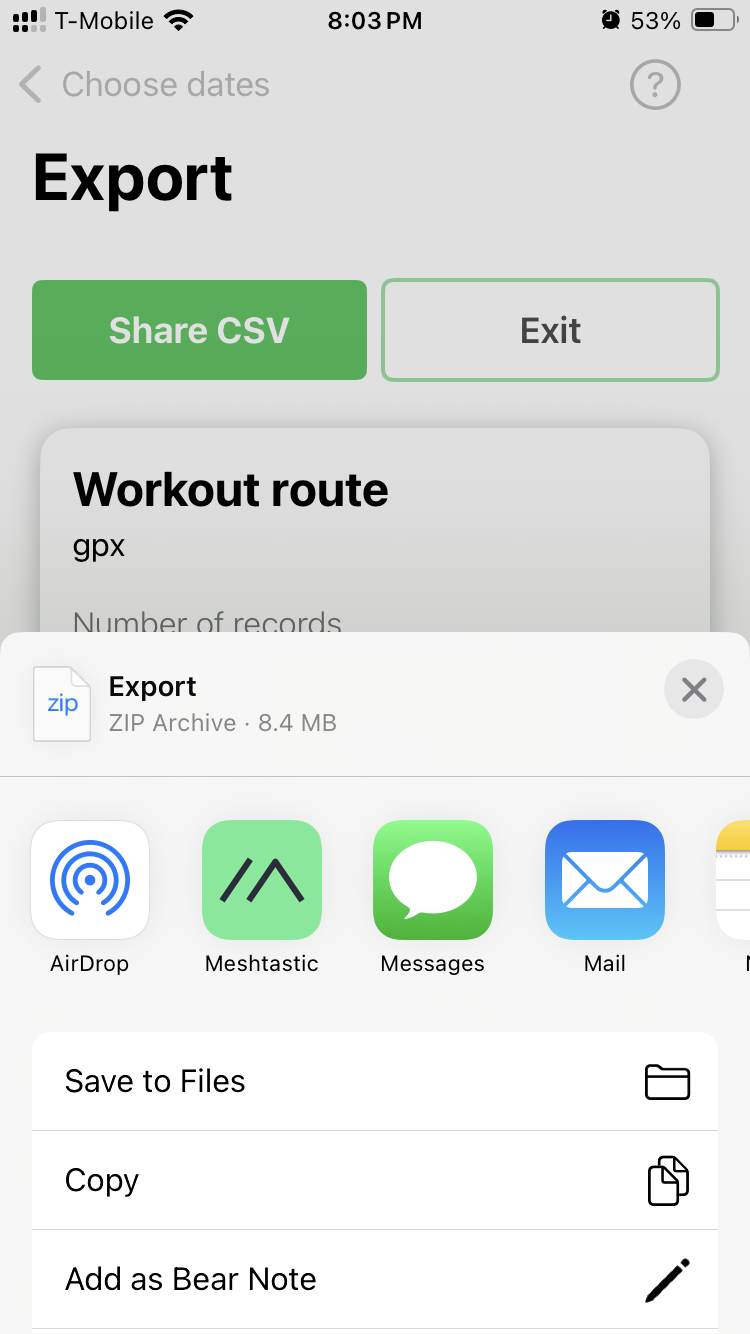
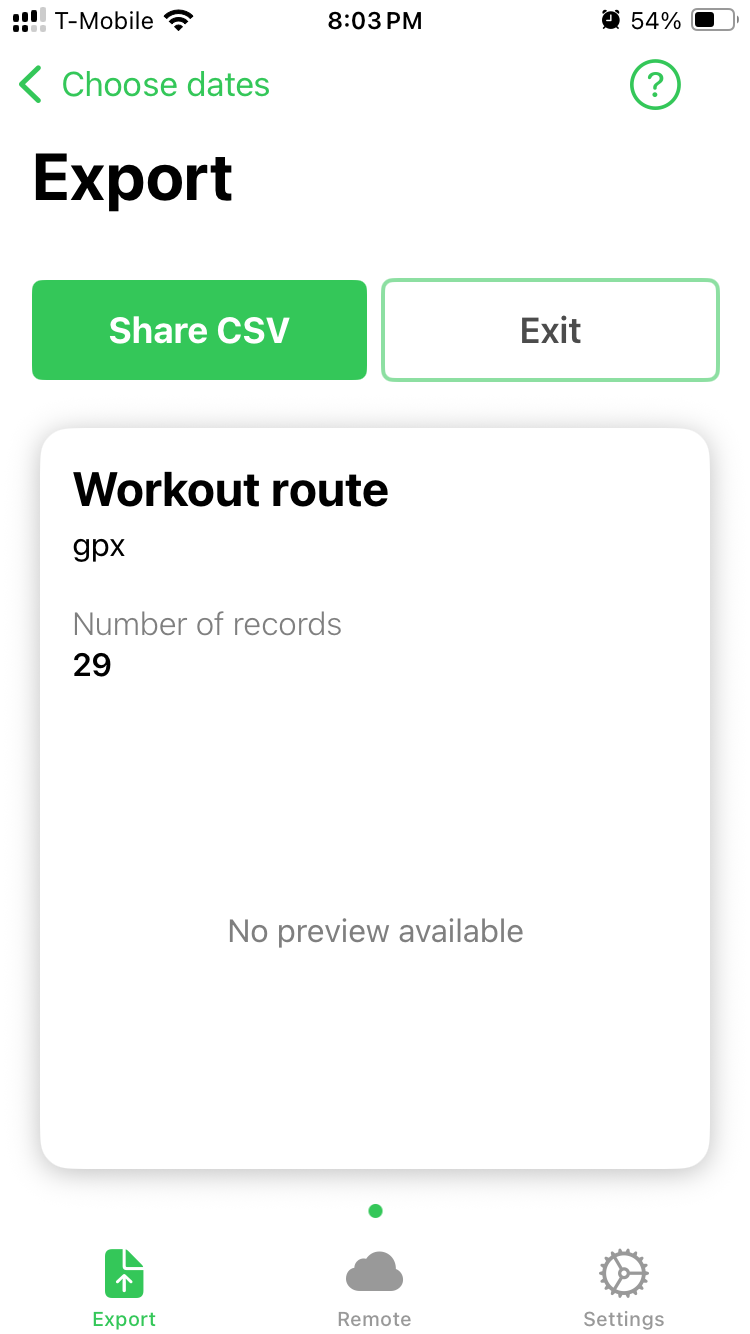
And then you get the share dialog. If you exported more than one file you get a ZIP file containing them all. (The file dates of the GPX files are not the same as the date in the file name or of data in the file, but I have a Python script to fix that issue.)
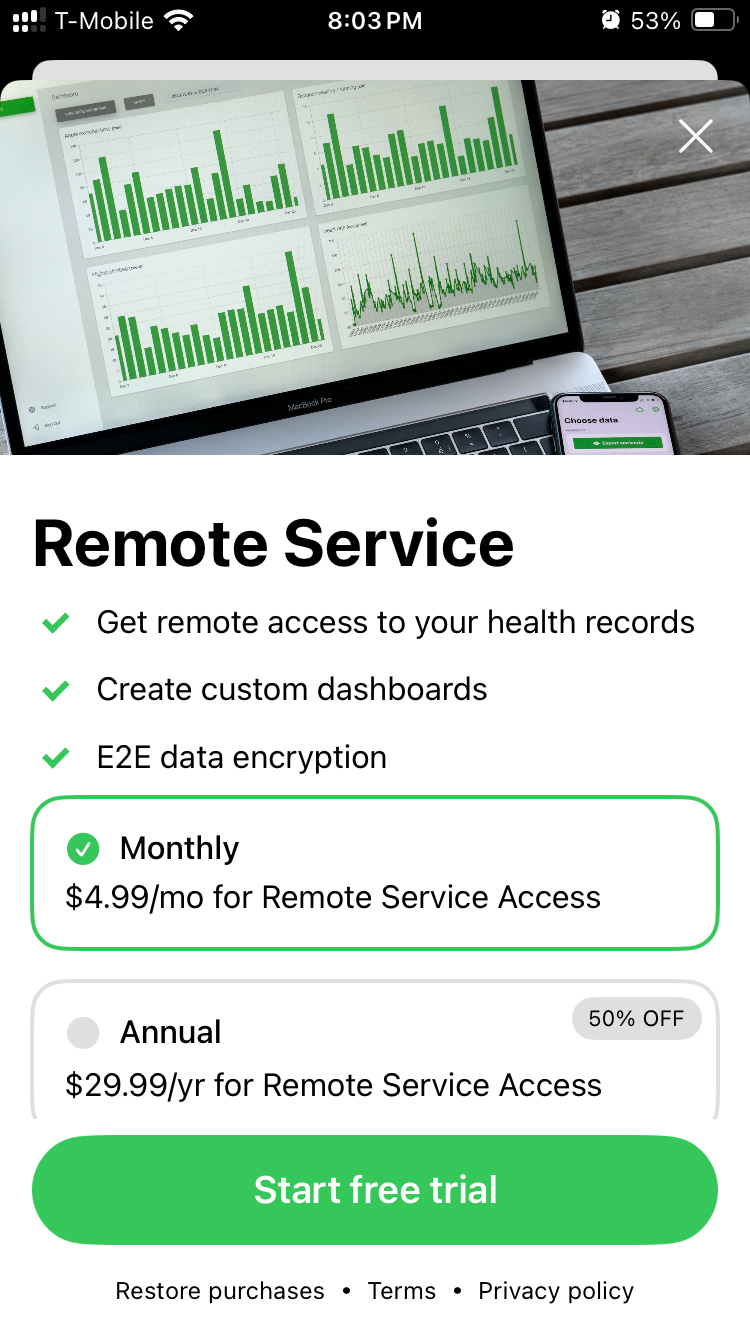
Oh yeah, there’s one more thing… They have this Remote access service which you can subscribe to. The app itself was $2.99 USD but for the remote dashboard data stuff it’s (as of this post) $4.99 USD per month or $29.99 USD per year.
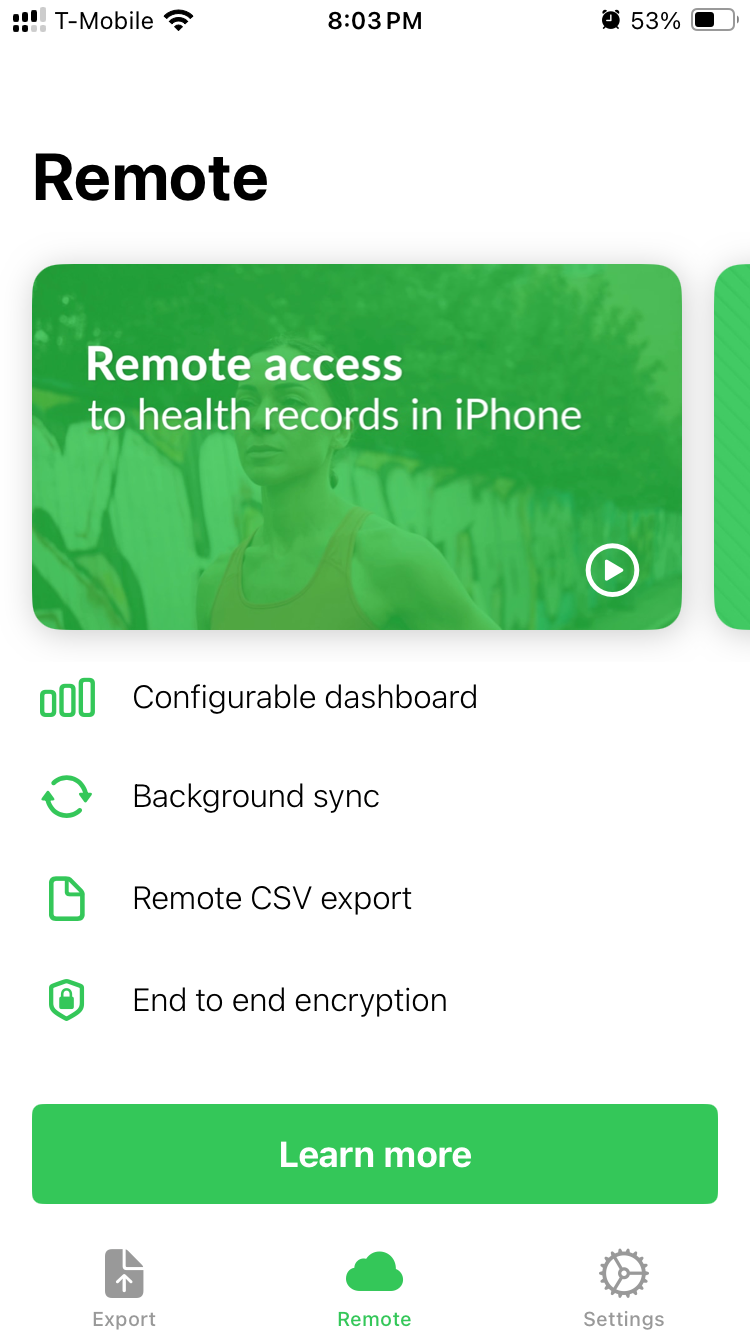
The dashboard thing looks nice, but I don’t need it as I am doing my own data processing… I just want the GPX files. The remote system uses that whole “secure Apple platform for web” thing, which is nice, if you’ve not seen it.
So Health Export CSV is working well for me. The only improvement I can imagine is if it could automatically export GPX files after a route is created. It could dump them into an iCloud folder or something. That would be a dream, as I could just automate the whole process and not have to manually do an export all the time. Oh well, pobody’s nerfect!