Note: It’s 2025-09-29 and it looks like Focalboard has lost all of my data. I will try to confirm this and then update this post and write a new one about the data loss.
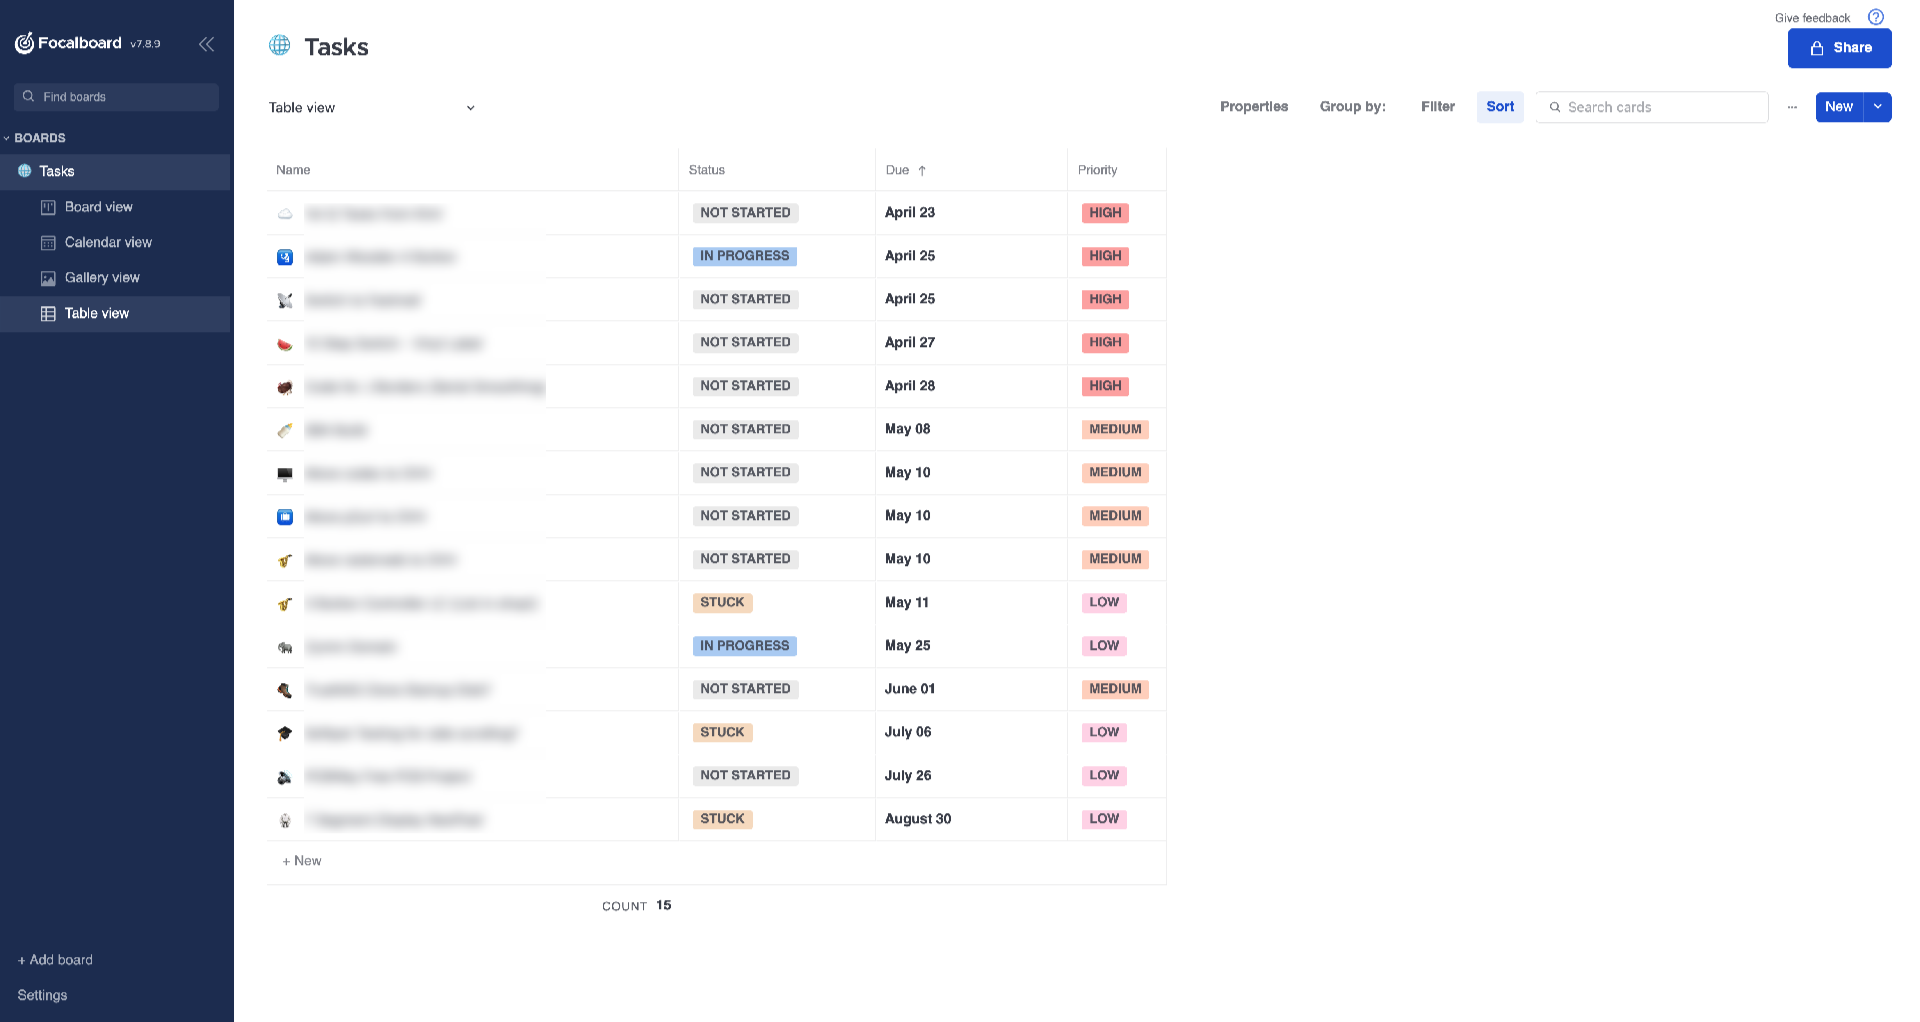
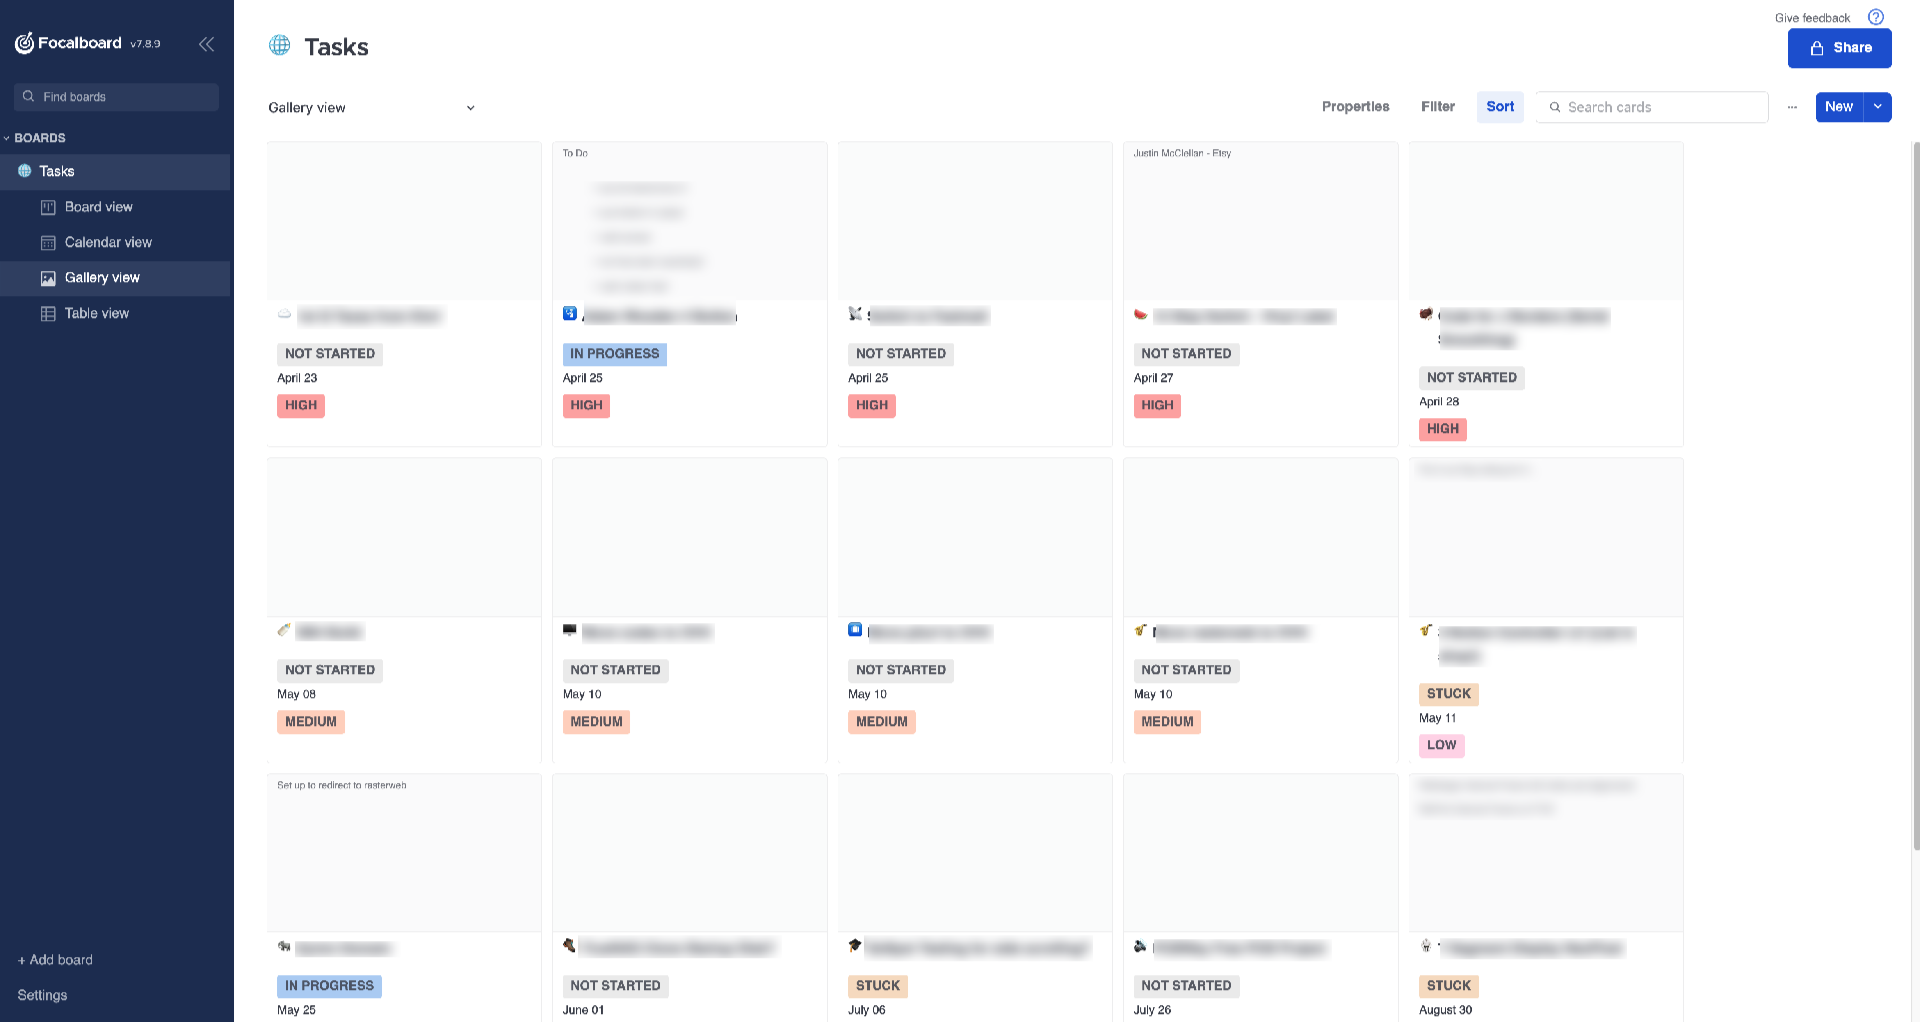
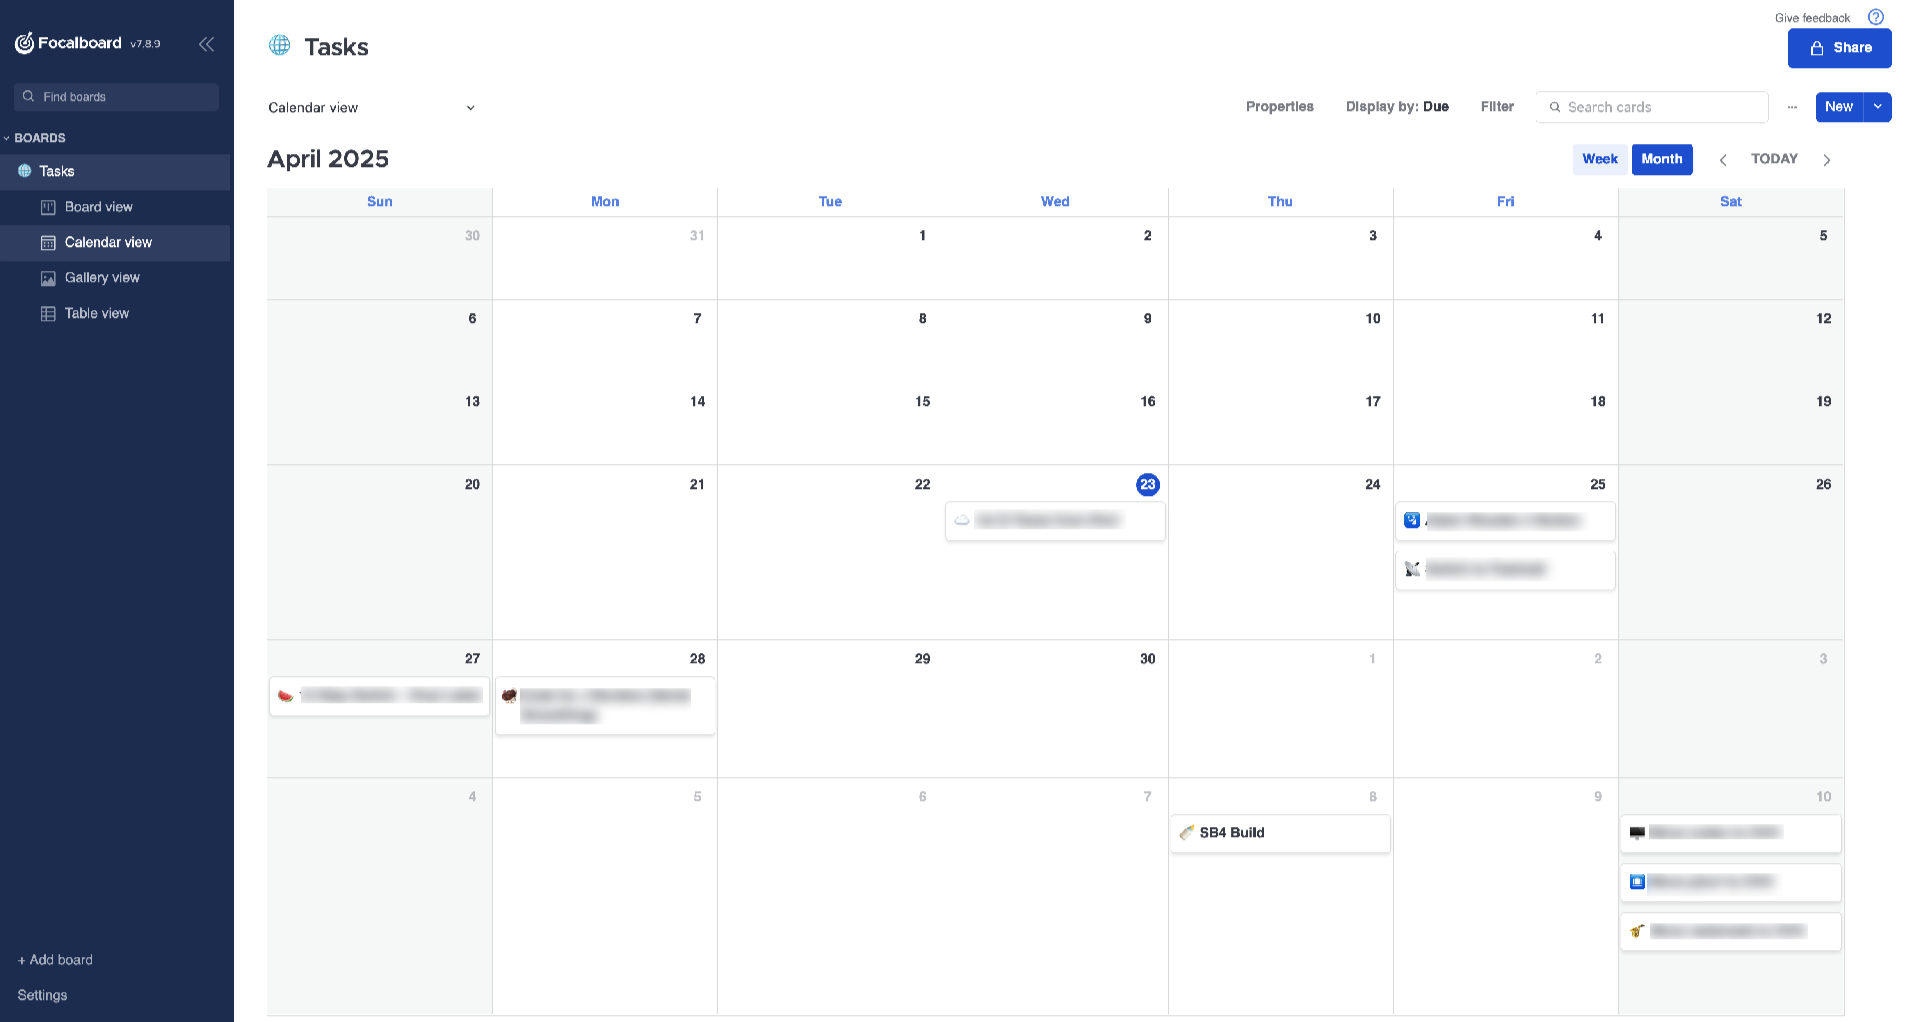
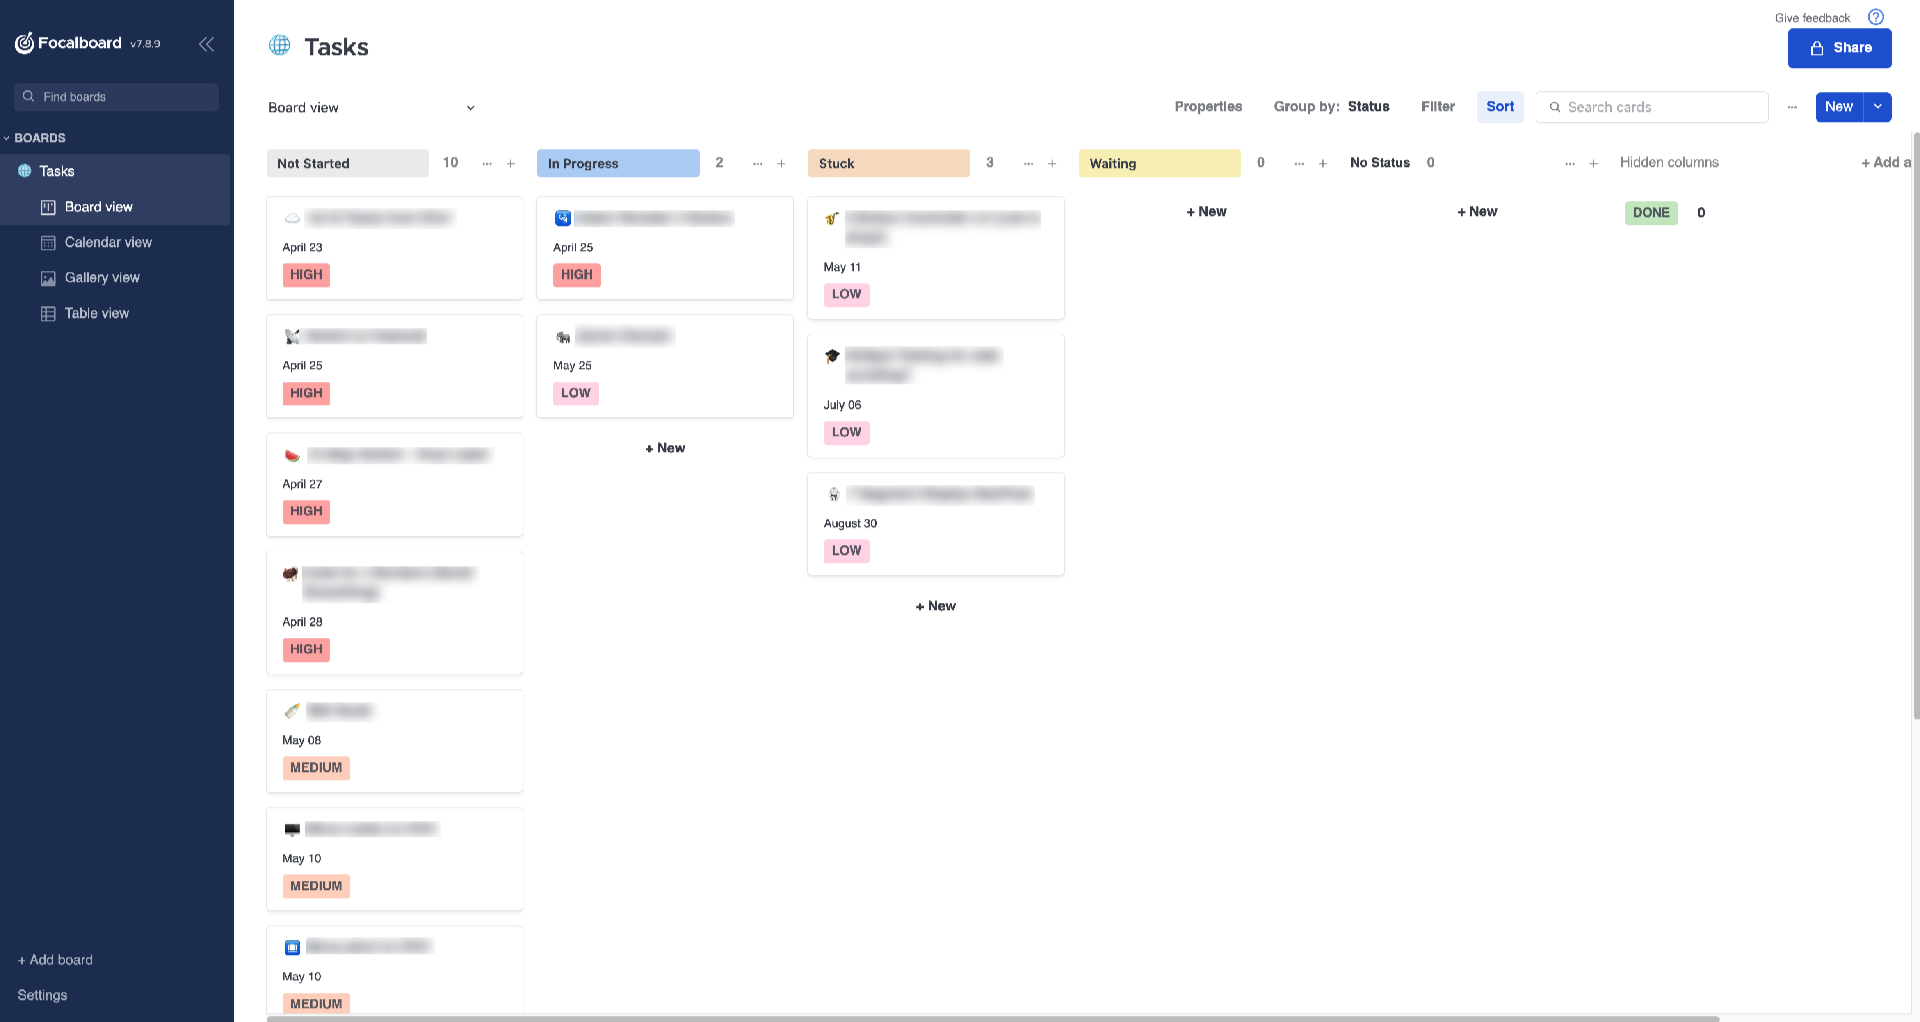
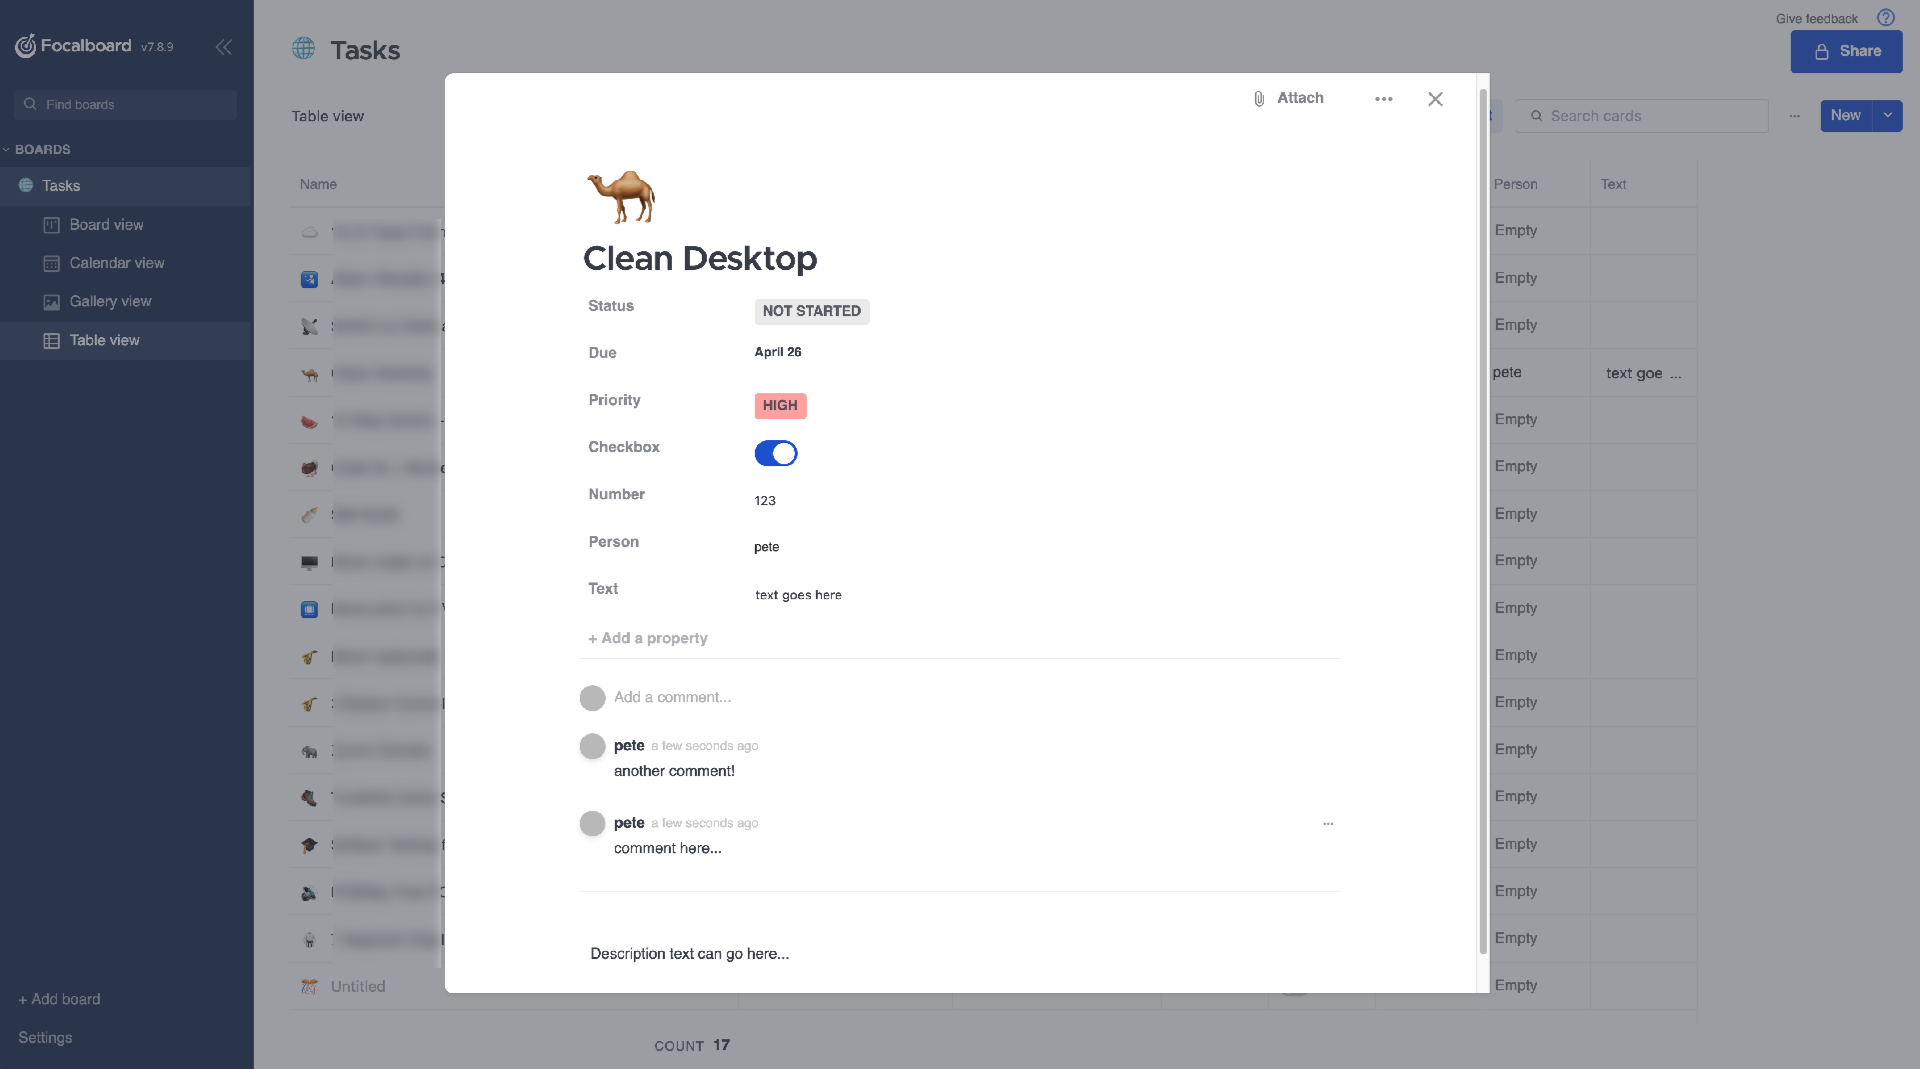
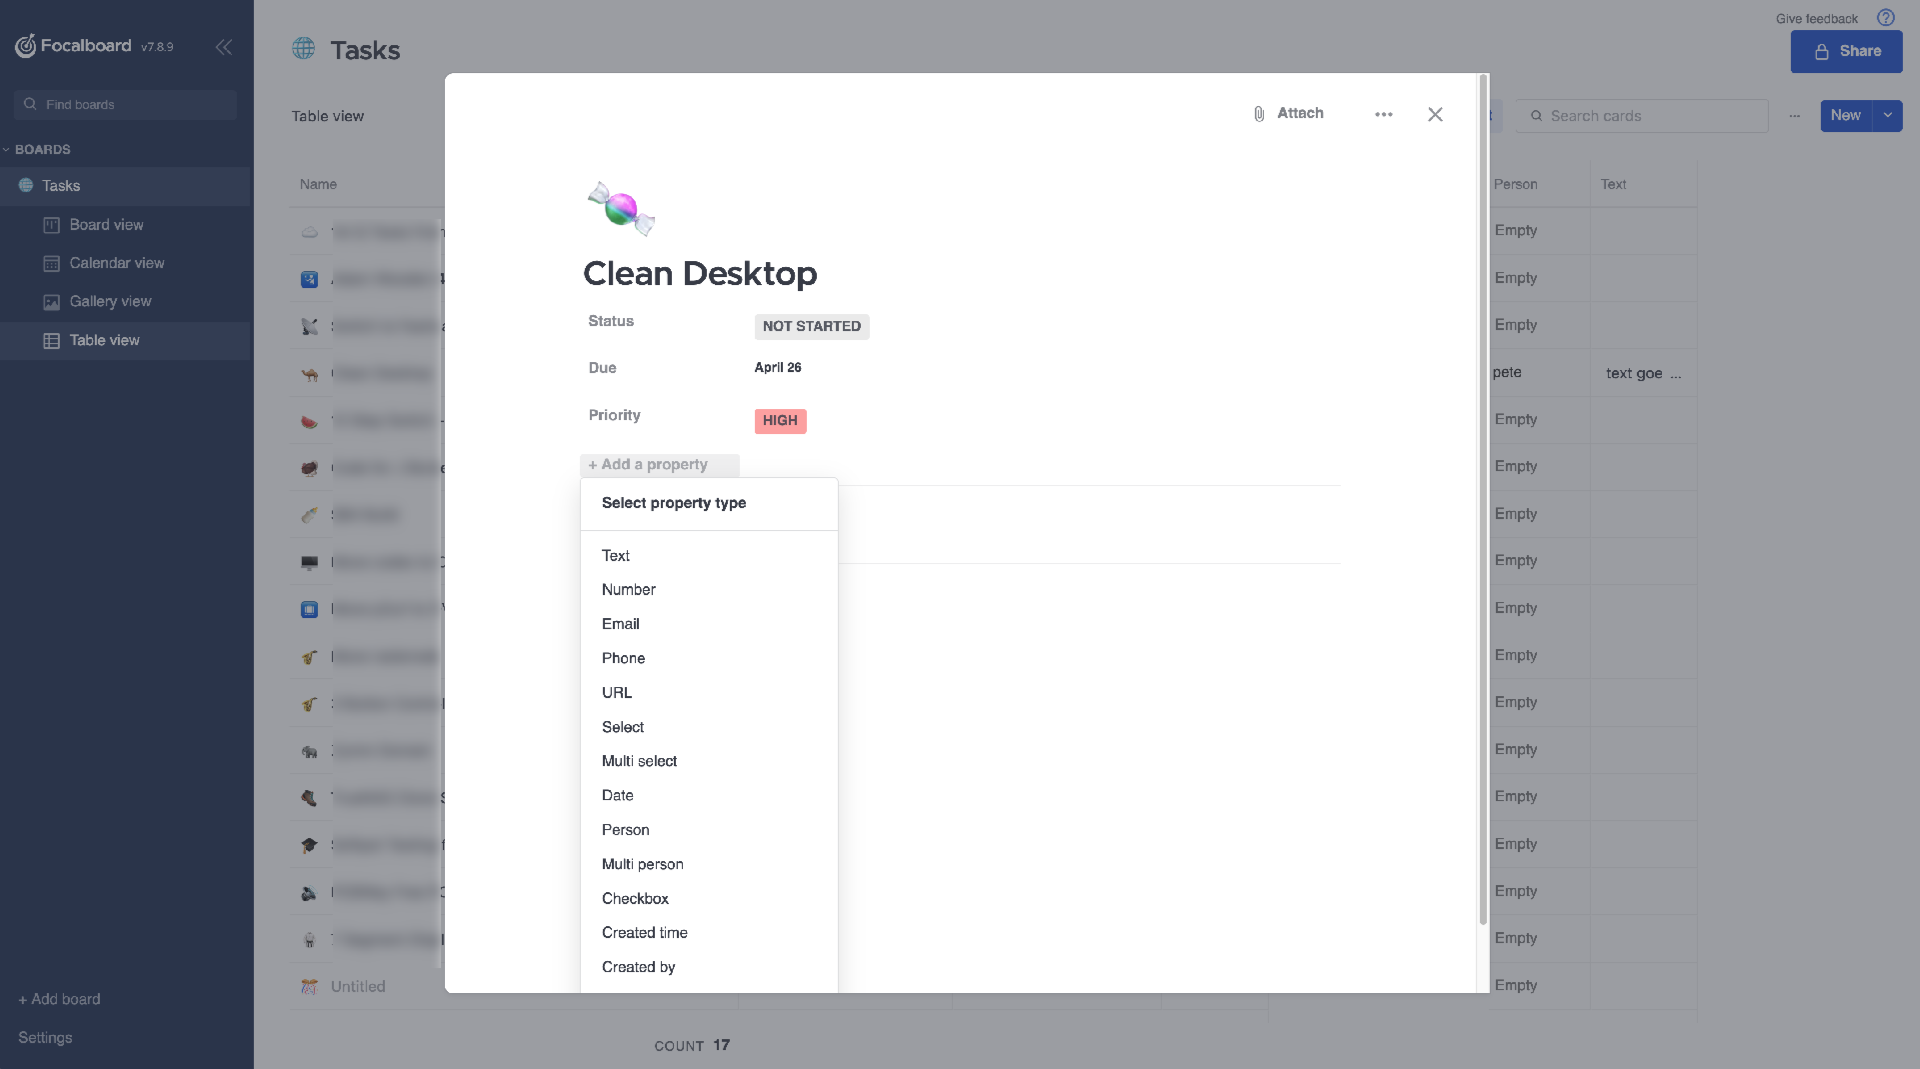
In my quest for a web-based task manager I came across Focalboard. In the past I’ve used Asana, Monday, and Notion. This post is going to talk about Focalboard but also cover why I do not like the other platforms… (I’ve included some screenshots of Focalboard in case you like pictures.)
Asana is the first platform I used for managing my tasks. I used it at work in a team environment and it worked well. For my own personal projects (and small business projects) I was able to use it for free, since I was just a single user. I think I quit using it when it removed the feature that would email you reminders. This was probably 4 or 5 years ago.
I switched to Monday because I wanted an alternative to Asana and maybe they offered the email reminders thing or something else I thought Asana was lacking. I used it for a while, once again as a single user as I am the only employee at my (very) small company. I don’t remember why I left Monday but I switched to Notion… maybe 2 or 3 years ago?
There were things I really liked about Notion, but shortly after I started using it they added this AI feature in beta and forced all users to have it. I mean it was in the interface every time you wanted to type something. Once they rolled it out the only way you could opt-out or disable it was if you had a huge corporate account…
I should note that right now in 2025 all three of these fuckers (Asana, Monday, and Notion) promote AI AI AI all across their home page. “Work Smater with AI. Increase Productivity with AI!” and on and on. I do not fucking want AI. I want a simple task manager…
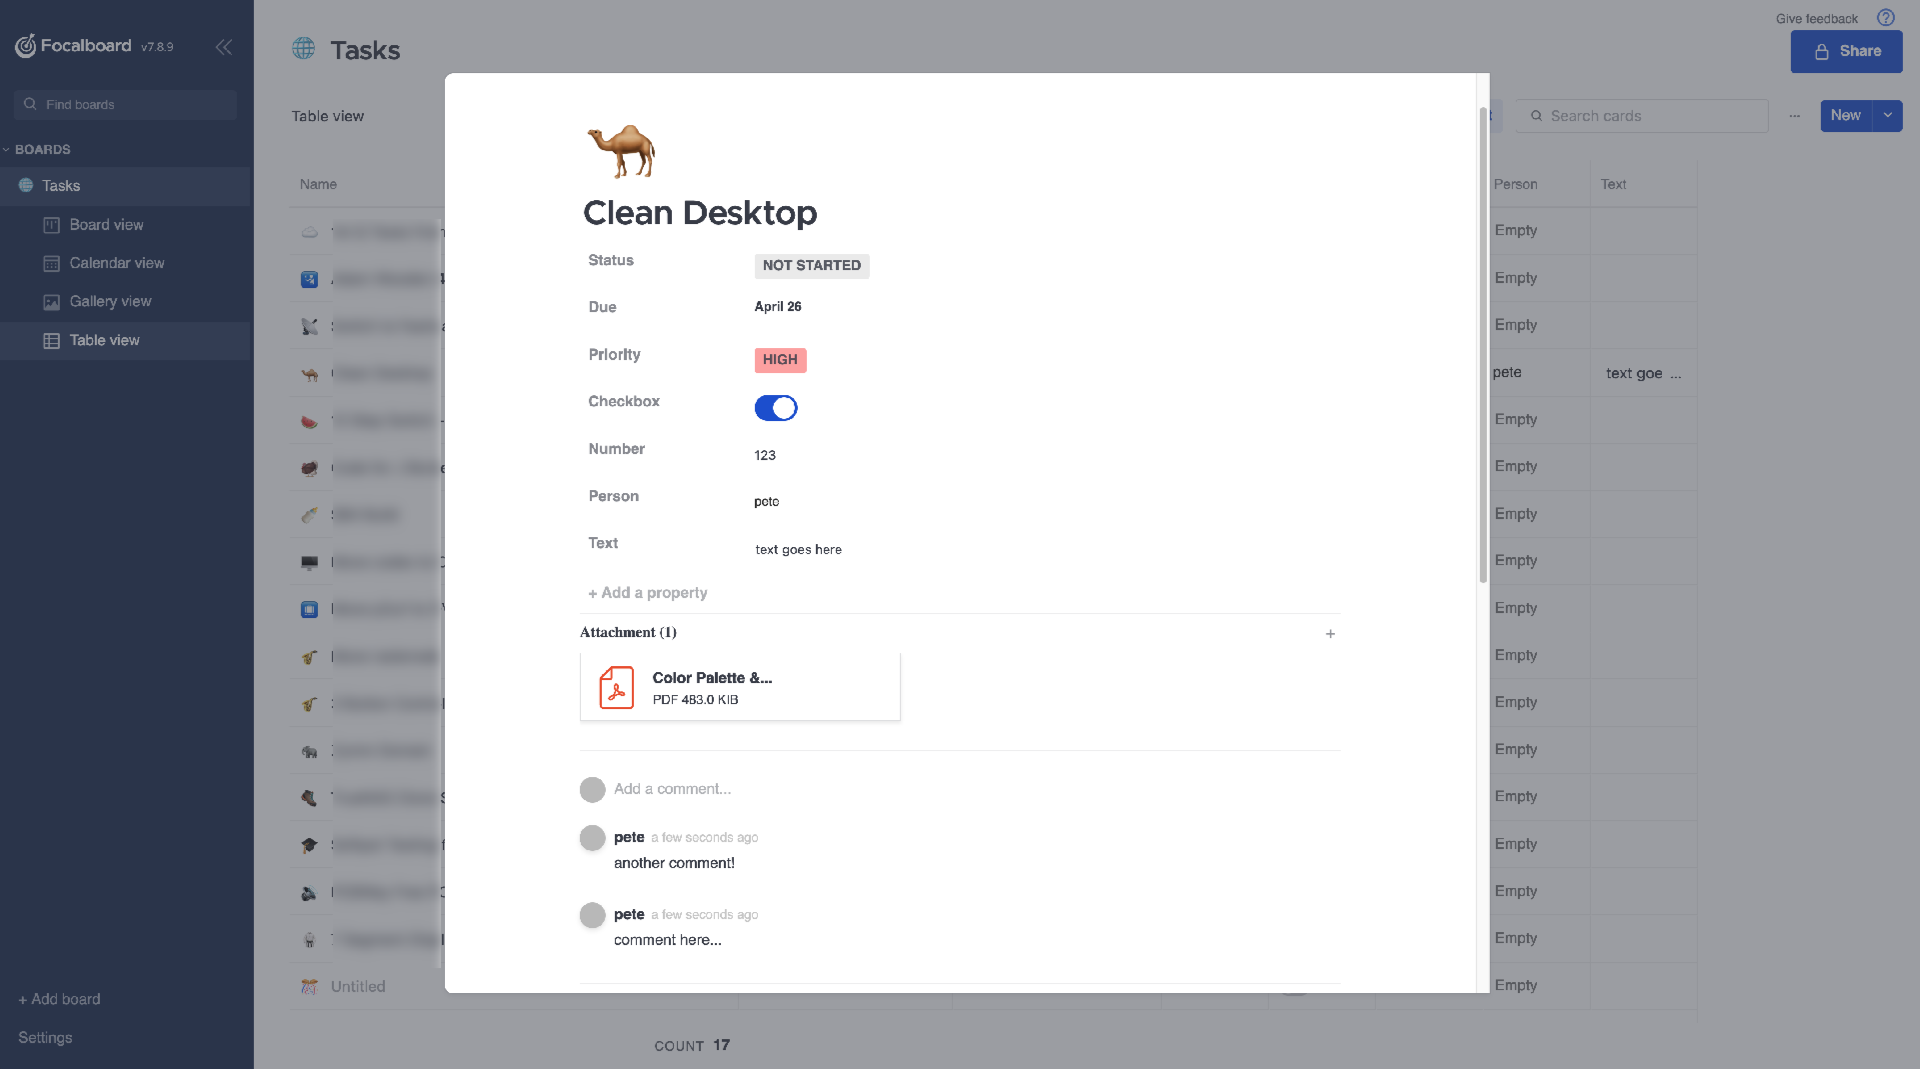
Focalboard is a simple task manager. It lacks a few things I would like, but I can self host it on my own server, so the data I put into it is only for me. It’s not being used to train AI, it’s not being used to pump up user numbers for some corporation. Here is the code. But wait… it’s still not good.

Focalboard seems to be (sort of) abandonware. As in, the code repo is no longer maintained, and they are looking for a new maintainer. People have volunteered but there’s been no action yet. And I do hope someone takes it over, because when I looked up Mattermost I see they do work for the US Air Force and Department of Defense. Sigh…
So yeah, those are my notes about Focalboard. I am using it for now, it is open source, and for me it is self hosted, and yes, it does not have a few features I would like, but the world is full of compromise.
Focalboard is “good enough” for me right now because I ran out of the motivation and energy to find an alternative. I would like something that is open source, I can host myself, has minimal clicking needed (as in, I can type things inline) and I would love to be able to subscribe to a calendar of due dates for tasks… notifications (email, etc.) would also be nice.
I don’t feel like I am asking for too much but I’ve yet to find something that does those things… Suggestions are welcome!