Categories
Uncategorized

Speedball Brayer Holder

It’s a bad idea to store your brayers laying down on the roller, as they can flatten due to, you know, gravity (or mavity depending on your timeline) and since I don’t have a good place to hang mine I made a little holder that stores them standing upright.

Also, as I mentioned recently I use water-based inks, so that means I clean up my brayers with soap and water, so this holder makes a nice little drying rack for the brayers after a good washing.

The holes seem to fit all of the Speedball brayers I have, and others will not fit if the handles are a larger diameter (of course you can always adjust the OpenSCAD file to fix that.

So if you need to stand your Speedball brayers upright, and you have a 3D printer (or access to one) here ya go!

You can get the STL and .scad file from Printables.com – Speedball Brayer Holder. Print it if you need it!


Note: This post contains an Affiliate Link. Read More.

Categories
Uncategorized

Gallery 69 – Tyler Tork

Hello and welcome to yet another installment of the highlighting of an artist whose work is featured in Gallery 69! Tyler Tork is actually a VIP in the world of Free Little Art Galleries as he runs the web site freelittleartgalleries.art, and that’s how I met him. I listed Gallery 69 there and then he got in touch with me saying he’d be passing through town and was interested in stopping by!

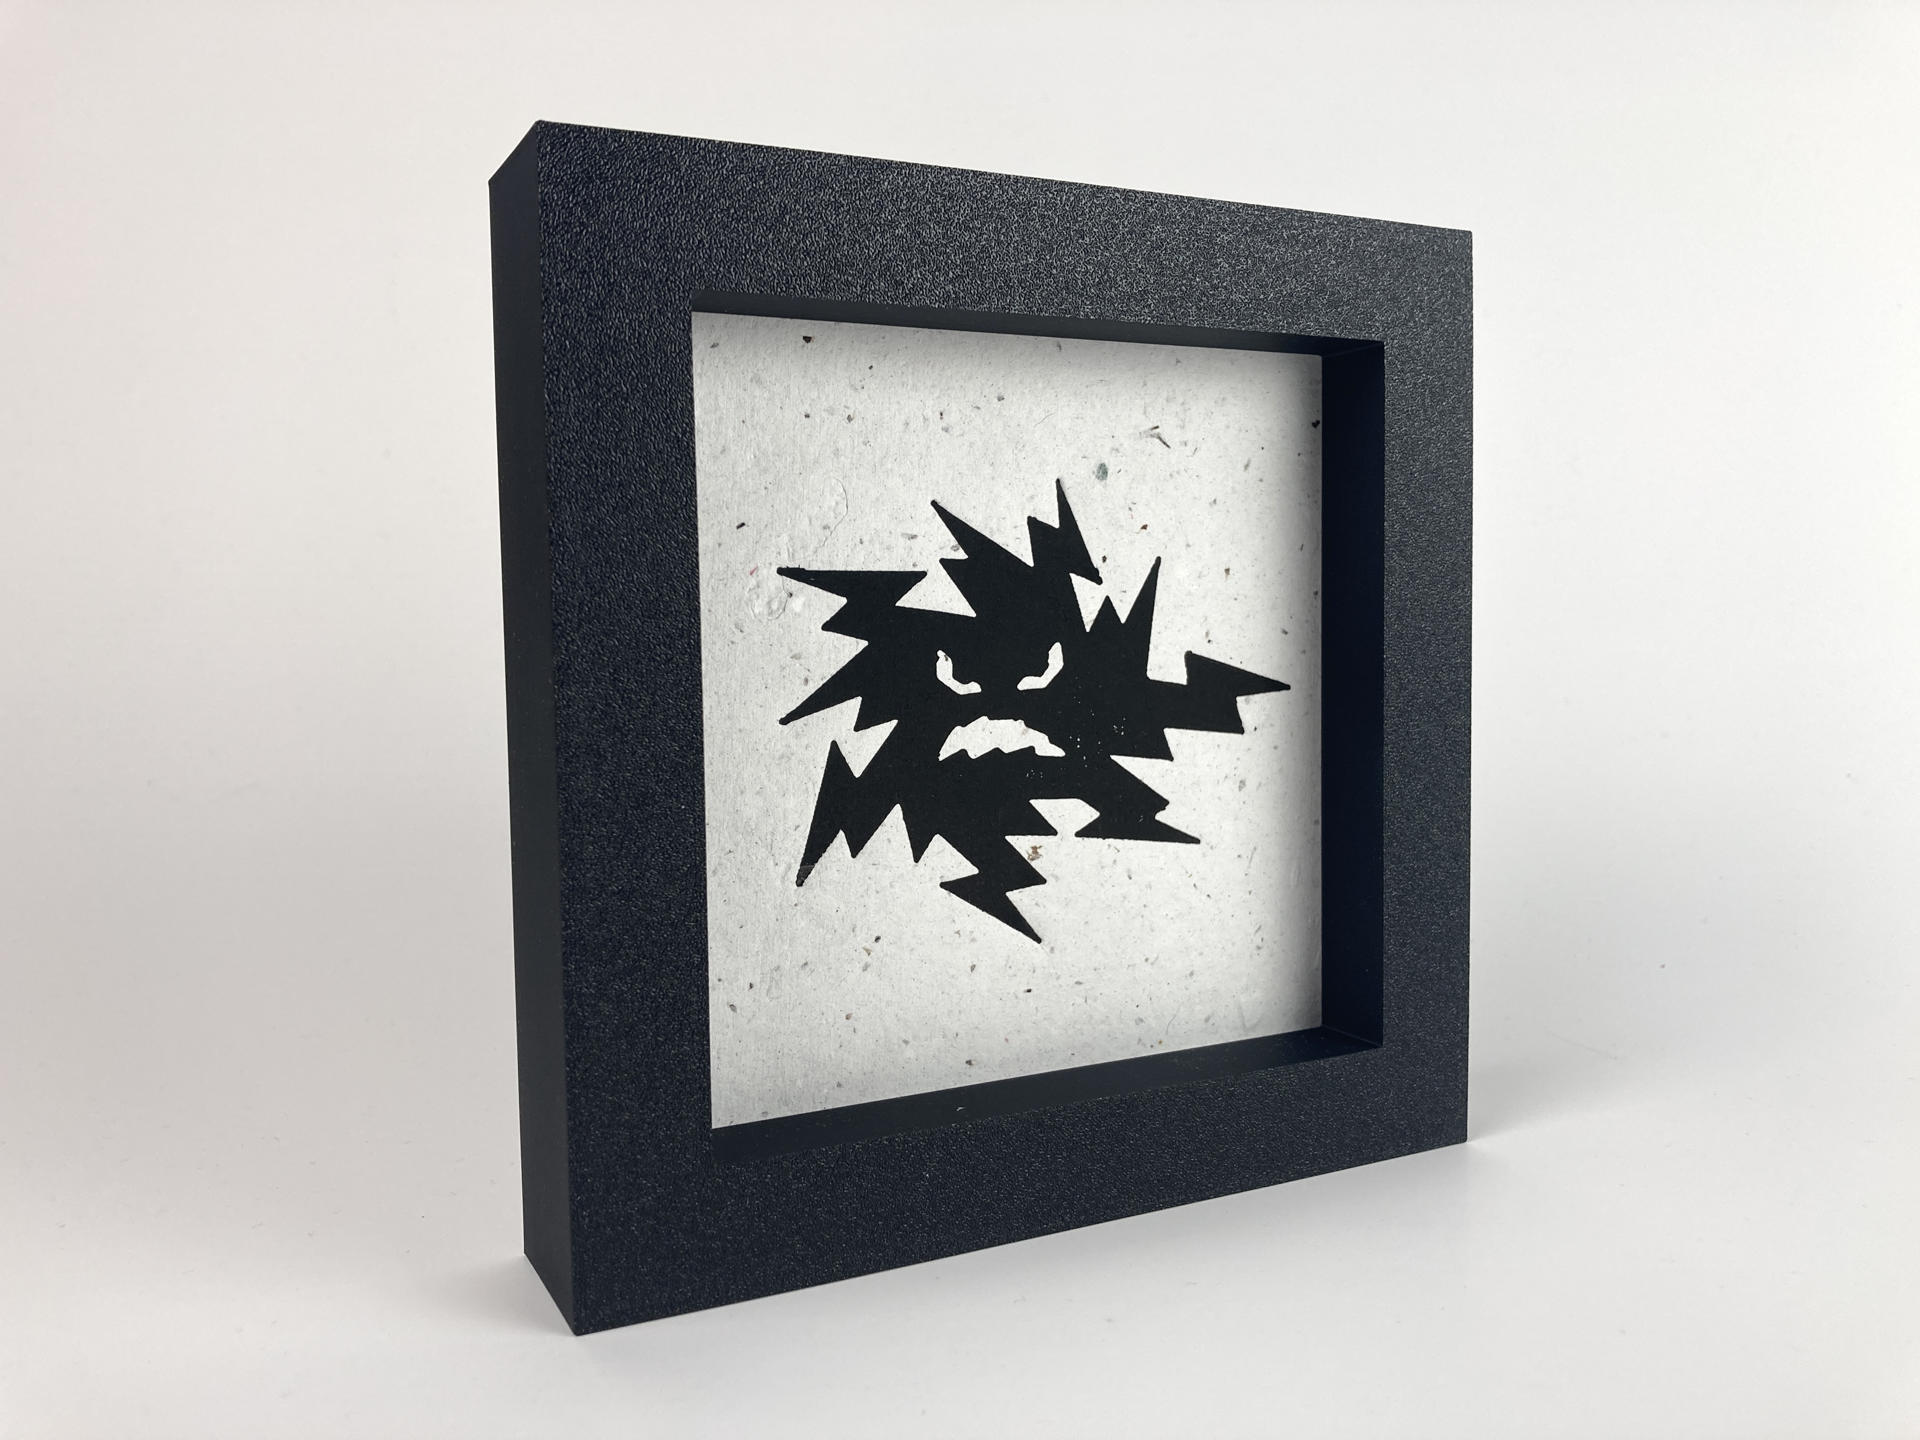
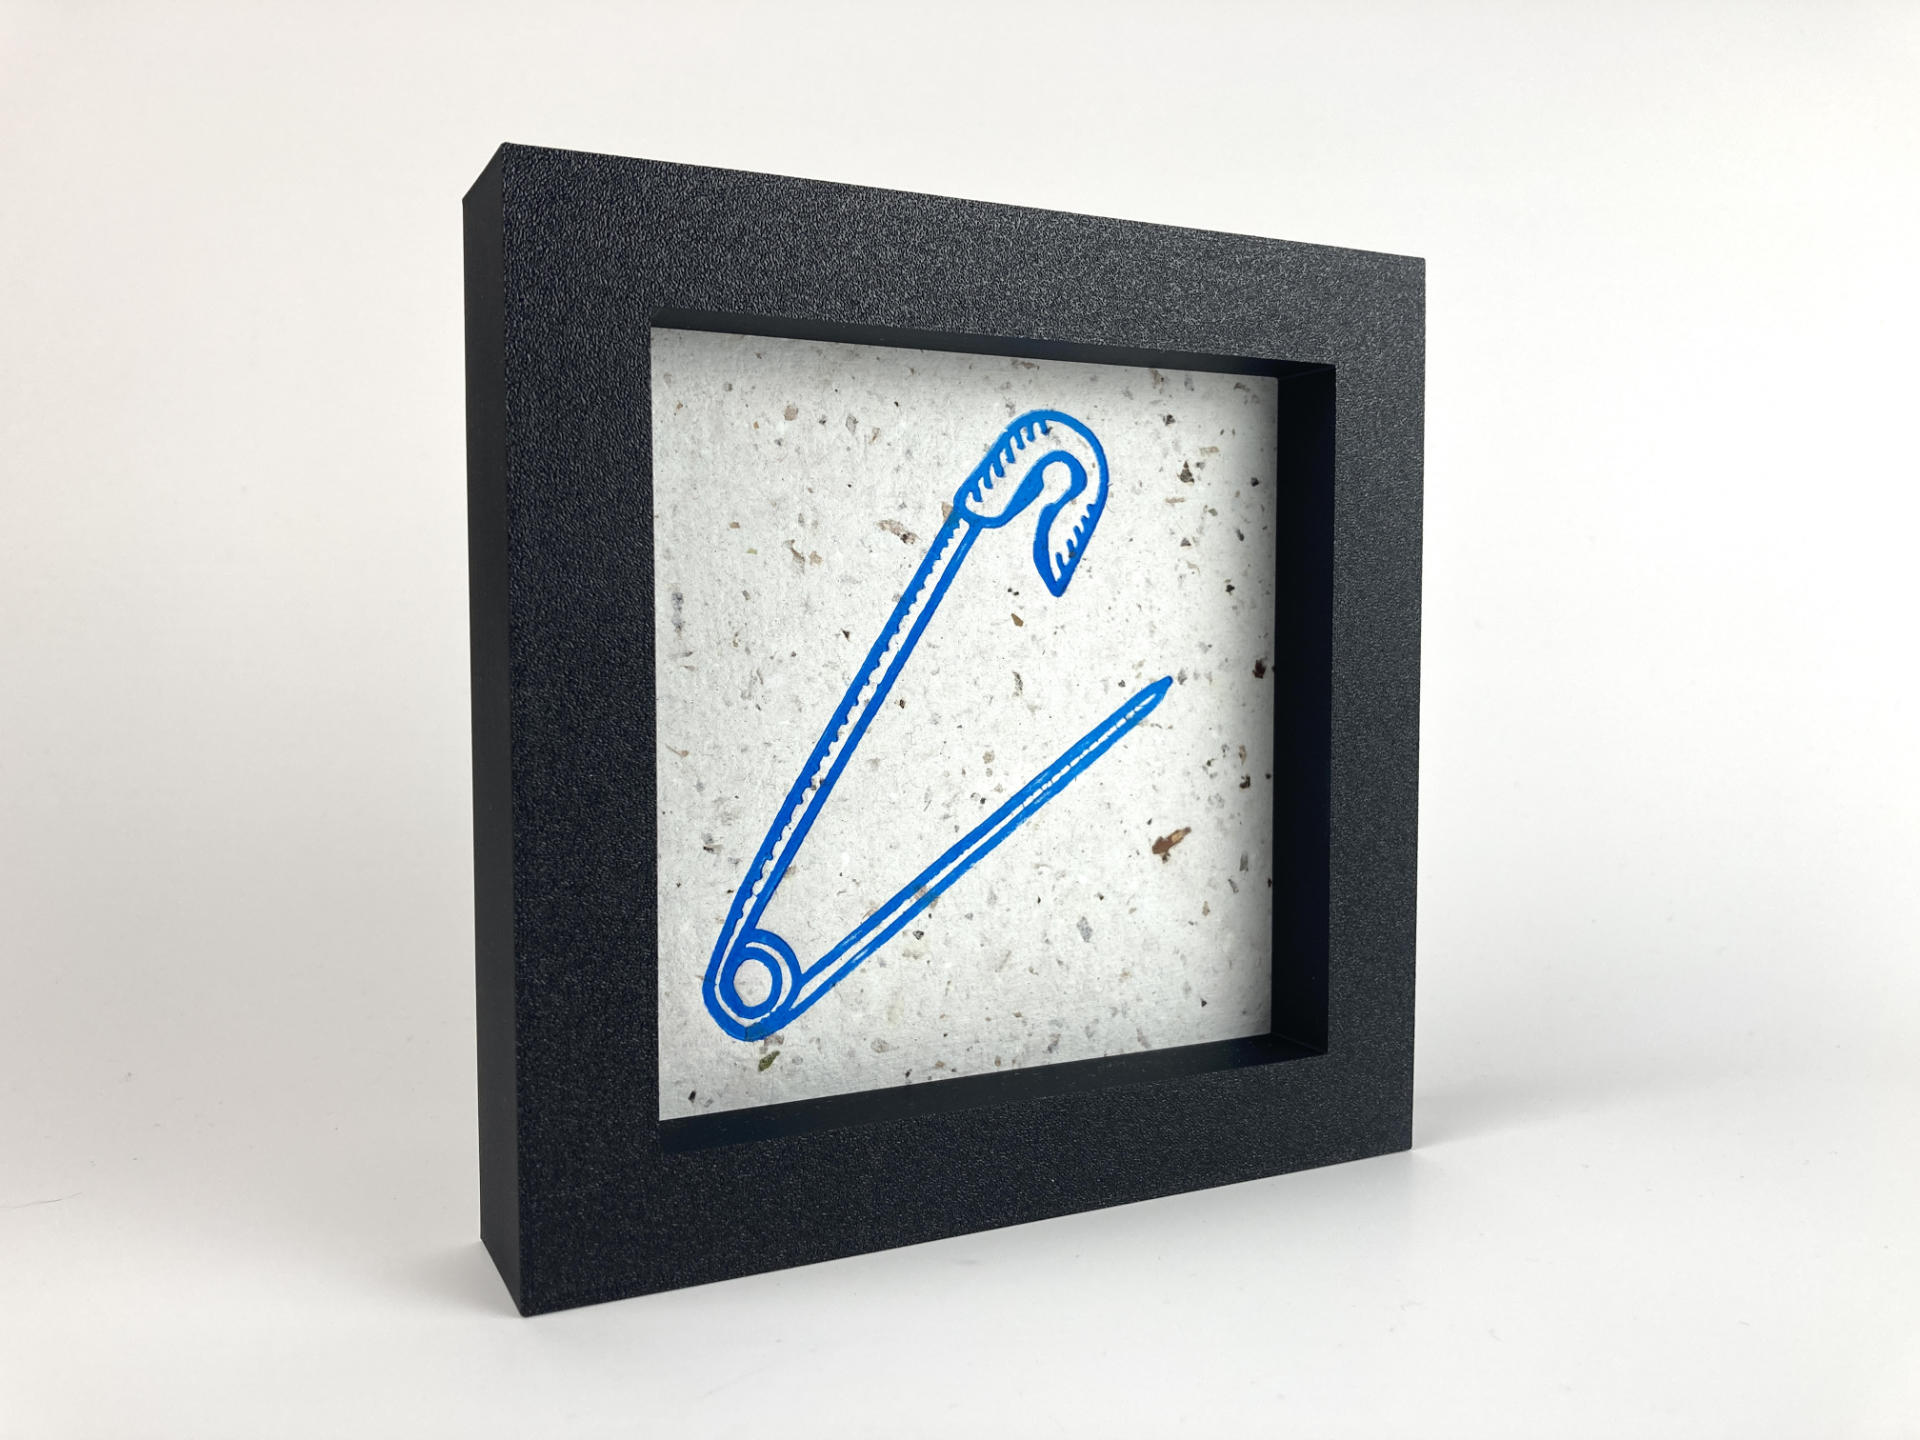
And he did, and he brought some art for the gallery! He also had books, and I bought a copy of The Goodnight Agency for my partner, who happens to enjoy and teach literature. Tyler also makes art and other interesting/strange things, so check that out as well.

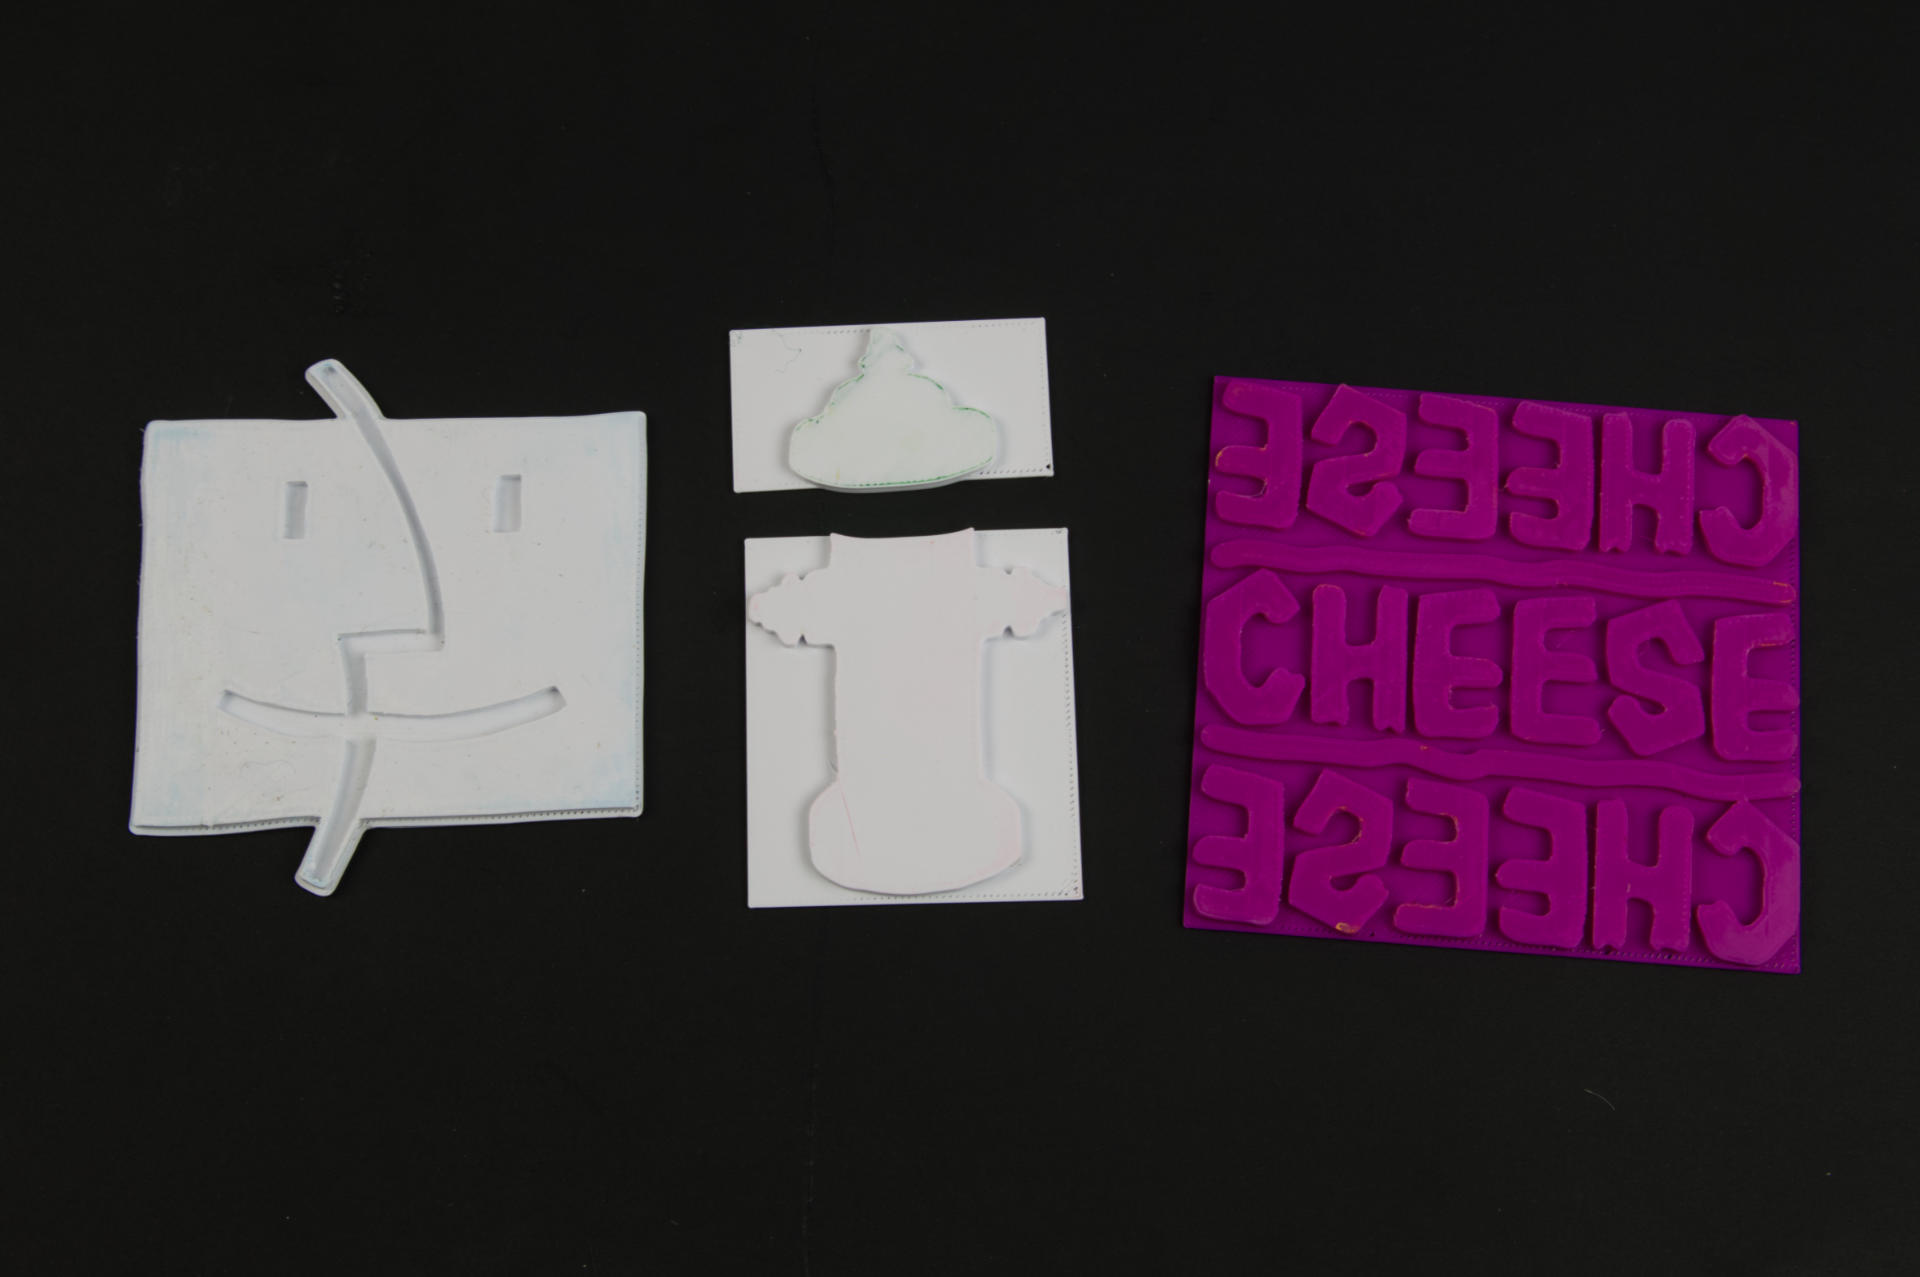
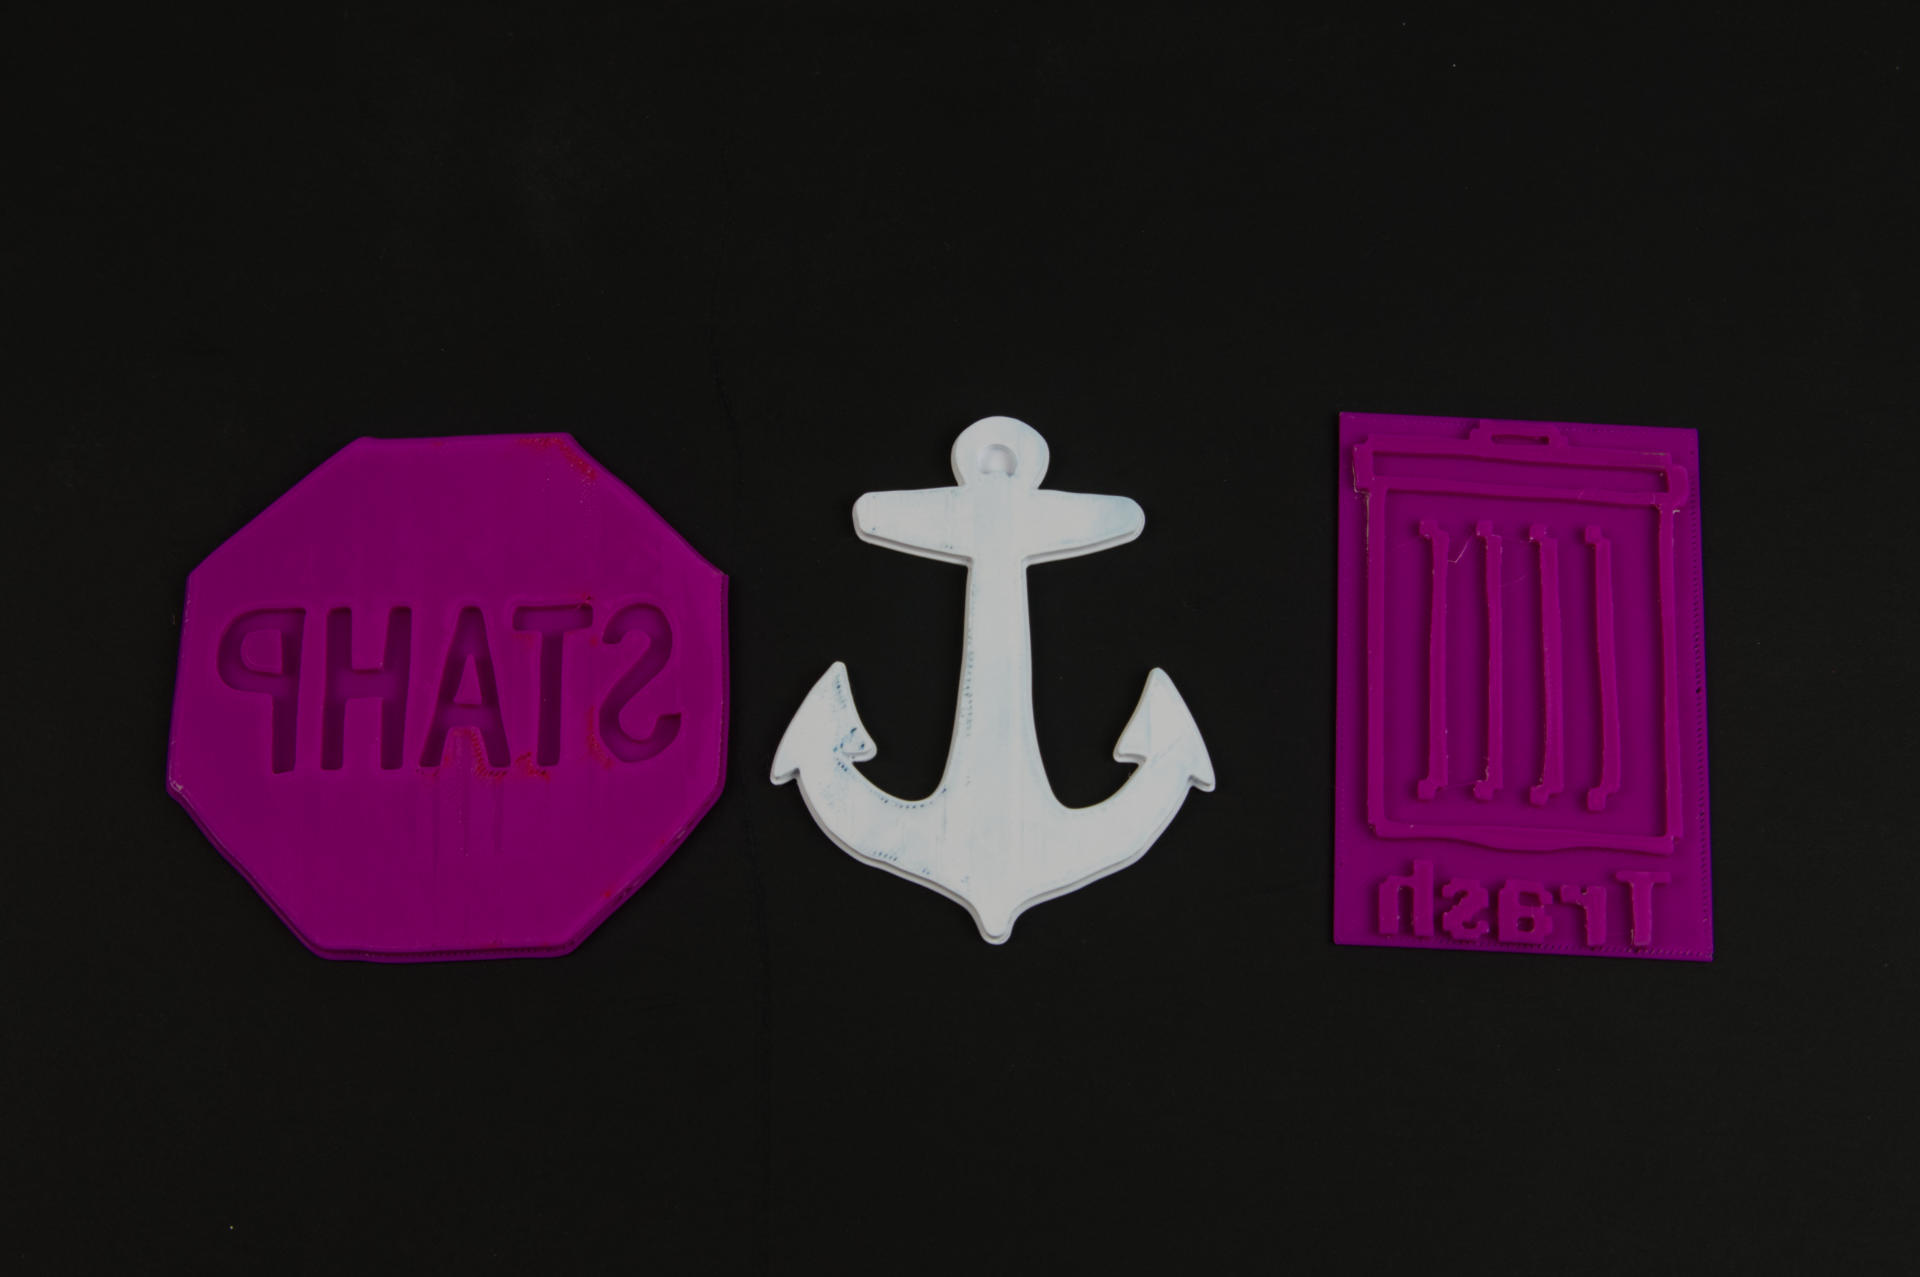
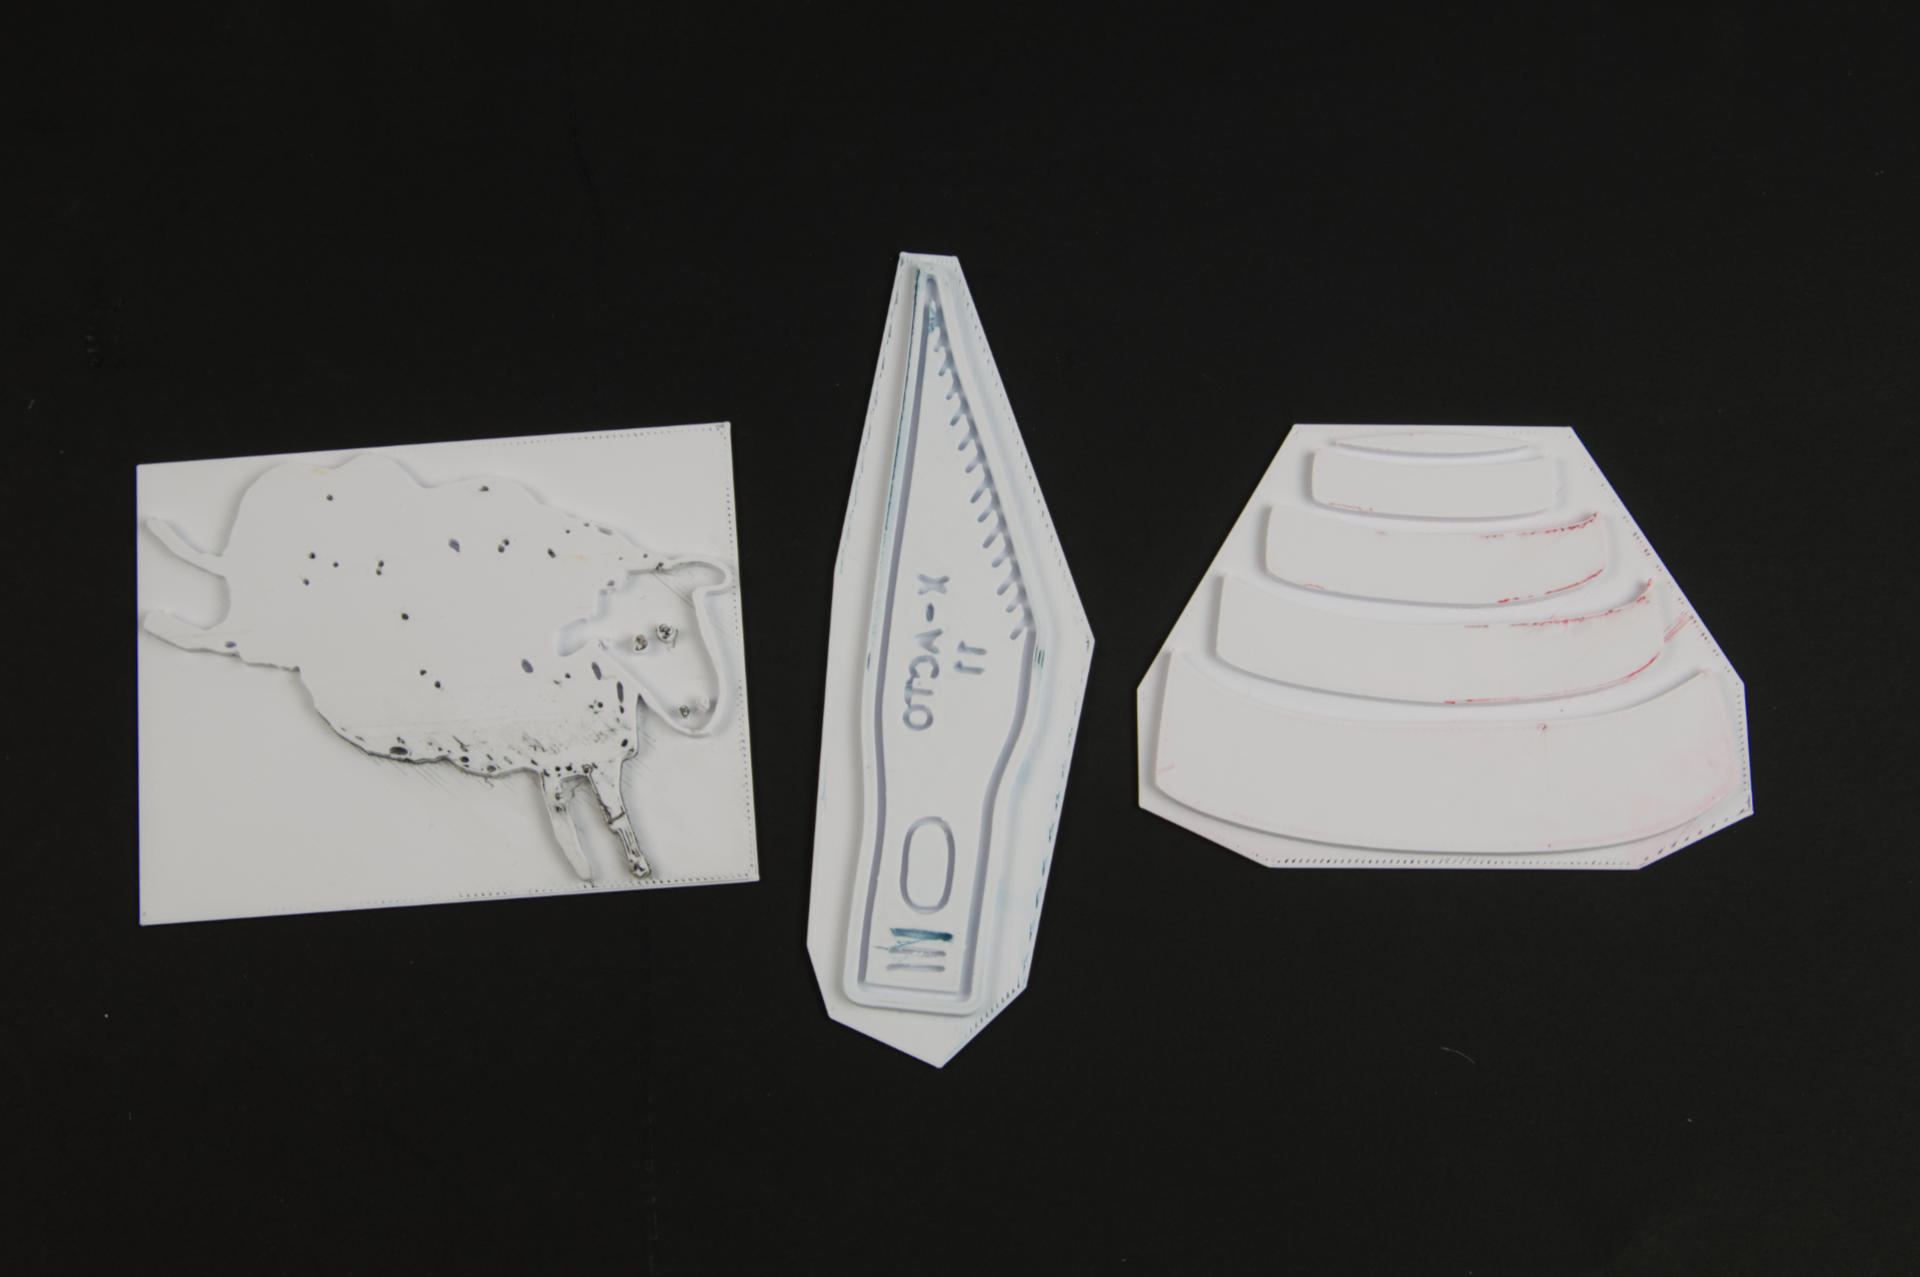
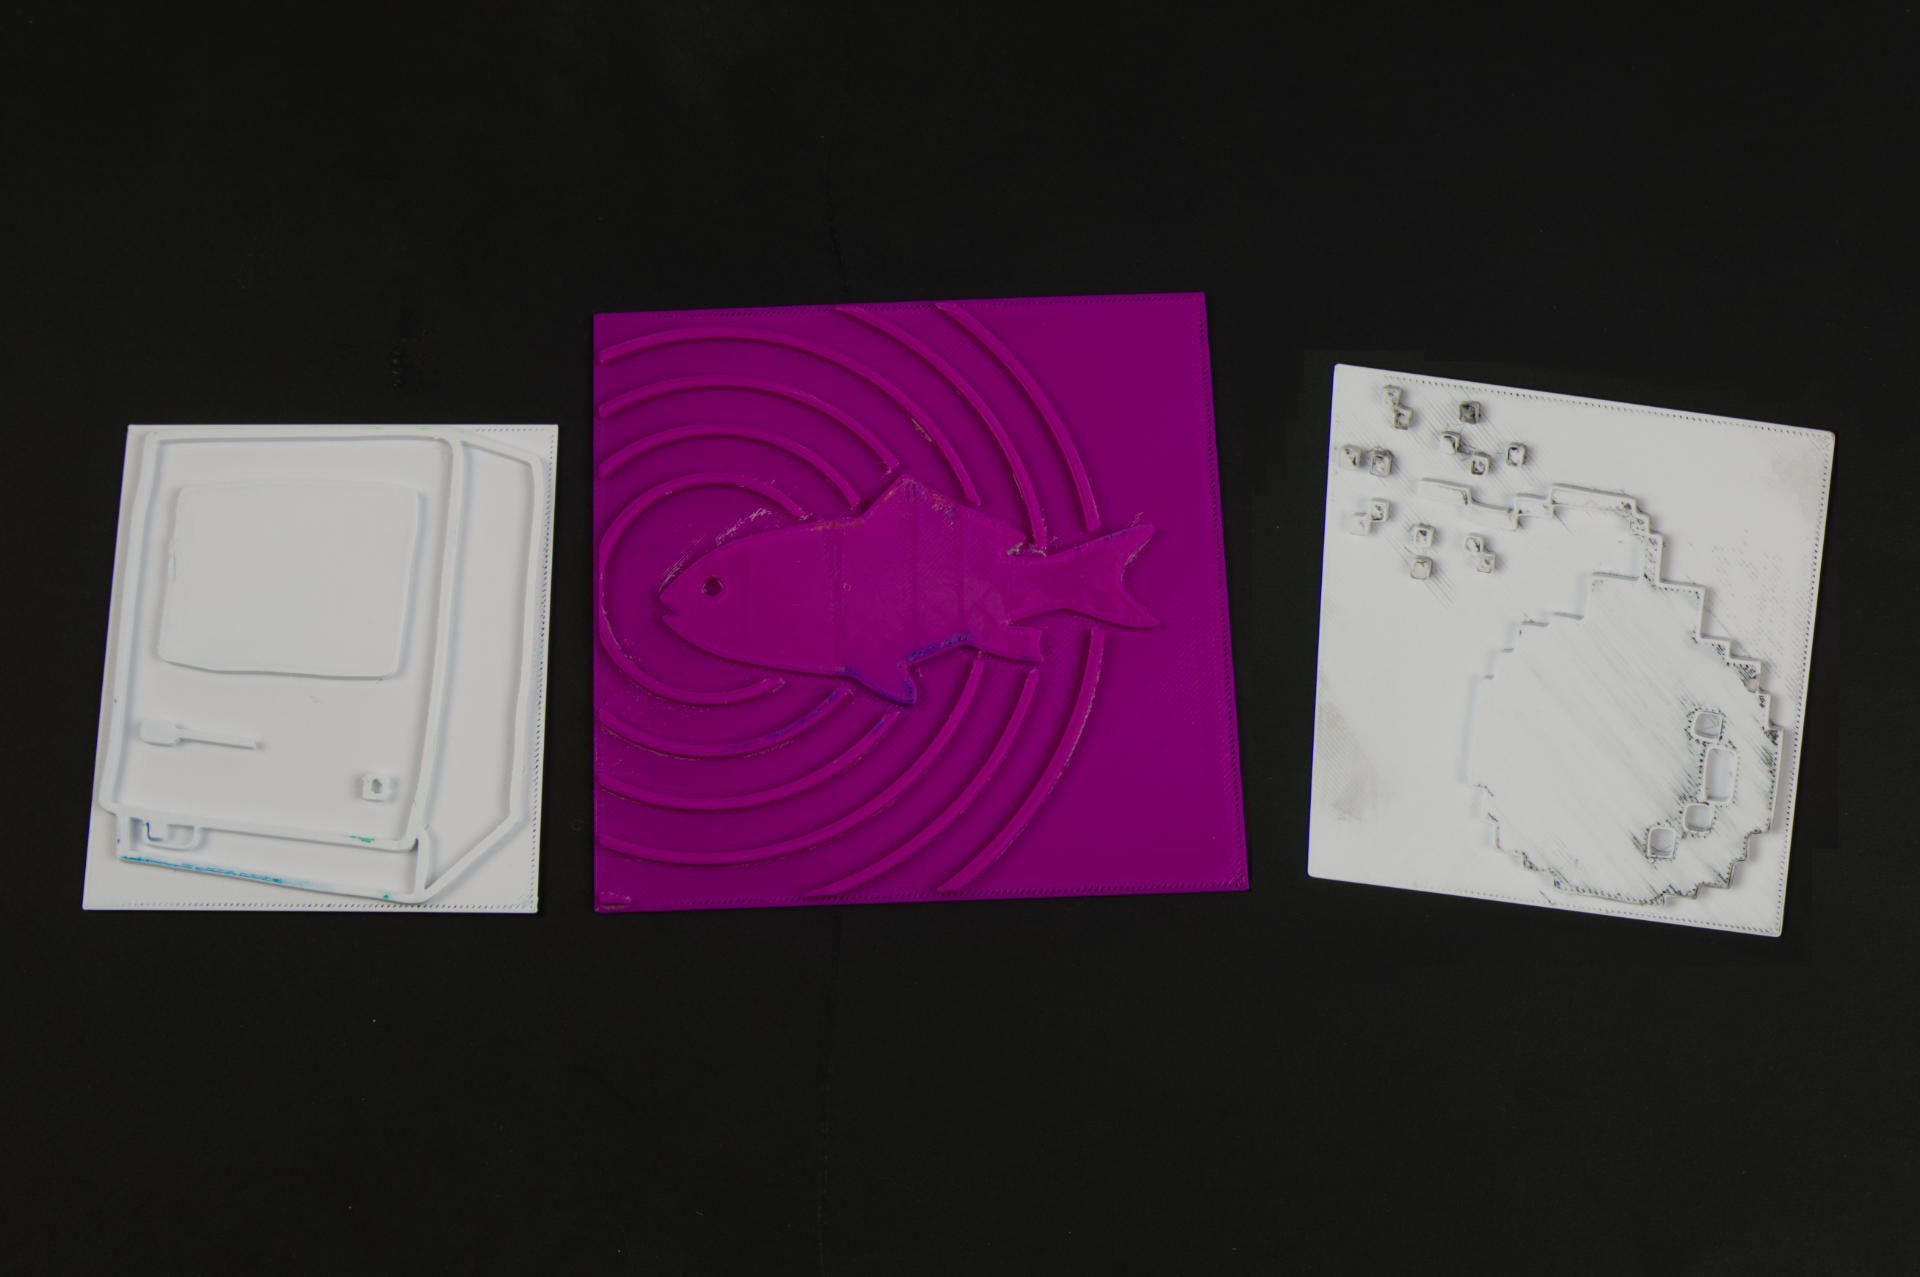
Some of Tyler’s things are 3D printed, and I’m pretty sure you remember that I’ve been 3D printing things since around 2011 or so. The chain pulls and light switch plate are 3D printed! The earrings are from another book Tyler wrote titled “The Deep End”. (I also really like the “Sad Computer Guy” magnet.)

I had a bit of a hiatus curating the gallery in the past month due to some health issues, but I’ve also been making a lot of prints and just did a refresh of all new things! Tyler’s stuff is going in there today and I’ll be digging through the archives for more art and asking other artists I know to contribute in the new year so keep an eye on the gallery for more! I often posts photos of the gallery’s new stuff on Facebook, so go be my friend there maybe.

Oh! You can also find Tyler on Facebook and Instagram, so check those out!

Gallery 69 is a Free Little Art Gallery located on 69th street just north of Locust street in the Enderis Park neighborhood of Milwaukee, Wisconsin.

Categories
Uncategorized

Water-Based Printing Inks

I like Water-Based Printing Inks. Yeah, I said it. Below I will explain in detail (possibly too much detail) why I like Water-Based Printing Inks.

First, some background. I’ve been printing for, well over three decades now. Yes, I am old. That doesn’t mean I know everything, or know more than you do, but it does mean I’ve observed a lot over the years. Second, I am cheap, or should I say, I like to keep things low-cost when I can. When I was printing shirts for punk bands and my own art in the early 1990s I would often get the cheapest shirts, scrounge materials, and buy low-cost things, and I could sell shirts for under $5 and still make a (small) profit. I mean, it wasn’t about the profits, it was about spreading art and making it accessible. Anyway, forget all that.

Printmakers will tell you to avoid water-based inks, and there certainly are reasons to do so, but I use them for two reasons. They are cheap and they are easy.

Cheap

Compared to “good quality” oil based inks, water-based inks are going to be much cheaper. sometimes close to half the price. For me, this means I can get more colors, and right now I am all about the colors. If you buy a print from a professional printmaker it will probably have been printed with high quality oil based ink. If you buy a (cheap) print from me it will probably be done using water-based ink.

Note that I said “professional printmaker” above. I do not consider myself a professional. I am a printmaker but I do it for fun, to explore, to learn, and if I ever make money from it, cool… but again, I am interested in spreading art around for cheap.

Using water-based inks means I can make prints cheap, and sell them cheap. I like that, as it makes art more accessible.

Easy

Easy has a few components to it, the most important being that it’s easy to clean up. Water-based inks can be cleaned up with soap and water. That’s it. Like washing dishes. There are some hybrid inks that are oil-based but water-soluble or water-miscible. They cam be cleaned with water, sort of, but in a specific way, and you’re not supposed to put the water down your drain.

So here’s the deal… If I make it easy to print, I am going to be more likely to print. If cleanup is a pain in the ass, I won’t want to do it. If cleanup is super-simple, then I don’t mind it at all.

One issue with water-based inks are that they can be difficult to work with for a long period as they dry up while you are trying to print. You can add a few drops of vegetable glycerin to the ink to prolong your printing time but for me, it doesn’t matter because I am quick.

Often a printmaking session for me is done in well under 15 minutes. I often only make a half dozen prints. I’m not doing huge runs, but just a few at a time. Sometimes I do a few prints in the morning before work, get everything cleaned up, and the whole process is less than 20 minutes.

Since I am using the Provisional Press I’m not hand burnishing prints or rubbing a spoon for five minutes. I can roll that press and get a print in seconds. It’s not about going as fast as possible, but I’m not taking minutes per print, so that ink is not getting a chance to dry on the brayer.

Anyway, that’s my argument for water-based inks, and why they work for my specific needs. I don’t expect everyone to work the way I do, but I think that if you want to use water-based inks because they are cheap and easy you can totally do that. I support you!


Note: This post contains an Affiliate Link. Read More.

Categories
Uncategorized

Fancy Sanding Blocks

About a year ago I “designed” (ha ha!) and 3D printed the Super Boring Sanding Block which has served me well for sanding miscellaneous wood in the shop, but I found a nice parametric sanding block for OpenSCAD so I thought I’d give it a try.

You can adjust the length, width, and height, and basically make it any size you want. I made mine to fit the sheets of sandpaper I normally buy. I’ve now got six of them with various grit for each one so I can just grab the right one and get to work. (I also added labels to each using the Niimbot.)

My one complaint (which someone else also had) is that you can’t easily figure out the size needed to fit a specific length of sandpaper. I don’t know if there is some OpenSCAD wizardry or maths that would do this for you, but my solution was to print a really thin version (repeatedly) and adjusting the numbers until it properly fit my sandpaper, then I made full width versions. Things like sanding blocks are a perfect match for 3D printing.

Categories
Uncategorized

Handmade Paper

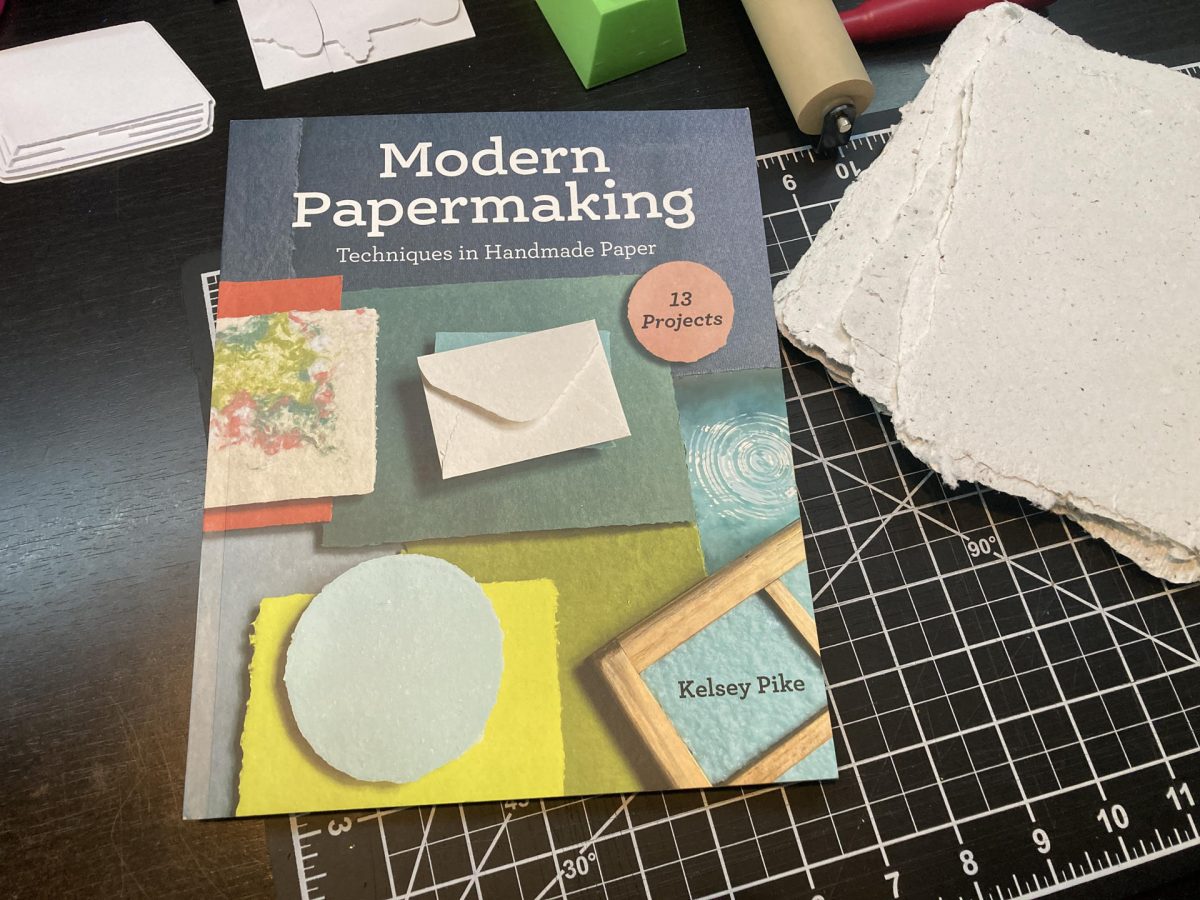
If you read the previous post you saw the mould and deckle I made, and the start of the process of making paper using the mould and deckle. Well, once the paper dries it looks quite different!

Here’s a stack after the pieces have dried. They are not exactly flat, as they curl up while drying. I couch them onto cut up pieces of an old bed sheet. I don’t press them when they are wet, I just let them air dry while laying flat, which takes about a day or so.

(Most people will tell you to press the paper when wet to remove the water and to flatten it, but I just sort of do it the way I’m doing it and so far it seems to be working fine.)

Once the sheets are fully dry that’s when I press them. I put each piece between a sheet of 3mm thick Baltic Birch plywood and then put the stack between two steel plates in a hydraulic press. (Here’s a press similar to the one I have.)

I’m still experimenting with the right amount of pressure. If I totally crank the press down hard I can get some very flat (and sometimes very thin) paper. One batch was actually a bit too thin! This batch is a bit thicker (since it was made better) but I also didn’t apply quite as much pressure, so it would retain some of the texture. Either way, one side is going to be much smoother (the side that dried face up) and the side that was against the bed sheet will have some texture to it.

Wait, bed sheets? Yeah, this is all pretty DIY, and I’m mostly using materials I have available and not purchasing a bunch of stuff. As I mentioned in the mould and deckle post I am using old window screen material because I have a bunch of it.

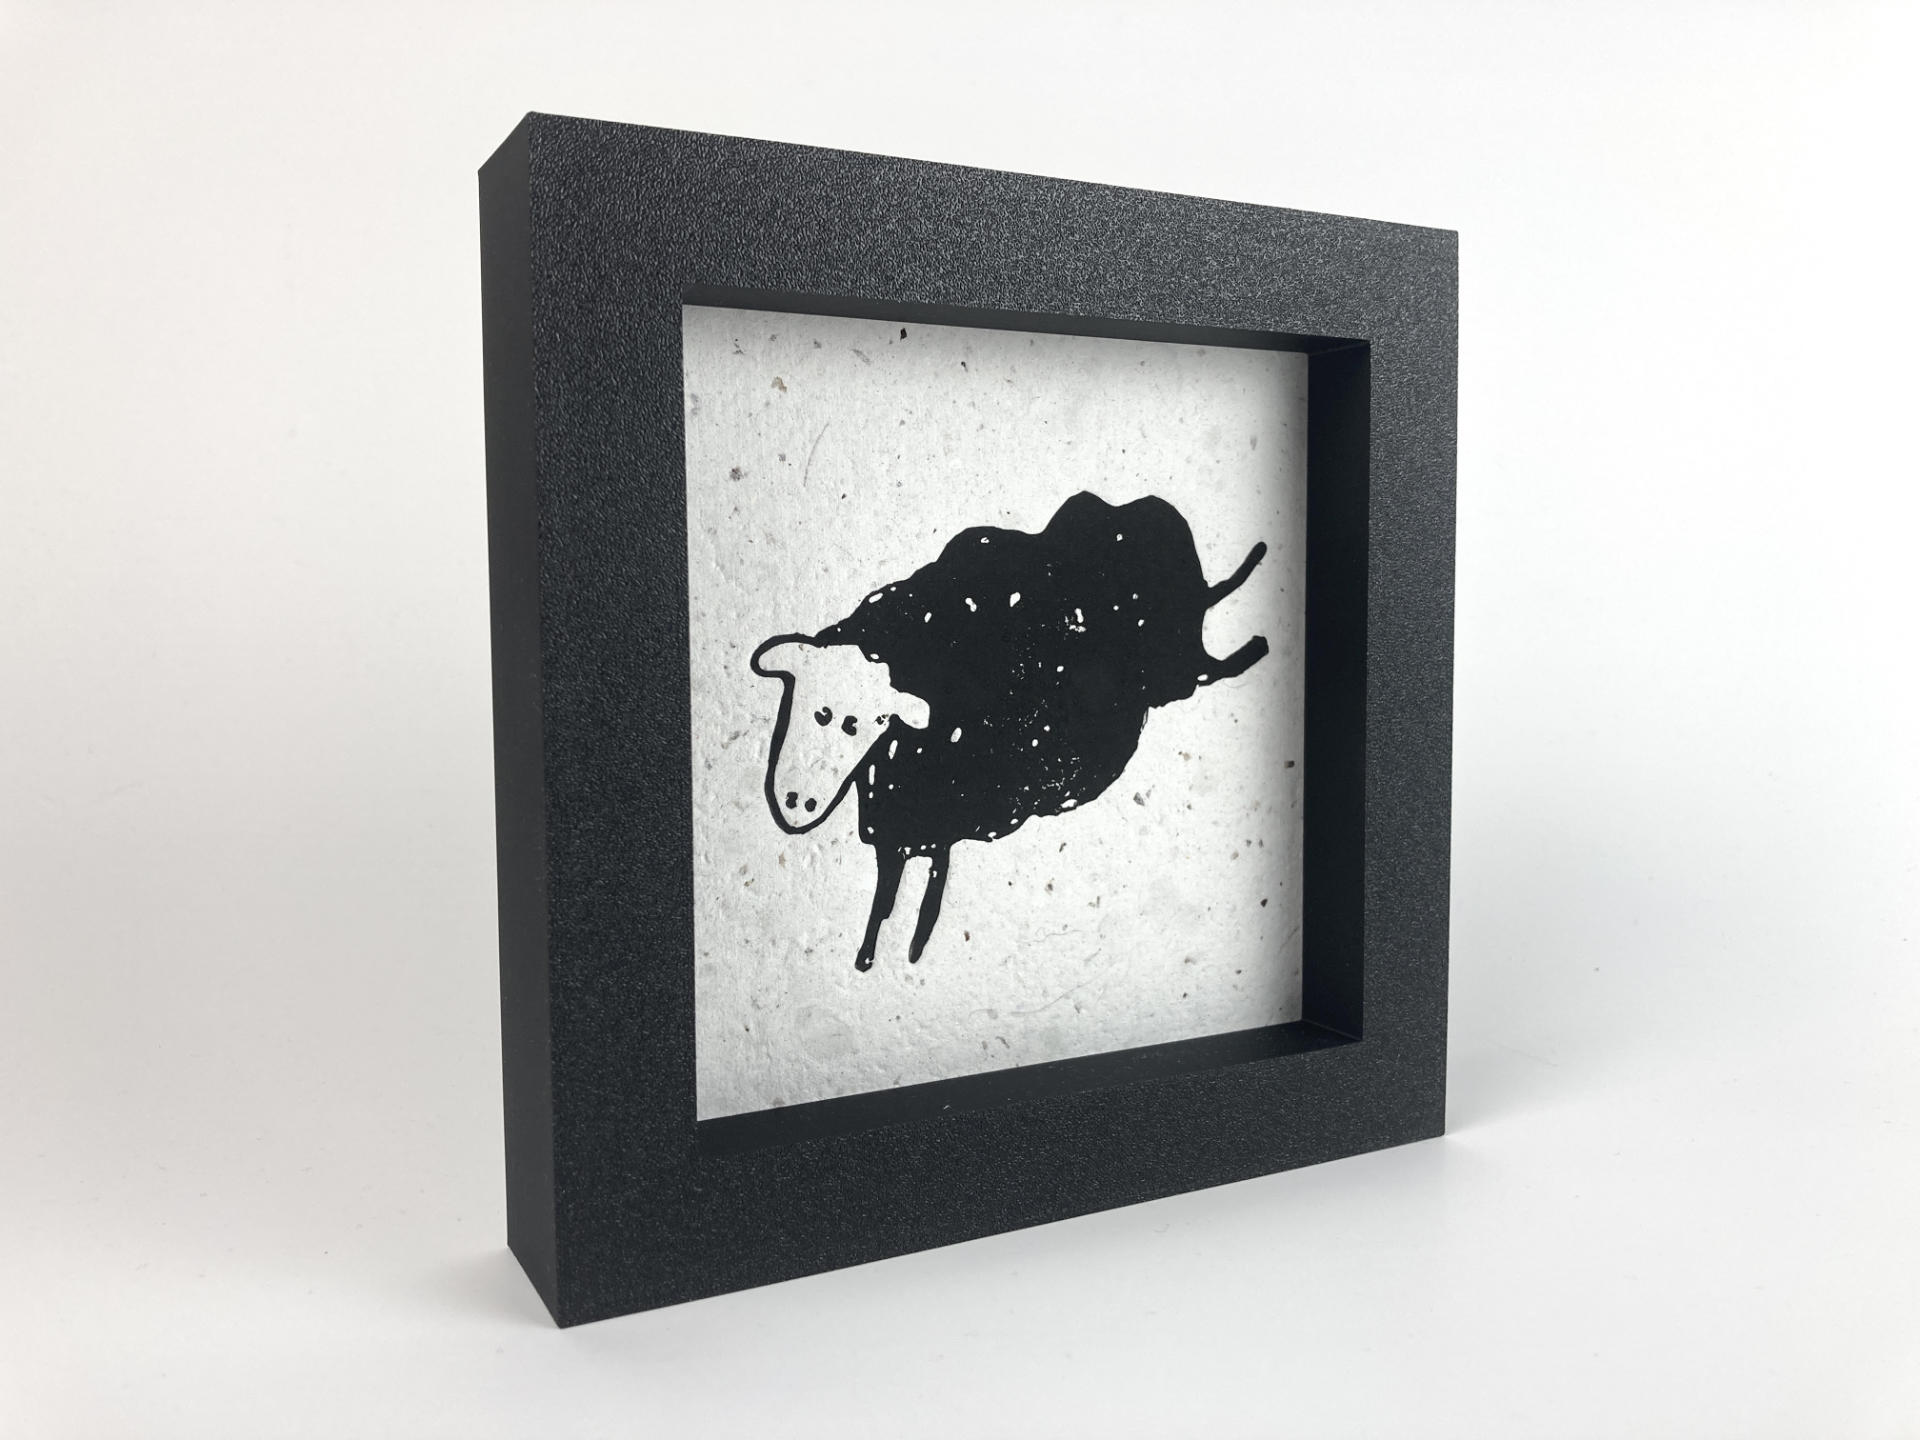
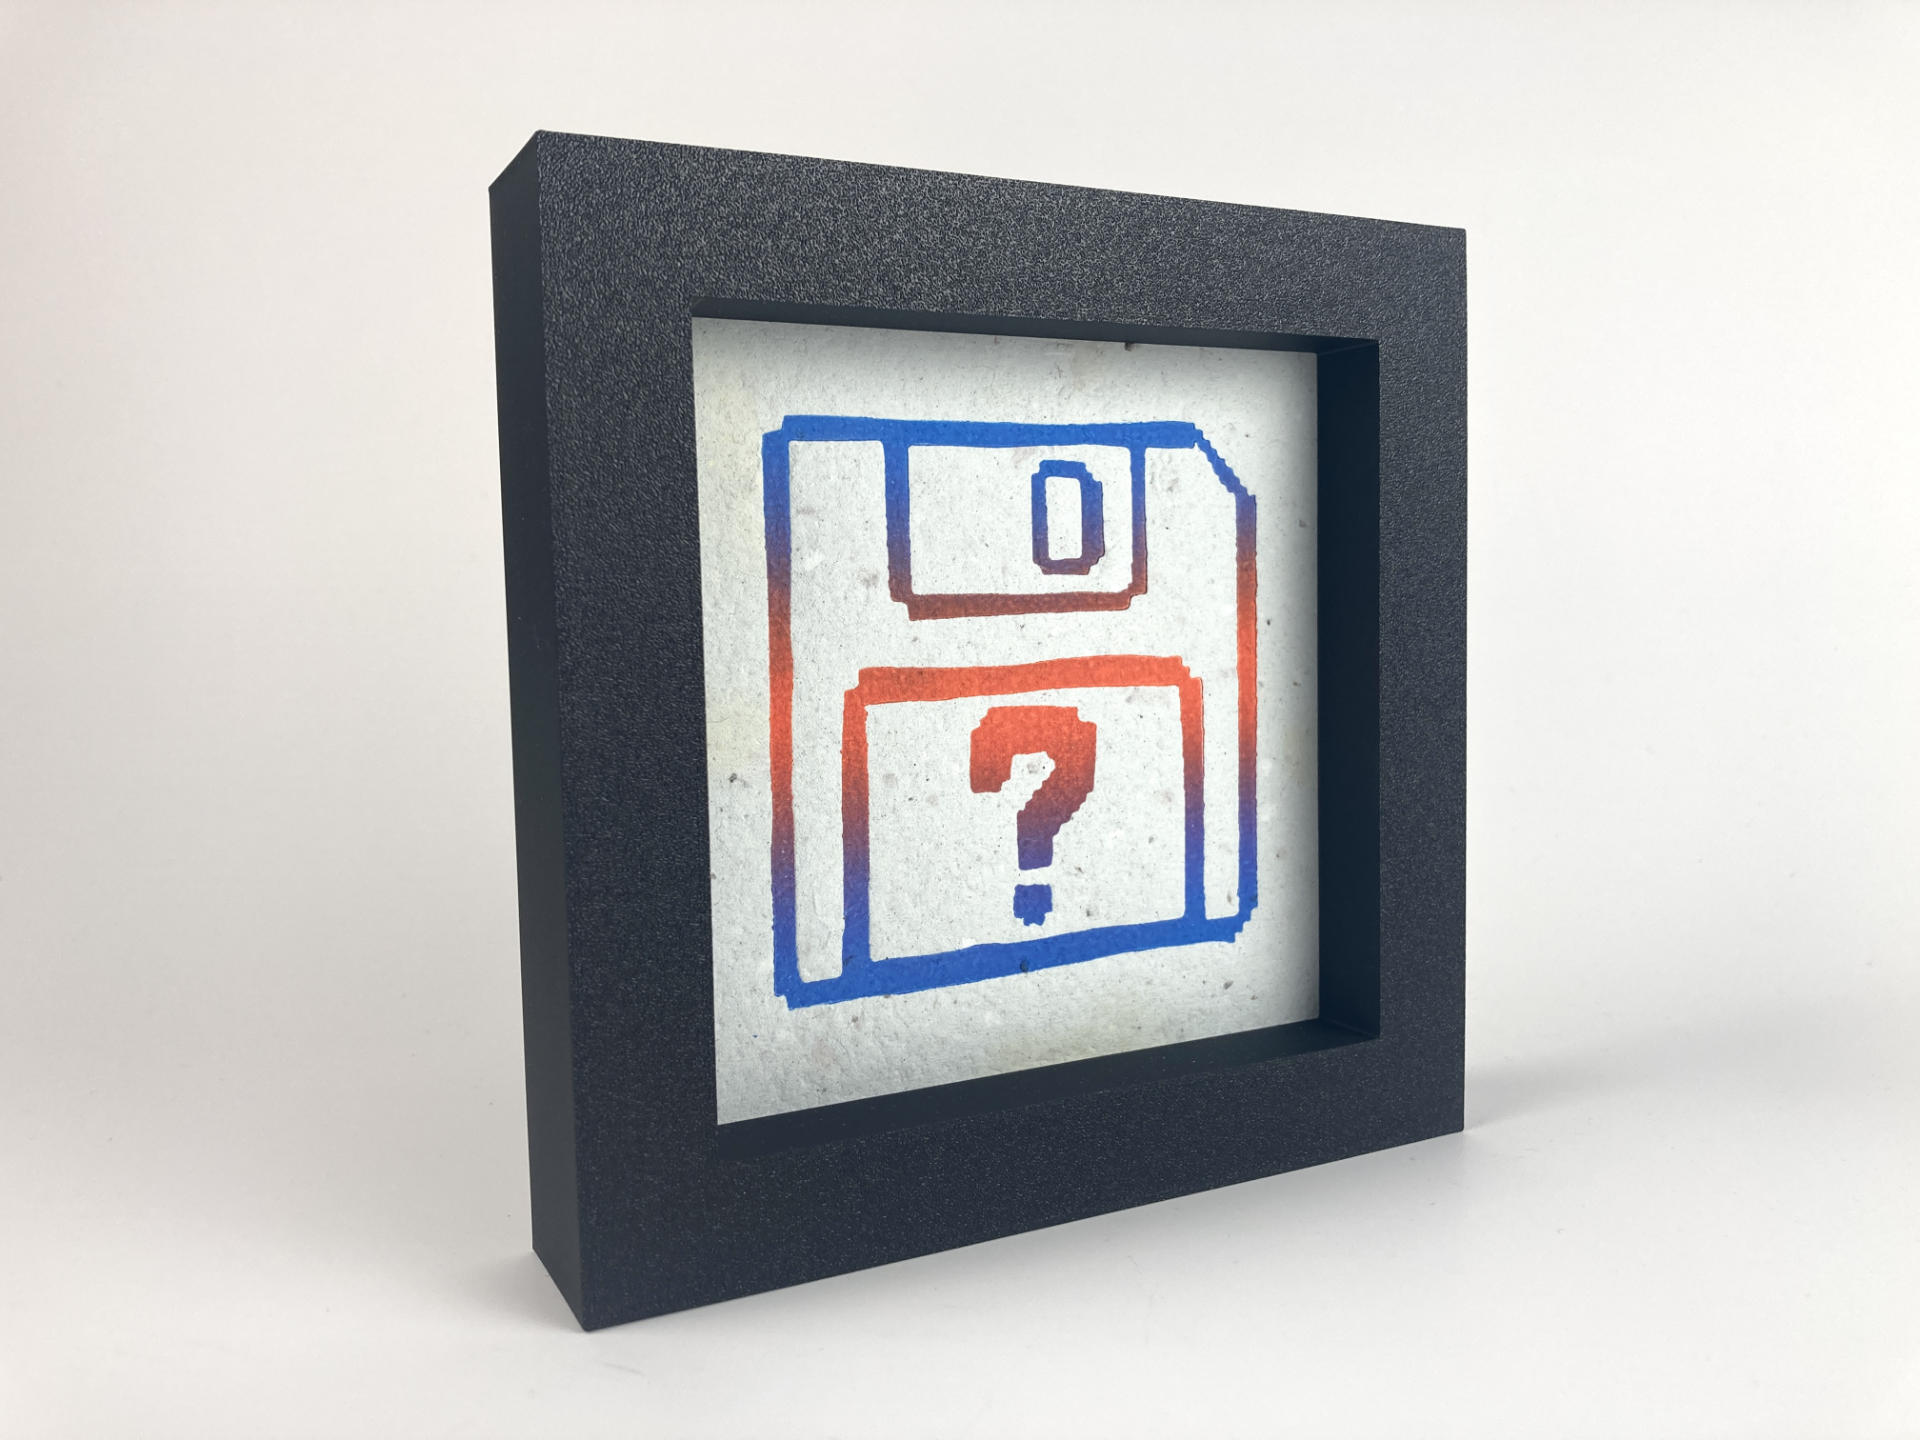
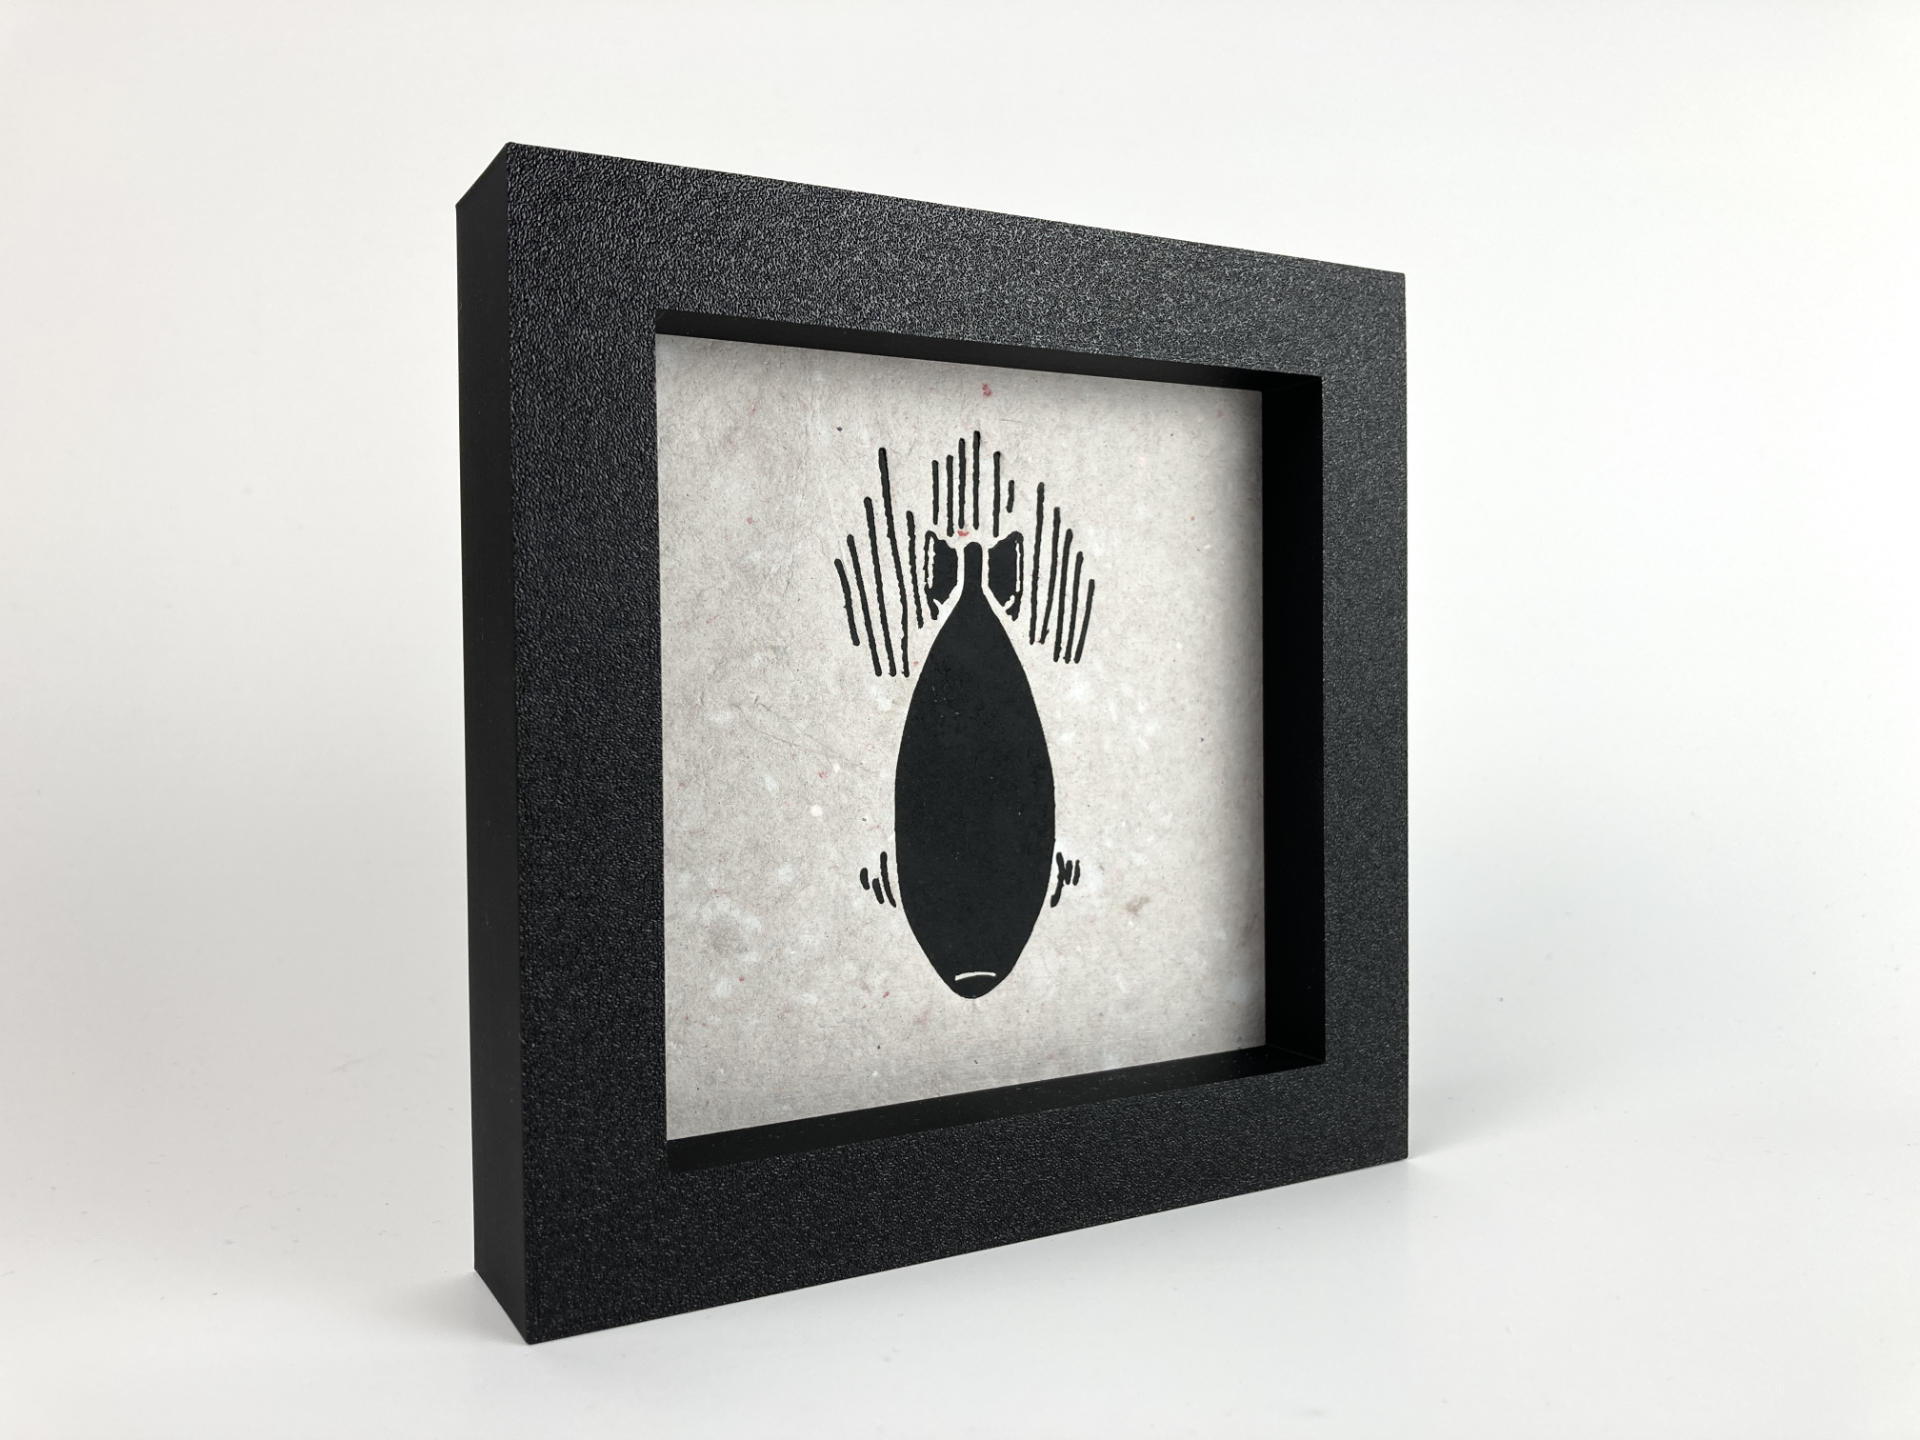
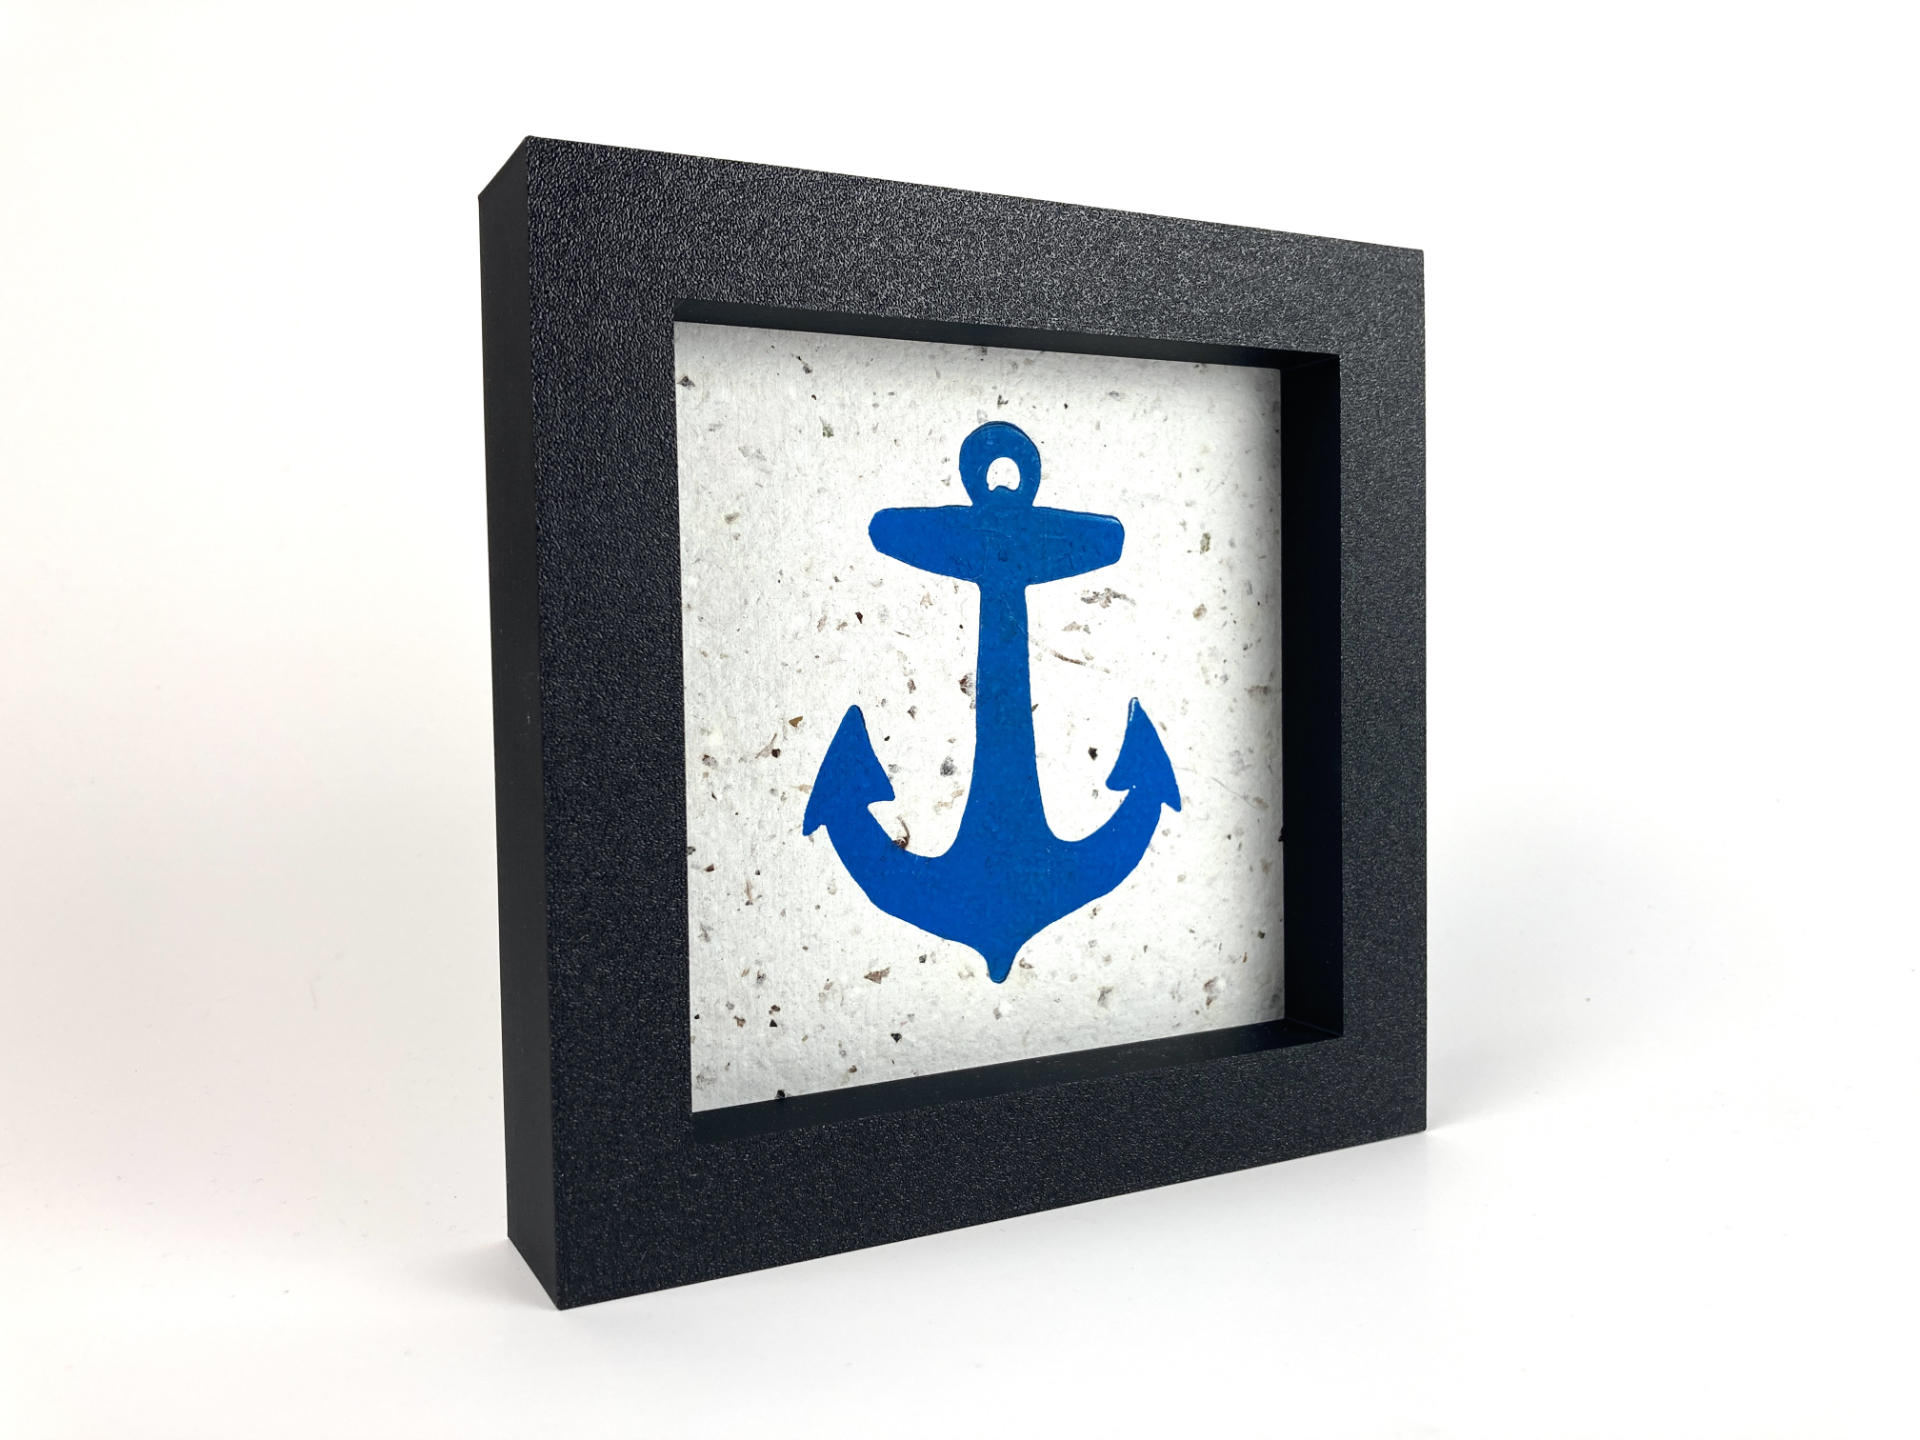
To make the pulp I am using paper shreds create by our home paper shredder. I’m making sure I don’t shred any envelopes with plastic windows or other strange matter (though my first batch did contain plastic!) The paper is never white because the ink/toner/whatever from the paper mixes with the water and pulp and turns it gray, which is fine. I do plan to experiment with some colorants. If you notice the brown speckles in this batch that comes from a bunch of dried up leaves I harvested from the garden. I crunched them up and added them to the pulp when blending it. I think it adds some nice character to the final product.

I was able to make a total of 16 sheets on the attempt, which isn’t bad, as I am somewhat limited in space. I’m starting to get to the point where I know how much pulp and water to use and how much it will make, so that’s good. I should probably measure things and write it down but at this point I’m still just screwing around to see what works and what the outcome is… Stay Tuned!


Note: This post contains an Affiliate Link. Read More.