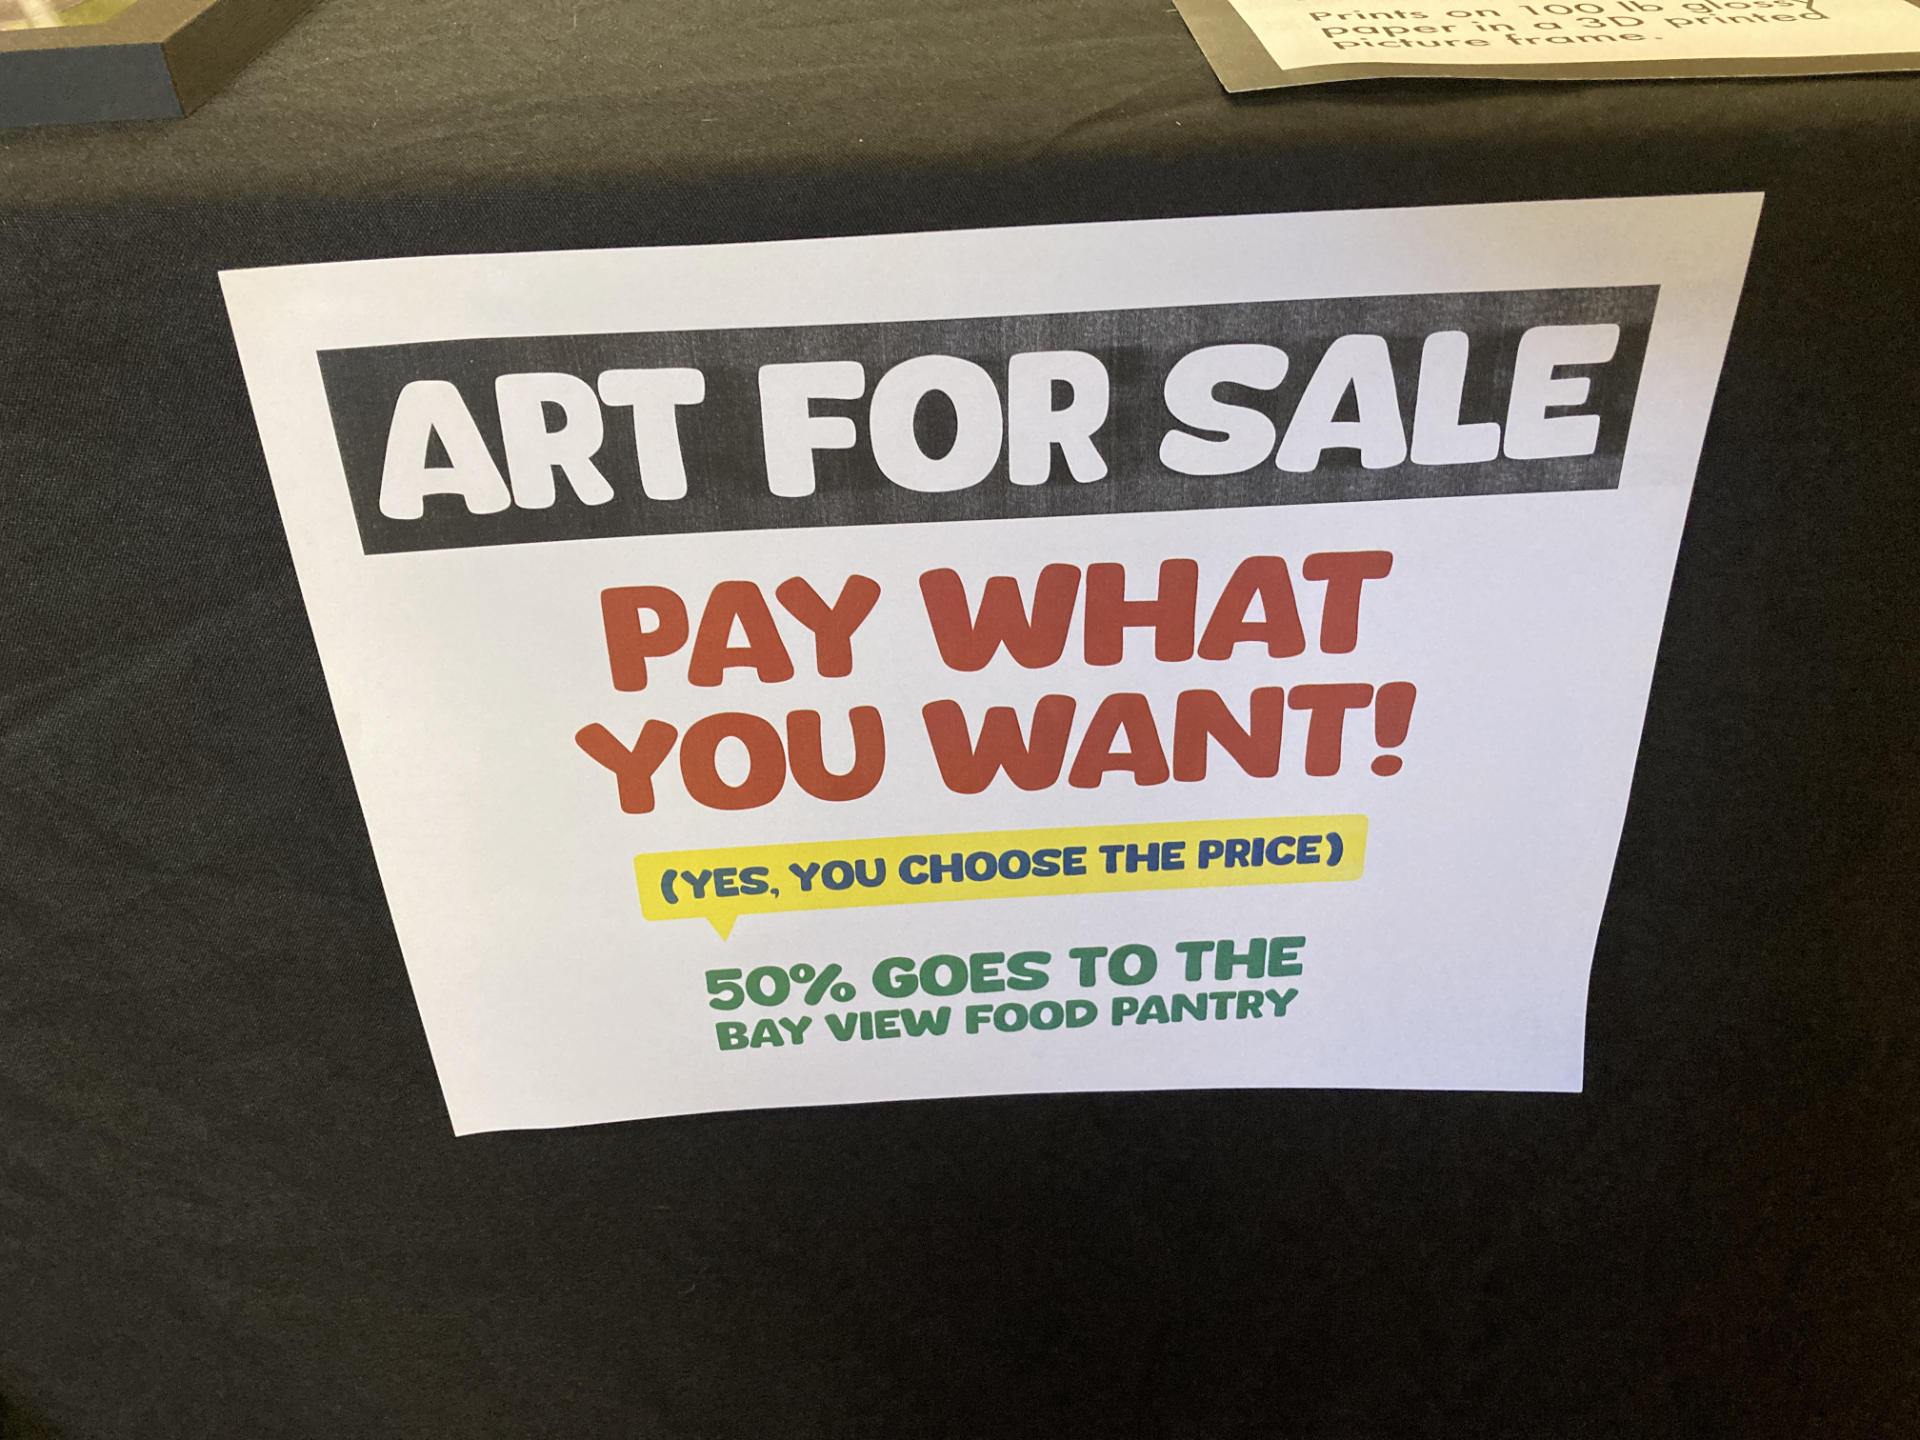
If you haven’t read the post Pay What You Want for Art it’s a good primer for this post. Did you read it good! If not, the gist of it is that I have the privilege of being able to create and and make it available to people at a price they can afford. How do I do this? By letting the customer choose the price.
Sure, this has all been well and good when friends, follower, and people I know (online) have messaged me about a piece and offered a price. I think everyone at least covered the cost of materials, the cost of postage, and then some. A few people covered it fivefold, which is great!
Part of the idea here is that (much like in society) we all contribute according to our means. If you make more money, you pay more in taxes, as you can afford to… and then we all contribute to the things we all use, like roads, parks, public services, etc.
(Obviously the wealthy are excluded from this idea here in the United States because they are human garbage and don’t pay their fair share, but we’ll ignore that for now.)
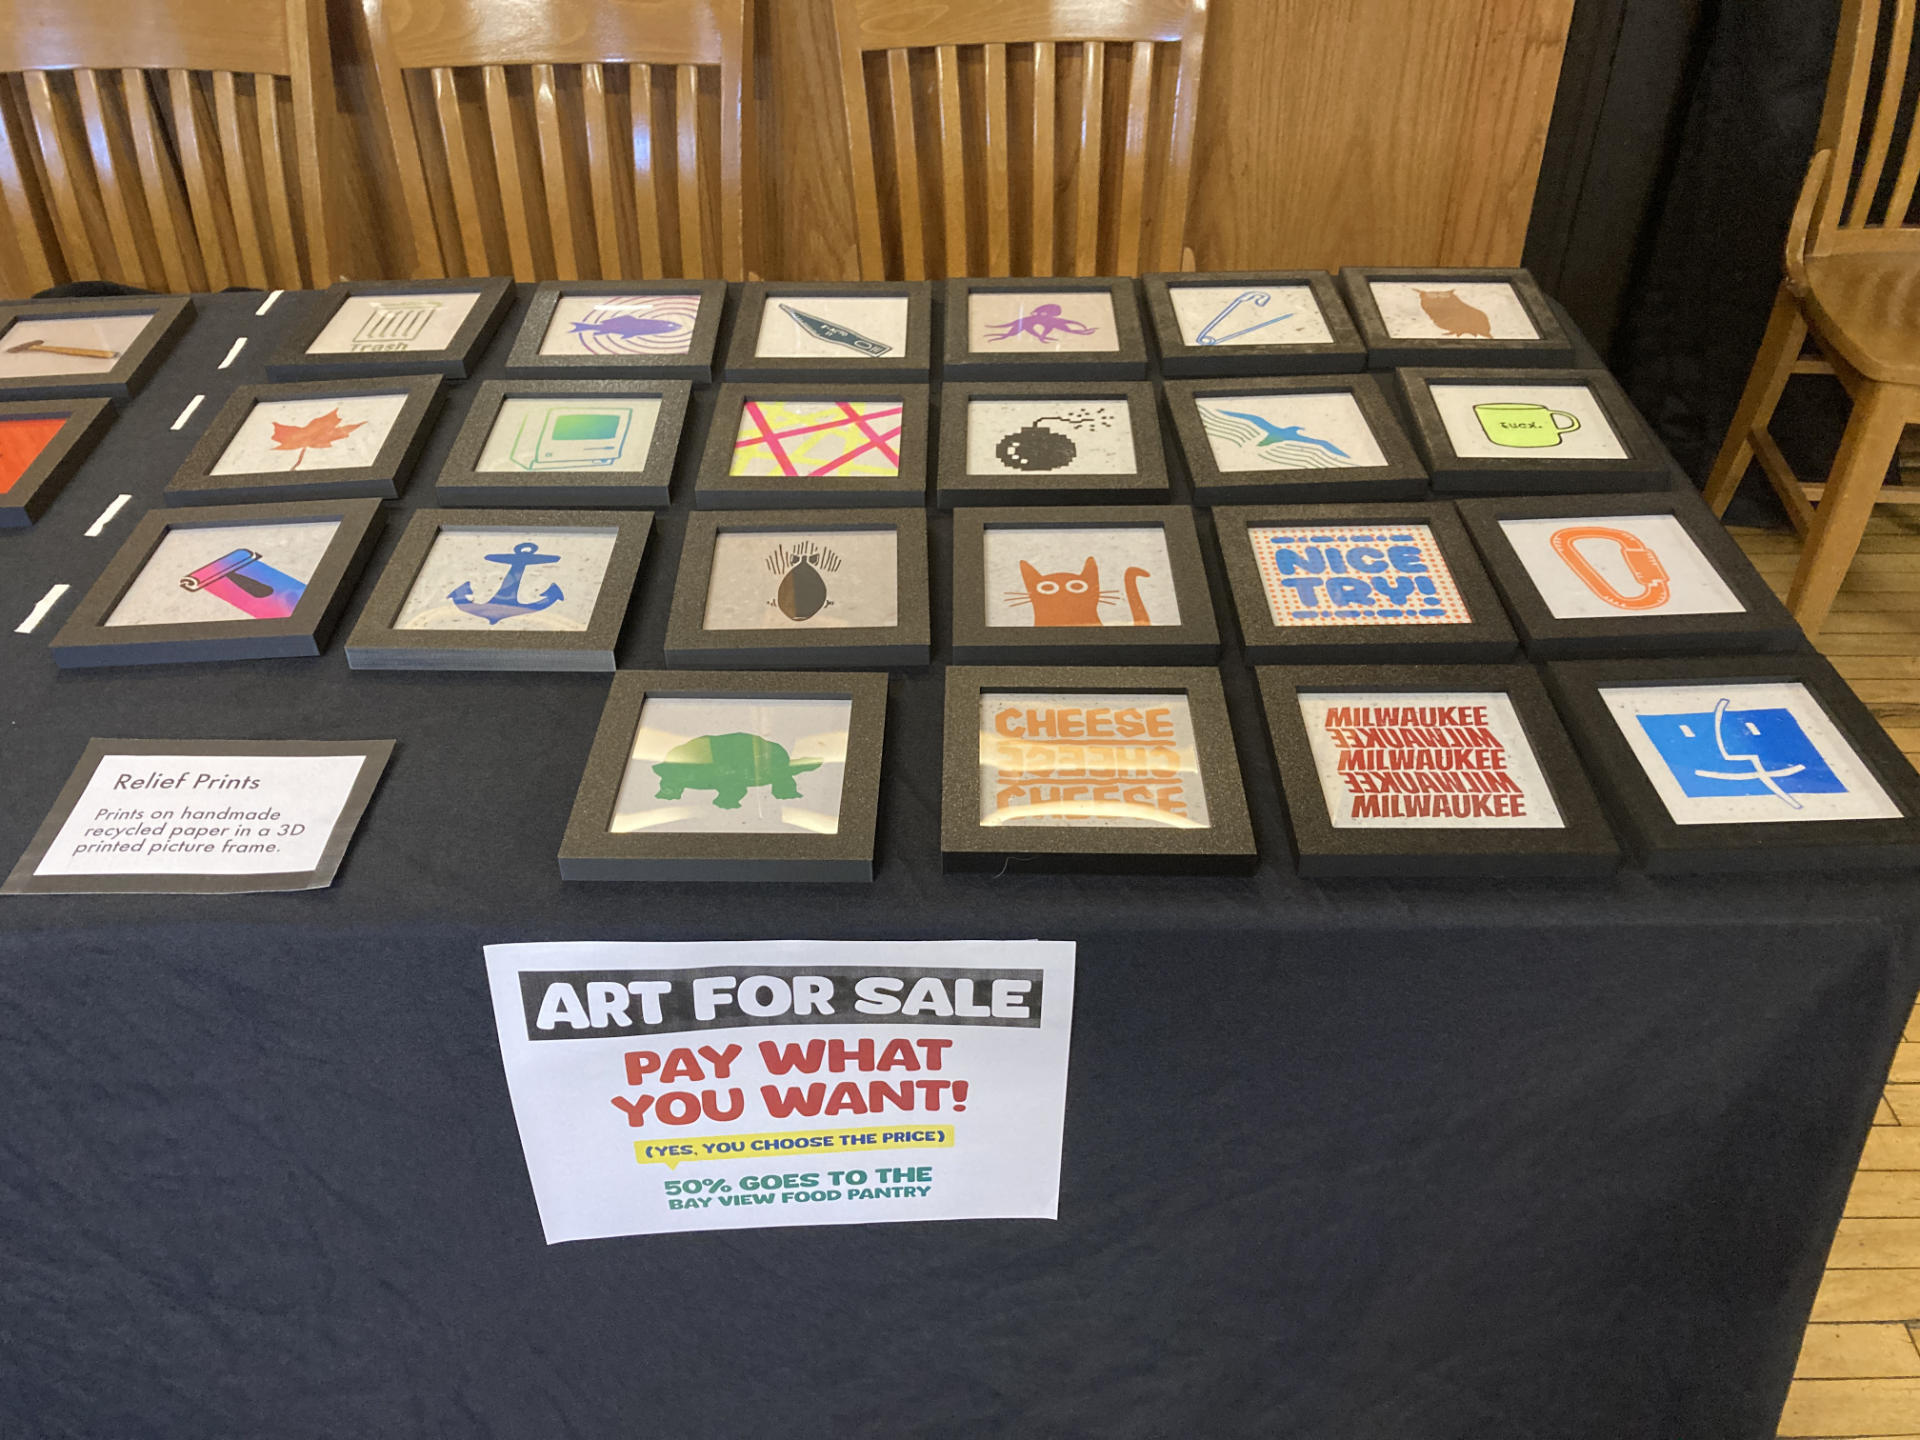
So a guy I know (Jeff) asked me to take part in this art show and said I could sell my art. When he mentioned it would also be a fundraiser for the Bay View Community Center‘s food pantry program, I was in. Jeff asked that I donate a piece to the silent auction, and then I could sell my art. I told him I’d like to donate half of the sales to the cause, and that’s what I did.
So I figured I would test the “Pay What You Want for Art” idea in person, at an event… with people I did not know. And here’s how it went.
To start, I should say that this was my first event selling art I created. I had no idea how it would go. I was hoping I would cover my costs, and also raise some money. We managed to do both.
I had 15 sales during the event, with an average sale amount of $36.33.
Breaking that down further I sold 38 pieces during the event, with an average sale price of $14.34 per piece.
Total sales for the night was $545. After transaction fees that came down to $514.14. (I used Square but really should have tried to use Venmo more since people can easily avoid fees there. About 1/5th of the sales were cash, so no fees there!)
I took that $515.14 and divided by two for $257.07, which was awesome. I would get half to cover my costs, and the BVCC would get half. So wait, there’s actually another $40 to add on because someone who could not make it to the show really wanted a piece so I delivered it to them Monday morning and added in their $40 with half to me and half to the BVCC.
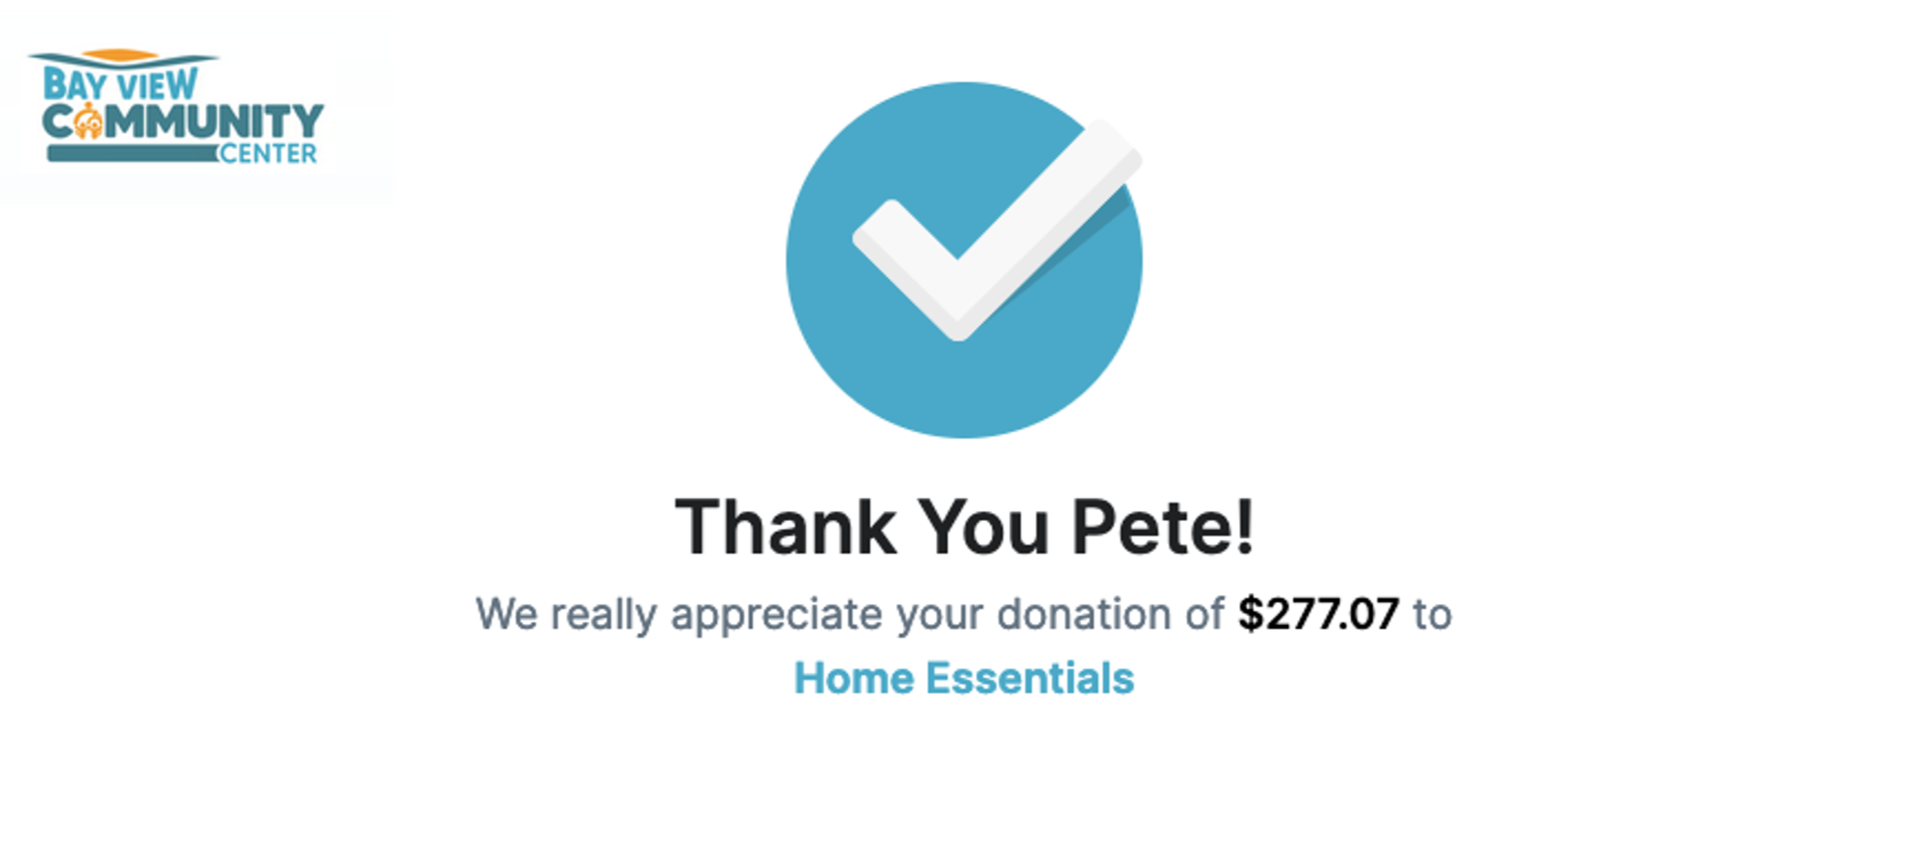
So the grand total for the BVCC was $277.07. There was an additional $50 from the piece I donated to the silent auction as well! So my efforts resulted in over $300 raised.
Let me say right now this is not about me. I did the work of creating art, doing the event, selling stuff, and all that other jazz, but the people brought the money. I would not have been able to help contribute this without the help of some very generous friends. My pal Gary bought a lot of pieces, and also got my auction item. Gary also helped me 3D print all the frames! Gary is one of the heroes of the night. Another hero is Kim, who I attended high school with. I didn’t have a great time in high school but Kim was one of handful of people I really liked, so seeing her was great, and she bought four pieces and paid well for them.
Did anyone take advantage of the system? Well, the third sale of the night was to a guy who seemed really excited. He picked a piece, then another, and another, and eventually was holding 8 prints. He then said “How’s 25 bucks?” and my heart kind of sank… I was convinced I made a huge mistake. I didn’t really push back, I just said “Well, sure. So the Bay View Community Center will get about $12 and I’ll get about $12.” Doing the math that set each piece at $3.13 which doesn’t even cover the cost of materials. It’s low. But hey, I committed to this experiment. I took the $25 and gave him the 8 prints.
Now, I just sort of chose to believe that he really liked the work, and he was excited to give art to people (he mentioned a few people’s names while browsing) and you know what? If I got some art out into the world to people, that’s a good thing. He got a killer deal, he got some art, and I got a little bit of money for myself and the BVCC. Sure, if two or three more people did the same thing it would have wiped me out and I would have been a bit crushed, but things went up from there. Kids came to buy art, sometimes for just $10 or maybe 3 for $35. It’s all good. In the end people (hopefully) paid what they could afford, or what they deemed something worth, and we raised some money.
Two people asked for a guideline on pricing, and the response I usually give is that I’ve had people pay as little as $10 and as much as $60 for a piece. If someone said “Is $15 okay?” I said “That’s awesome! Thank you so much!” and the trick is, I say that no matter what the amount (except for the guy who got 8 for $25). If a kid came up with $5 I’d sell to them… Heck, if a kid came up with a crayon drawing I’d probably straight up do a trade!
This show was unique since there was no fee to take part, so I could afford to do this experiment. That allowed me to donate 50% of the sales to the cause. For a typical show where you pay $100 or whatever fee to just get a table I don’t know that I could do the “Pay What You Want for Art” but also, I sort of want to try it.