Categories
Uncategorized

Worx 4V Power Screwdriver

Hello friends, I am here today to tell you about the Worx 4V 3-Speed Electric Power Screwdriver (Specs) but first I will tell you about my other power screwdrivers.

Many years ago I got this General Tools Precision Cordless Electric Screwdriver for light-duty tasks like dealing with screws in laptops, or anything 3mm or smaller in the electronics projects I build. It’s not meant to crank a screw in super-fast or super-tight, but meant to help prevent having to crank your wrist in a twisty motion dozens of times. (Note: As you get older, you get more tired faster, and things tend to hurt more.)

The size is just right for delicate work, and my only complaint is that it is maybe a little under-powered. It uses AAA batteries, so no built-in rechargeable battery in this one, which has its own pros and cons. It uses the small 4mm tips so I use it for small things.

Around the same time I got the small one I also wanted a larger power screwdriver I could dedicate to a specific task in the production of the products I make. This Black + Decker 4V (pistol-style) screwdriver. It works well for putting screws into enclosures as well as more medium to heavy(ish) duty things. I don’t drill big screws into wood with it because I have tools for that, but in a pinch it’ll drill small holes into wood for #4 screws pretty easily. (And I’ve done that a number of times building exhibits.)

The pistol-grip style makes it ideal for some things, and not great for other things. It’s got a big switch to change direction, so it’s a two-handed operation sort of thing. I swear I only charge the thing about once a year, which is nice.
Okay, onto the Worx! It has… features. I got this because I needed a second (large) power screwdriver in my shop, as the Black + Decker lives in one spot and has a dedicated task assigned to it. I wanted to try this style (classic “screwdriver” rather than the pistol-grip). So far I’m finding it to be a nice very well made power screwdriver, though I do have a few observations…

First, why is the switch where it is? When you hold this in your hand the natural positions for the switch would be where the logo is. To properly press the switch with your thumb you need to sort of hold the back end of it, which seems weird as I’d prefer to get a good grip on it, not just hold the last 1/3rd of the device. (To be fair, the first powered screwdriver I owned about 30 years ago, was probably close to twice the length of this one, so a shorter tool is appreciated in this respect.)

The torque switch is at the very end. Again, it might make sense to have that closer to the front. Maybe the battery and motor placement dictated the position of the switches… I don’t know, but it’s not really optimal for how I use a power screwdriver.

It comes in this box, and I do appreciate a nice enclosure. The fact that the top lid is transparent is awesome. You can see if it’s in there! If you’ve ever opened a tool box to grab a tool and it’s not there… well, this solves that problem.

Okay, this one is subtle. Did you know that 90% of the population is right handed? This case appears to have been designed for left handed people. My natural inclination (as a right-handed person) is to grab the tool with my right hand and remove it, but it’s facing the wrong way. How can I tell it’s facing the wrong way? Look at the logo… it’s upside down.

I do like the fact that you can leave a bit in it while it’s in the case, and the small retaining ring that prevents the tool from falling out is also a nice touch. And, there are bits, which is great. There is also some extra empty space. The charging cable was originally in the cavity, but you could throw more bits in there, or screws, or… design and 3D print something that fits in there perfectly, and maybe holds even more bits! (Yeah, I might do that.)

If you remove the insert, the printed manual is below. Another nice touch. And as mentioned, you can fit the charging cable down there. You could probably fit more bits or other things down there as well.

Just for comparison the General screwdriver was about $20, and the Black + Decker was also about $20. The Worx is around $30, which isn’t too bad. But what if you want to spend a lot more? Well, there’s the Mini ES121.

Here’s a Mini ES121 on Amazon for $268 which seems insane. Oh wait, an ES15 is less than half that price. Still too much? There’s a Wowstick for under $50. You can probably find them (or knockoffs) cheaper on AliExpress or other Chinese web sites…

To be honest I don’t know that I need any more screwdrivers right now. NotEnoughTech has a good review of the ES121 and the Wowstick if you want info on those.

Happy Screwing!

Categories
Uncategorized

Paper Making (Again)

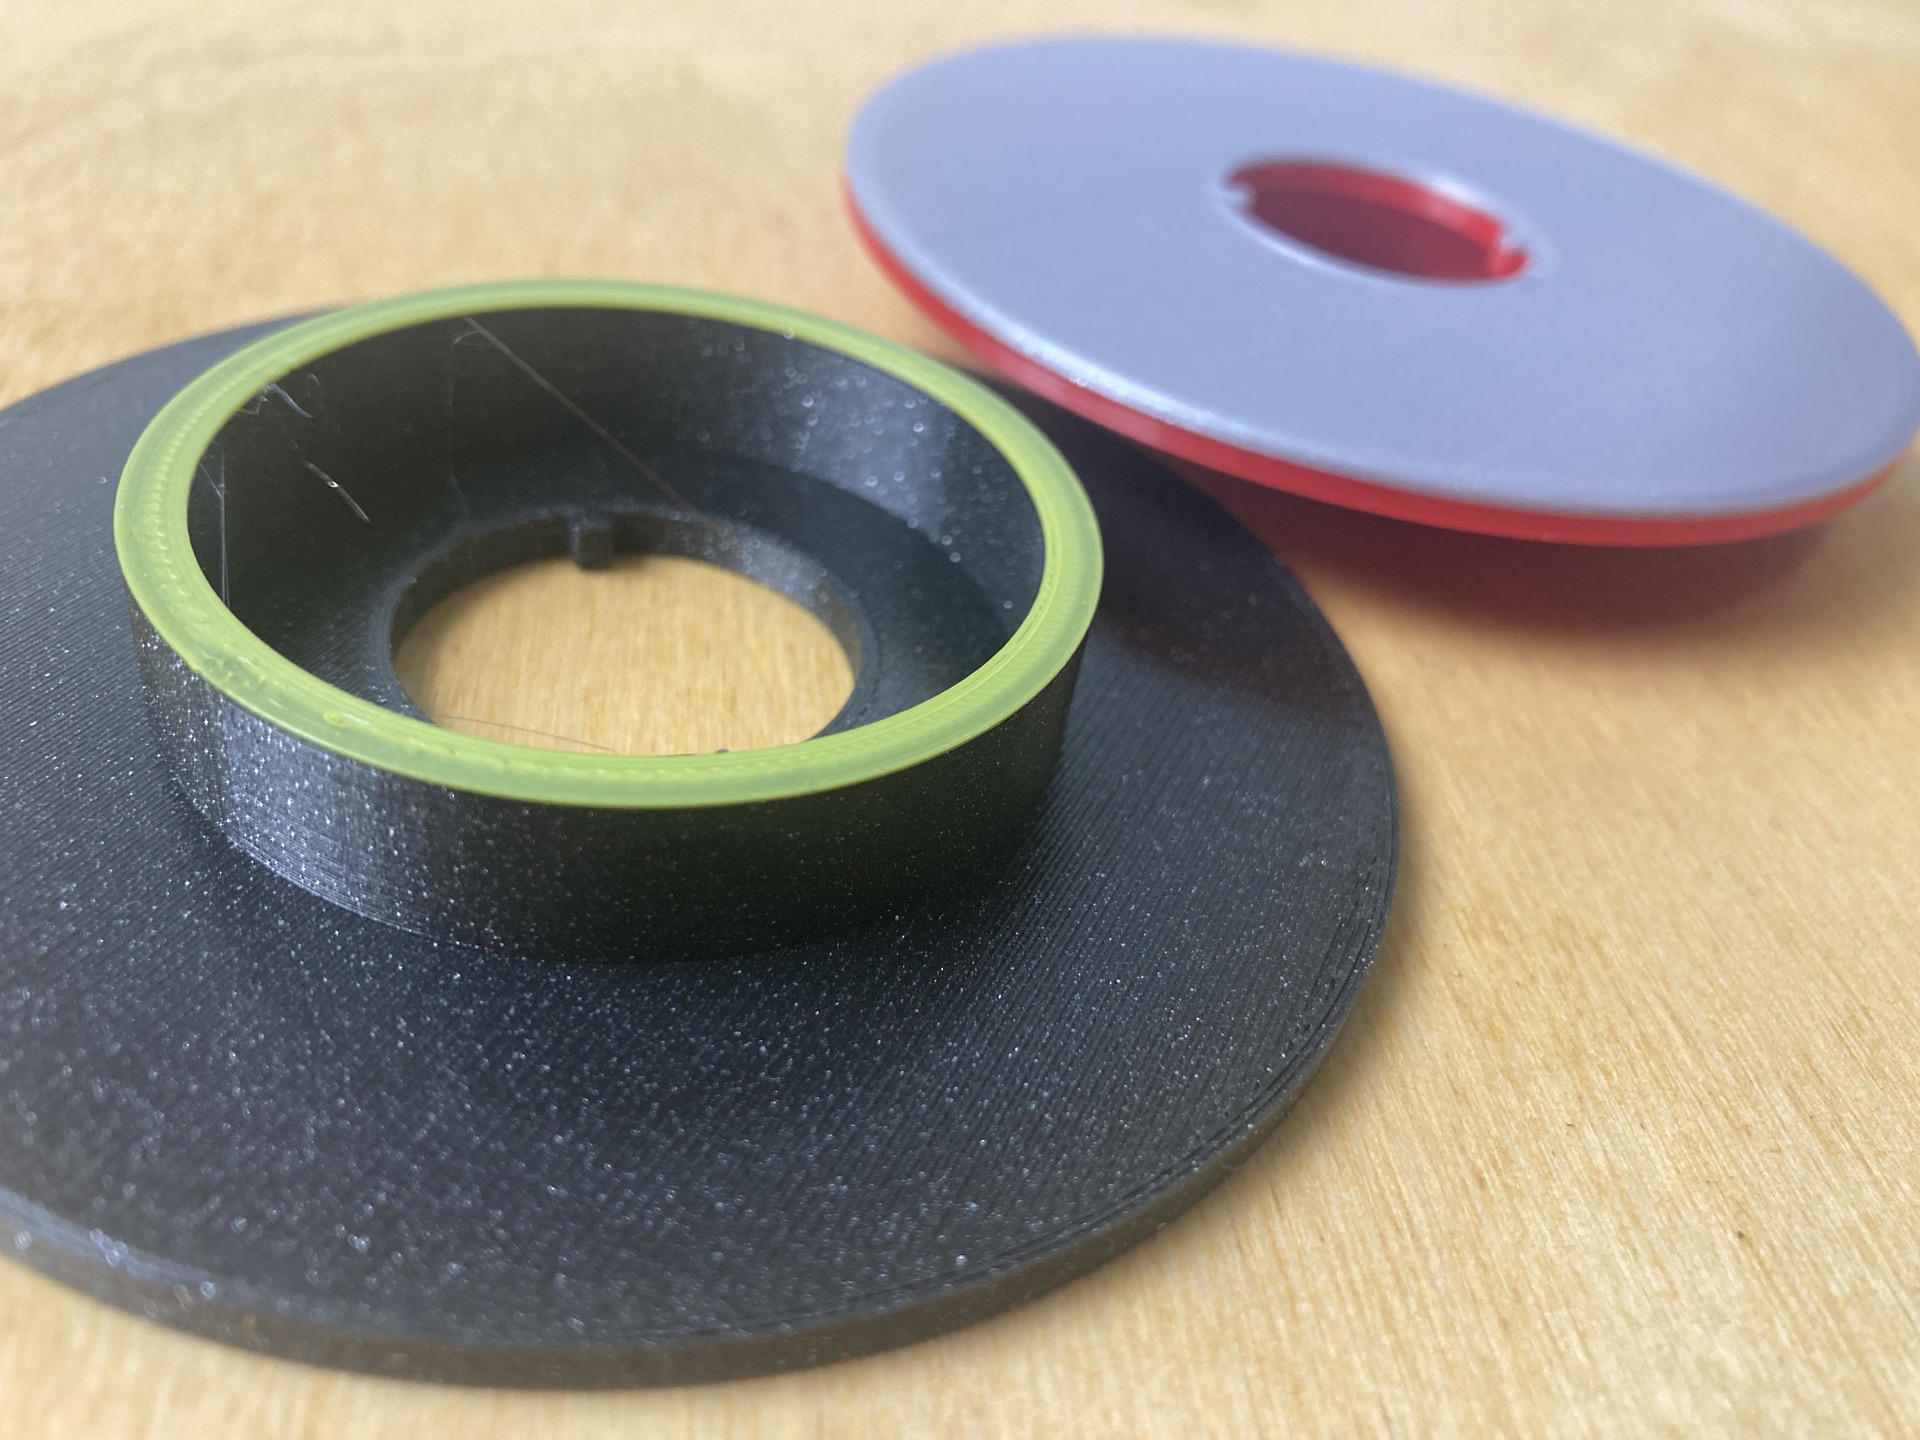
I made some paper… again. The first attempt used a small 3D printed mould and deckle, and this time around I made a new (slightly larger) mould and deckle.

I also experimented a bit more with the paper, this time using paper from our paper shredder and mixing in a few “raw” pieces to some sheets. The results are definitely interesting.

I tried a new technique with the hydraulic press after they were all dry as well. Last time I stacked them all and flattened them in the press, and you can see the screen texture in those. This time I did that, and then followed up with pressing them with a piece of wood between each individual sheet. Some of them came out incredibly flat and smooth! I’m curious to see how they take ink when printing on them.

Some of them are a lot more ragged around the edges. (That’s the “deckle edge” you know.)

Here’s a few I added shredded paper to that was not blended or soaked, just tossed onto the pulp before drying. It seems embedded really well and certainly gives a look.

A bit more closeup view… you can see and read some of the type, which I think could be really interesting since I used shredded (and potentially sensitive) documents. There’s probably a whole project there all on its own.

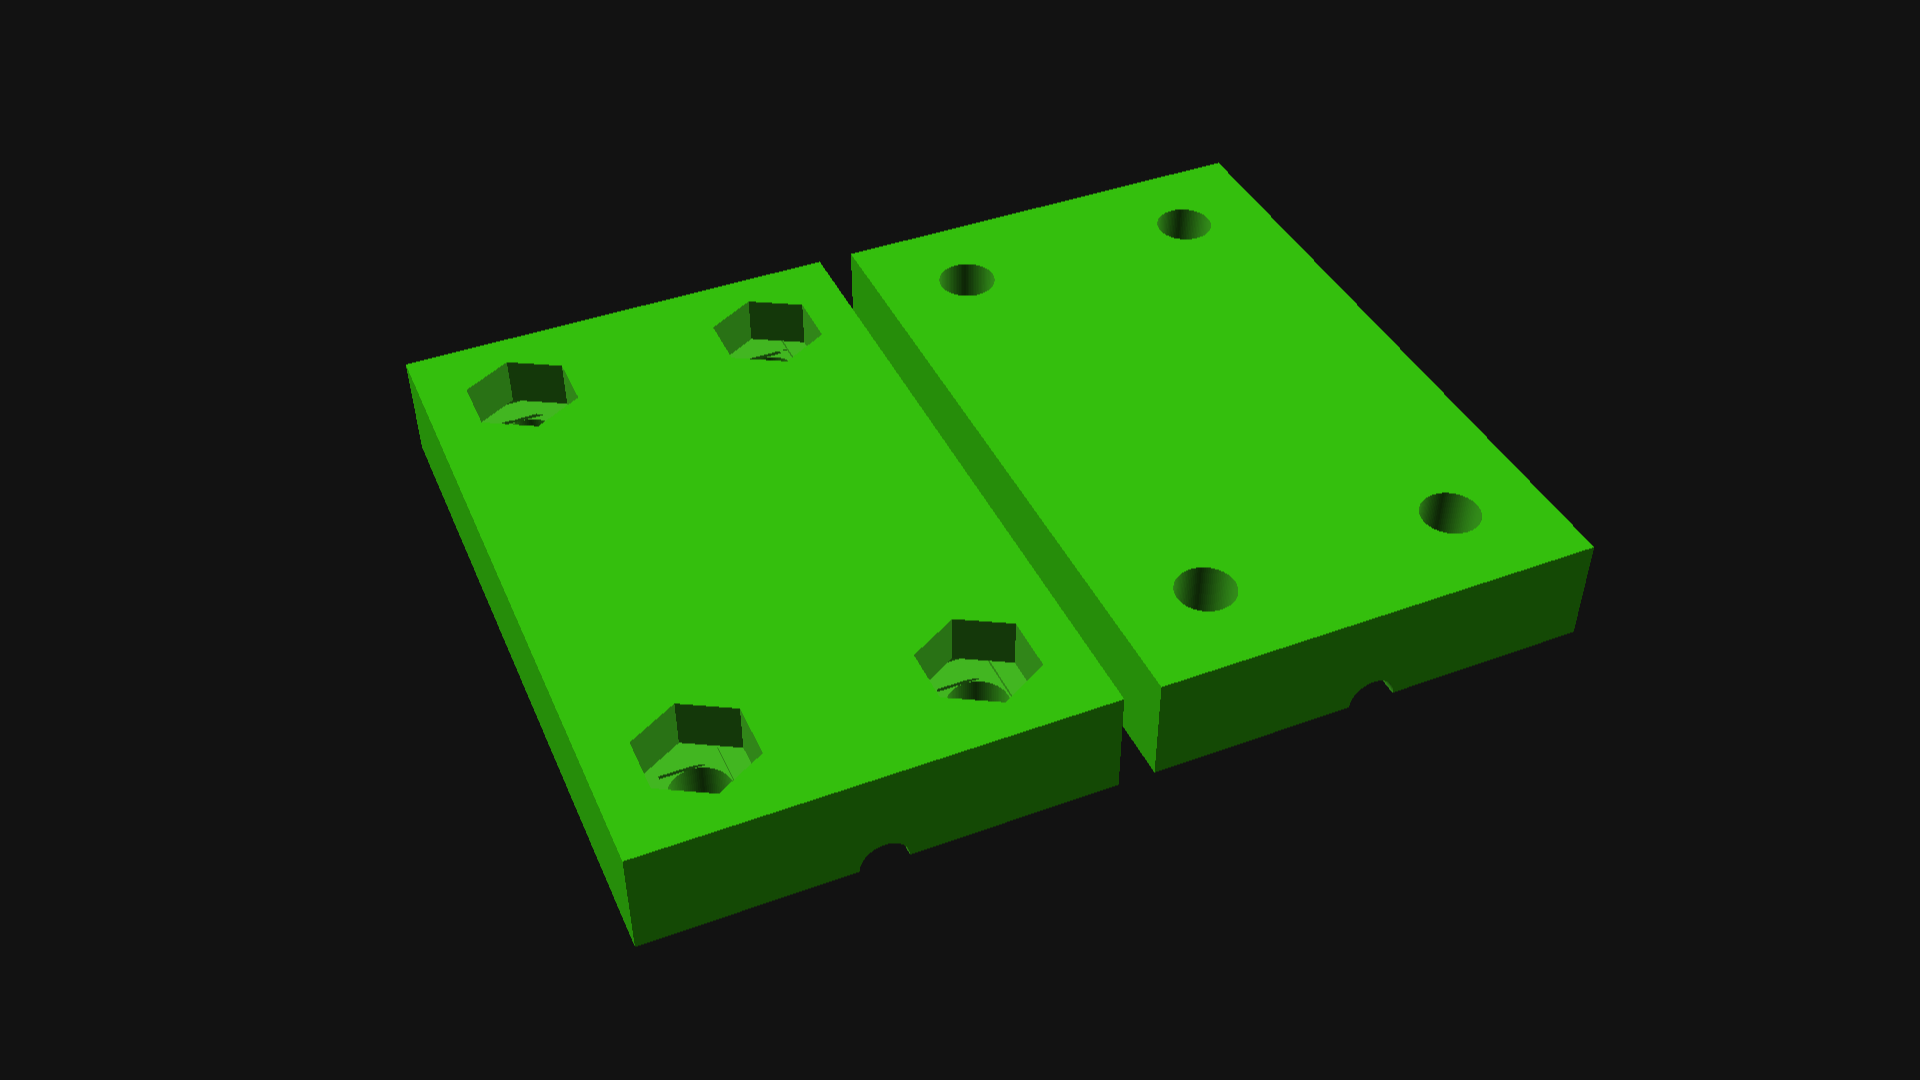
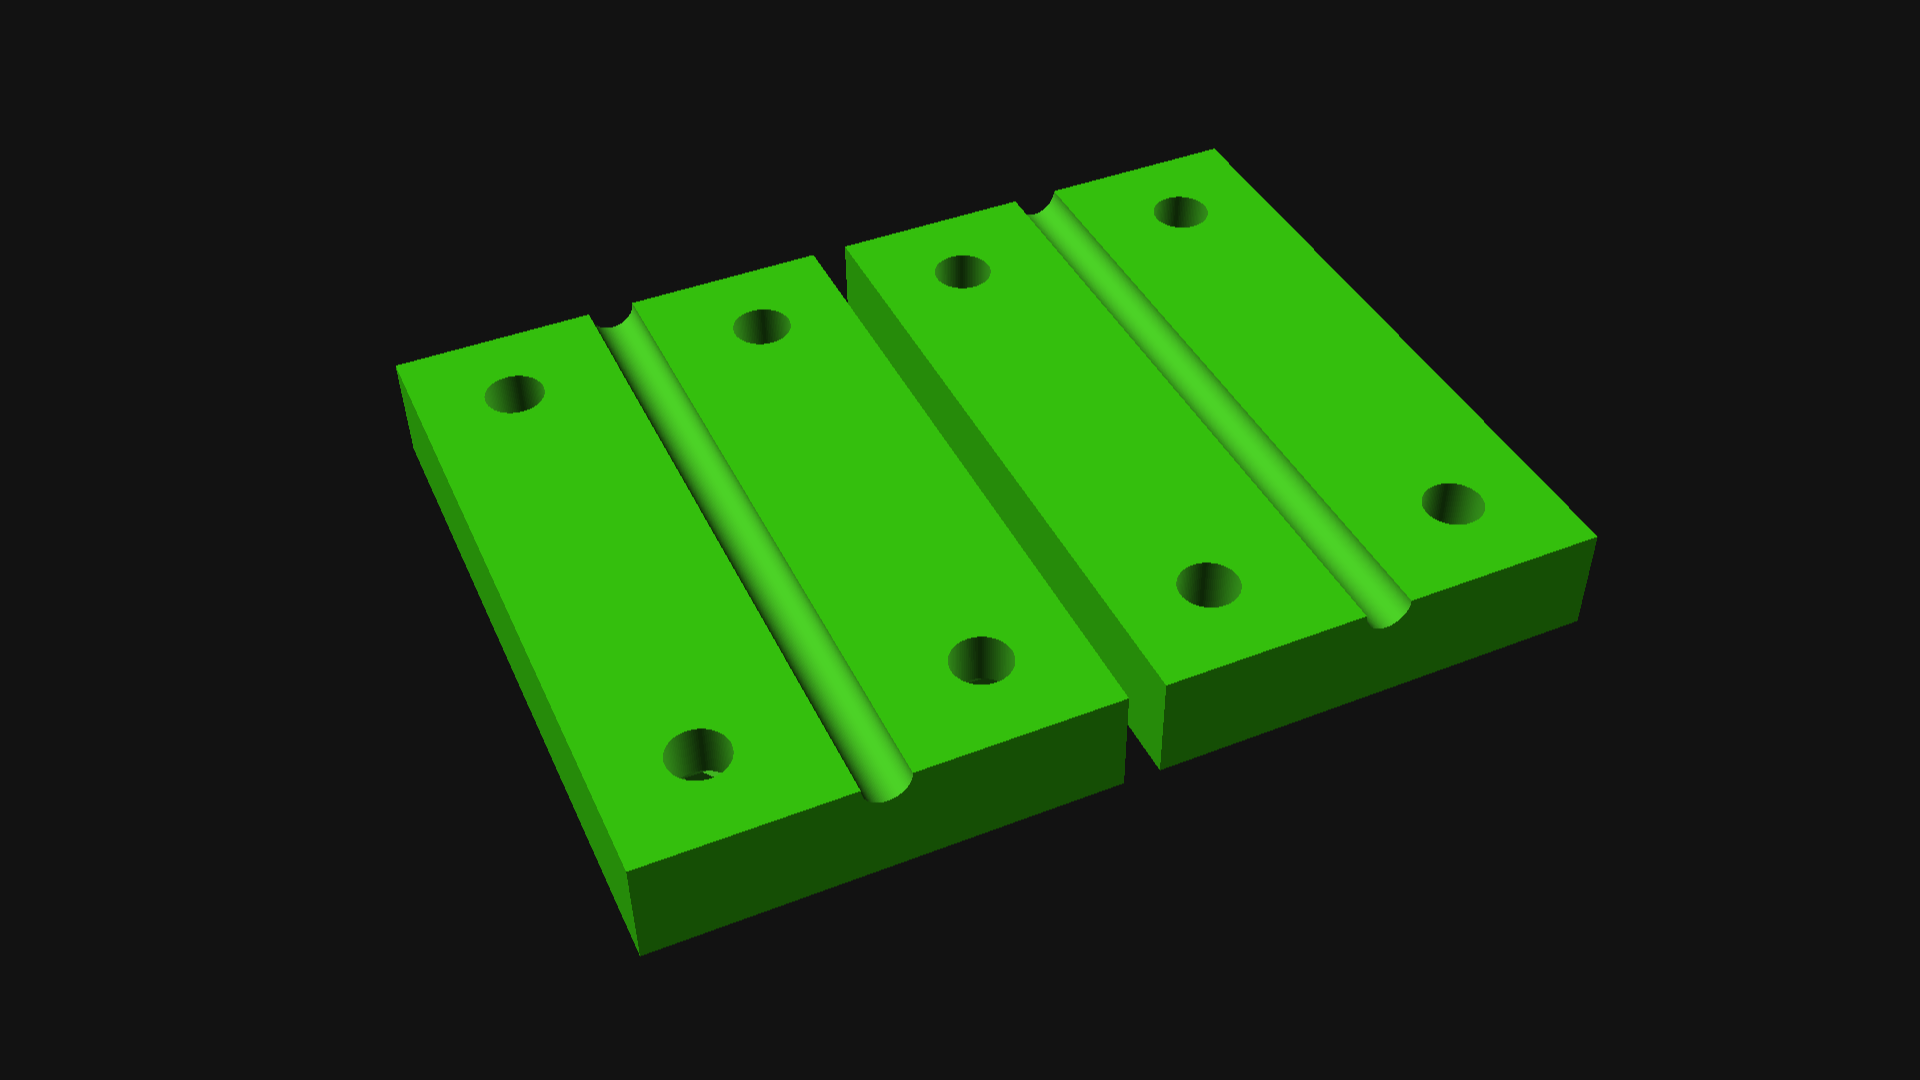
Because I printed this larger mould and deckle on my (small) Prusa MINI+ I split it in half in OpenSCAD, printed the parts, then glued them together. When assembled this one is about 165mm x 224mm and the paper comes out around 145mm x 204mm.

Printing in halves and gluing together mostly worked. I had to print small shims on the side to make it more rigid, but now I really want to make an even larger one! (Though I will need a larger pulp bucket then.)

Magnets embedded into the corners of the mould and deckle work to hold the whole thing together with the screen between the two parts. I’m happy with how this turned out. I just made holes and stuck 1/4″ cylindrical magnets into the holes (making note of polarity) and then shot some hot glue in the holes to hold them in place. (Yeah, sometimes hot glue is quicker and easier than perfectly modeling a hole with friction bumps.)

Despite a few issues combining the halves to make a whole, I’m quite pleased with how the mould and deckle turned out, and I’m sure I’ll experiment with others in the future, especially since it’s trivial to make any shape… round, hexagonal, triangular? No need to be confined to a rectangle. (And yes, I’m very happy with the paper as well!)

Categories
Uncategorized

Free Little Art Gallery Library Shop

I’m going to warn you, I can be quite pedantic. I like refer to my Free Little Art Gallery as a “Free Little Art Gallery”. (There’s even a site for them at freelittleartgalleries.art.)

And yet, I have one friend who will not use the shortened name FLAG because I guess they were involved with some other thing called “FLAG” and had a bad experience or something… so they call it an Art Library.

Another friend does a little better, and calls it a Little Art Library. So close! It’s Free Little Art Gallery… You know, it’s Free, it’s Little (and the art is Little) and it’s a Gallery.

I guess if you are used to talking about a Little Free Library you might get tripped up saying Free Little Art Gallery.

When I was describing it to my daughter months ago I said “It’s a Little Free Art Gallery… an LFAG!” before I realized I switched the letters, and quickly figured out that it was FLAG not LFAG. (For obvious reasons!)

So here’s the thing… I really don’t care what you call it, as long as you come and see it and take some art! Yes, you know… take some art. Some people see something and say “Oh, I love that thing, but I don’t want to take it, because someone else might want it.”

Please. Take the art. That’s why it’s there. I made something and put it there, or a friend of mine (or someone I don’t even know) put art there because they want to share it with the world!

So if you want something grab it. If you see something that someone you know might like, grab it. If a friend has a birthday coming up, grab it, give it to them and say “I thought of you when I saw this, and thought you might like it!” You don’t even have to tell them it was free, or where you got it from. I mean, isn’t it awesome you’re sharing someone’s art with someone you know?

I was thinking about someone calling it an Art Library, and remembered that one of my neighbors mentioned he used to check out art from the local library. What? Yes! You can check out art from the public library, hang it in your house for a while, then return it when it’s due. The Free Little Art Library can work the same way. If you see something you like, grab it, take it home, and keep it for a while. You can always return it.

I rotate things out if they’ve been in the gallery too long and no one takes it. If it goes through a few rotations I may drop it off at one of the other FLAGs in the area. (Either 65th & Clarke in Wauwatosa or 87th & Locust in Milwaukee)

It’s a Free Little Art Gallery. The Gallery is Little. The Art is Little. The Art is Free. Come and get it!

Categories
Uncategorized

Sleep Report for 2023

I never filed my sleep report for 2022 but since I’ve got my “CPAP Compliance Officer” appointment this week I figured I would pull the data from my SD card, run it through OSCAR, the Open Source CPAP Analysis Reporter, and show you 2023 so far.

Besides the first quarter of the year when I was sick a lot, including COVID, I feel like I slept pretty well. Sure, there are some insomnia nights in there (red lines) and some missing nights due to being sick and just unable to sleep wearing a damn mask on my face (and one due to an international overnight flight) but overall, I feel pretty good most mornings in comparison to 2020/2021.

In other news, my CPAP has shown a warning about imminent motor failure for the past 5+ months and my insurance company has so far not been able to get a replacement or repair. Supposedly things are “backed up” or something, so I don’t know… might die in my sleep soon. Hopefully not, I still have a lot to do!

Update: I got a new one in 2024… Not from the insurance company.

Categories
Uncategorized

Gallery 69 – Brittany Farina

Brittany Farina is an illustrator who creates art for dog lovers. From pet portraits to stickers and magnets and even apparel. Brittany sent a bunch of packs for Gallery 69 that include a variety of stickers and magnets that show her style, and each includes a card so you can find her work online.

Speaking of her work, you can find it at brittanyfarina.com and if you prefer Facebook or Instagram she’s there as well. (Both are a steady stream of pet portraits which show her craft really well.)

Brittany also creates adult coloring books, and if you love dogs (and coloring!) it seems like that might be right up your alley.

She also does coloring books for rescue organizations to help raise funds so they can help more dogs. (I’m a cat-person myself, but I really so appreciate how much Brittany loves dogs and what she does for them and their owners.)

Okay dog lovers, what are you waiting for!? I’ve dropped a few of these stick & magnet packs into the gallery, so come and get them… and if you like what you see, get in touch with Brittany about more!

Gallery 69 is a Free Little Art Gallery located on 69th street just north of Locust street in the Enderis Park neighborhood of Milwaukee, Wisconsin.