I made a Vertical Stick-On Lip Balm Holder because more than one person seemed to want their own… See, I keep a lip balm in the car, and in the summer I park outside, and it gets hot, and at least a few times I’d grab my lip balm and realize it got all melty and pooled to one side of the cylinder and that was definitely not cool…
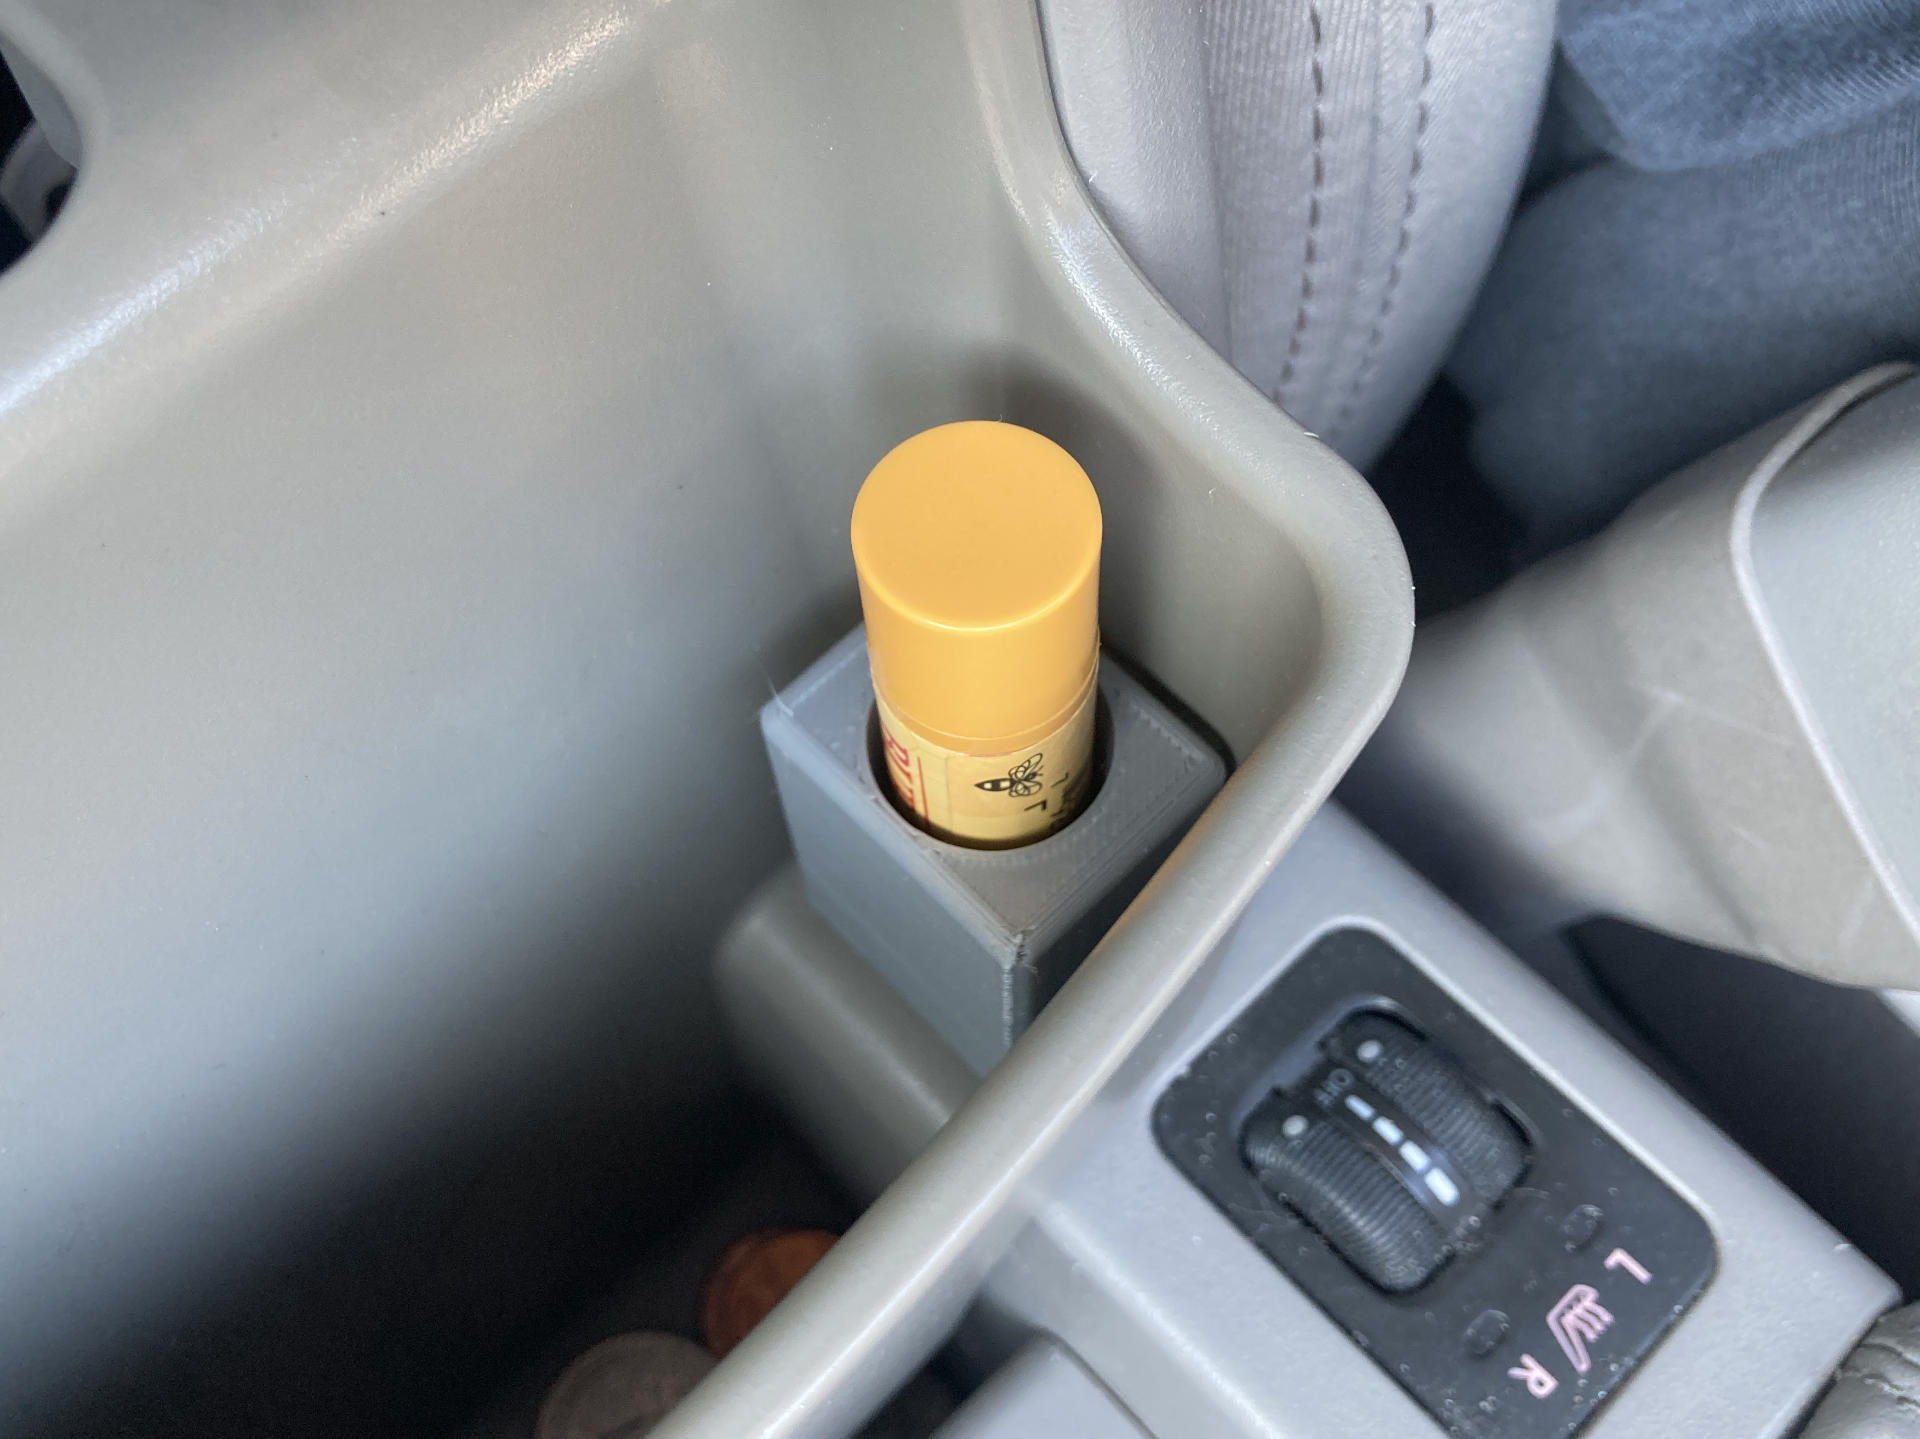
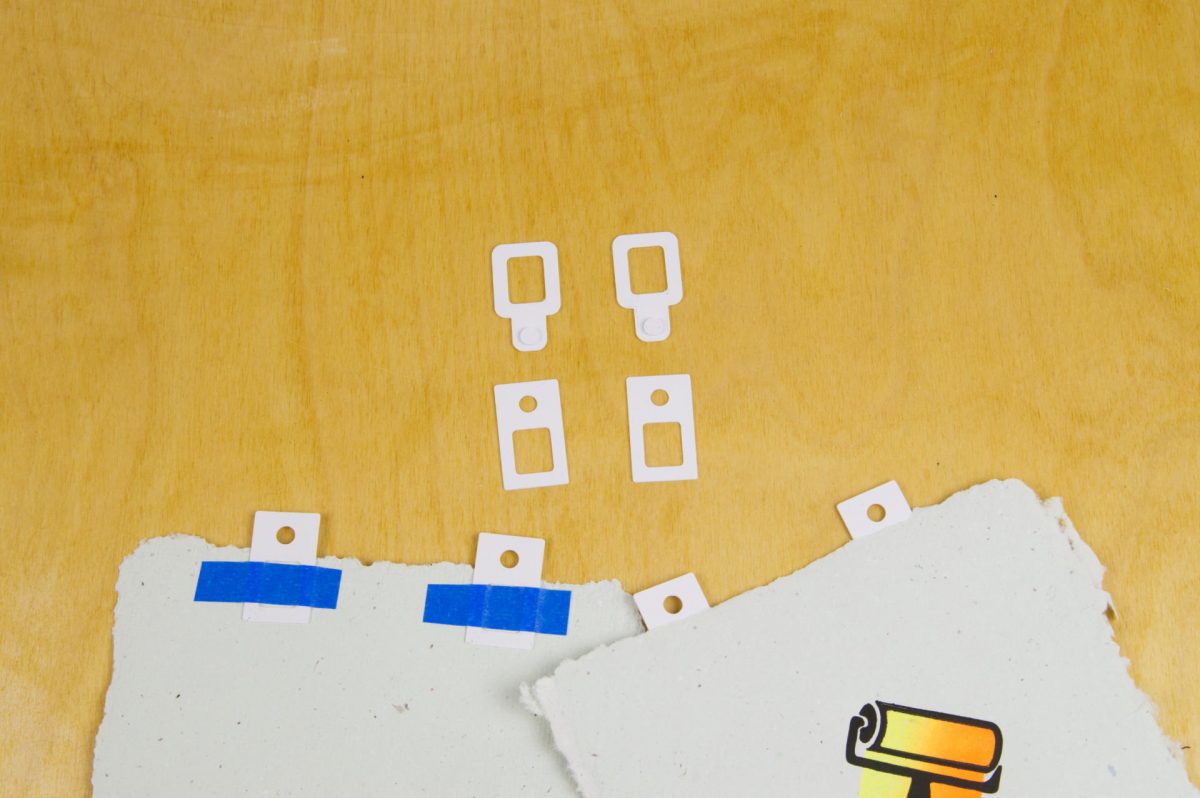
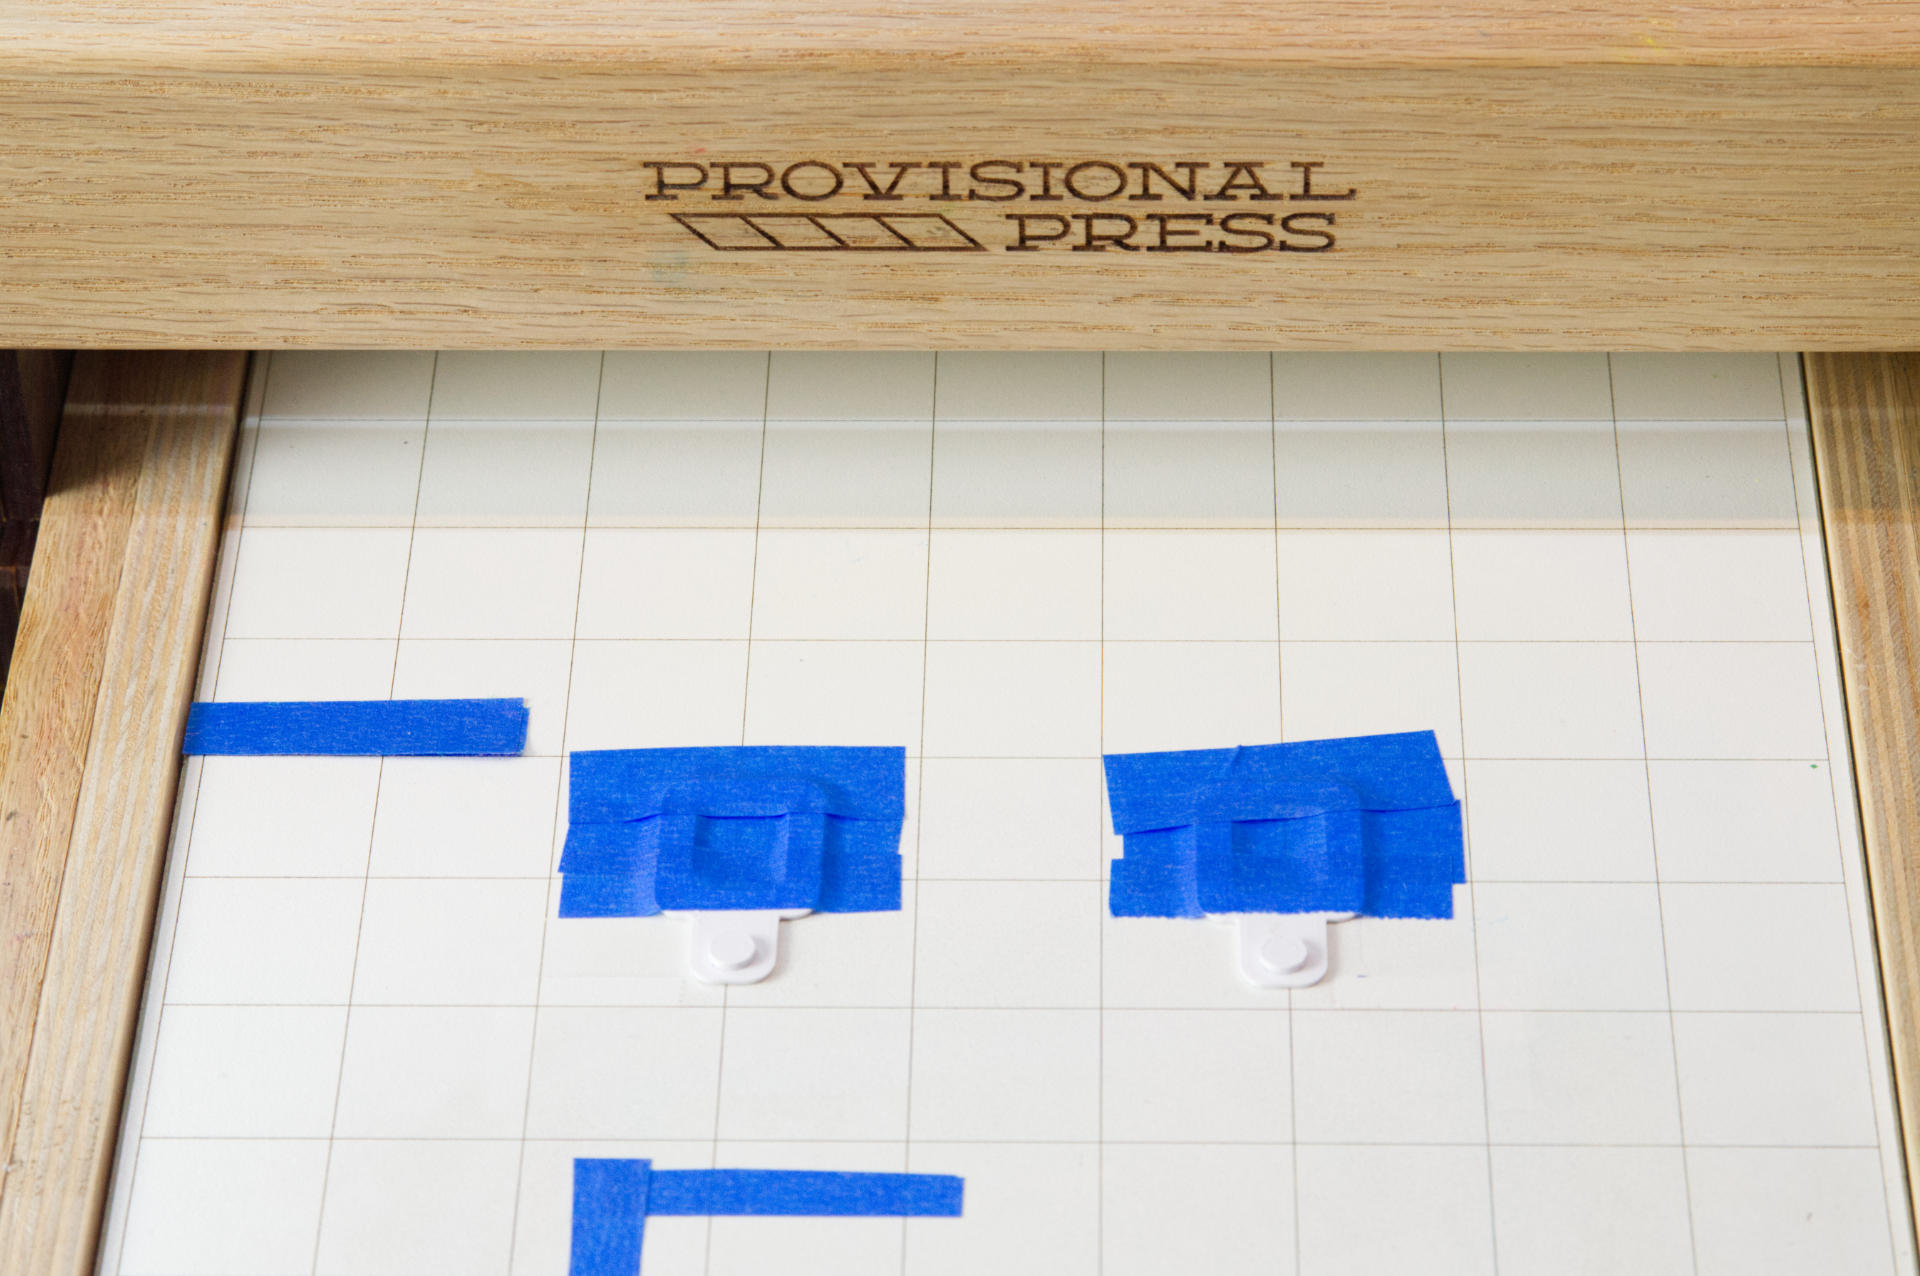
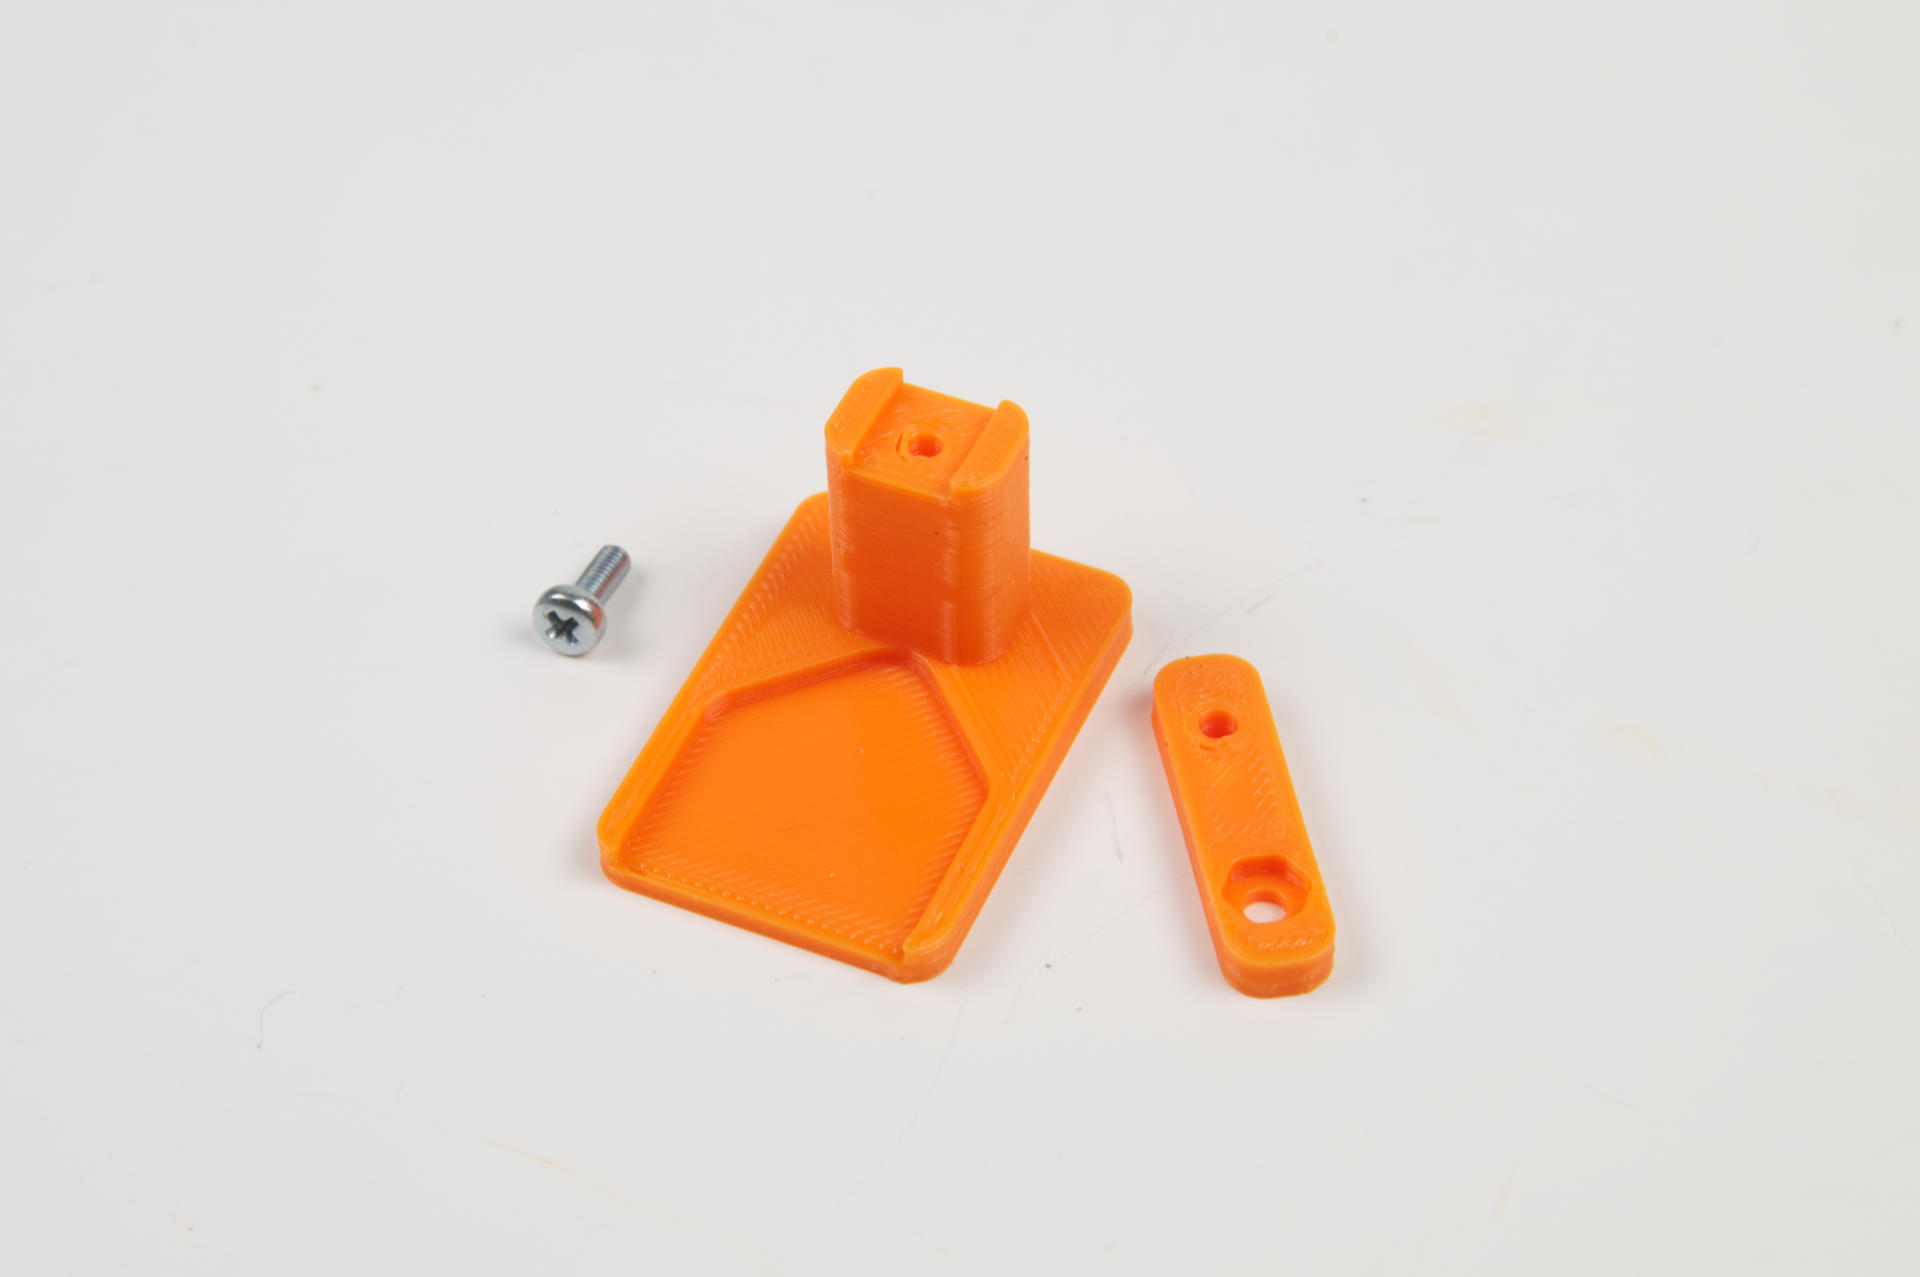
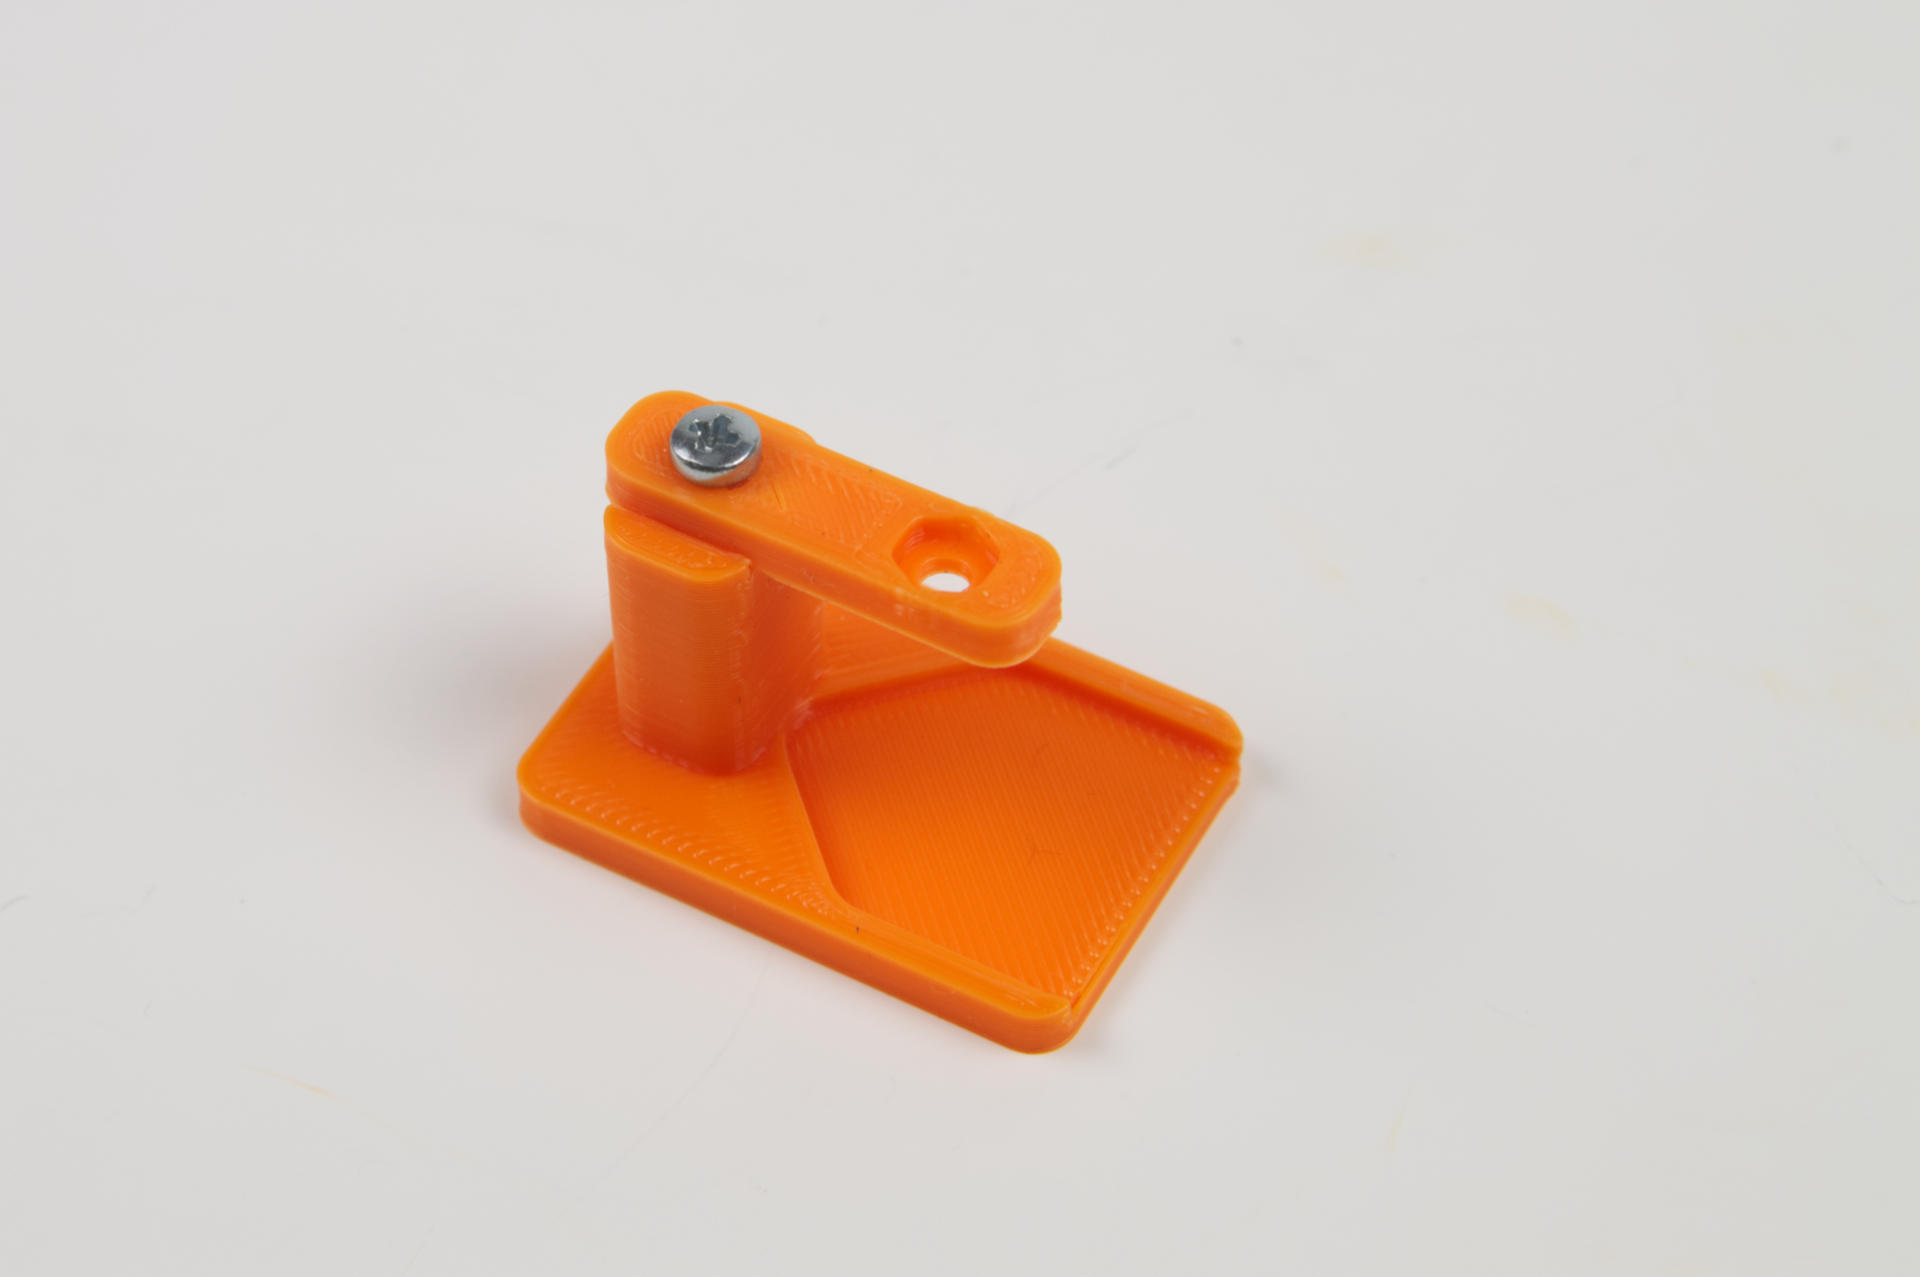
So I quickly printed this thing. It’s a cuboid shape with a round hole in it. (There hole gets wider at the top to allow for easier insertion while driving. Anyway, I posted this and people were like “I want one!” or “I need one!” or “You should patent this!”.
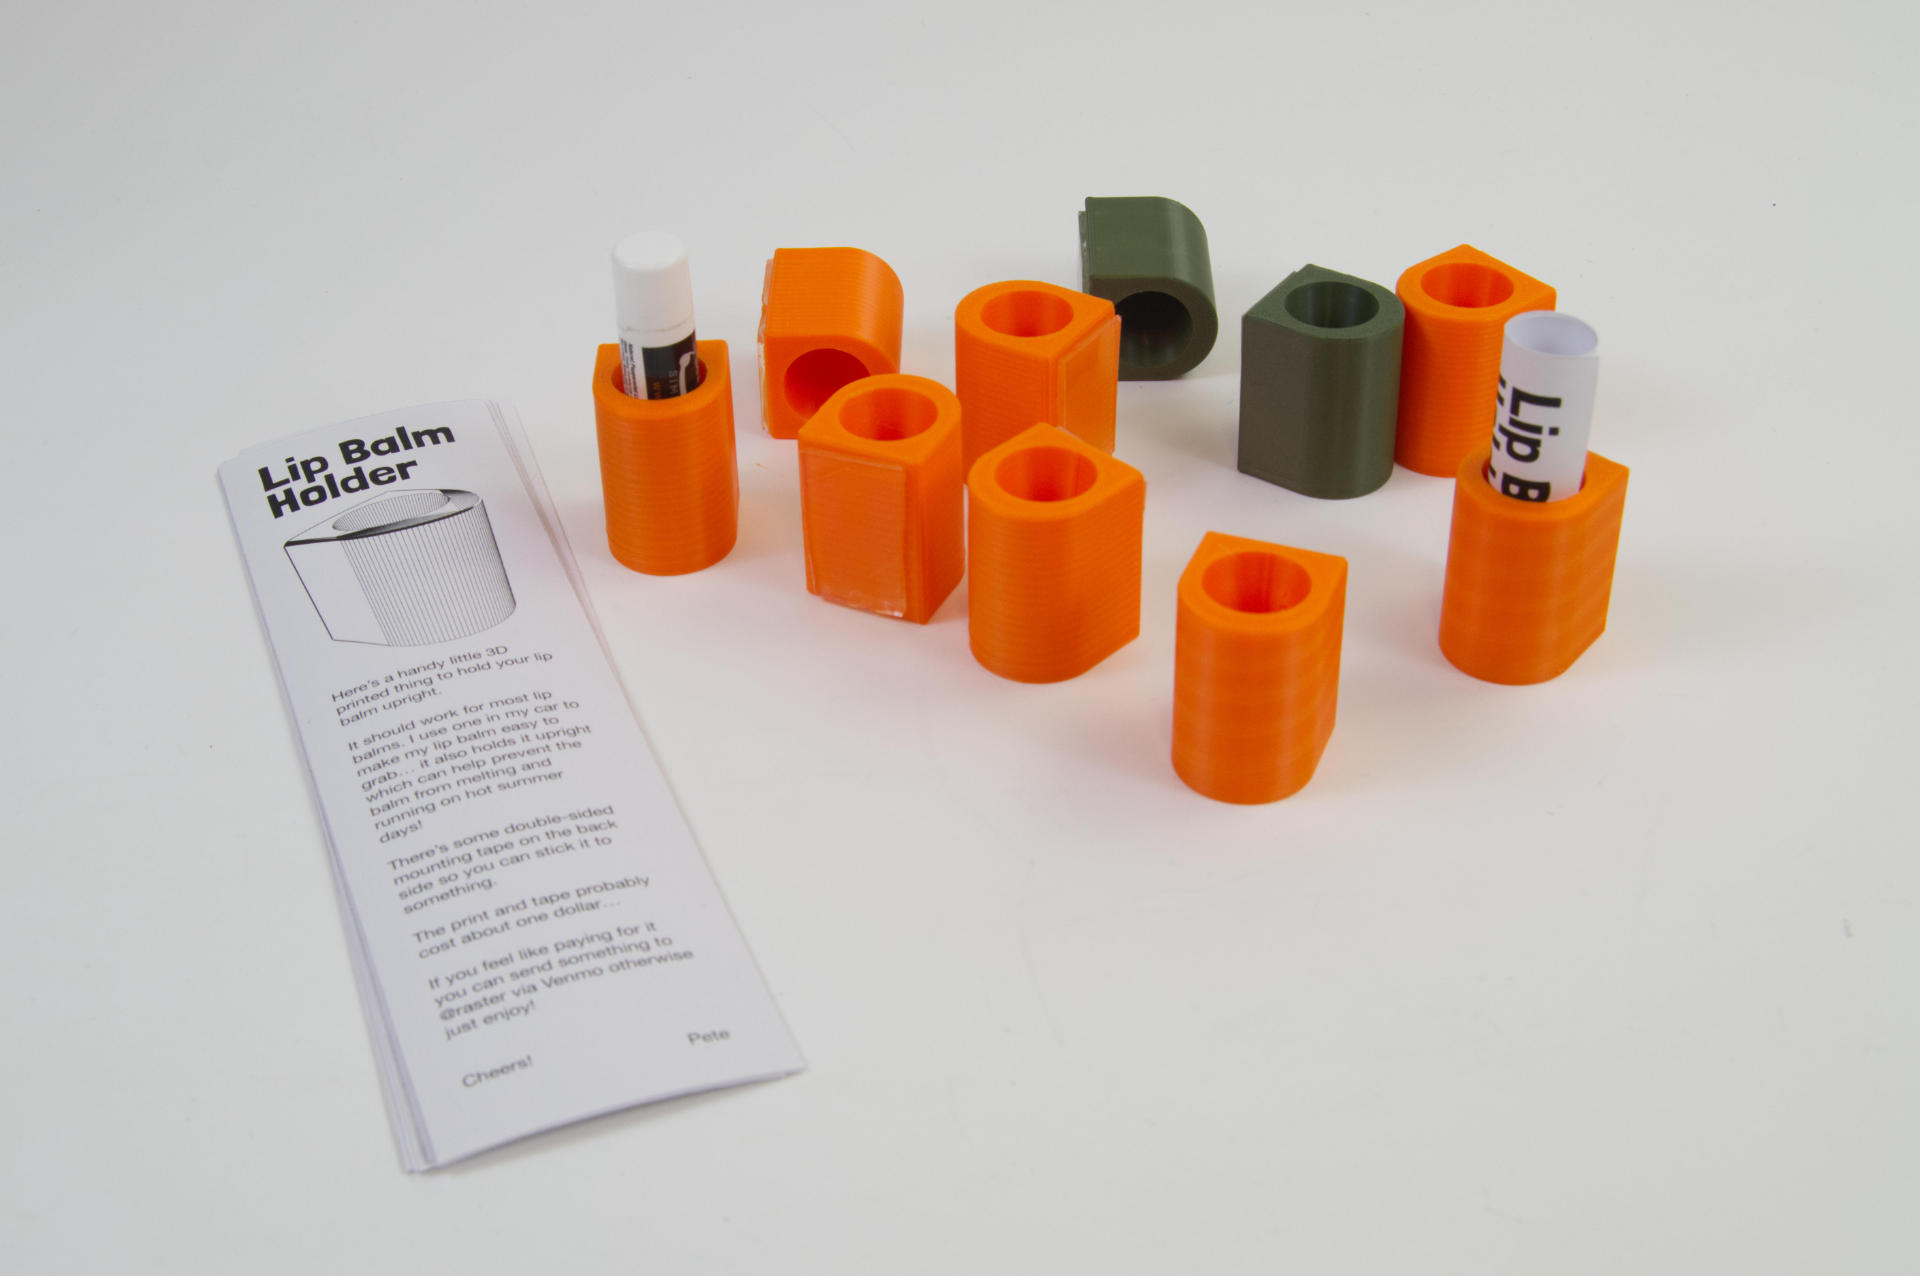
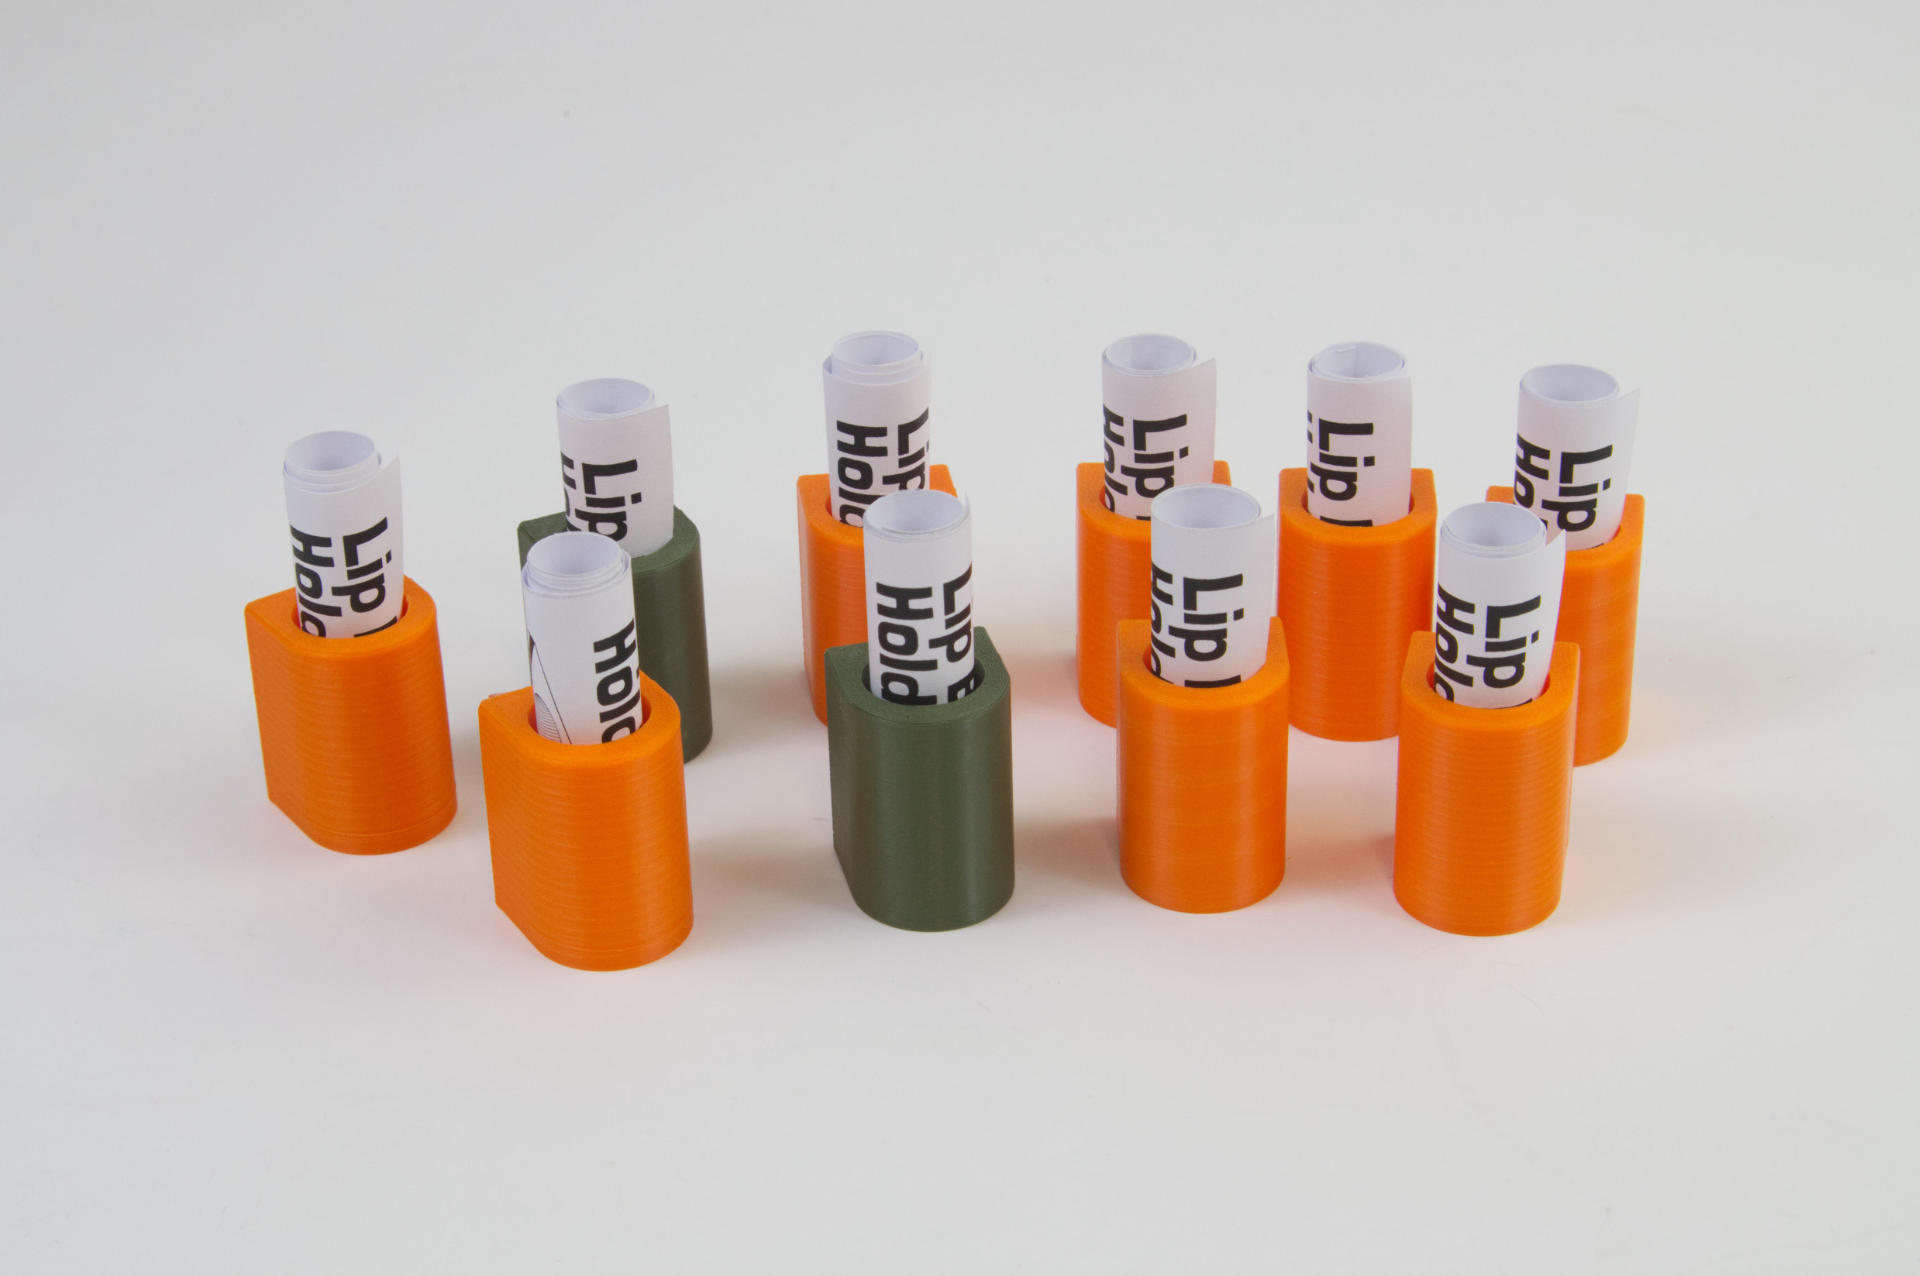
Well I’m not gonna patent it, as that seems like a lot of work. I don’t event want to sell them, as I prefer to just give them to people if possible. And it is possible. In fact, I made a bunch of them to give away.

So yeah, I printed a bunch, added a little informational sheet, and dropped them into Gallery 69, the Free Little Art Gallery in front of my house. If you’re local and want one, just come and grab one. They probably cost about one US dollar if I include the cost of the plastic, the tape, and some of the electricity to run the printer. If you really want to pay for it I’ve included a Venmo username to send money to. (And when you pay for one that means I can make more to give away because that’s how I do things.)
There’s a few people who wanted the file, so you can grab that and print your own… and I supposed I could mail some out to people if you don’t have a friend with a 3D printer, but honestly finding a printer and printing one locally is probably better than mailing them out since postage would probably add a few more bucks to what should be less than a dollar.
You can get the STL file from Printables.com – Vertical Stick-On Lip Balm Holder though you’ll have to provide your on double-sided tape!