
NOTE: STL files are now available. Scroll to the bottom of this post.
Back in May 2023 I 3D printed a mould and deckle in an attempt to make my own paper. It worked, but was not optimal. I tried again, and wanted a slightly larger mould and deckle to make larger paper. It worked, but I didn’t love it since I had to print it in two parts and glue it together. Design is about iteration, right? I think I’ve got a good one now…

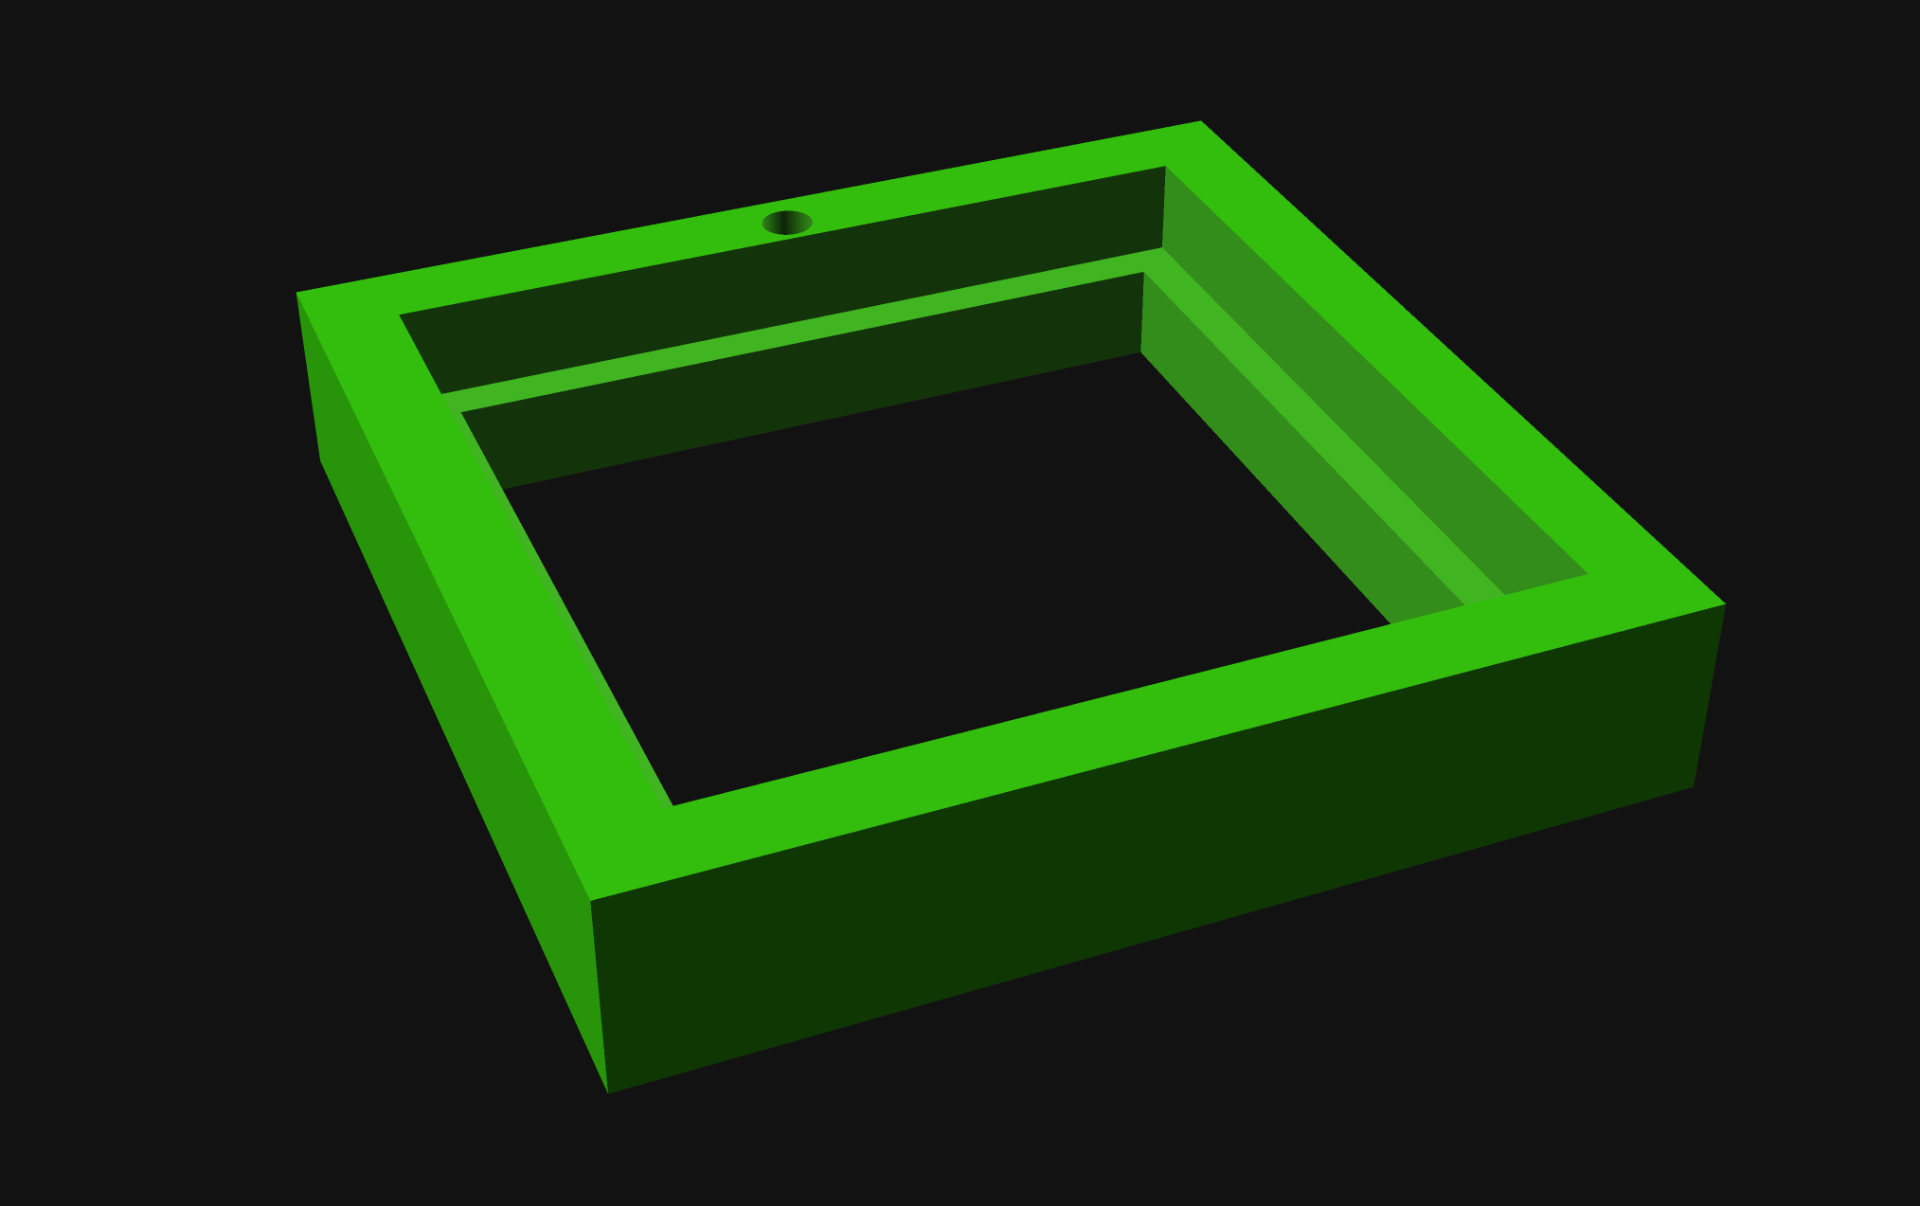
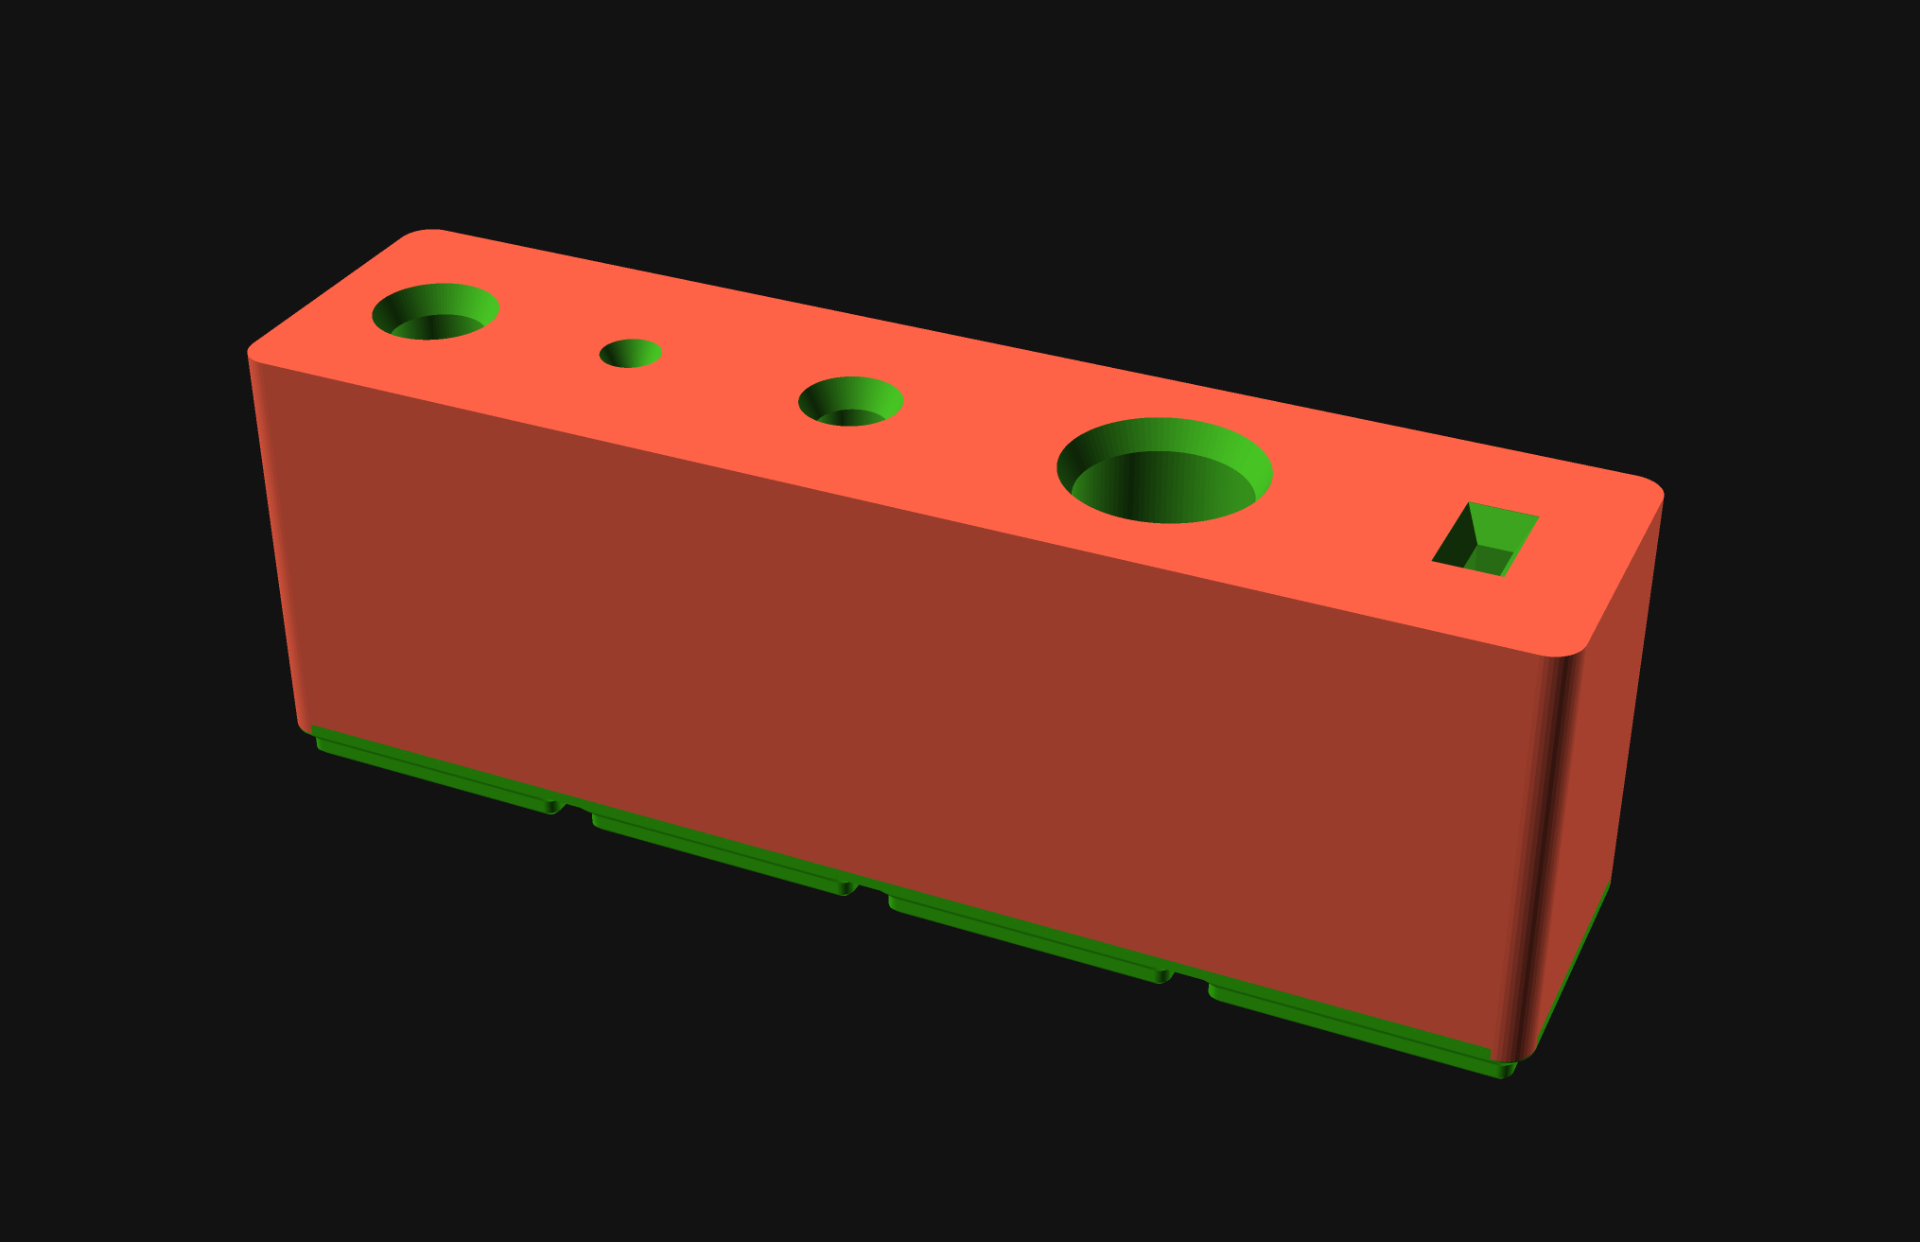
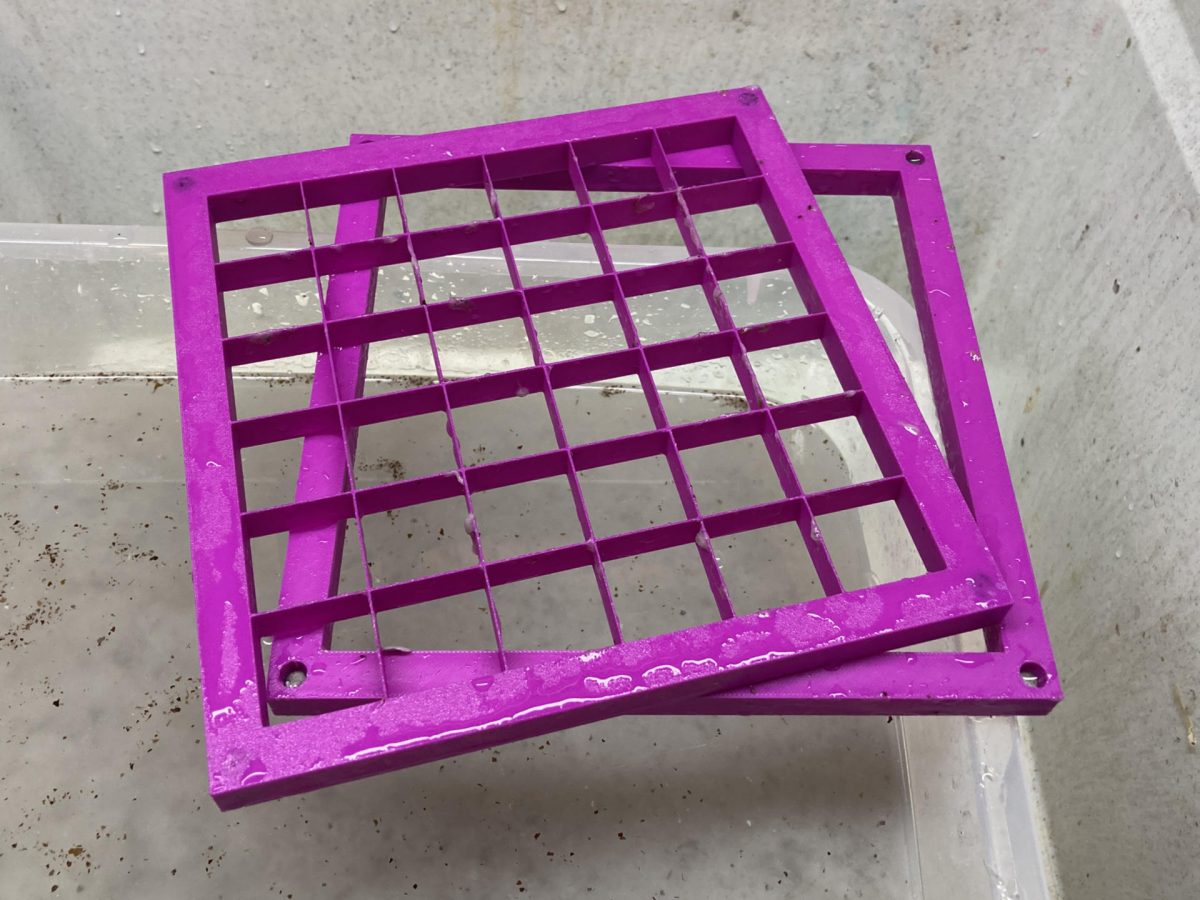
For this version I got the model just right. I did a number of test prints to make sure the wall thickness for the inside grid was correct, and I spent some time getting the magnet holes right. Yes, the magnets. Lots of mould and deckles are just two wooden frames you hold together in your hands, but I figured since I was designing my own I would add in magnets that would tightly hold the mould and the deckle together with a piece of metal screen between them.

So I added magnet holes in the four corners of each part and press-fit magnets into place. This time I made the pockets deeper so the magnets press in further down, which means they have really good holding strength when put together. You’ll notice the holes aren’t just holes, but have some little ridges, or “crush ribs” as well. The idea being that with 3D printed parts it can be difficult to get a perfect hole, so instead you just make the hole a little wider than needed, and add in some ribs so the magnet (or other round thing) just needs to slide against those, and if needed, can crush them a bit.

Hey, I guess I’m not the only one who likes the magic of magnets! Check out this video of Stephanie Hare and the mould and deckles she made with… magnets! (Or see them on her site.)
Of course you can always just glue the magnets in place. Since I’m now on my third fourth mould and deckle I wanted a way to remove them easily if I ever retire one and want those 8 magnets back.

I’ve mentioned before that you can do much much more than a simple square or rectangle, and you can 3D print a mould and deckle in any shape. I still want to experiment with that, as well as some other neat stuff. I like a plastic mould and deckle because (besides being easy) you don’t have to worry about warping like you do with wood, or having to use spar varnish or polyurethane to waterproof the wood. (I’ve talked about 3D printing versus using wood before.)

Oh, I should note one more thing. The reason I use window screen material is because I have a bunch of it from our old windows that we’ll never use for anything else. But, using a flexible screen material also makes it easy to remove the paper from the mould and deckle during the couching process by just pulling the screen off (after removing excess water with a sponge). (BTW, it’s pronounced ‘coo-ching’ not ‘cow-ching’.) I’ve found this a simple method of couching, though there are other methods and some special tools to assist with it if you want to explore other routes.

3D printing is a good fit for papermaking because it’s one of those things where you may need to build your own tools, and being able to rapidly iterate through ideas is handy. Okay, time to go make more paper!
Update! Files are now available.
Grab the STL files to print your own at Printables.com – Mould and Deckle.