Sometimes I make plans, and sometimes they work out. Sometimes I set goals and sometimes I attain them. And then there are the other times…
Last week I did a little test ride to see how it would be biking down to Riverwest and back. See, I usually ride in the morning. Like, around 7am on most days. My idea was that while the Riverwest 24 was going on I’d bike down there at 7am, hang out, maybe do a lap or two, then head home. Solid plan. But alas…
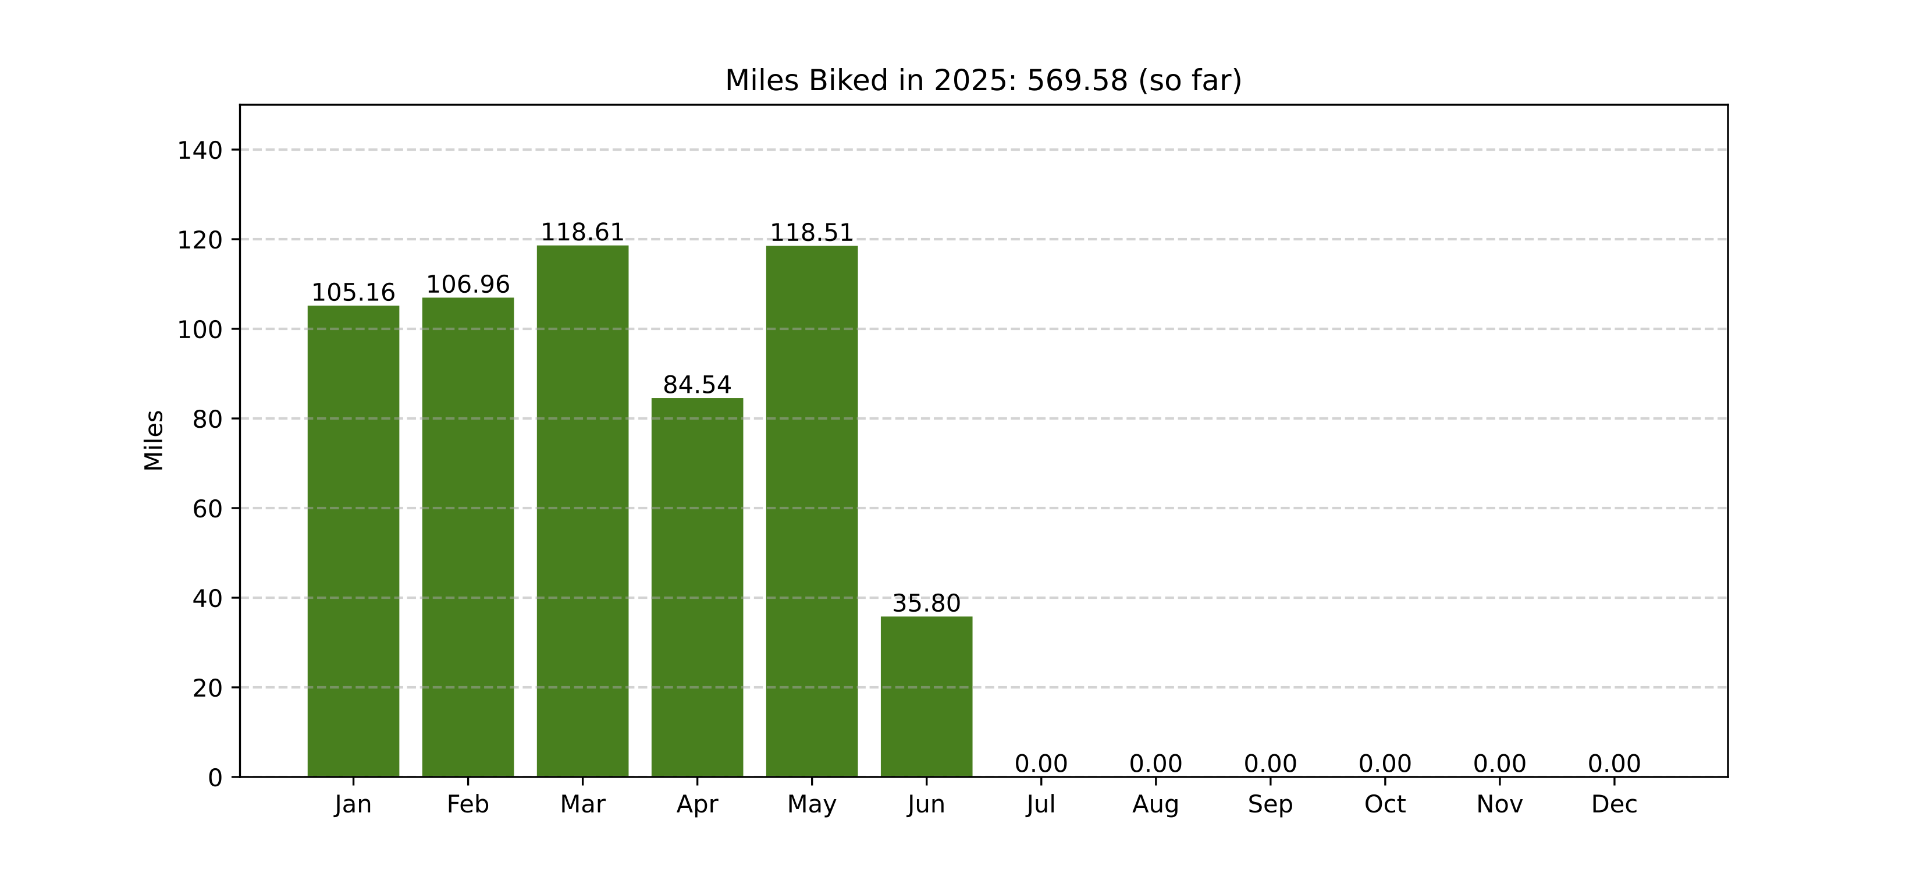
I should also mention that I had a goal of biking 1,000 miles this year. in 2024 (the year I started trying to ride daily) I did a little over 600 miles. Things like work travel and getting sick make it difficult some months, but I did what I could.
I also did a few group rides in the last 9 months, mostly with the Scrappy Hour gang and I enjoyed the Santa Rampage ride quite a bit. So yeah, RW24…
See, I knew about the Riverwest 24 for quite a while. When I was at the museum 7 years ago I worked with people who did it. Hell, I’ve known some of the organizers and volunteers and riders for the past 20 or 30 years. But between 2013 and 2019 I spent every last weekend in July at Maker Faire Detroit racing tiny electric cars.
The funny thing is, the Power Racing Series and Riverwest 24 have a lot in common. They are both more about community and creativity than they are about racing and going fast and winning…
So I really wanted to check out RW24 this year. And then, on the Tuesday before the weekend I started to not feel well. I mean, I got sick. I had to get into work early Tues, Wed, & Thurs because of online streaming/training I was doing all day for those days. I got through it, but by Thursday night I was beat. I stayed home Friday to rest up and try to recover, and by Friday night I felt, well… sort of okay.
I went to bed Friday with the idea that if I woke up Saturday feeling good I would hit up RW24. Well, Saturday I had zero energy, and I hit the couch, and just could not move. Then it rained, and I gave up.
And then, I hit up the old Internet. I consumed the media from the event. I watched and listened to Riverwest Radio, I tried to see photos and video clips of the ride, I did what I could to experience it without being there. And I learned a lot.
A few days before the weekend a friend of mine said “If it’s your first time do a night lap and a day lap, as they are totally different vibes!” and another friend said “Psst! I could get you on a team!” and yet another said “My husband will be there riding a tandem bike on his own if you want to do a lap with him.”
Because the thing is, just like Power Racing was about camaraderie and having fun, Riverwest 24 is about community and the people. Sure, there are bikes and laps and keeping track, but that matters less.
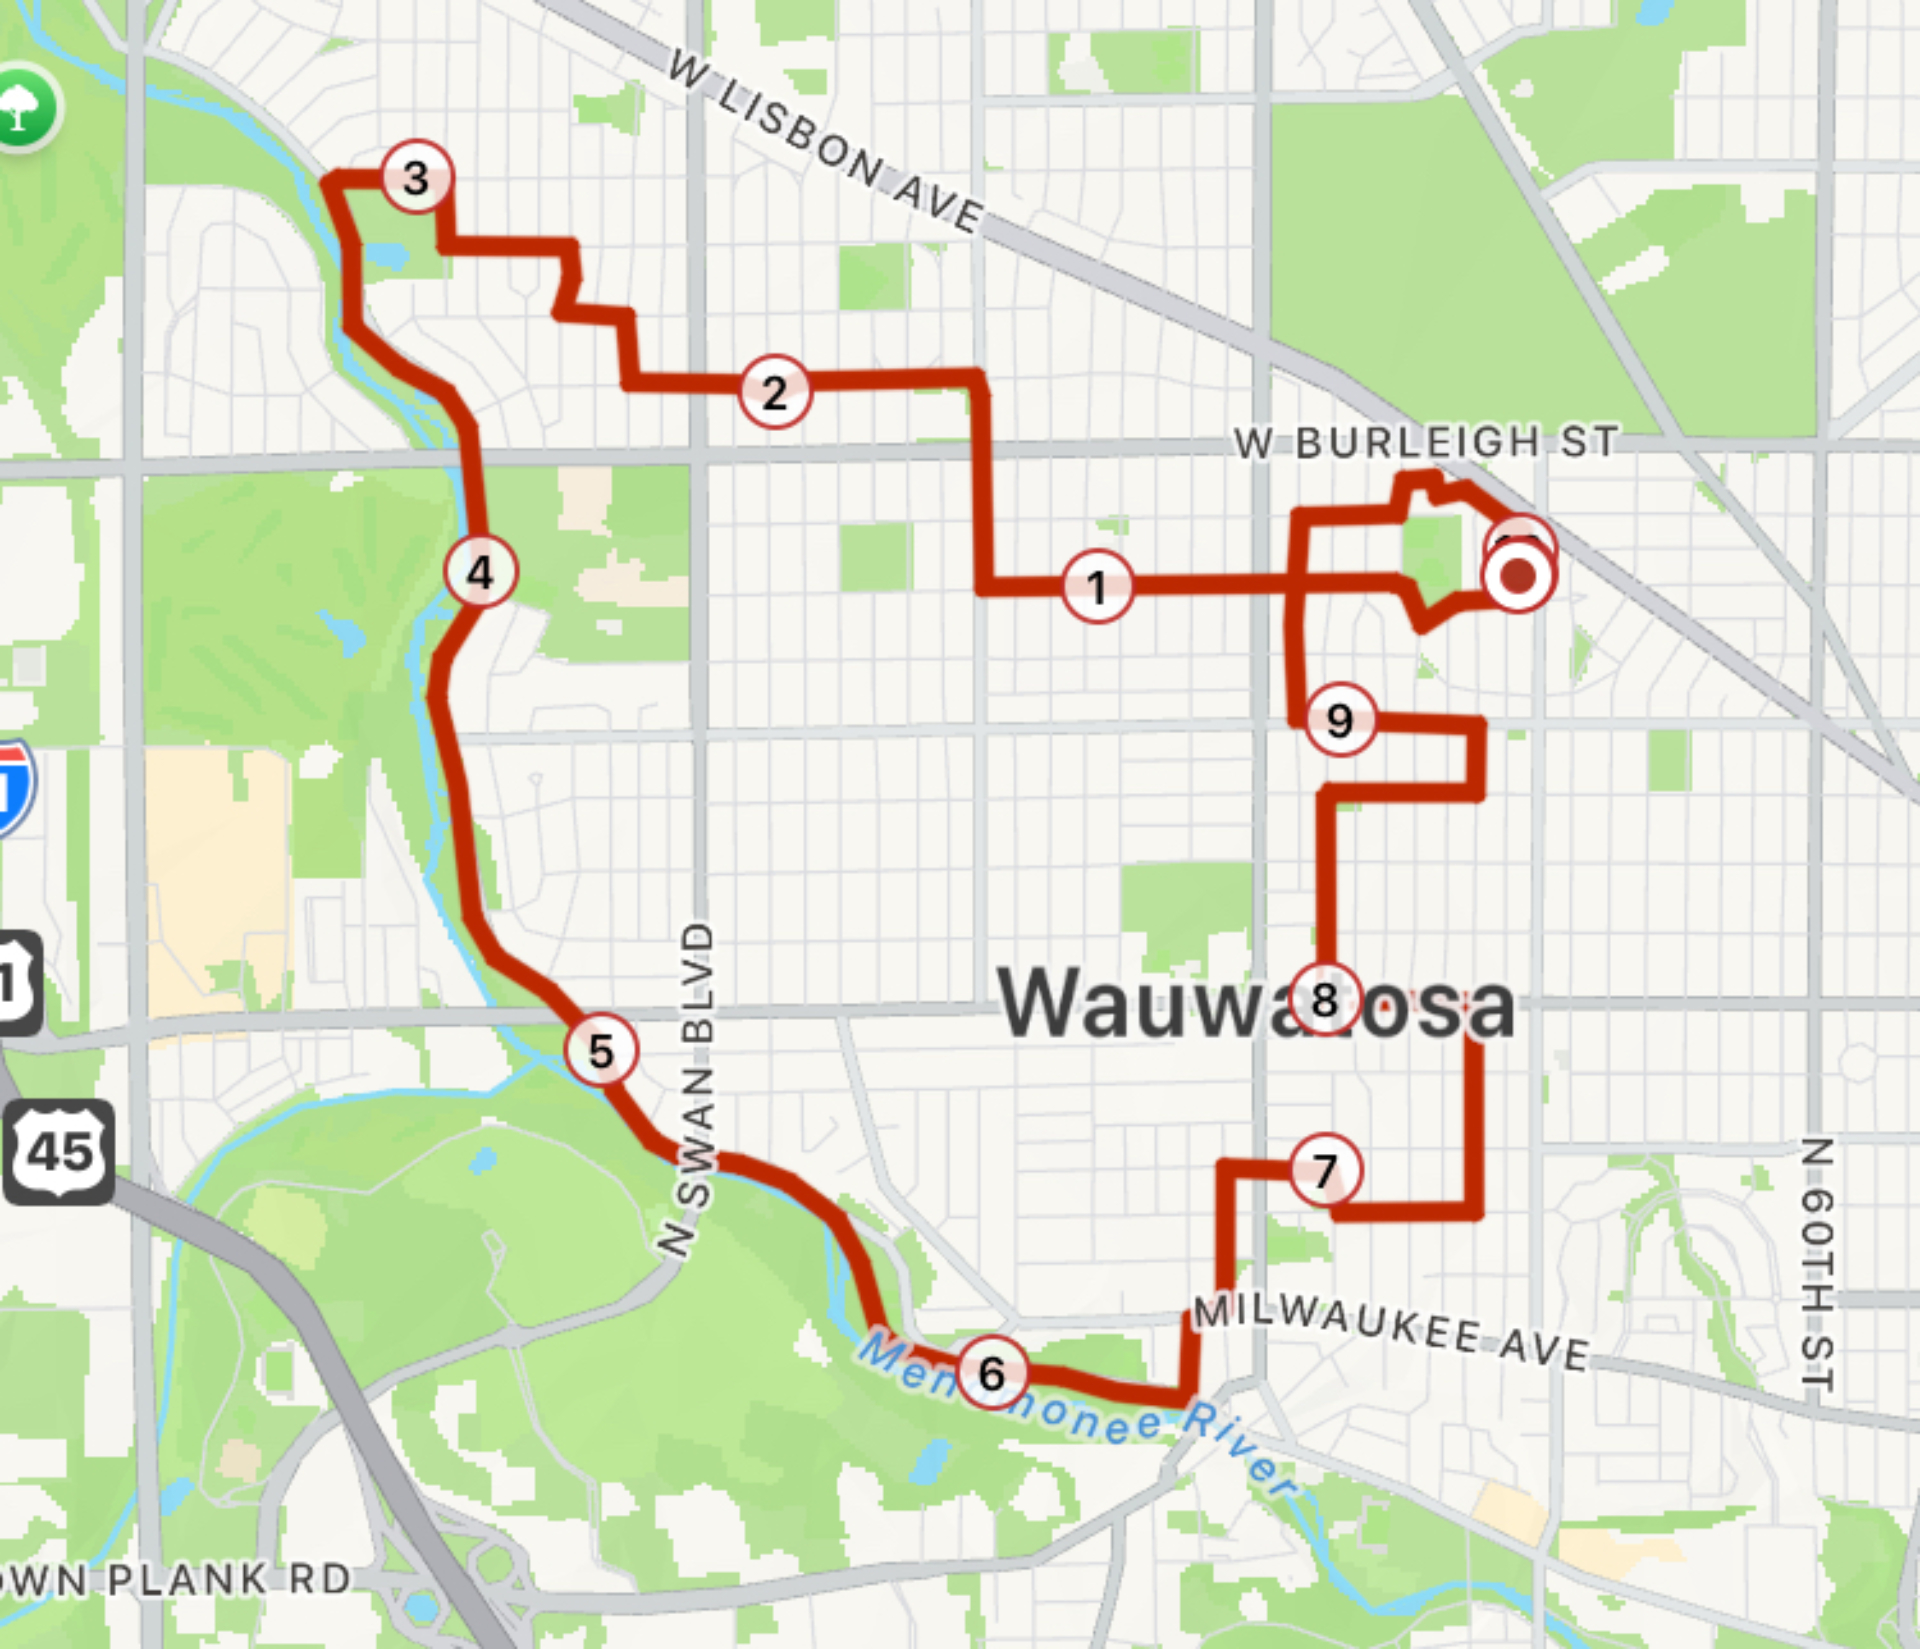
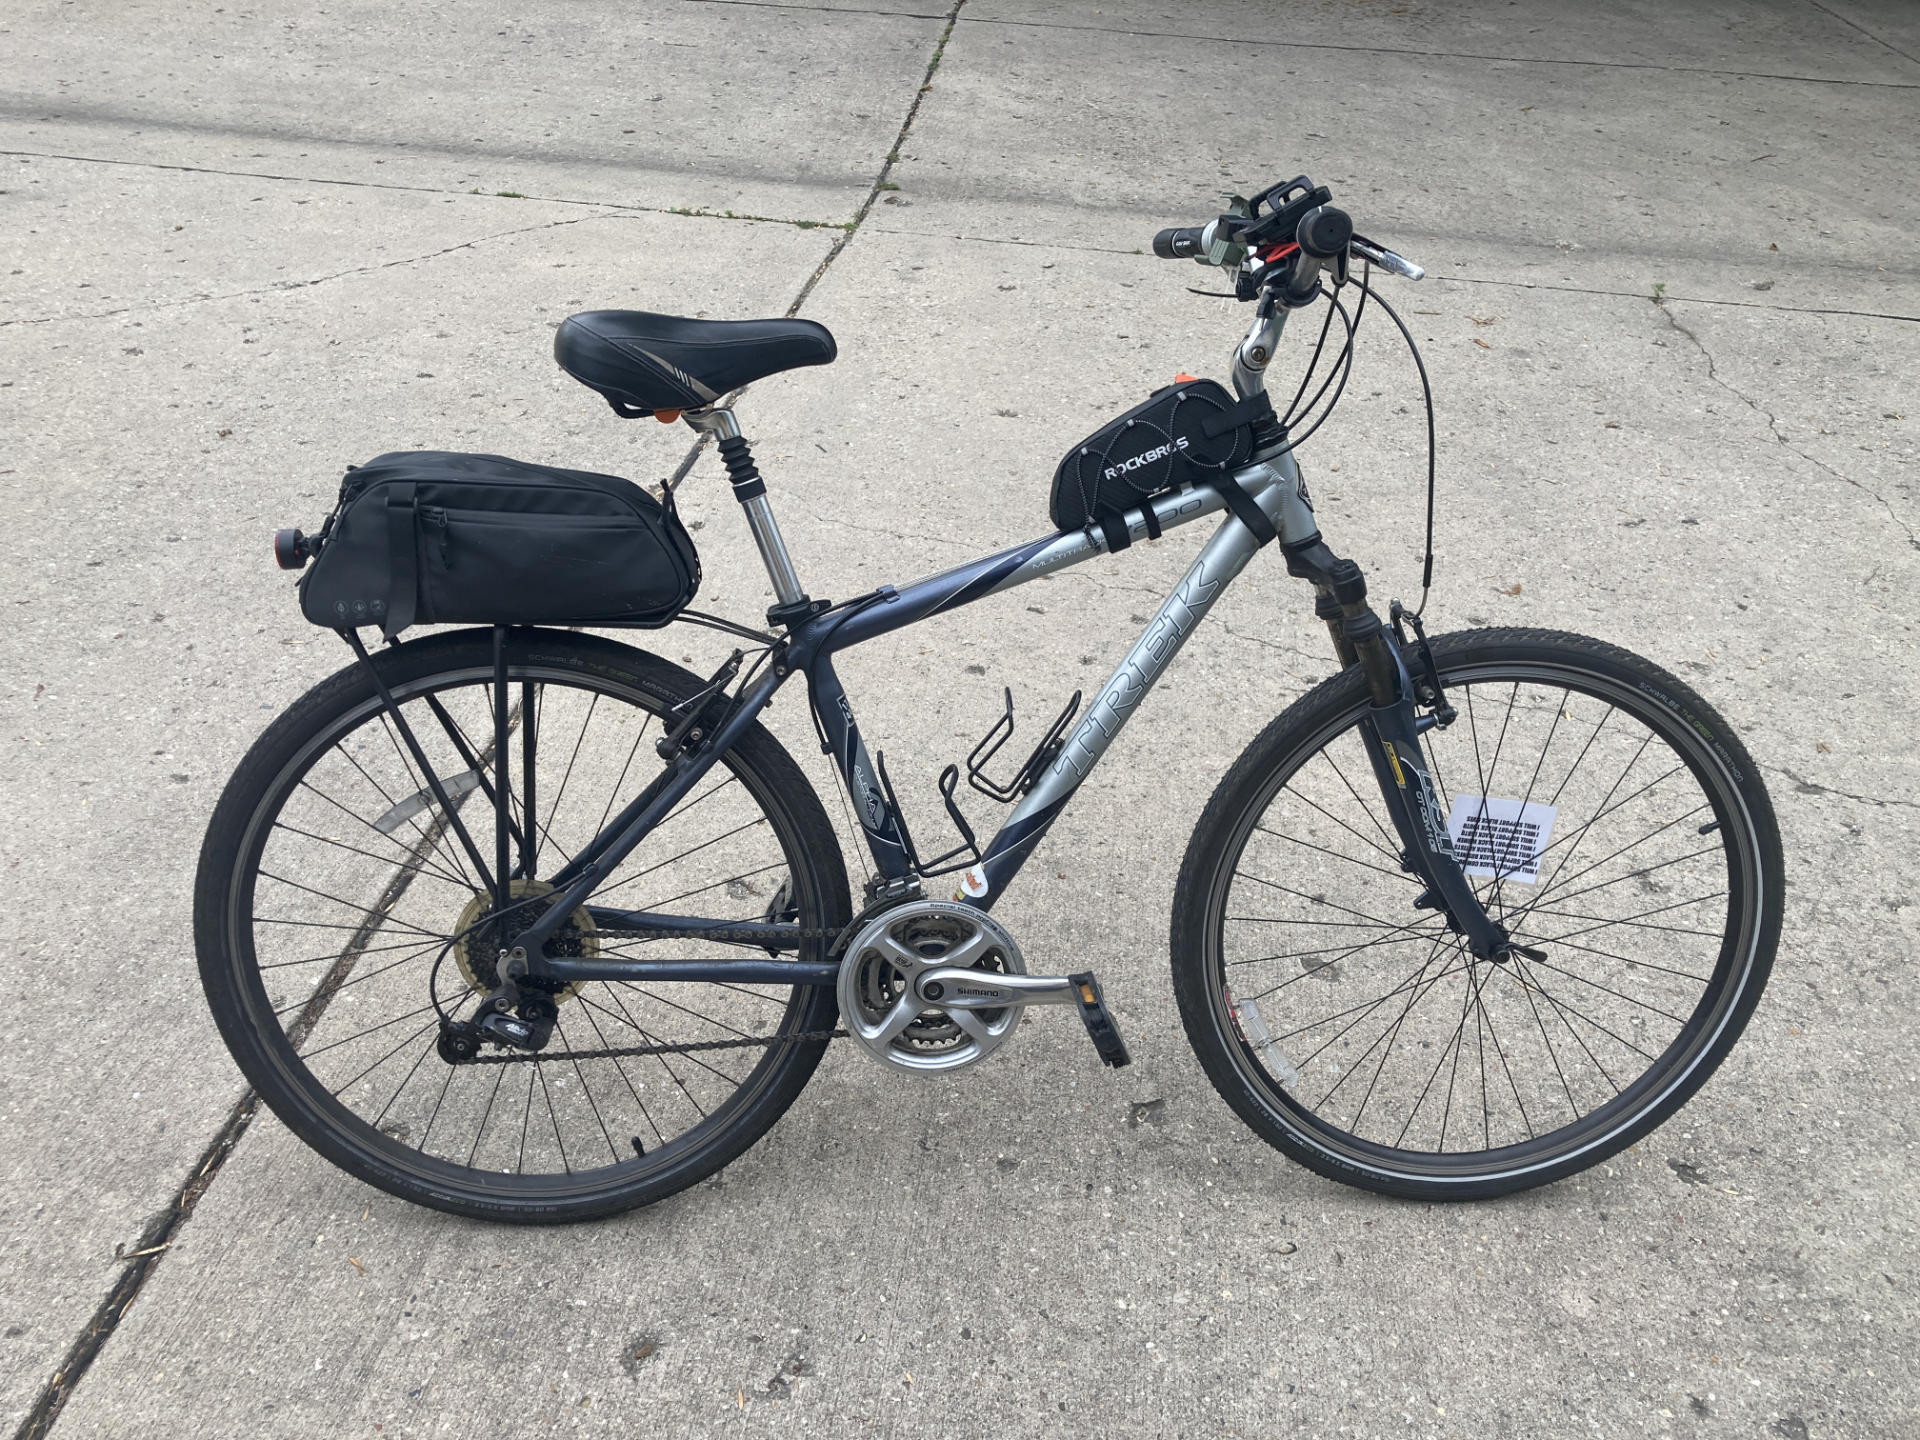
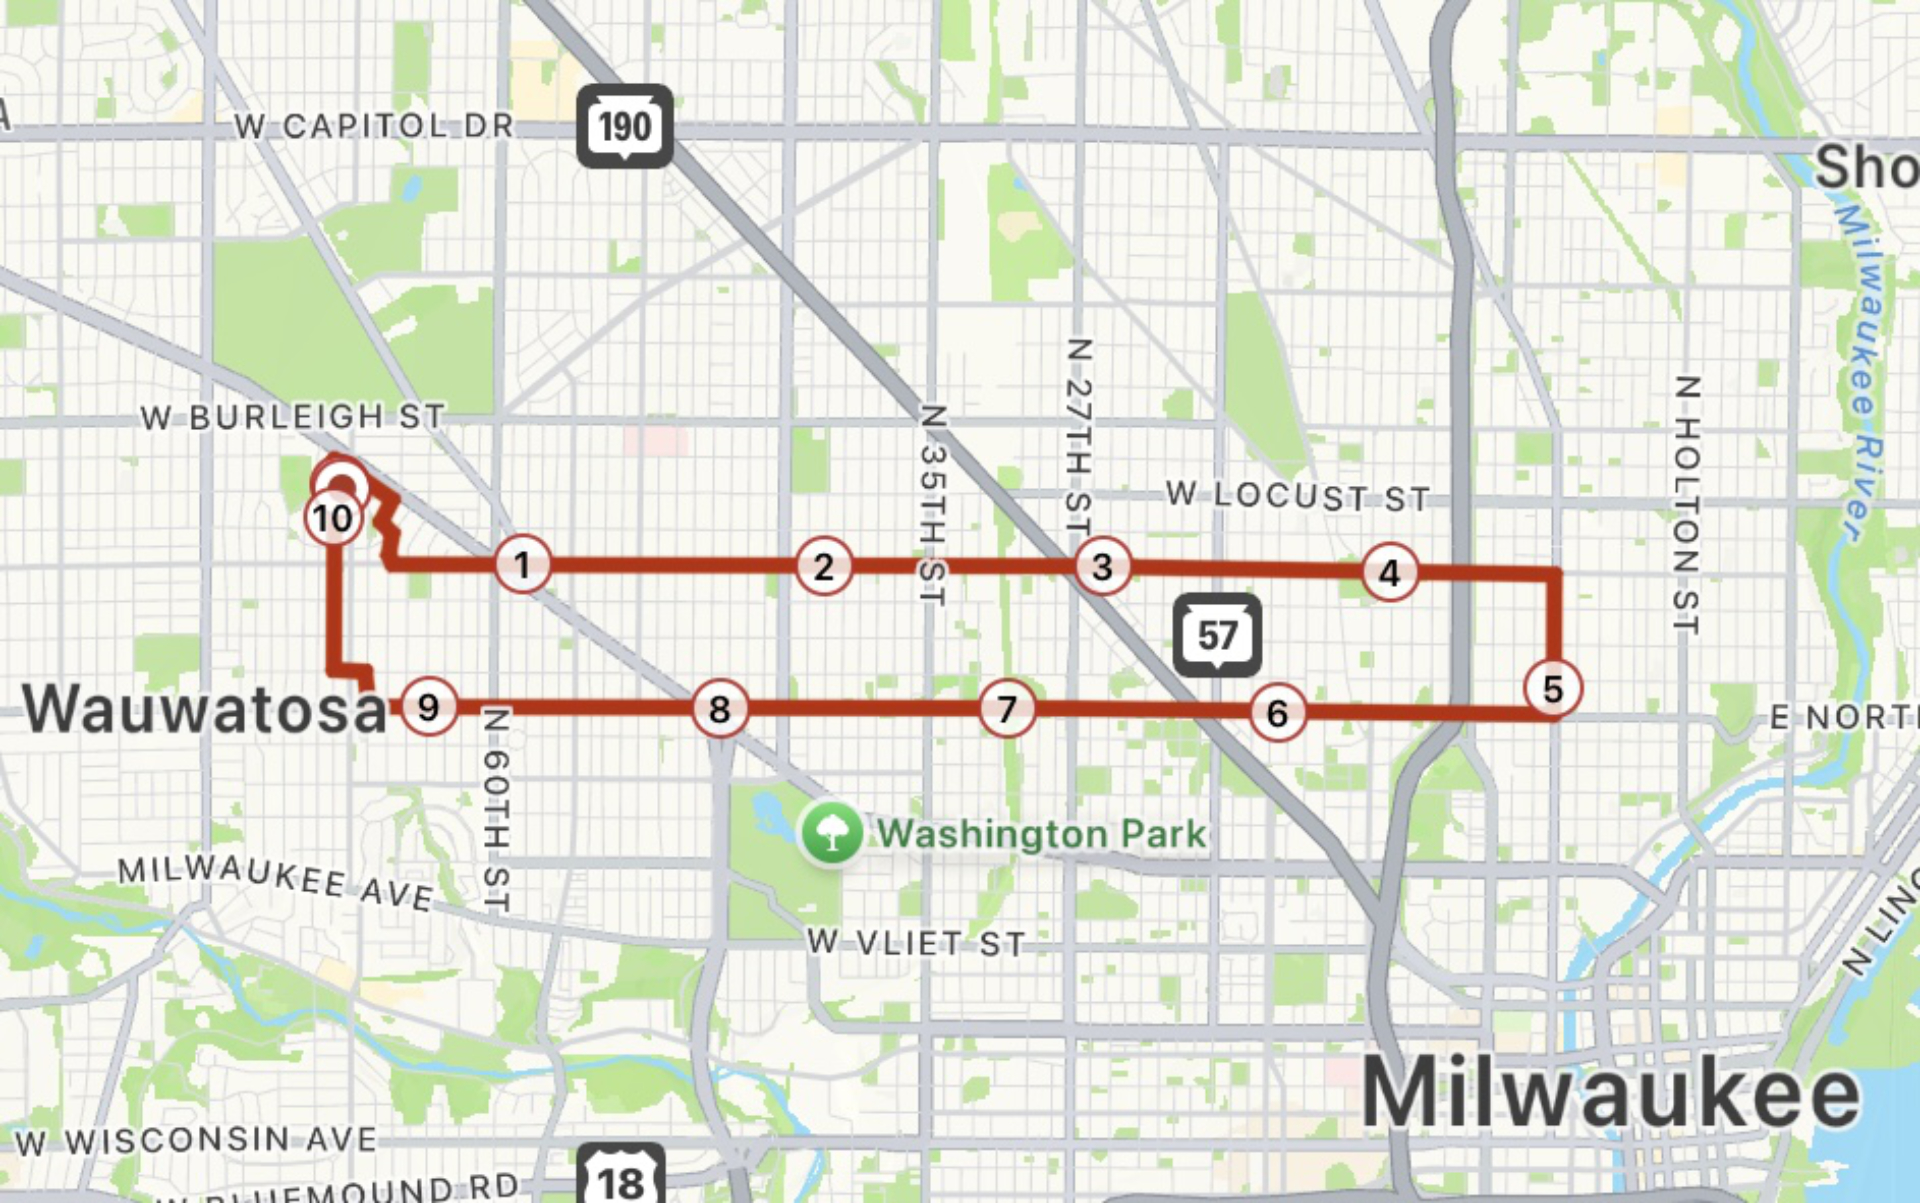
Here’s a normal ride for me. I did 10 miles today, since I haven’t ridden in a week. I just tool around Tosa, Milwaukee, and the surrounding area, typically not getting further than a few miles from my house, but I may start to change these patterns and go farther in whatever direction.
Oh, I also rode over 800 miles this year. I should be able to hit that 1,000 miles easily. I still need to fix my bike, the front fork is not great, and I have an idea to make it more silly, which is always fun.
Being sick totally sucked. I hate it. I seem to get sick about twice a year, and when I do it makes me not able to bike or do other things and I don’t like that. Not a fan.
If I have any complaint about Riverwest 24 it’s that I experienced a lot of it via Instagram stories and Facebook reels, which are ephemeral. They are temporary things in a walled garden, which are lost to time. I guess life is like that sometimes, and hey, there’s always next year, they say.
So I will plan for next year, I will be there, barring any unforeseen circumstances of course.