The Bambu Lab A1 mini I got in June 2024 hasn’t had and real failures until now, in January 2026, which is pretty darn good. Occasionally a print would fail, but I’d say over 98% of the time it just prints without issue.
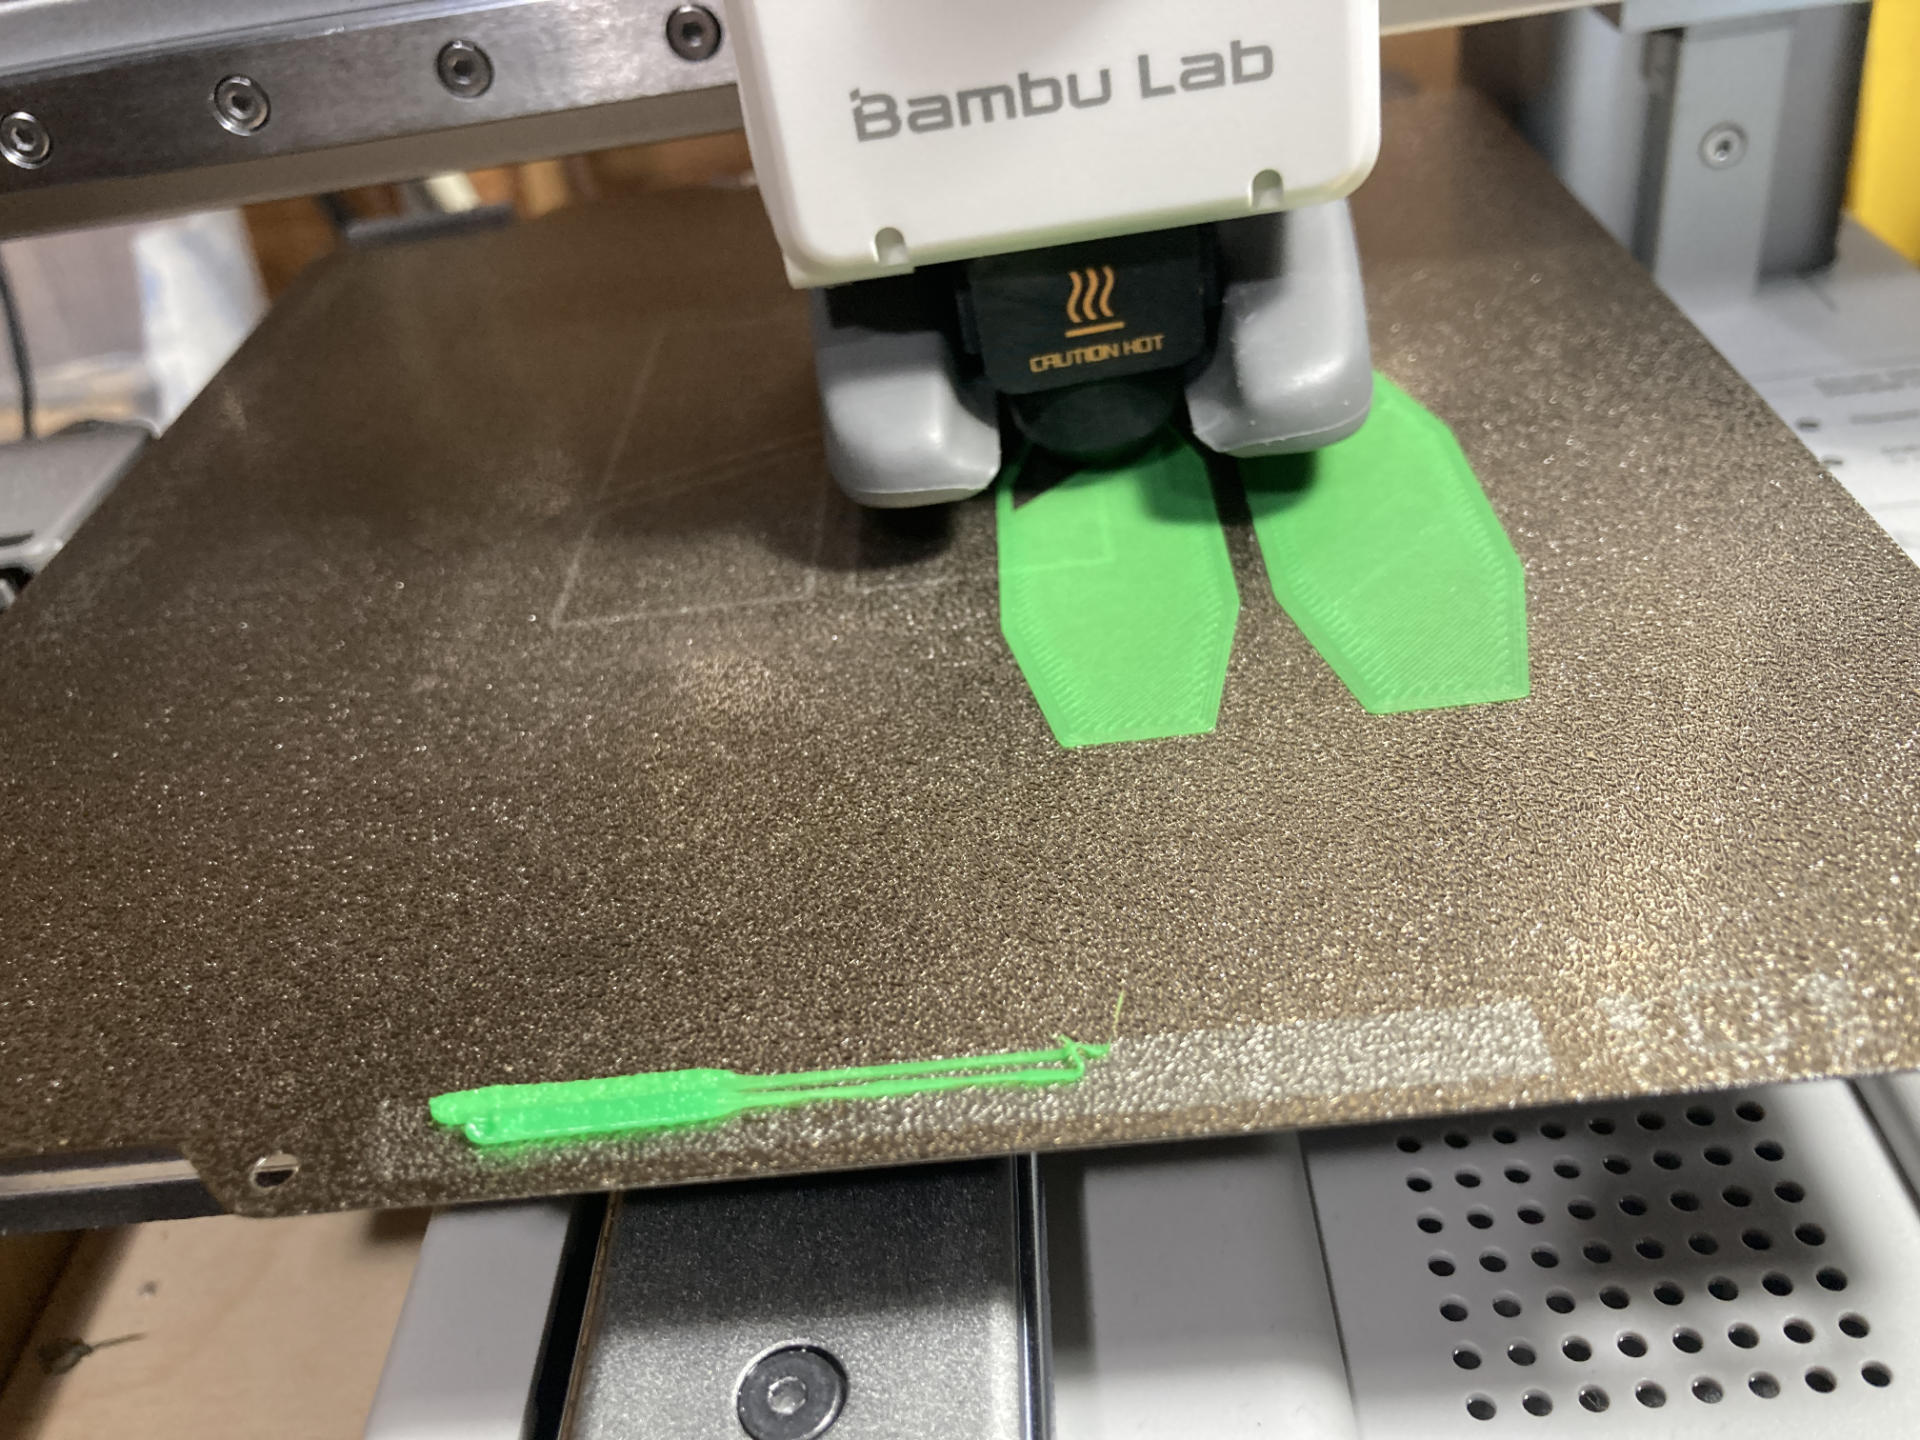
The other day I hit print, walked away, and came back to… no print. Weird. I hit print again, or maybe I forgot to hit print the first time? I figured I forgot, and it was user error. Ah, no. I came back to the blob you see above.
In the old days this would have been disastrous, perhaps needing quite a bit of teardown, maybe requiring a heat gun or torch, and I was ready for that, but… I didn’t really need any special tools at all! (I used a needle nose pliers and some small forceps.)
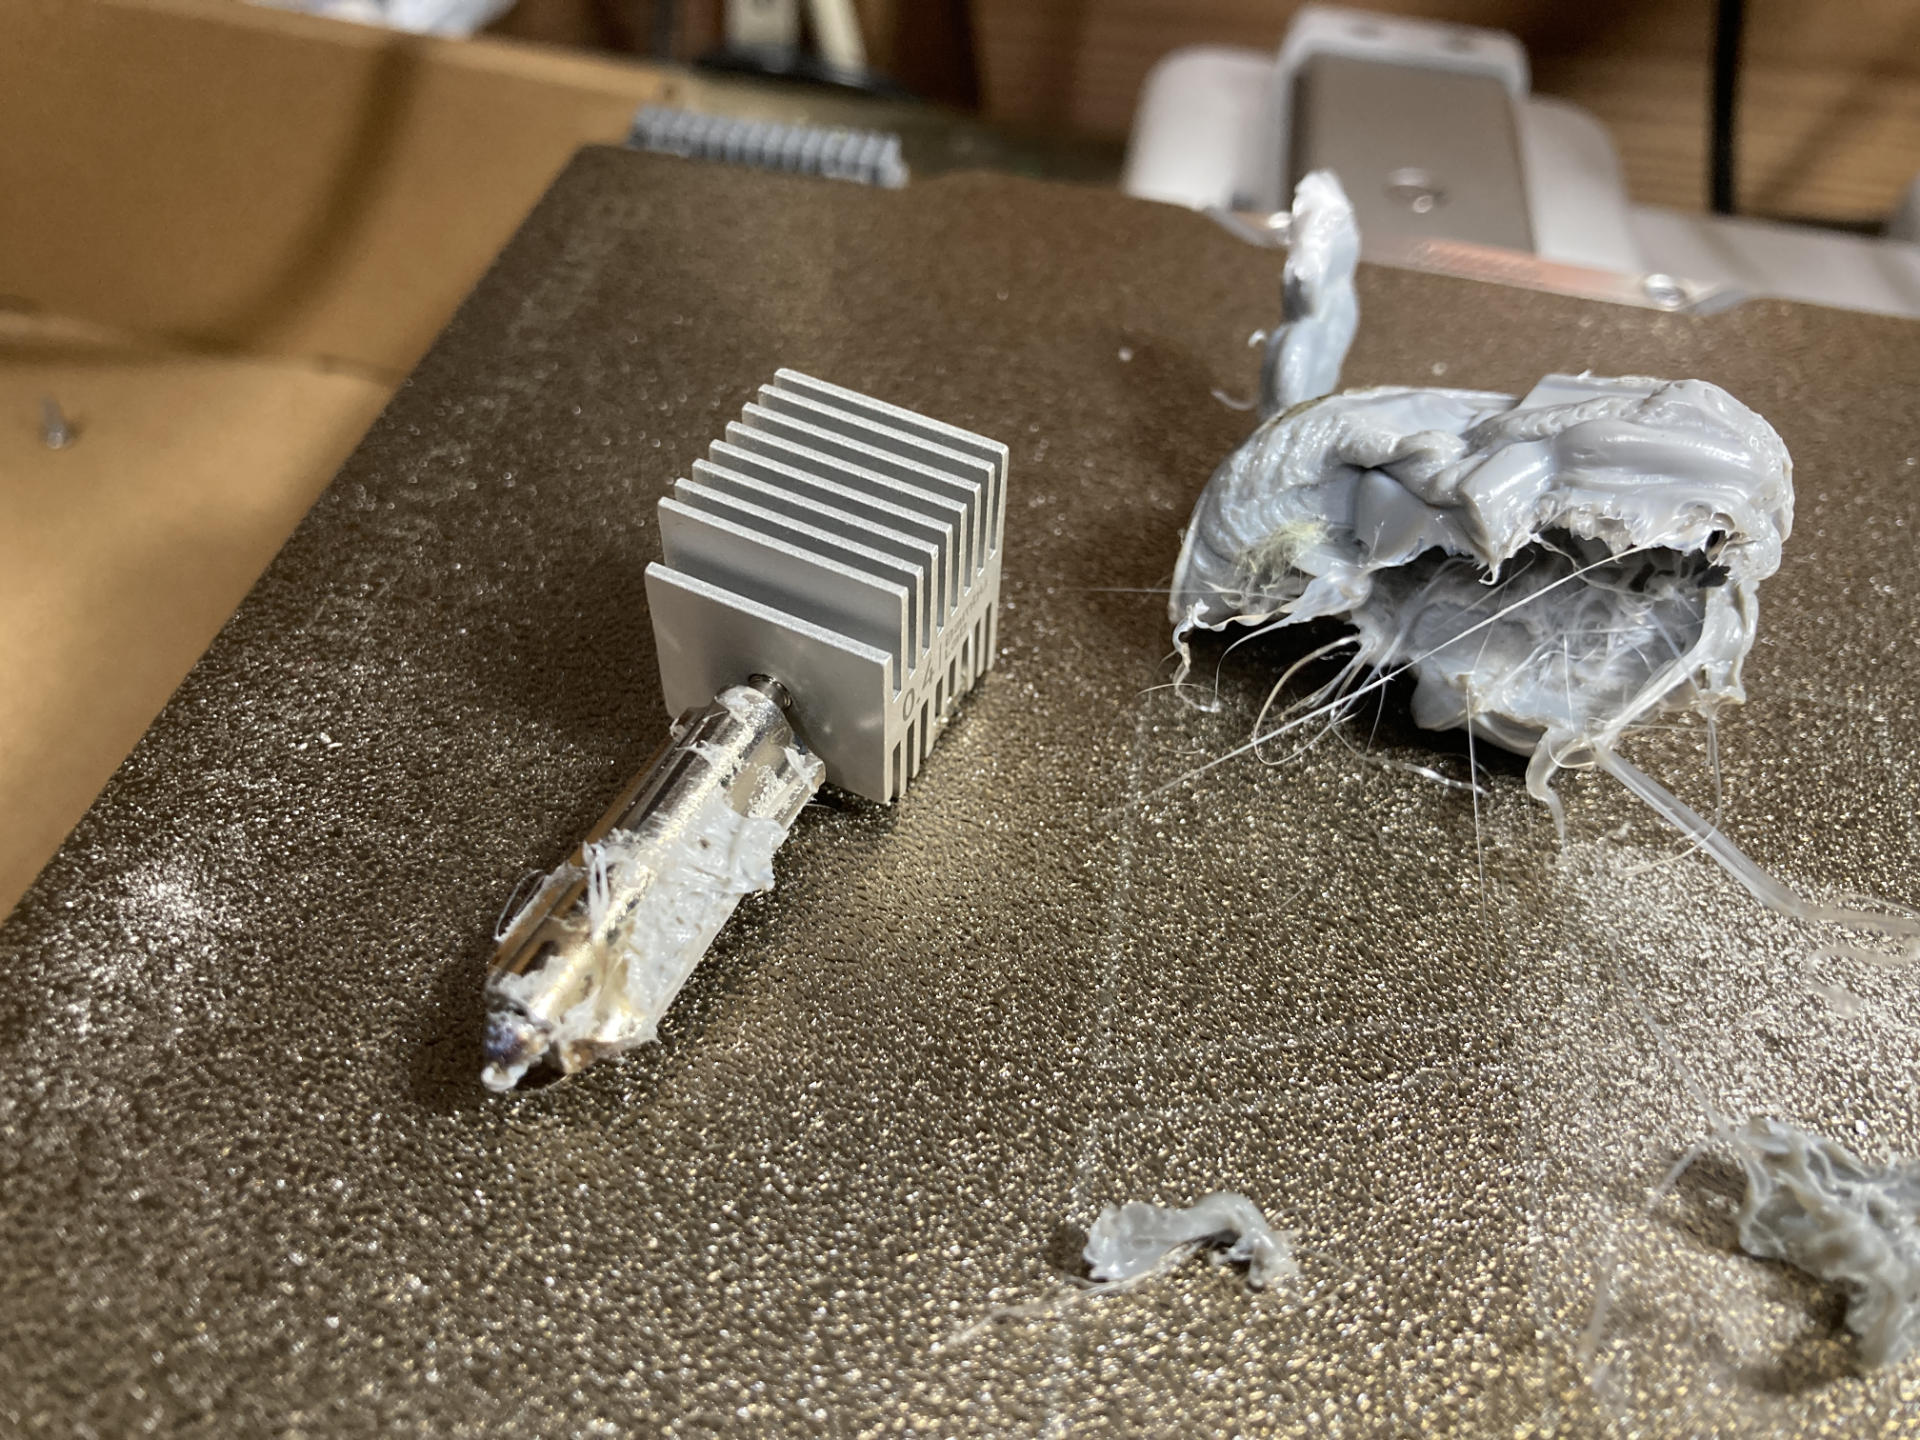
I heated up the extruder and managed to get the blob off, and then allowed the machine to cool and got the hotend off. It was actually too easy. Is this printers in 2026!? There’s a mess, but hey, not too bad…
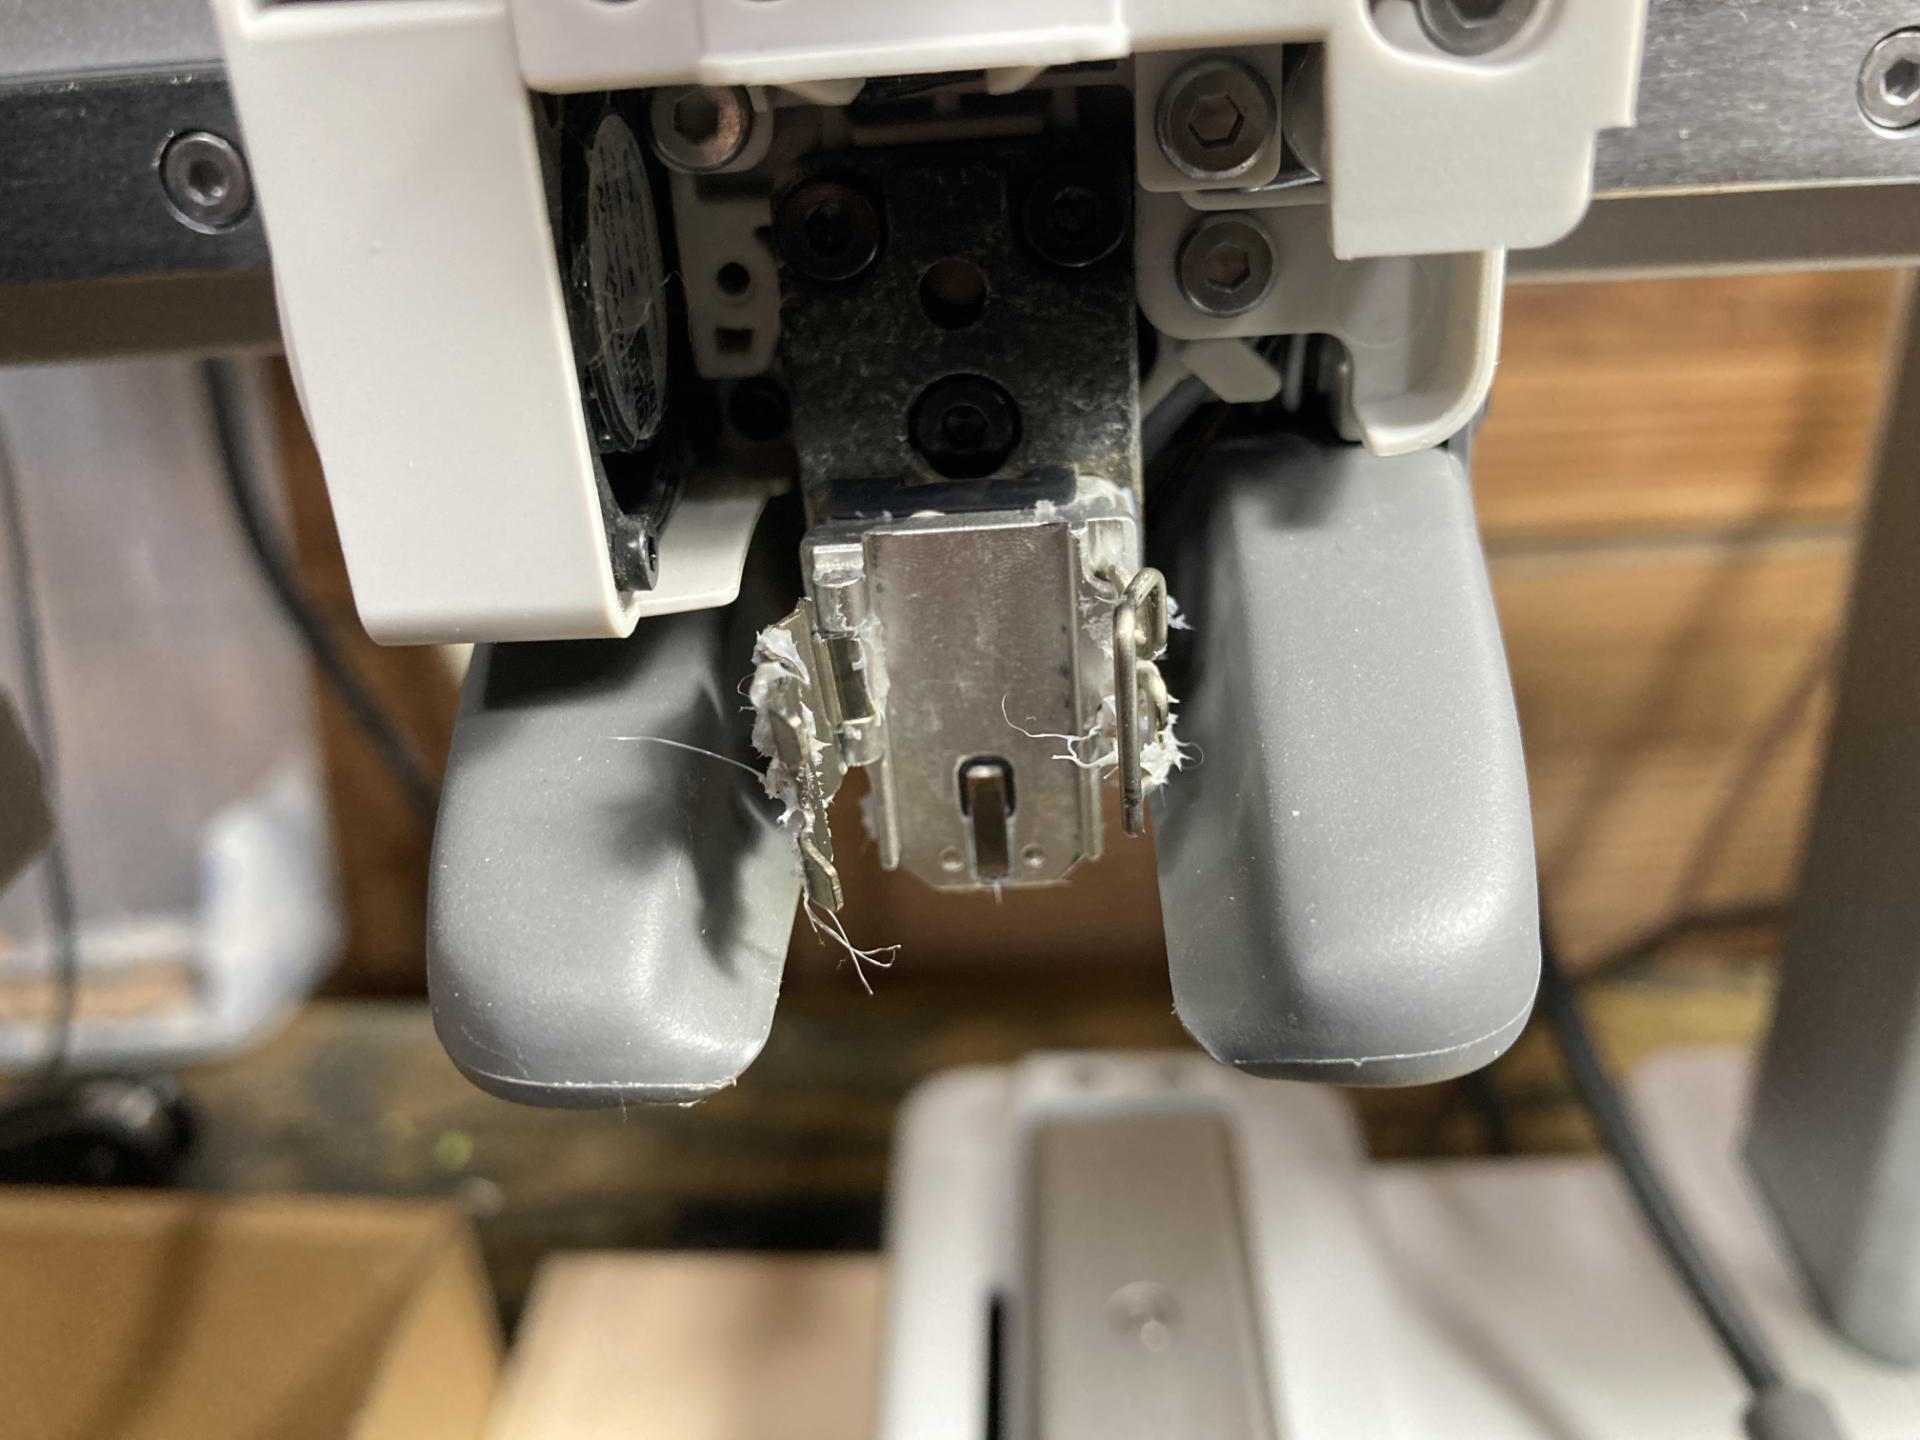
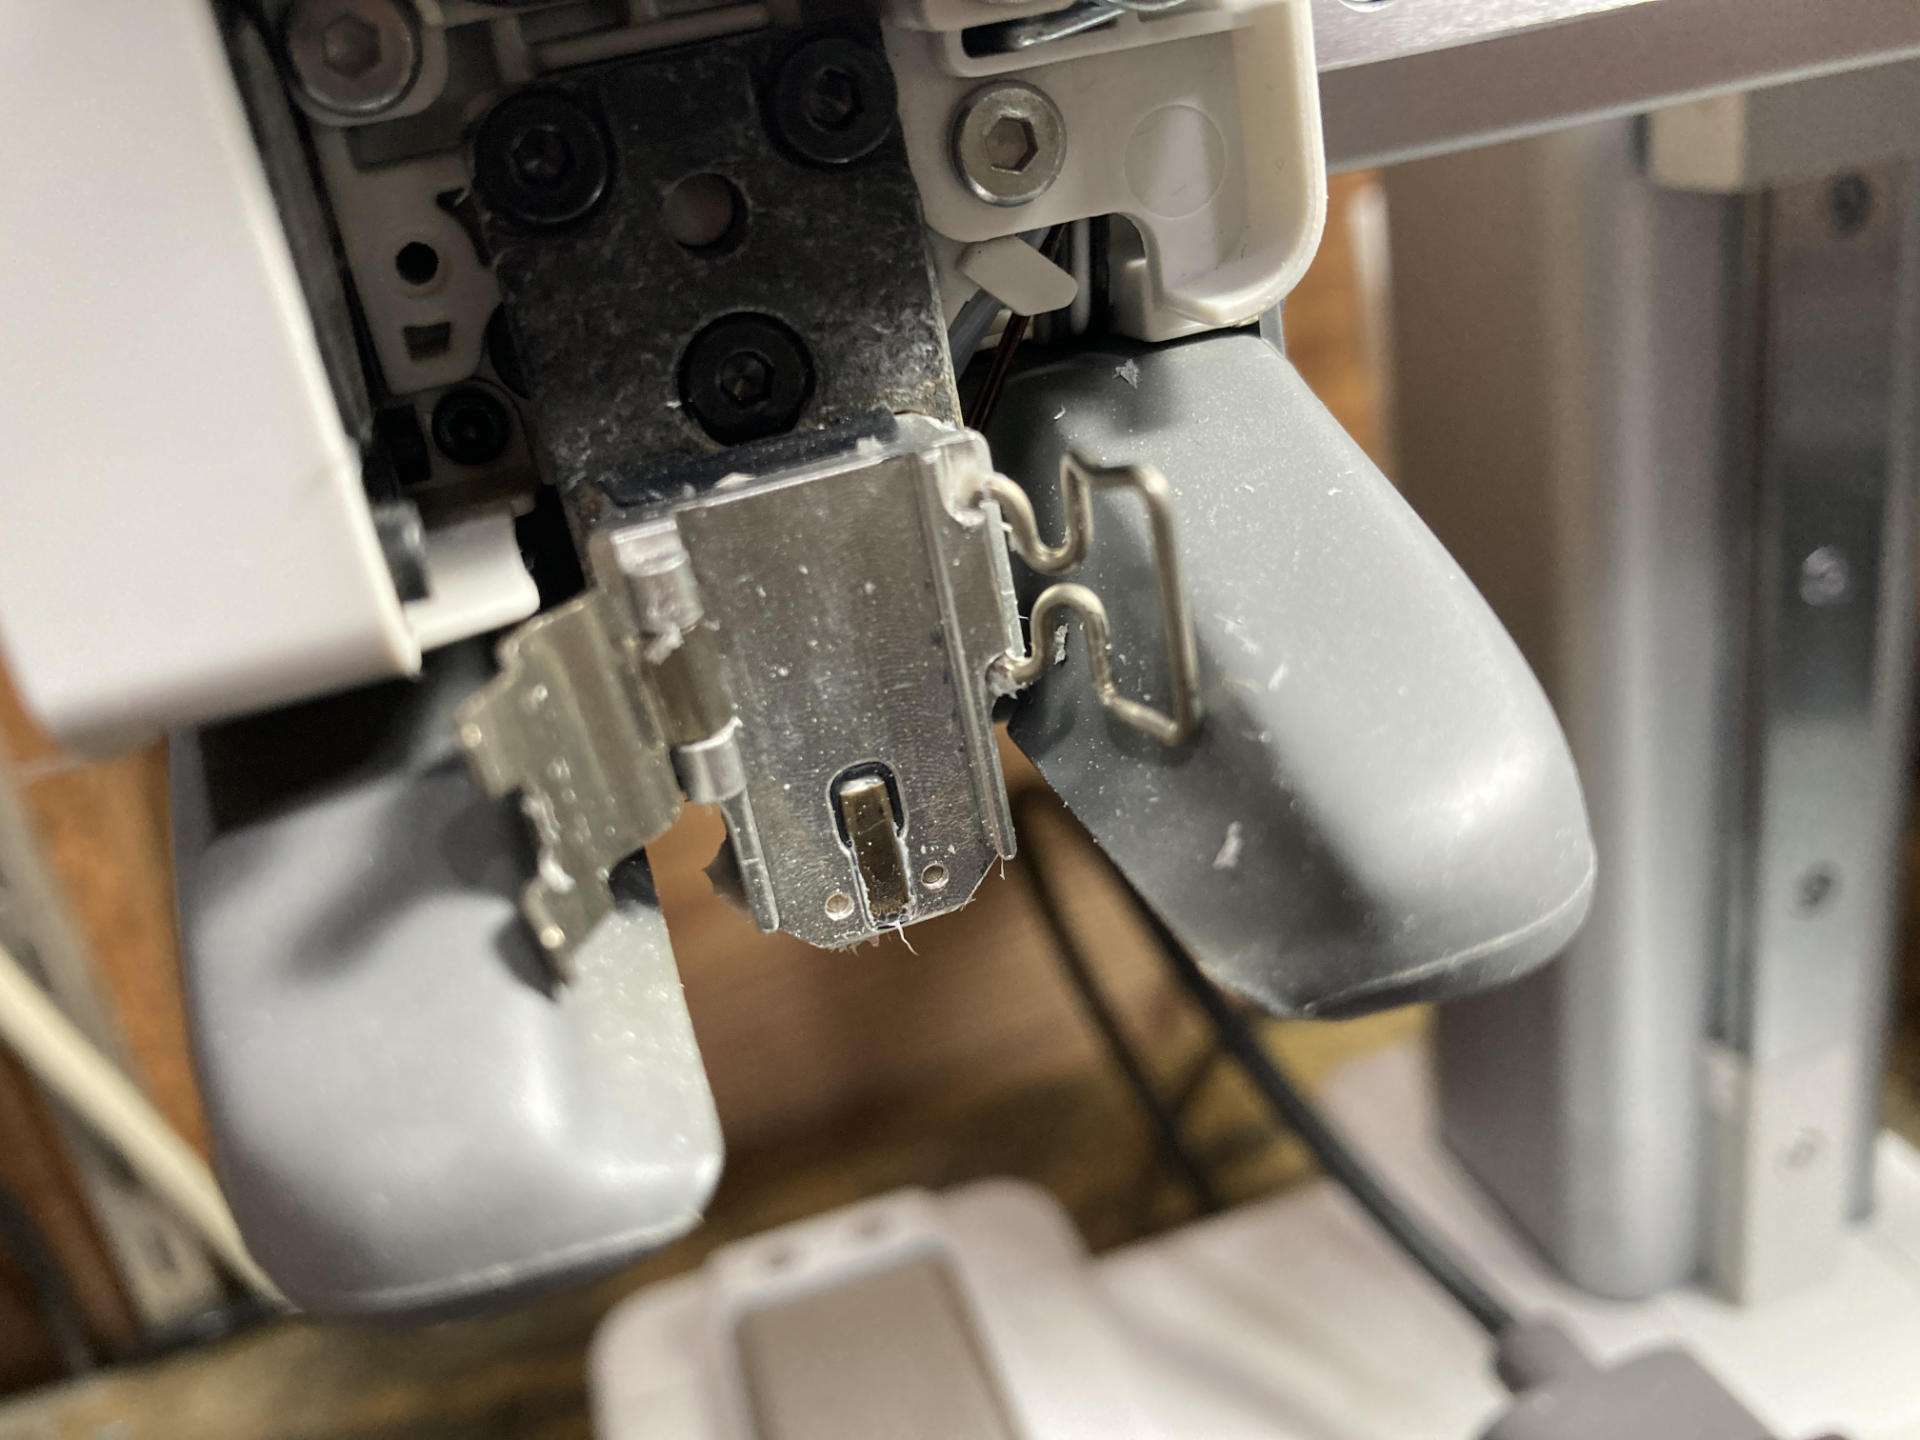
The area where the hotend clips in had some filament as well, which had to be cleaned up and removed.
It was just too easy! It’s like they added a non-stick surface to the thing. I suppose that shiny metal is exactly that, a surface that filament will not stick to.
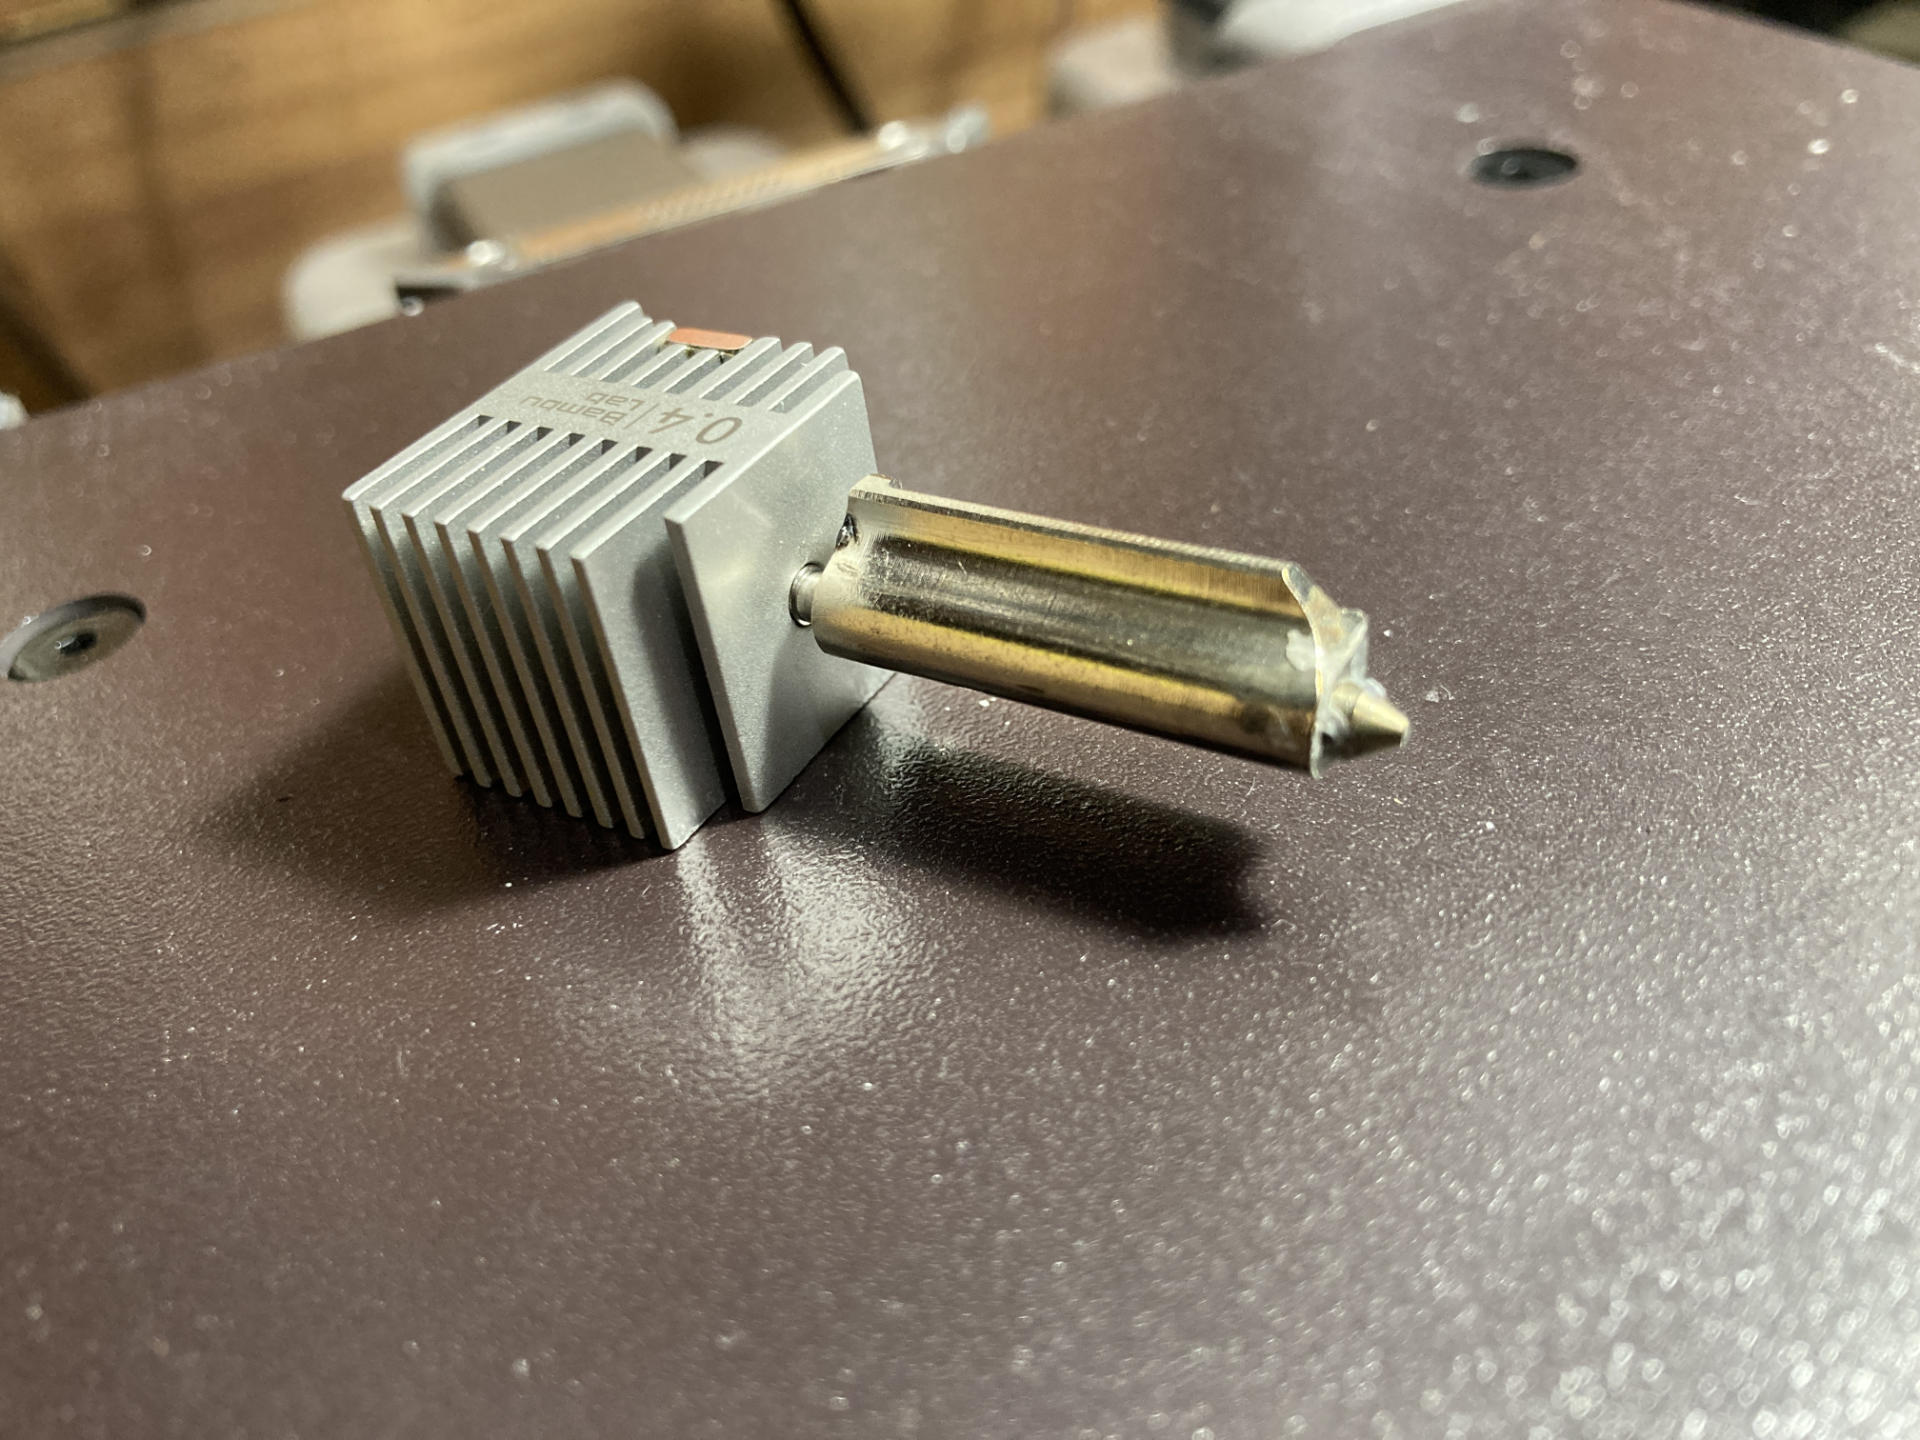
And cleaning up the hotend was again, almost too easy! Hell, I fought in the Printer Wars back in the 2010s and it was nothing like the world we have today. I put almost no effort into getting the filament mess off of things. Damn.
Up and running, printing again, after like 15 minutes, and half of that was probably heating up the extruder and then letting it cool down.
The world may be going to shit in 2026 but at least the printers got their shit together.