Hello friends, I am here today to tell you about the Worx 4V 3-Speed Electric Power Screwdriver (Specs) but first I will tell you about my other power screwdrivers.

Many years ago I got this General Tools Precision Cordless Electric Screwdriver for light-duty tasks like dealing with screws in laptops, or anything 3mm or smaller in the electronics projects I build. It’s not meant to crank a screw in super-fast or super-tight, but meant to help prevent having to crank your wrist in a twisty motion dozens of times. (Note: As you get older, you get more tired faster, and things tend to hurt more.)
The size is just right for delicate work, and my only complaint is that it is maybe a little under-powered. It uses AAA batteries, so no built-in rechargeable battery in this one, which has its own pros and cons. It uses the small 4mm tips so I use it for small things.

Around the same time I got the small one I also wanted a larger power screwdriver I could dedicate to a specific task in the production of the products I make. This Black + Decker 4V (pistol-style) screwdriver. It works well for putting screws into enclosures as well as more medium to heavy(ish) duty things. I don’t drill big screws into wood with it because I have tools for that, but in a pinch it’ll drill small holes into wood for #4 screws pretty easily. (And I’ve done that a number of times building exhibits.)
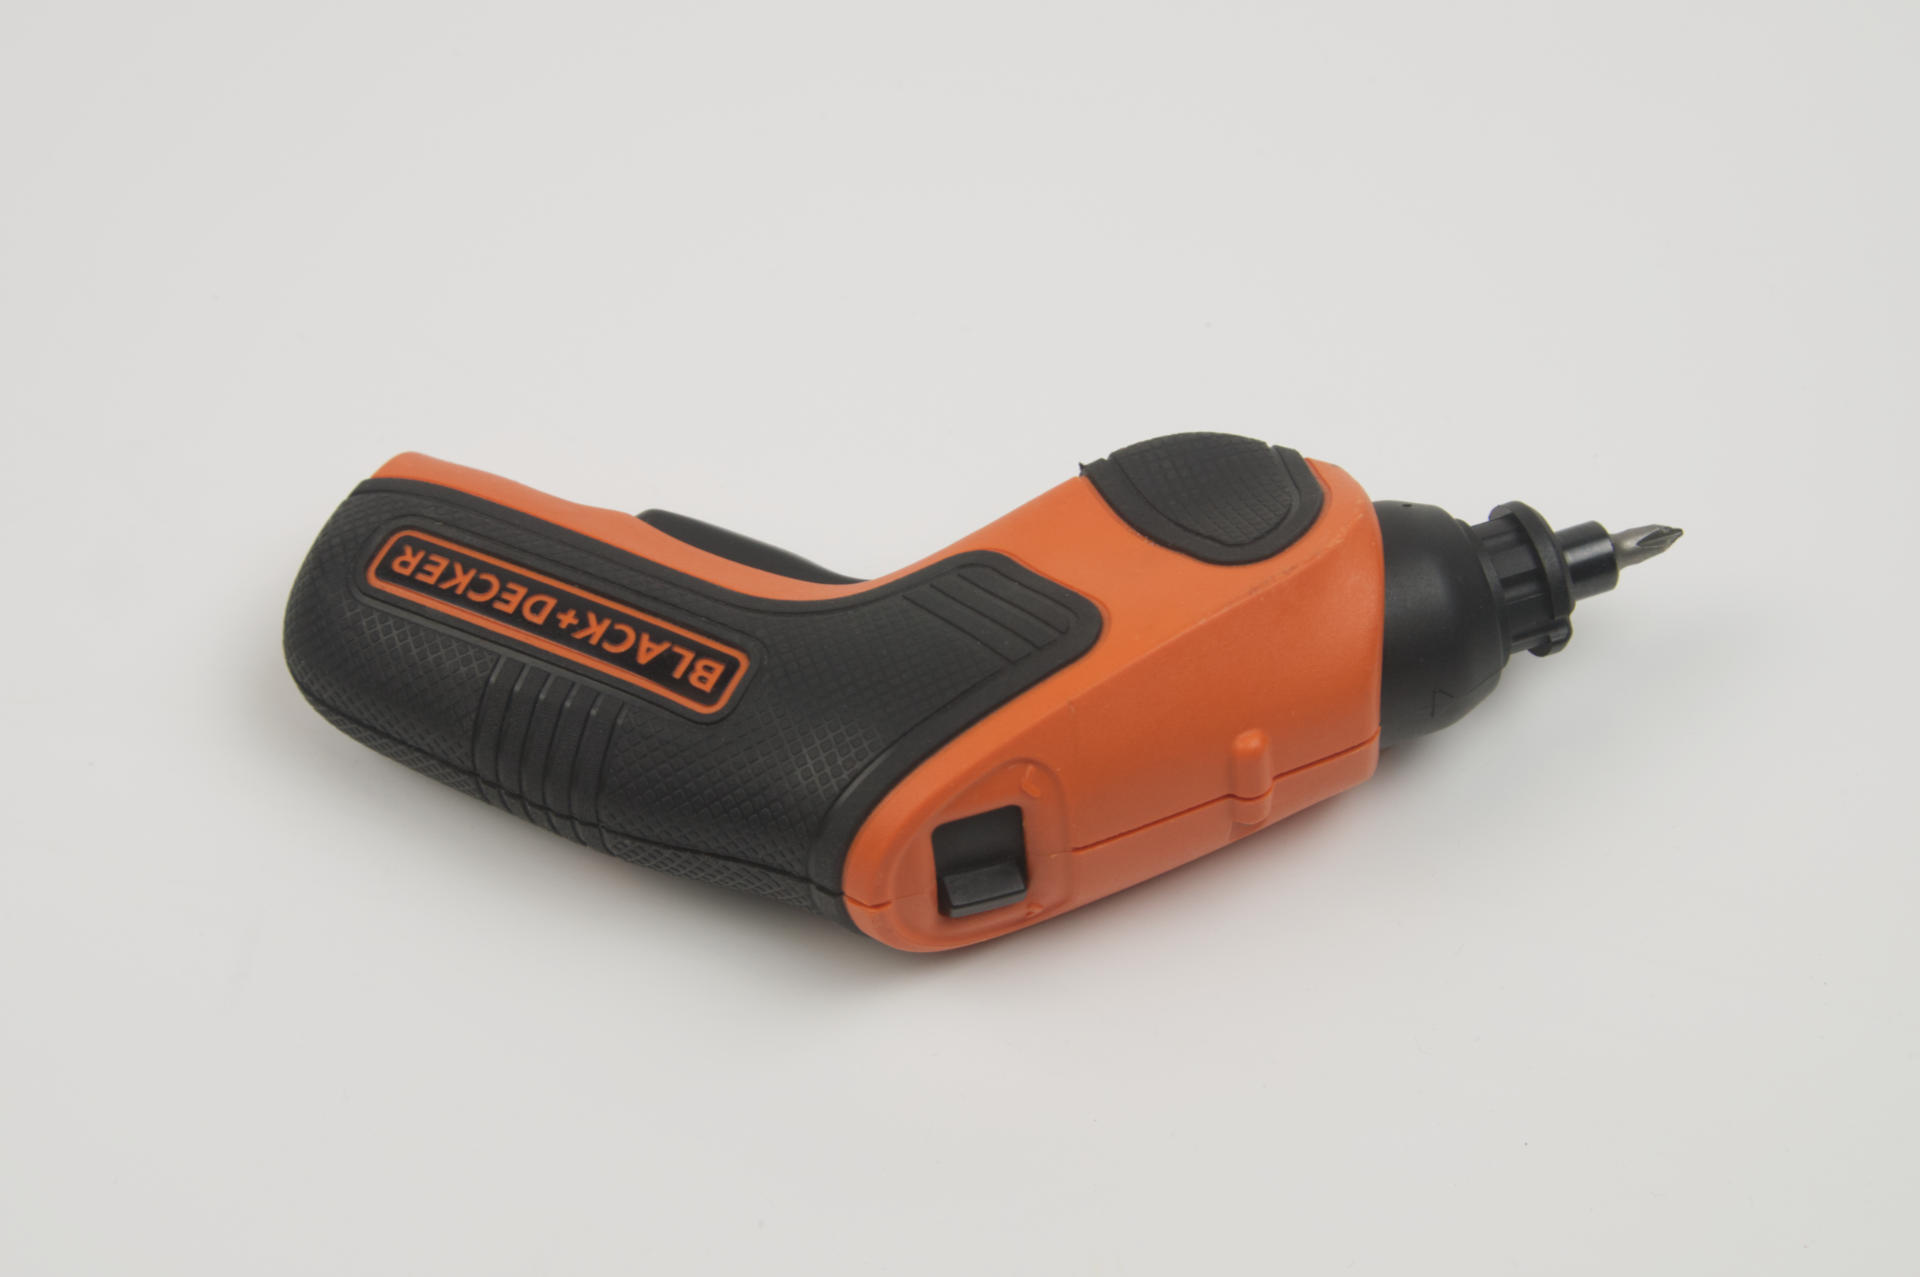
The pistol-grip style makes it ideal for some things, and not great for other things. It’s got a big switch to change direction, so it’s a two-handed operation sort of thing. I swear I only charge the thing about once a year, which is nice.

Okay, onto the Worx! It has… features. I got this because I needed a second (large) power screwdriver in my shop, as the Black + Decker lives in one spot and has a dedicated task assigned to it. I wanted to try this style (classic “screwdriver” rather than the pistol-grip). So far I’m finding it to be a nice very well made power screwdriver, though I do have a few observations…
First, why is the switch where it is? When you hold this in your hand the natural positions for the switch would be where the logo is. To properly press the switch with your thumb you need to sort of hold the back end of it, which seems weird as I’d prefer to get a good grip on it, not just hold the last 1/3rd of the device. (To be fair, the first powered screwdriver I owned about 30 years ago, was probably close to twice the length of this one, so a shorter tool is appreciated in this respect.)
The torque switch is at the very end. Again, it might make sense to have that closer to the front. Maybe the battery and motor placement dictated the position of the switches… I don’t know, but it’s not really optimal for how I use a power screwdriver.
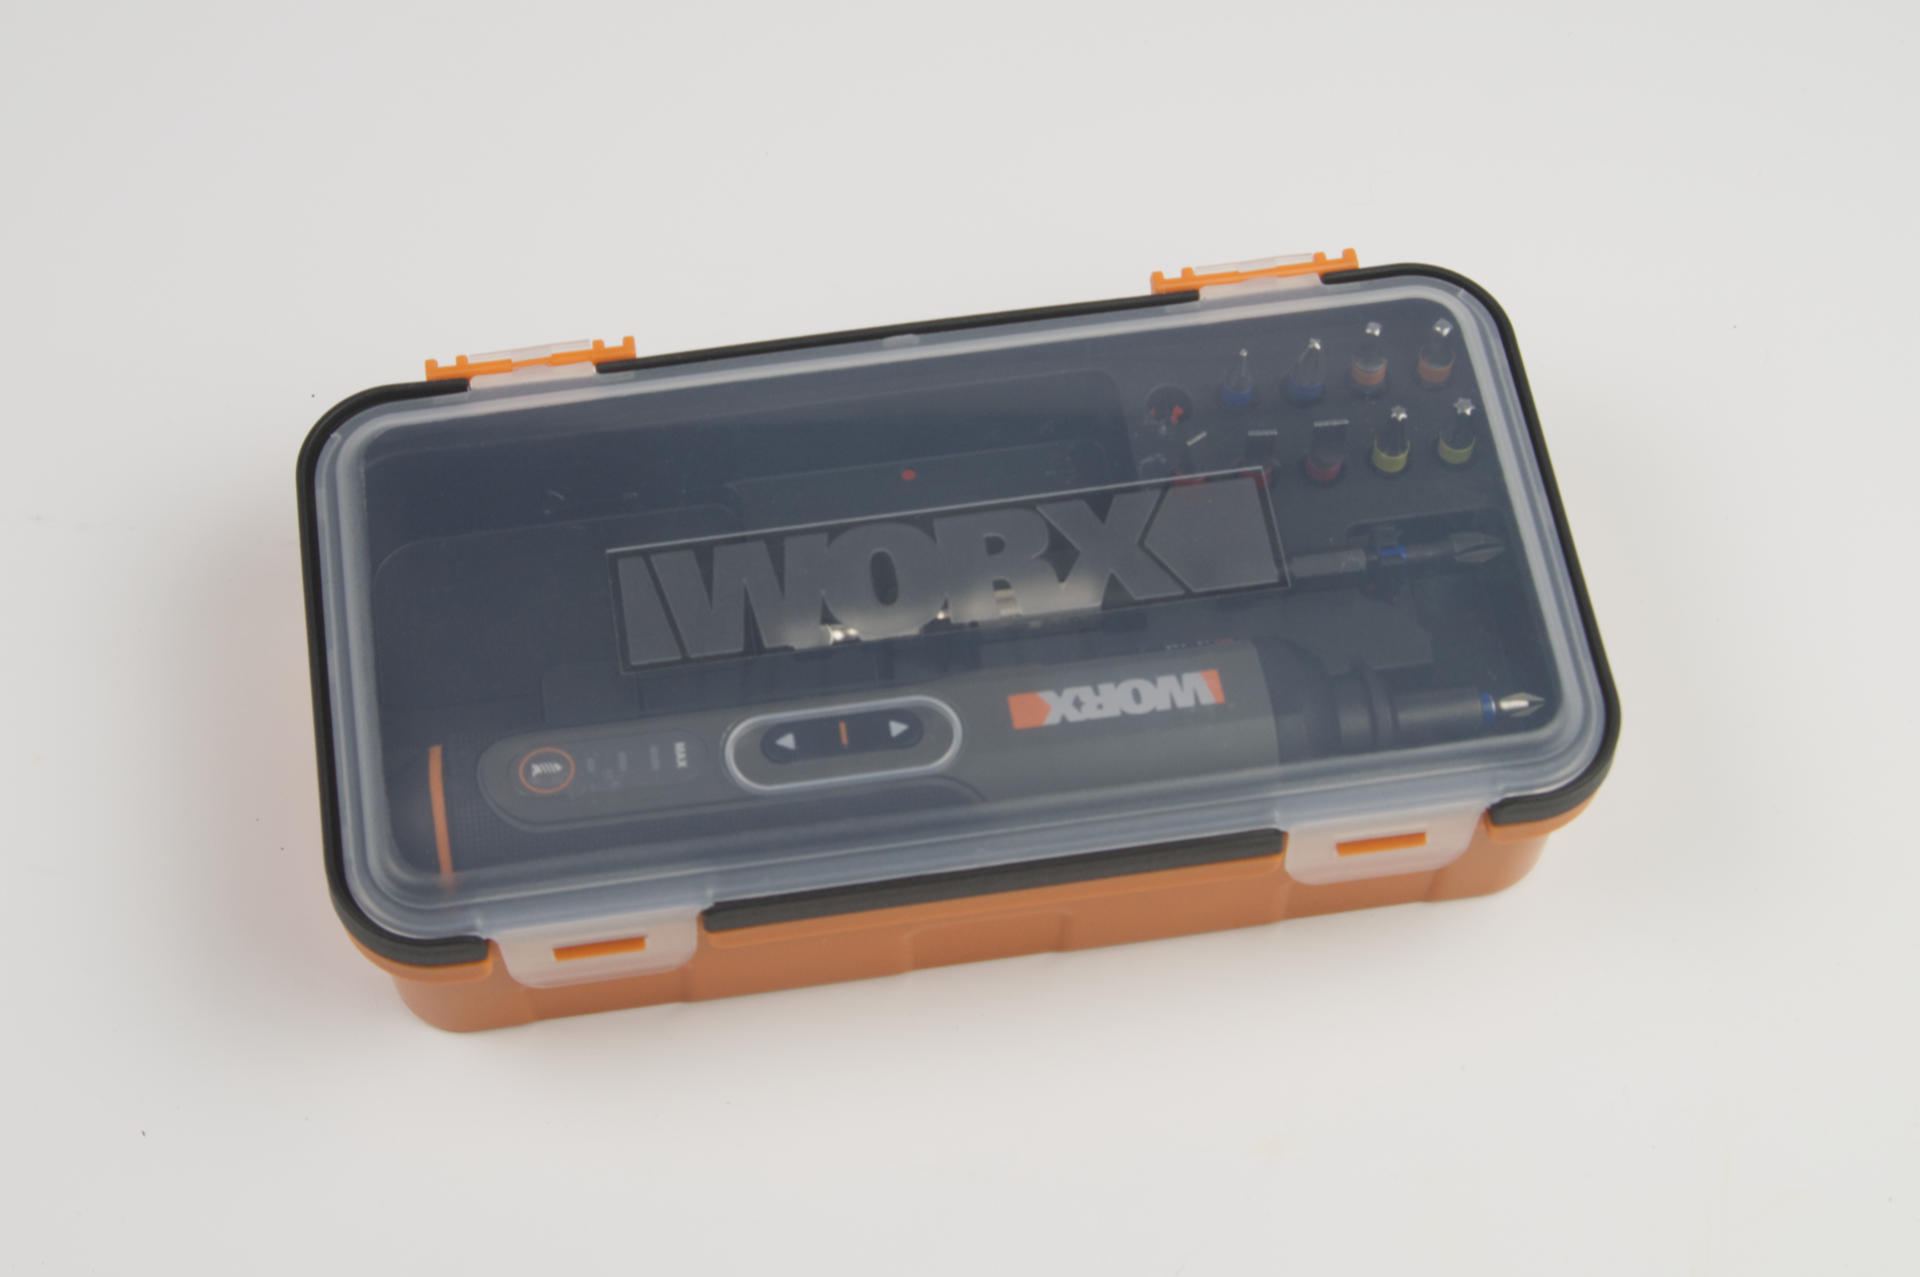
It comes in this box, and I do appreciate a nice enclosure. The fact that the top lid is transparent is awesome. You can see if it’s in there! If you’ve ever opened a tool box to grab a tool and it’s not there… well, this solves that problem.
Okay, this one is subtle. Did you know that 90% of the population is right handed? This case appears to have been designed for left handed people. My natural inclination (as a right-handed person) is to grab the tool with my right hand and remove it, but it’s facing the wrong way. How can I tell it’s facing the wrong way? Look at the logo… it’s upside down.
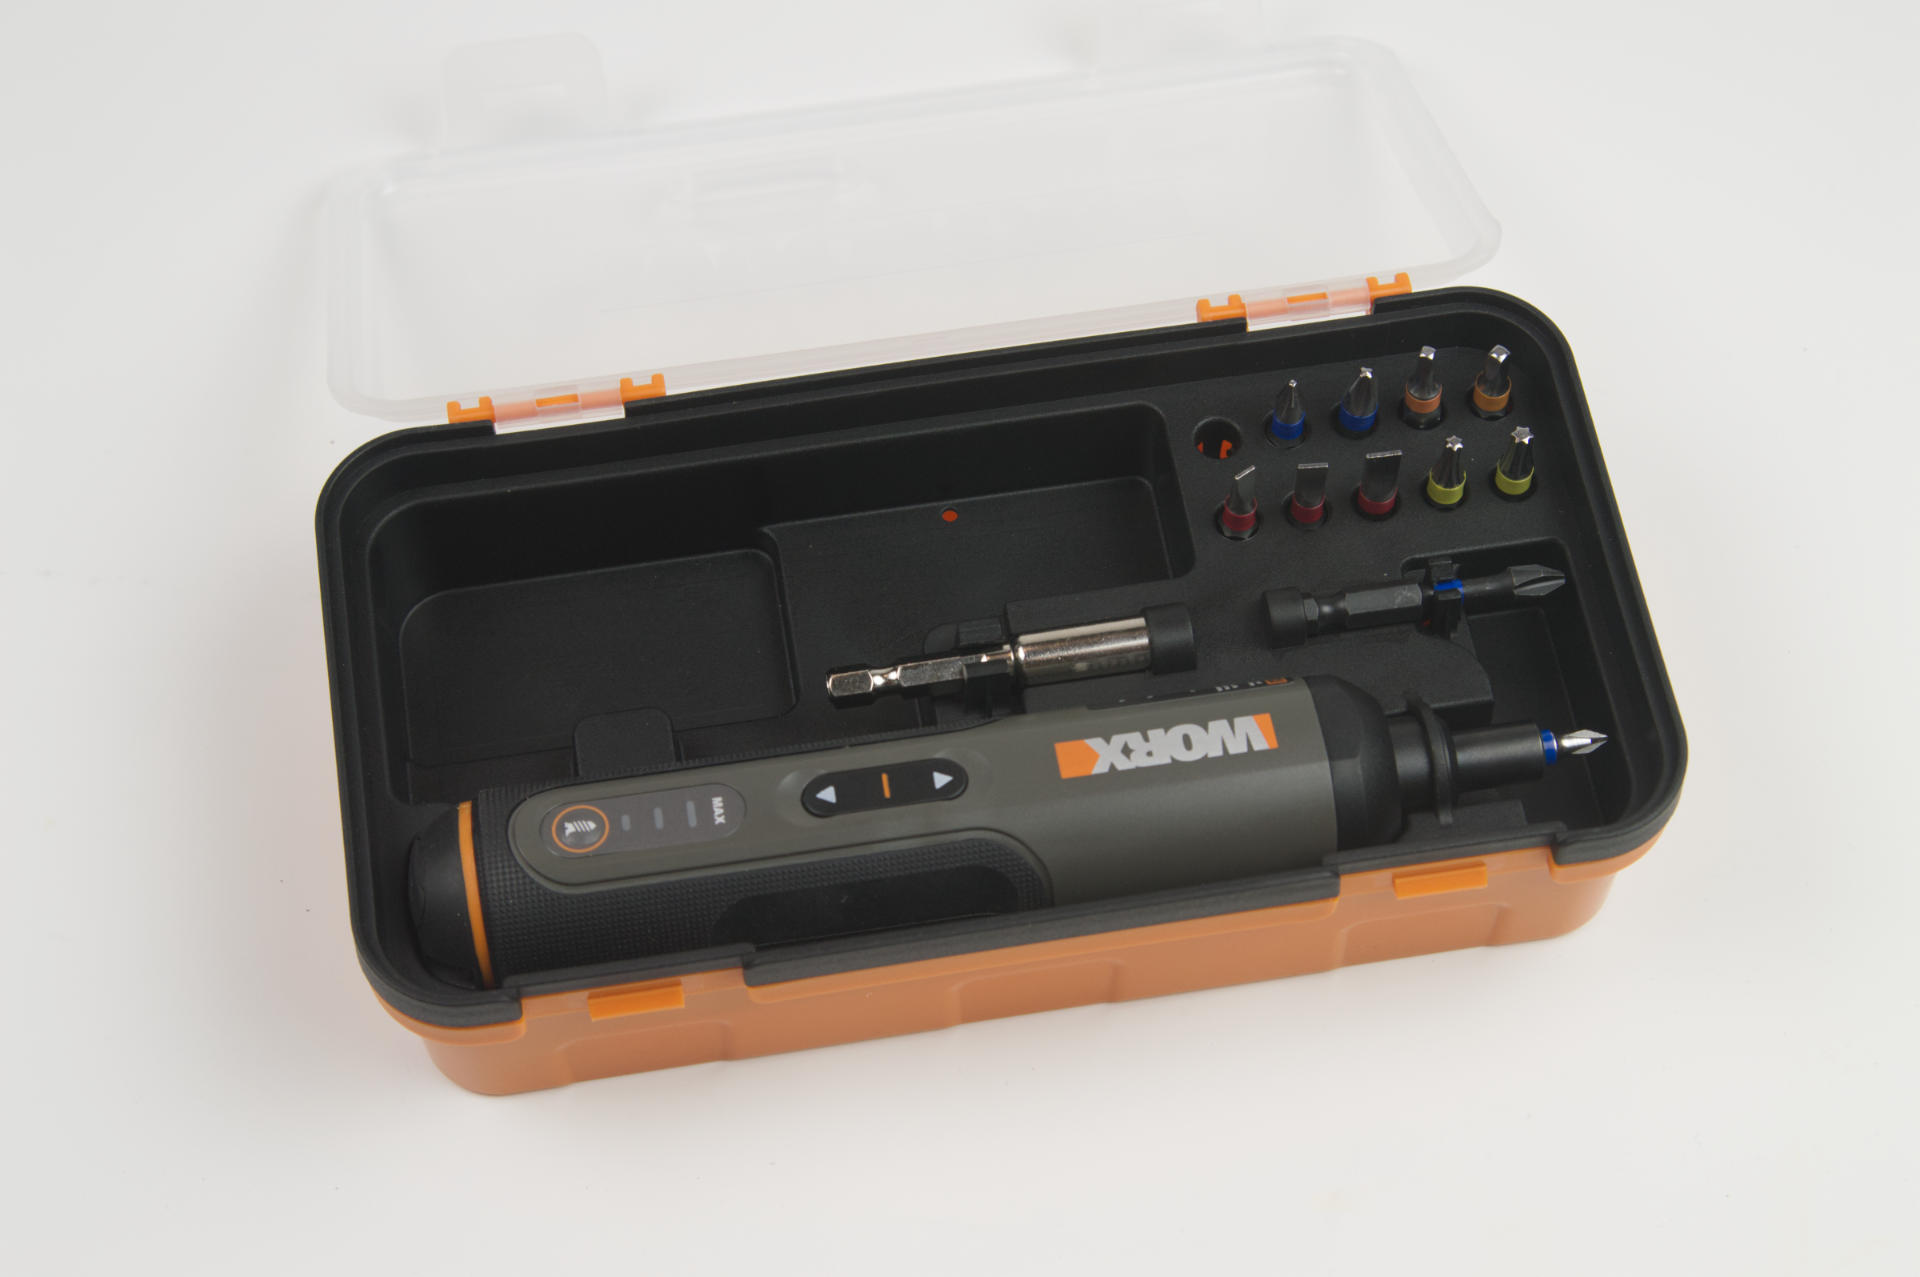
I do like the fact that you can leave a bit in it while it’s in the case, and the small retaining ring that prevents the tool from falling out is also a nice touch. And, there are bits, which is great. There is also some extra empty space. The charging cable was originally in the cavity, but you could throw more bits in there, or screws, or… design and 3D print something that fits in there perfectly, and maybe holds even more bits! (Yeah, I might do that.)

If you remove the insert, the printed manual is below. Another nice touch. And as mentioned, you can fit the charging cable down there. You could probably fit more bits or other things down there as well.
Just for comparison the General screwdriver was about $20, and the Black + Decker was also about $20. The Worx is around $30, which isn’t too bad. But what if you want to spend a lot more? Well, there’s the Mini ES121.
Here’s a Mini ES121 on Amazon for $268 which seems insane. Oh wait, an ES15 is less than half that price. Still too much? There’s a Wowstick for under $50. You can probably find them (or knockoffs) cheaper on AliExpress or other Chinese web sites…
To be honest I don’t know that I need any more screwdrivers right now. NotEnoughTech has a good review of the ES121 and the Wowstick if you want info on those.
Happy Screwing!