
We had a quick side project in our “Machines that Make” class which involved designing a piece of jewelry in Rhino. The piece was to be 3 dimensional, and entered into the “Rapid Jewelry 3D Printing Design Competition” put on by the Design Museum Foundation.
I’ve never really designed or made any jewelry before, but Frankie suggested I look at cosplay and wearable things for inspiration. Since I seem to have an (unhealthy?) obsession with hammers lately, I went right in that direction.

The hammer, like so many tools we use, is an extension of the human body, allowing us to do thing we couldn’t do with our bare hands. I wanted to celebrate the hammer as a tool and an object, and what better way than by wearing it on your finger?
Of course this hammer becomes somewhat non-functional, at least as a hammer. You can still move your fingers around to simulate the movement, but don’t expect to pound any nails with it. (There’s also a joke here about fingernails, but I’m still working on it.)
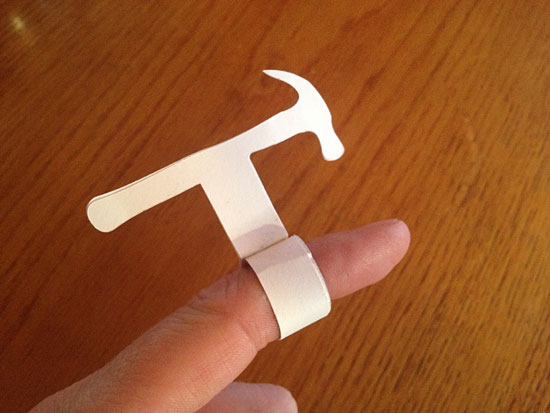
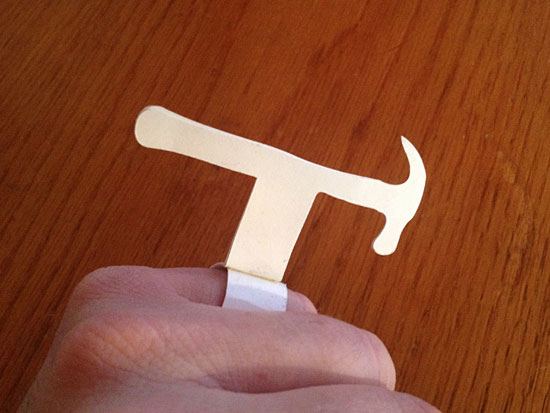
I did a quick sketch and then went to work doing some paper prototypes. The prototype fits well as a “mid ring” (a new term I learned) or as a pinky ring. The actual 3D modeled one should fit on my index finger.

Imagine if you will, a whole bunch of these on one hand. Too many hammers to handle? I think not!

I learned a few new techniques in Rhino, which should come in handy. I really wish I had more time to dig into it this semester, especially the command line features. Here’s what the plain old STL file looks like. We’ve seen this view a million times before, but I also did some renderings using Keyshot which look rather nice… Check them out below!


Obviously the 3D printed pieces won’t exactly look like this, but it was great to experiment with different materials and lighting in the rendering software. (Of course now I’m tempted to look at the open source 3D rendering applications out there!)