
I’ve been messing around with NeoPixels quite a bit lately, and I wanted a small portable light I could use to show off a few “makery” things. So the Brinn Labs Hexalight was created.

It consists of a 3D printed base made from black PLA filament. It was close to a ten hour print, one of the longest I’ve done on my Monoprice Maker Select Plus 3D printer. It turned out well. There’s also a piece of laser cut Acrylic for the top…


I only had clear Acrylic handy, and I experimented with a few ideas for light diffusion (including sanding the backside of the Acrylic, and using some HDPE from a milk jug) but in the end I just left the protective backing sheet that comes on the Acrylic in place. (There’s one small tear in it, though next time if I do this I’ll be more careful ahead of time since I’ll have a plan in place.)

Some slotted pan head screws hold the top in place. I would have preferred some nice hex hardware (obviously!) but didn’t have any on hand, and wanted to complete this build quickly. (Maybe I’ll change it out in the future.)

There’s a piece of scrap wood inside that holds the NeoPixels in place. The wood is not laser cut, but hacked up using a band saw. It’s “good enough” for a hidden piece. (Sometimes I work on projects in multiple places and have to use whatever tools are available at the time.)
The three strips of three NeoPixels each is about what I could fit inside. The strips run in parallel, so there’s not a lot pixels to work with. It also makes the transitions not super-smooth, though I still need to play with the code a bit more.

Here’s a shot of the inside from the back/bottom. It’s messy. There’s an ATtiny85 on a board I’ve used before. This allows for the chip to be removed and reprogrammed. Yes, you can skip an Arduino and use an ATtiny85 for small simple NeoPixel projects. (And still program them with the Arduino IDE.)

There’s a pair of wires that lead out a channel in the back/bottom and go to a barrel jack connector. I can then power it with a 5 volt power supply, either from a wall wart or a USB battery.

I modeled the 3D printed part in OpenSCAD. It’s easy to make hexagons, and I just added a large squarish hole in the middle for the electronics.

The red piece is a block I used to do the boolean difference for the main piece. This allowed me to slice the hexagon at a specific angle so I could just end up with the part I wanted.

Here’s a view of the final piece viewed from the front. You can also see the little “shelf” I made for the piece of wood holding the NeoPixels to fit onto.

Here’s the model from the bottom. There’s the channel for the power wires to run out of. This was just another boolean difference with a cylinder this time to create a half circle channel.

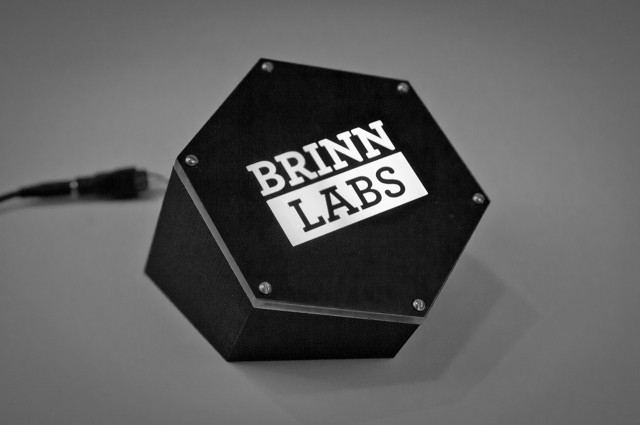
I used the Silhouette Cameo to cut a piece of black vinyl to put on the front so the logo could light up. Getting the vinyl perfectly aligned was a little tricky, so next time I might try another method. (Or just do a better job.)
