
If you’ve seen my post The (Old) Tool Holder and The (In Progress) Tool Holder then this one is just another in that series and I’m going to ramble on about a few things in the process…
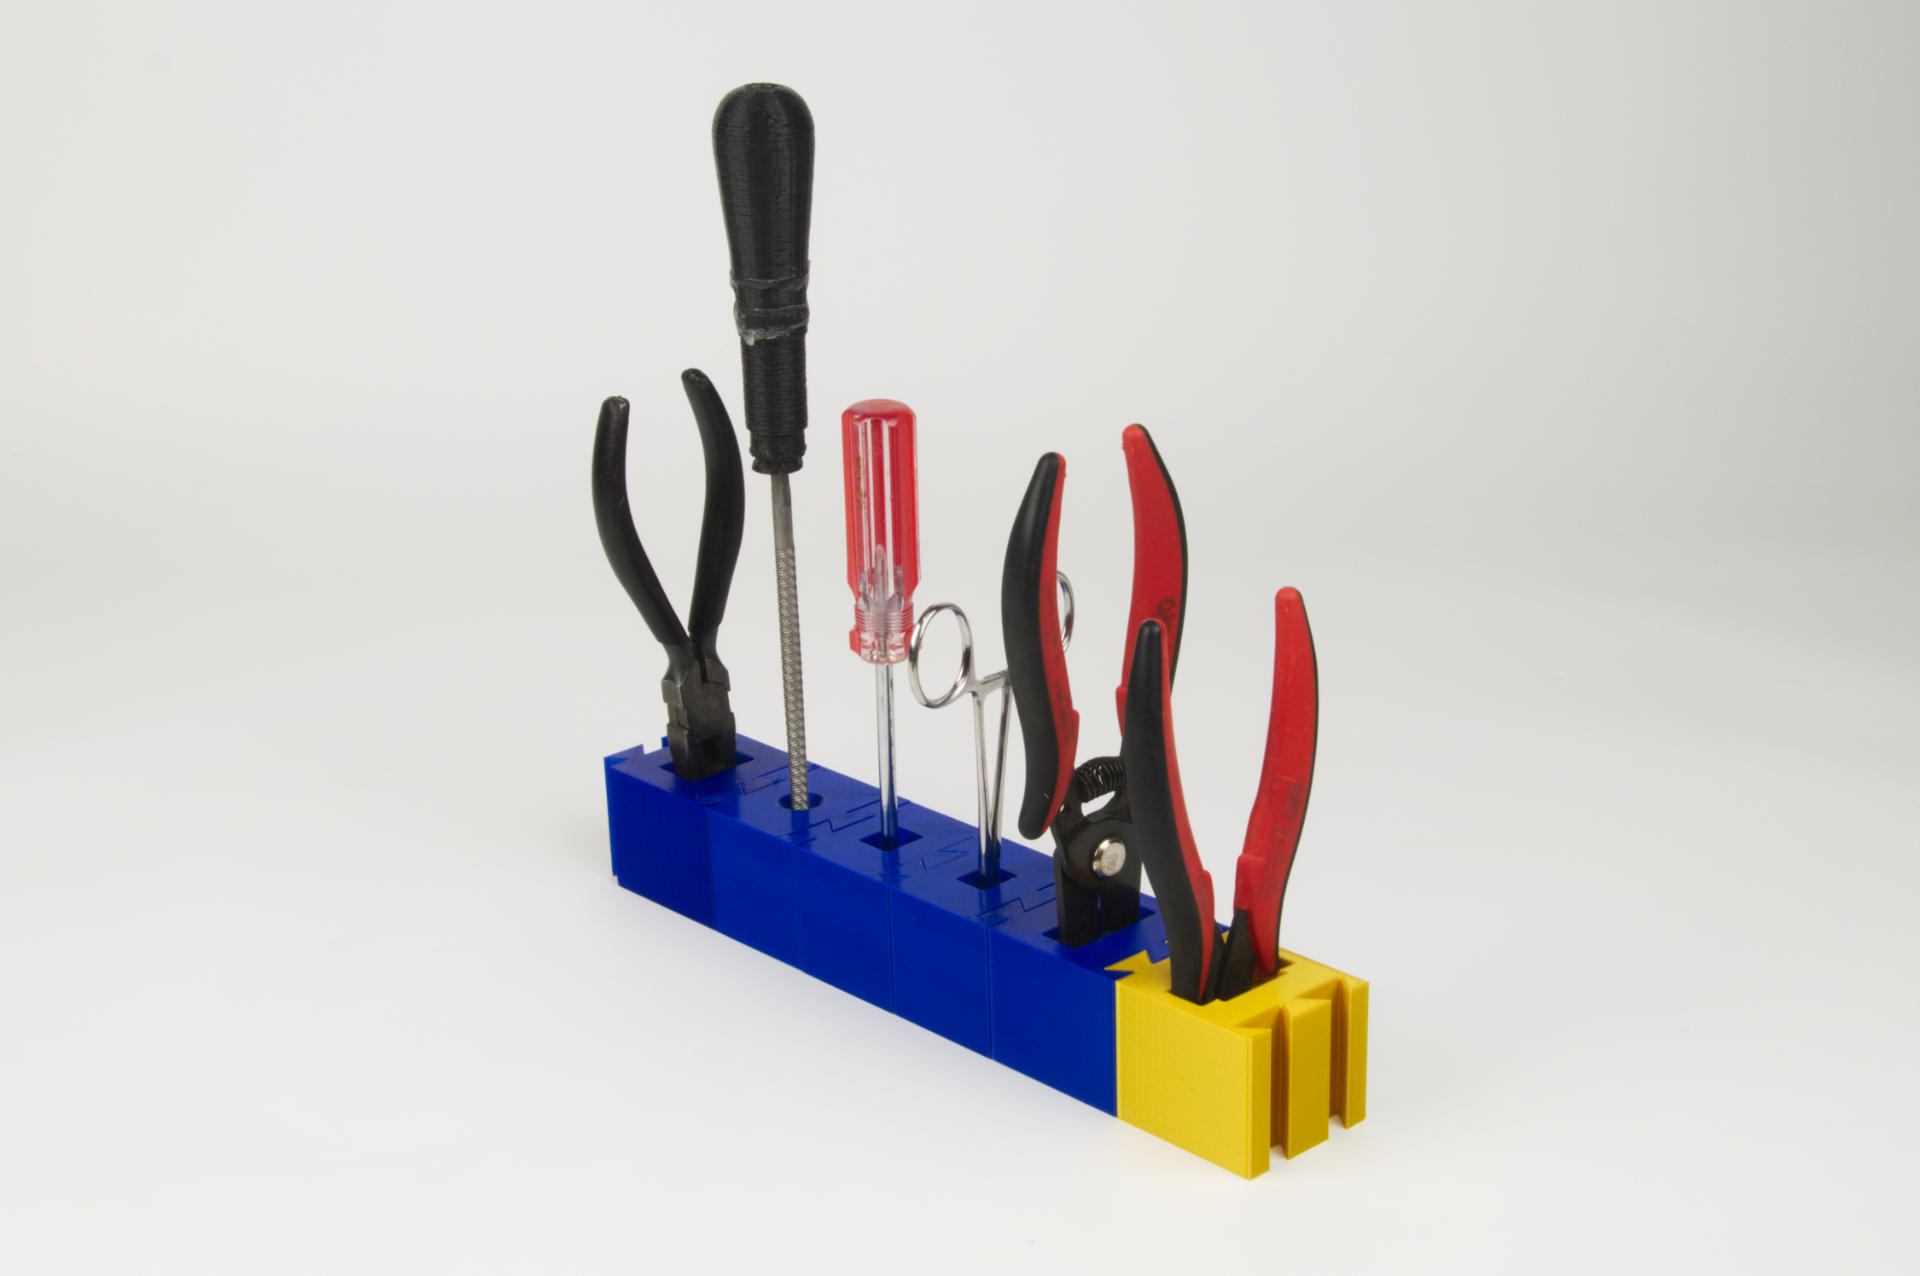
Here’s the final result of what I’ve been working on (on and off) for Wow! Almost a year… I mean, the on and off part meant I took huge breaks for months without doing anything…

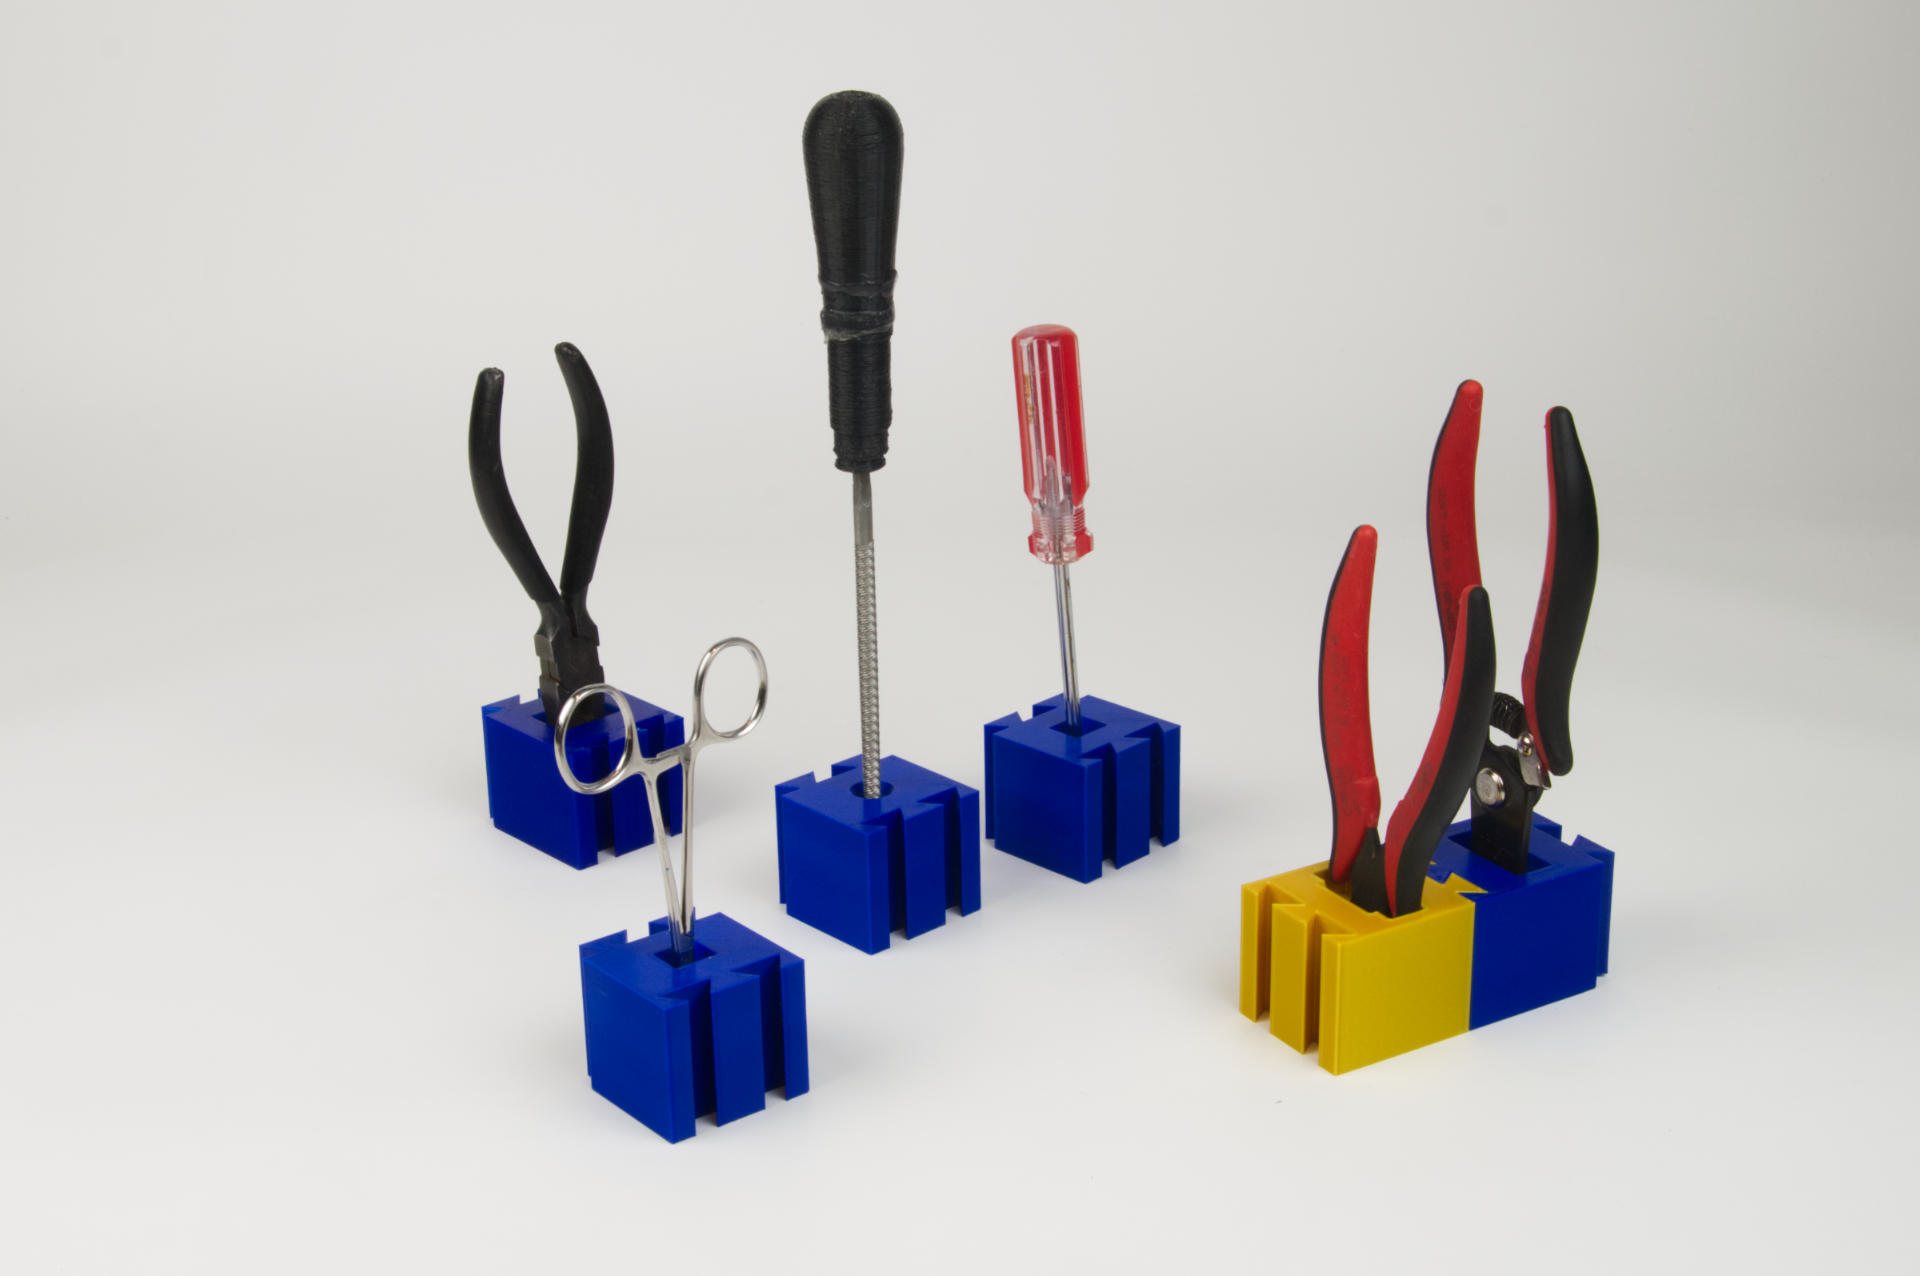
The original plan was to replace the old tool holder at my soldering station with a 3D printed “modular” system. See, instead of printing one (or two?) giant blocks with specific holes in specific places, the blocks would allow for easy rearrangement… and the dovetail was a nice way to connect them (but not permanently).

Each tool had a block designed just for it. Well, the blocks are all the same, except for the hole/slot the tool went into. Each tool went it with the handle sticking straight up making it easy to grab.
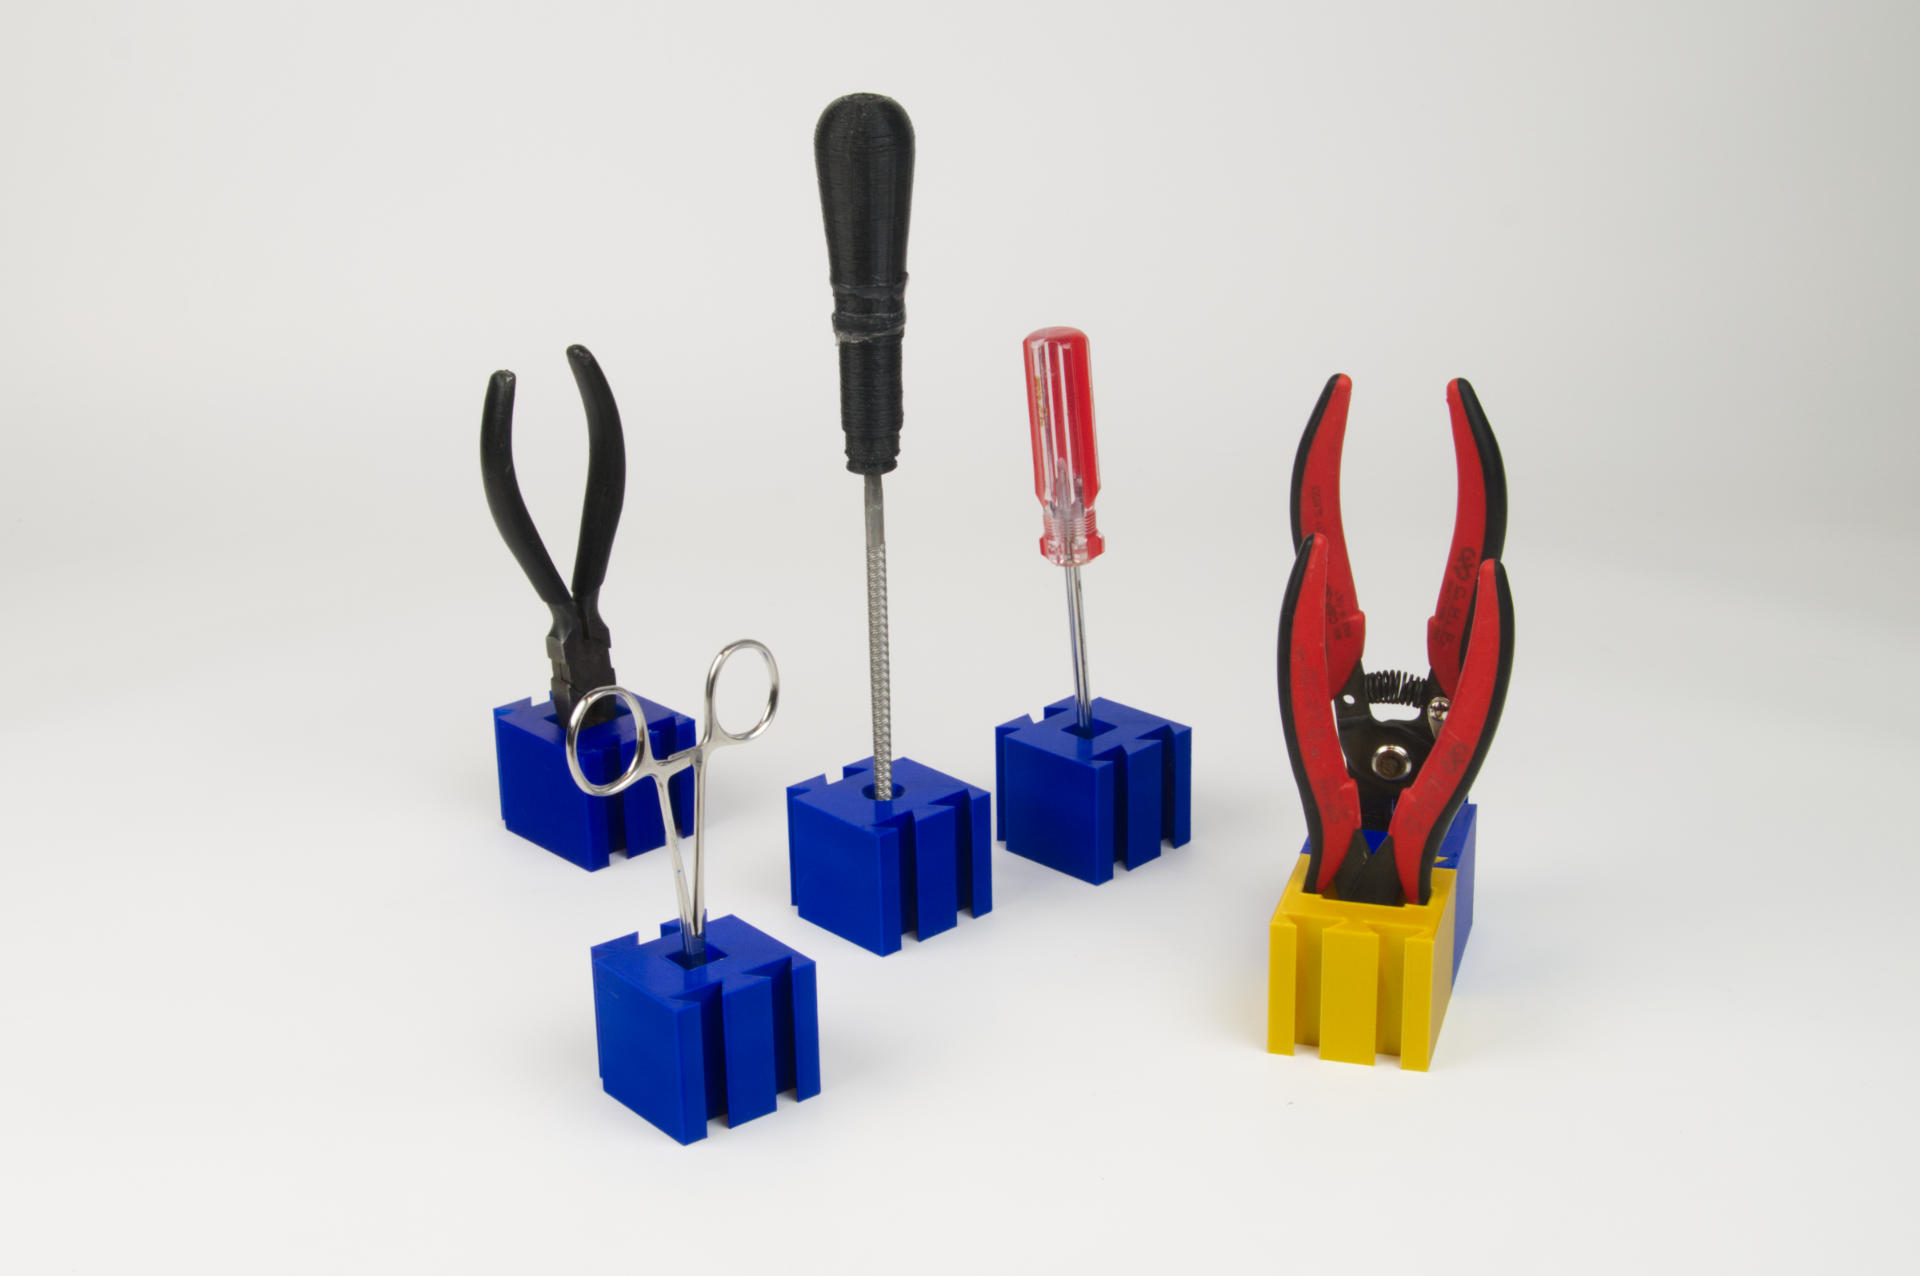
I eventually removed the block that held the round file because I really wasn’t using it anymore in my soldering. (I had one weird specific thing I used to use it for.) That was the nice thing about separate blocks! I could easily remove one, add in a new one, etc.
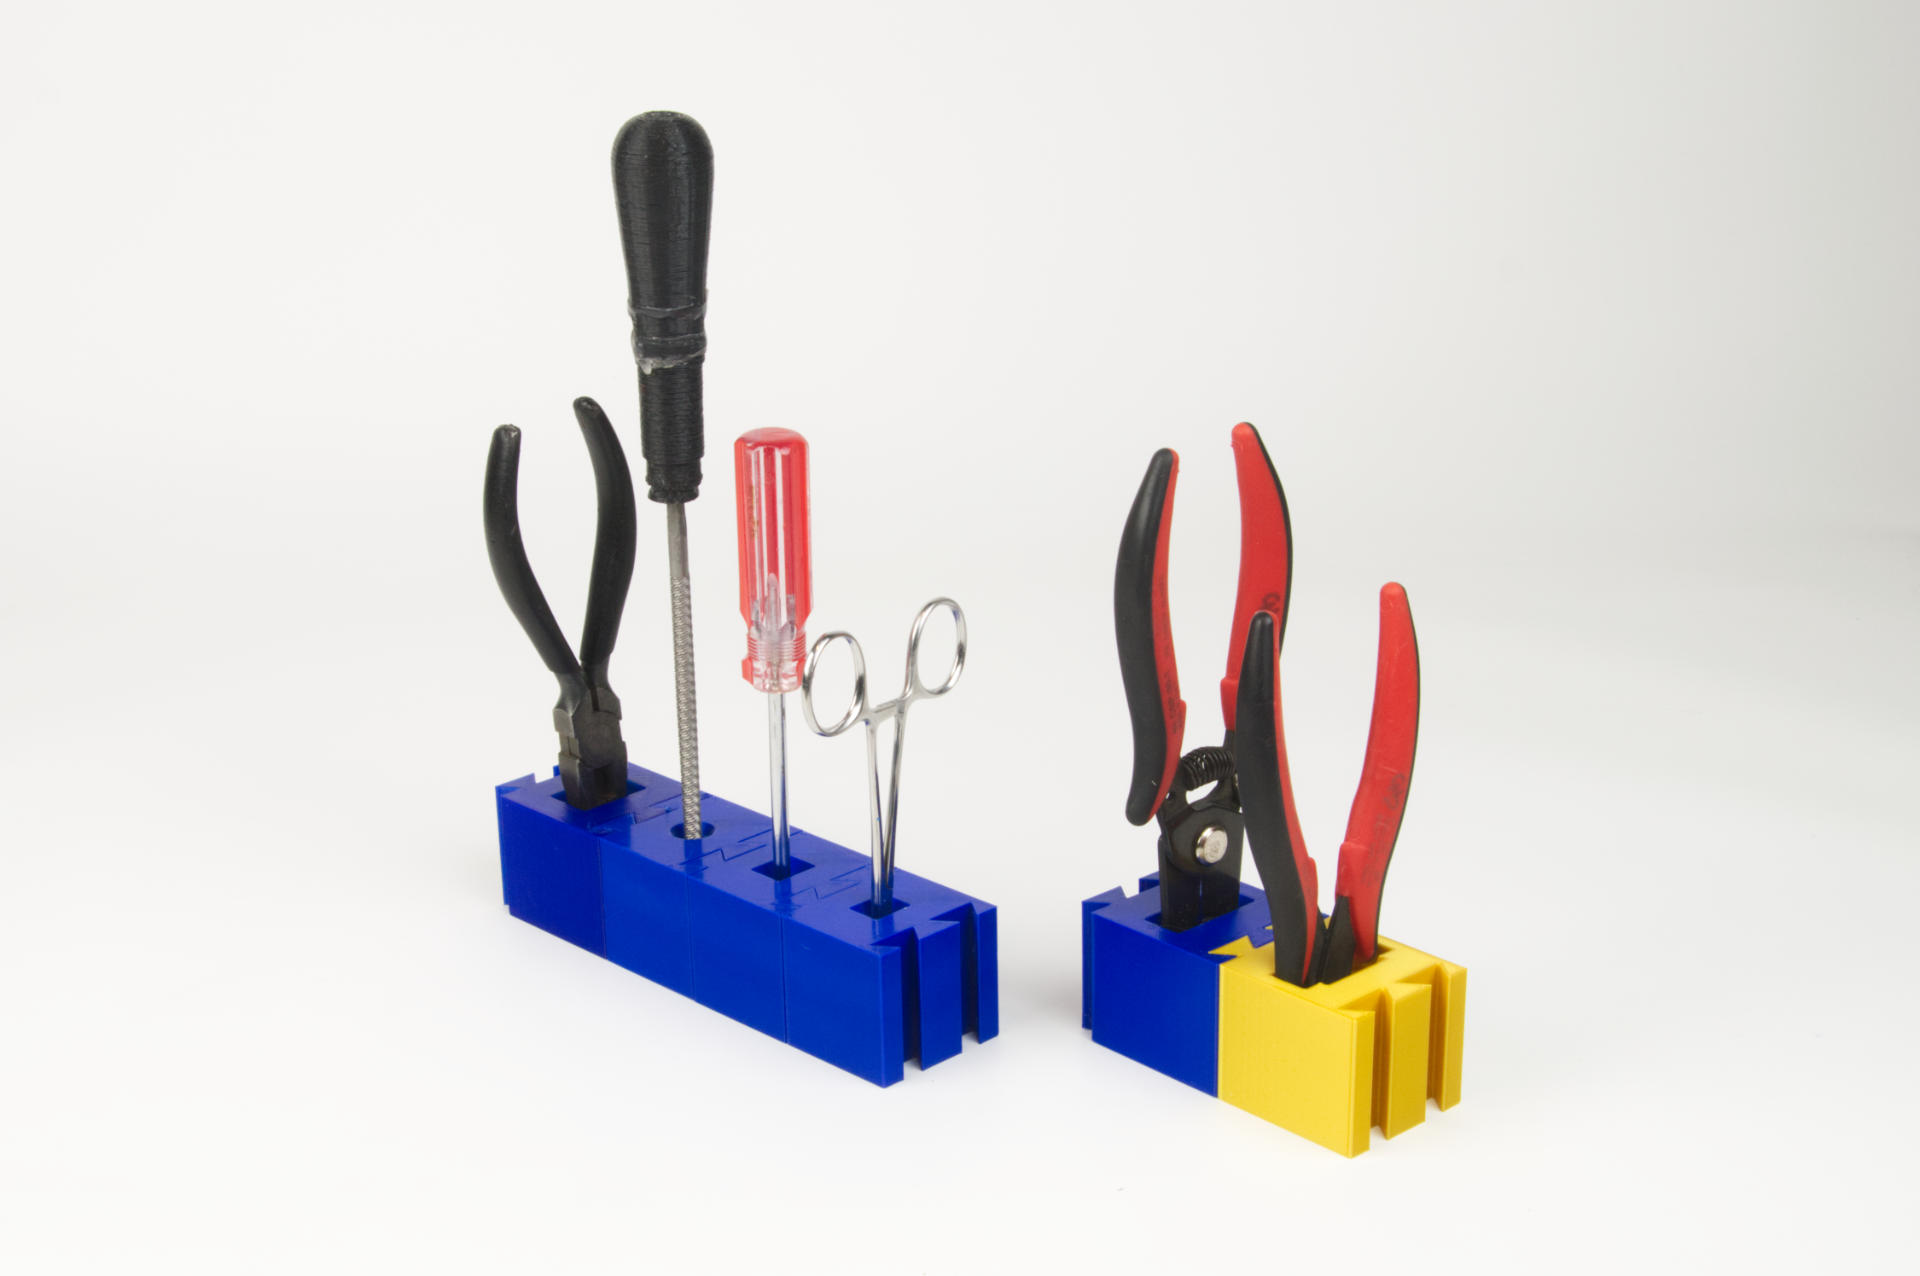
To be honest though, I am just not sure the dovetail was the best idea… When I started it was a really fun challenge to get the tolerances just right, which was really easy on my Prusa MINI+, and not at all easy on my old Monoprice Maker Select Plus. (I guess + is better than Plus!)
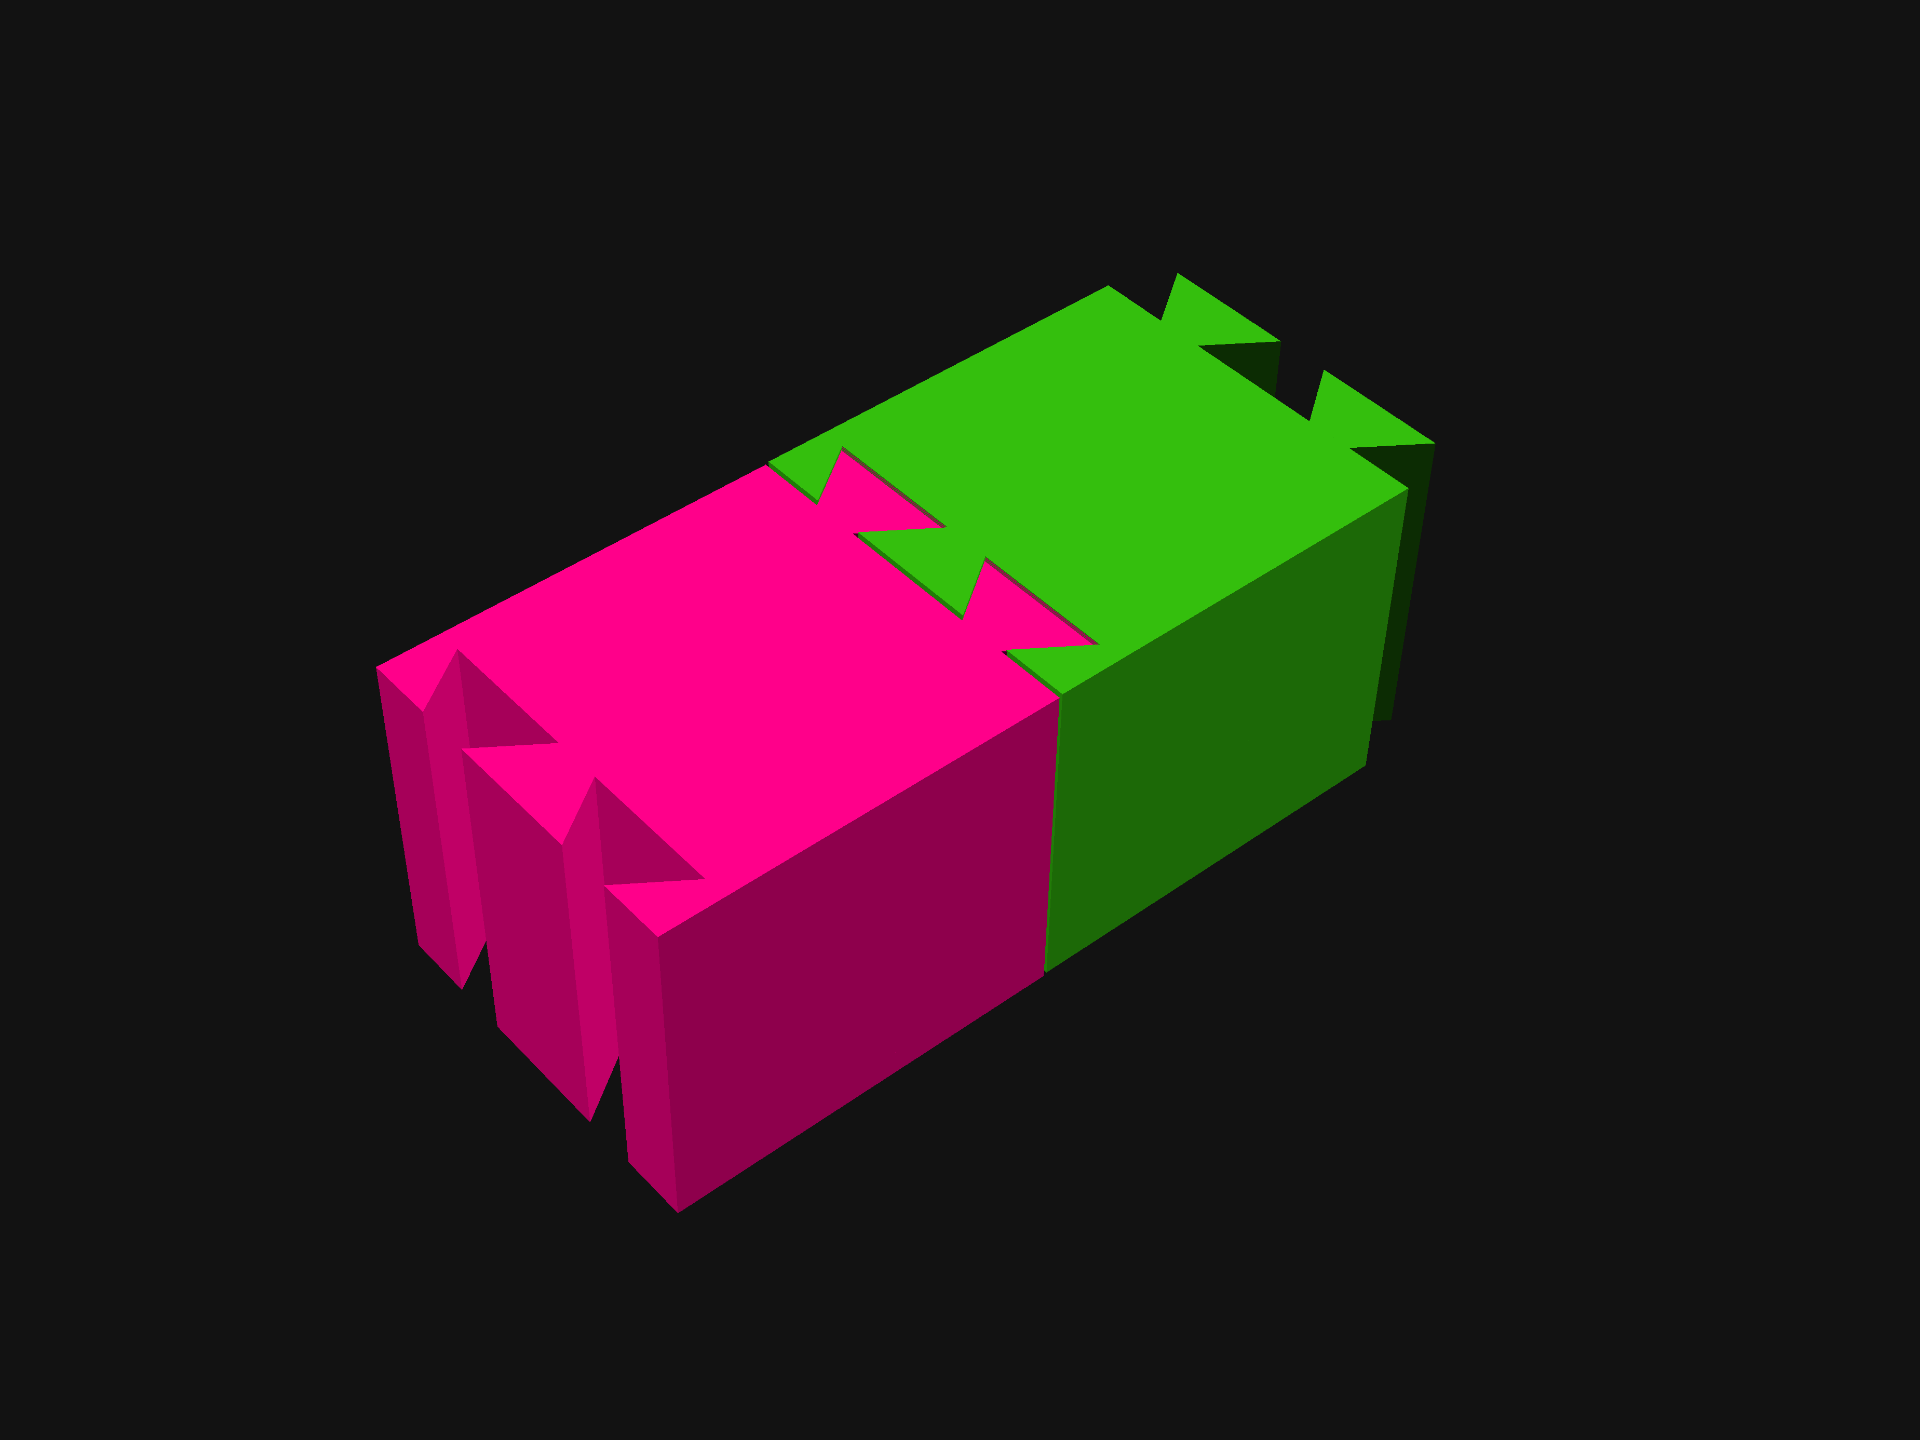
So while the dovetail is neat and interesting… it may not be the best solution for this specific thing. It’s still a great way to connect certain things, and I love when digital fabrication can borrow from traditional woodworking techniques… But I also realized (again) a few months ago that sometimes it’s just dead simple to use a screw to attach two 3D printed parts.
When I mentioned this recently someone assumed I mean “drill a hole and stick a wood screw in there” but what I meant was “put holes into the two things you are printing and put a screw in there”.
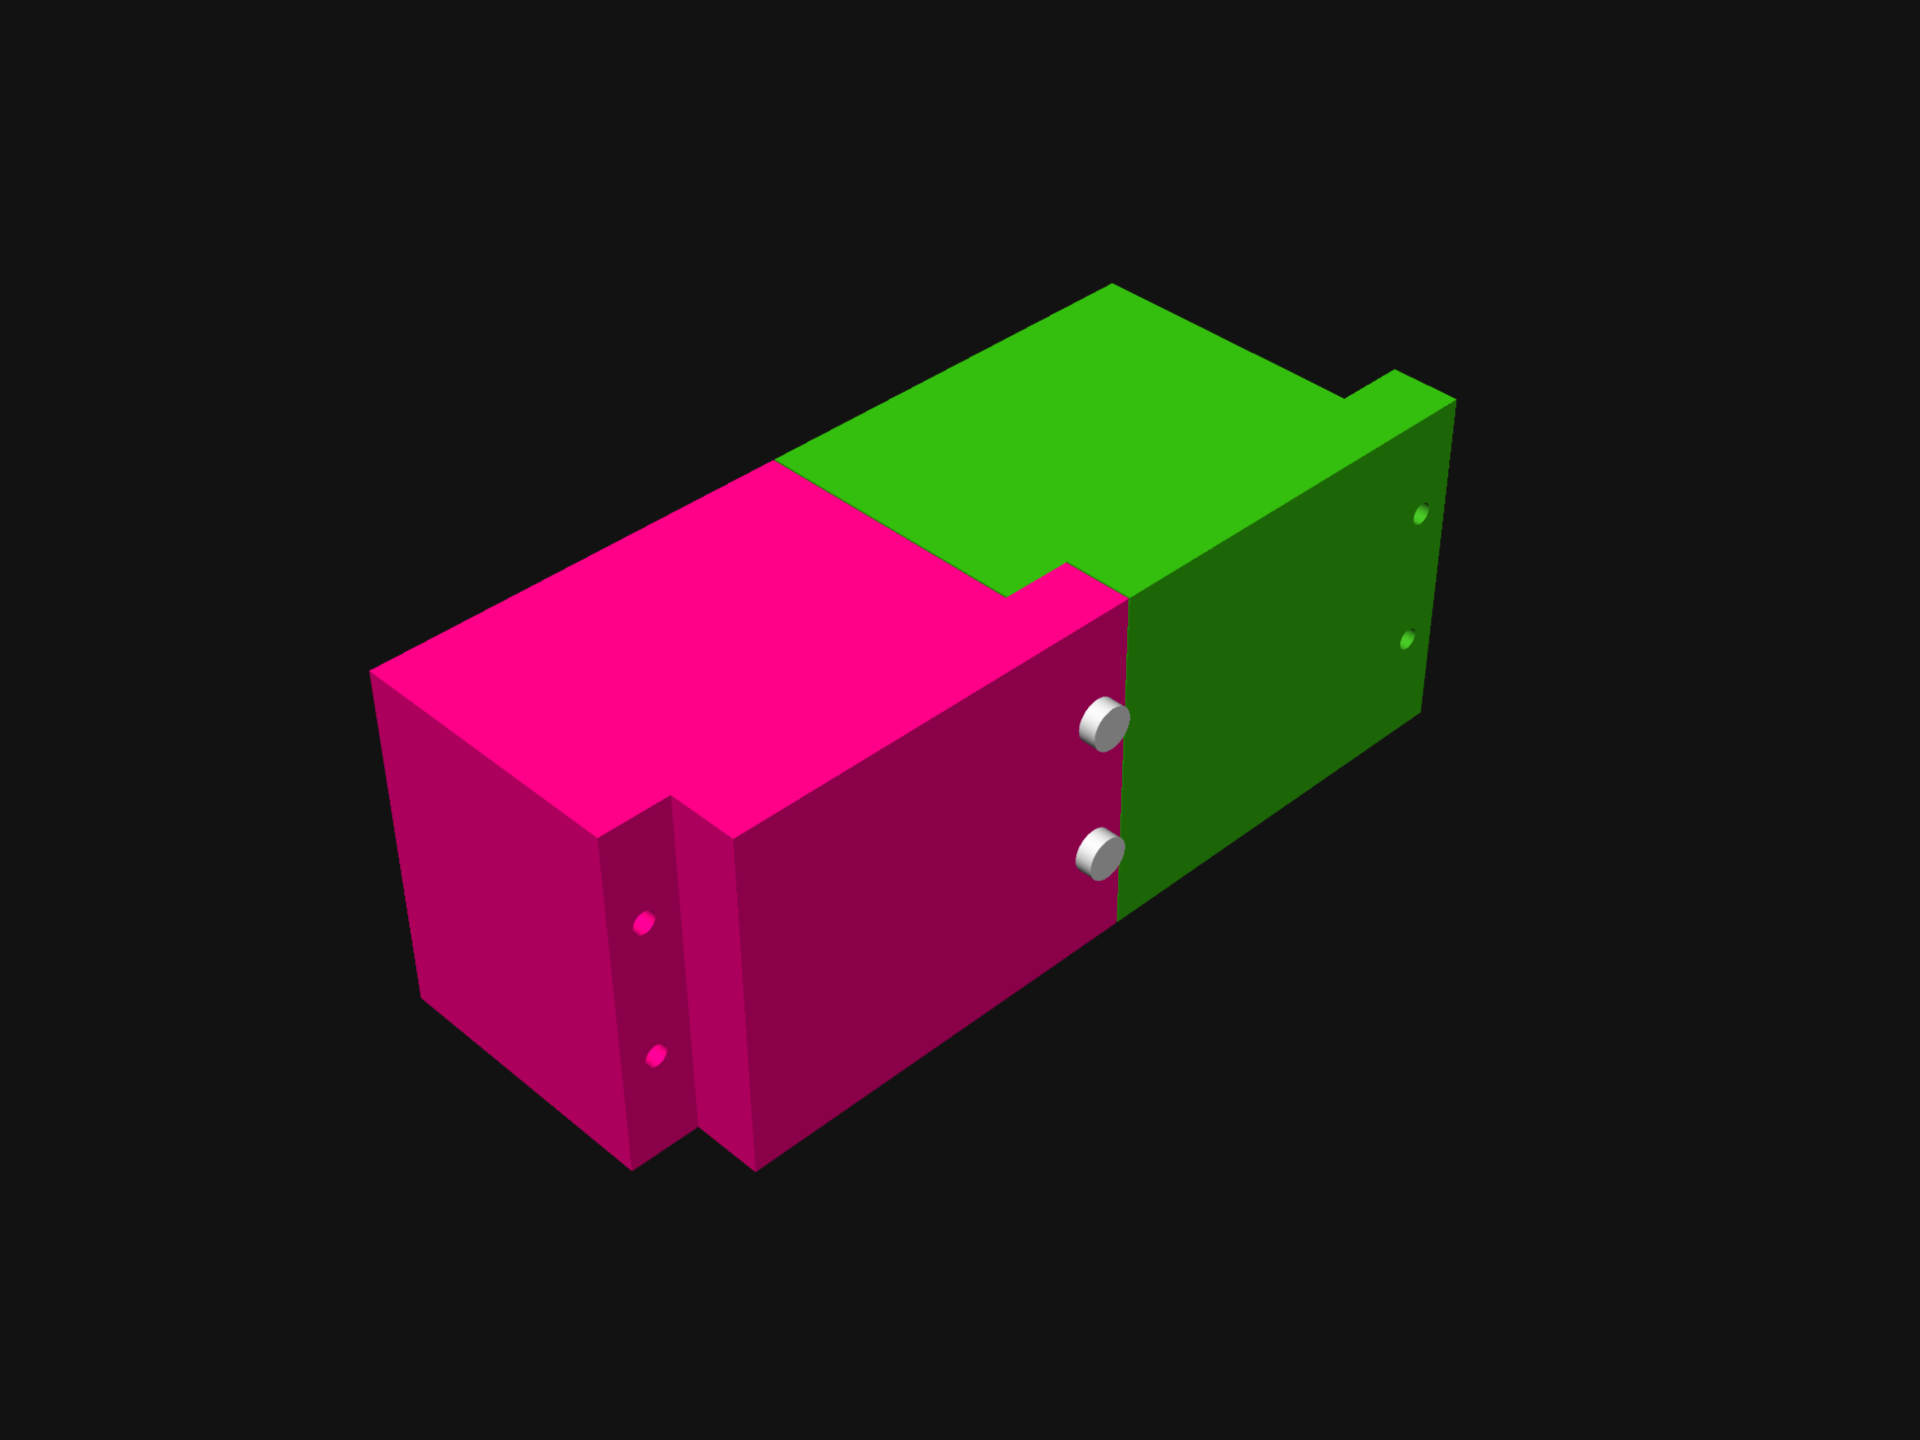
So I did a quick design for a “lap joint” style version of the blocks. Each would connect with 3mm screws, probably 12mm long or something. I have a huge collection of 3mm hardware that I use for so many projects that using it should be a no-brainer when doing this stuff.
I also found that I didn’t rearrange the tools much once I got a configuration that worked. If I used screws to hold things together the power screwdriver would make it pretty simple to pull them apart and rearrange them anyway.
I don’t know that I’ll redo the Tool Holder (yet) because it does work just fine, and if I’m honest I’ve got other things that need organizing. In fact since I just started building a Gridfinity system I wondered if I should make a Gridfinity version of this thing… but I don’t think I will right now. (Maybe some day?)
By the way, the blocks are printed with a lot of infill, because I wanted them to have a bit of weight to them, hence the size of them. Anyway, the Tool Holder is done (and has been for months now, I just never got time to finish this post!)
1 reply on “The New Tool Holder”
You could consider doing a pause print and putting pennies for weight. Or iron filings or I’ve even heard of people putting hot glue inside.