![]()
You may have seen a sneak peek at this project in the post Aventon Level 3 MIK Adapter Plate, because I used the plate to attach this Sheffield Ammo Storage Box to the rack on my bike.
![]()
But I didn’t talk about the box or the light, so I’ll do that now.
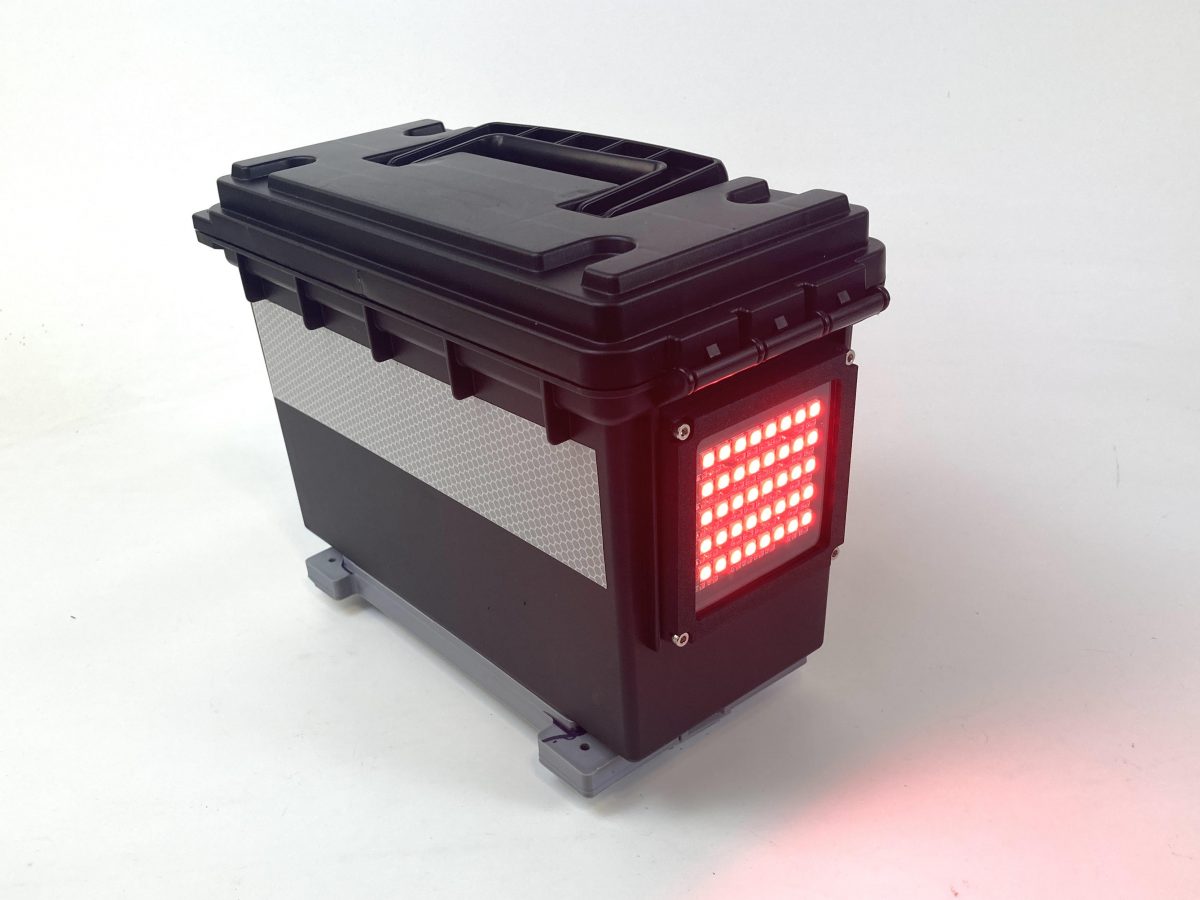
I’ve got a bike bag on the back of my Trek, and while I can easily move it to the Level 3, I find it a bit wide and it gets in the way of the panniers, so I was looking for a less-wide thing, and this box looked right. I wanted to keep a few things in the box instead of putting them in the panniers for easier/quicker access while riding… and I figured since it was on the back of the bike, why not add a light?
![]()
Years ago I got these WS2812 RGB LEDs and they actually came as one unit, where you break off each PCB from the rest. I left them together and soldered all the connections in place… instant NeoPixel Matrix! I played around with programming it a bunch to do lighting effects, but never really used it in a project. Since it would fit perfectly on the back of the box, I designed and printed a few parts to make that possible.
![]()
The clear plastic sheet is 0.04″ thick PET. I didn’t even bother to fire up the laser cutter, I just used an X-ACTO knife to cut it. Sometimes being lazy works! And there’s a $4 Raspberry Pi Pico in there as well, which I’ll just power via a USB power bank. (I have at least a dozen power banks around the house. Most are a decade old, but still work well enough.)
![]()
![]()
I drilled a few holes in the box to feed wires through (just three wires, for VCC, GND, and Signal) and four more holes to bolt the outside plate into place. I later taped the Pico to the side of the box. there’s some foam padding in the bottom to cover the bolts and I keep a few other things (hat and gaiter) in the box as well.
![]()
The maiden voyage did not go well… See, I made mistakes when I printed the MIK Adapter Plate, and the whole thing flew off the rack less than 0.5 miles from home, busting the hinge for the lid and breaking a piece of the mount. I did manage to repair it (zip ties for a new hinge and one new 3D printed part in the correct orientation) but now I bungee the box to the rack, which isn’t great, but I’ll work on that.
As for the actual light, it’s great!. It is very bright, and right now is just red, but I can see doing some silly programming for events, and maybe working on some solid/flashing red modes as well. The USB power bank provides plenty of power for the Pico and NeoPixels.
I called this post “My (First) NeoPixel Bike Light” because I’m working on some other ones as well, so subscribe to the RSS feed!
Note: This post may contain Affiliate Links. Read More.

