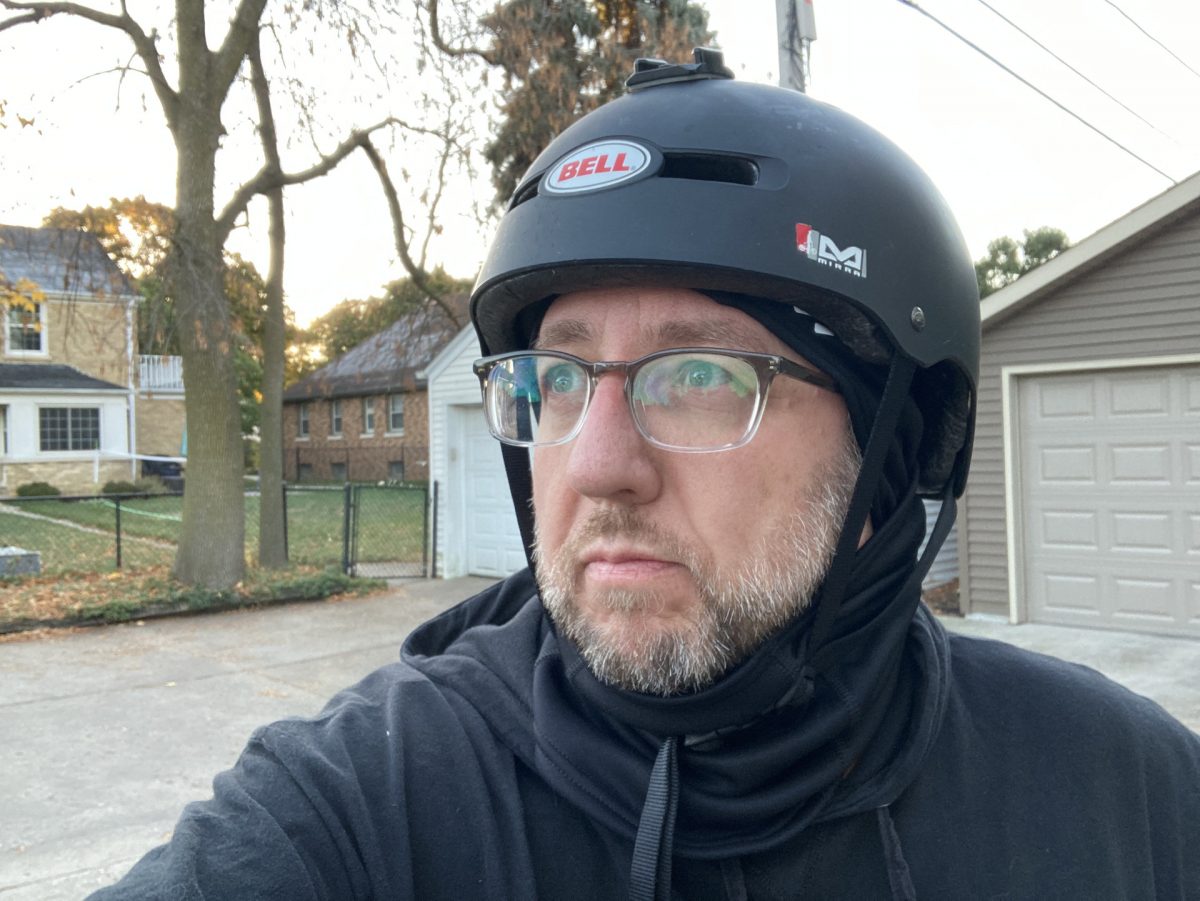
I got a new helmet. My old helmet (as seen here) was probably 17 years old and when I asked how often a helmet should be replaced people told me every 3 to 5 years! (And yes, I do know that if you are in a crash and your helmet sustains any impact it should be replaced.)
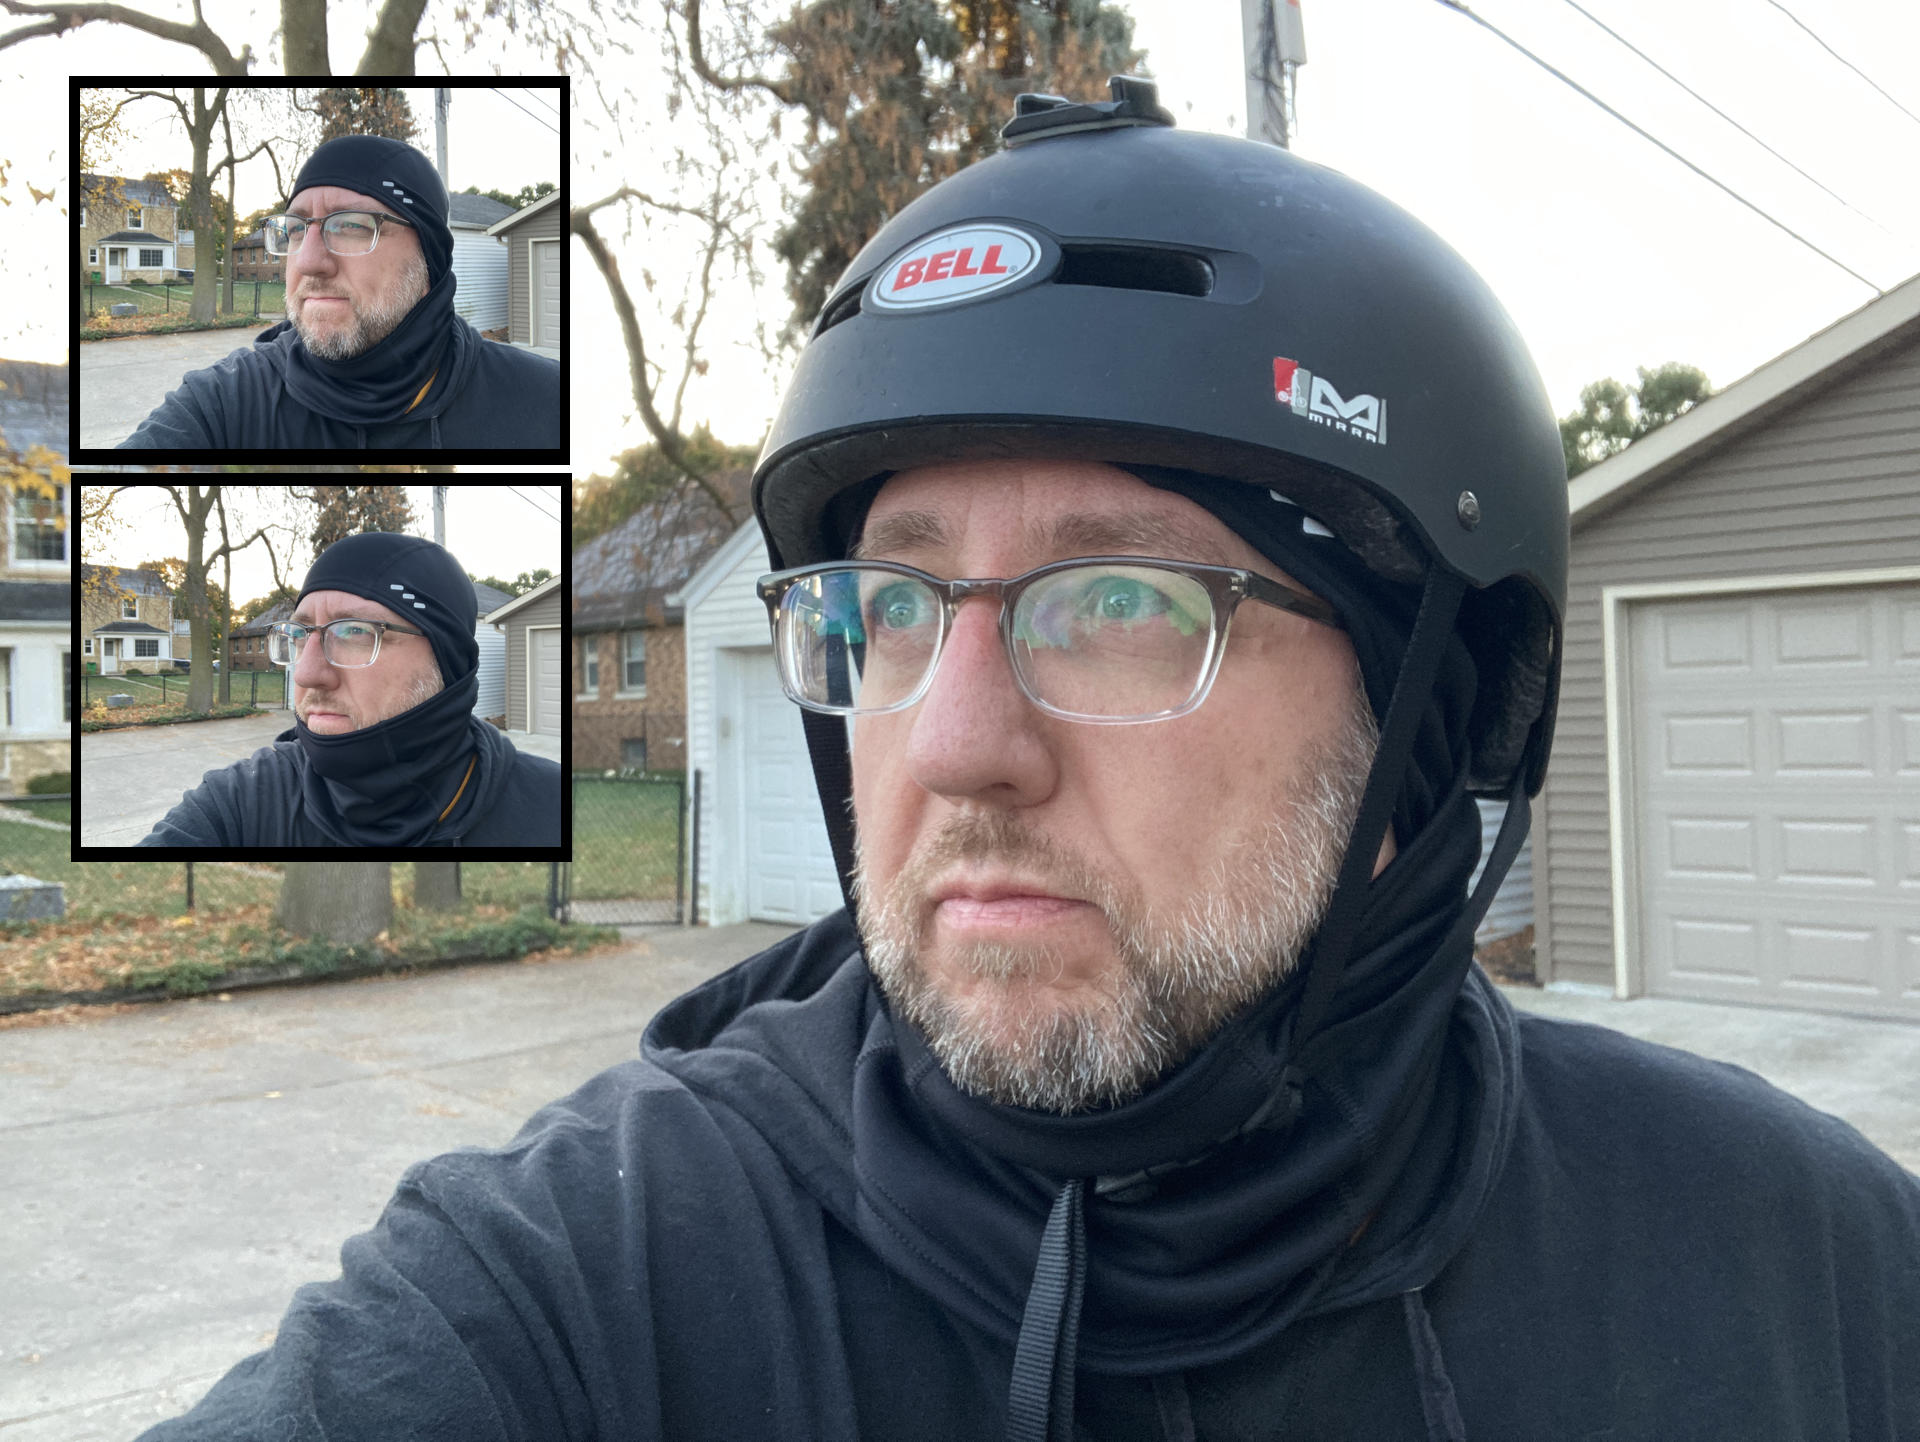
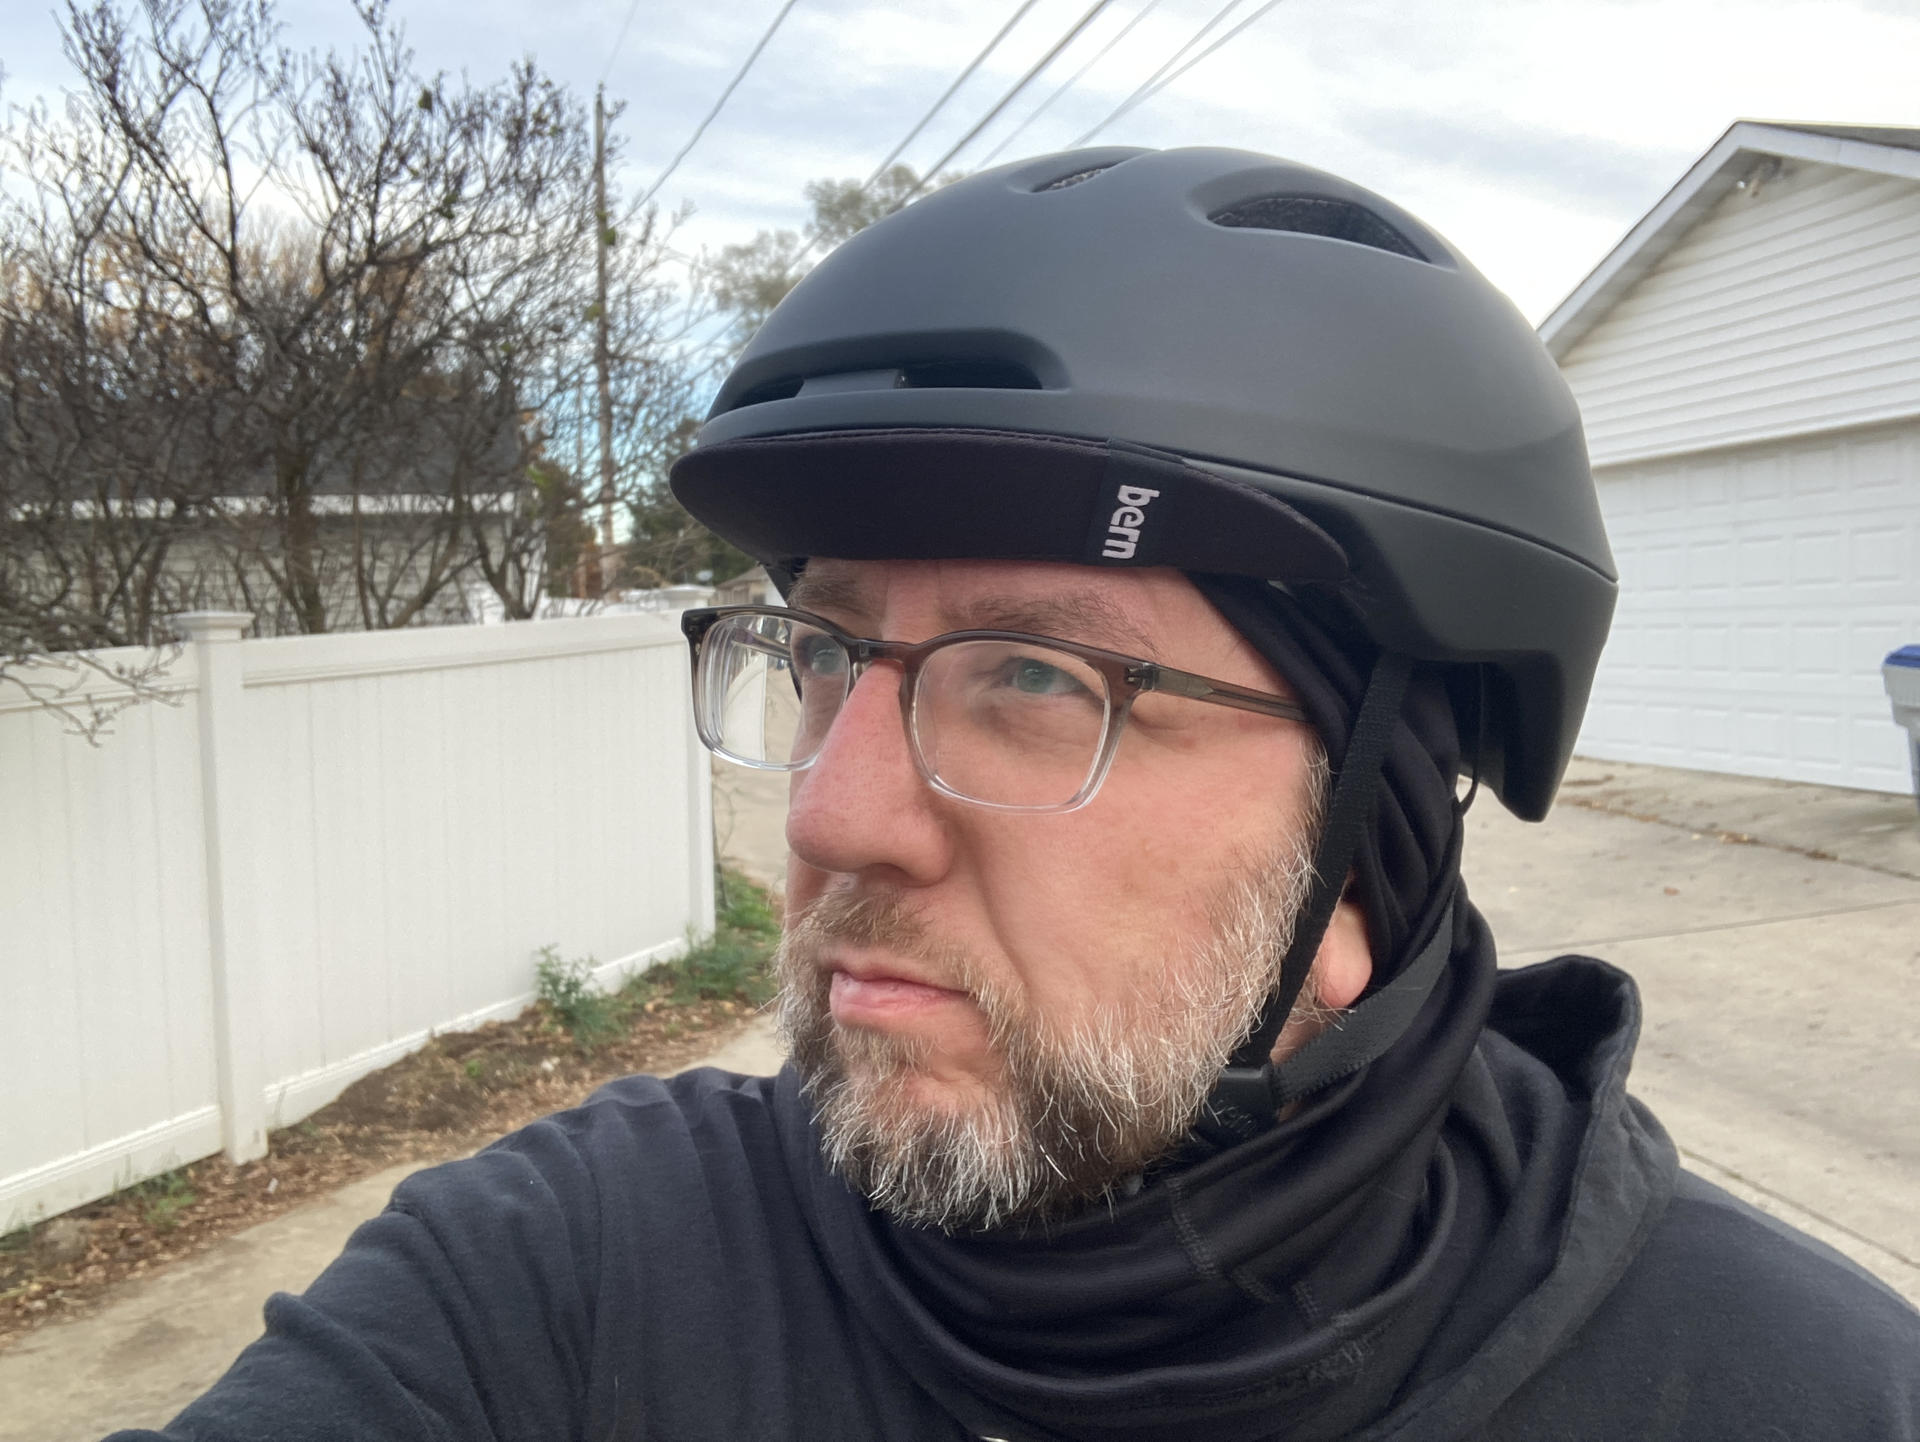
So yay, new helmet! I was looking at the Bern helmets because a friend of mine used to have one and I remember a nice brim on the front. Since I ride early in the morning I occasionally get blinded by the rising sun, and I typically just tilt my head way down and stare at the road, but I figured trying a helmet with a brim might be a good idea.
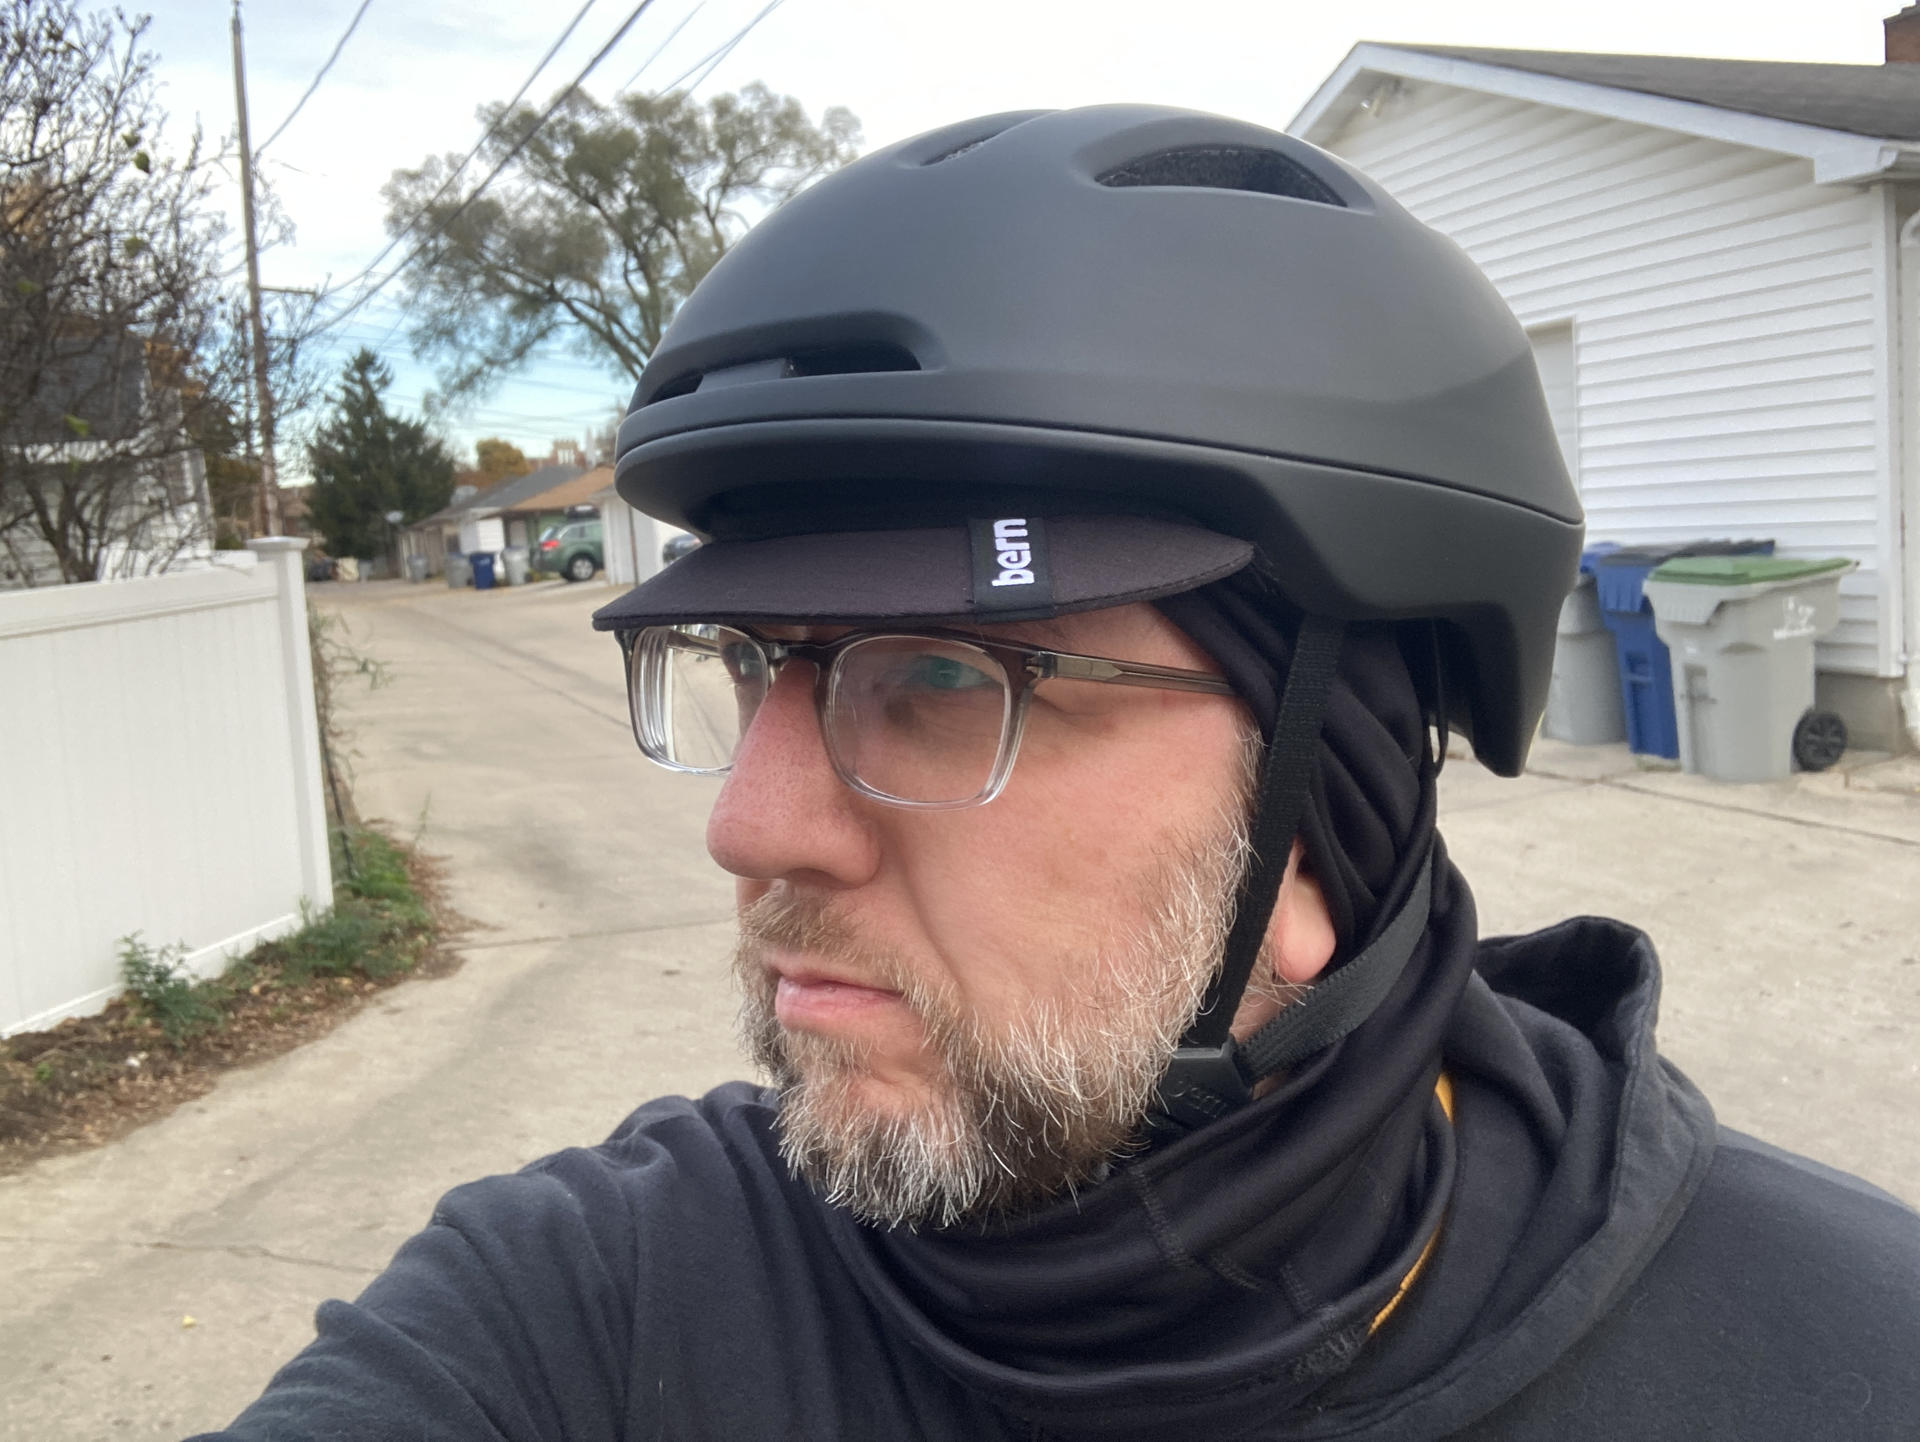
The photo above shows the brim flipped down. It’s really easy to flip it up or down with one hand while riding.
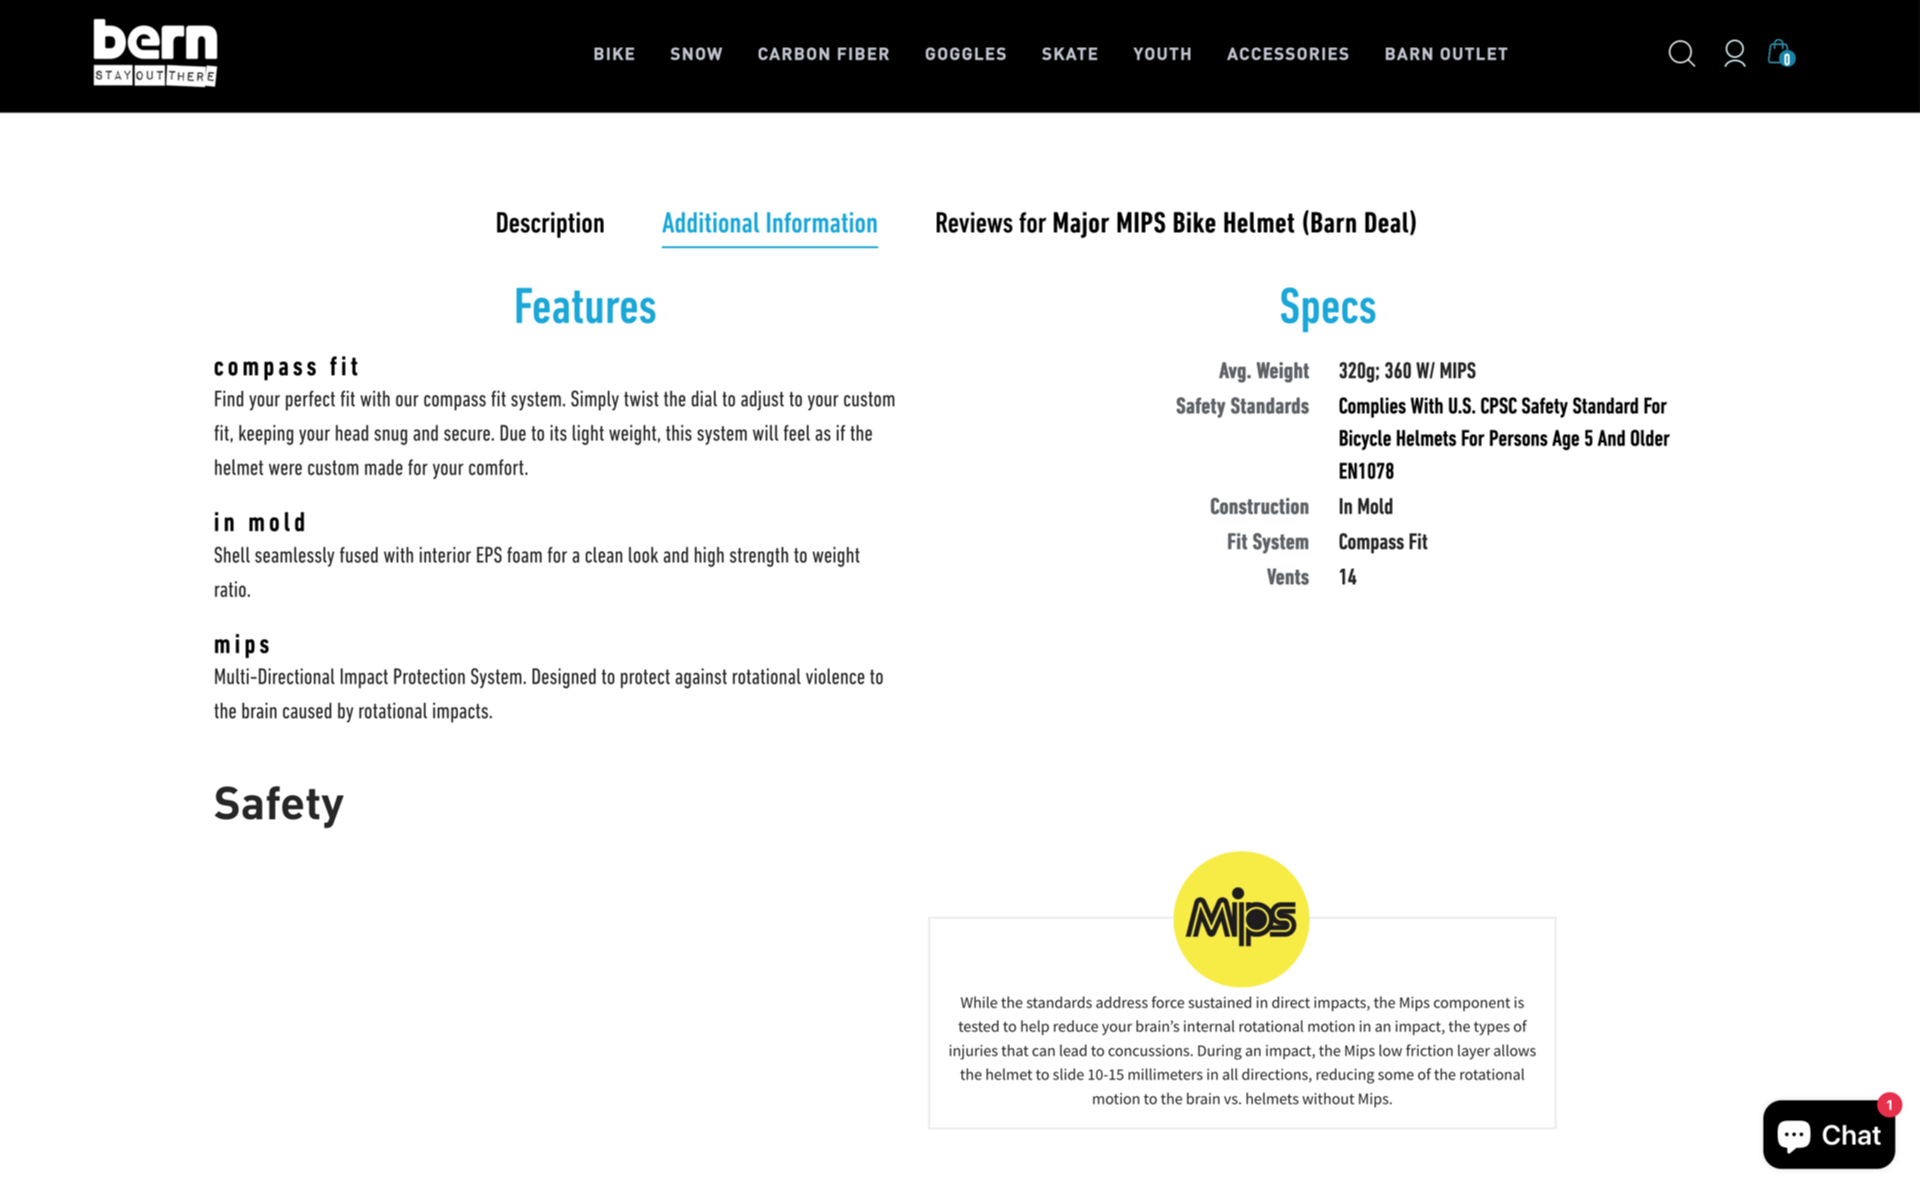
I head read about this MIPS thing for helmets and it seemed like a good feature, and this Bern Major helmet has it, so hooray for extra safety.
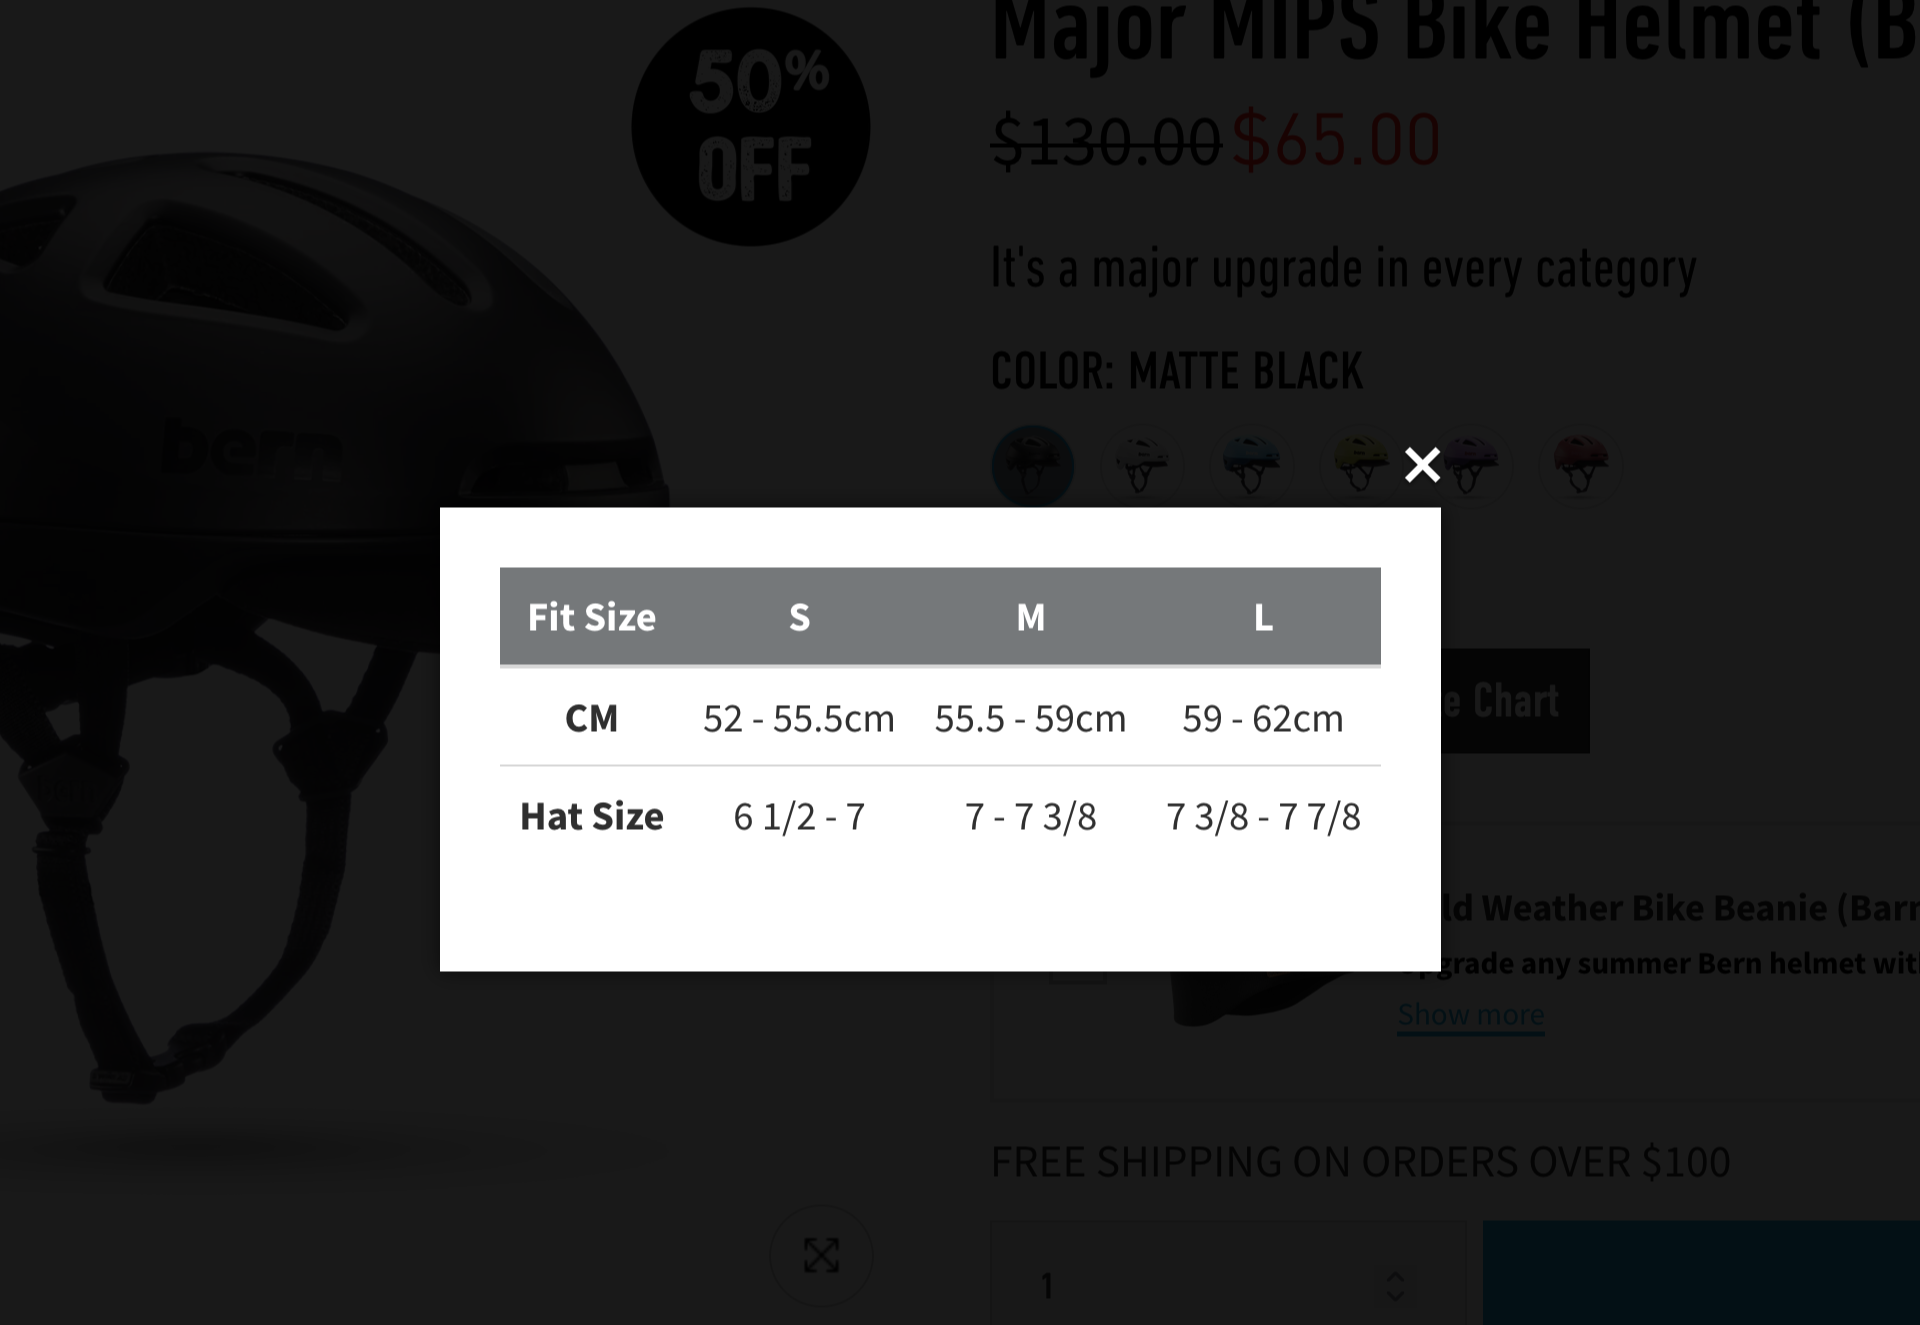
I was a bit unsure about size… I should note I did not try this on at a LBS but did order it online directly from Bern. My head measurement came in just at the top end of Medium, so I ended up going with Large just to be safe. I don’t know if this was the best option but I went for it.
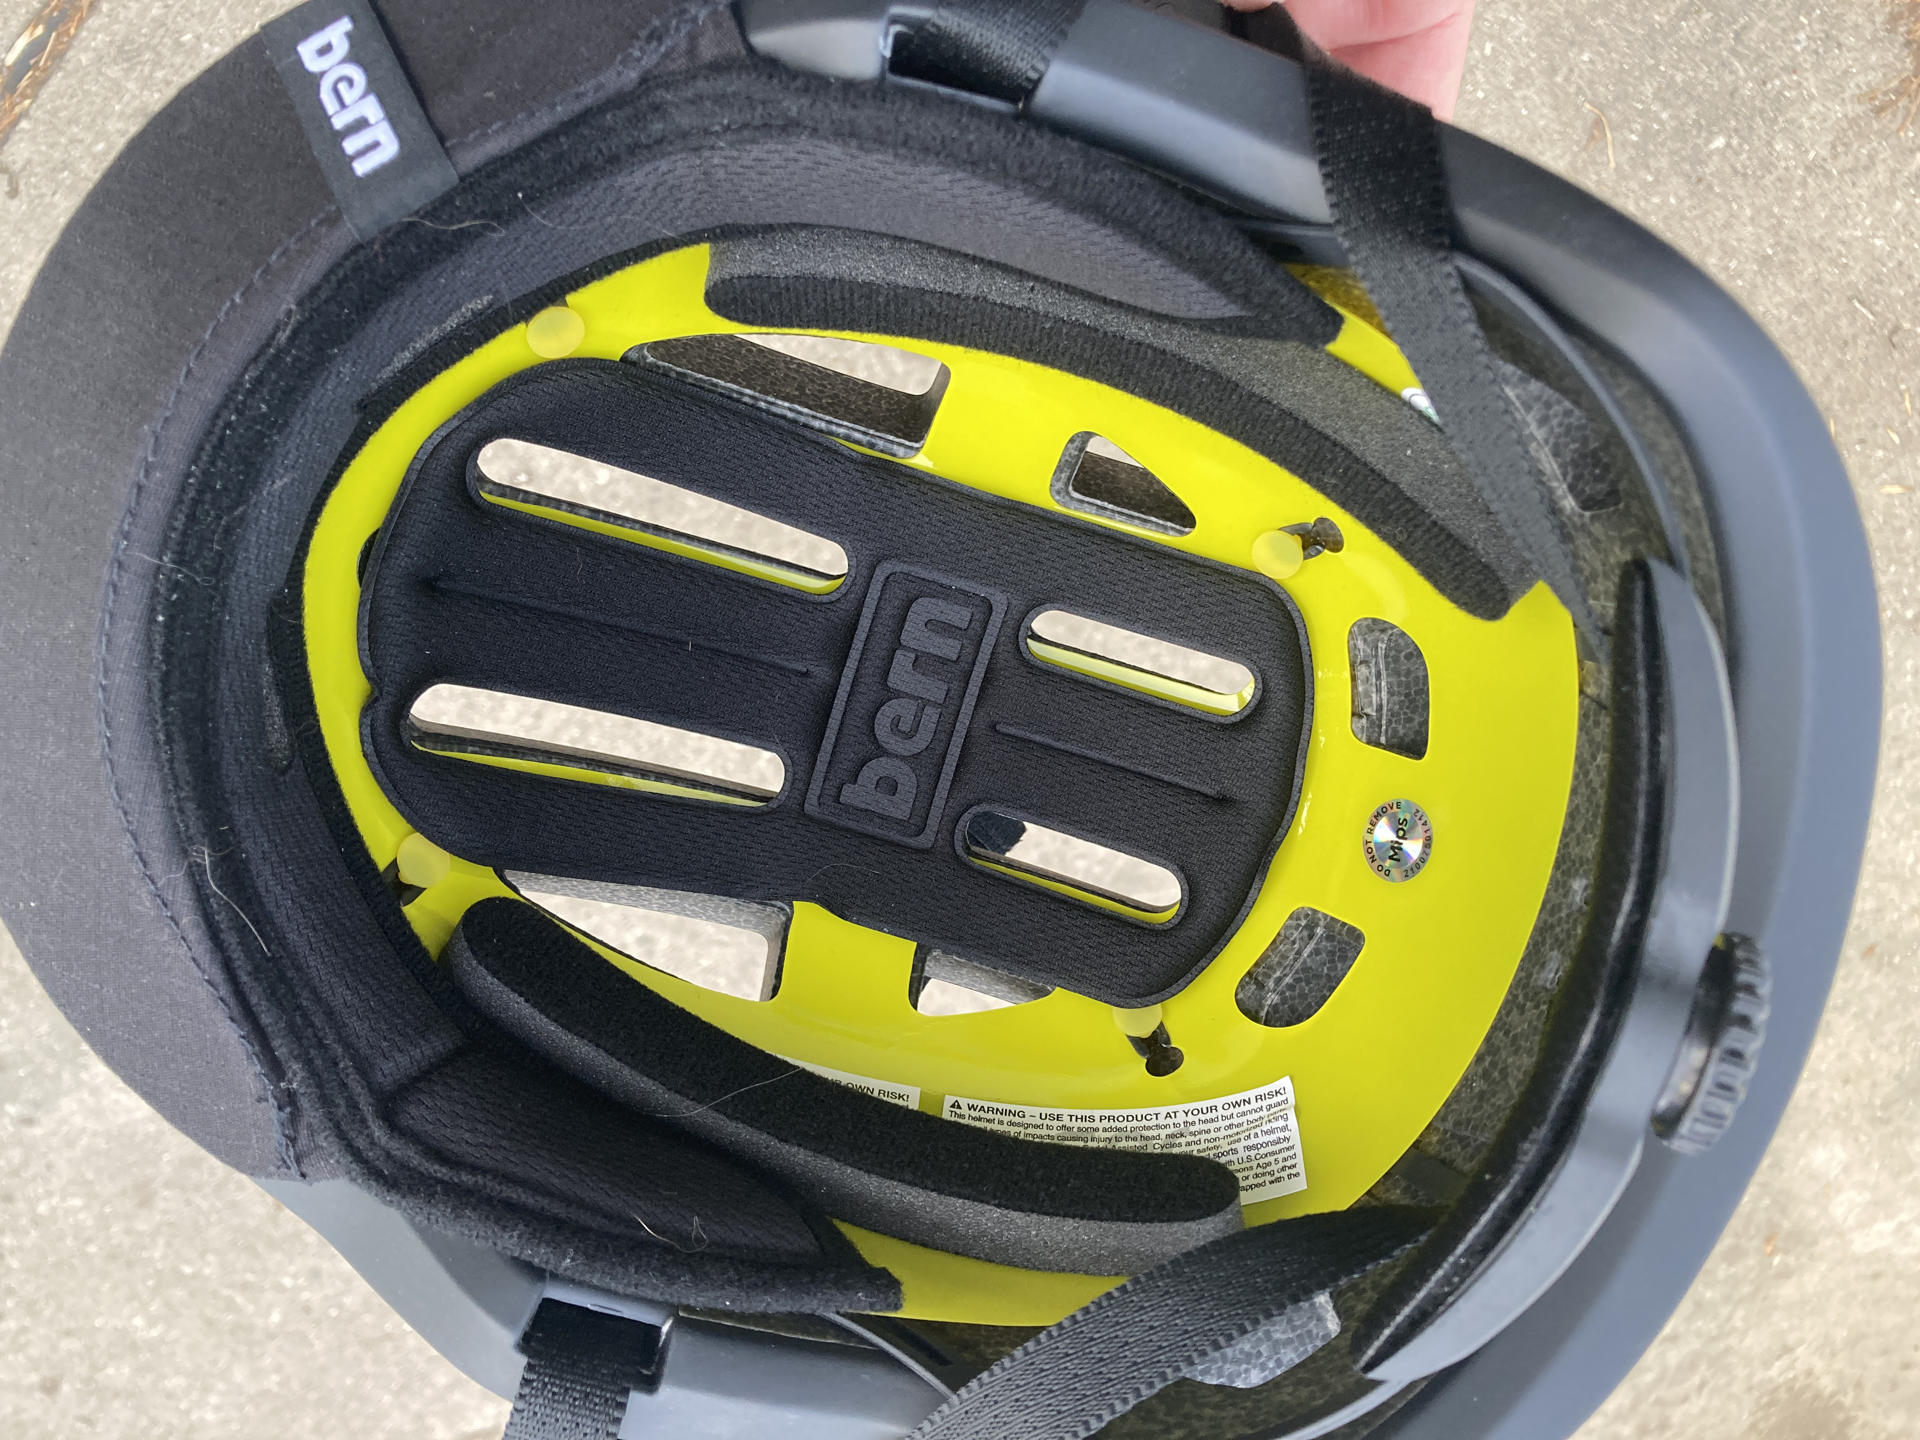
So when I got the helmet the fit was okay, but I just felt like it should have been a little more snug. I didn’t want to return it and get a Medium (though Bern does have a really nice return policy) but instead I grabbed a foam pad kit from Amazon for $8. I added two strips along the sides and the fit is much better.
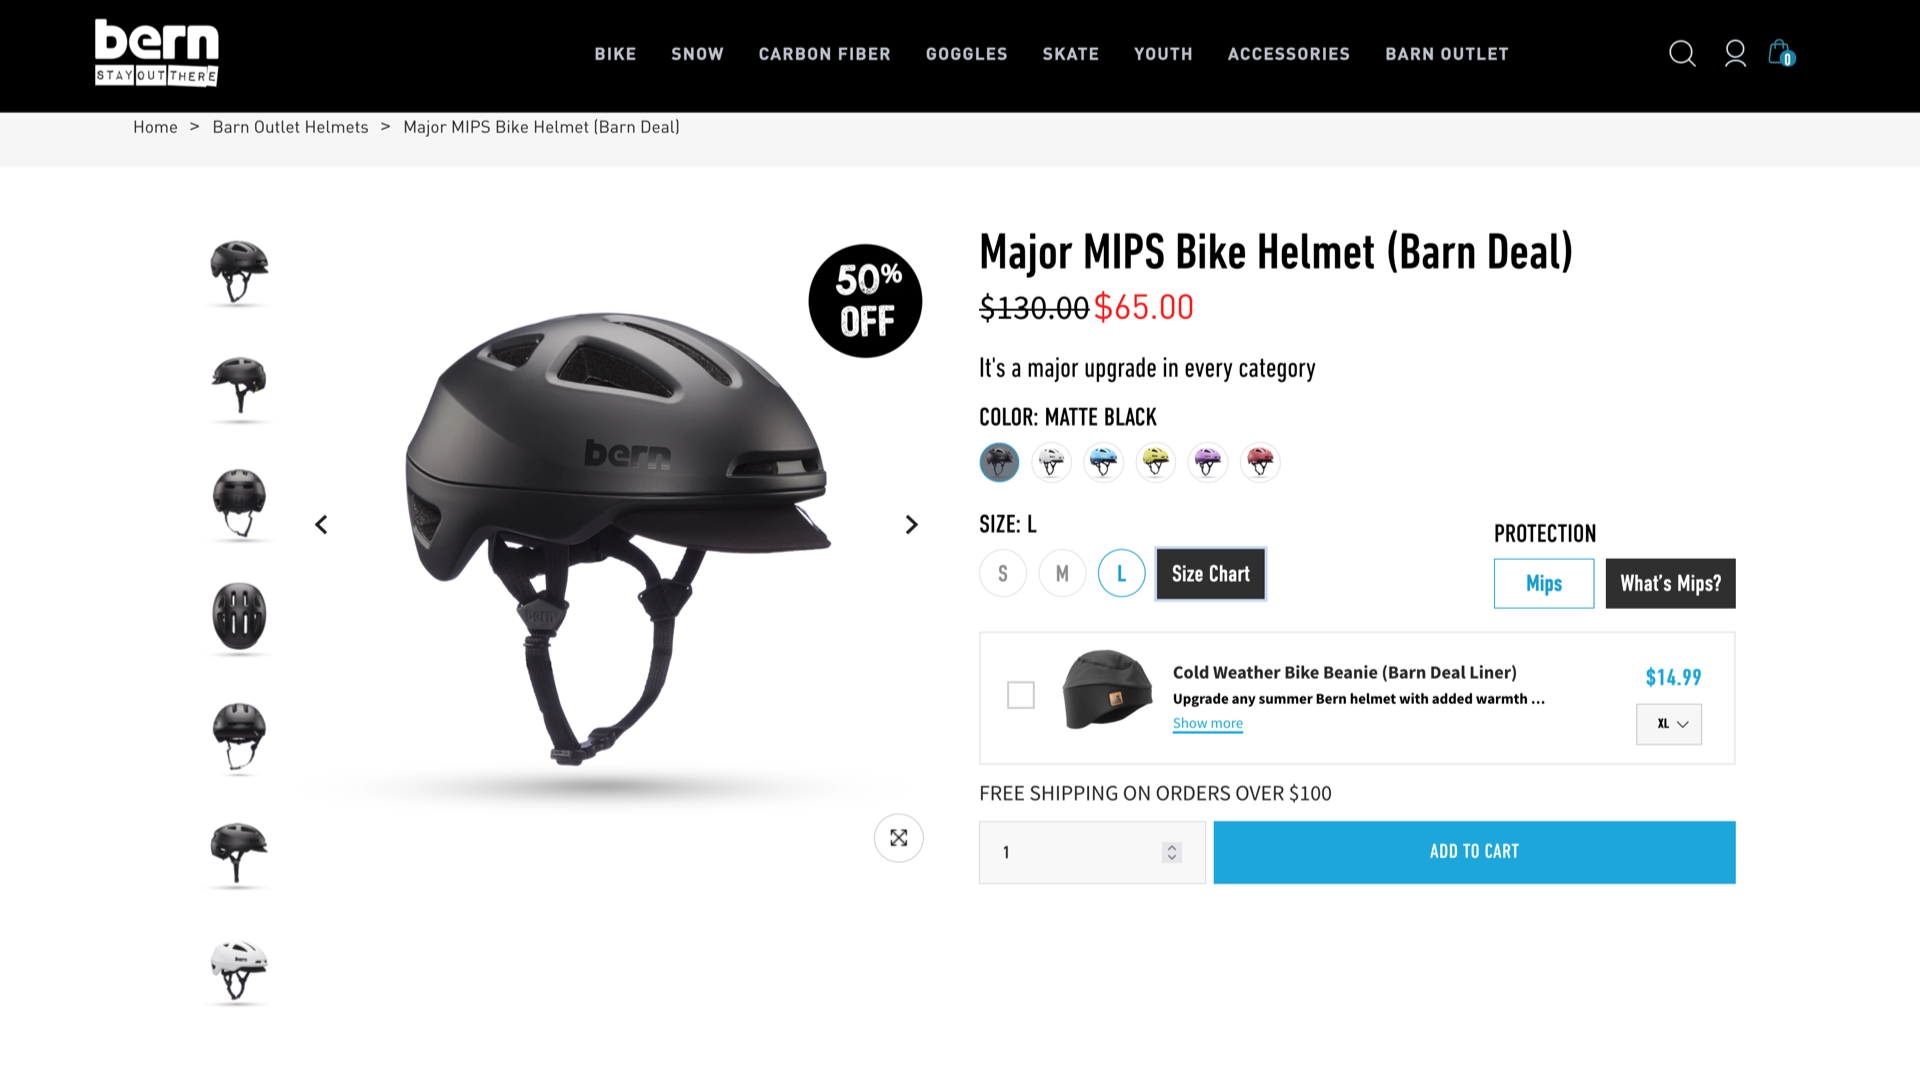
The Bern Major MIPS helmet was listed on their site as a “Barn Deal” and was $65 USD. I got a discount as a first time customer knocking it down to $55.25 USD and then with shipping added in it went back up to $67.25. (So the discount pretty much covered the shipping cost.)
Update: I just checked the price in May 2025 and it’s at $97.50. Is it because of tariffs? Who knows!?
Update: I just checked the price in October 2025 and it’s back to $65.00. Pricing is nuts in 2025.
I’m pleased with the helmet. It did take a few days to get used to it compared to the one I had over a decade (oops!) but next time I’ll probably visit a local shop and try a few options. I really do like the visor though, so we’ll see if I still do in a few years or if there are other good options.
Note: This post may contain Affiliate Links. Read More.