About a year ago I asked about label printer for shipping and people had some comments.
My requirements were a thermal printer that could print 4″ x 6″ sticky labels and connected via USB and didn’t require any special software. I didn’t want a mobile app, didn’t want Bluetooth, just a USB printer I could select like any other printer.
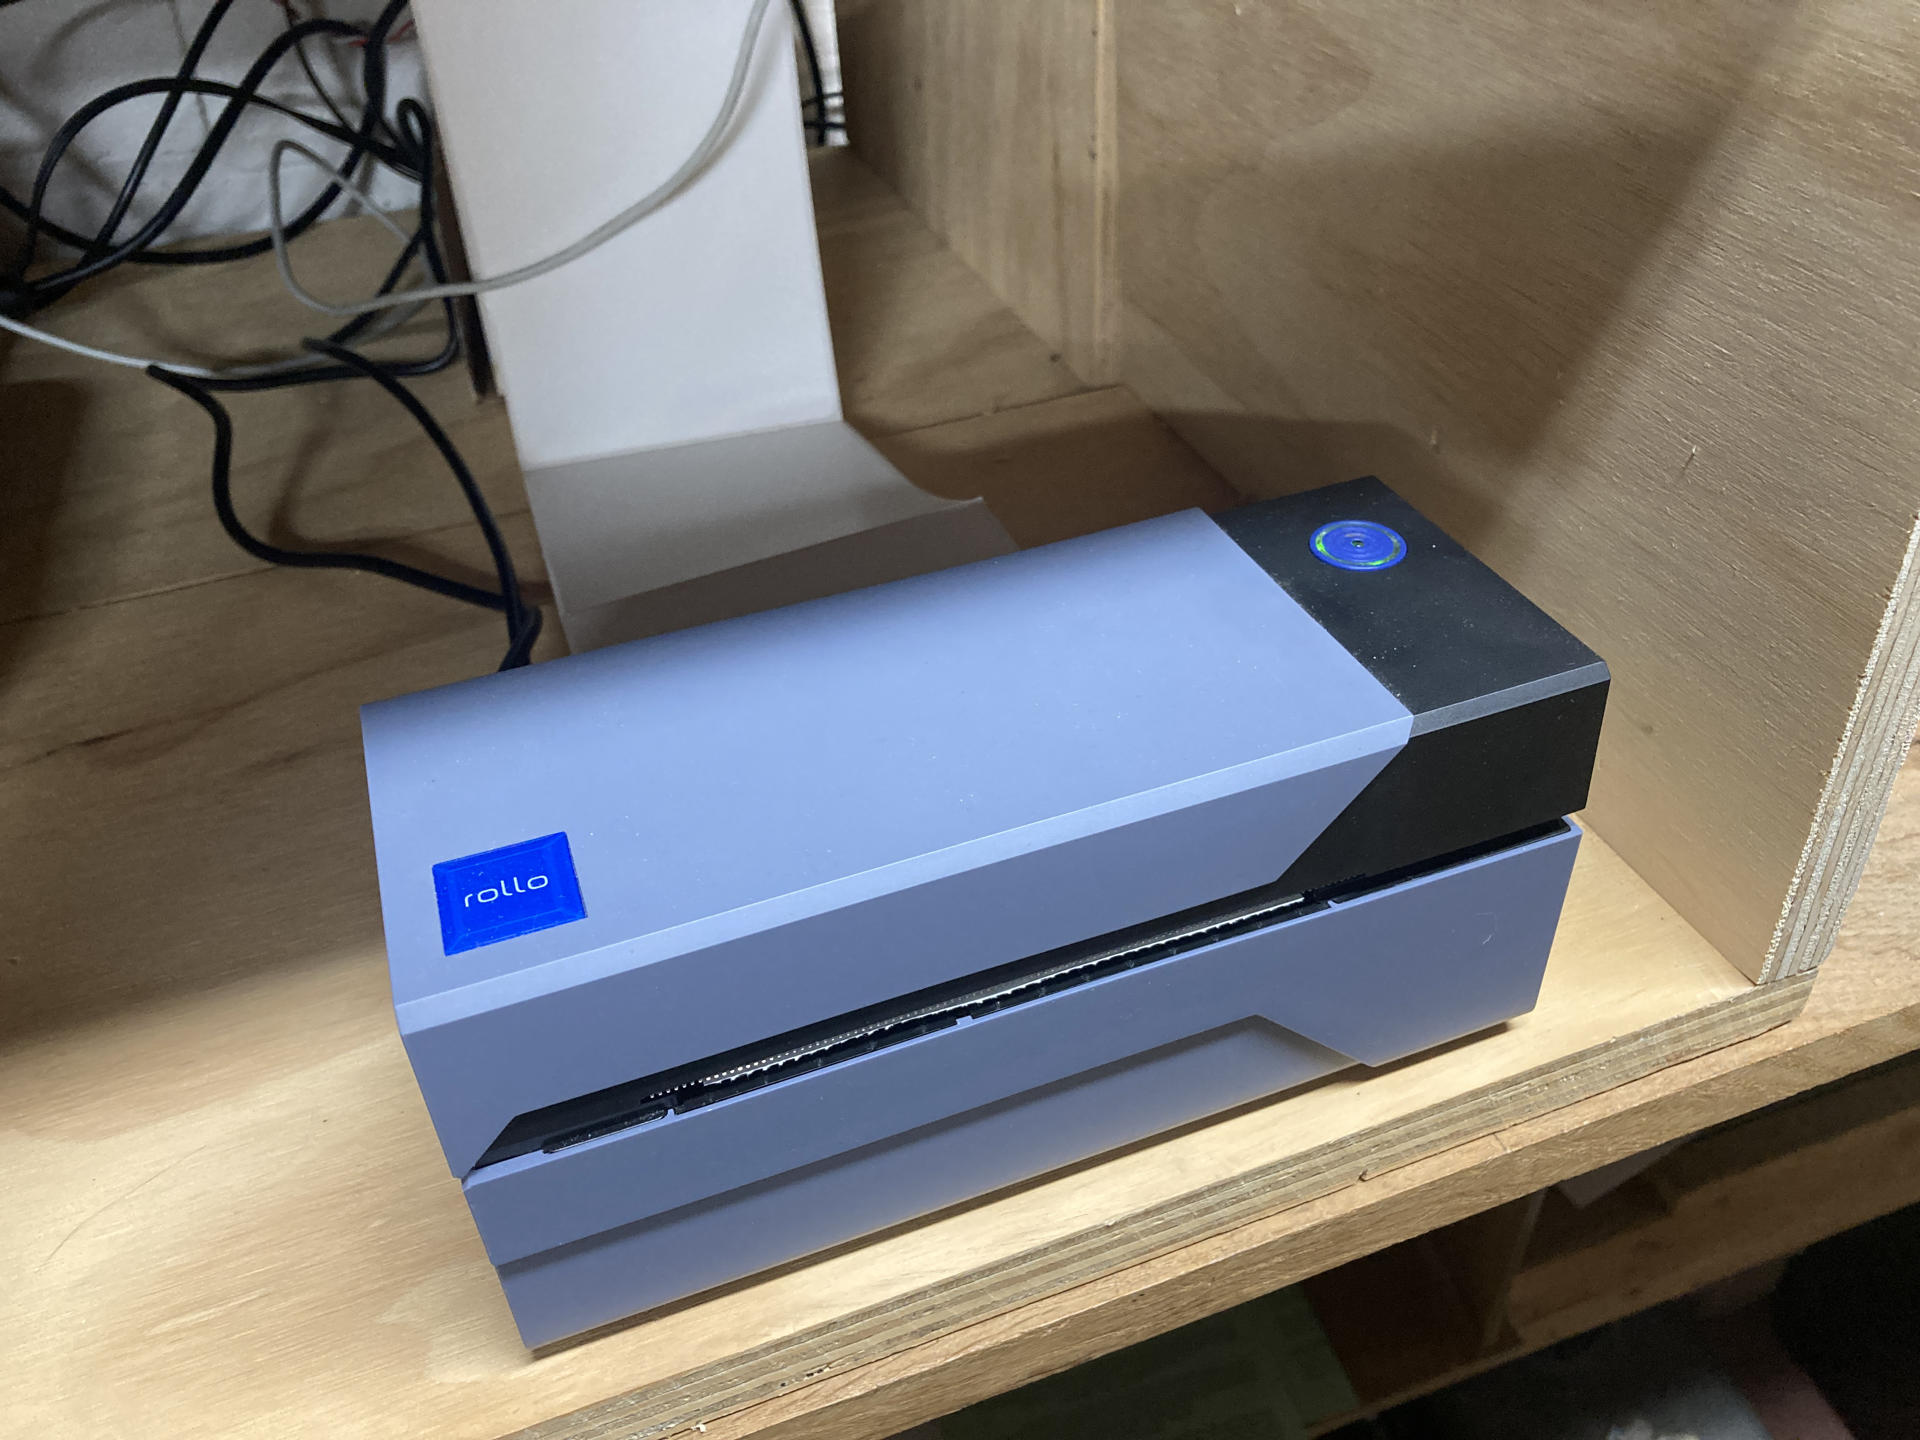
A few people suggested a Rollo, and they do have a USB model that seemed to fit the bill, though it was a bit pricey. I managed to save a little by getting a refurb unit.
Oh, I had originally looked at the iDPRT Thermal Label Printer but the company describes their printers as “Most Intellect Label Maker Machine” which did not instill much confidence in the company, so I went with the Rollo instead.
So when I got the Rollo up and running I had a few issues with it aligning the print properly. It seemed like the label would occasionally not feed correctly. I tried a bunch of tweaks in the printer setup to adjust the margins and nothing seemed to work. I assumed my refurb unit was garbage, and dug through the help docs and switched from Preview.app to Skim so I could save a print setting to print at 90% which fixed the issue, but…
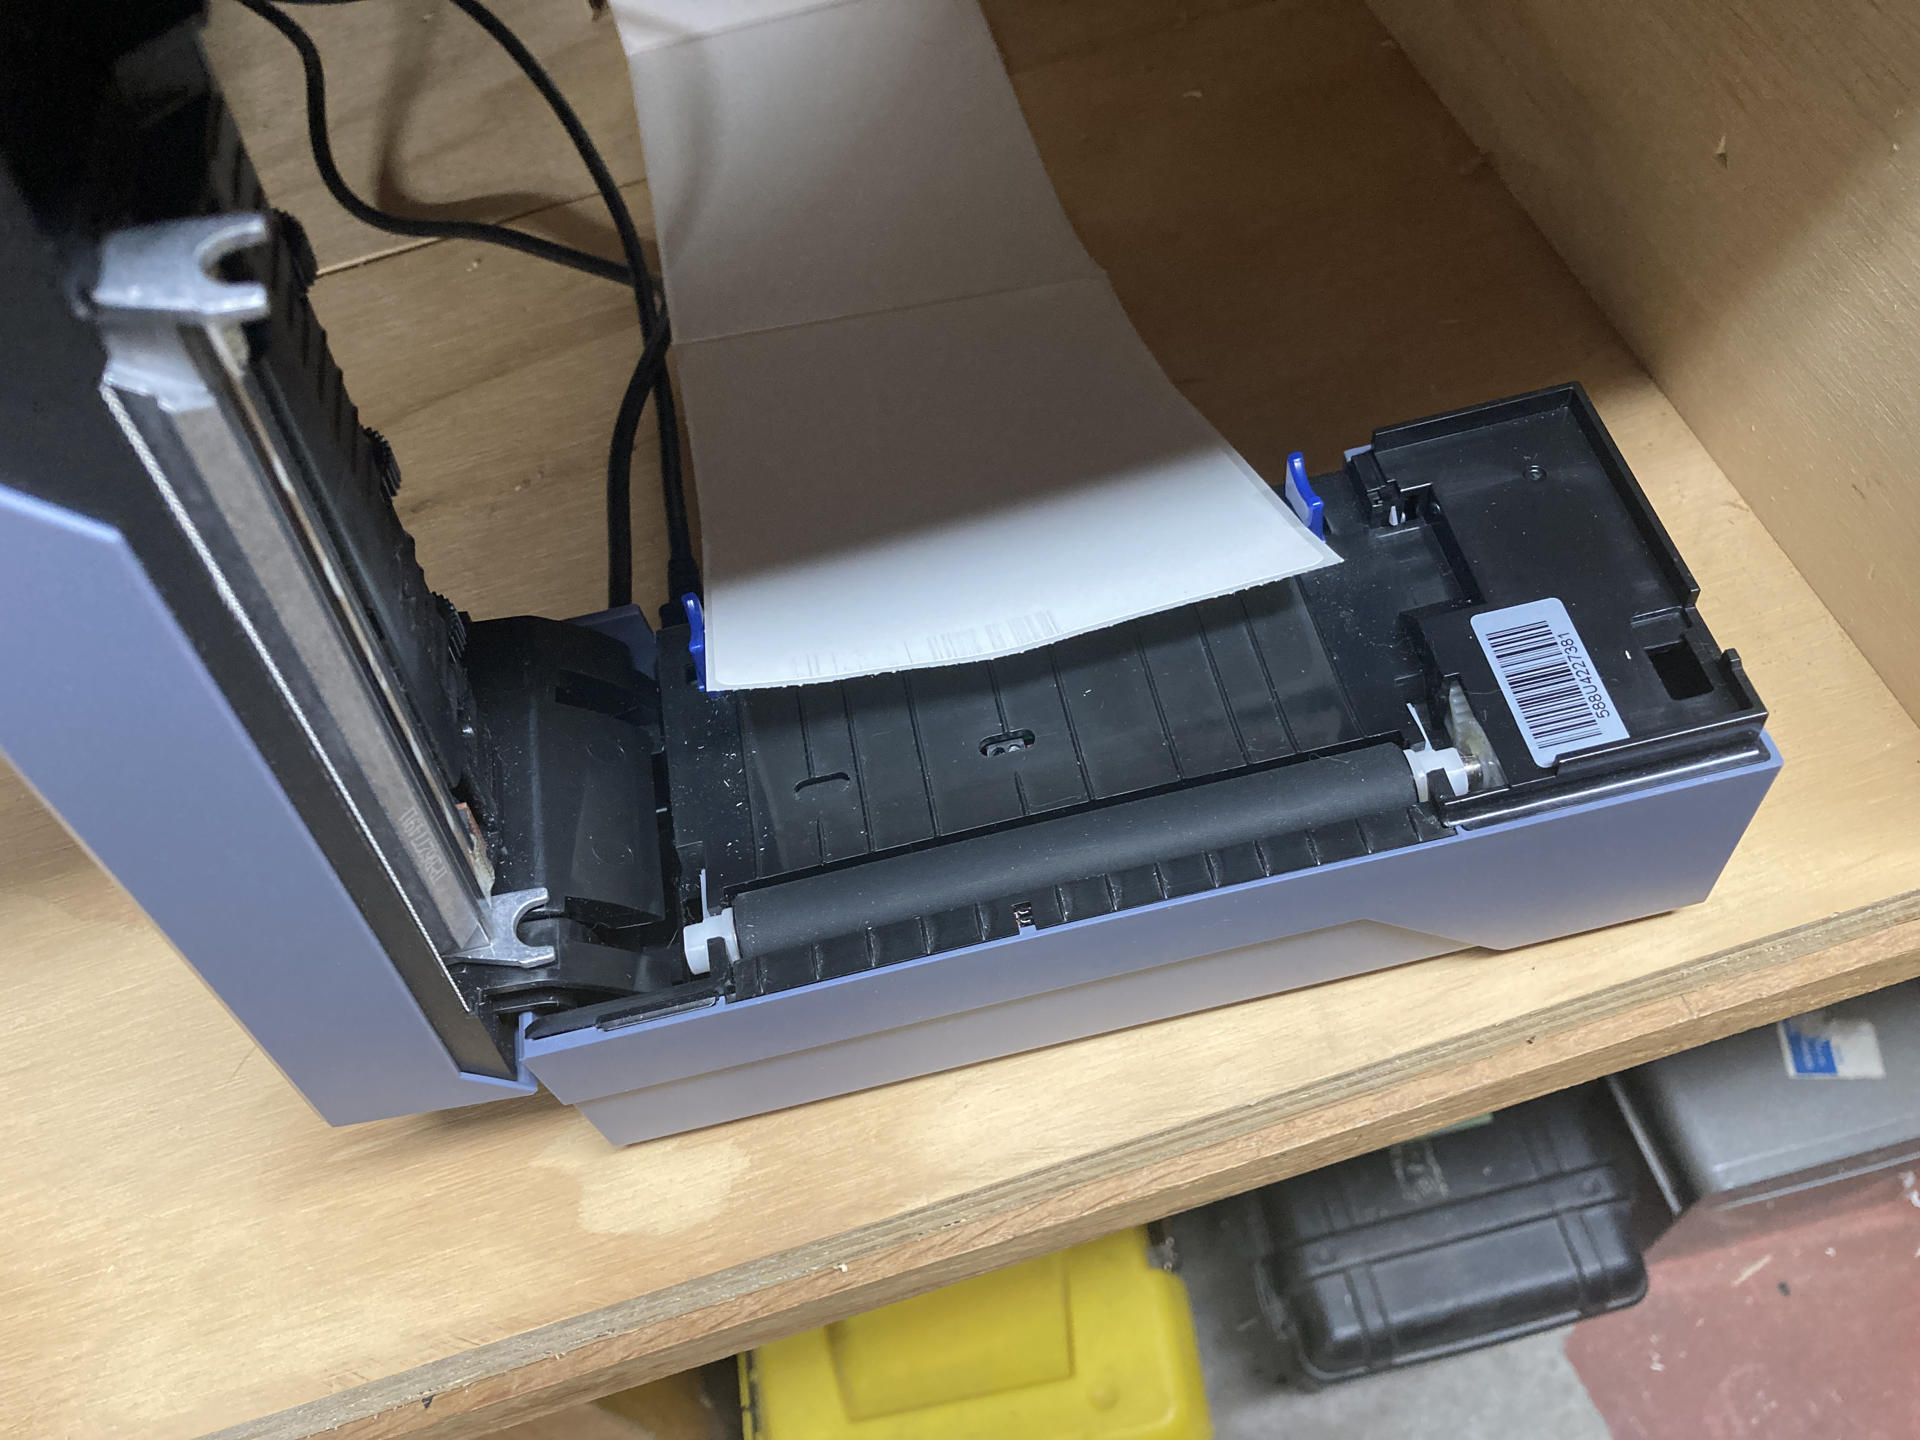
It turns out all the software/print setting tweaking was for naught! All I had to do was get some Alcohol Prep Pads and clean the rubber feed roller! Since then it’s worked flawlessly. (And I do clean it regularly.)
It’s the classic case of hardware versus software and mechanical issues versus settings. So yeah, all good, very happy with the Rollo.
I use an old 2014 Mac mini to run my “shipping station” in my shop, and even though it’s running an older version of macOS it works just fine. The only other critical software on the machine is a web browser (Firefox) to work with Pirate Ship for the labels.
So now when I need a shipping label it’s a few clicks, hit print, out comes a label, and it get stuck on a box. Easy Peasy, as the kids say!
Note: This post may contain Affiliate Links. Read More.