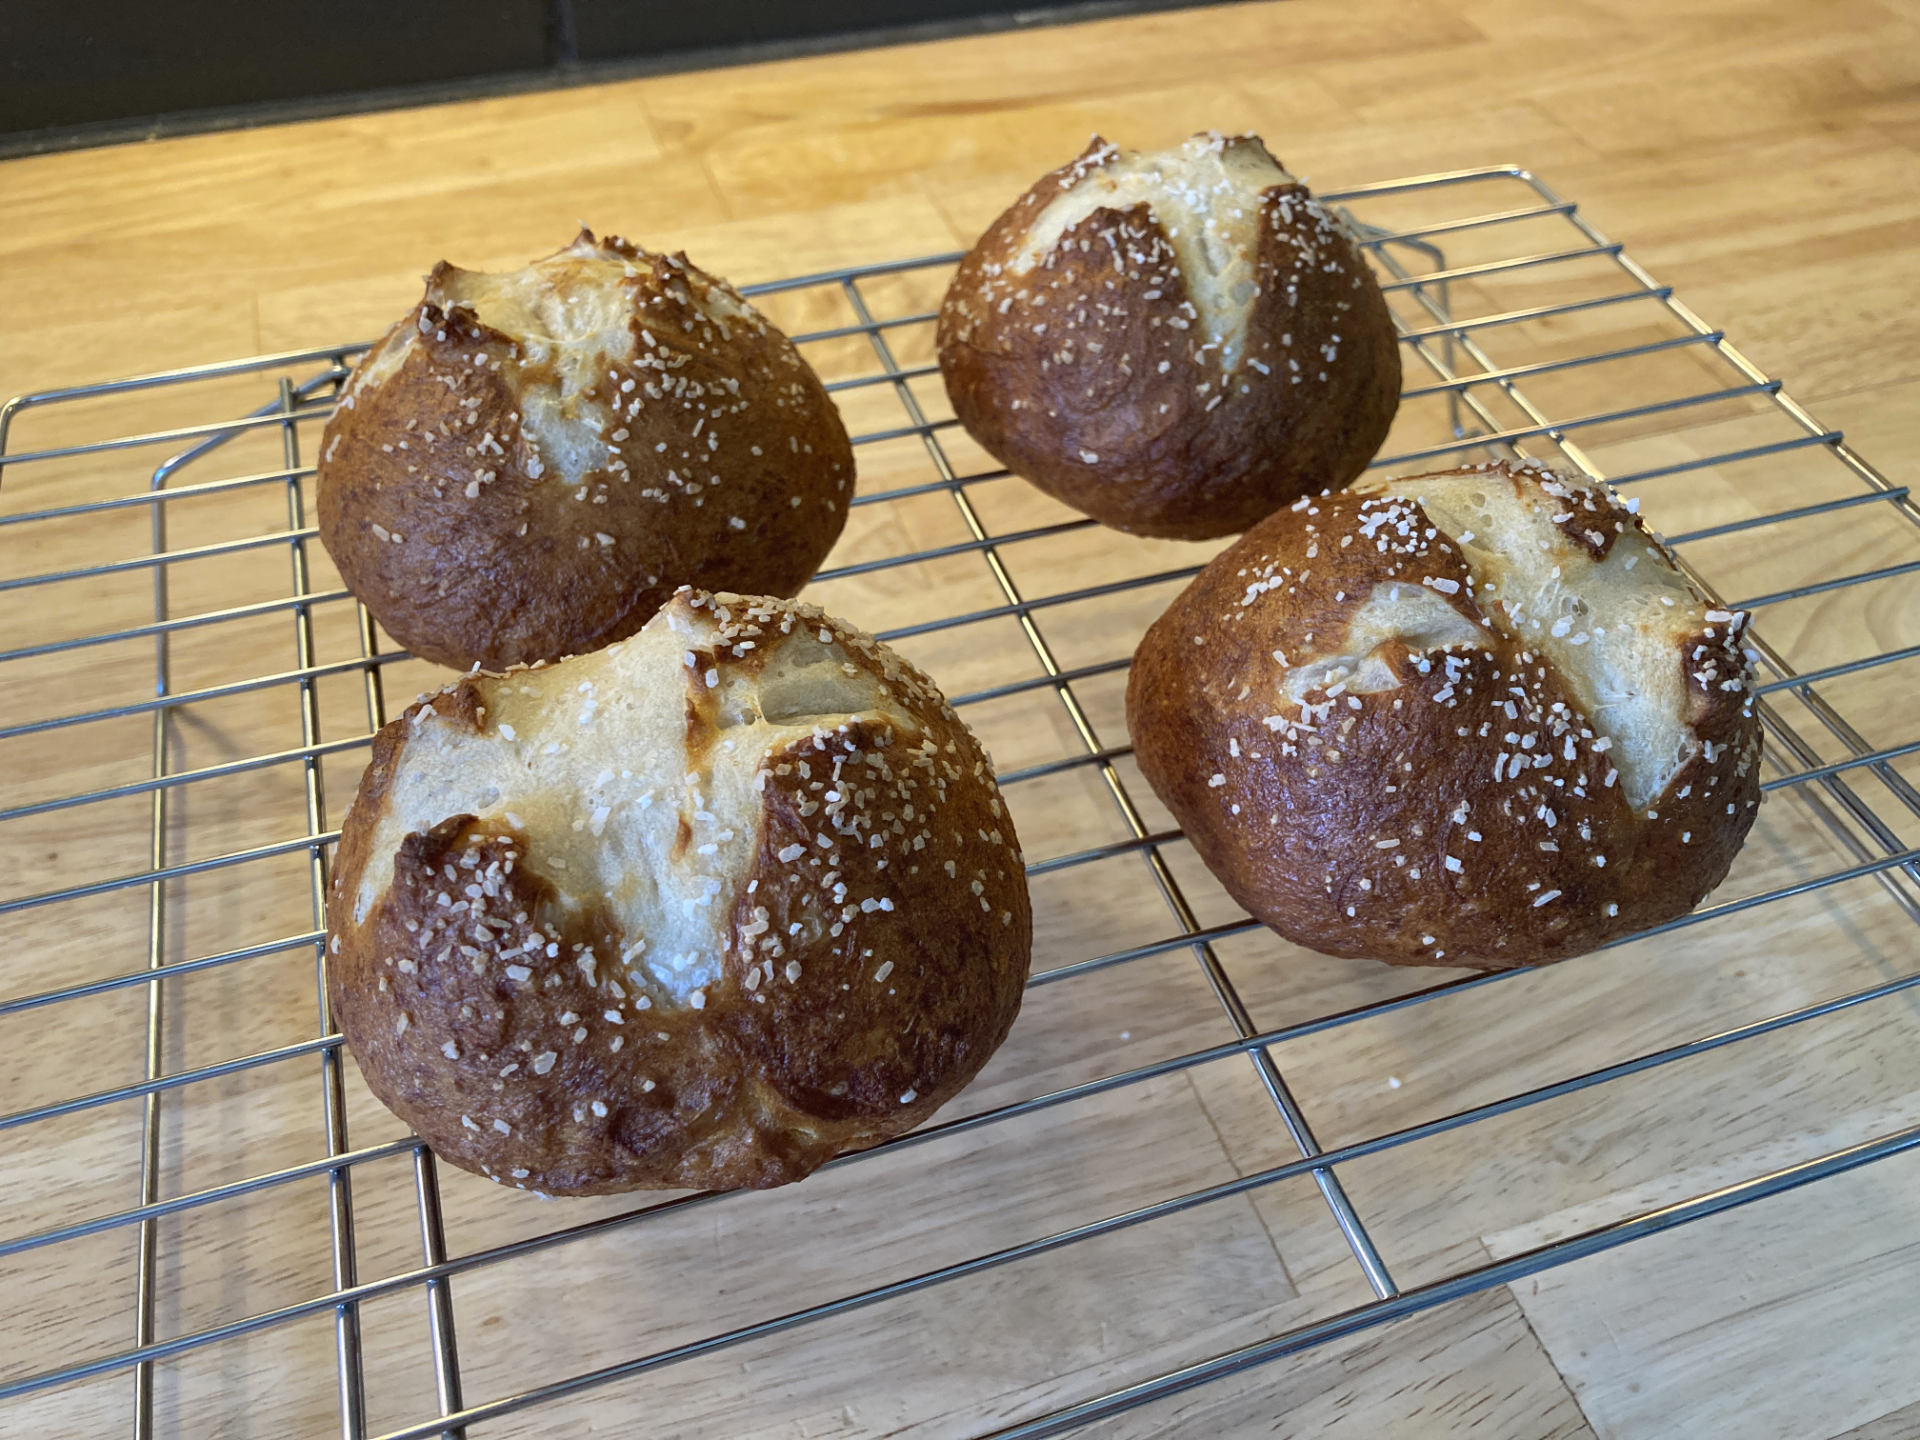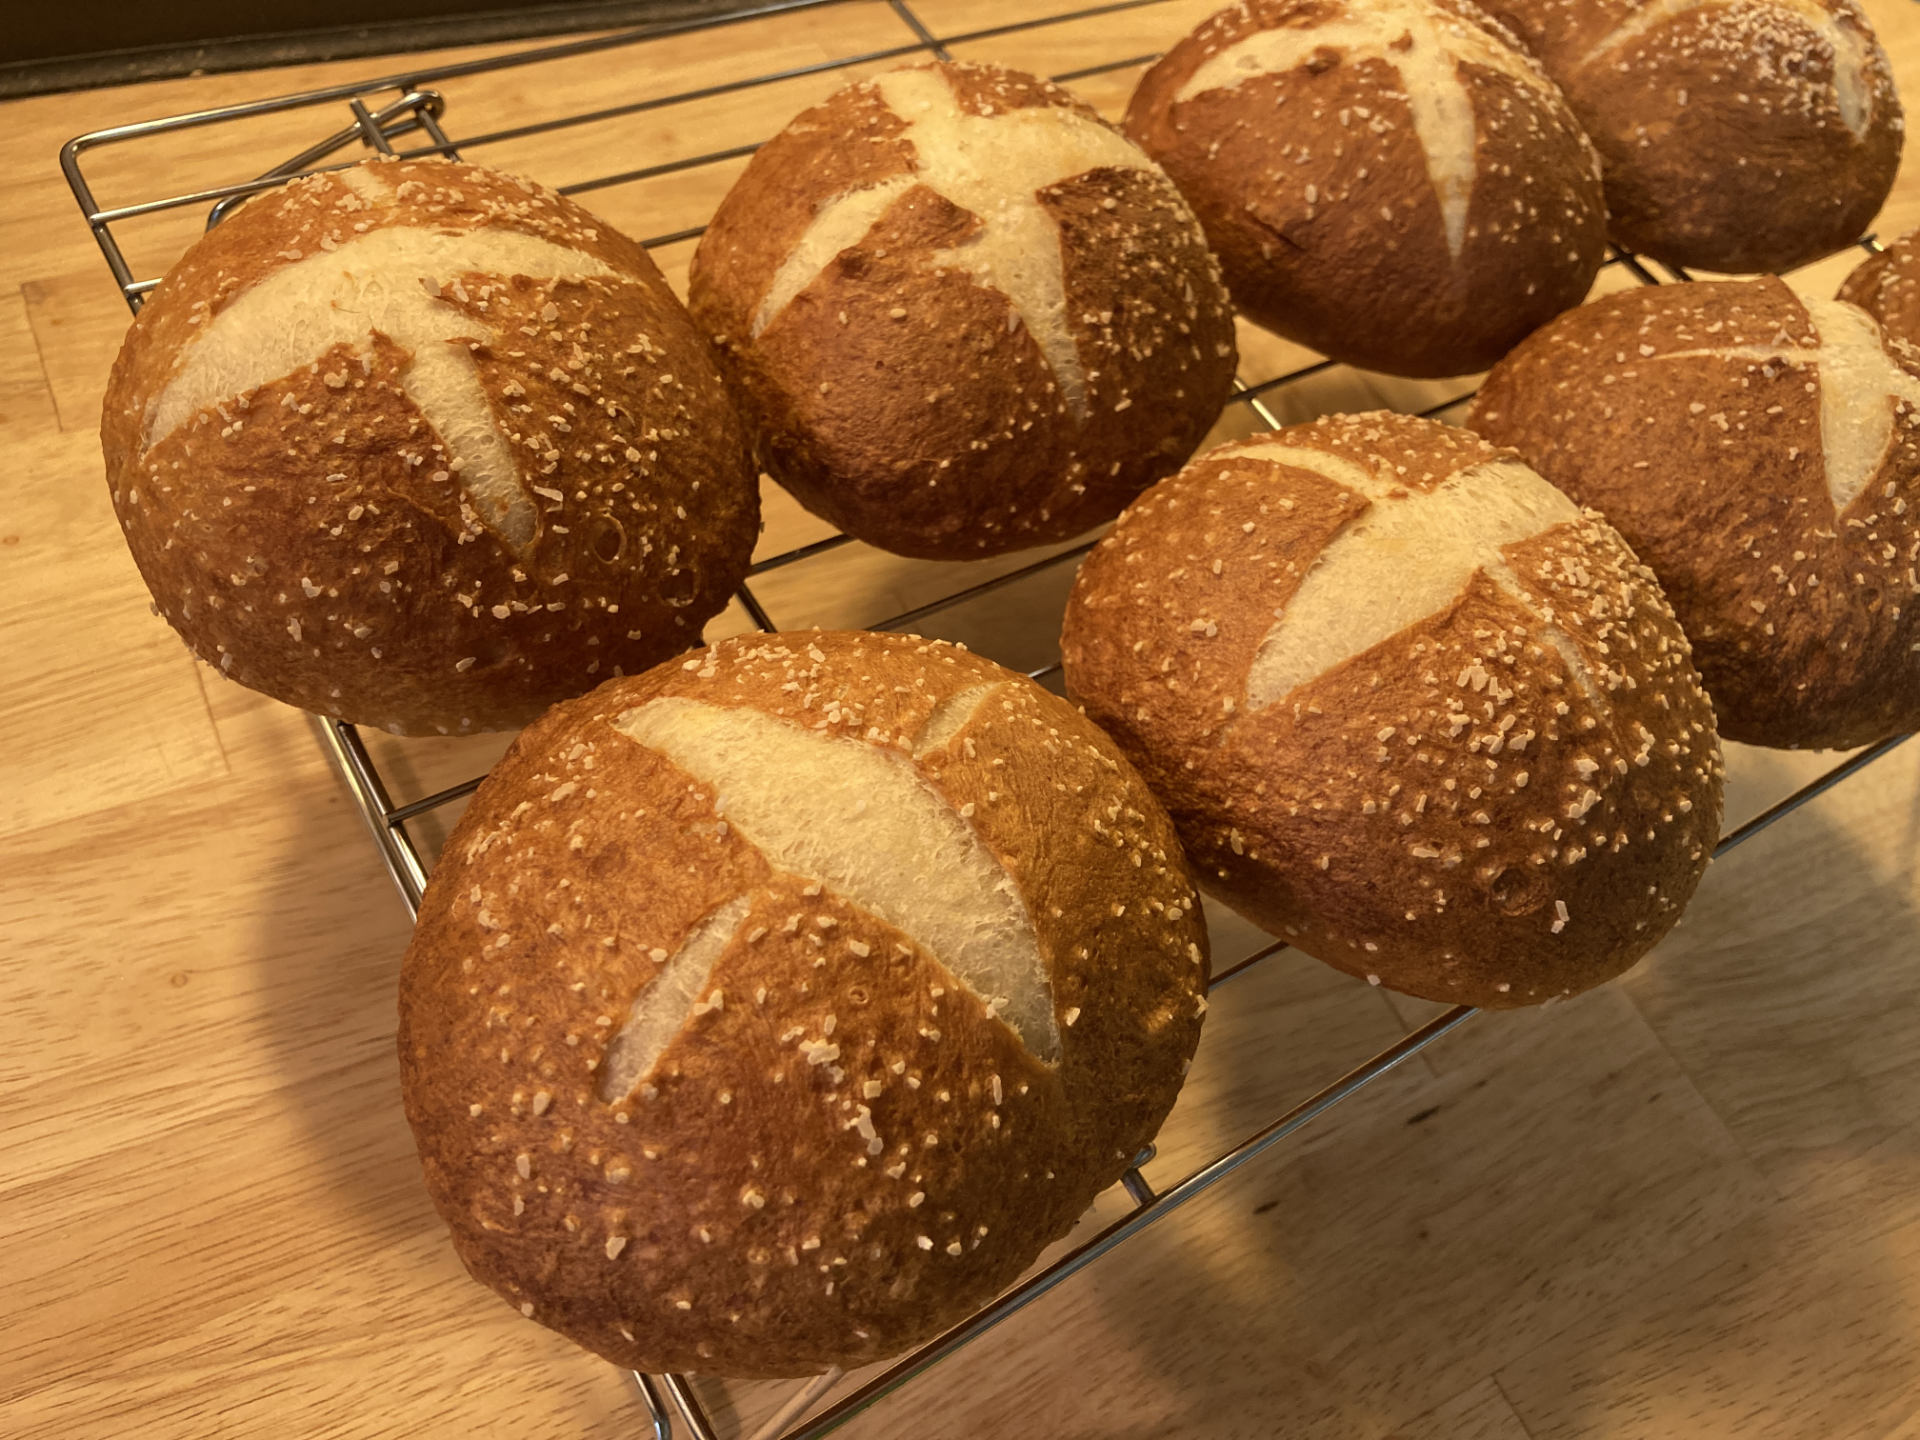
Hey, look! I made some bagels! I was a bit intimidated by this one, but I’ve made those pretzel buns a few times now so these were not too different from those.
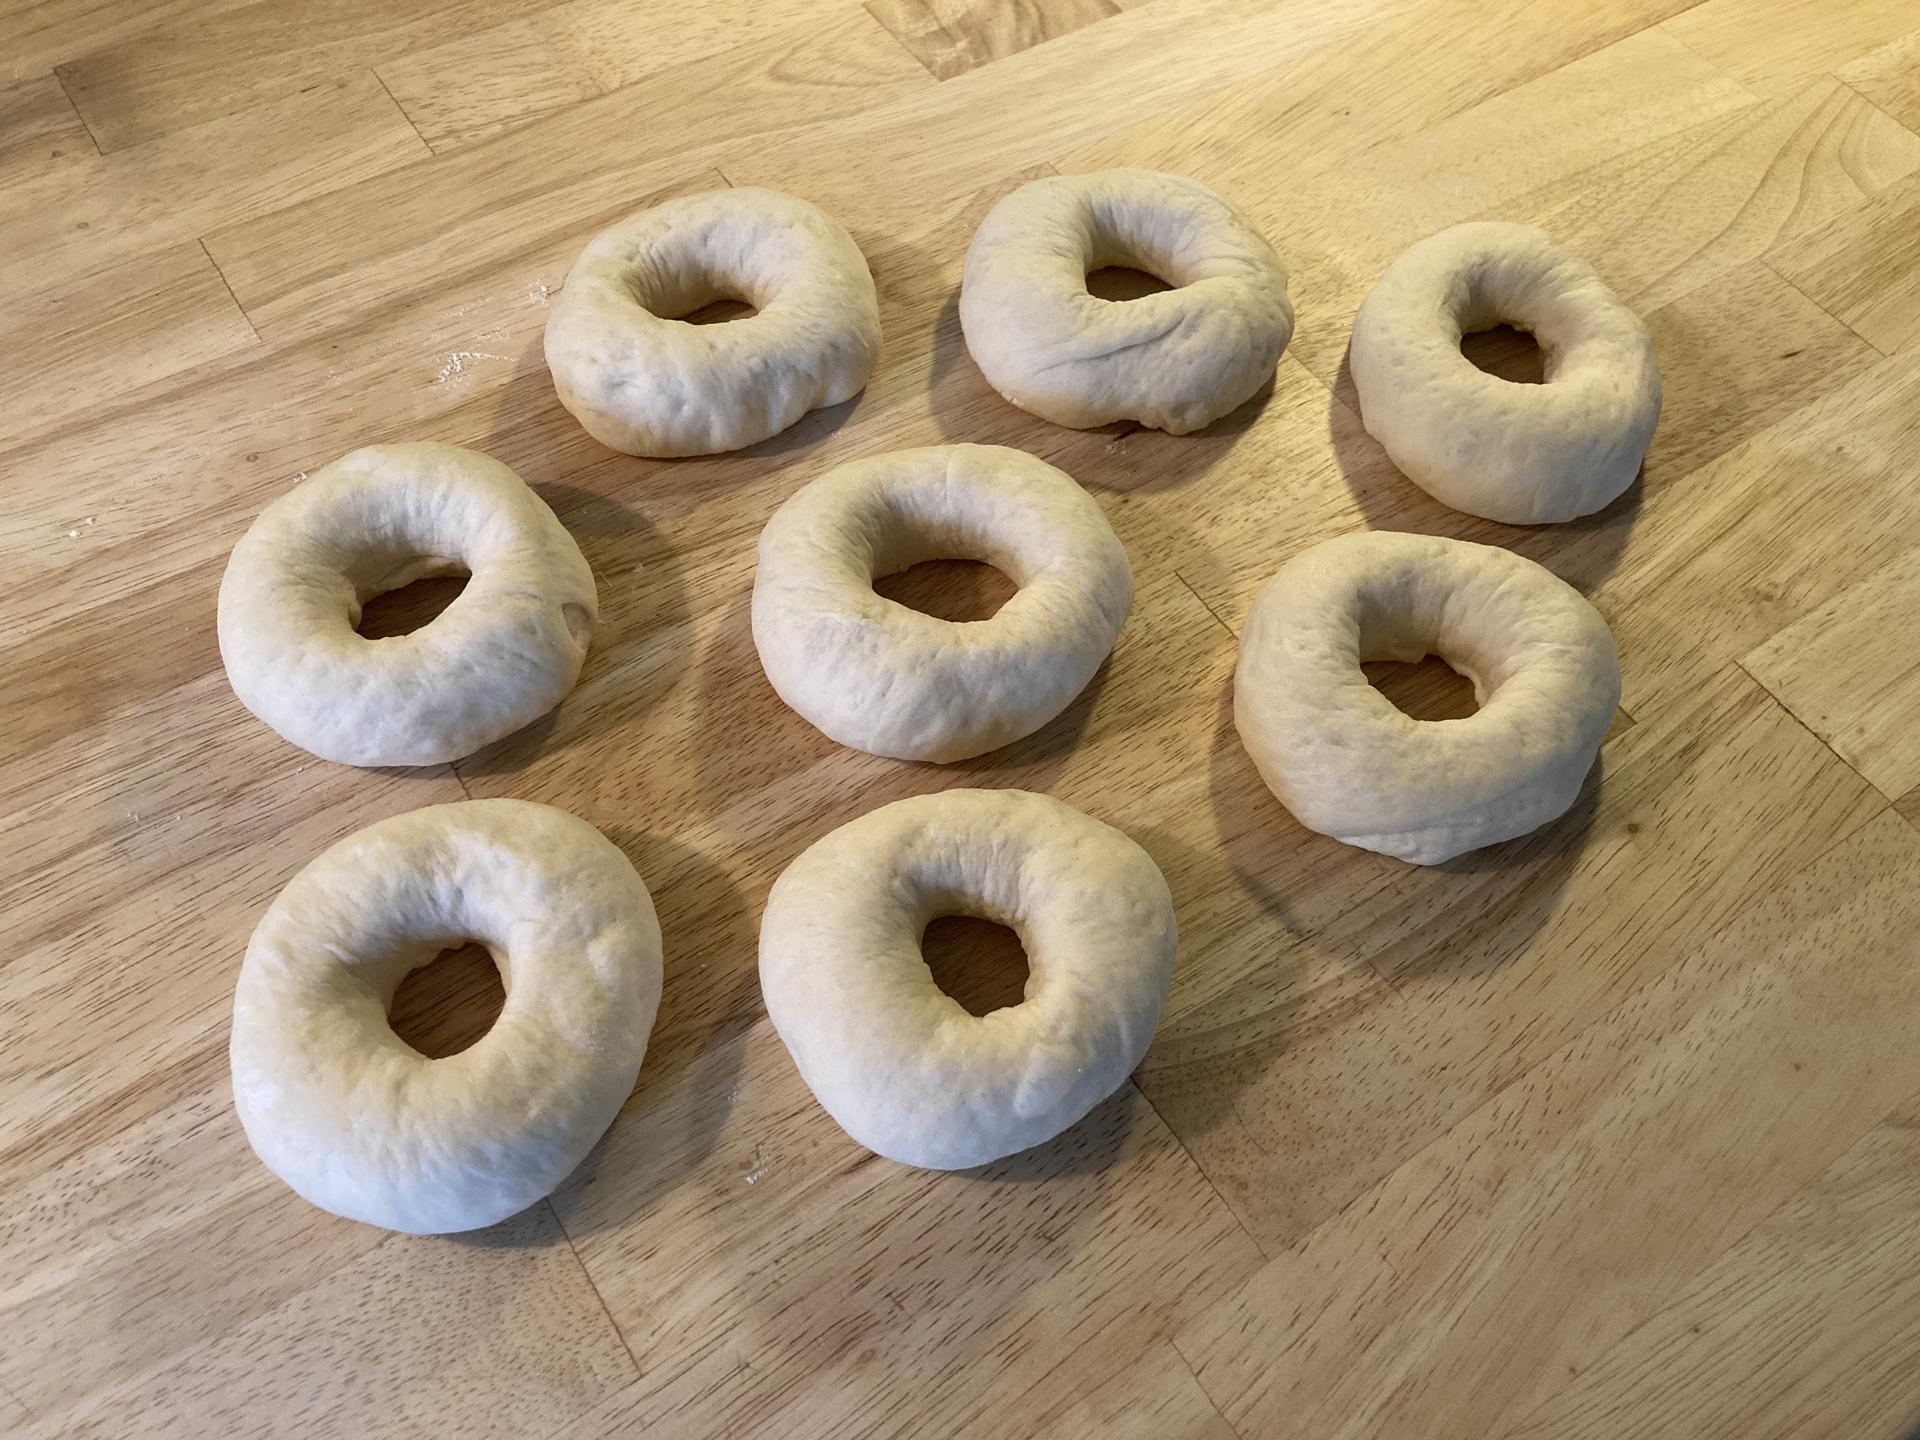
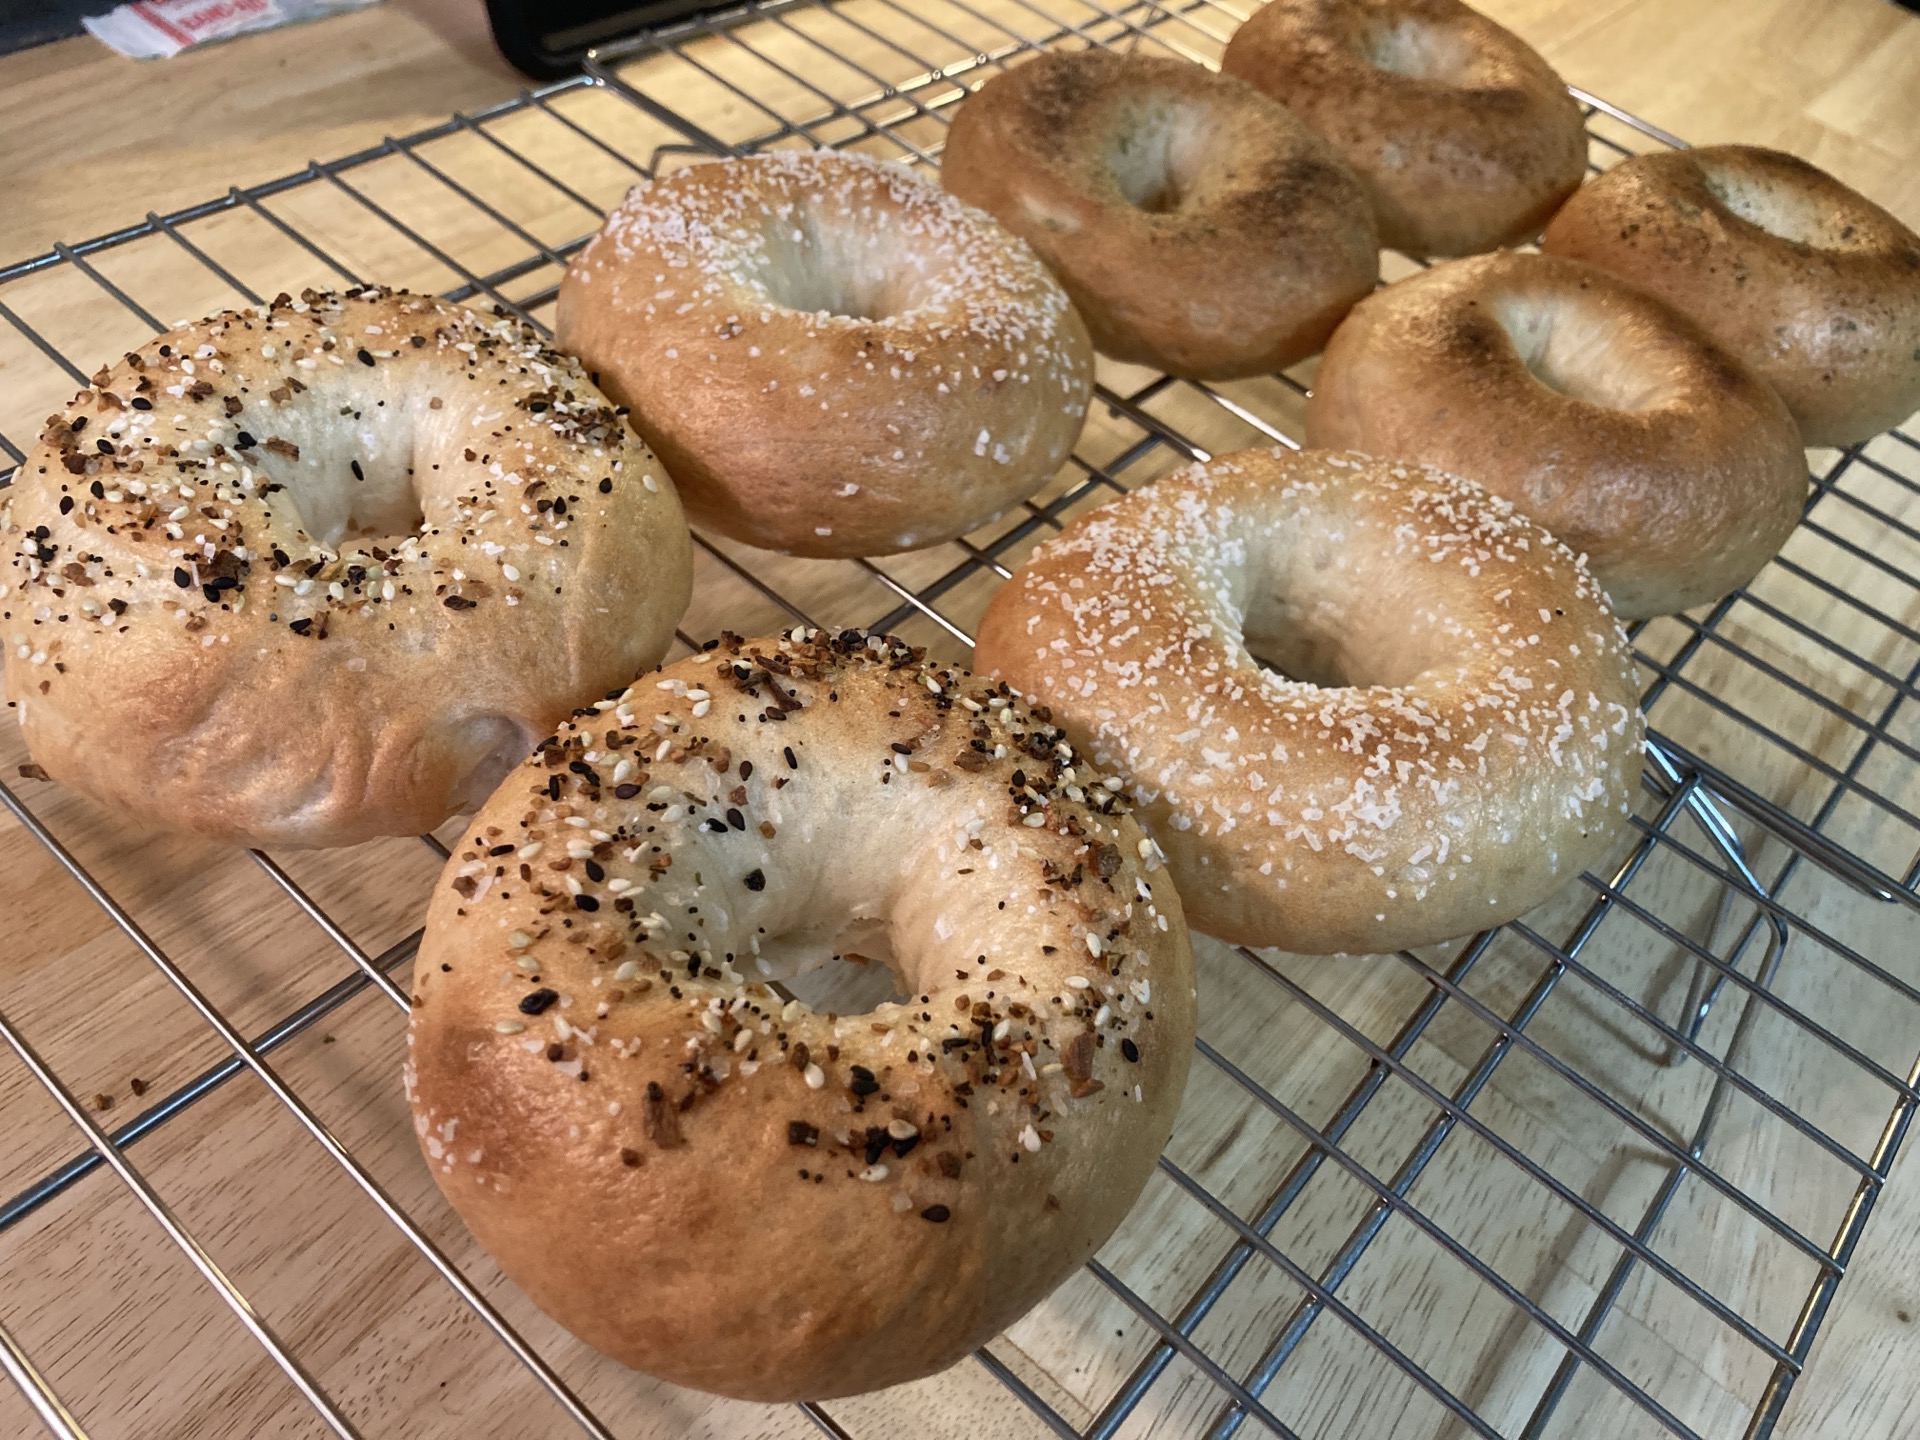
I got 8 bagels, just around 100 grams each, which seems a little smaller than the ones we’d get from a bagel shop.
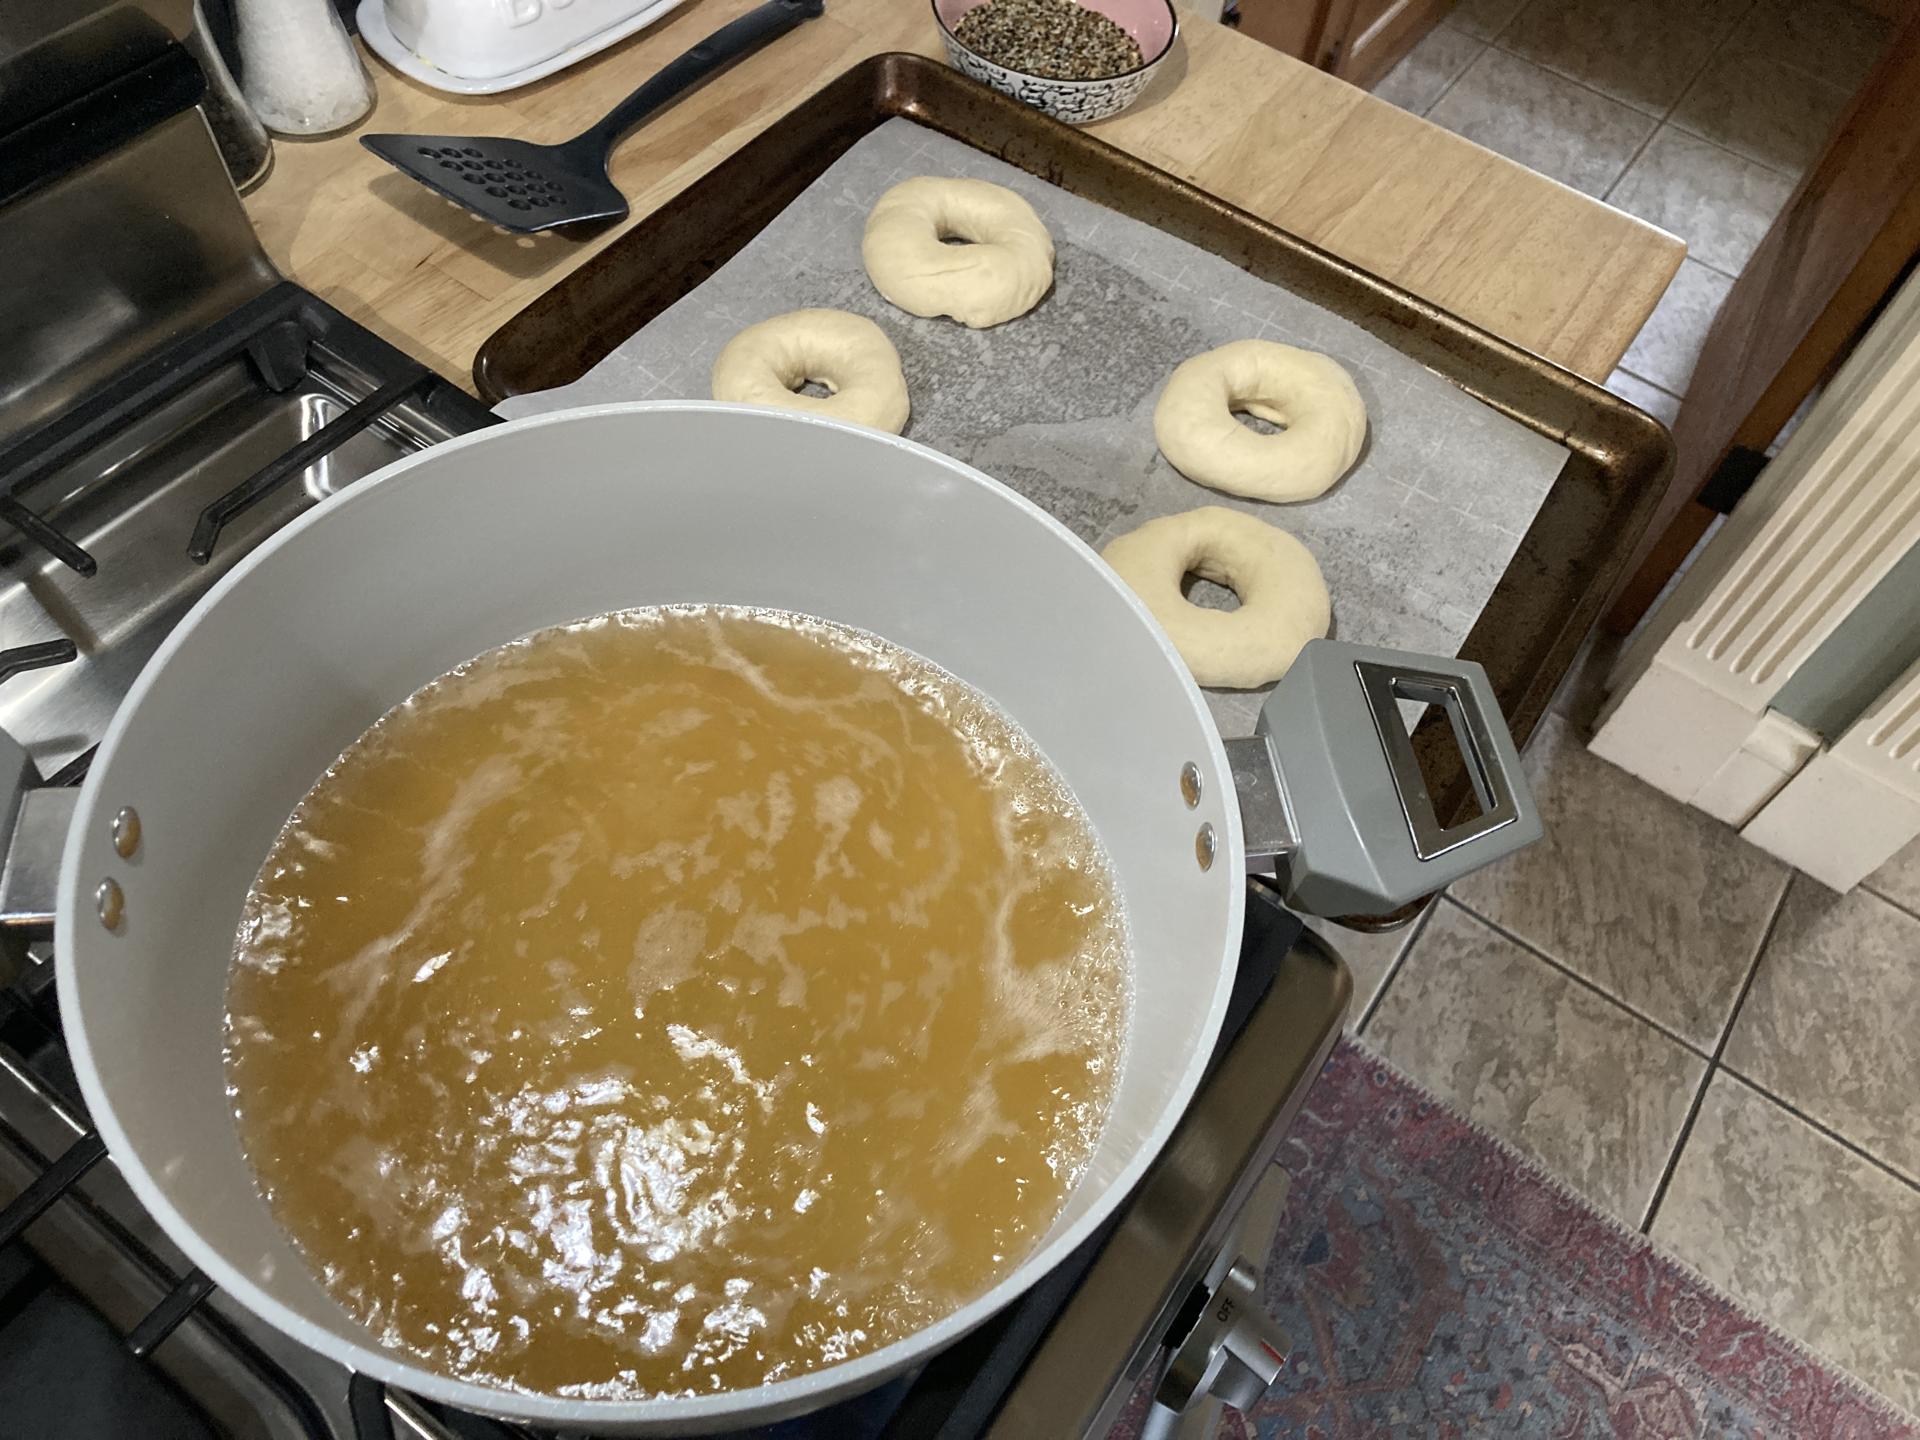
The boiling water had barley malt syrup in it, instead of baking soda which I use for the pretzel buns.
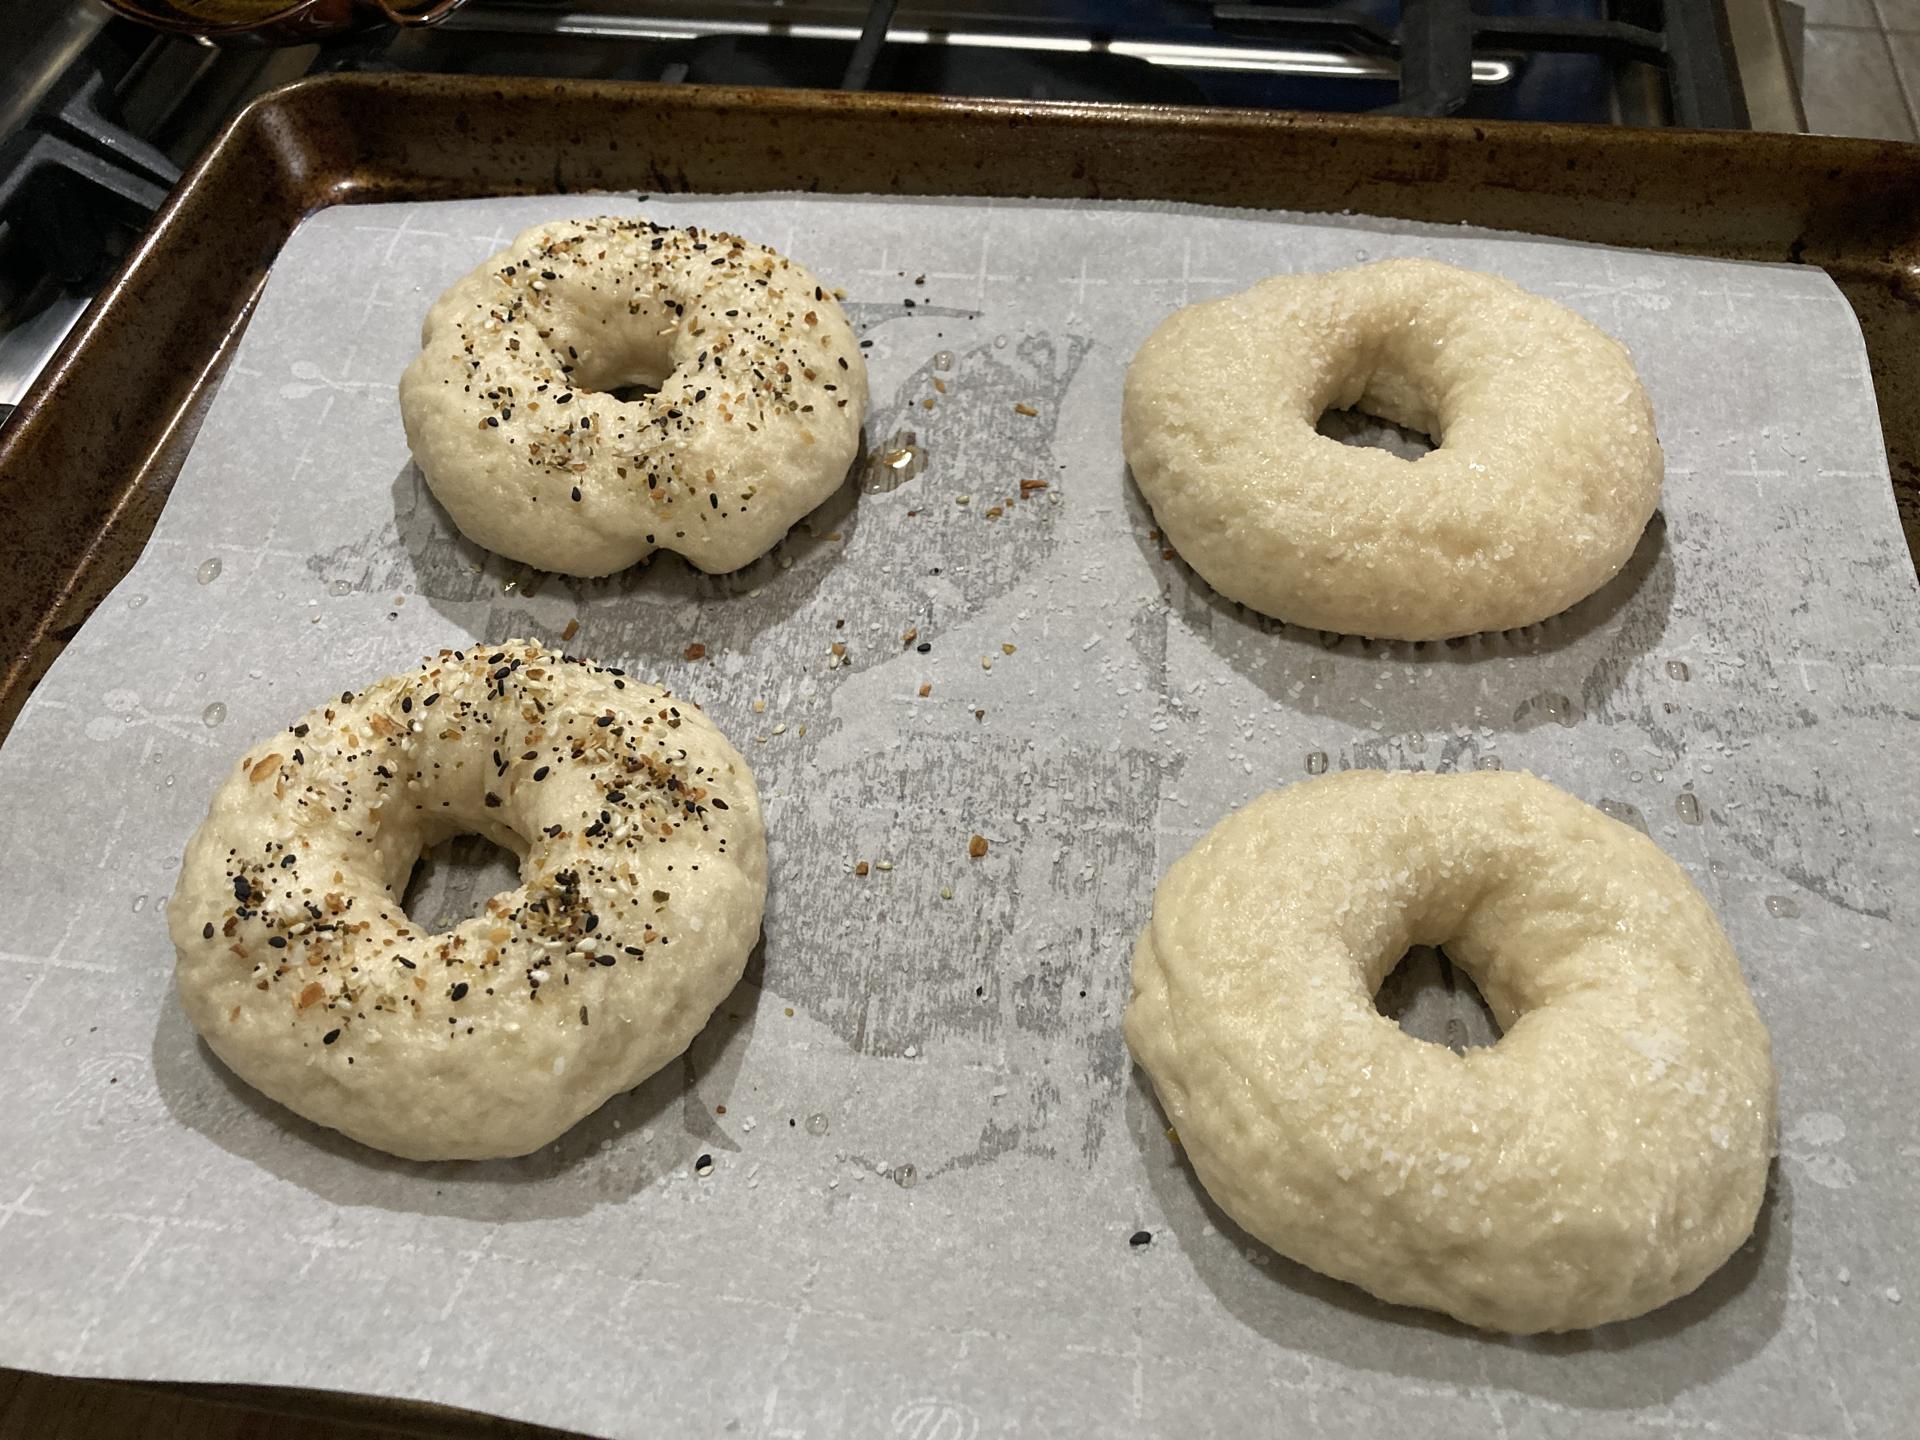
The topping I used were “everything bagel seasoning” and kosher salt. I did a poor job here. I learned that when you buy bagel seasoning to sprinkle on top of things, well that’s the wrong thing to use for this…
The seasoning has garlic and onion pieces that are too small, and tend to burn. So you need to make your own. Also, “bagel boards” are a thing, which are cedar board with “food grade” burlap attached and then soaked to prevent seasonings from burning.
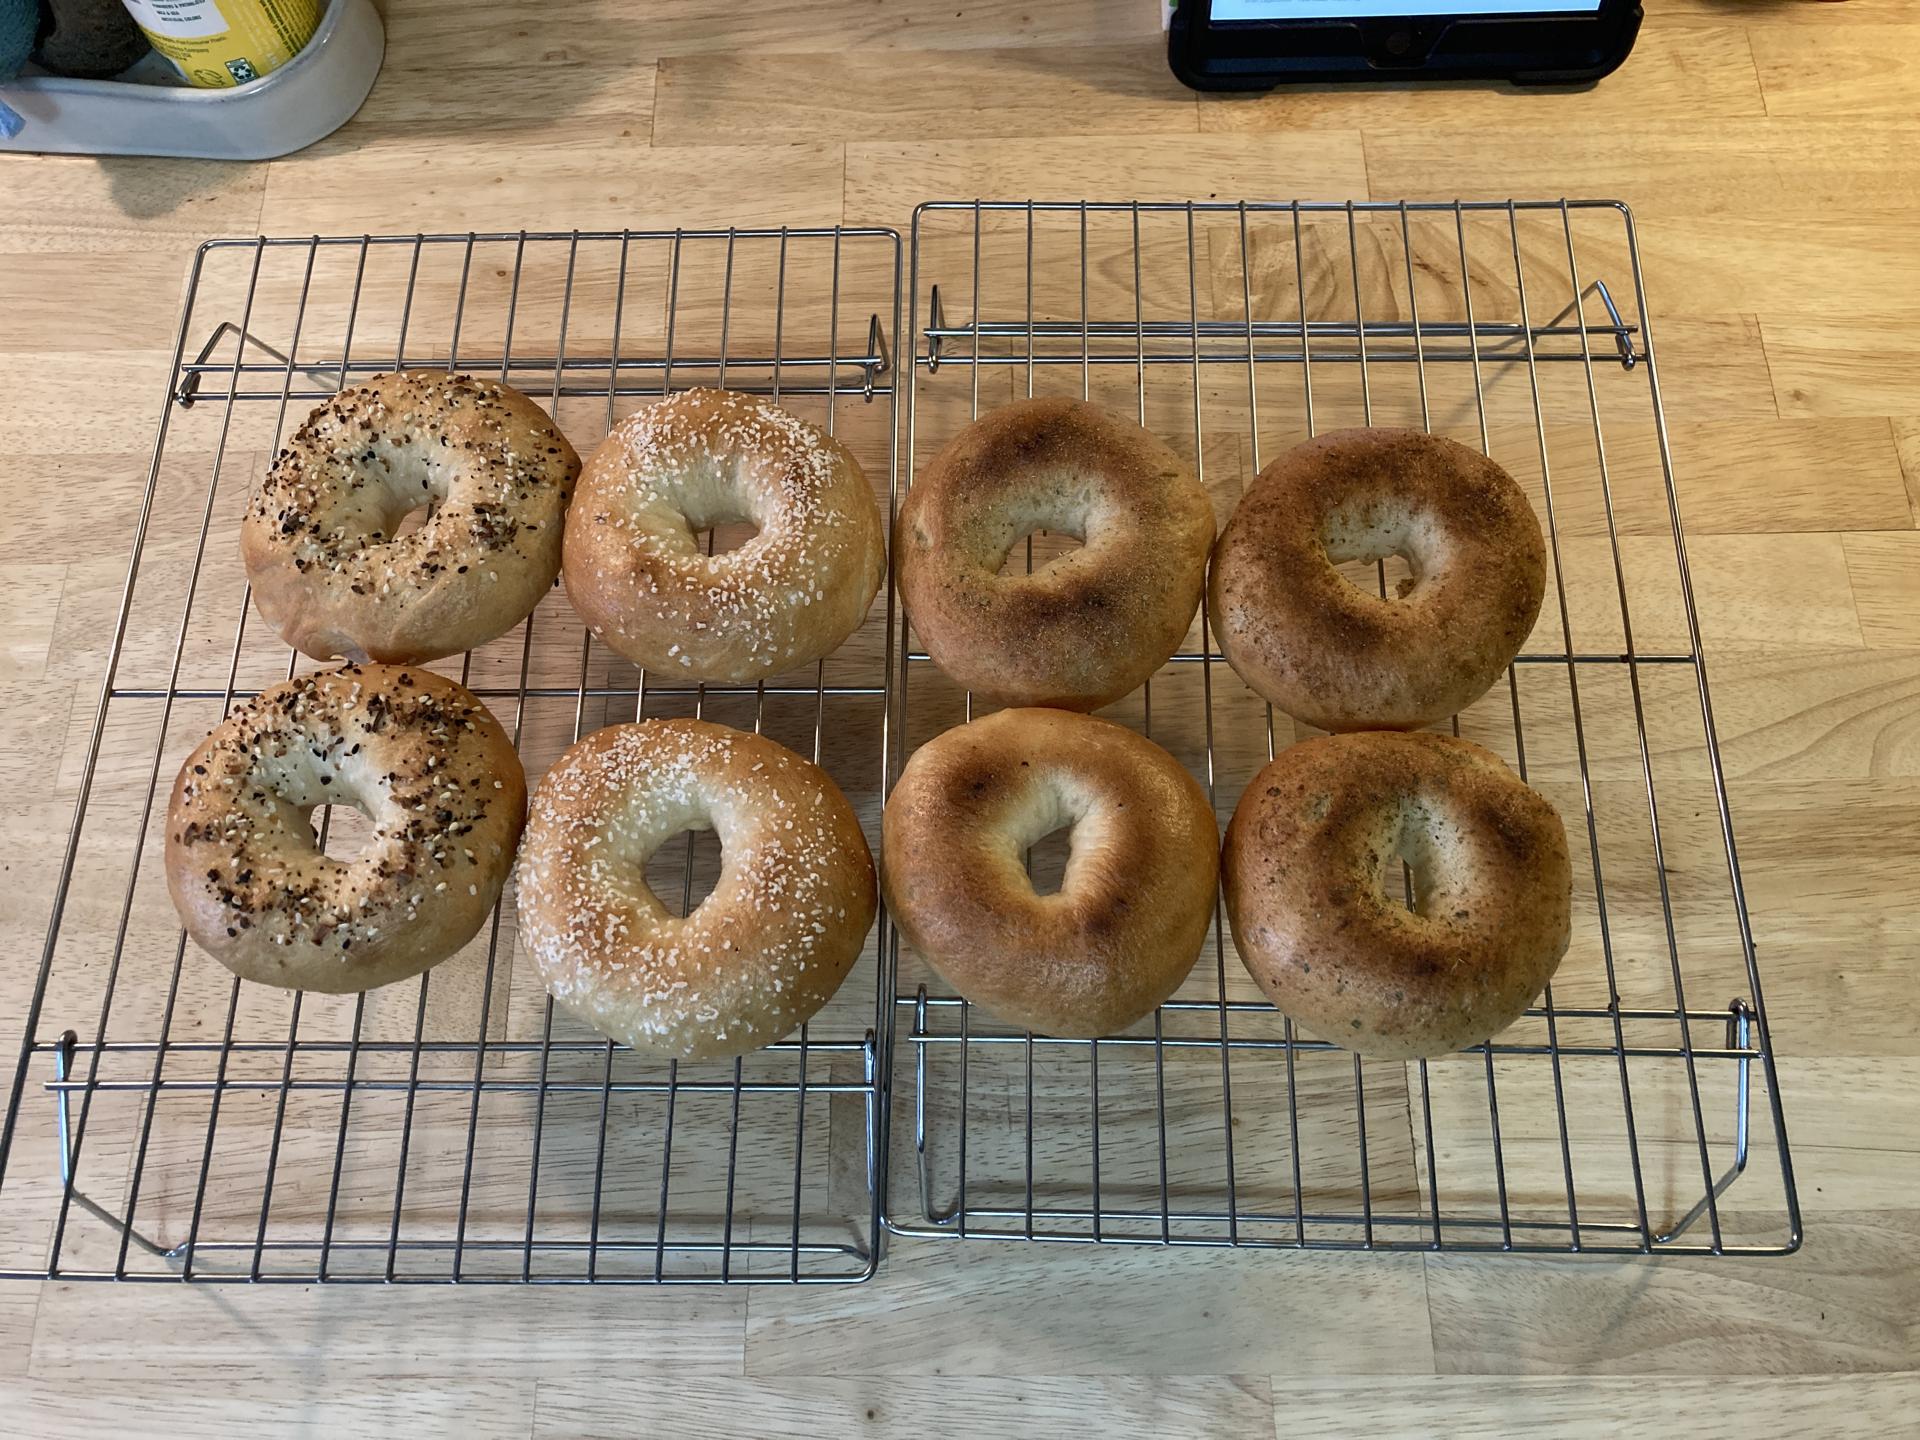
The ones on the right side were weird ones where I just sprinkled on things like Old Bay, and other random seasonings from the cabinet. They didn’t add much, but hey… it was an experiment! Toppings are the most difficult part of this process. (I would love to do asiago parmesan bagels!)
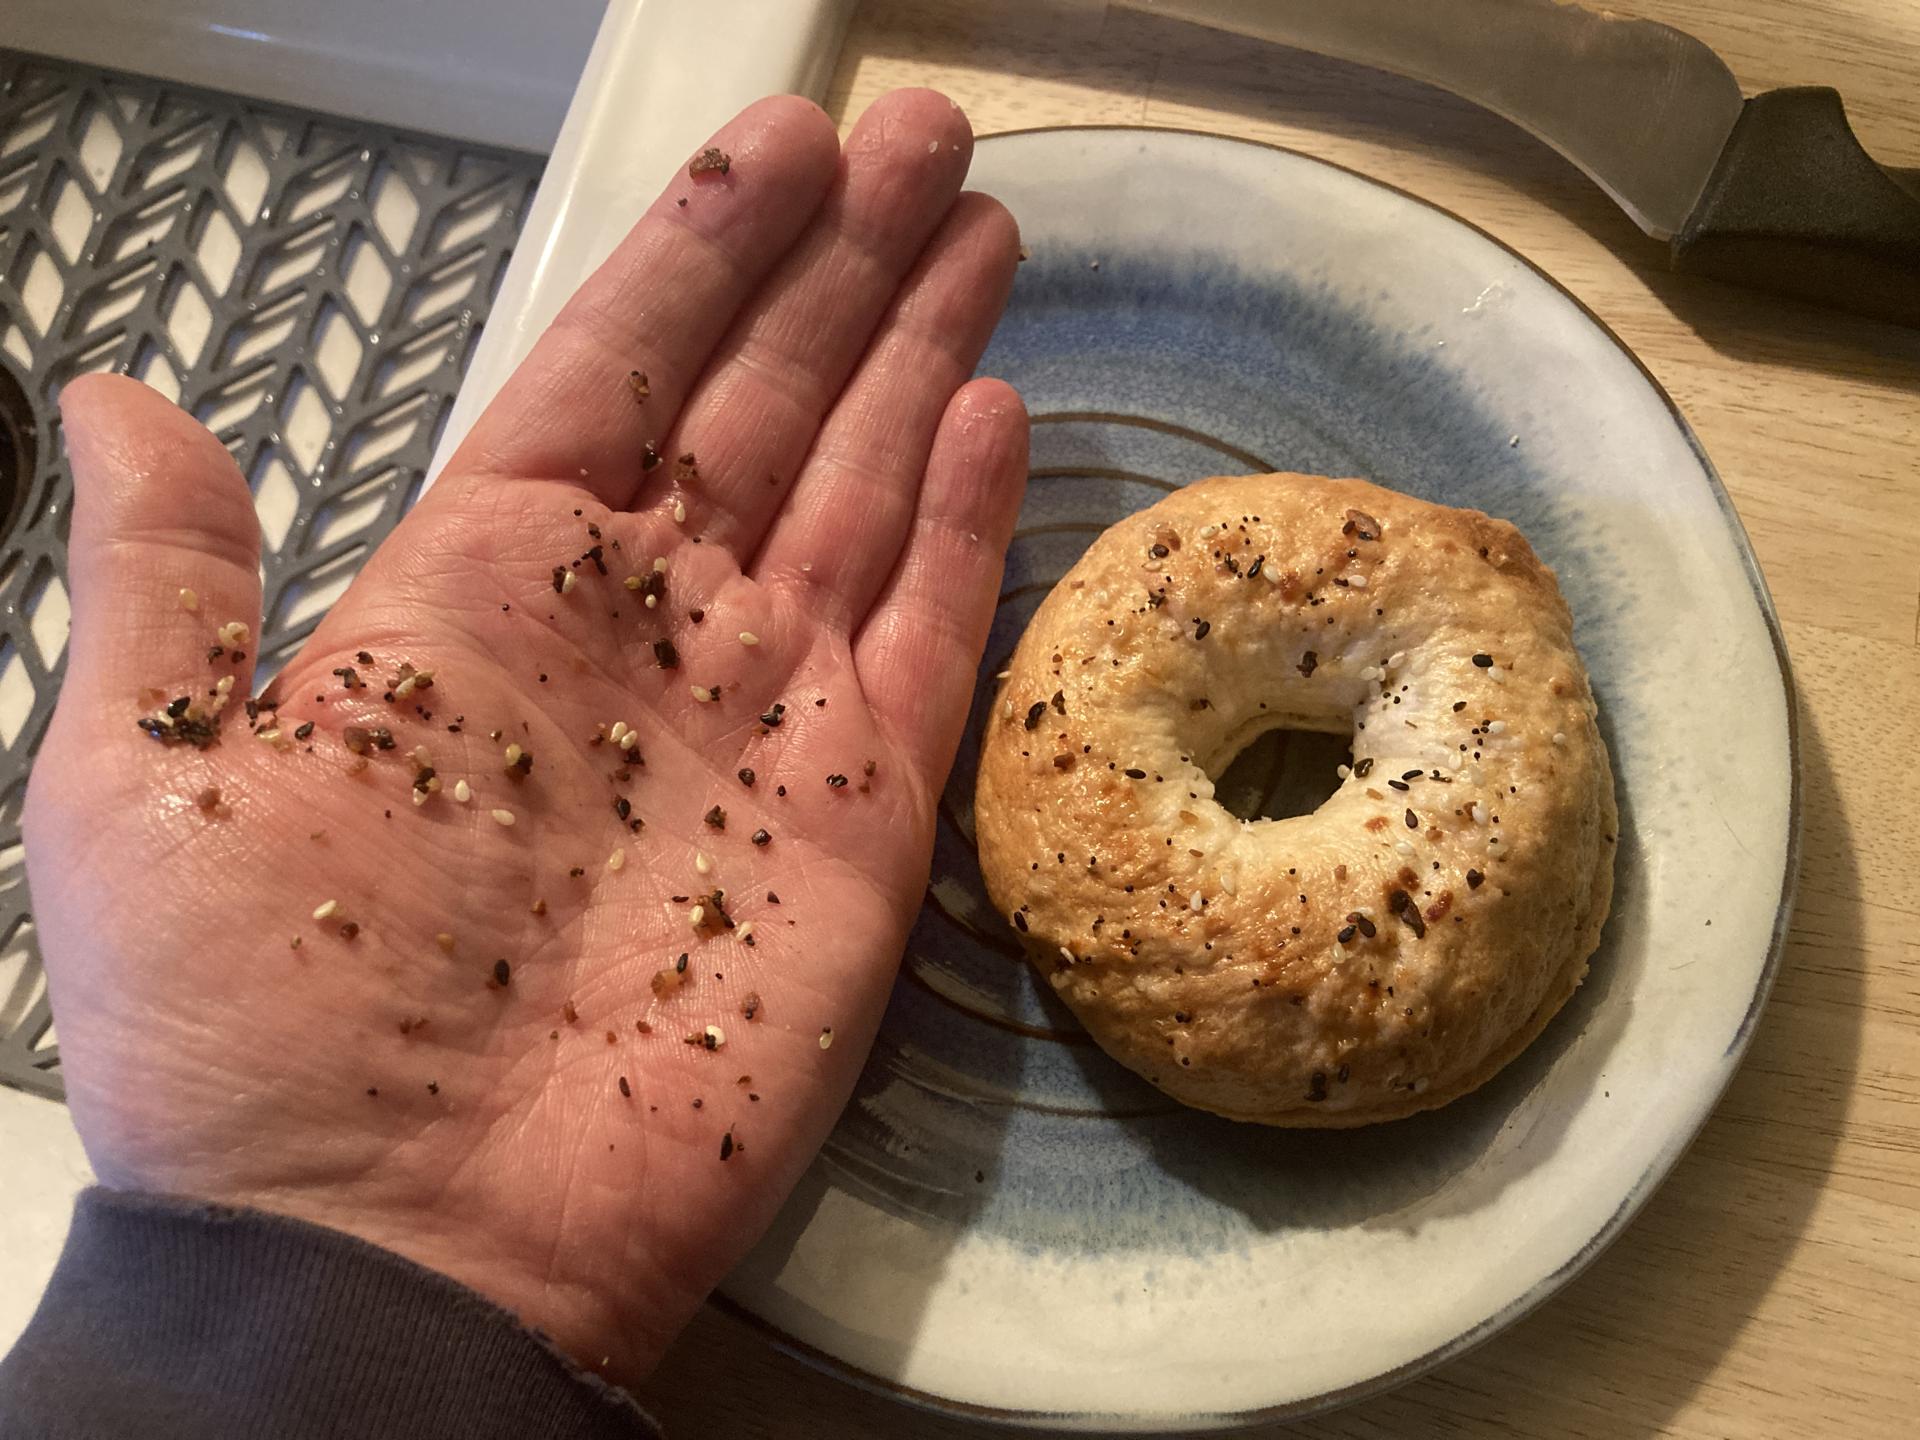
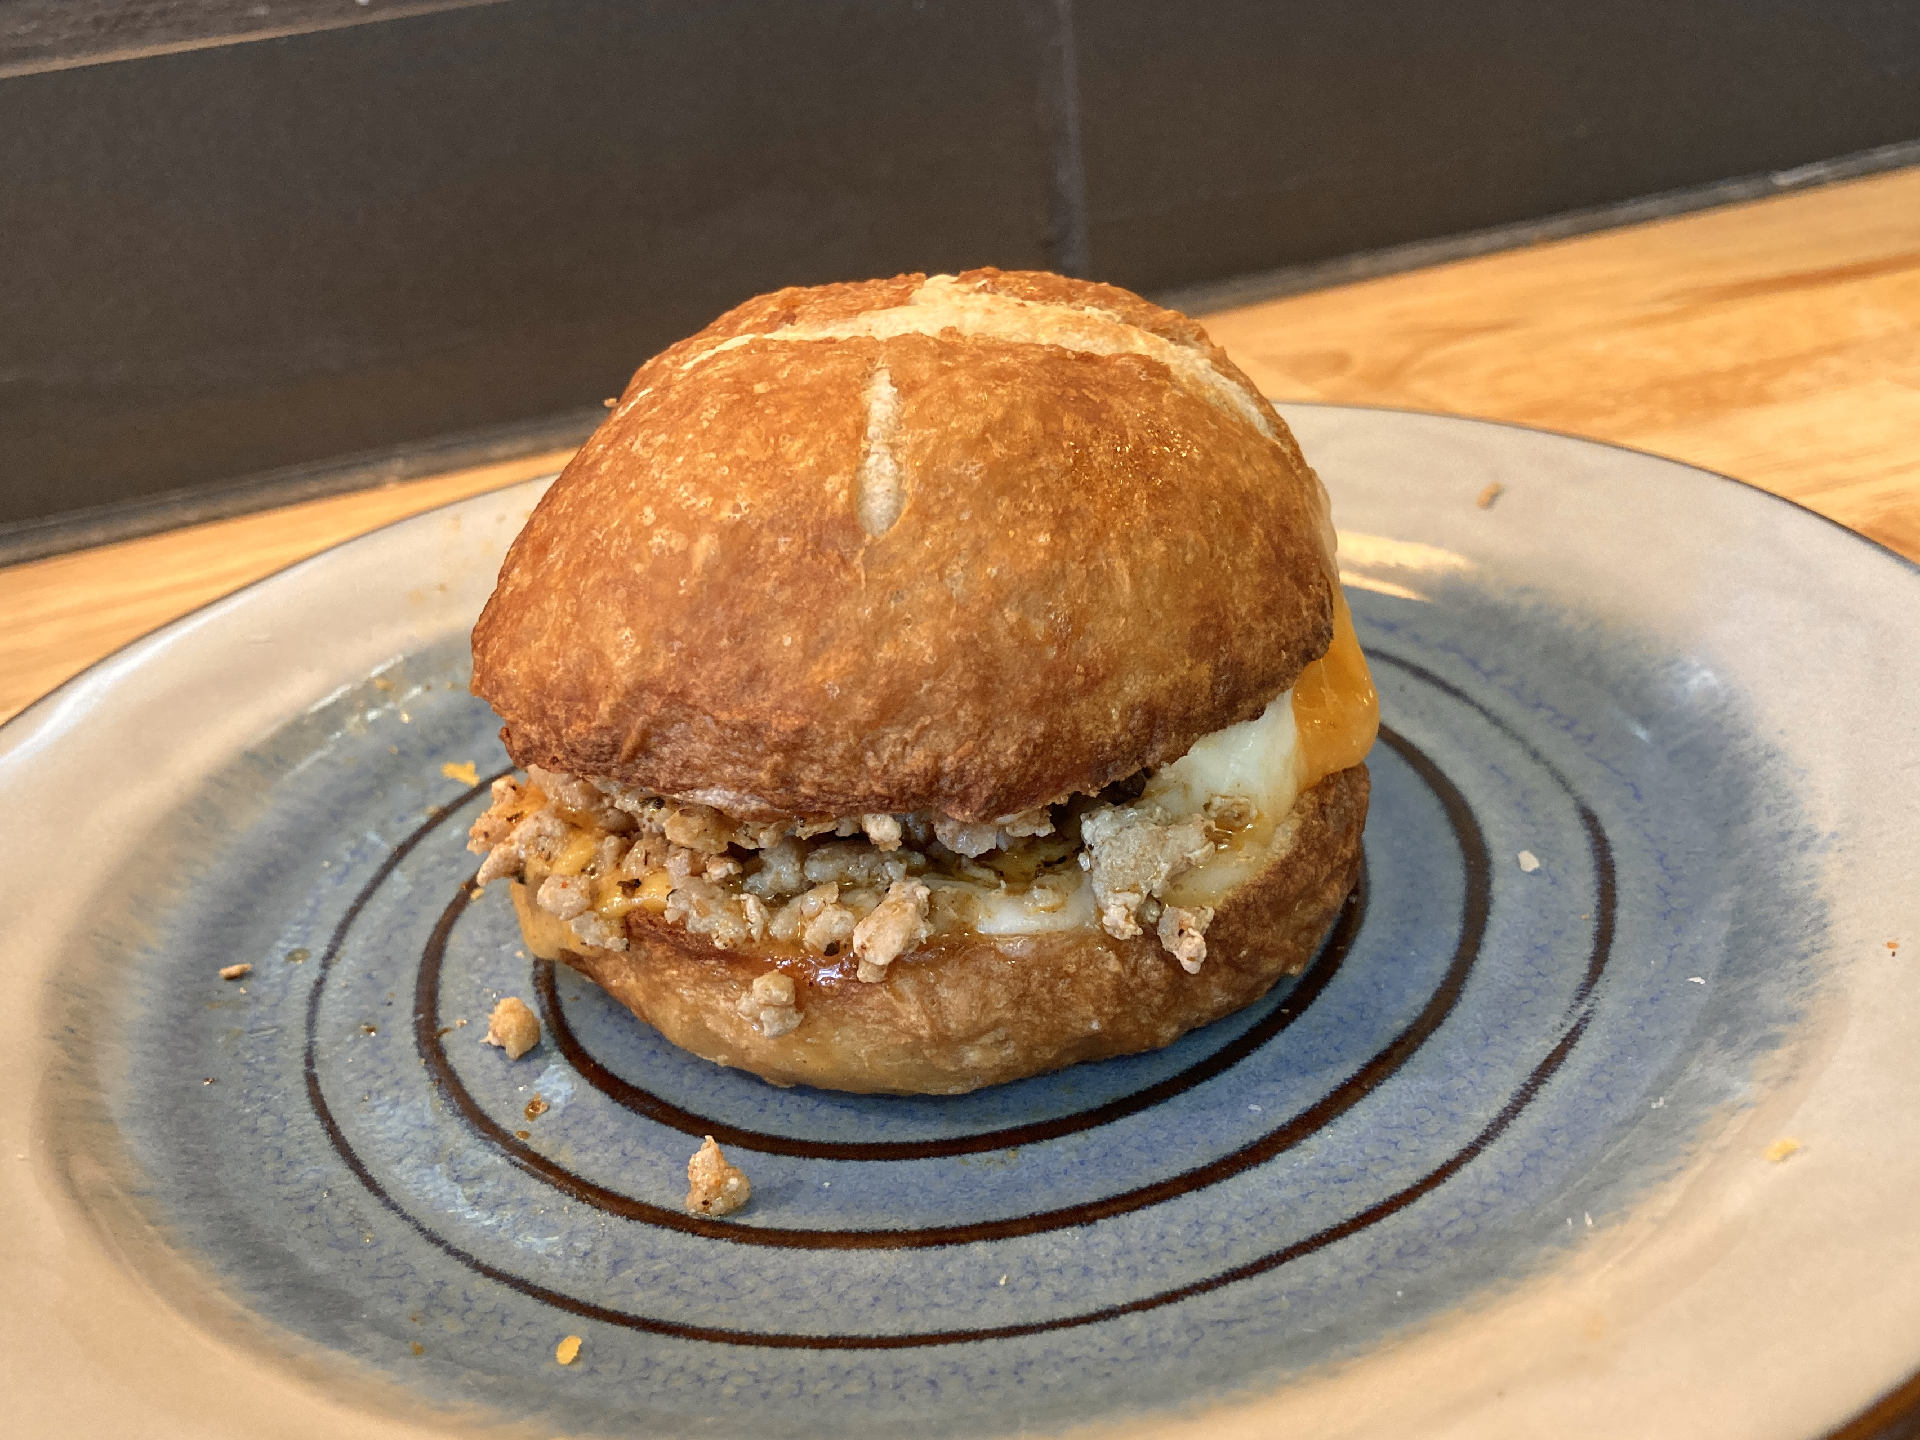
So… yeah. Here’s what happened when I tried to hold one in my hand to slice it. I did not use an egg wash and press the bagels into a seasoning bowl. So more things to try next time.
There are a few of the recipes I looked at. I tend to read a bunch of recipes and use bits and pieces from each.
- King Arthur’s Bagel Recipe
- New York-Style Bagel Recipe
- Sally’s Homemade Bagels Recipe
- Food Network Homemade Bagels
I just made another batch today, but I think with practice it’ll become easier and I’ll get the hang of it. I’d also like to try a long(er) fermentation time with less yeast like I do for pizza dough.
Note: This post may contain Affiliate Links. Read More.