When I was a kid, like a good ten years before I could drive, I thought vans were cool. It was the 1970s so vans were cool, and they probably had shag carpeting and maybe a wicked airbrush painting on the side or something. I don’t know… I was a kid in the 1970s and vans were cool.
When I was at university I either played in bands, or was the road crew for bands that friends of mine were in, so I was traveling in vans, and eventually I purchased an old van from my boss that I used for getting to shows, and touring, and for my daily vehicle. It was a Dodge Ram, not a Ford Econoline, but I always considered the Econoline the epitome of a punk band van.
Funny story about my own van. I sold it to some guy, and months later my mom got a call from the police because they had claimed it was involved in a high speed chase. (I bought the van while living with my parents, but had since moved out.) I had to laugh at the idea of a “high speed chase” in that van! Anyway, the police wanted to know if we had any info on the guy who bought it. I did not. Some guy showed up, paid cash, and drove it away.
Anyway, my van did a tour for Buried, another for Ten Boy Summer, and various trips to Madison, Waukesha, Minneapolis, and probably a few other places. One of the windows got busted out in Chicago and someone stole all our money on the last day of the TBS tour… Oh well.
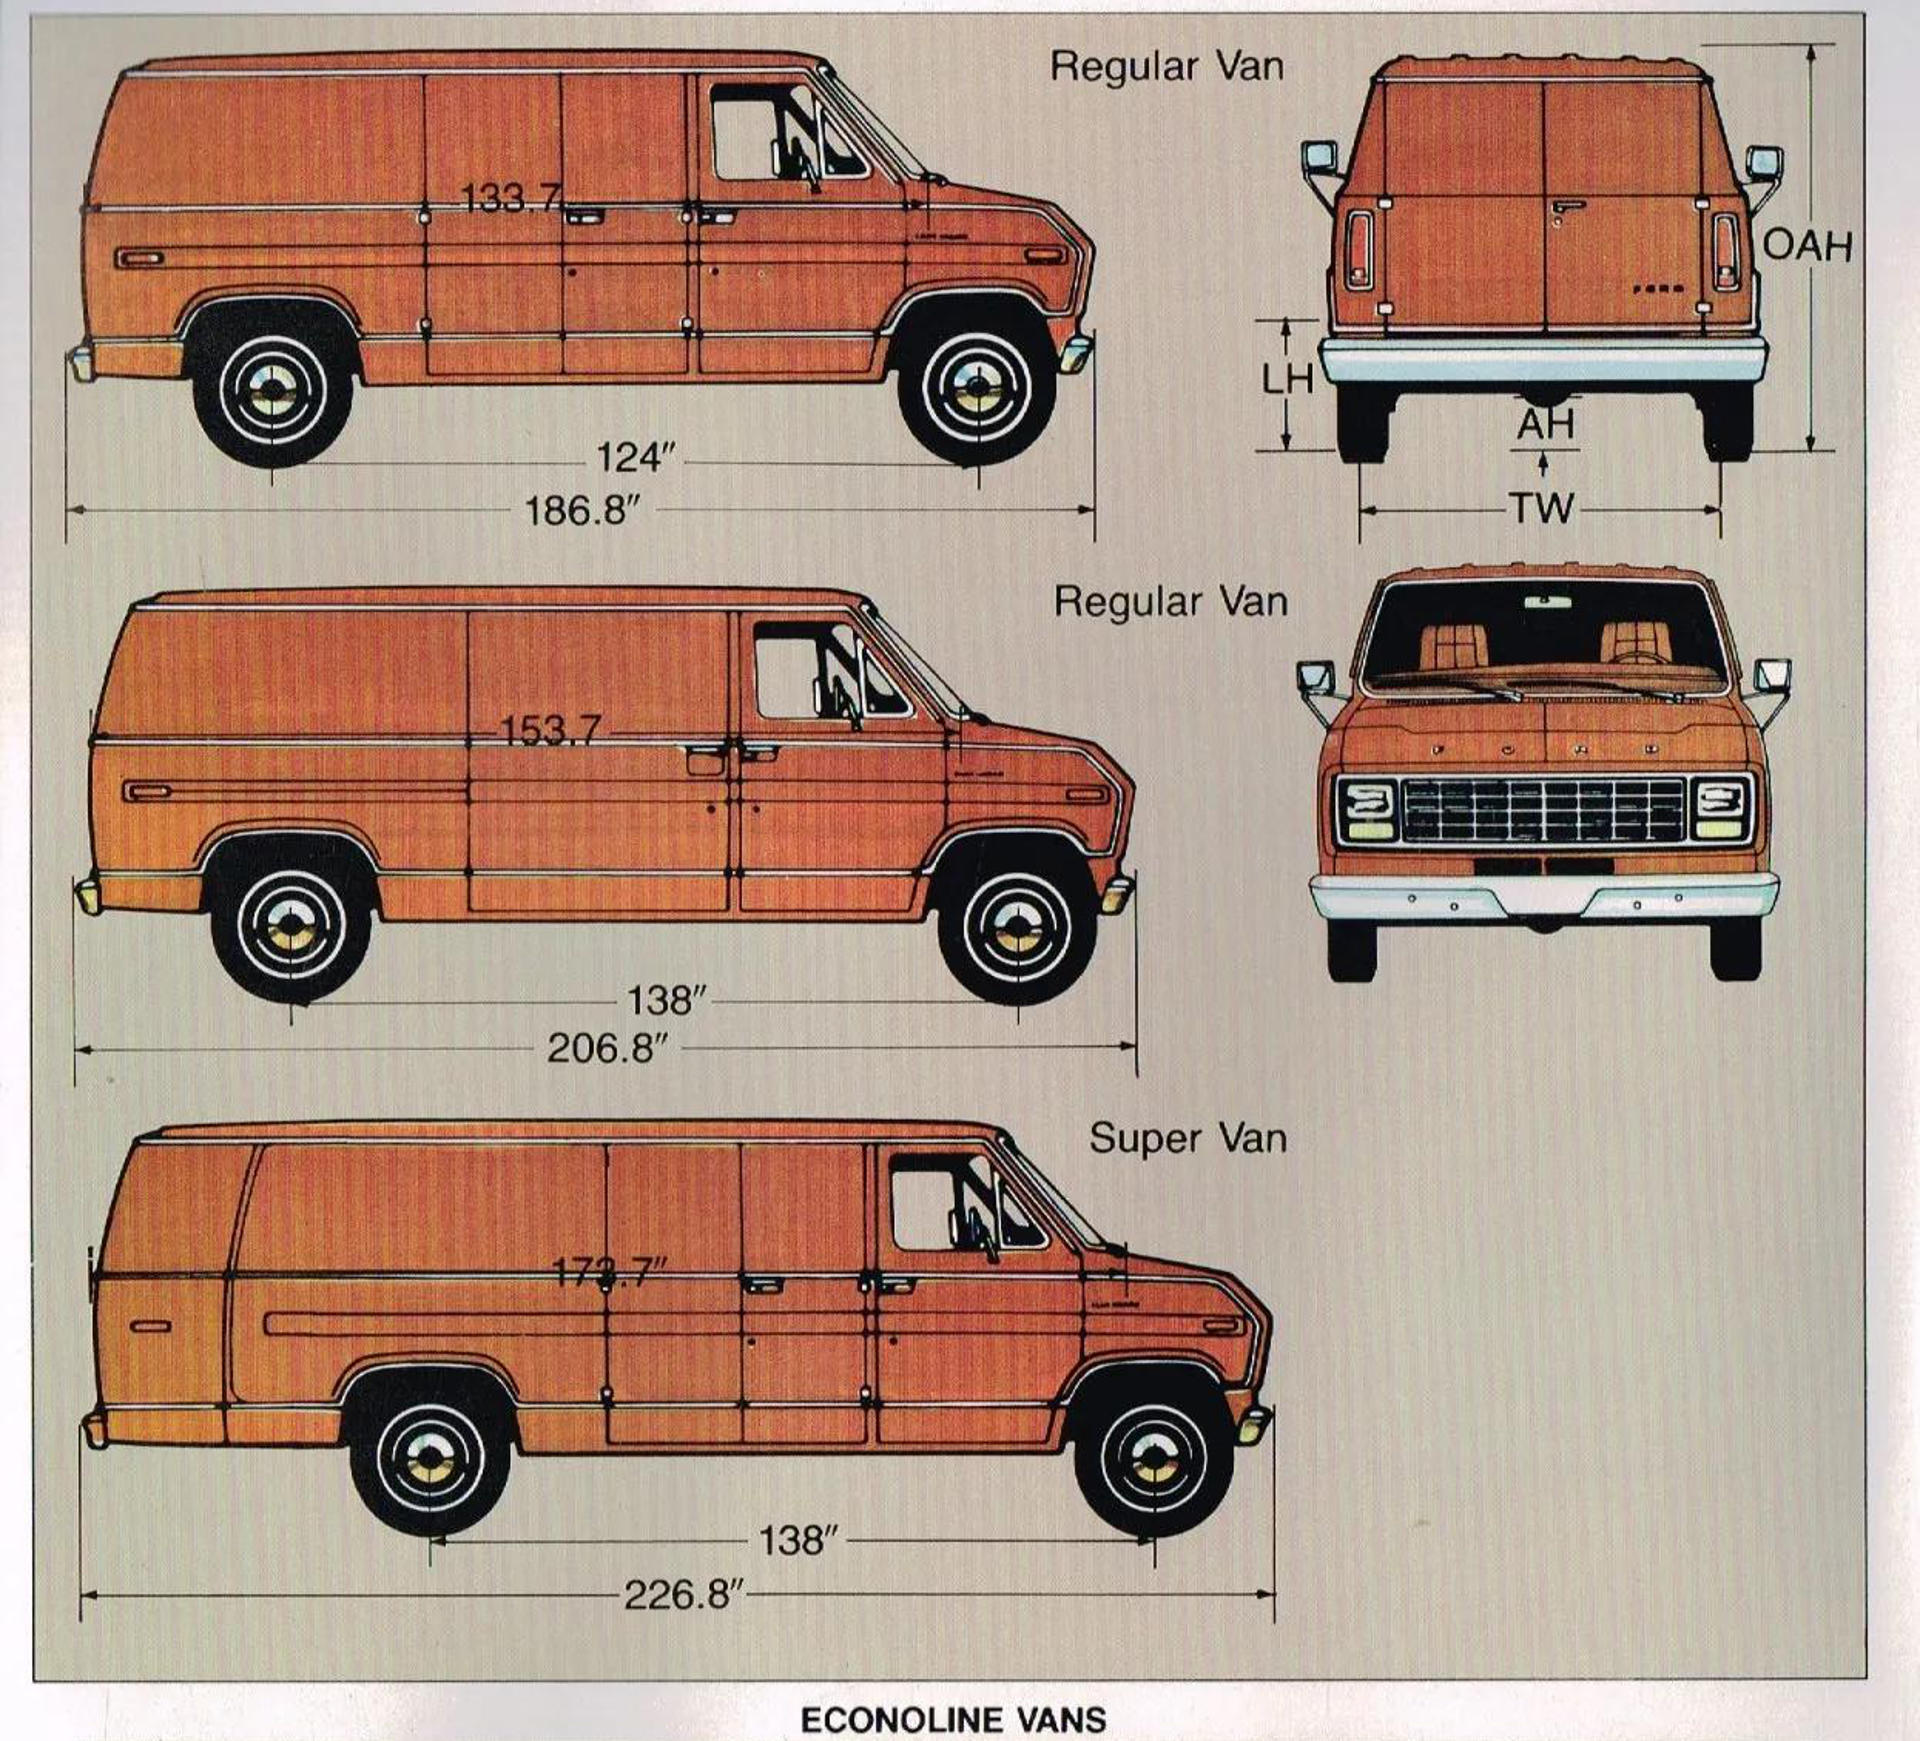
Here’s a reference image of some of the options for a 1982 Ford Econoline Van.I originally thought I used a 1975 reference image but I was in error.
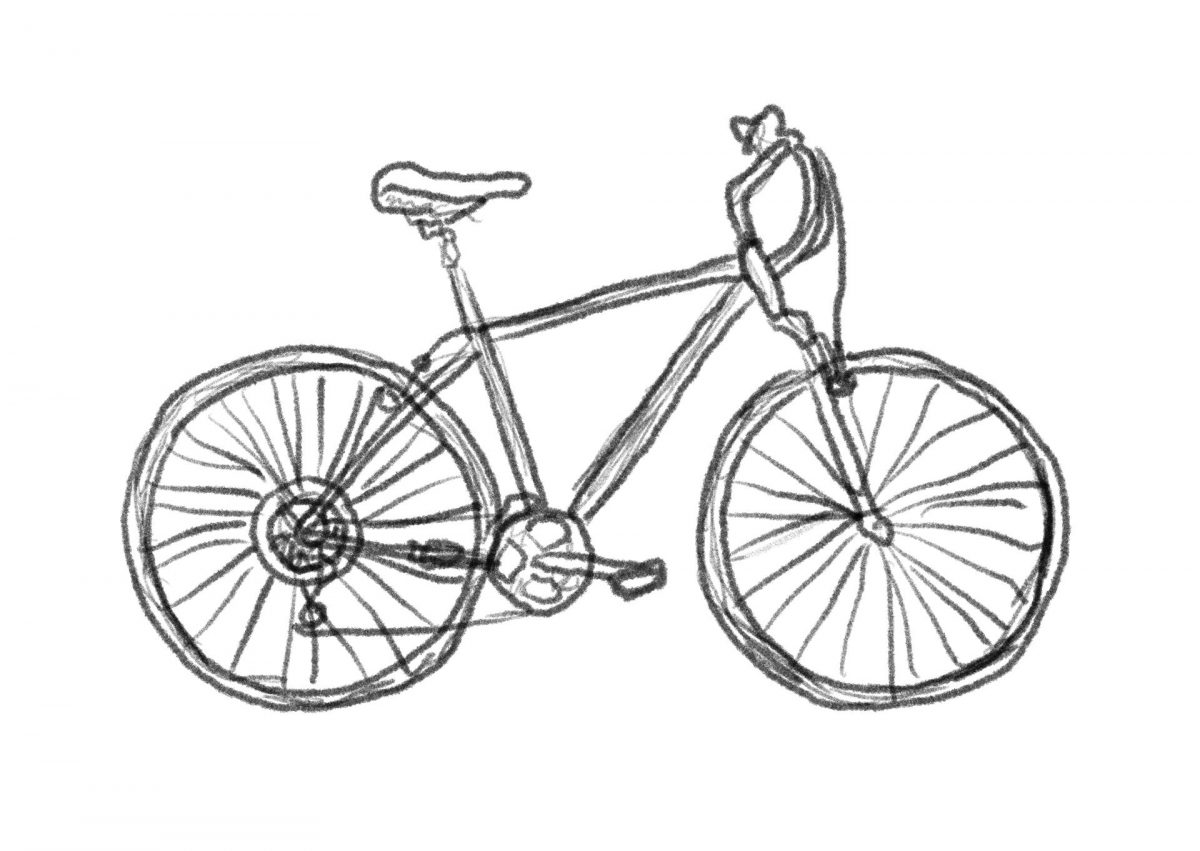
Anyway, this is another digital sketch done with an Apple Pencil on an iPad using Procreate.
Note: This post contains an Affiliate Link. Read More.