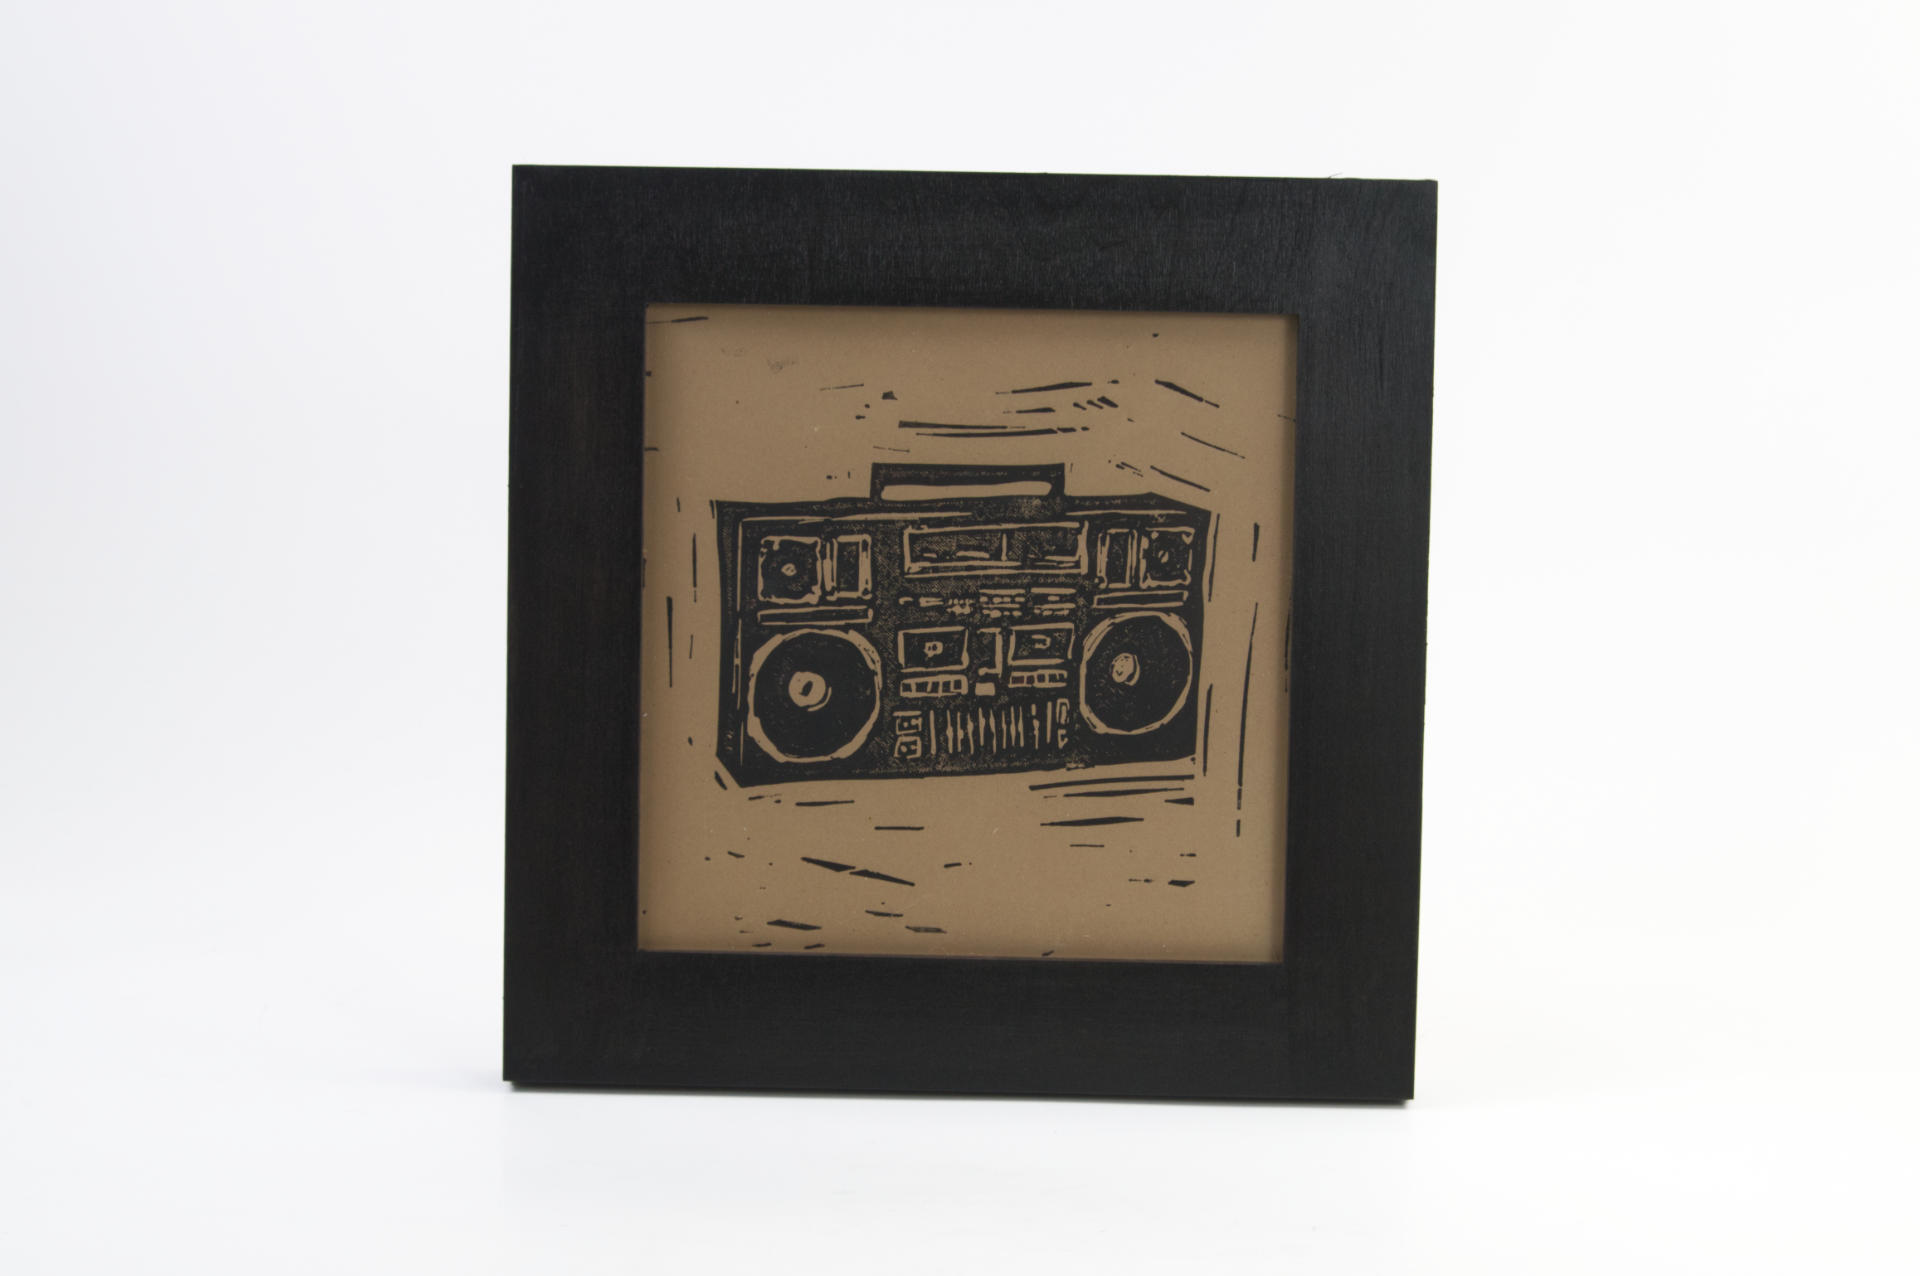
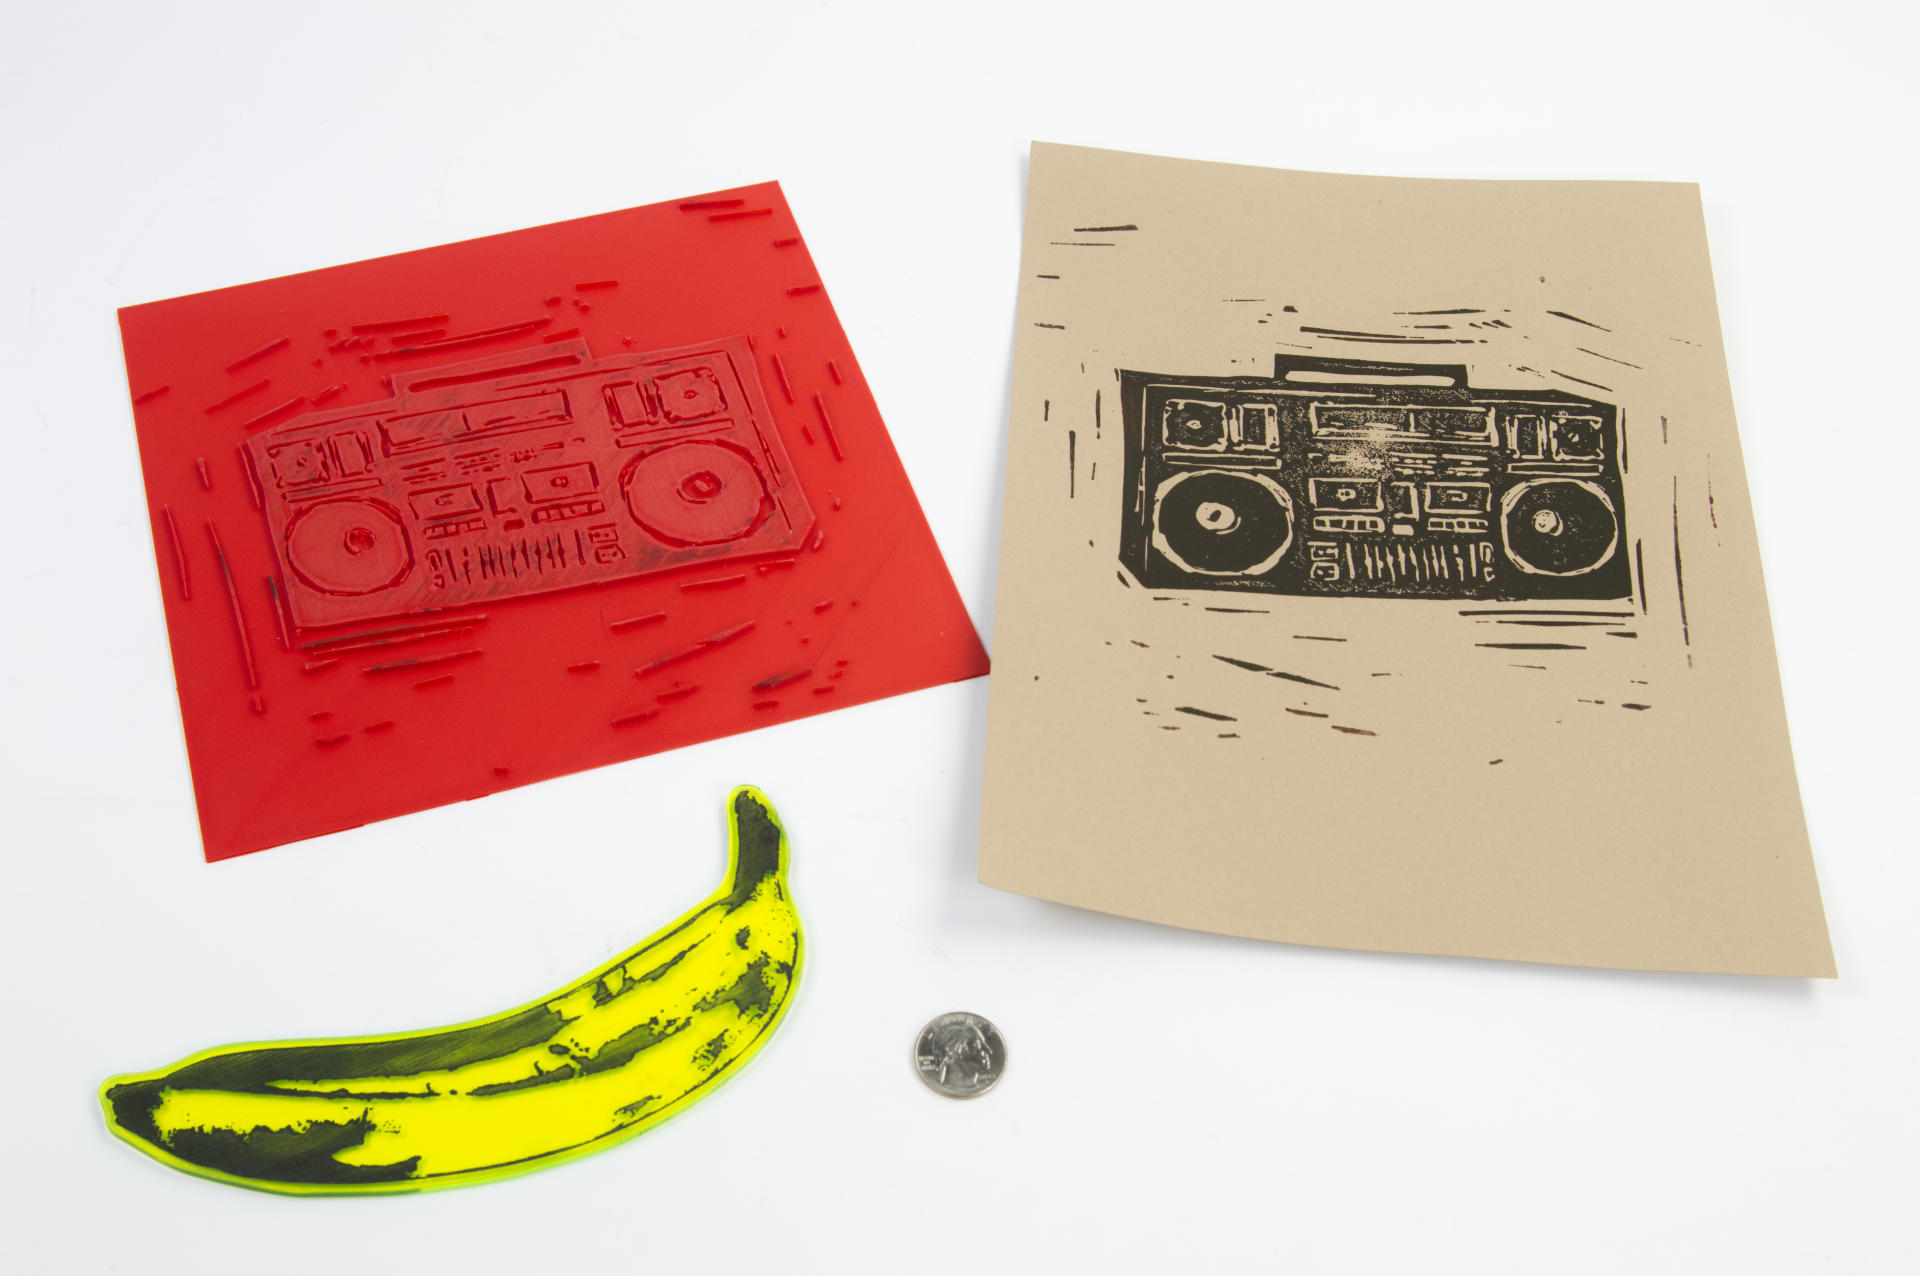
I posted about the Sydney Hih piece I made for the WMSE Art & Music event, but I made a second piece as well this time! I used the boom box that the character Radio Raheem carries around in the film “Do the Right Thing”.
I remember seeing the film when I attended UWM and took a lot of film classes. The issues addressed in the film haven’t really changed much over the years, as we’ve seen in 2014 (twice) and 2020 and on and on and on over the years. It’s 2025 and in some ways shit is even worse than ever before.
But… I digress. “Fight the Power” seemed like a good title for this piece, as it’s something we need to keep in mind daily in these uncertain times.
WMSE has been an independent radio station fighting the establishment for over 43 years, and introduced me to so much amazing music over my lifetime that I though this music-related art was a good fit.
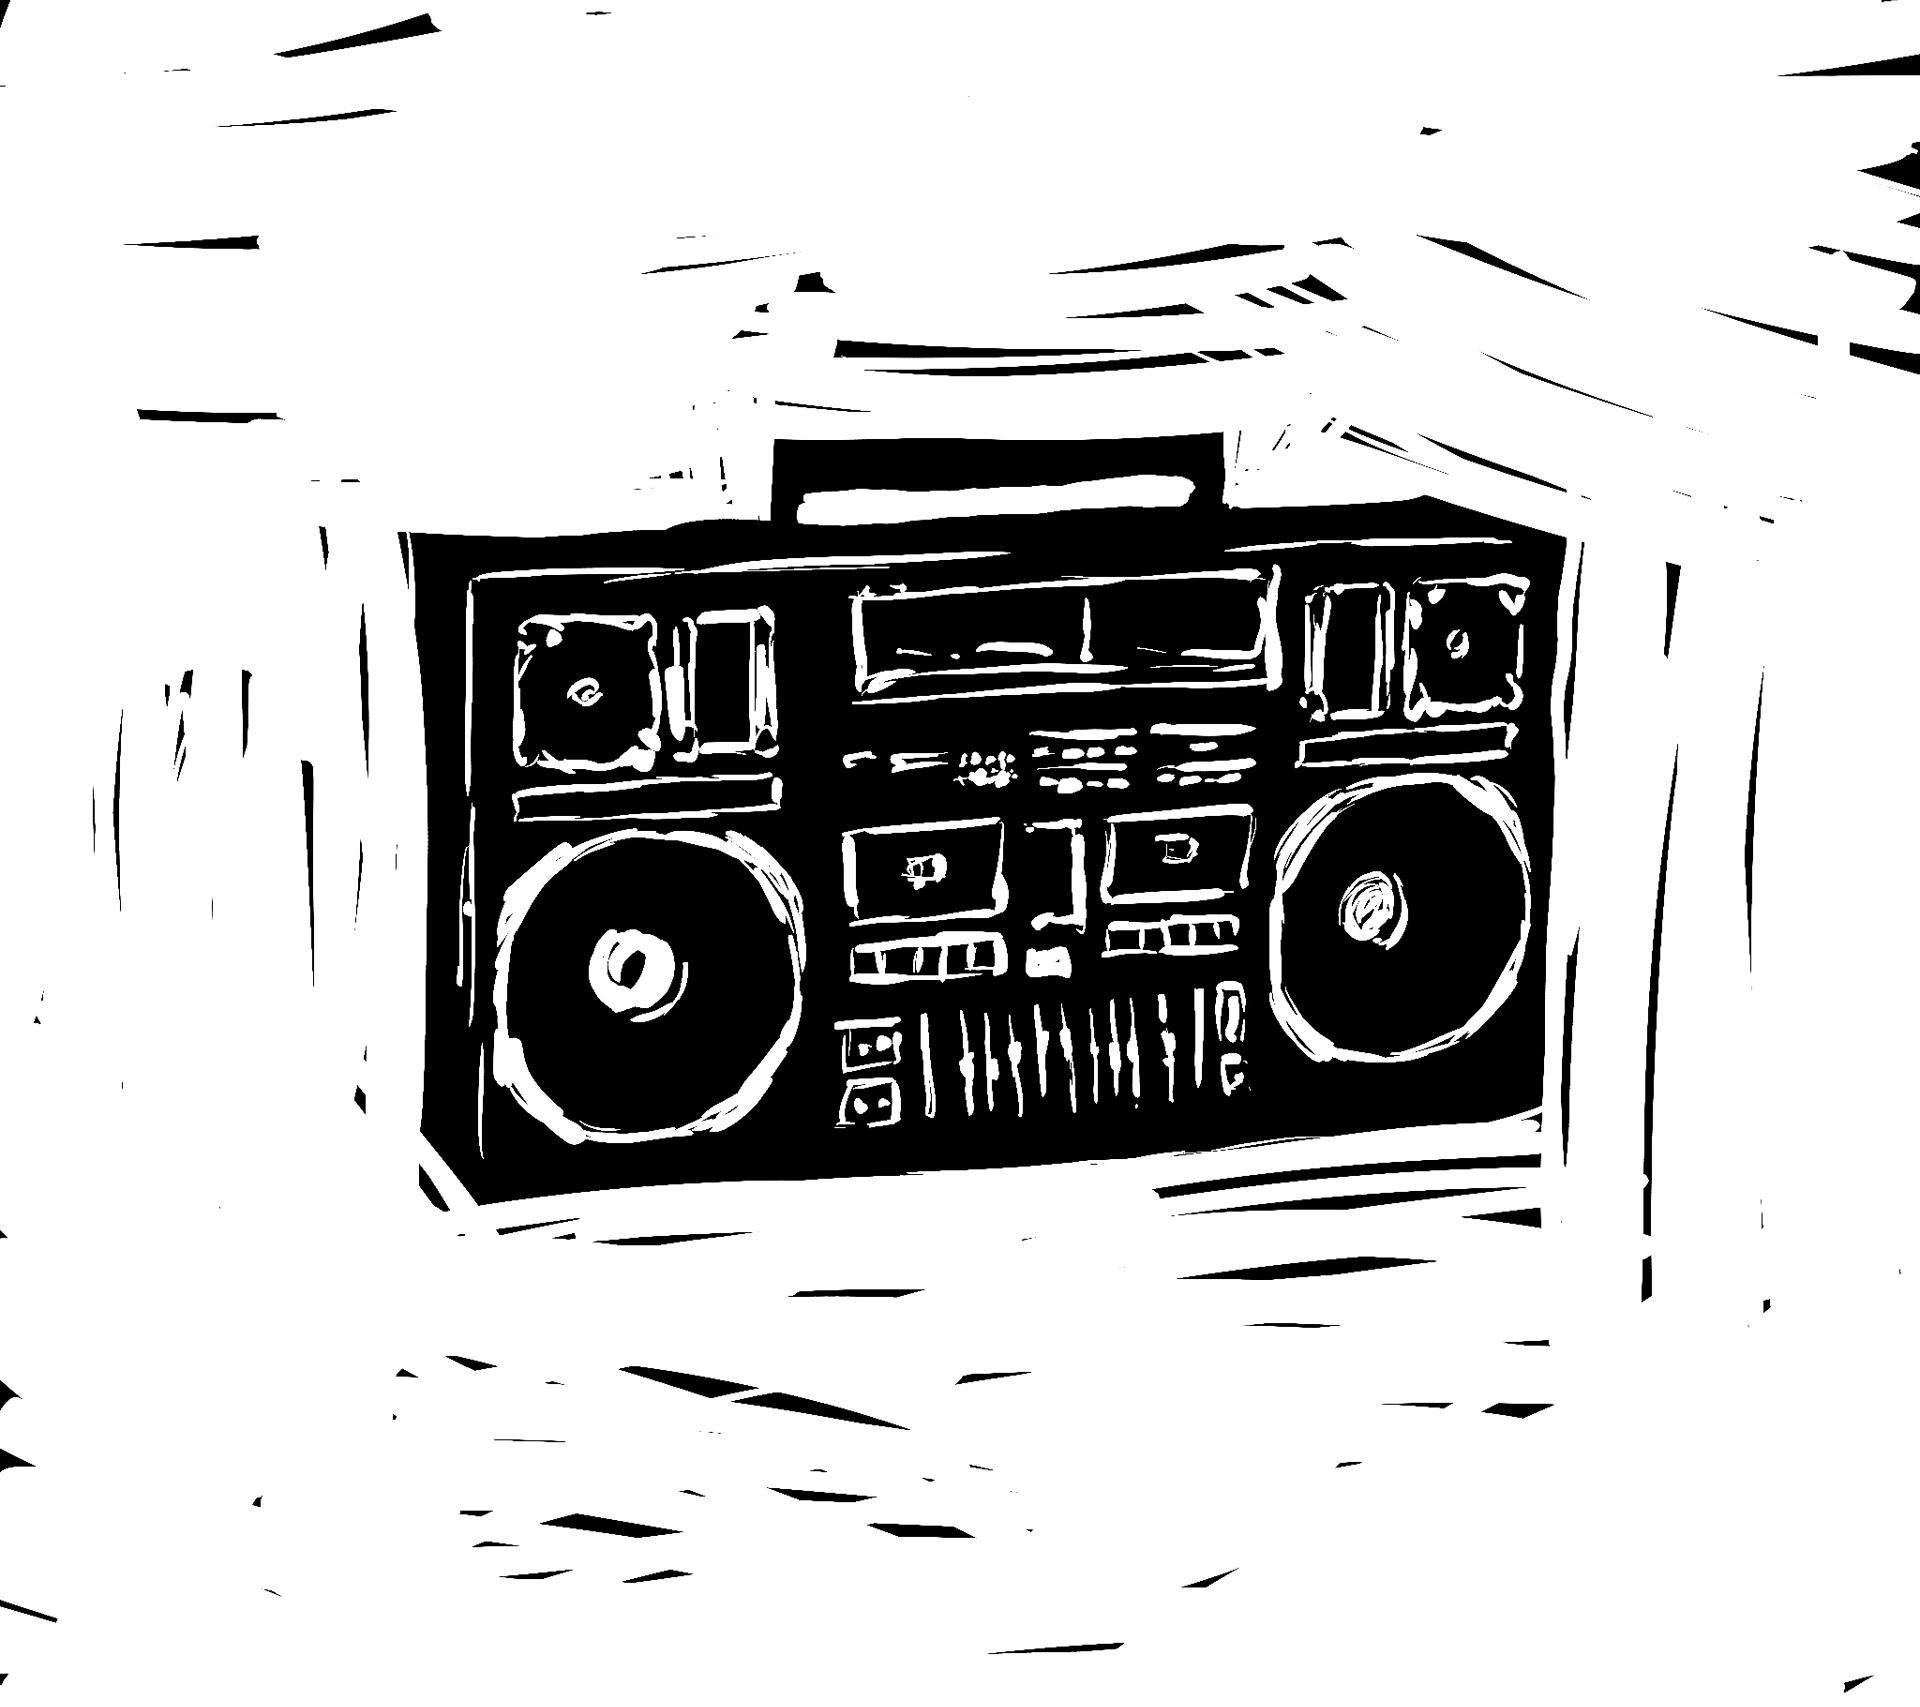
Like my other frame, I did the same prep work of sanding, painting, staining, clamping, gluing… I still really like this illustration. I drew it on an iPad using Procreate but tried the linocut style again and think it worked well.
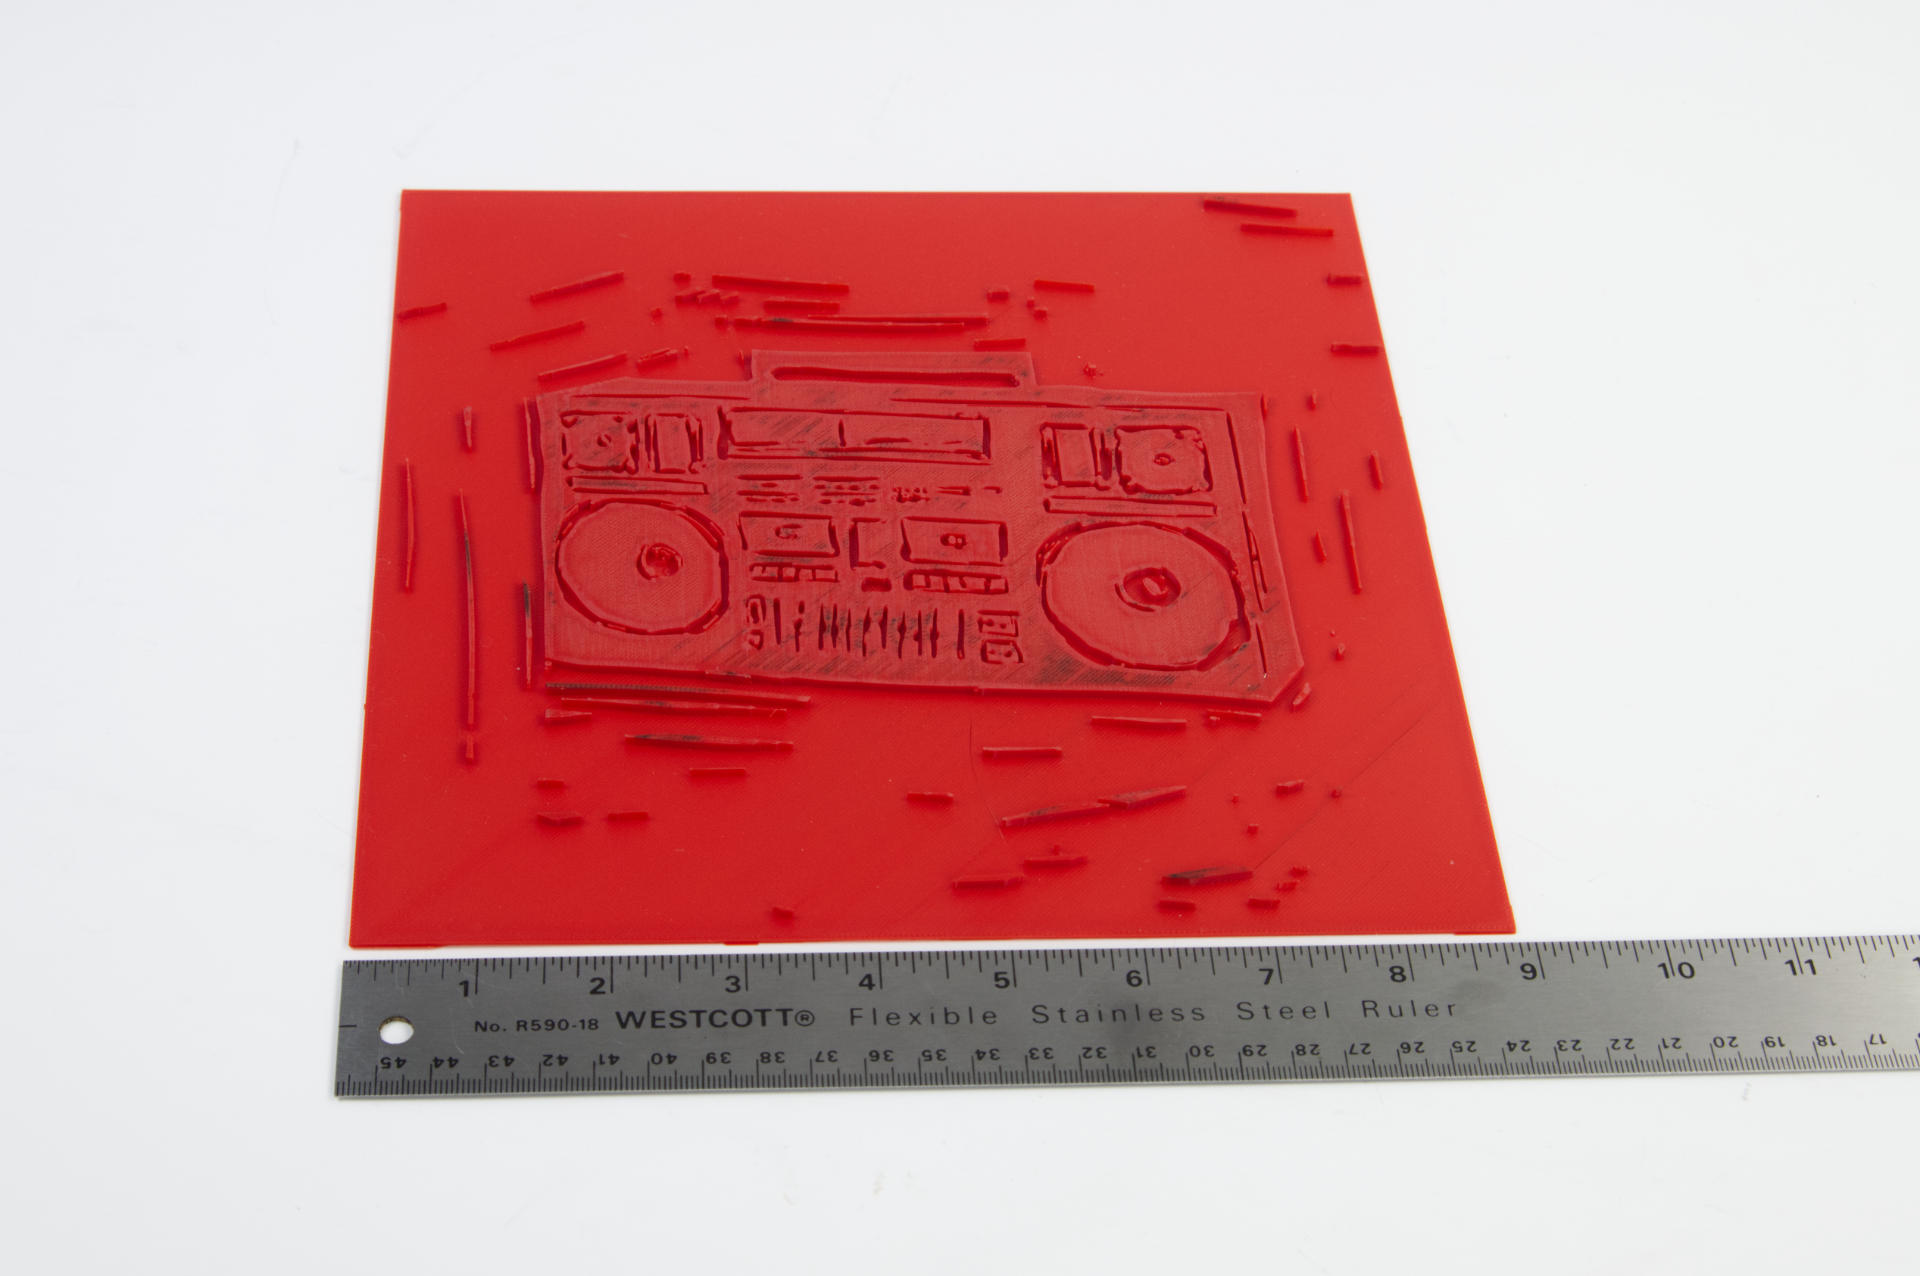
The plate was the largest I could create that would fit on my press, which is 9 inches wide. Luckily it’s about the limits of my printer as well. (Though I could probably print in multiple pieces and assemble if needed.)
I ended up making one test print and then one final print for this. I don’t know if I’ll make more… maybe at a smaller size (on handmade paper?) but I do like this as a large print on some high quality paper.
As with all the art I donate I really hope someone is willing to bid on this and give it a home, while also helping to keep WMSE running and on the air for years to come.
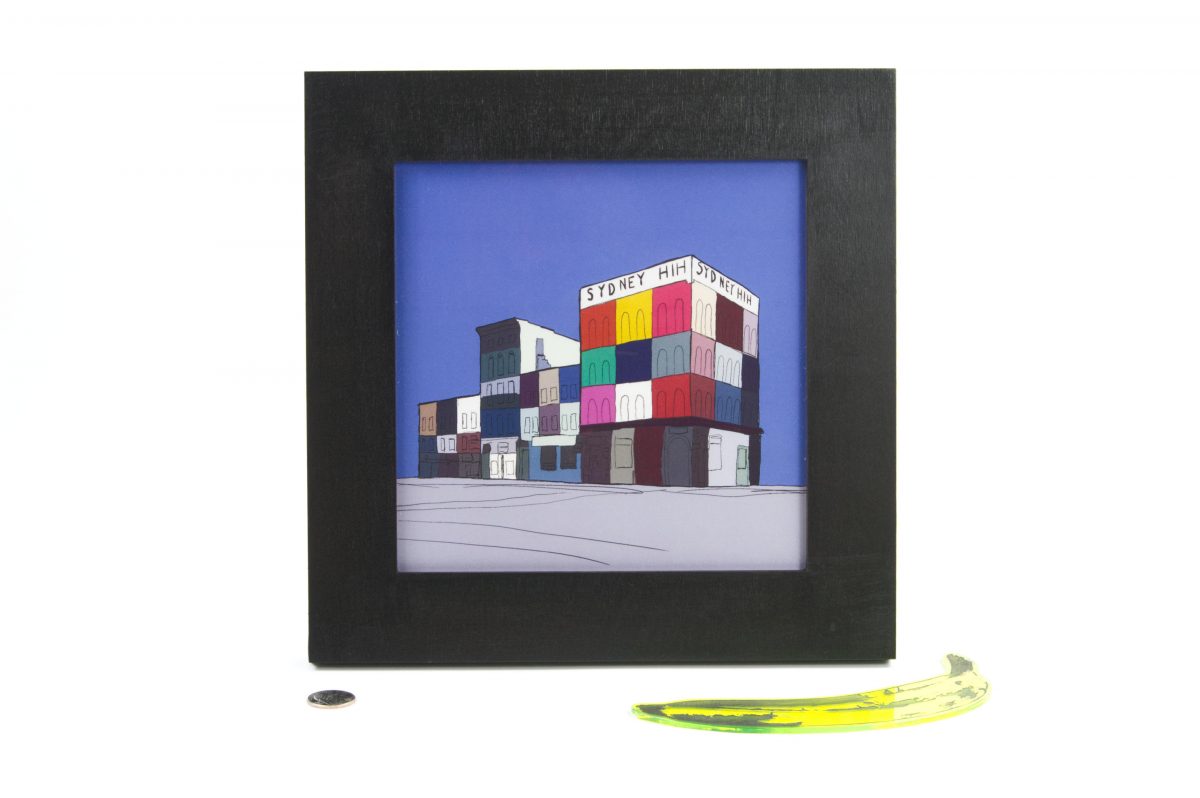
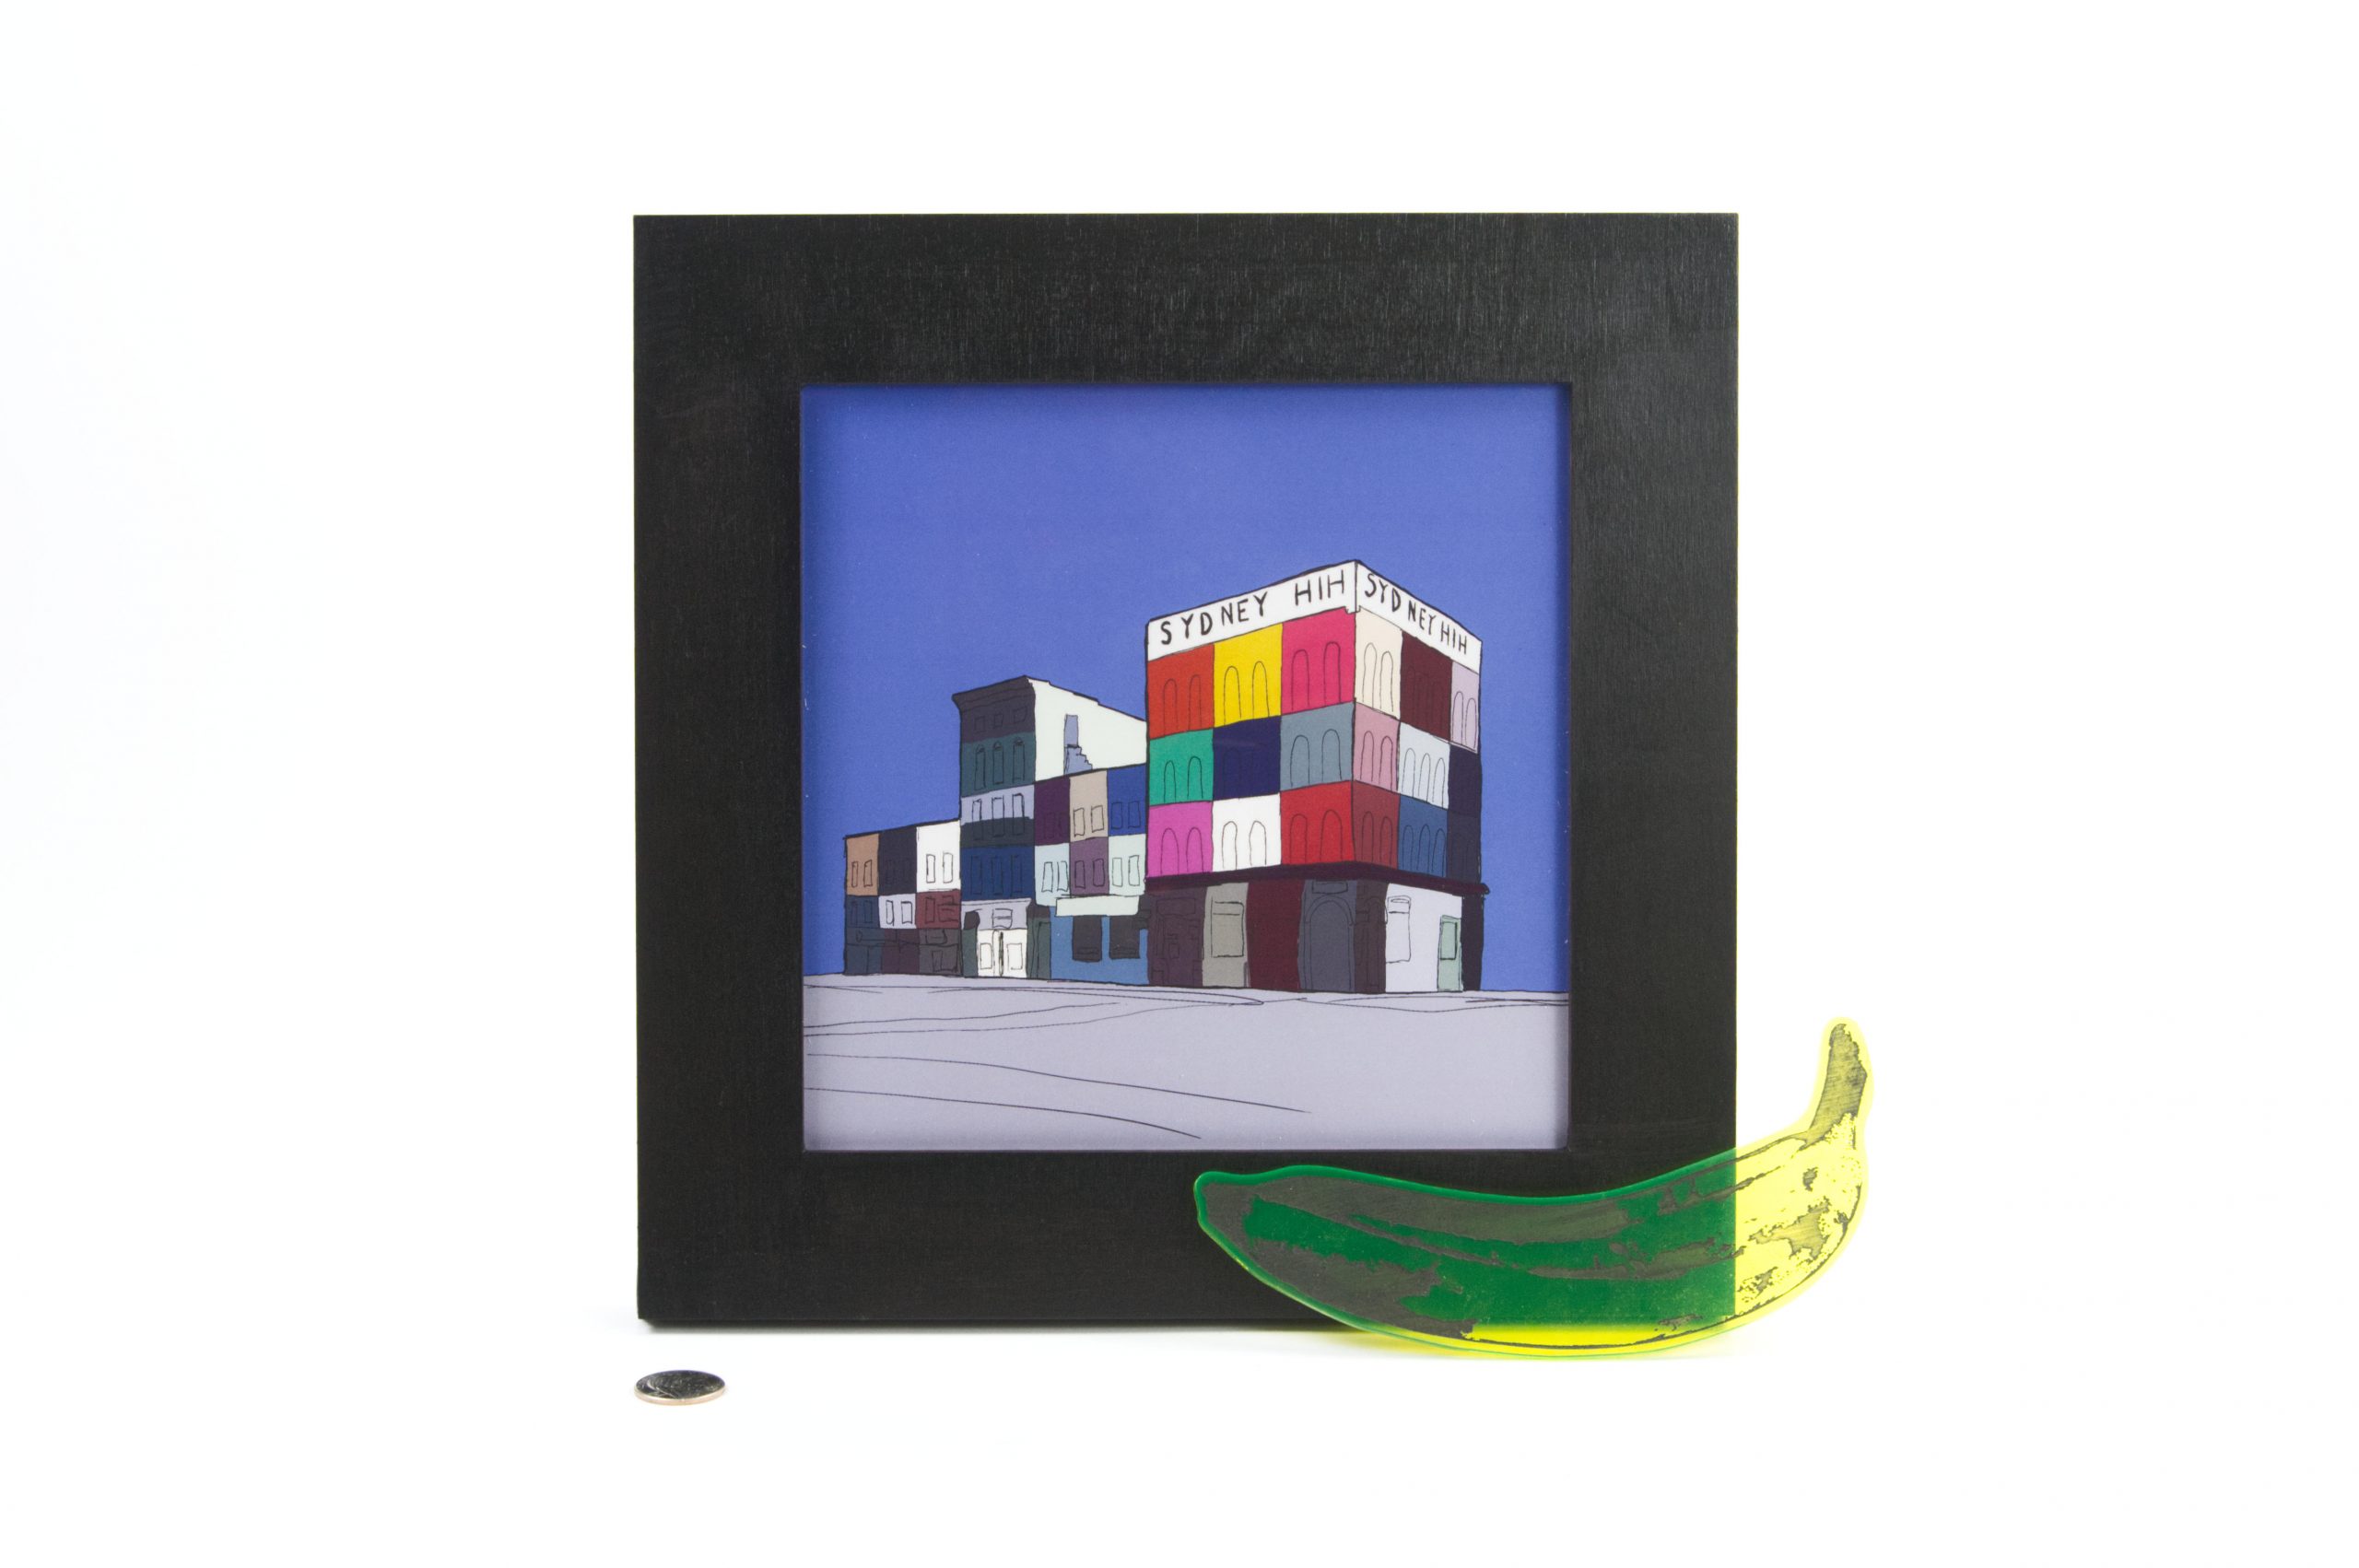
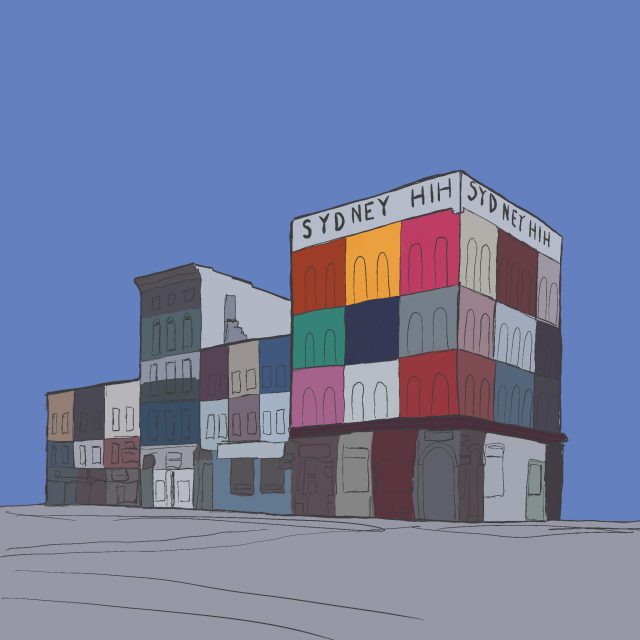
One of my pieces for the 2025 WMSE Art & Music event is my illustration of the Sydney Hih building. If you didn’t live in Milwaukee around the 1980s/1990s and dive into the counter-cultural music scene you may not be familiar. Read about it at OnMilwaukee or Urban Milwaukee.
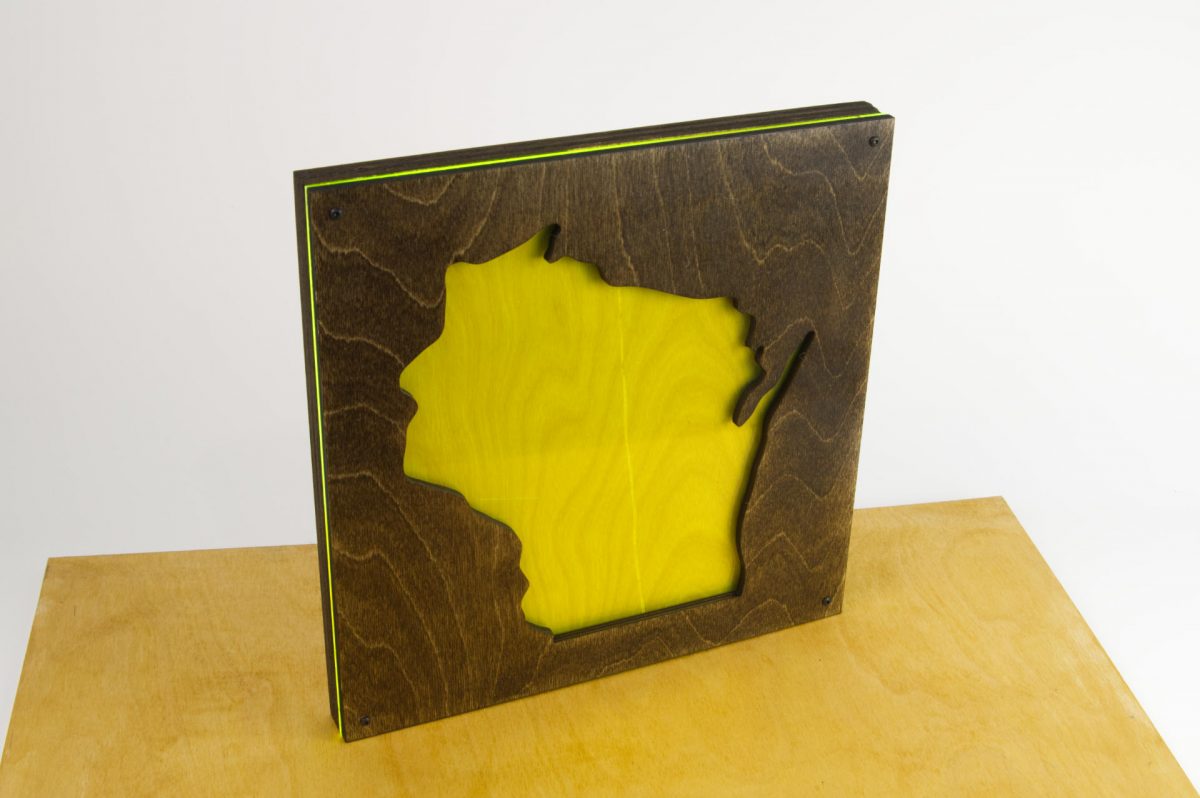
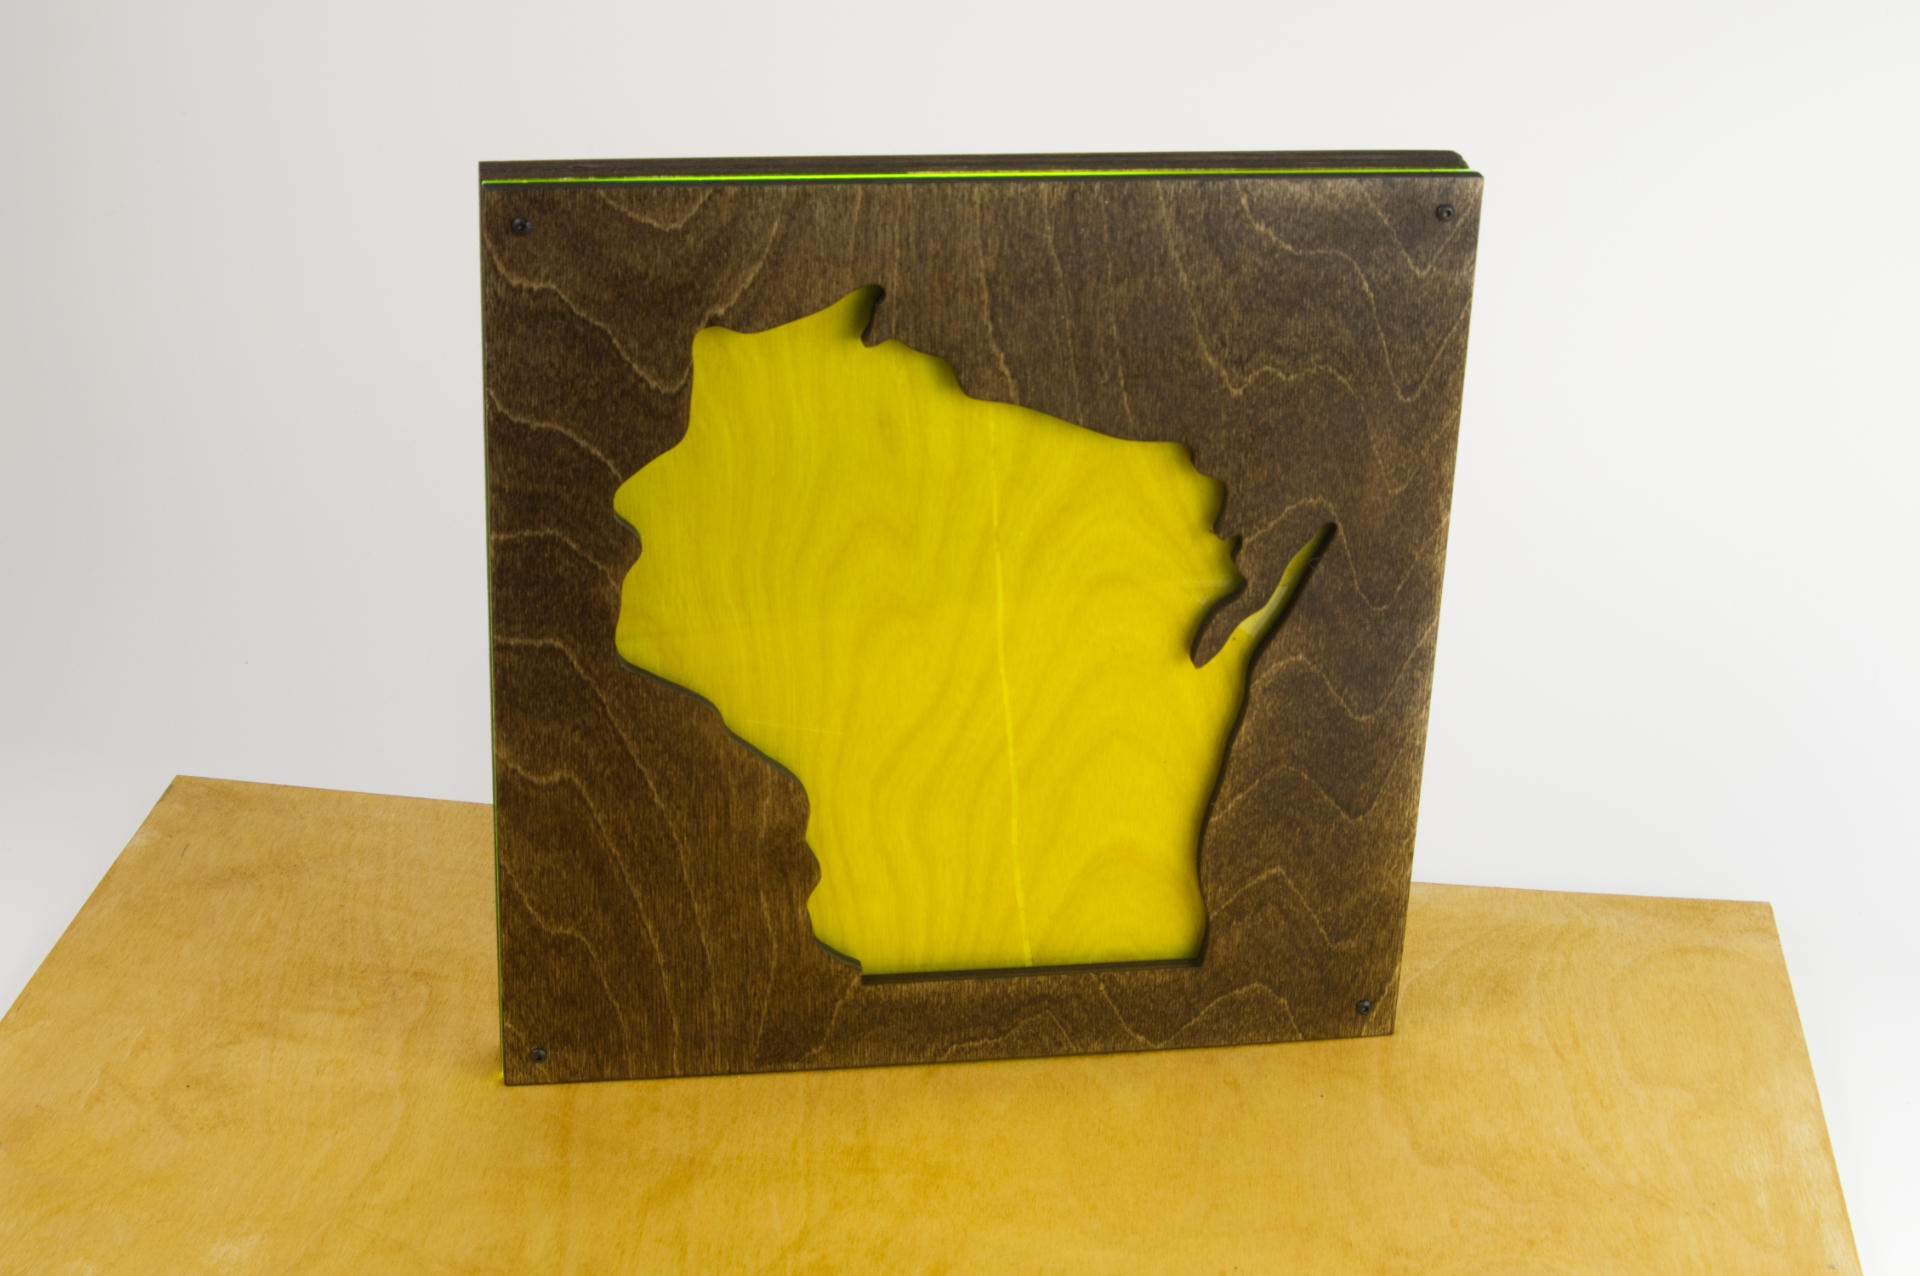
I always struggle with the edges of the 12″x12″ boards as they are just plywood and kind of rough, so this time I sanded them, filled the holes, sanded some more (and I hate sanding!) and then applied some black paint. It’s not perfect, but it’s better. I spent way too much time on the edges.
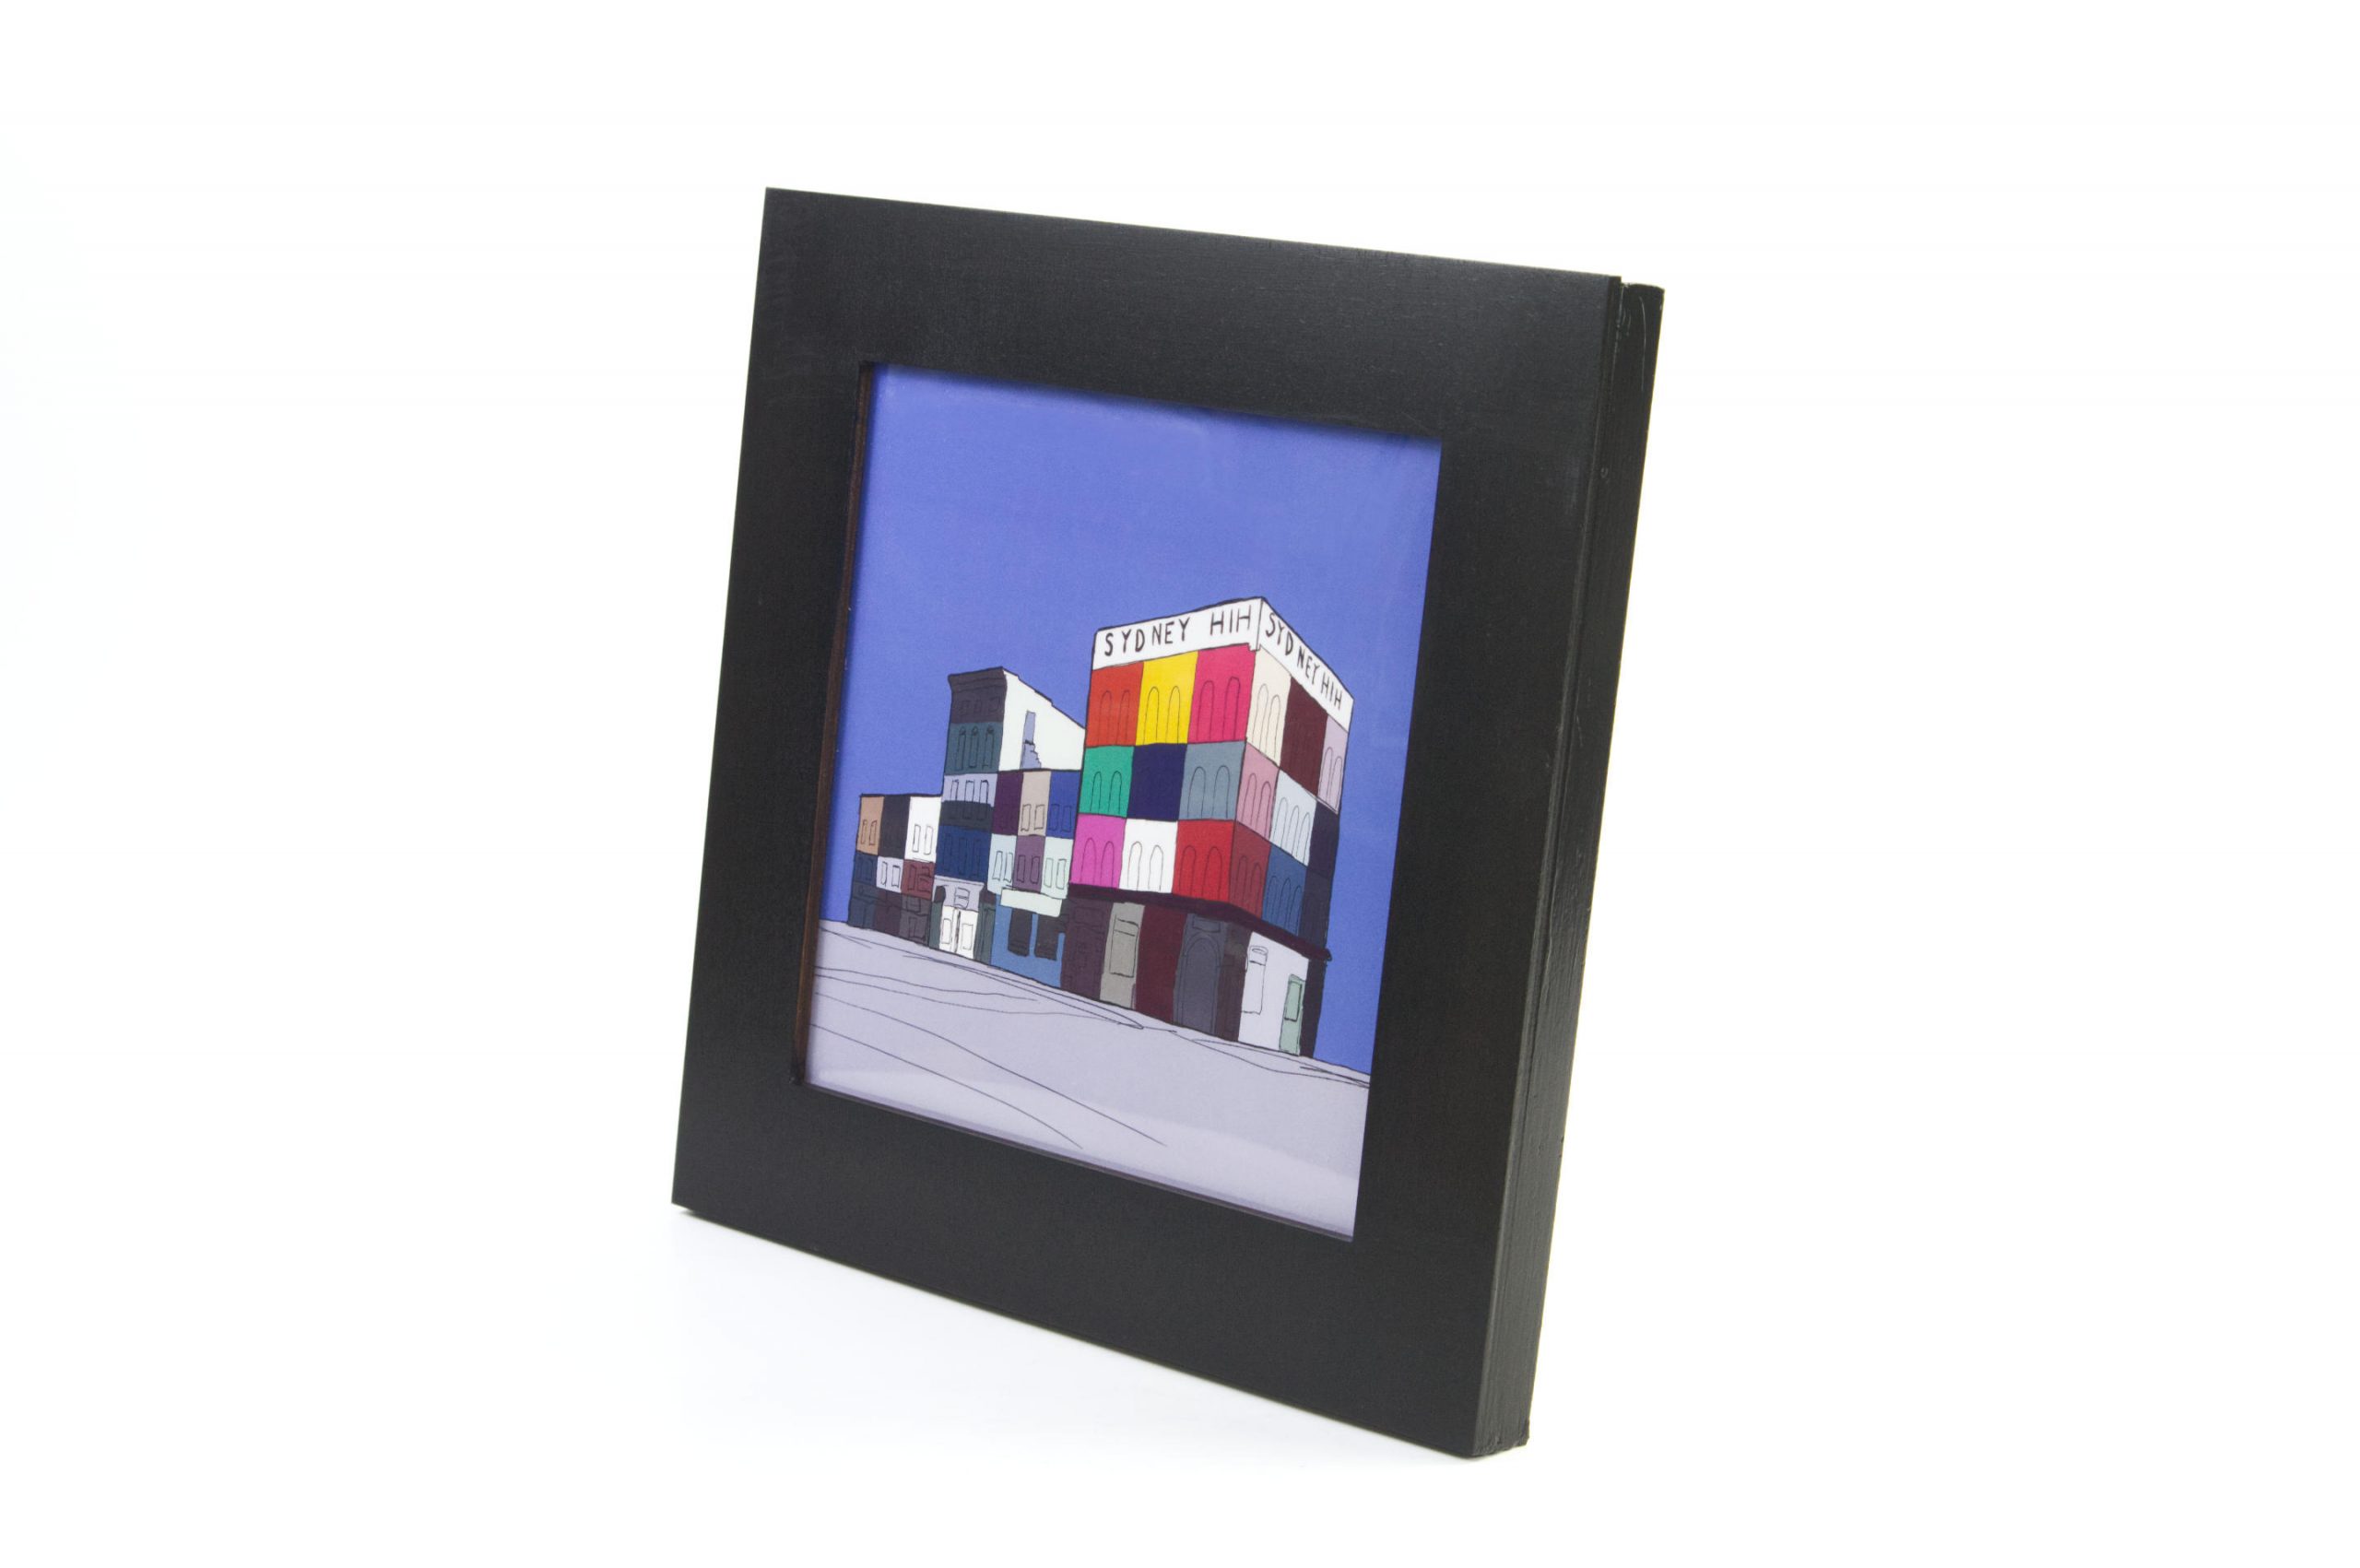
For the frame itself I laser cut a piece of 1/4″ Baltic Birch and stained it black, which I think looks really nice. I glued it down to the board but the frame was warped so the gluing process took a long time and all the clamps I have. Once it was finally glued down I painted the edges black (again) and added one more coat of black stain to the frame. I am mostly pleased with how it turned out but because it’s my own work I can see so many areas of improvement for next time. I’m sure no one else will see what I see.
Still, this process worked well enough that I did it for another board and yet another board that my daughter Madeline did.
Here’s a version of the digital illustration that I created with Procreate. This is a part of my history, and is for many of my people, those who grew up going to shows and seeing bands play, and playing in bands.
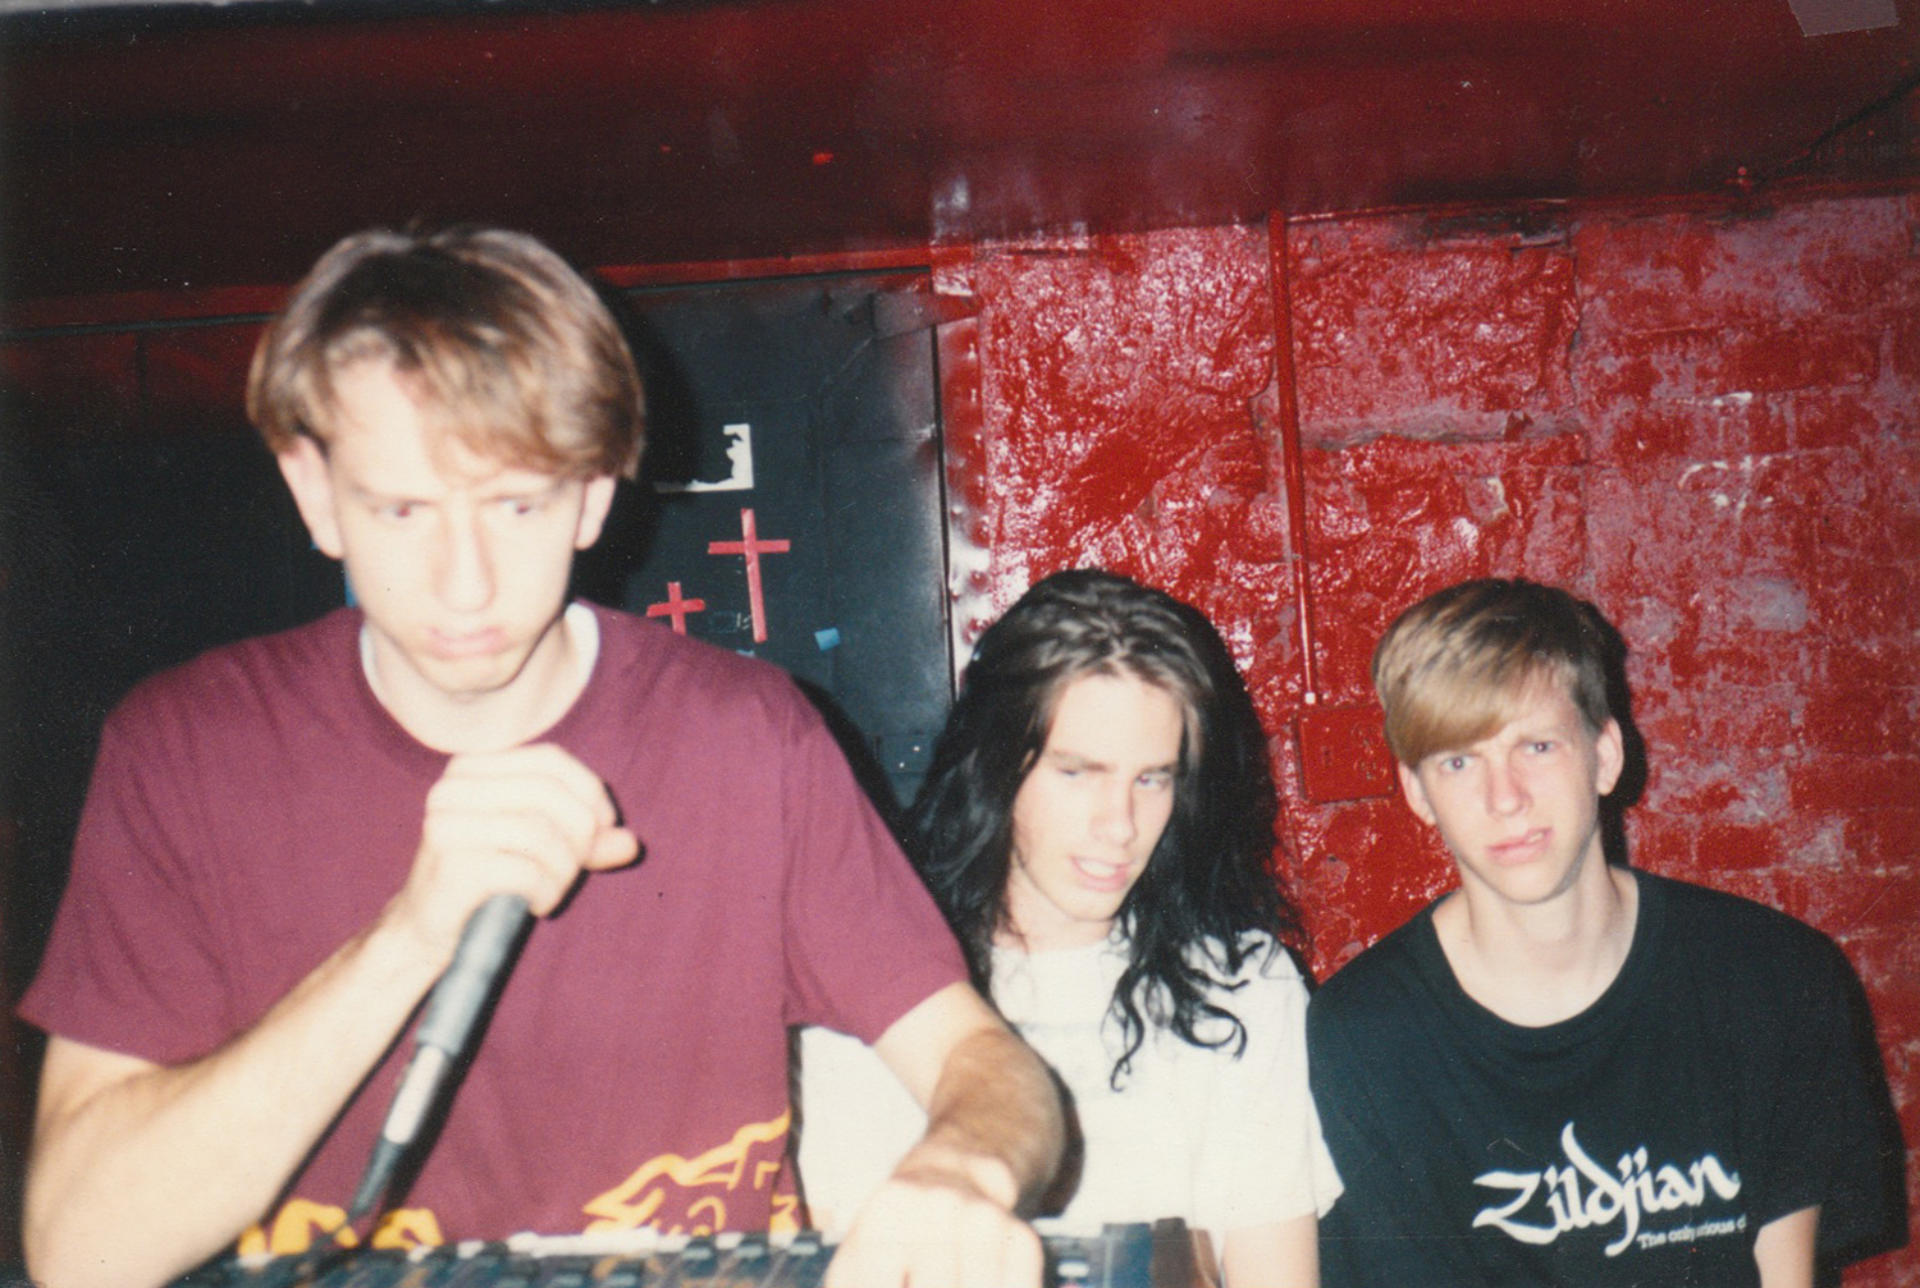
I’m sure I’ve told the story of how I ended up running sound for the Sunday morning punk rock shows at The Unicorn (located in the basement of the Sydney Hih) but here it is again. One day we were setting up and asked Gus where the sound guy was and he said “You do the sound!” So we did… I wasn’t in a band at the time so I just started setting things up and got some help along the way, and I think from then on we just ran the sound for the local shows. Just one more step in a life of DIY.
Back in 2018 I donated a piece of art to the WMSE auction. I also convinced a few other people to do the same. WMSE was a crucial part of my youth and discovery of music. The piece I created in 2018 was a four step sequencer. I followed that in 2019 with a piece called OctoNoise which was another sound sculpture.
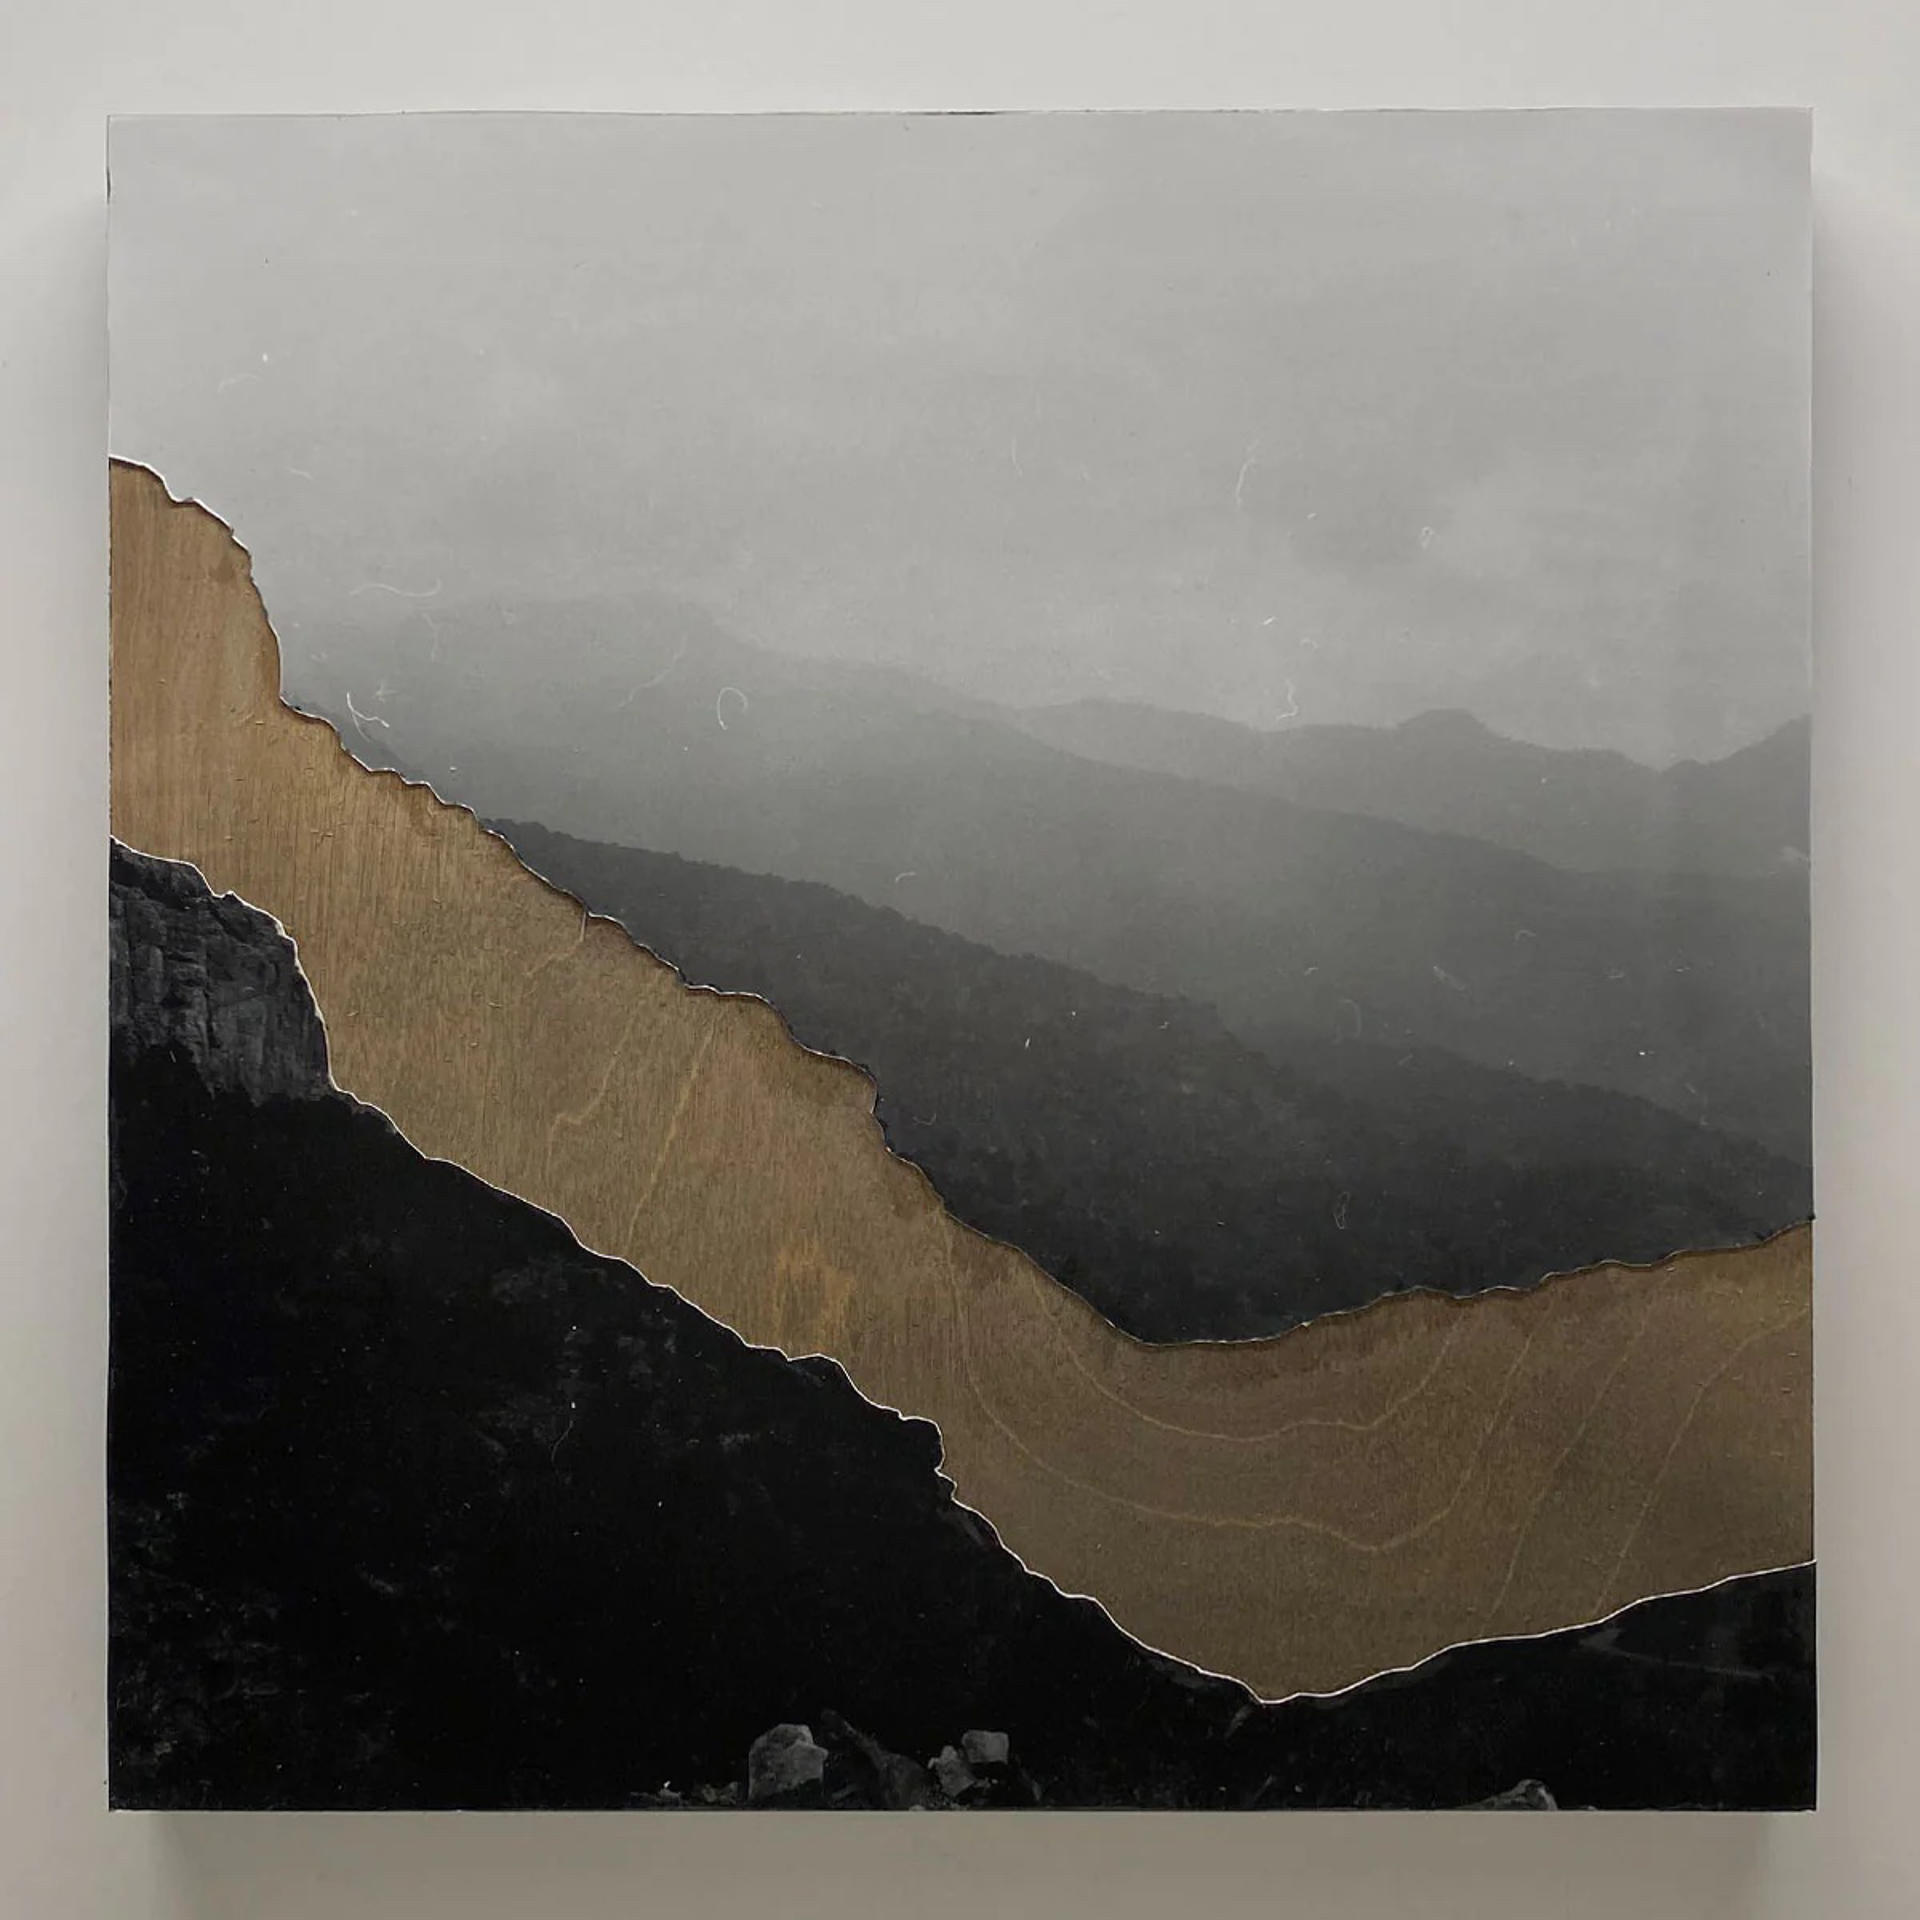
Maddy has been doing photography for over 10 years and she shoots a ton. Her piece is titled “Shelf Road, CO” and was taken on one of her trips out west. It’s really amazing to have both of us submit art together like this.
I’m hoping we can both attend the event February 9th, 2024 and see all of the art in person. Maybe we’ll see you there!
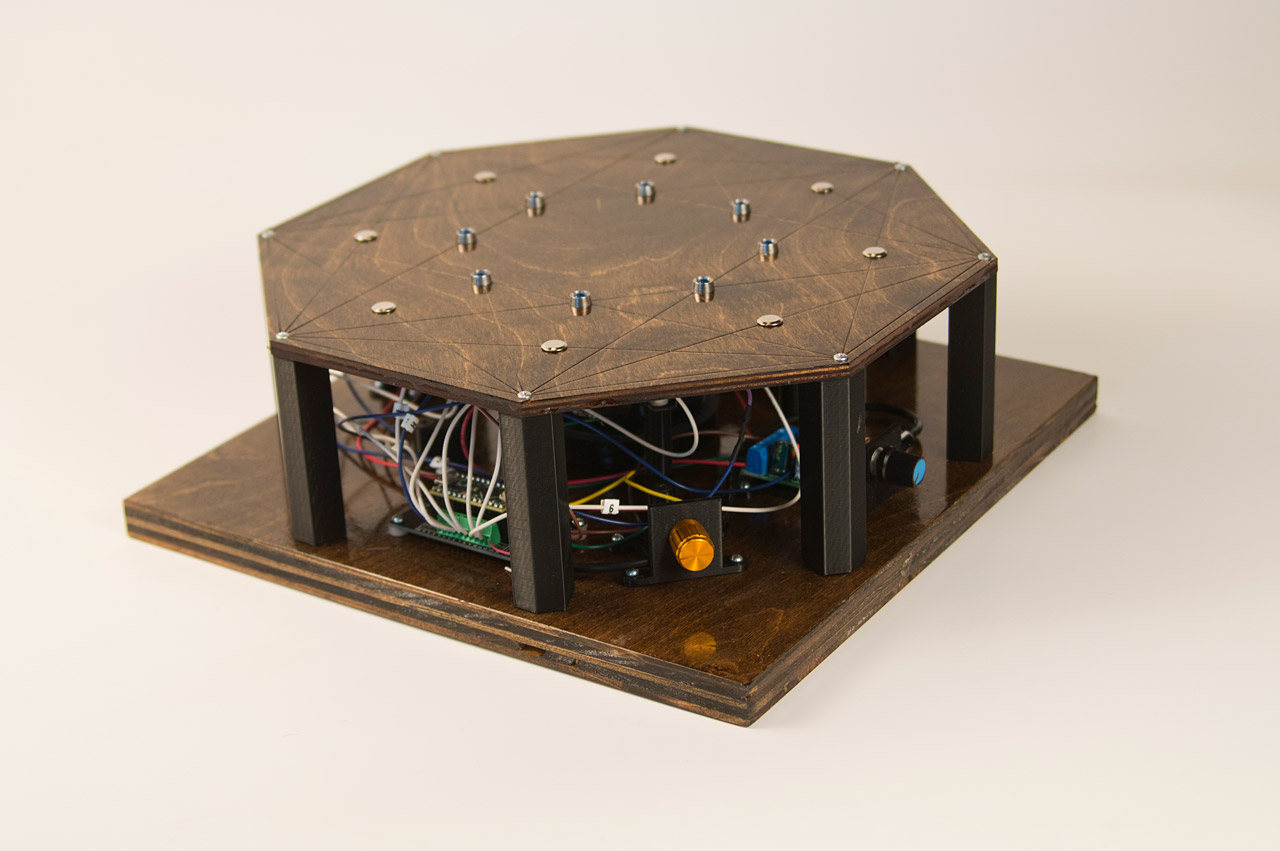
For this year’s WMSE Art & Music event, I created a new board I call OctoNoise. It’s an eight note piano featuring capacitive touch pads, LEDs, a Teensy LC microcontroller, and some fine woodworking. This is somewhat similar to last year’s piece.
You may know me for my work with decagons, but I also work with octagons, and this pattern is known as a 16 cell and it worked well for my design which utilizes 8 touch pads and 8 LEDs.
I’m not an amazing woodworker, but after laser cutting wood I can typically sand it, stain it, and add some polyurethane. At least it looks (somewhat) nice. I didn’t alter the bottom piece, and I just left it as a square, the way I received it from WMSE. My original design for this piece (over a year ago) was a bit different, but I wanted this to match the style of last year’s WMSE piece (and I was a bit rushed getting this done.)
The OctoNoise features and on/off switch, which is handy because it runs on batteries. I can’t tell you how many times I’ve made electronic things for myself and not included and on/off switch. It’s nice to have one! When you turn it on the touch pads calibrate for about 5 seconds. There’s a startup sound that happens during calibration. (I added a note about that on the back of the piece.)
There’s a “somewhat” hidden control knob on the side that ajusts the delay between notes. The way the code is written, it plays one note at a time, but you can alter that to very quickly (or slowly) oscillate between multiple notes. You can get some interesting variances in sound by turning the knob.
Note that it is difficult to turn the knob while also touching the pads to make sound. This is by design, as it’s also difficult (if not damn near impossible without using various parts of your body) to play all the notes at once. This was done to encourage collaboration and playfulness.
Here’s a side view. The height was determined by the speaker that was chosen. Once again we’ve put the electronics on display as part of the piece rather than hide them inside an enclosure. They are mean to be celebrated! (Each wire has a label showing what it connects to, if needed.)
Here’s the Teensy LC, which runs the code. The board has built-in capacitive touch pins, which make writing the code fairly easy. The notes used are C5, D5, E5, F5, G5, A5, B5, C6. This is real piano, and you can play actual songs. I based the code on a project I did for Brown Dog Gadgets a while back. You can check out their Touch Piano on Github.
This device also contains a built-in amp with a volume control. Again, a sometimes rare feature in the things I build. Often amps require 12 volts and that’s not always fun to deal with, but I’ve found some that work on variable voltages from 3 to 12 volts, so running them at the same voltage as a microcontroller becomes very easy.
Besides all the wood and electronics, there are some 3D printed parts that pull it all together. The on/off switch, delay control, amp, and battery holder all have their own 3D printed part that they attach to and then easily attach to the wood with some #4 screws. Once again, things are left “open” to celebrate rather than hide the electronics.
The other 3D printed pieces are the custom standoffs that raise the top piece above the bottom piece to (partially) enclose the electronics. I created a 2D profile from the original artwork used to laser etch & cut the piece to create the correct angle. I then extruded that design to make the tall standoffs and printed 8 of them.
Oh, one thing I forgot to mention. I liked this piece so much, I made another one so I could keep one for myself. As the old saying goes “If you’re gonna make one, make two!” So I did.
Finally, here are some videos, including one showing me playing both of them at once, which might never happen again!
Here’s a longer video I made in 2021. (Jump to 03:00 if you don’t want to hear me ramble and just want some sound.)
When I heard WMSE was doing a fundraising event called Art & Music and was looking for artists to contribute, I wanted in. I got in touch with them and got a blank 12″x12″ board. I’ve done some of these art boards before, once for The Eisner American Museum of Advertising & Design and once for a friend of mine. (And while it’s not a board, I also made this NoiseBowl last year.) Besides myself, I also managed to get most of the people I work with at Brinn Labs to make boards, and a few people at Milwaukee Makerspace also made them.
This one is a litte more special to me though… WMSE went on the air in 1981, and while I don’t remember when I actually started listening to it (though I do have my brother to thank) I grew up with WMSE. They played the music I wanted to hear (at least on Wednesday nights when I was in high school.) They introduced me to weird and crazy stuff, and I even got to be a guest on air a few times (and they’ve managed to play a few songs from bands I was in.)
Since I’ve been screwing around with making noise with Arduinos in sculptural form I thought I’d continue that obsession practice once again. I’ve been working on a four step sequencer for work, so that’s what this is…
If it wasn’t for the stain and attention to fit and finish in creating this piece, it might look like some of my work you’d find inside a museum exhibit. We tend to make a lot of devices that produce sound. (We typically don’t go to great lengths to make them “pretty” though, since they always live inside cabinets and are not seen by the public.
Here’s the design for the one cut piece I made. It’s the control panel/user interface, which holds the power switch, potentiometers, and the LEDs. I actually used the CNC router instead of the laser cutter to make it. (Don’t ask why!) It also took some careful drill press operations to get things just right. There was also a lot of sanding involved. (Again, don’t ask.)
There are some 3D printed pieces as well. The standoffs used for the speaker, and to hold the control panel in place. They are similar to ones I’ve used before and before, but of course the beauty of 3D printing is that I can change the design each time to match the speaker and hardware used. (Parametric, FTW!)
Here’s a short video that demonstrates the noise that this thing makes. The first four knobs adjust the pitch for the four steps, with the fifth knob used to adjust tempo, and the top right knob as a volume control. The LEDs light up showing each step of the sequencer.
I also decided when I started to build this that I really wanted one for myself. While I love seeing my artwork go out into the world, sometimes I miss it. Since I was building one, I thought it would be easy to build a second one. Well, it was (fairly) easy, but it was also time consuming. I also had this idea that if anything went wrong, I’d have a backup. Nothing really went wrong, but I did finish the one for WMSE about week before I finished the one for me.
If you’re ever curious about the process I go through when building these sorts of things, you might want to head over to Instagram and follow me there. For instance, I posted a photo there… and another, and another, and a video…
And then I posted more, and then I probably posted even more. So yeah, Instagram tends to be my “in process” photo & video place.
And if you’re not hip to Instagram you might find a photo or two (or three) over on Facebook. Not as much shows up there, but we’re still friends, right?
Enjoy the show!
Note: The piece sold for $510! I’m really pleased I was able to support WMSE with this, and I’m thankful a bunch of people liked it enough to bid on it.