My plan for Maker Faire Milwaukee’s 2015 Laser Maze got a little sidetracked, but that’s okay, because Vishal ended up writing some of the code I needed for another project and then I decided to just have him take over the some of the build.
I did get a few more things done in recent weeks, like making these mounts to hold the lasers in place. Adam provided us with these clamp devices meant to hold a flashlight on your bike, but the lasers are a smaller diameter and tended to shift around, which isn’t great when you need to align lasers…
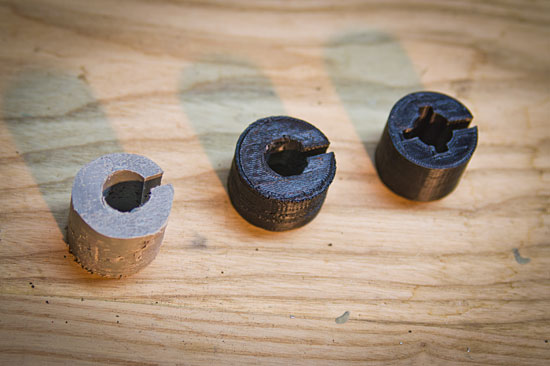
In our first attempt to make something that would go into the flashlight mounts and adapt to the size of the lasers, we ran down to the basement shop at the museum and used a hole saw in the drill press to cut a piece of plastic, and then we drilled another hole, and cut out a piece using the band saw. This was a neat idea, but did not work.

The hand-fashioned one just wasn’t quite the right size. We didn’t have the exact hole saw or drill bit sizes needed, and the plastic just didn’t flex enough to allow for tightening. I ended up pulling out the calipers to get exact measurements and re-create what we tried to do with 3D printing.

The 3D printed version sort of worked, but it was tough to slide the laser into place. I could have just kept trying to get the perfect fit, but instead of trying to emulate the limitations of using a drill and saw, I modified the design to have less surface area where the laser was sliding in, and also allow for more flex, and more strength, due to the way 3D printing works.

These pieces don’t have a lot of infill, and they don’t need them. The shape of the interior section provides extra strength because of the nature of how it’s structured.

These mount should work well, and the bike flashlight part saves me the trouble of creating an entire mounting system, or modifying previous mount work.
We’ve got less than 90 days until Maker Faire Milwaukee so hopefully we can get a test set-up running within the next 30 days or so.


