Categories
Uncategorized

I changed a bike tire!

Hey, I changed a flat tire! I got a flat about six weeks ago and I ended up taking the bike into the shop and they got it all fixed up the same day and I grabbed an extra tube in case it happened again… well, it happened again. I figured I should (re)learn how to change a bike tire, so that’s what I did.

It’s been, oh, probably 30 years since I changed a bike tire, and that was on my Dumpster Bike, so I did a quick search, ignored the AI results, and found this Removing Rear Wheels Is Easy! post from a bike shop in London. Cheers!

My main concern was that I know how to change a tire (as in, remove the tires, replace inner tube, put tire back on) but the “removing rear wheel from bike” part was where I was a little rusty.

Anyway I got the wheel off, got the tire off, put some air in the old tube, confirmed a leak, then inspected the tire to see if there was any visible damage, any bits of metal, etc. The last time I got a flat I could definitely see a large metal staple. This time, upon close inspection… I found nothing. Some tiny rocks embedded in the tire, but nothing that poked through. Also, the hole in the tube was pretty tiny, so maybe it was just a failed tube?

(Note: The photo of the stangely distorted tube may be the result of messing with trying to fill it on the previous day and having it pop out between the rim and tire. Don’t ask.)

I got it all back together, filled the tube, and did a test ride in the alley. Oh, notice anything? In my haste to test it I forgot to reconnect my rear brake! Argh! Anyway, I got that back in place and all was well. It took about 20 minutes total including the test ride and fixing the rear brakes. Not bad for my first attempt.

The one pain in the ass was doing it all without a bike stand. So I thought to myself “Hey, could I build one from PCV pipe?” mainly because I have a shit-ton of PVC pipe connectors from a past project. Well, it looks like people have made PVC bike stands, so I’ve added making one to my list of things to do.


Note: This post may contain Affiliate Links. Read More.

Categories
Uncategorized

Pete’s Prints at Maker Faire Milwaukee

Back in 2015 I became a Producer for Maker Faire Milwaukee, and helped put on the Faire for the next four years until 2019. Life changed a lot in 2020 and I did take part in the event as a Maker in 2021 and 2022, but life got a little upset in 2023 so I just attended as an Attendee. Well, it’s 2024 and I’m back as a Maker!

So come on down to the 2024 Edition of Maker Faire Milwaukee happening on November 23rd & 24th November 2nd & 3rd at Discovery World and see Pete’s Prints.

HEY! So yes, the date has changed! It was November 23rd & 24th but is now November 2nd & 3rd, 2024.

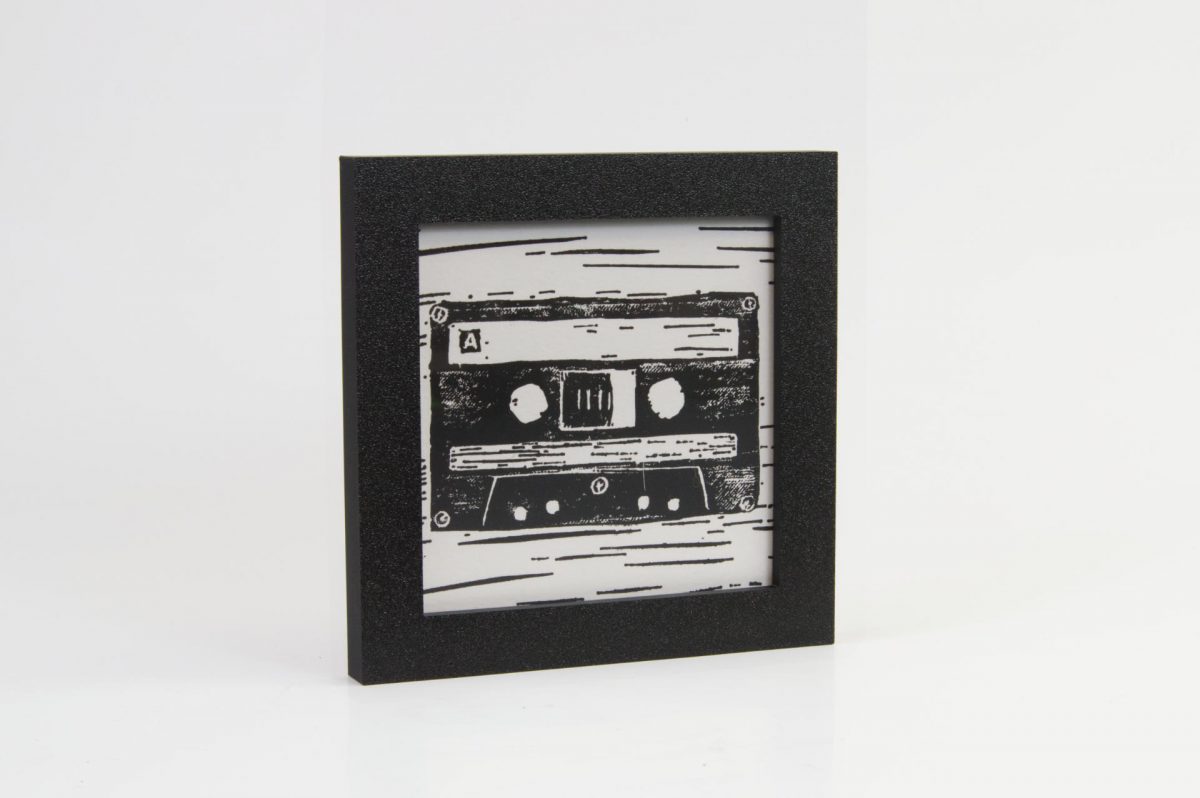
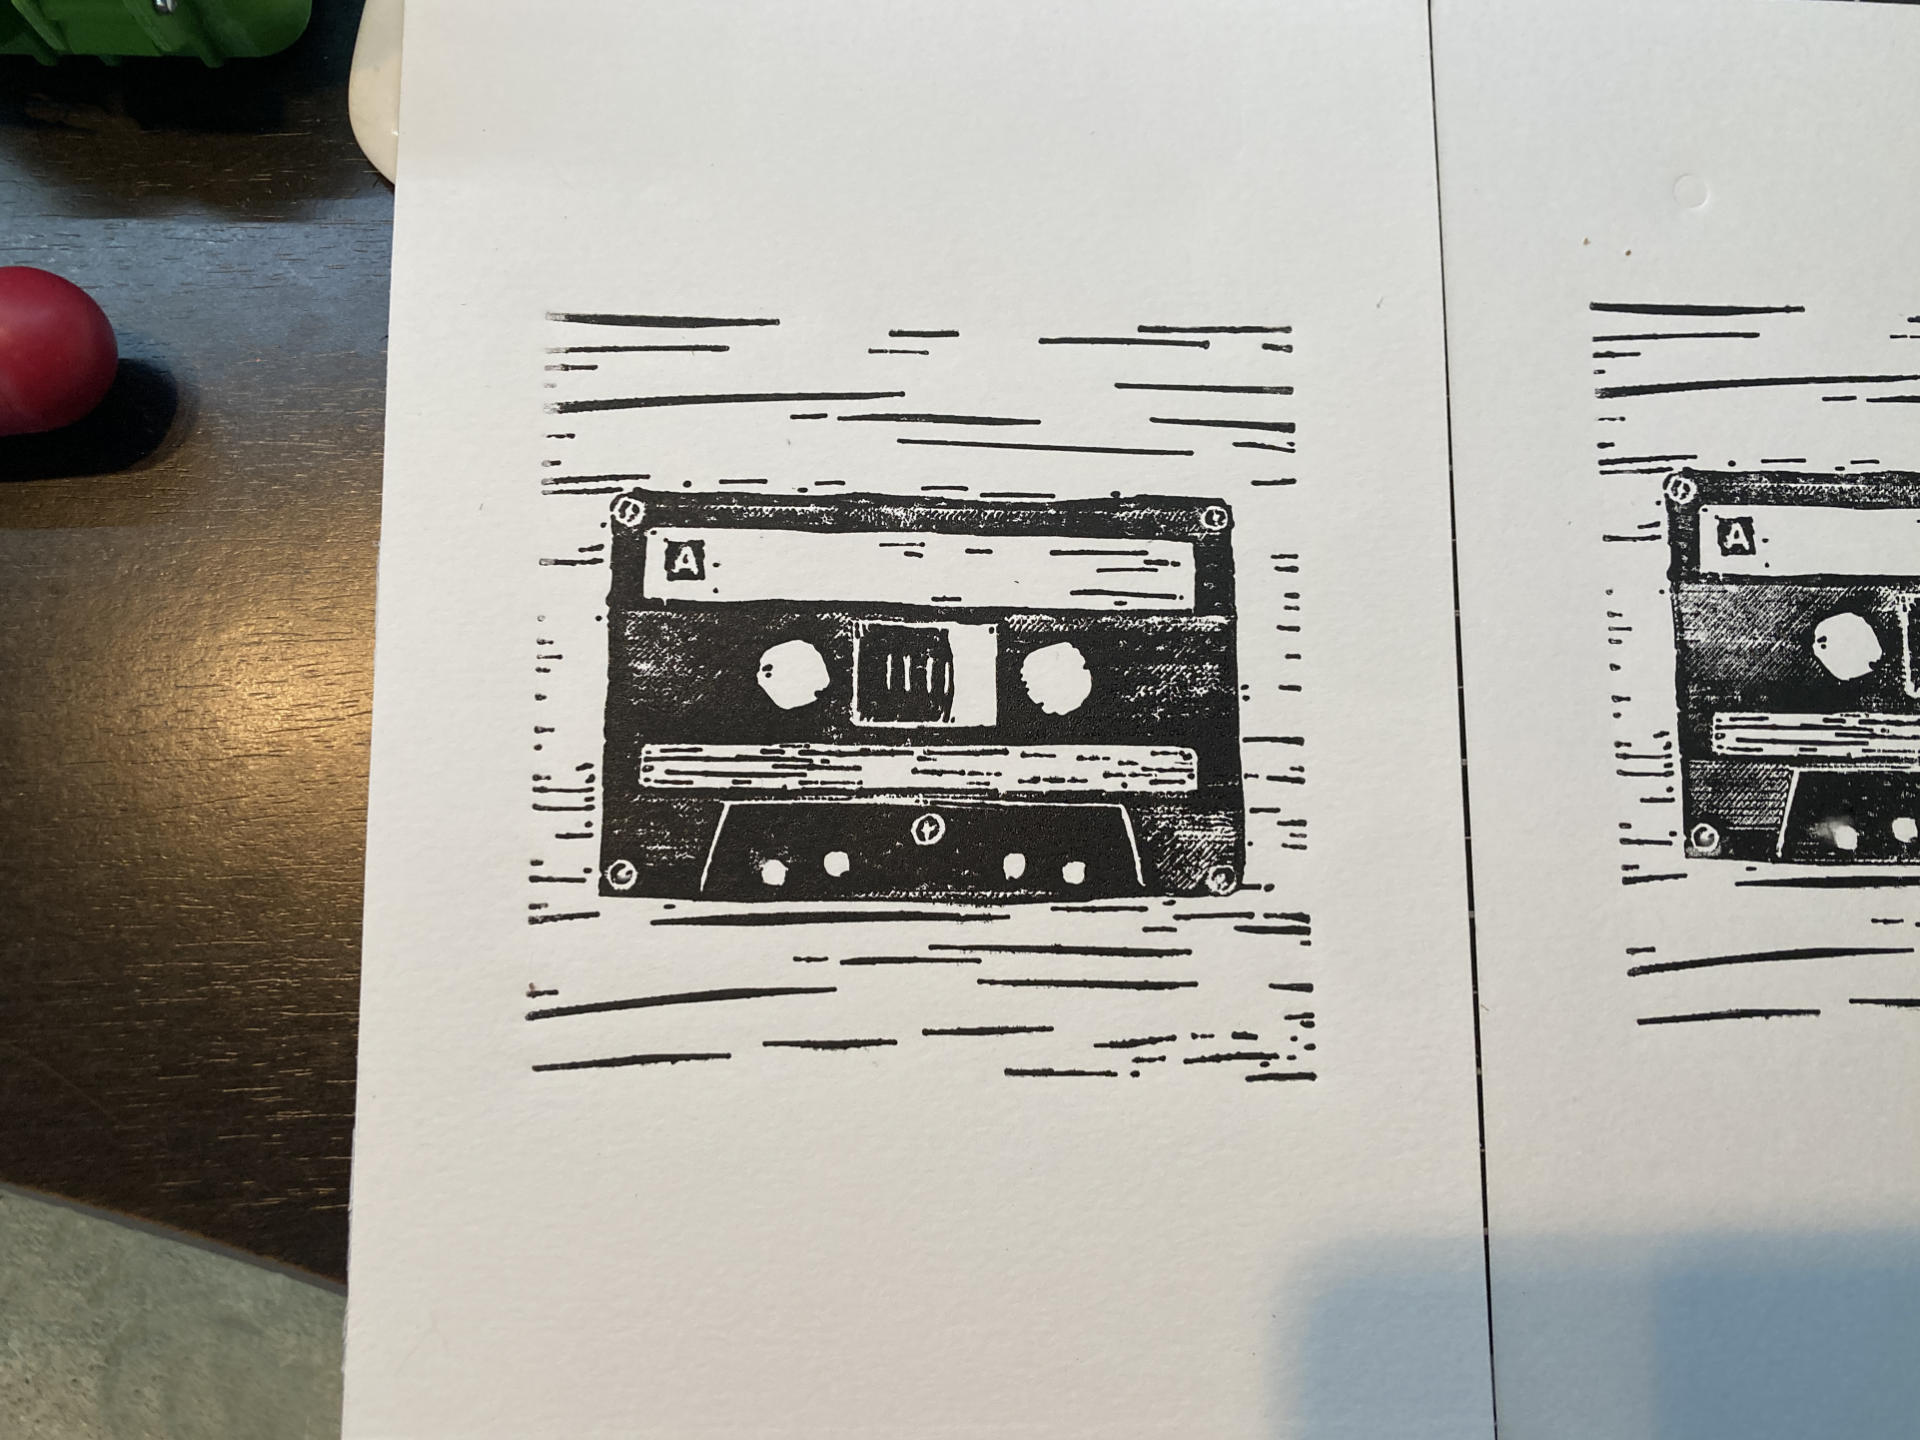
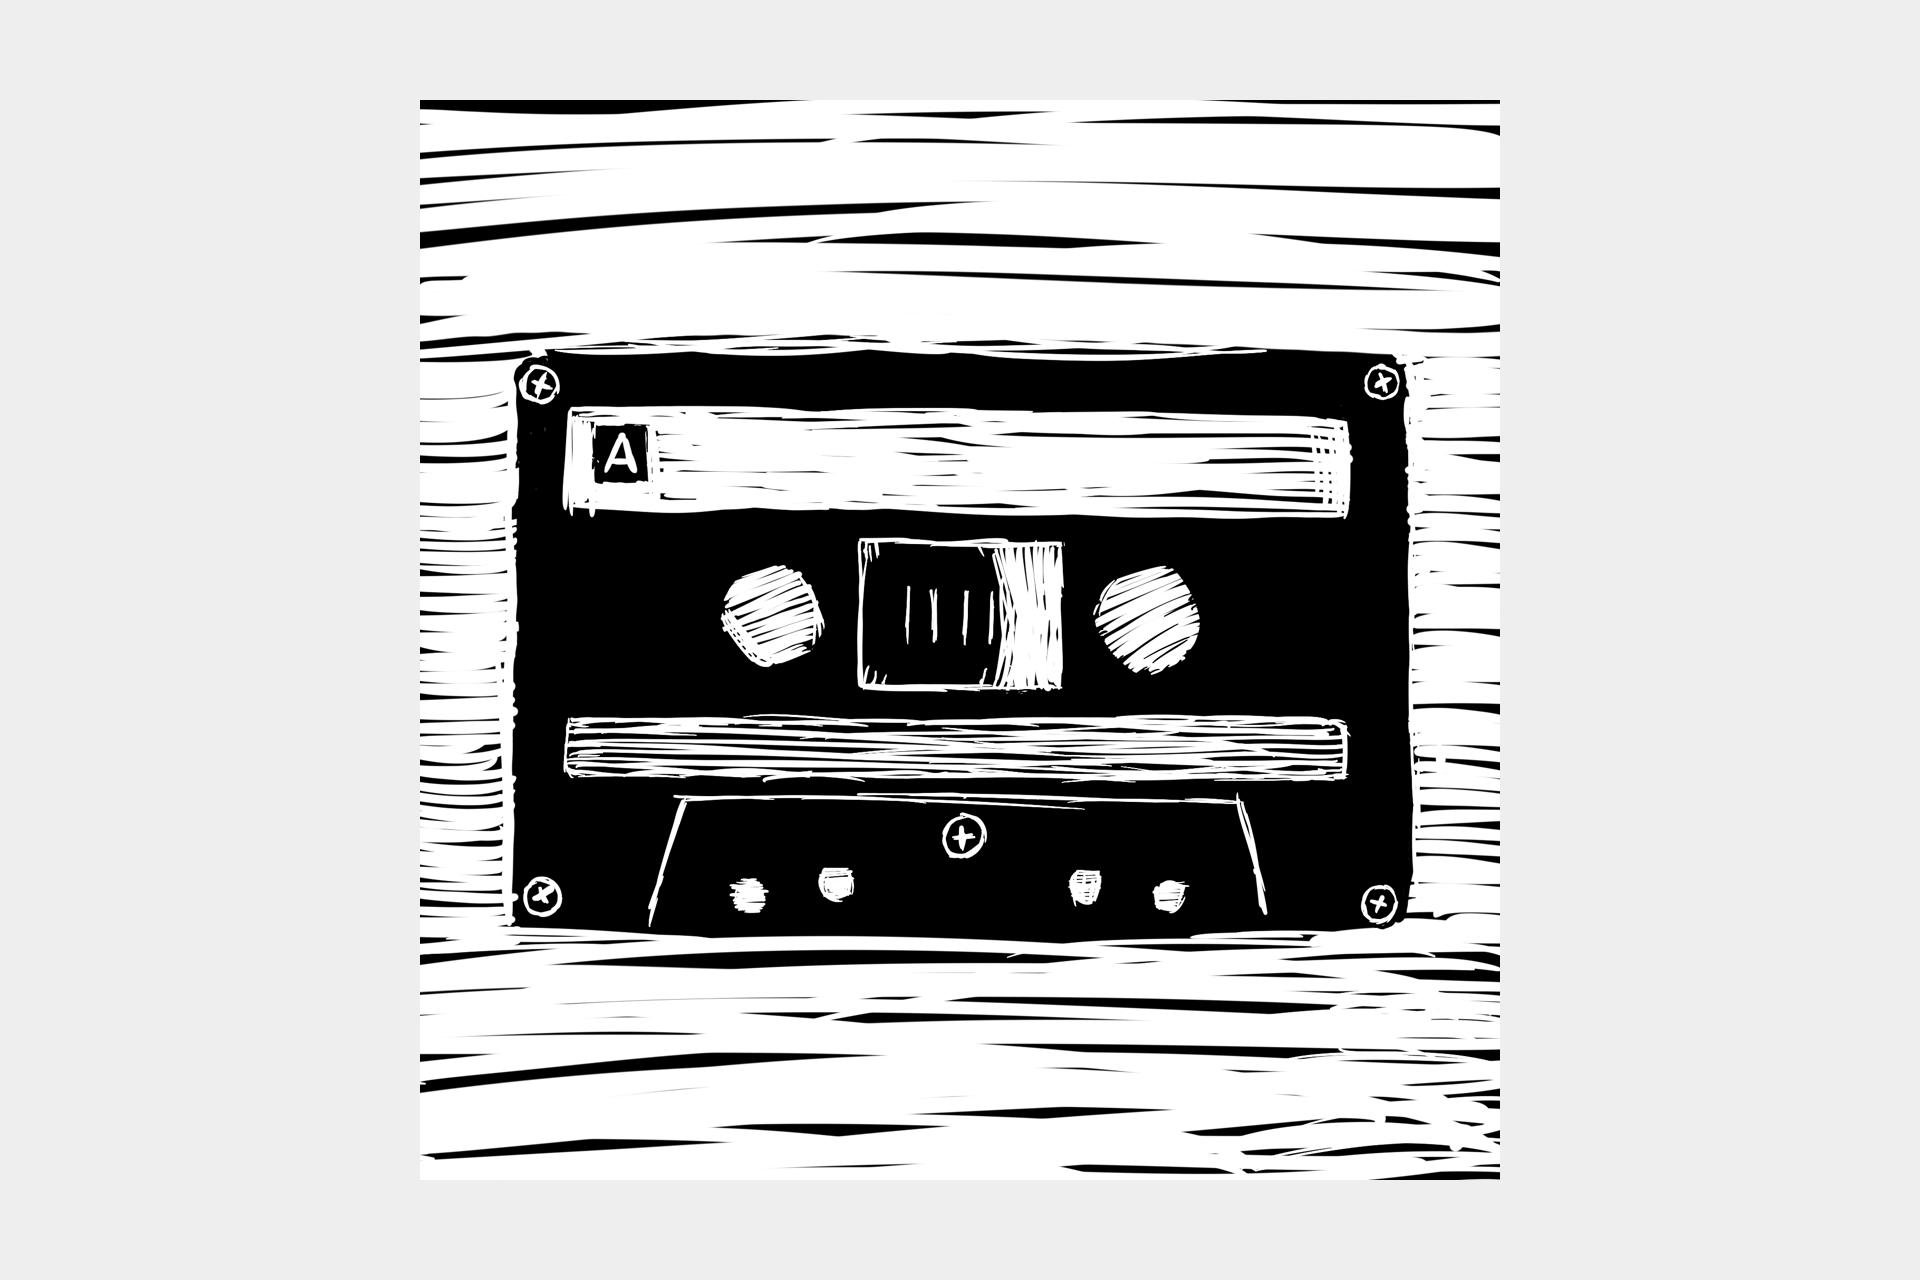
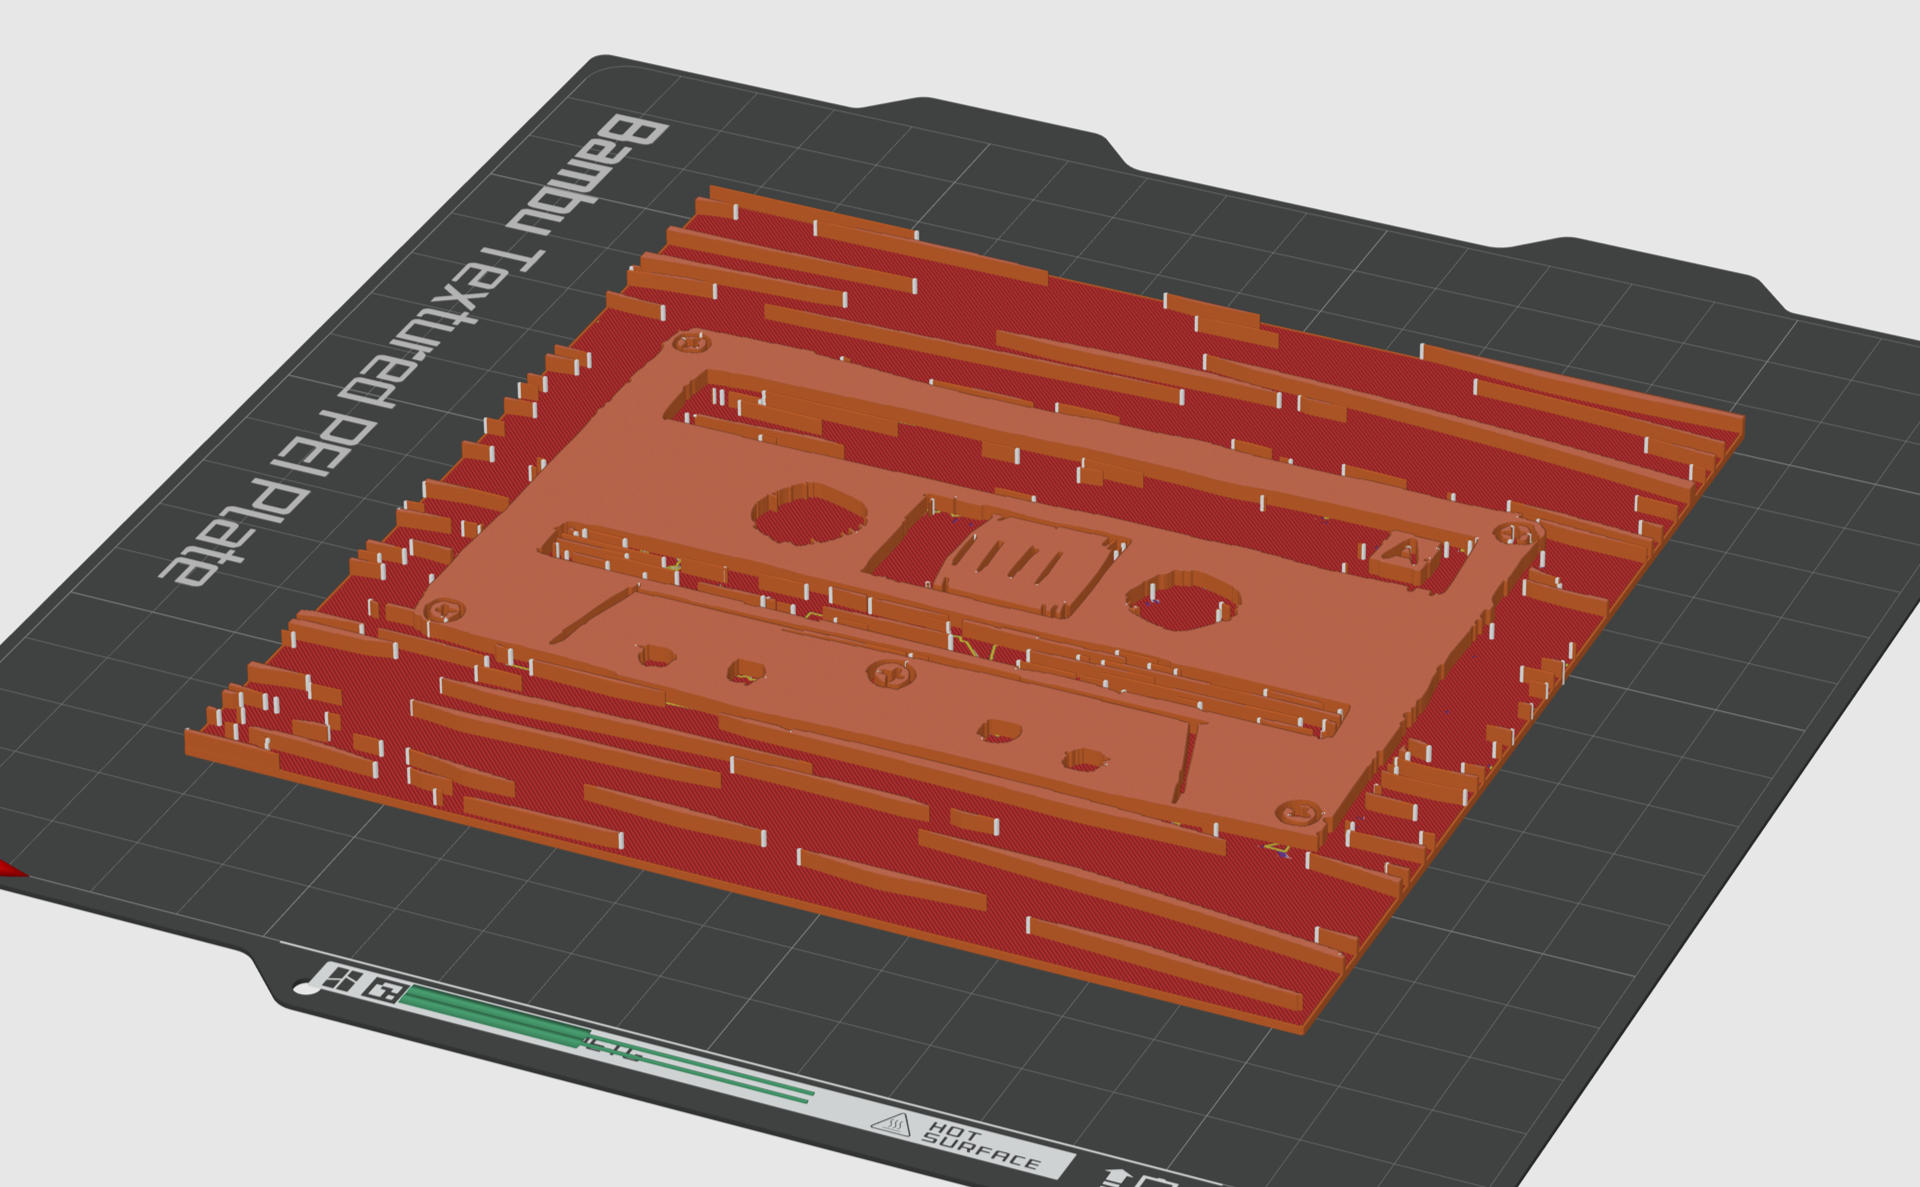
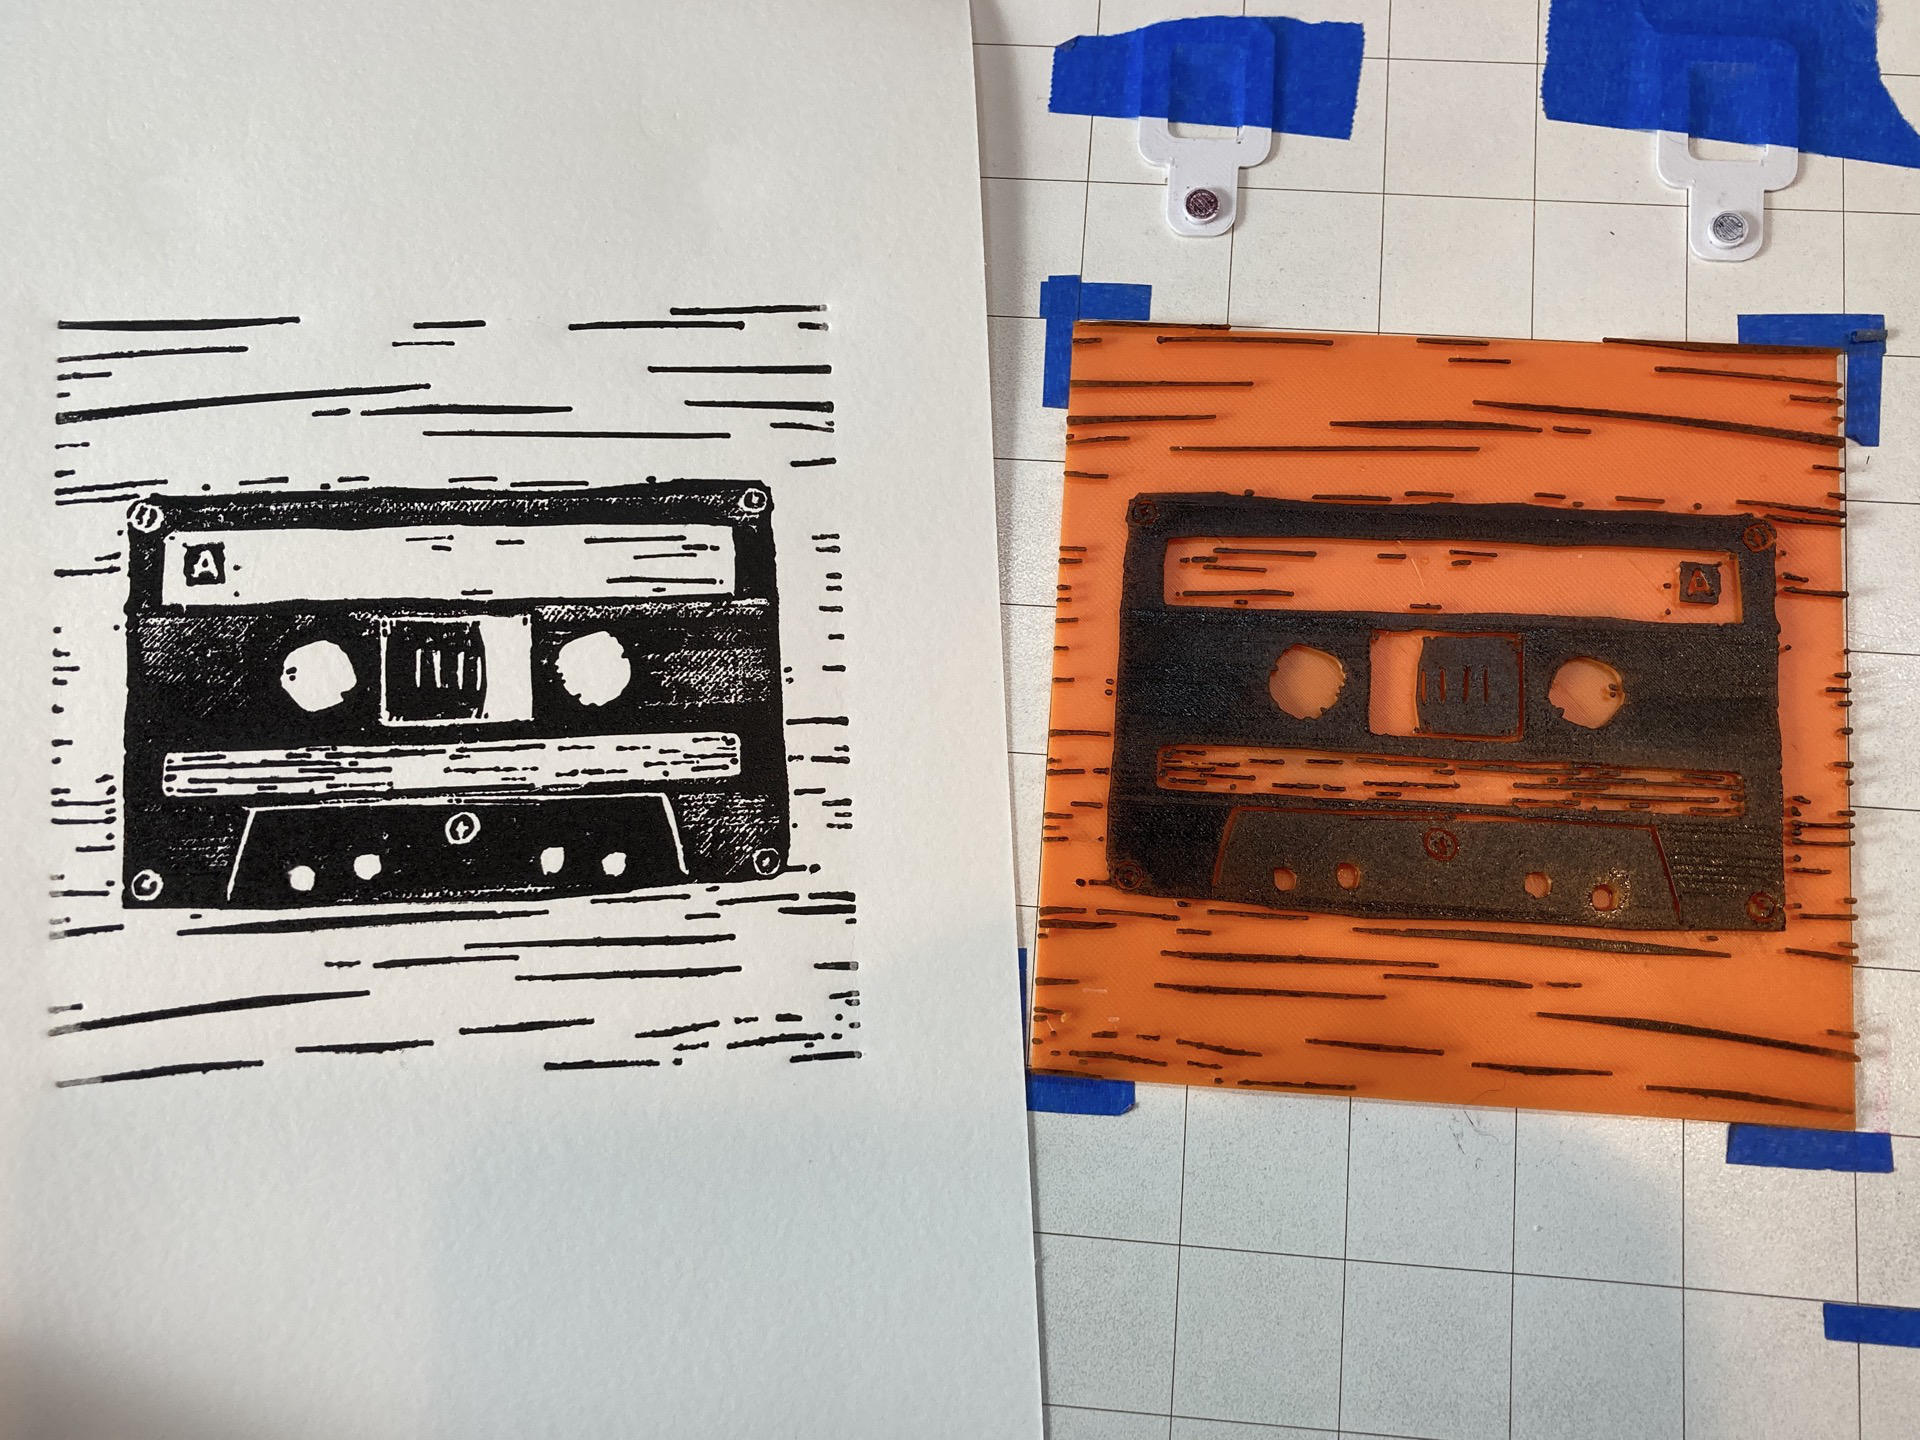
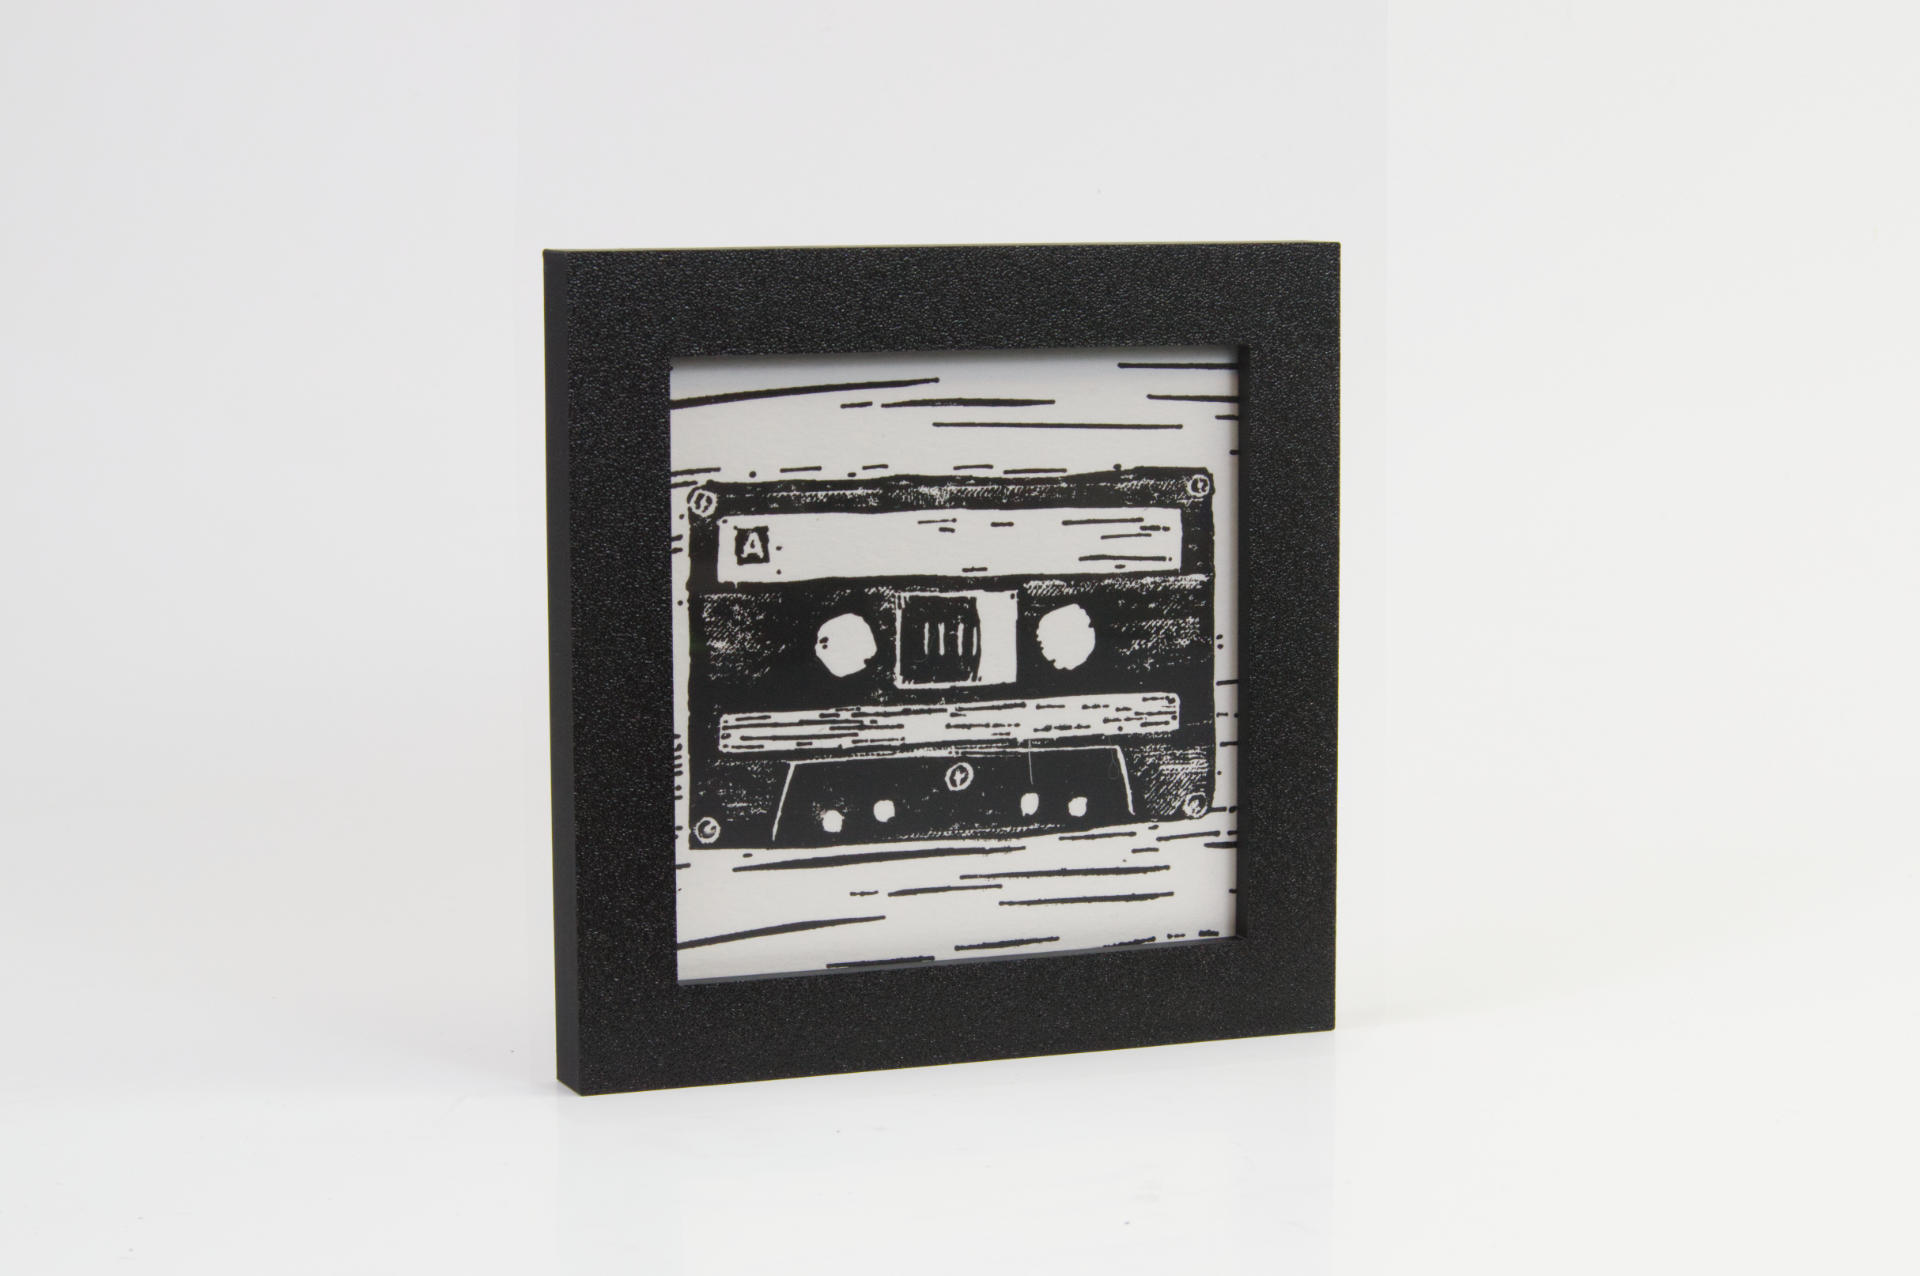
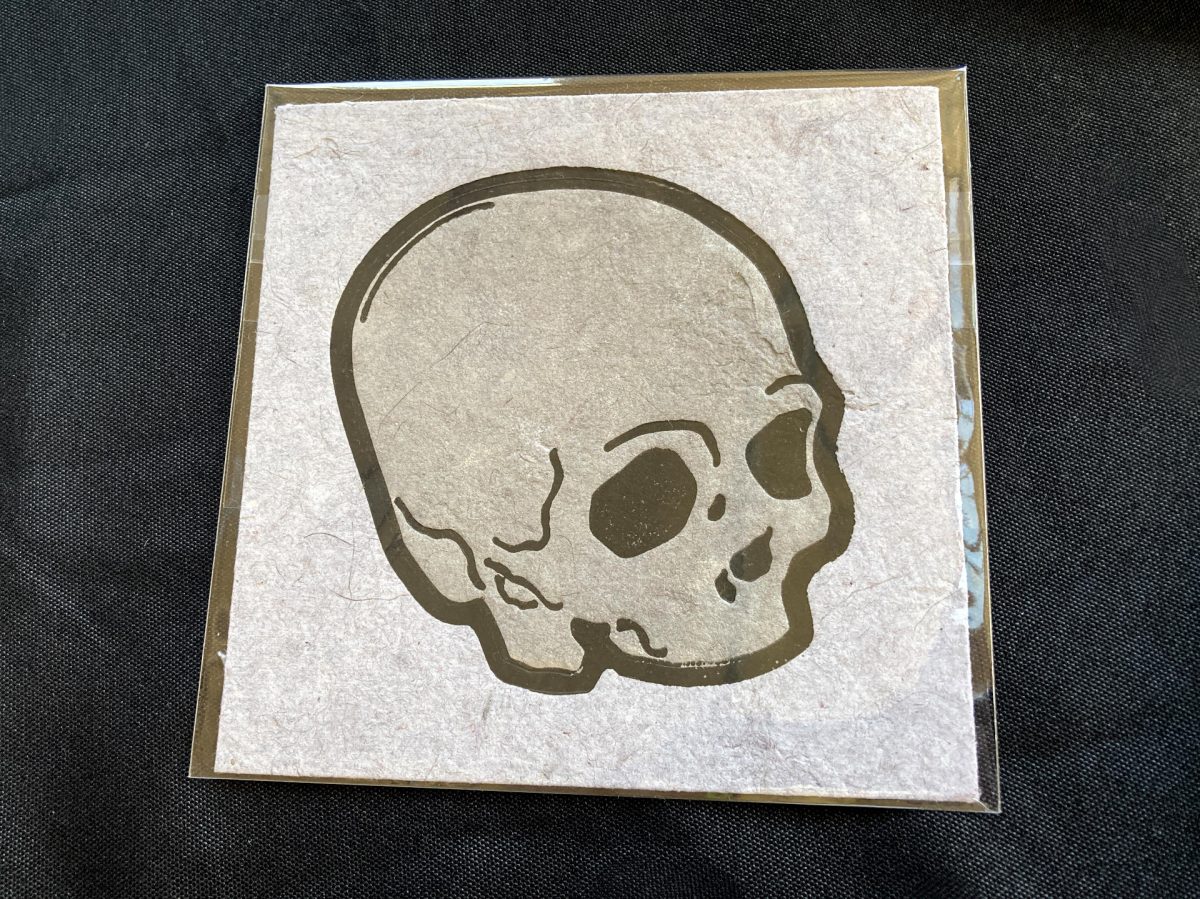
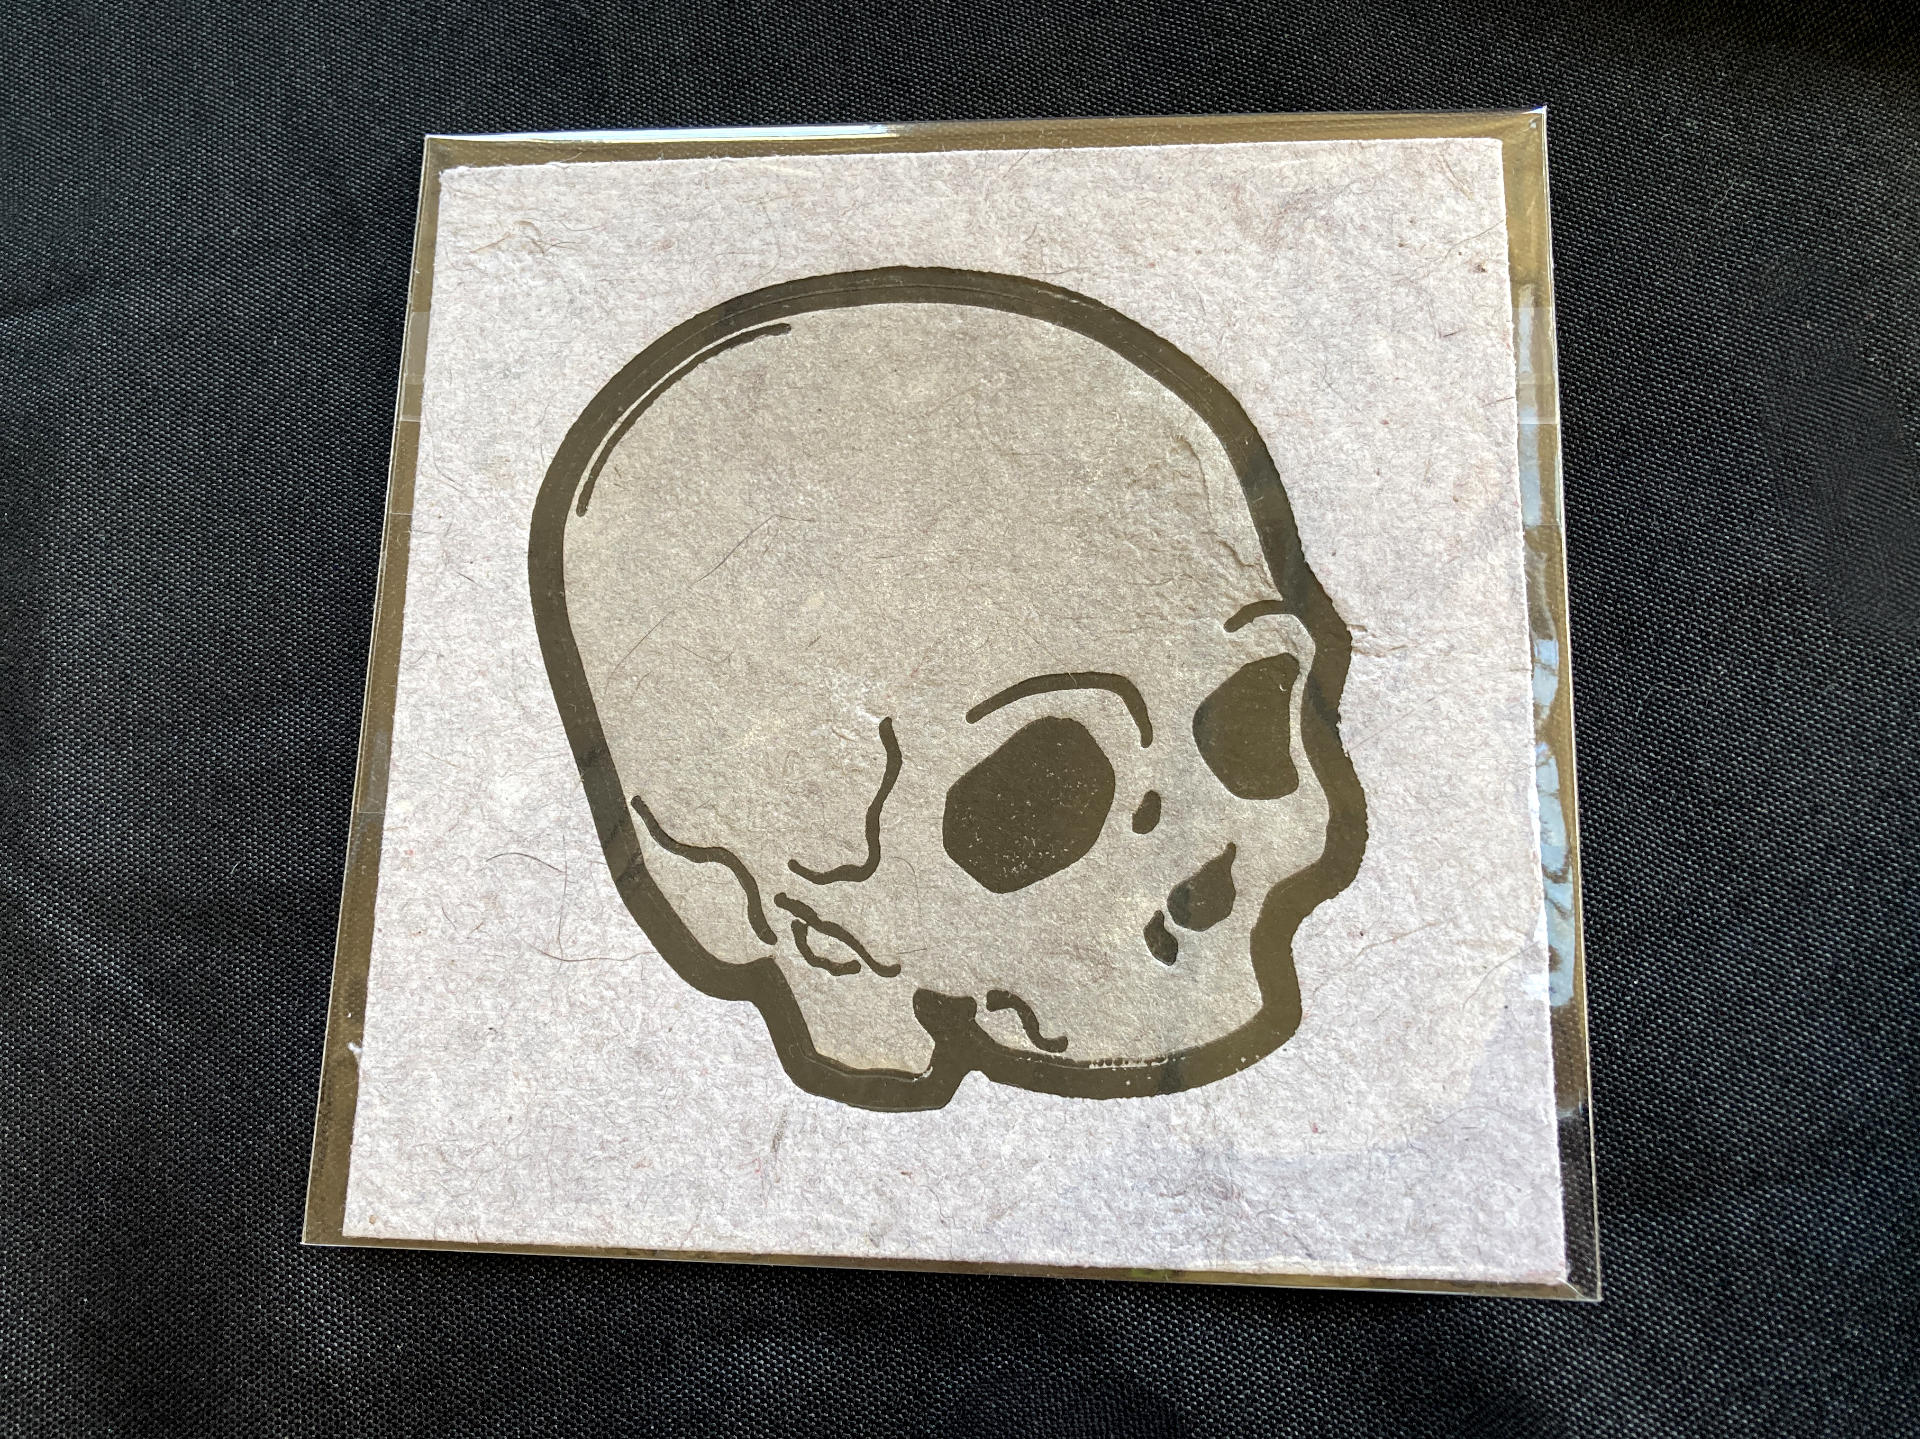
I will be there to show off my unique relief printmaking process. If you missed it, I designed and 3D printed my own mould & deckle and I make my own paper, mostly from recycled junk mail and other scraps of paper, and I then 3D print printing plates and print with them (onto the handmade paper) using a DIY printing press I assembled. Oh, I also 3D print frames for the prints.

Yeah, that’s a lot, so here’s a list of all of the posts I’ve written about my printmaking endeavors over the last year or so:

Whew! If you read all of those (or even just some of them) you might have some insight into my process. If not, feel free to come to Maker Faire Milwaukee and ask some questions!

Categories
Uncategorized

Bike Lock Mount Spacer

I have a bike lock that mounts to the seat stay by clamping around the tube and it’s never quite fit right. I can tighten it all I want but the plastic on metal doesn’t really prevent it from rotating slightly. It’s not a huge deal but it’s enough to bother me.

In the past I had a GPS handlebar mount and it came with a little piece of rubber to help shim it tight and grip the bar which prevented it from rotating. I didn’t have any random pieces of rubber around, but I do have flexible filament! TPU (or Thermoplastic PolyUrethane) is 3D printing filament that is sort of soft and flexible, so I loaded it up in the Prusa MINI+ and designed a piece in OpenSCAD.

When I say “designed” there is barely a design, as it’s just a hollowed cylinder with a slit down the side. While 3D printed parts can be complex, they can also be really simple. (I once printed a shim!)

Again, for me it’s all about solving problems. I could have hunted around for a piece of rubber, or ordered some, but I had the filament on-hand, I can design things quickly, and they can print while I do more important work.

Categories
Uncategorized

Bike Seat Light Adapter

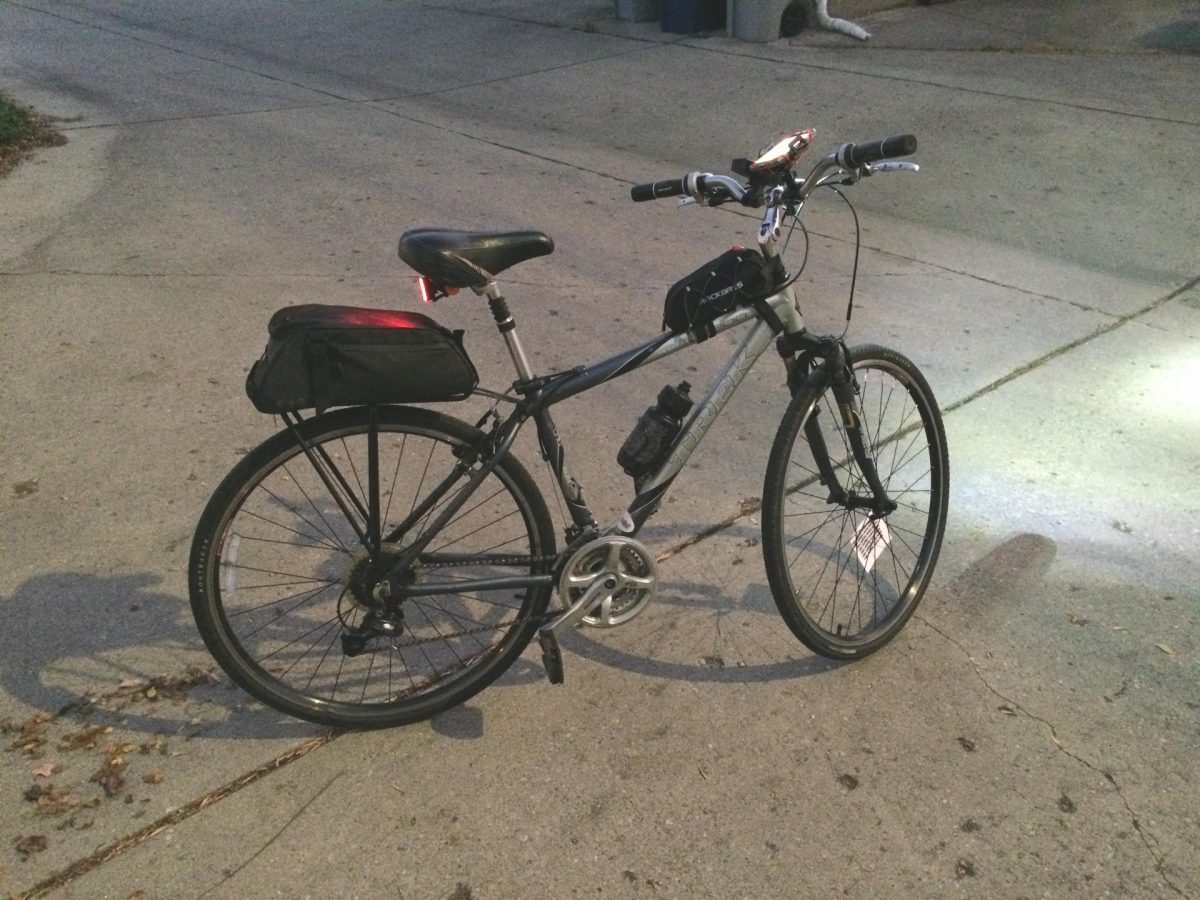
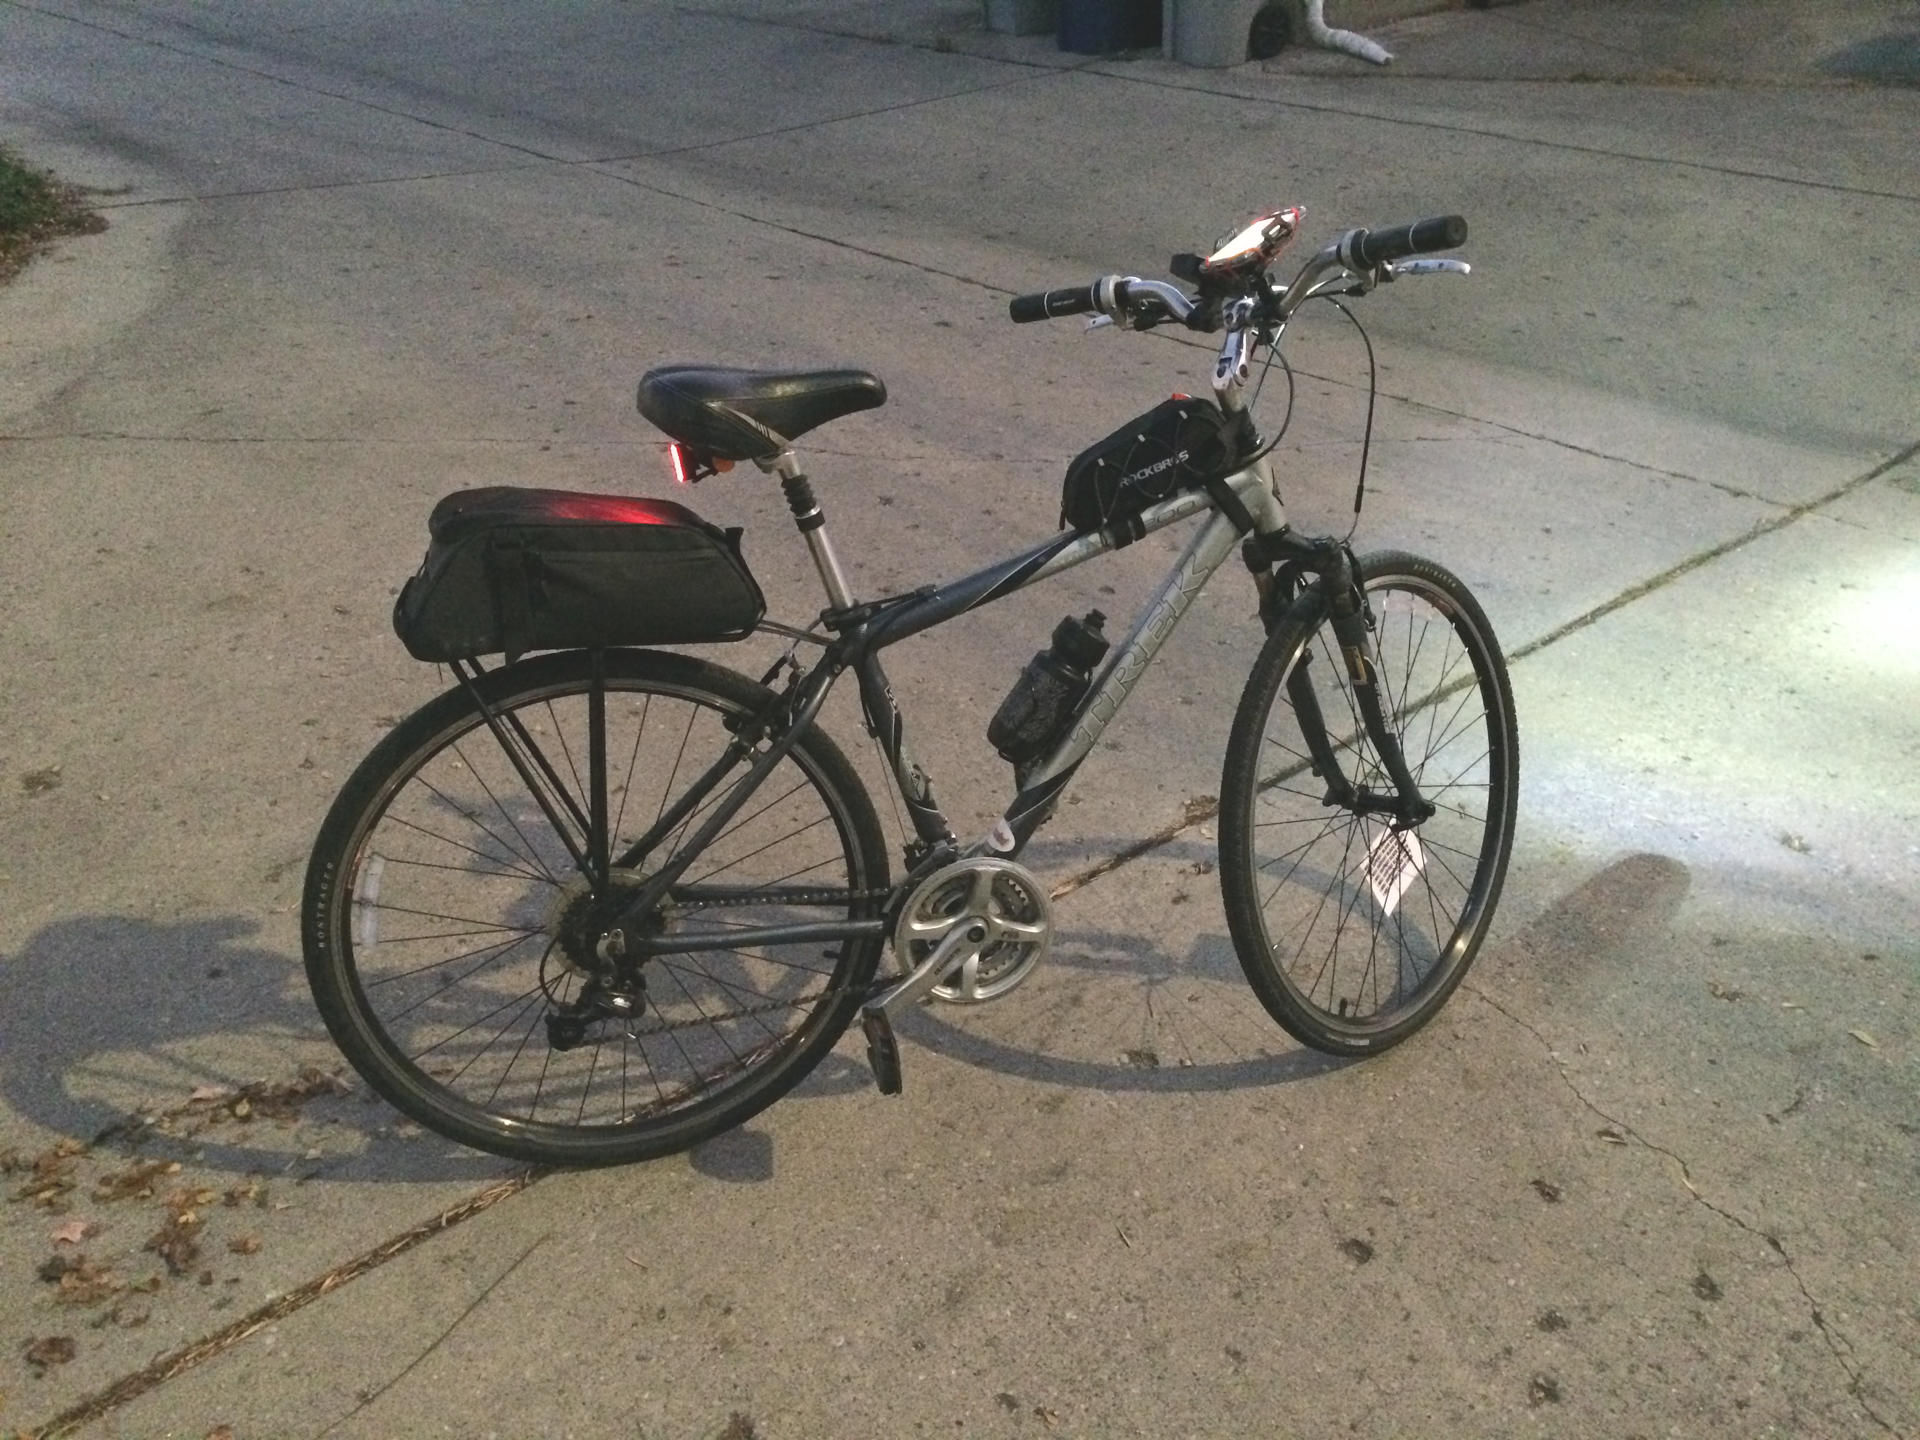
Back in February I got a set of bike lights and the rear light mounted on the seat post perfectly, but I recently added a bike rack and bag which blocked the light from view. At first I attached the rear light (which is also a reflector) to the back of the bag, but it wasn’t ideal.

So looking at the options I thought mounting it to the back of the seat (on the saddle rails) made sense, but I needed an adapter, so I designed and printed one. I’ve said it before, but I’ll say it again: This is why I like 3D printing. I’m not interested in printing little toys or trinkets, I am interested in solving problems.

I fired up OpenSCAD and designed a cylinder, split it in half, added holes/grooves to fit around the bars on the seat, and then added a hole for a bolt to go through to clamp it together.

One side of the bolt hole allows the head of the bolt to be recessed so it doesn’t stick out, and the other side allows for the hex nut to be held captive so you can tighten the screw with the nut held in place.

I remember back in 2012 when I asked Michael Curry if he got designs right the first time and the first print worked perfectly, and he said that most designs took about three attempts… I’m happy to say this one took just two! (Well, I could probably slightly improve things with a third attempt, but the second was close enough so I called it done.)

I did have to slightly cut down the bolt with a hacksaw to get it to not stick out too far. Again, a third print could have addressed that issue, but sometimes a hacksaw is the right solution to a problem.


Note: This post may contain Affiliate Links. Read More.
Categories
Uncategorized

Get Some Binoculars!

Dana and I recently took a trip to Ireland, and I decided to grab a new pair of binoculars to take along. A few months ago I saw a post that recommended binoculars as a gift and so I decided to gift myself a new pair.

I ended up getting these Occer 12×25 Compact Binoculars from Amazon because I needed them quickly before we left for our trip and didn’t want to research dozens of options. (And yes, there are tons of options at various price points.)

These are my old binoculars. I got them nearly 40 years ago as a kid. They still (mostly) work, though there are some broken bits, and the main thing not to like about them is that they are heavy! These weigh over 20 ounces while the new Occer binocs are under 10 ounces. Granted, the old ones are metal (and plastic) while the new ones are probably all plastic. Hanging 10 ounces around your neck isn’t too bad, but doubling that isn’t pleasant.

Here’s the size comparison… The Occer might fight in a large pocket but the old Tasco definitely will not.

And at some point binoculars switched from the end where you put your eyes being large instead of small. Dana actually tried looking through the wrong end when I first handed them to her!

These feel sturdy enough than I’m not too concerned with them bouncing around in my bag while hiking or biking. I haven’t dropped them yet, but since they’re pretty lightweight I’m not too worried.

I can totally see giving a pair of binoculars as a gift as well, since it’s one of those things I assume a lot of people don’t already own. I think Dana actually has a pair that used to belong to my dad, that she uses to look at the birds in our yard.

It came with this little connected eyepiece cover, and I didn’t even bring that on the trip because I wasn’t really worried about protecting the lenses from dust or scratches, but they’re nice to have. You also get a little lens cleaning cloth.

My one complaint is the strap. Even though the binocs are lightweight and small, the strap isn’t very comfortable on the back of your neck. I may try to rectify that situation by sewing up a small fabric strap cover.

I did manage to get a photo through the binoculars using my phone while on a boat in the ocean. I took about eight shots and this was the best.

After I posted this a friend asked if I used a monocular. I hadn’t! And sort of forgot those were an options. (Lots of cheap monoculars as well!) I had thought about making a little phone mount thing to take phones photos through the binocs and it looks like some of the monoculars come with something, so I’ll investigate that a bit as well.


Note: This post contains an Affiliate Link. Read More.