I moved from Evernote to Bear for my synced notebook needs back in 2020. Bear’s great support for Markdown was one of the reasons. At the time I said of Bear “It’s not perfect” and no, it’s not… so I started to question my use of it because honestly you should check your tools every now and then to see if they need replacing. Since I am using desktop Linux a bit more now I wanted to see about using Obsidian again, but using their sync solution is twice the cost of Bear’s, and self hosted syncing or using some other method involves yet another piece of software.
So when I found Anytype it looked pretty interesting! It’s local-first and peer-to-peer and all of the clients you use sync and data is encrypted on your own devices and only you have the key. Ah, speaking of the key… it’s not a password, it’s a “12 word mnemonic ‘Recovery’ phrase” which you better store somewhere… I’ve been using Anytype for a week and just today I launched it and it asked for the phrase, which I did not expect and had to copy/paste from where I store it. Anyway…
In my workflow I see Anytype taking the place of Notion. I’ve been using Notion for a few years now mainly for task management. Before that I used Monday.com and before that Asana. They all have their pros and cons… I use a free account because I don’t collaborate in a team, it’s just for me and my small hobby business.
And part of moving from Notion to “something else” is a goal to do more self hosting and rely less on companies (especially US-based companies) to have my data.

While I am liking Anytype, it is a powerful and complex beast. It has many capabilities, but it’s not super intuitive, and it can take some reading and experimenting to get how it works. It’s a little like a database, and since “everything is an object” it’s sort of like an object database? But it does have relations… It sort of reminds me of UserLand Frontier which had an object database, but also a scripting engine… I don’t think there’s a scripting engine available in Anytype though.
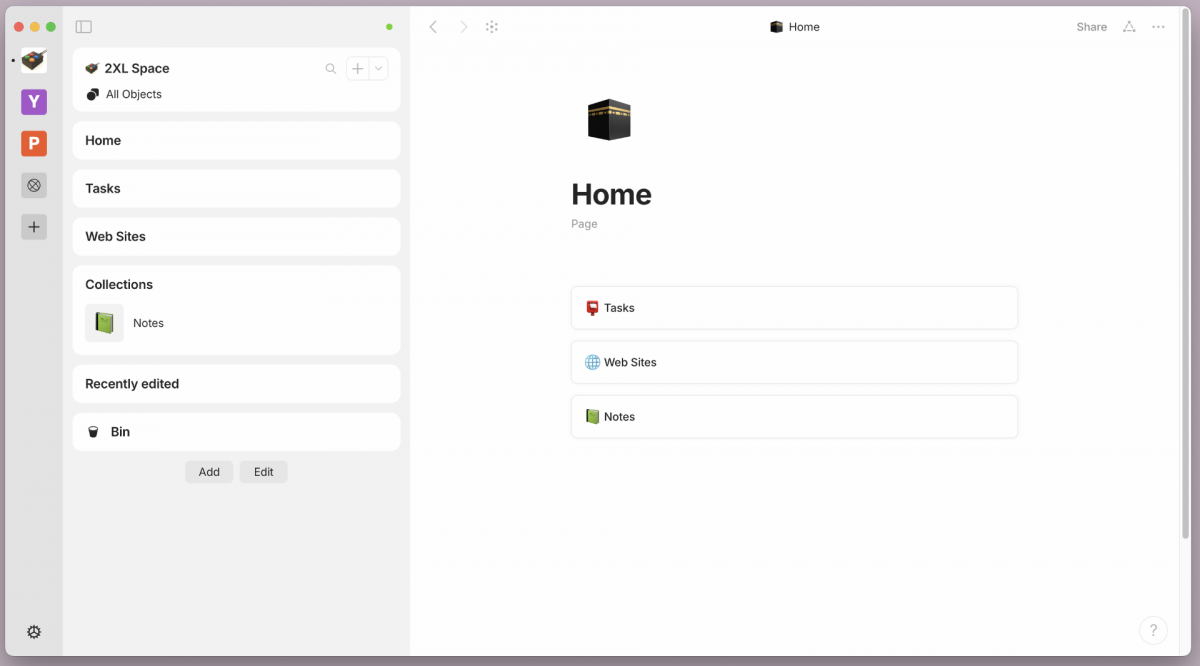
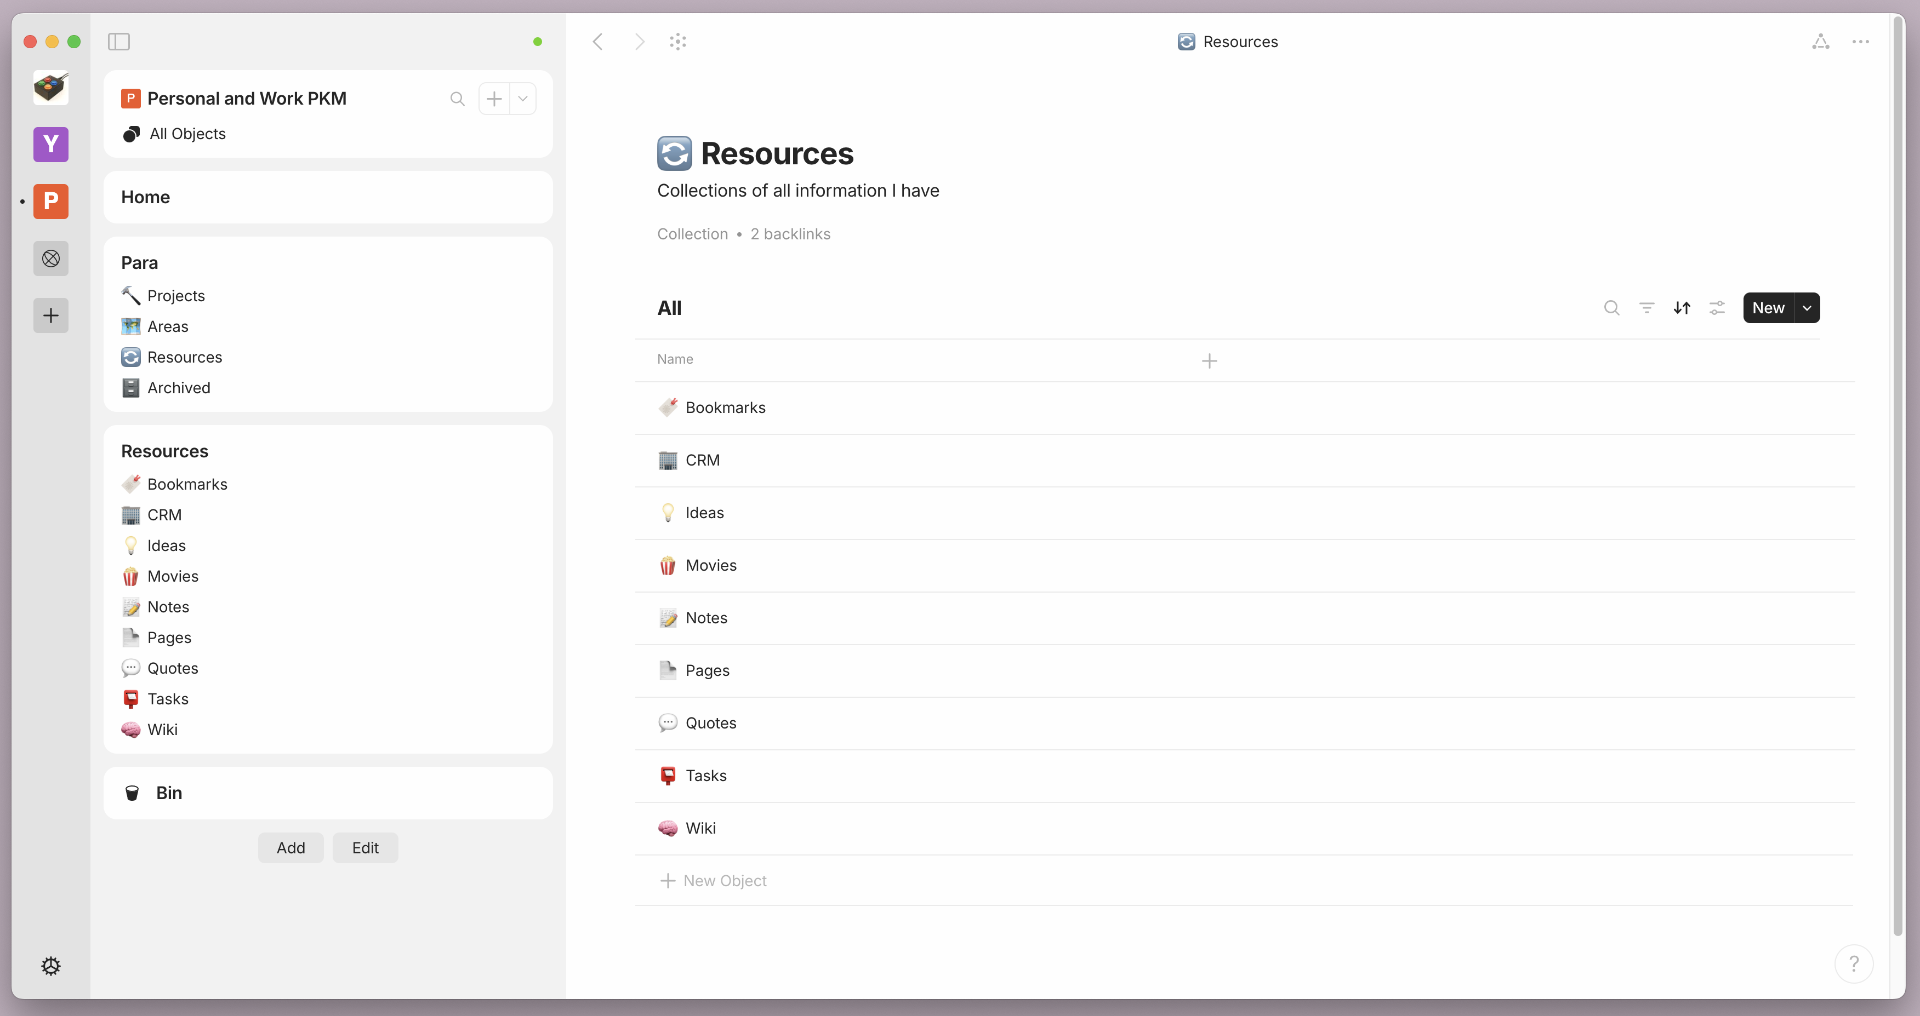
There are all sorts of “spaces” you can use to get started… think of these as empty / example databases. I’ve tried a few but ended up using them as examples and just built my own. But what about notes?
While I do plan to use Anytype as a simple database / datastore and for tasks (though it lacks notifications at this point) I don’t think it will replace my use of Bear for a synced digital notebook. Anytype has this whole “block” concept like Notion and you can’t easily just paste in a big chunk of Markdown text. It’s also a lot more work to fire up Anytype and add a new note, as there’s a bit of friction involved where Bear has none for me. The way Anytype handles Markdown is also… weird to me.
So for now I’ll probably stick to Bear for notes, and honestly I think I just need to reorganize some of the ways I use Bear to make notes a bit easier to work with and find. Also, I guess you cannot change the font size in Anytype which is a bit annoying. Still, I am finding it useful for some things… but not everything.