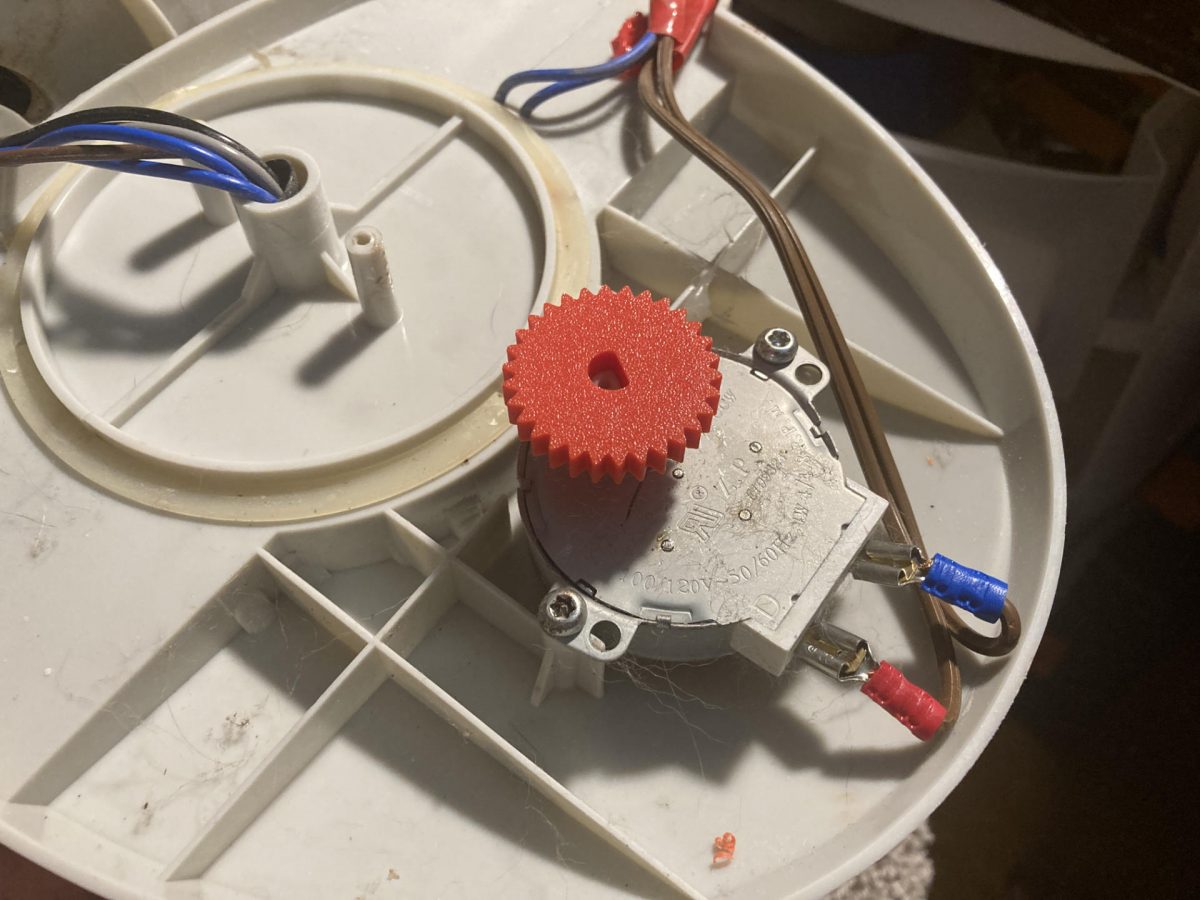

Remember when I made a shelf for my fan? What I forgot to mention is that I repaired that fan back in June of 2020. I should note that I’ve had this fan for at least 20 years and honestly I’m sort of surprised it’s still going. The repair in 2020 involved replacing the oscillating motor which I was able to determine was a “OEM TYJ50-8A19 Universal Microwave Turntable Motor 4 / 4.8 RPM”. I found one on eBay for less than $10 USD and replacing it was pretty straightforward.
And it worked great! For a while… and then the fan stopped oscillating properly again, and I just sort of let it sit like that for a long time. I prefer fans that oscillate but if they don’t I can live with it…

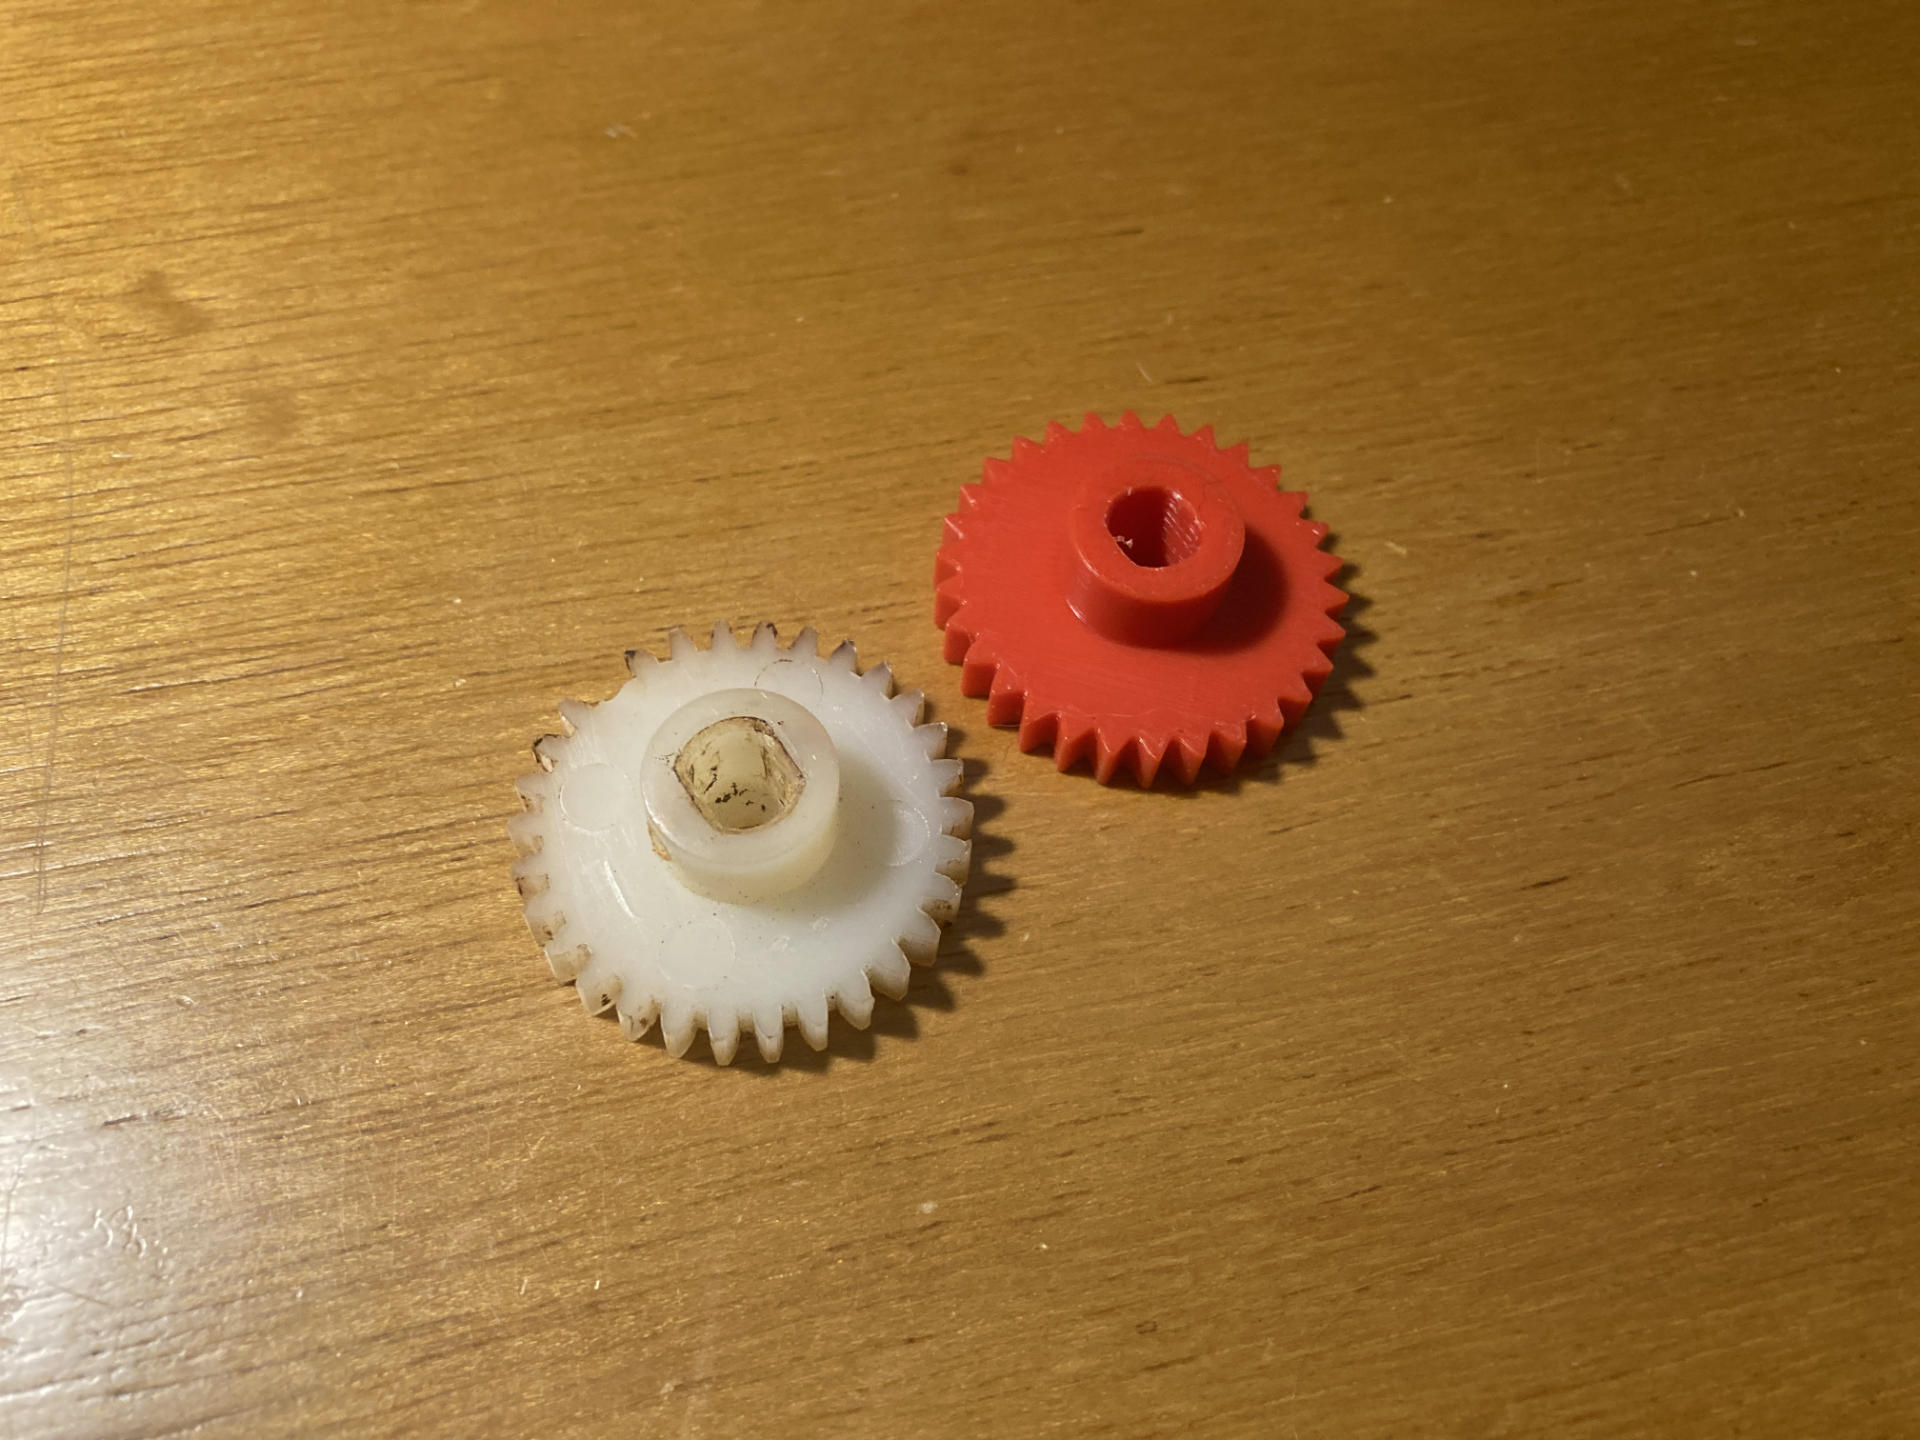
Well, I got sick of living with it so I popped it open again and discovered the gear was missing a tooth. I used the OpenSCAD Gear Library with Customizer to create a new gear that matched the old one and put it in place and it is oscillating again. Huzzah!

I figured if the gear wears out again I can just print a new one. I used PLA but if needed I could do ASA or ABS or whatever else I have on hand. Also, it occasionally “clicks” when oscillating so the repairs might not be completely done, so this is probably not the end of the stupid fan story. Sorry!