Categories
Uncategorized

January Prints in Progress (Part II)

Have you already see January Prints in Progress Part I? This is Part II of the journey to create 30 pieces of art in 30 days in January 2024. Part I covered the basics of the project, so in Part II I’ll show the latest prints and talk about all sorts of random things.

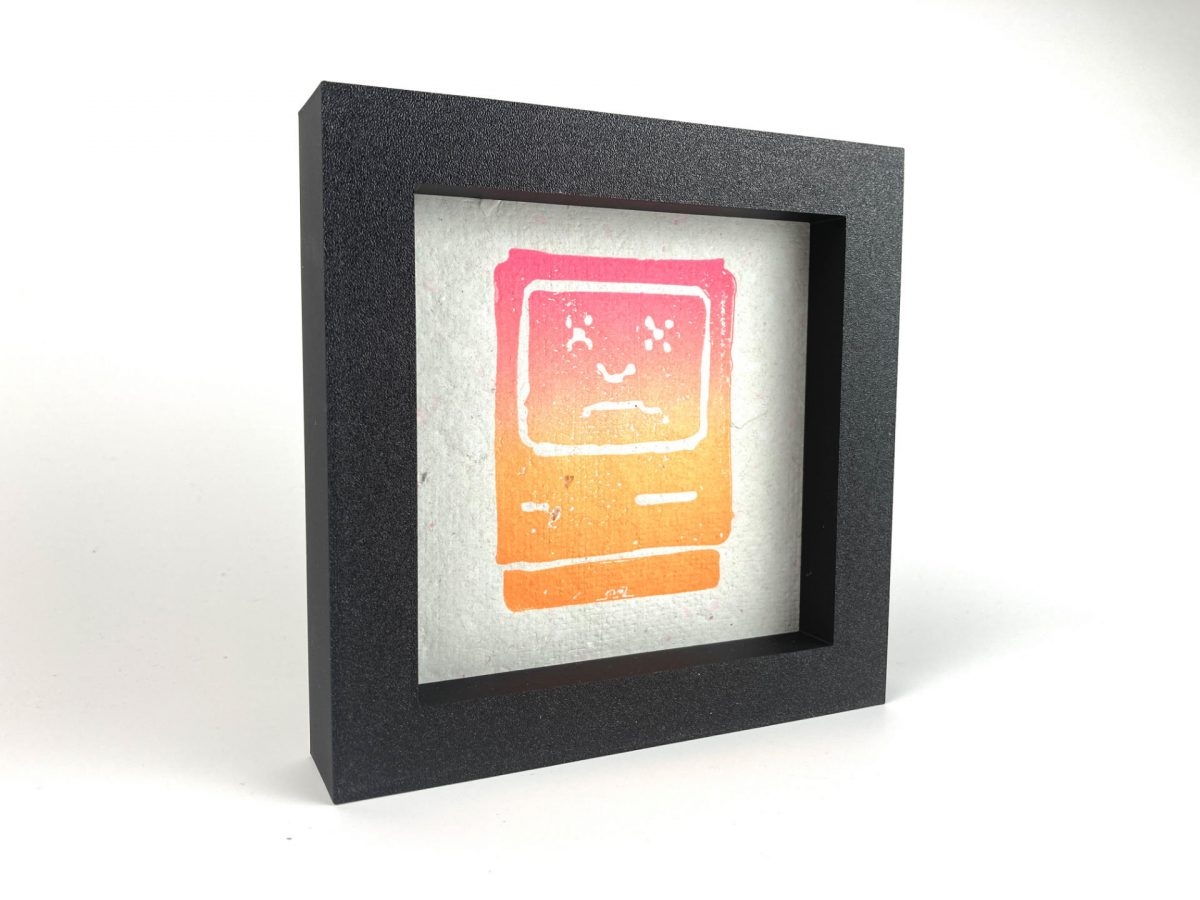
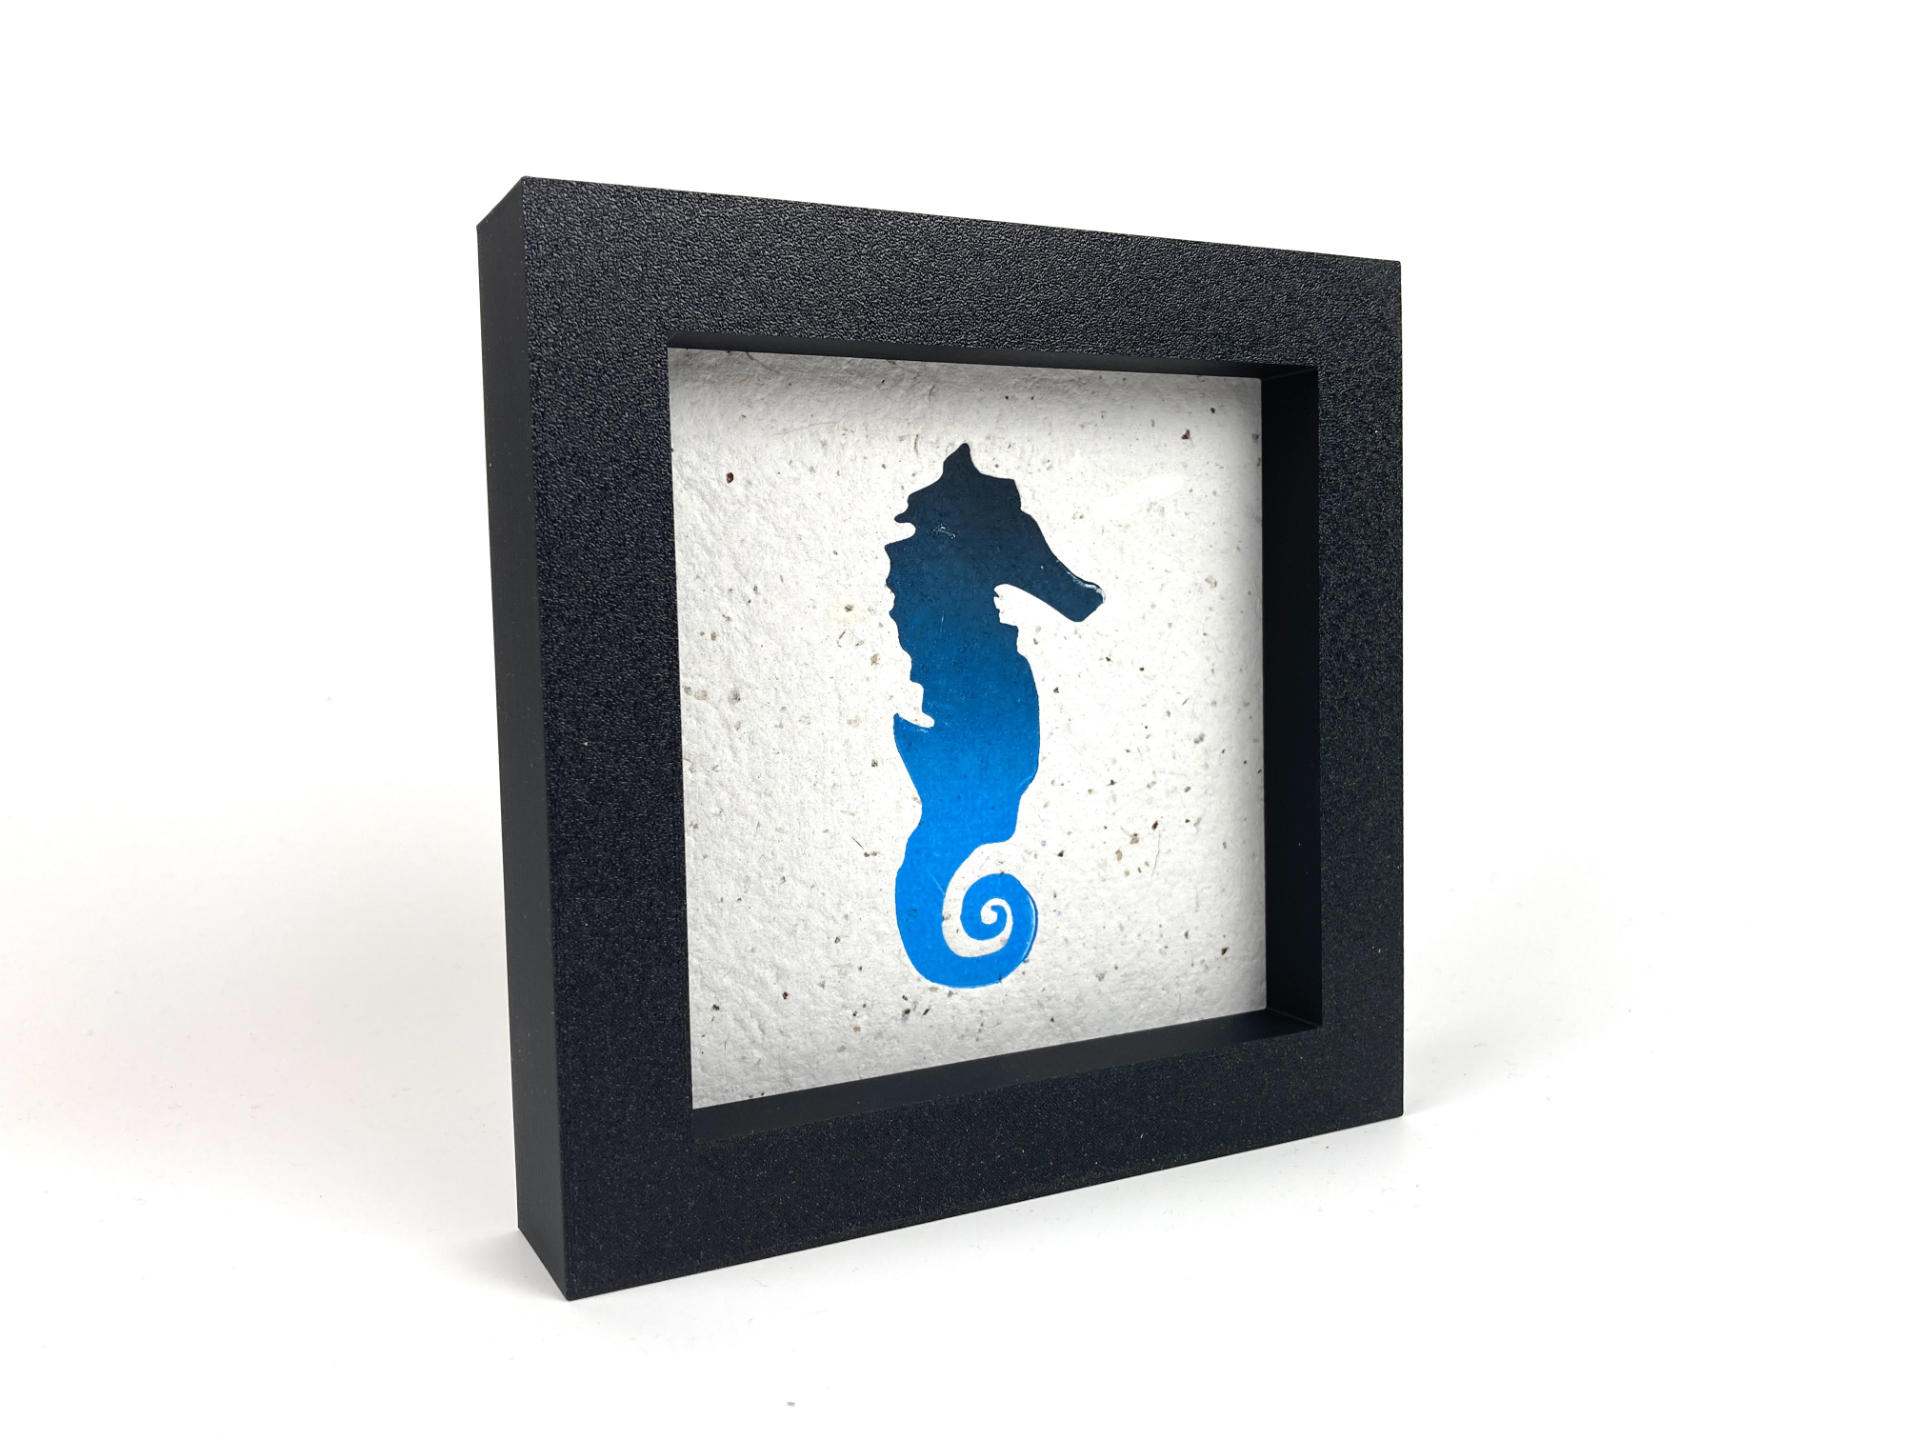
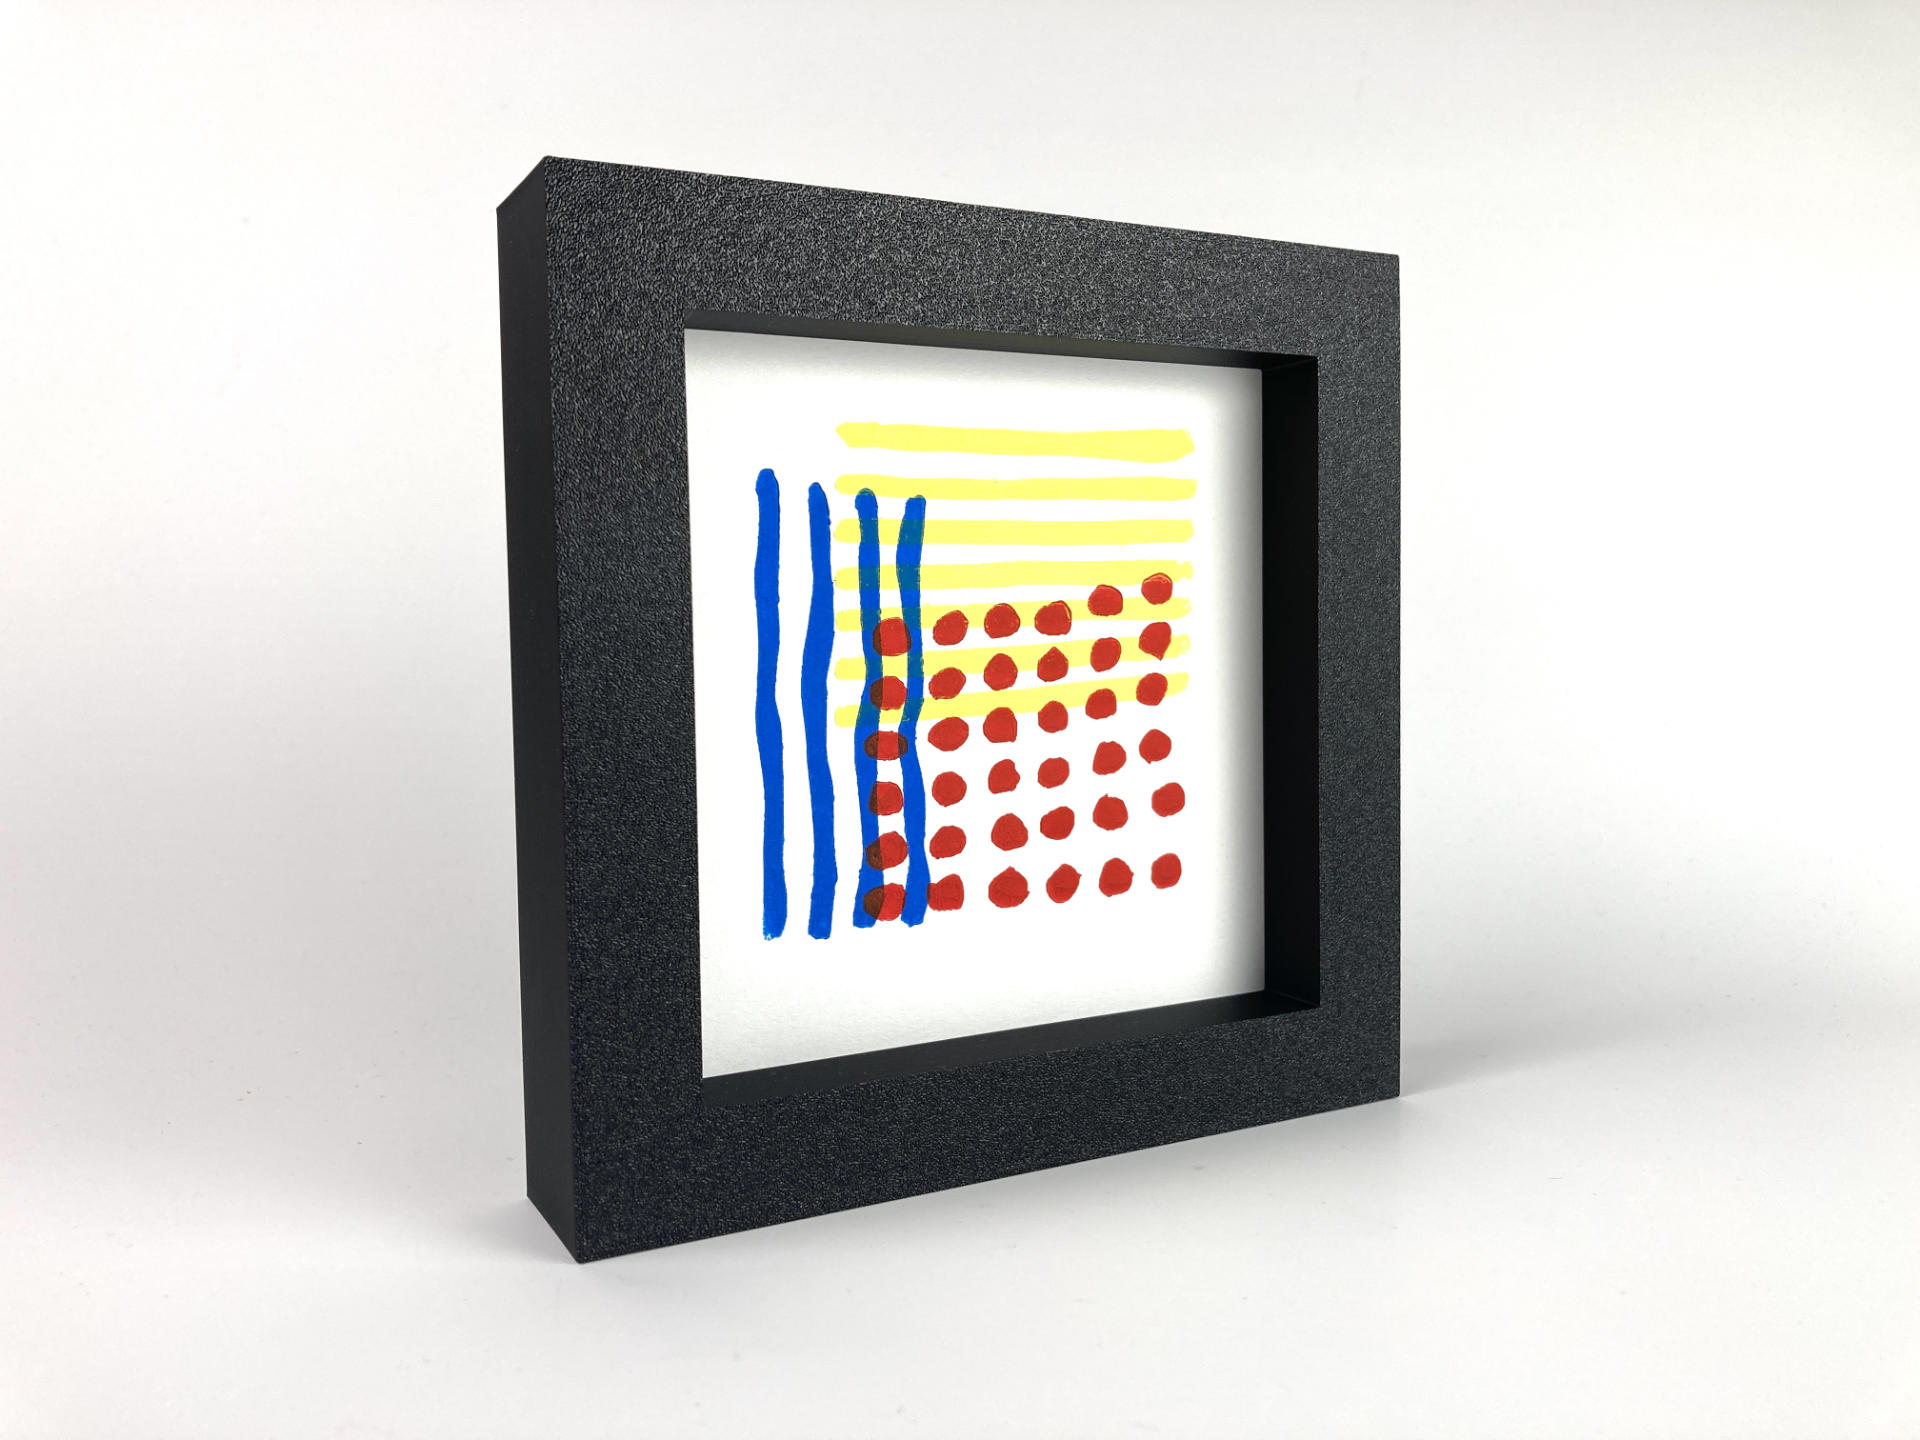
I have been really enjoying this process. Each day I come up with one or more ideas, and either design something digitally or print out an image and do a bit of tracing and drawing and then digitize that and make a plate. The plates are all 3D printed for this project, which has also been a challenge (sometimes fun, sometimes frustrating) but overall I have a process that works for me.

These sorts of creative challenges where you need to create something every day can be rough. I remember discussing a photo challenge with someone where they took one photo every single day and they said there were a number of times it would be 11pm at night, they’d be exhausted, but still had to find the energy to be creative and come up with an idea and get a decent shot…

If you get sick or have unexpected things happen (you know, like a power outage, flat time, having to get an MRI) it can be difficult to prioritize being creative when you are just trying to survive! (Luckily this month has been pretty smooth so far… Fingers crossed!)

Even though this month has been pretty smooth, it still takes alot of time. For me I’ve found that if I can get in 30 to 45 minutes in the morning before going to work that helps move things along pretty well. January has been a slow month for sales and I’ve just sort of pushed off a few other projects I have been working on. They are still getting done, just a little bit slower…

Speaking of slower, while I do like the challenge of creating something new every single day, I sort of look forward to this project ending so I can slow down. Most of these prints are a single iteration of an idea. To me design has always been about iteration and continually trying to improve things, so there are a few prints that I think are (nearly) perfect, and some that could definitely benefited from a bit more time and versions.

Ideas can be like that though… sometimes you get an idea and BAM! That’s it! You nail it on the first attempt… Or so you think. Maybe doing a number of versions, playing around with it, pushing it, pulling it, and trying variations is something worth doing. Once this months is over I may take that approach.

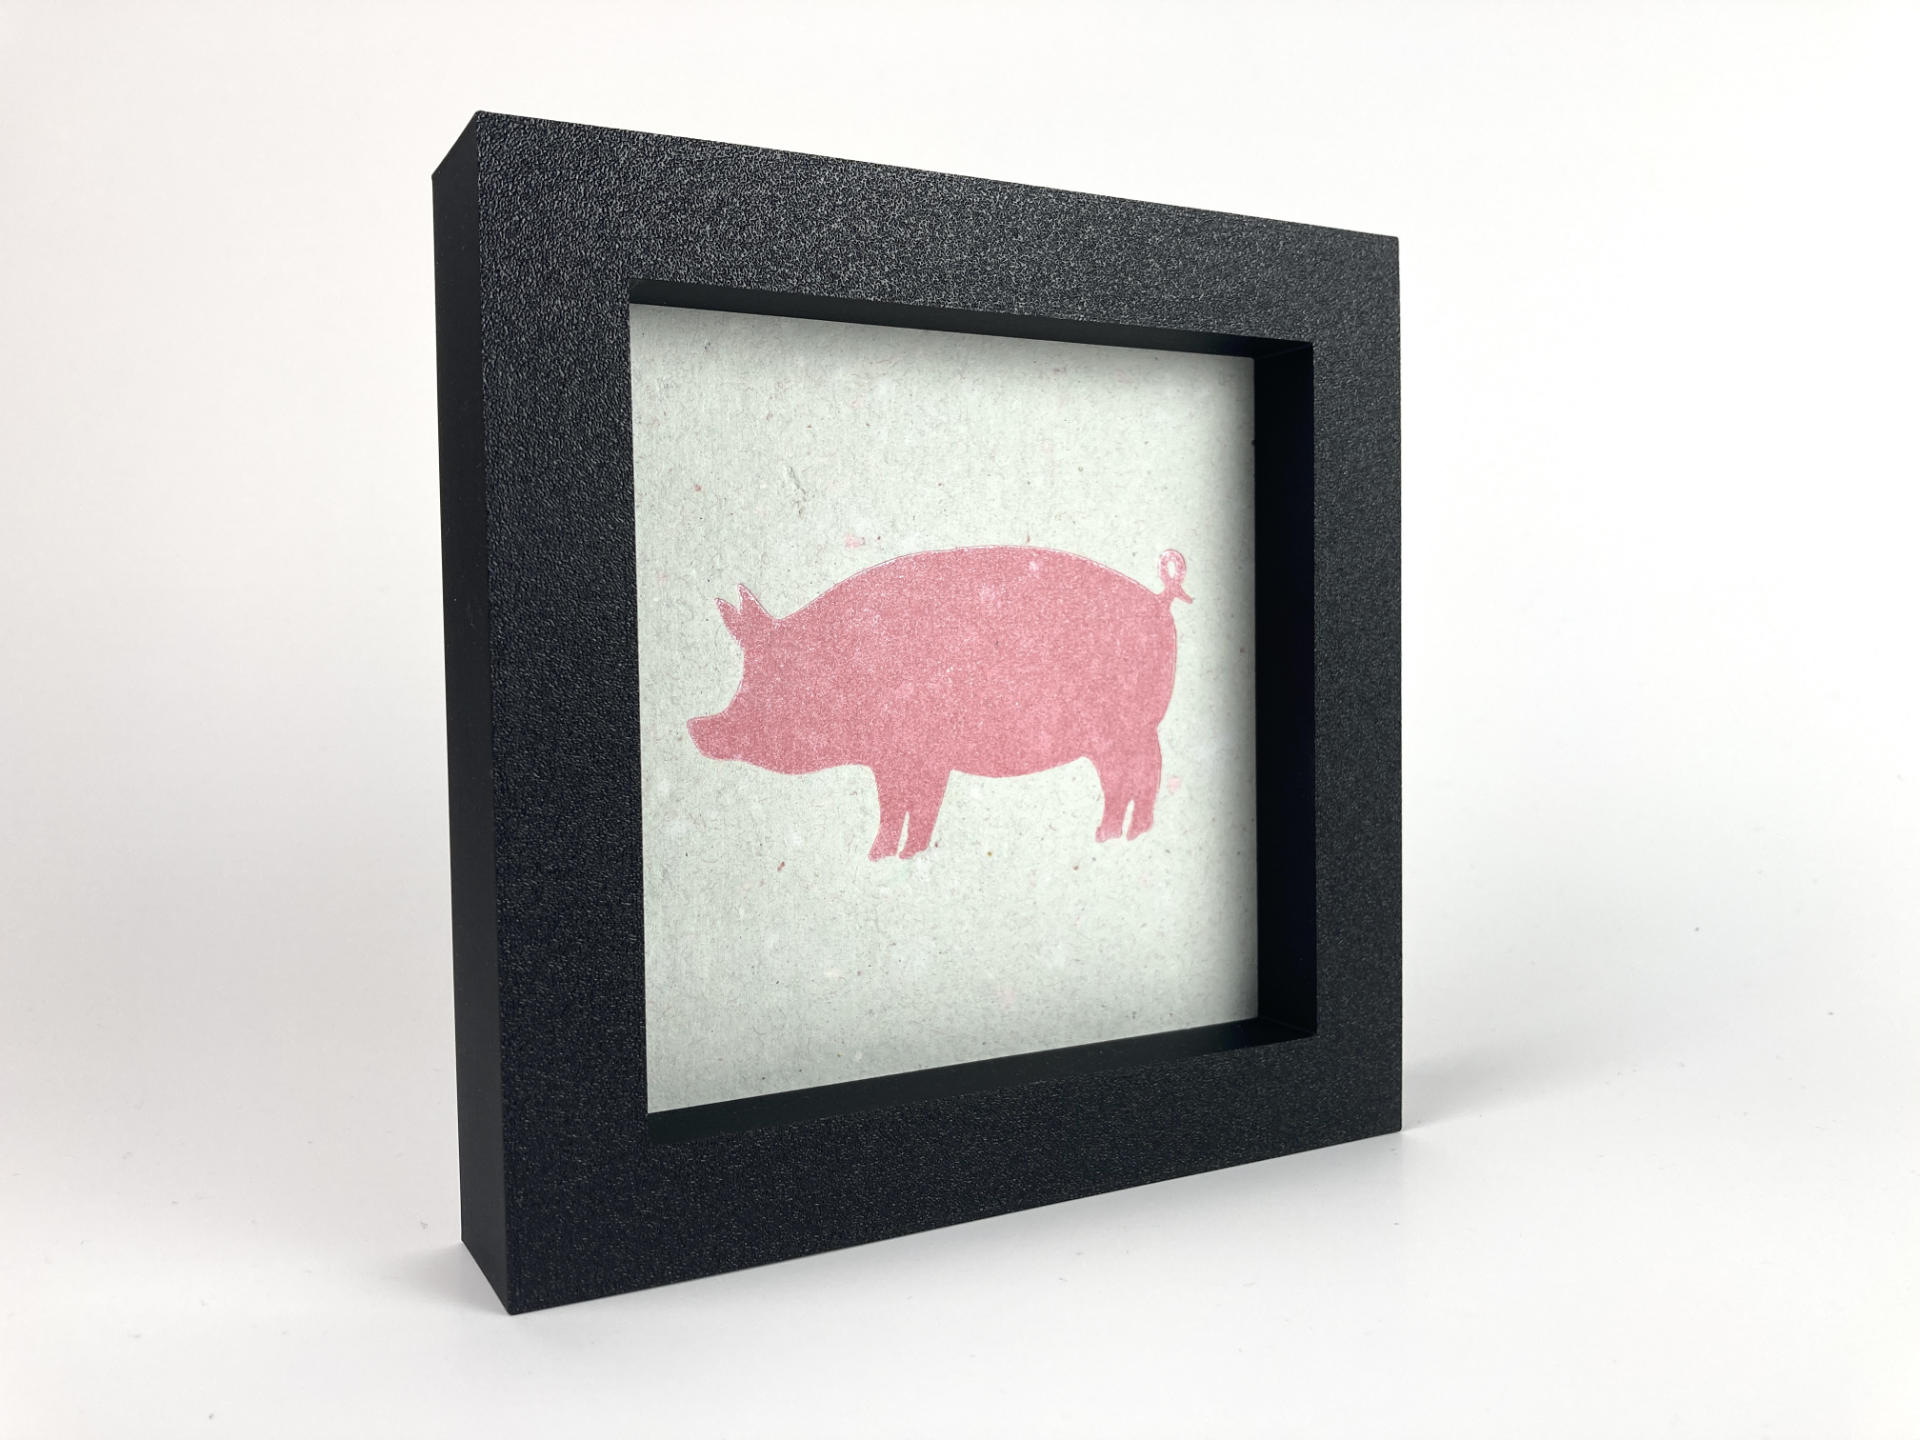
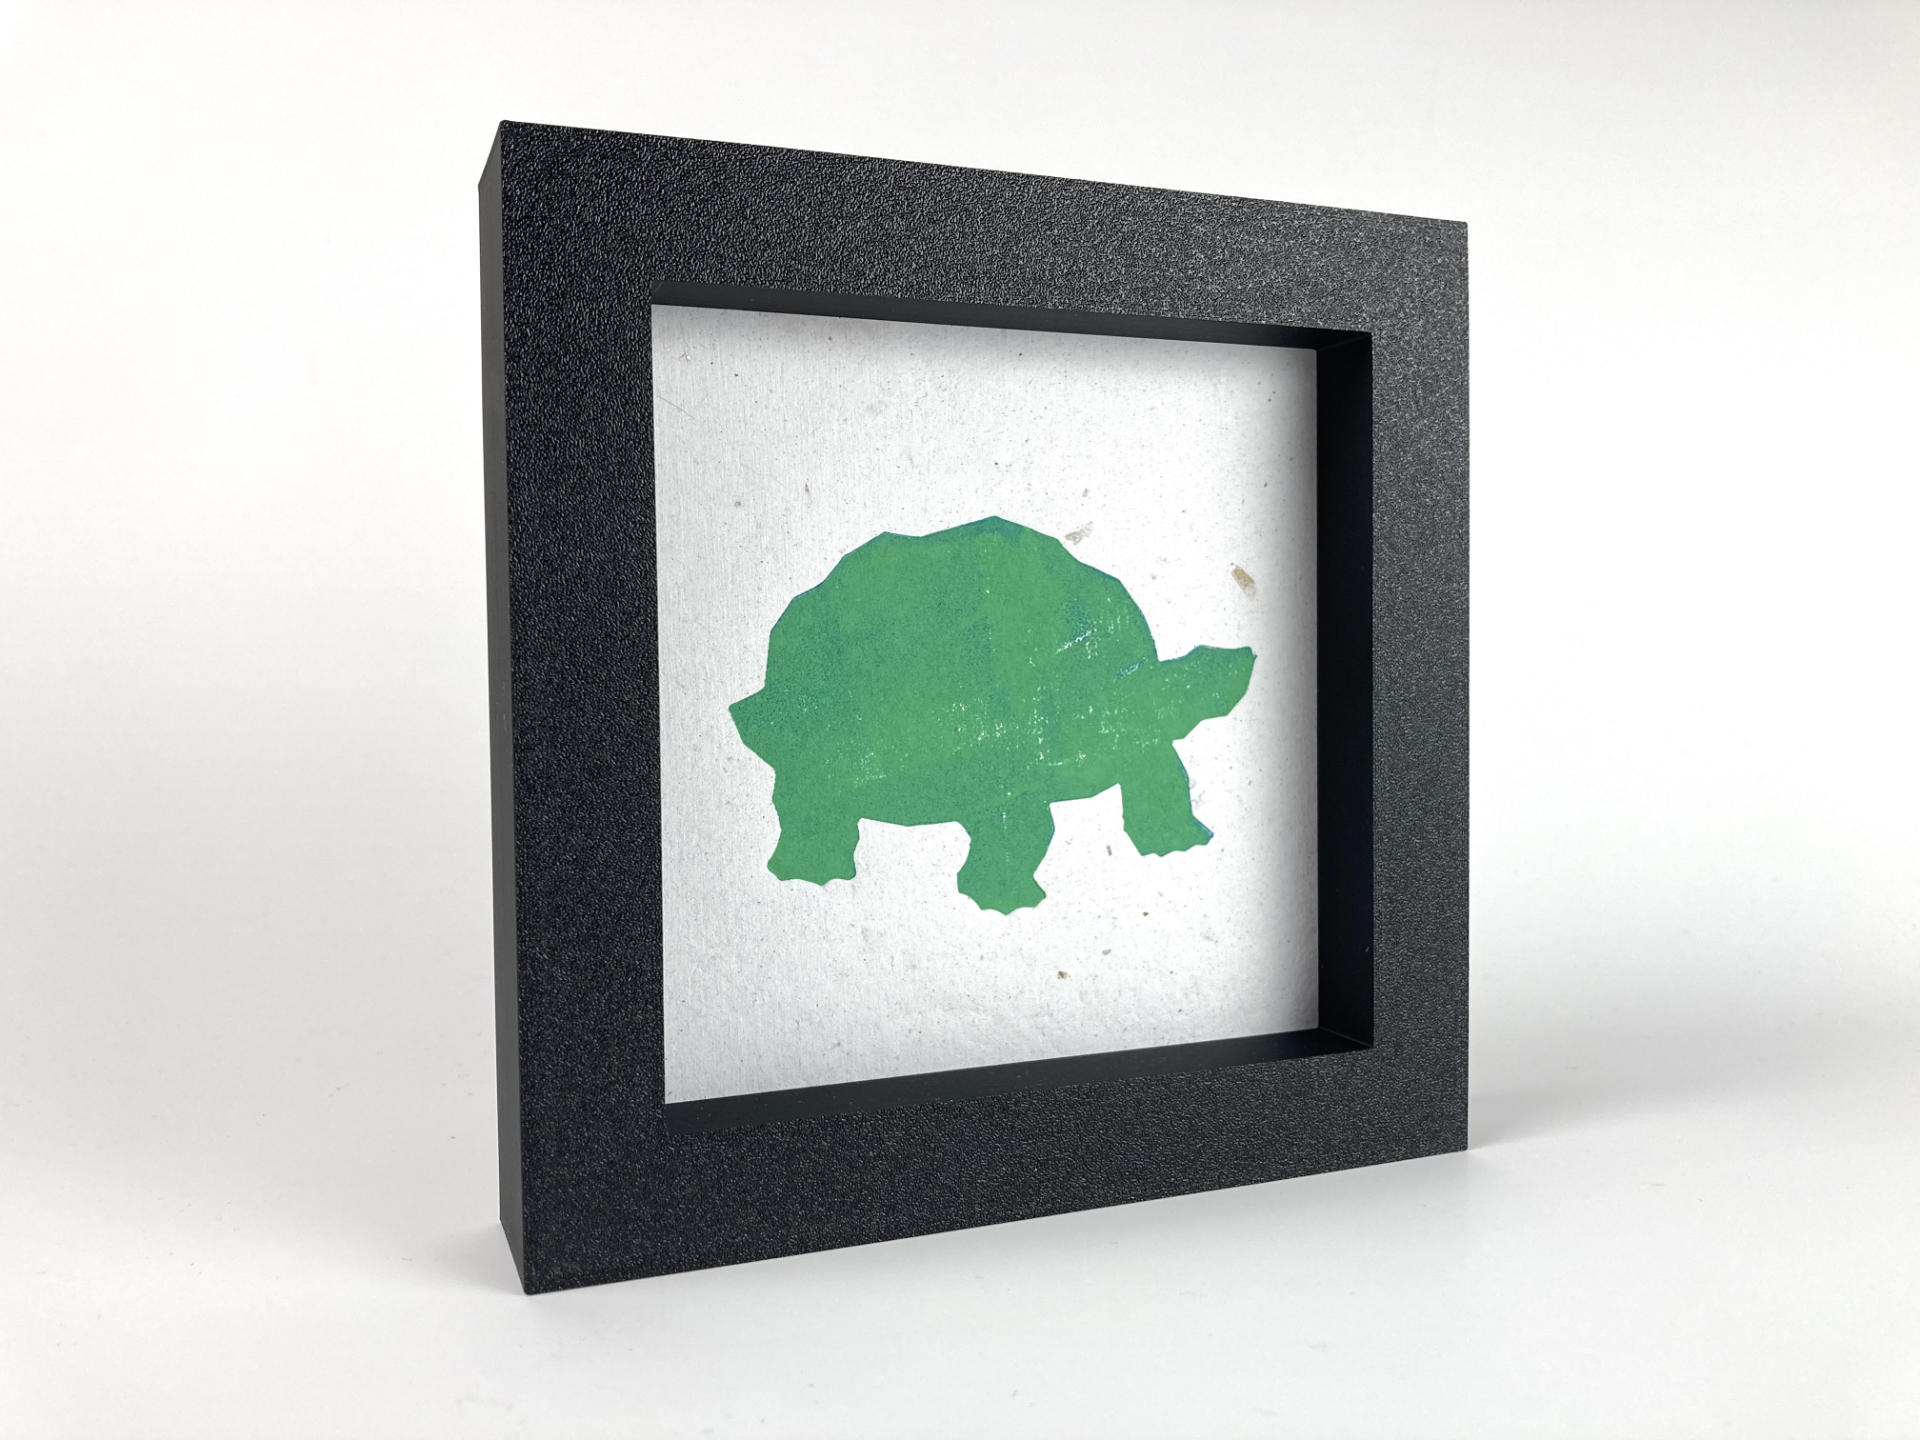
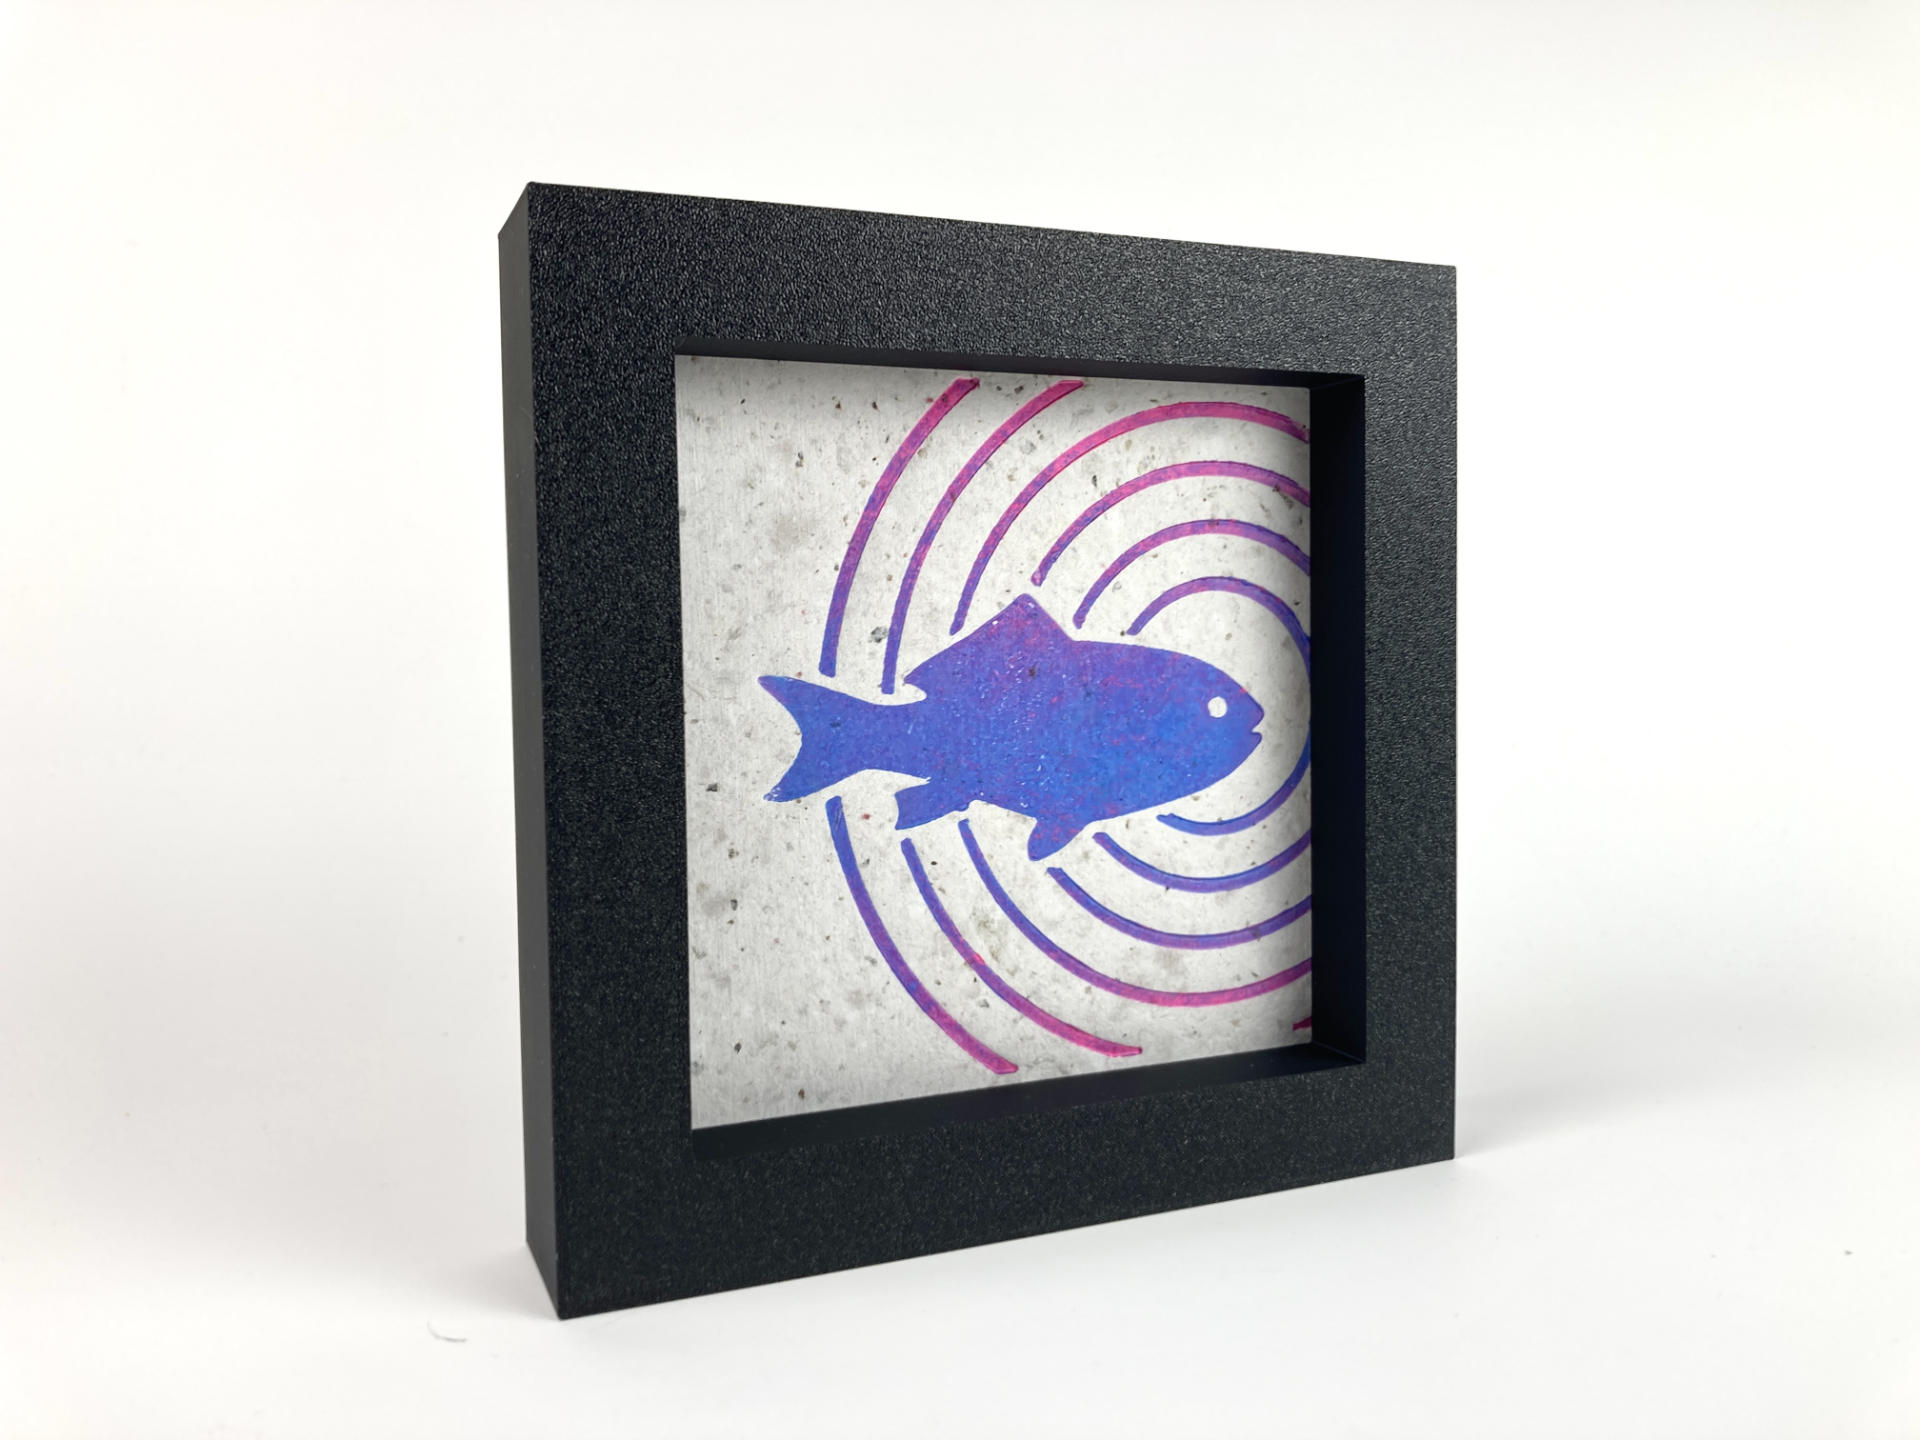
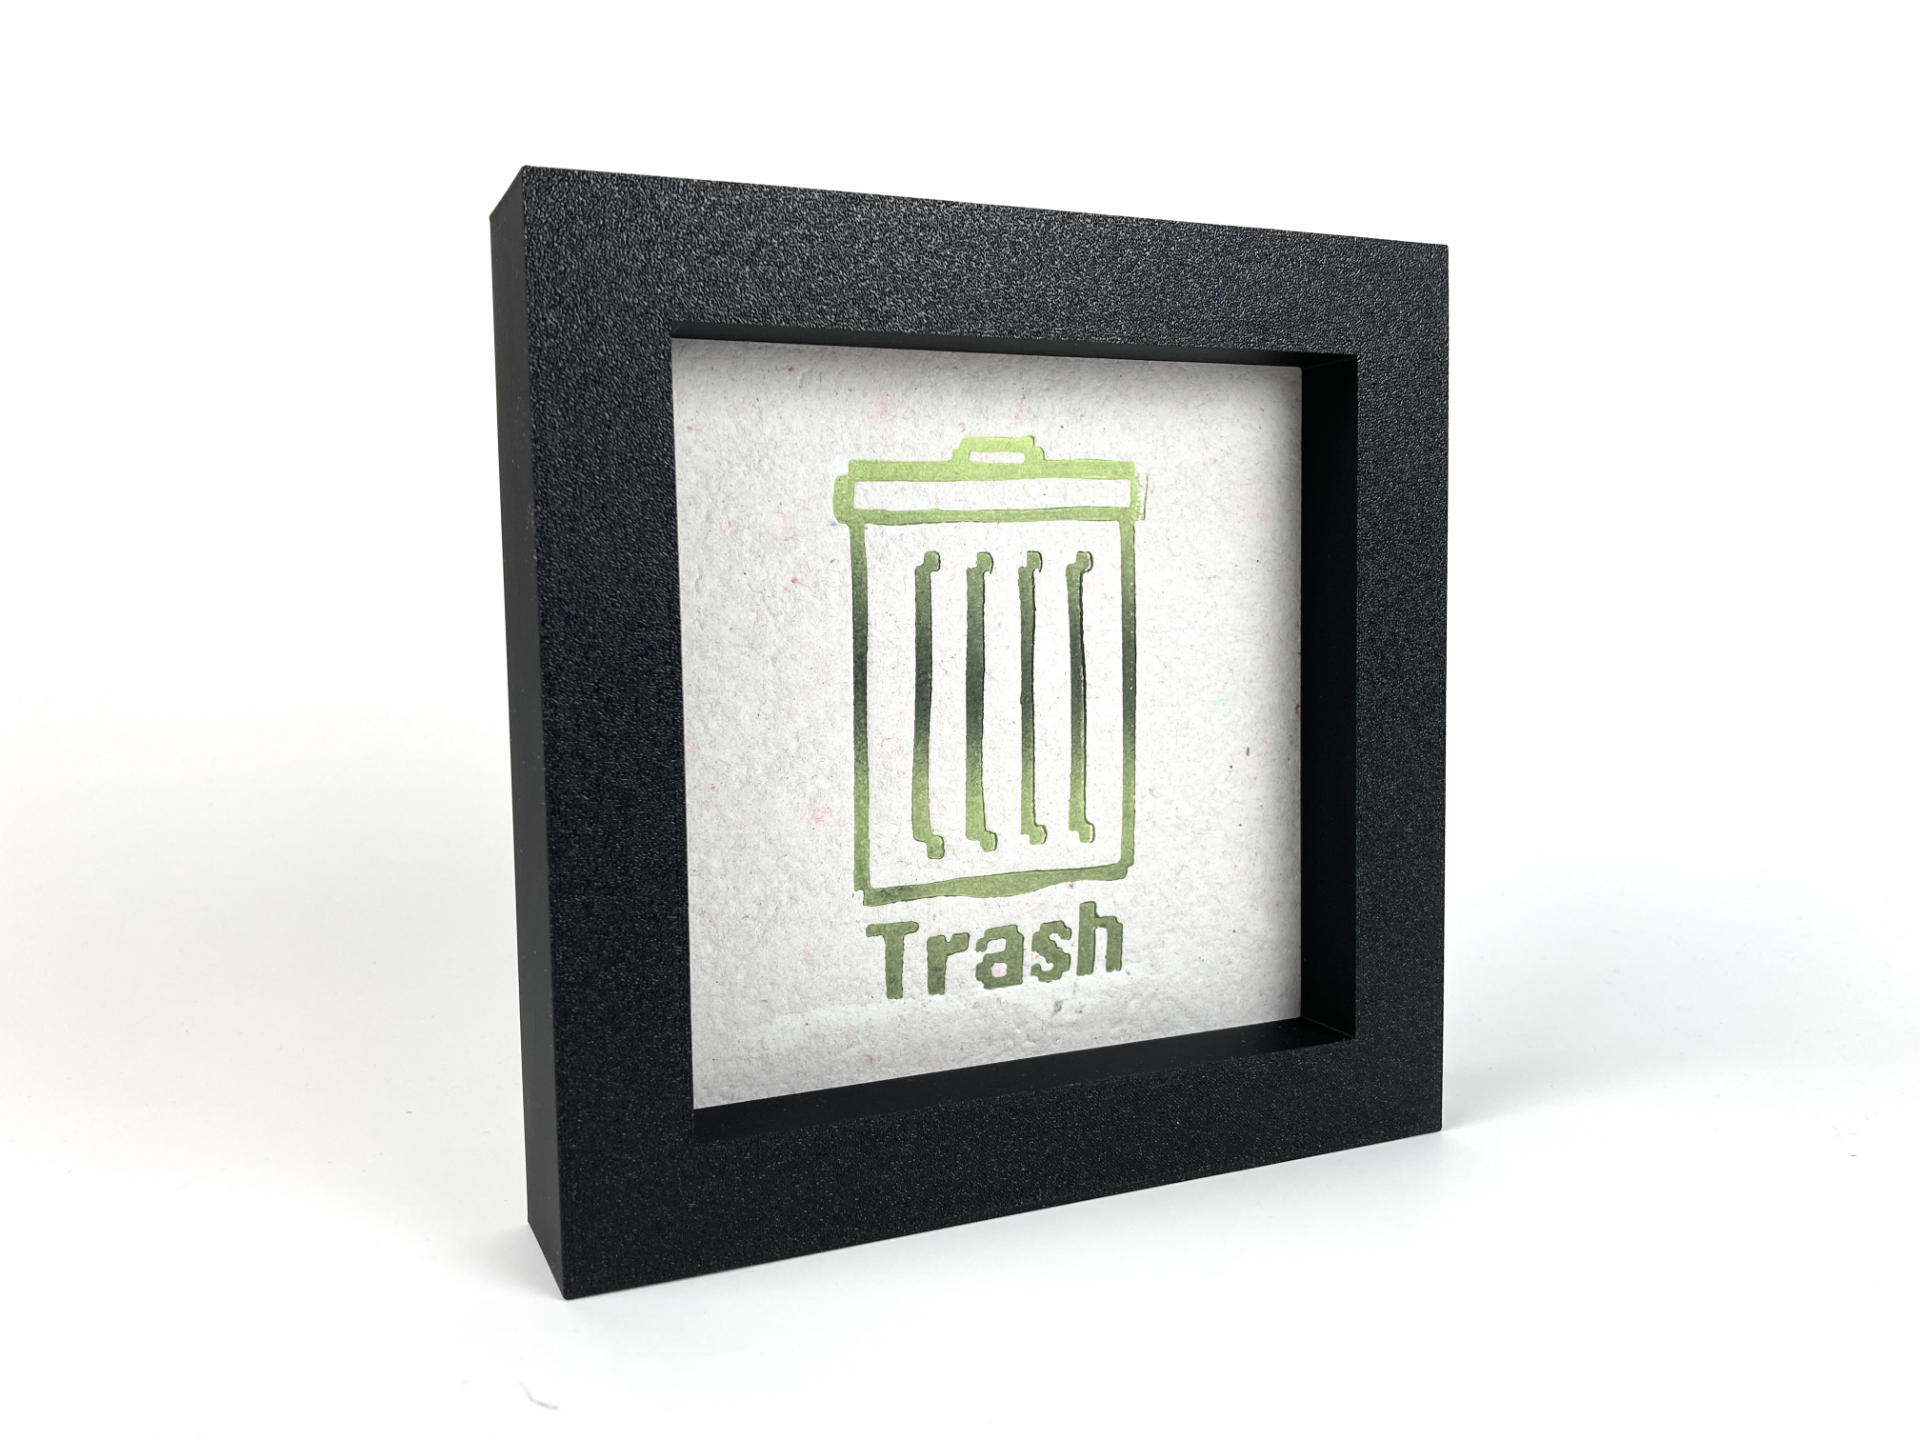
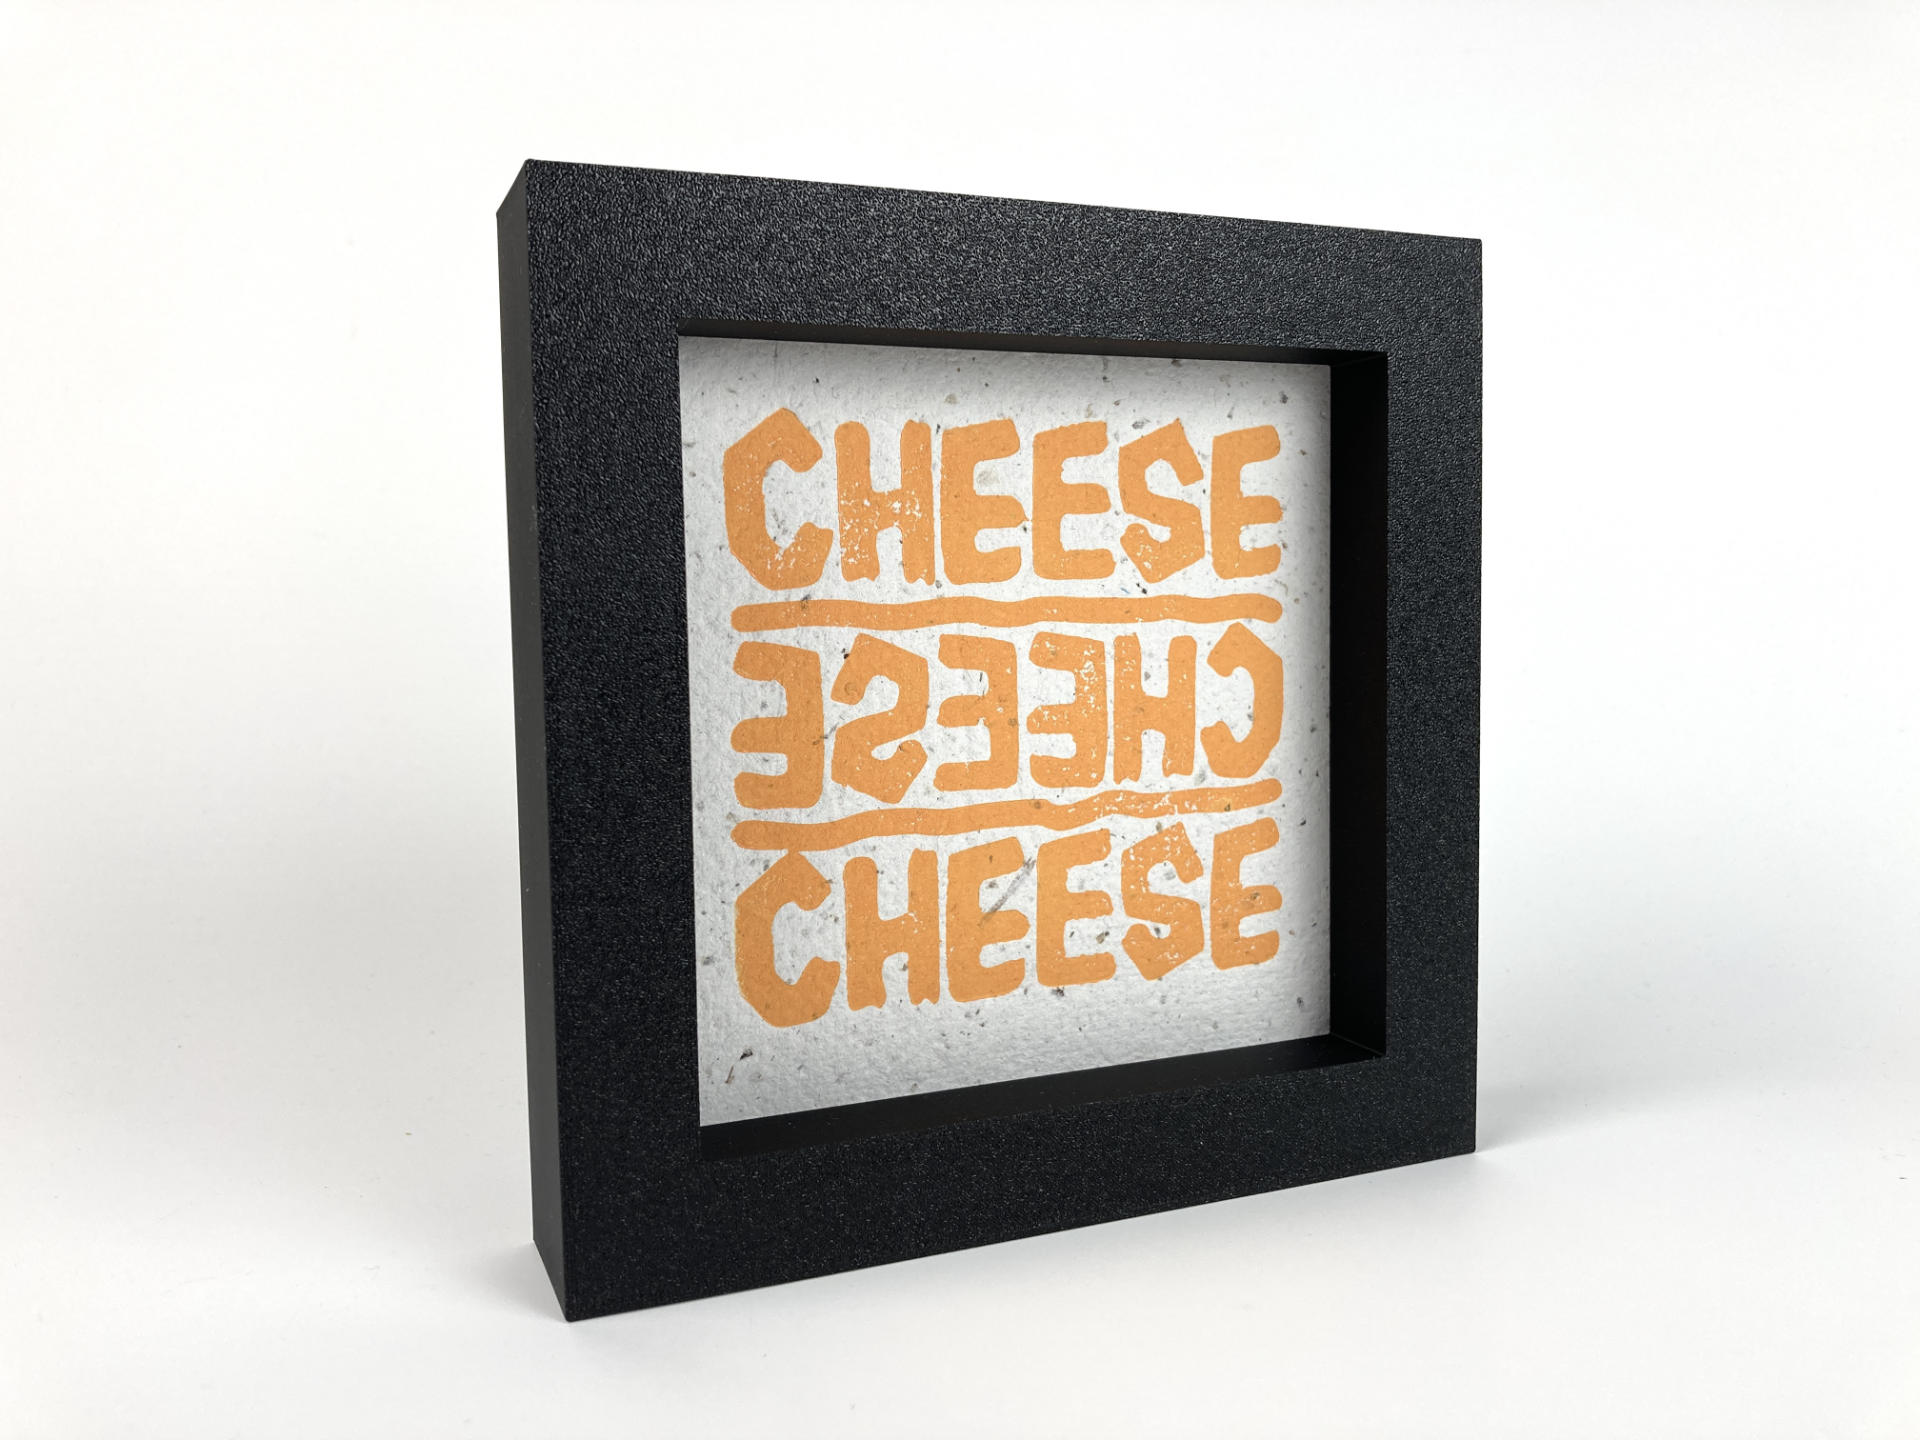
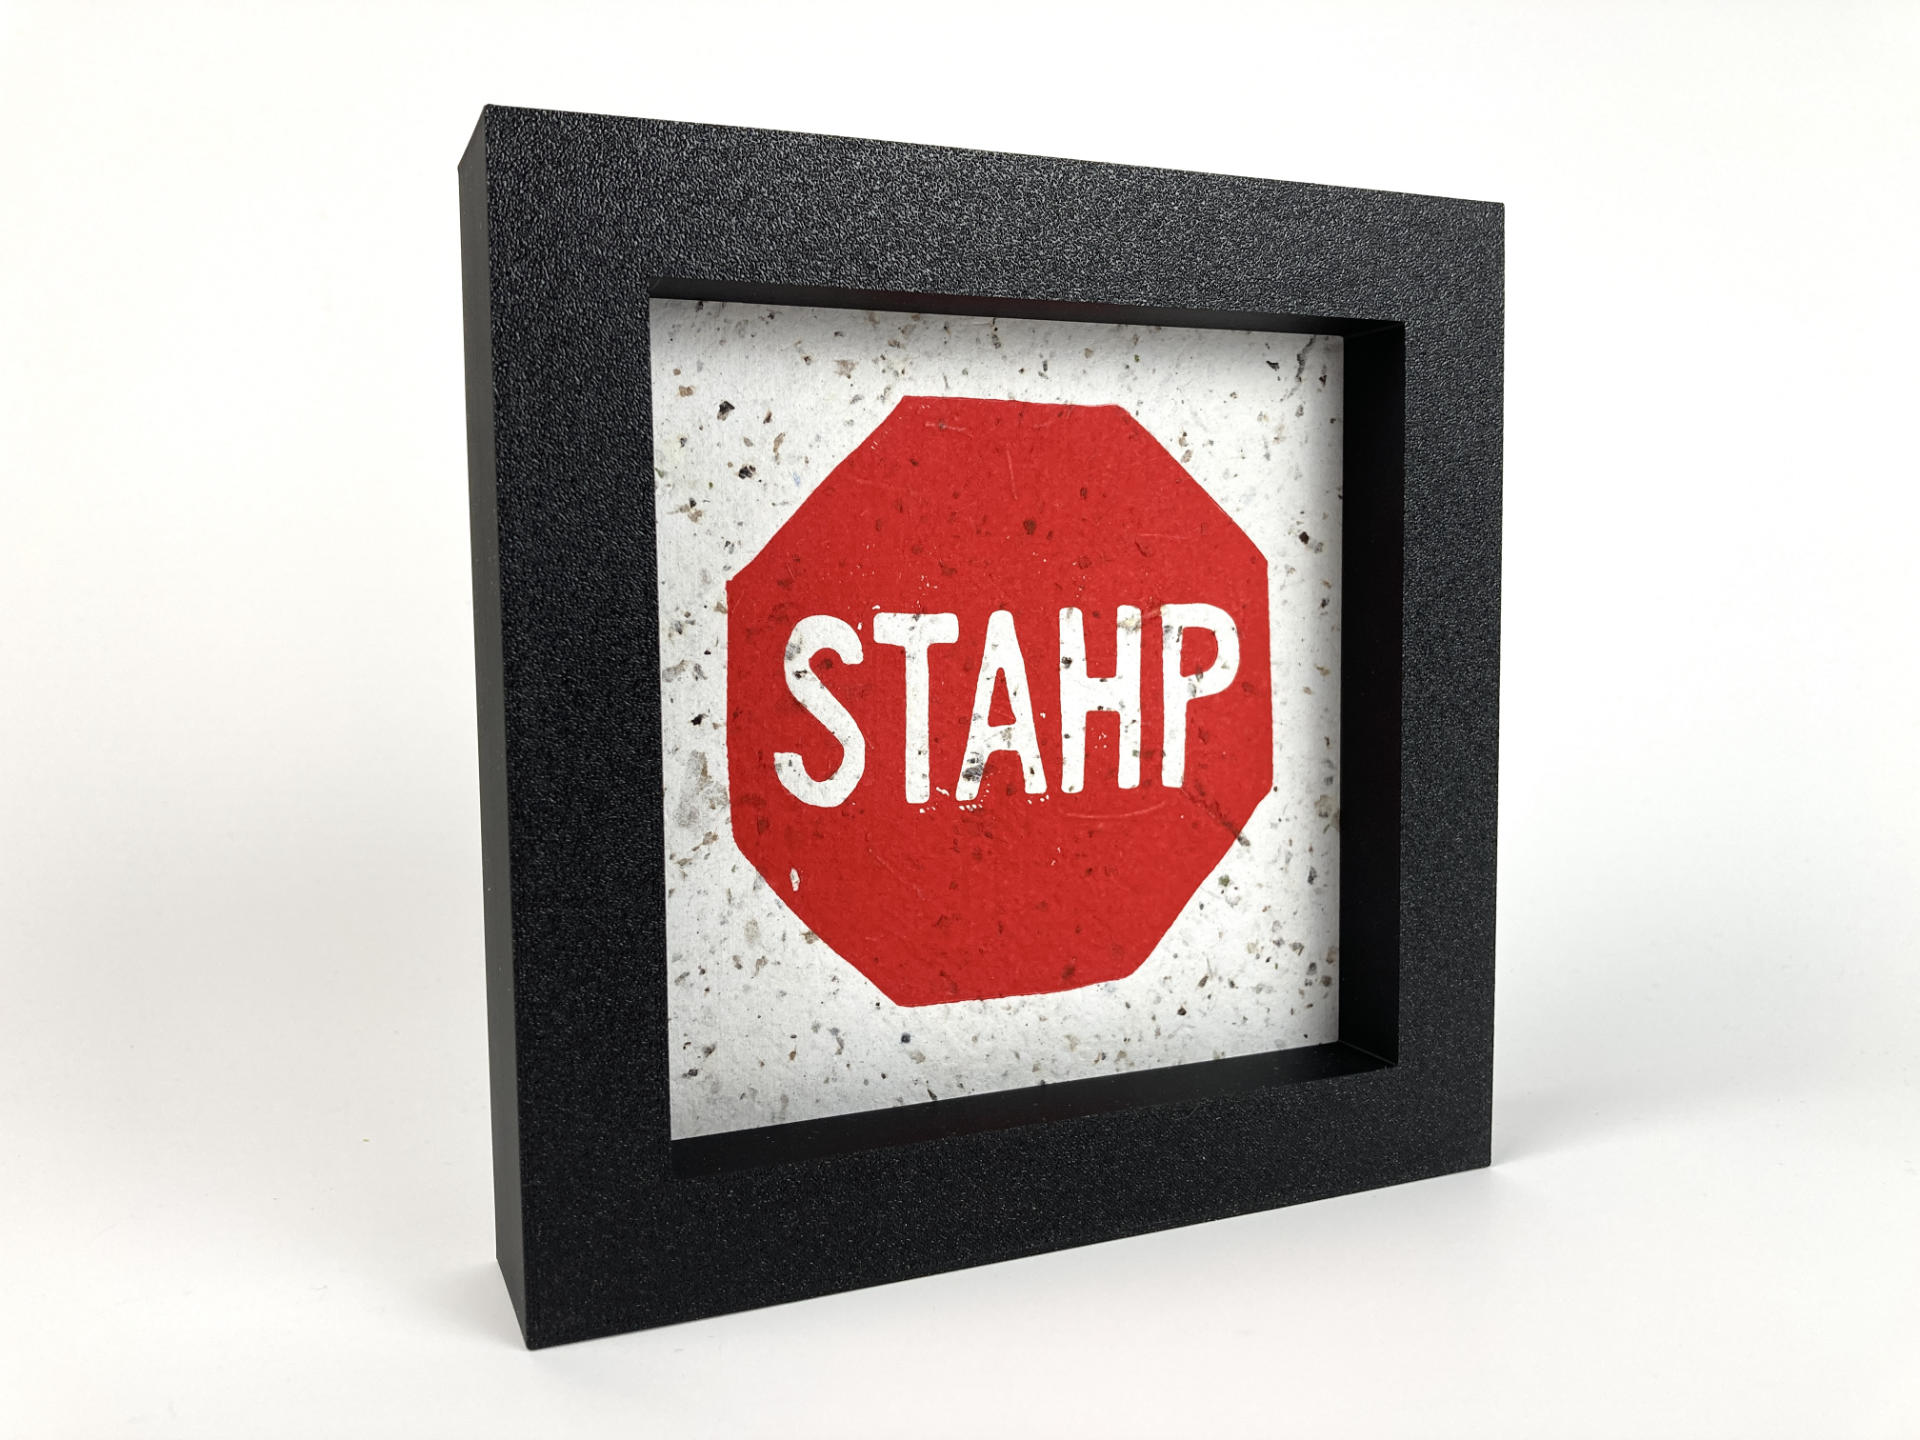
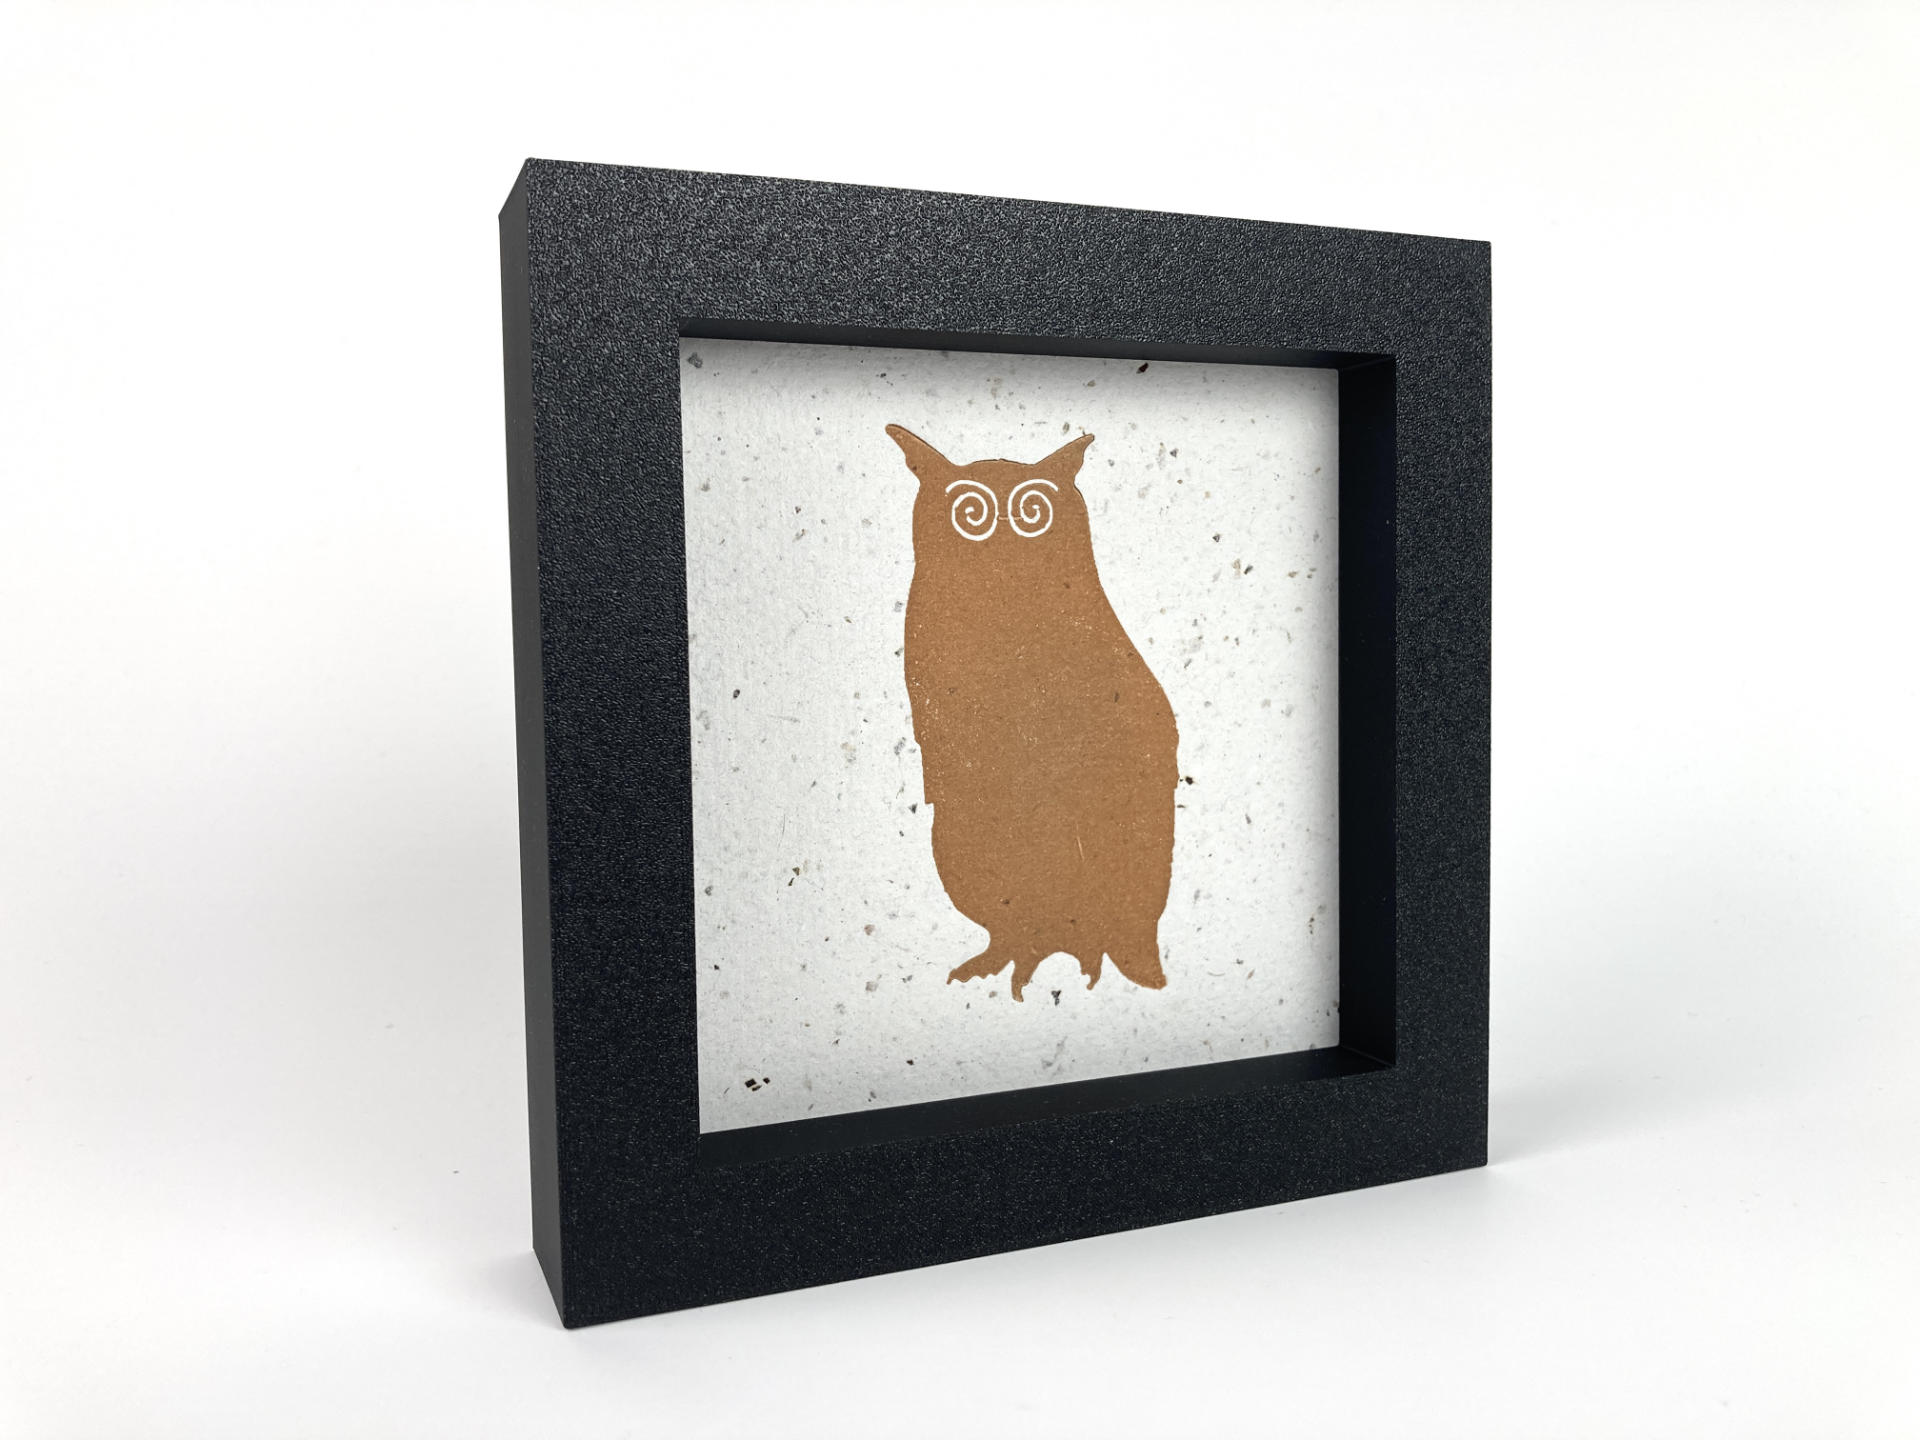
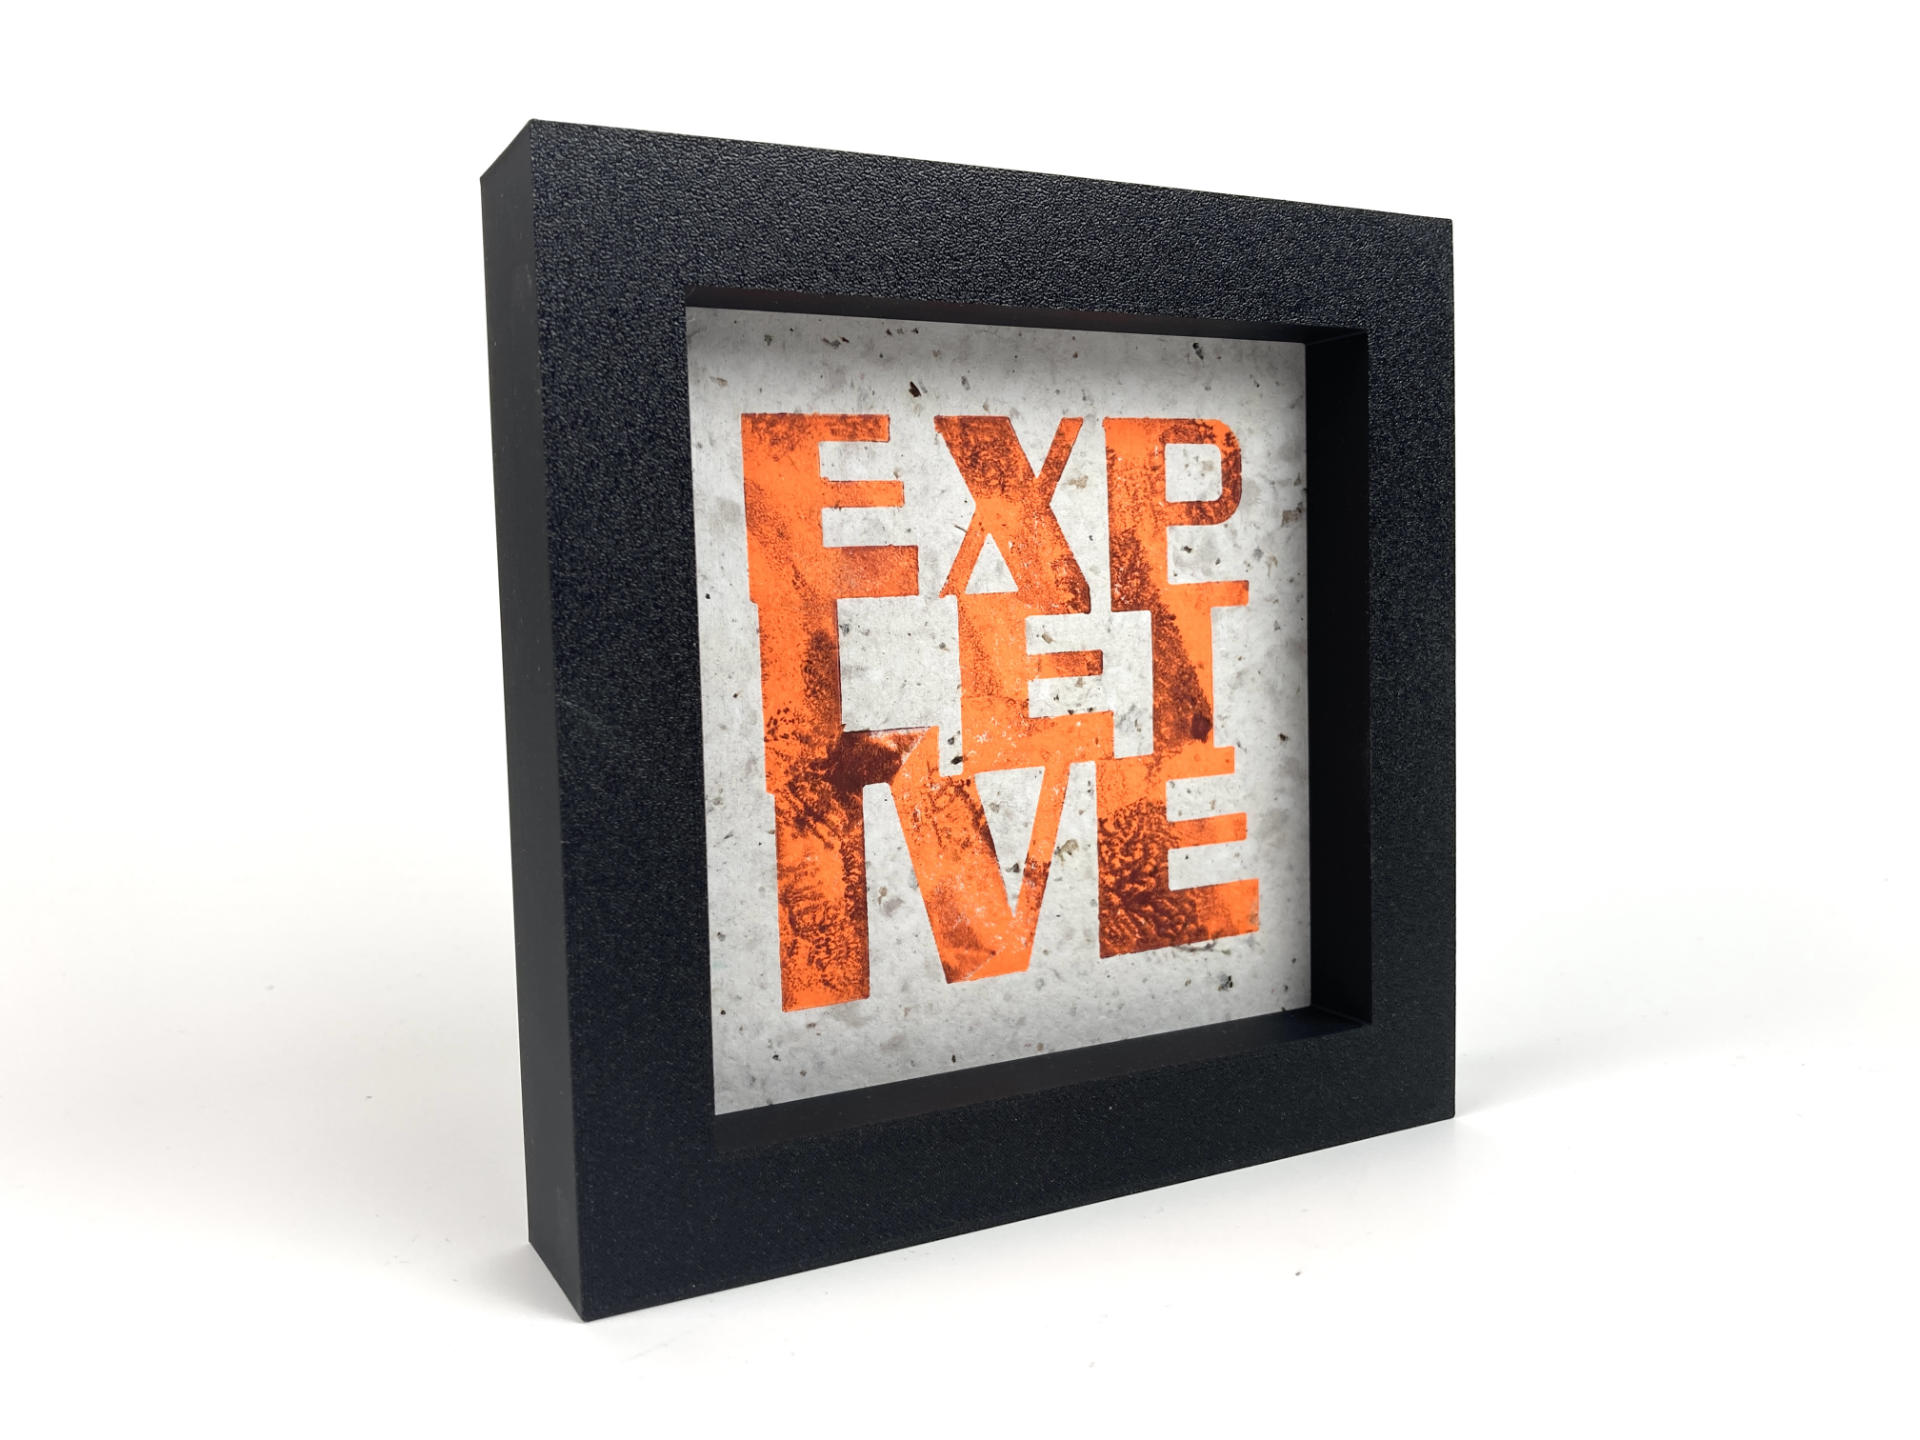
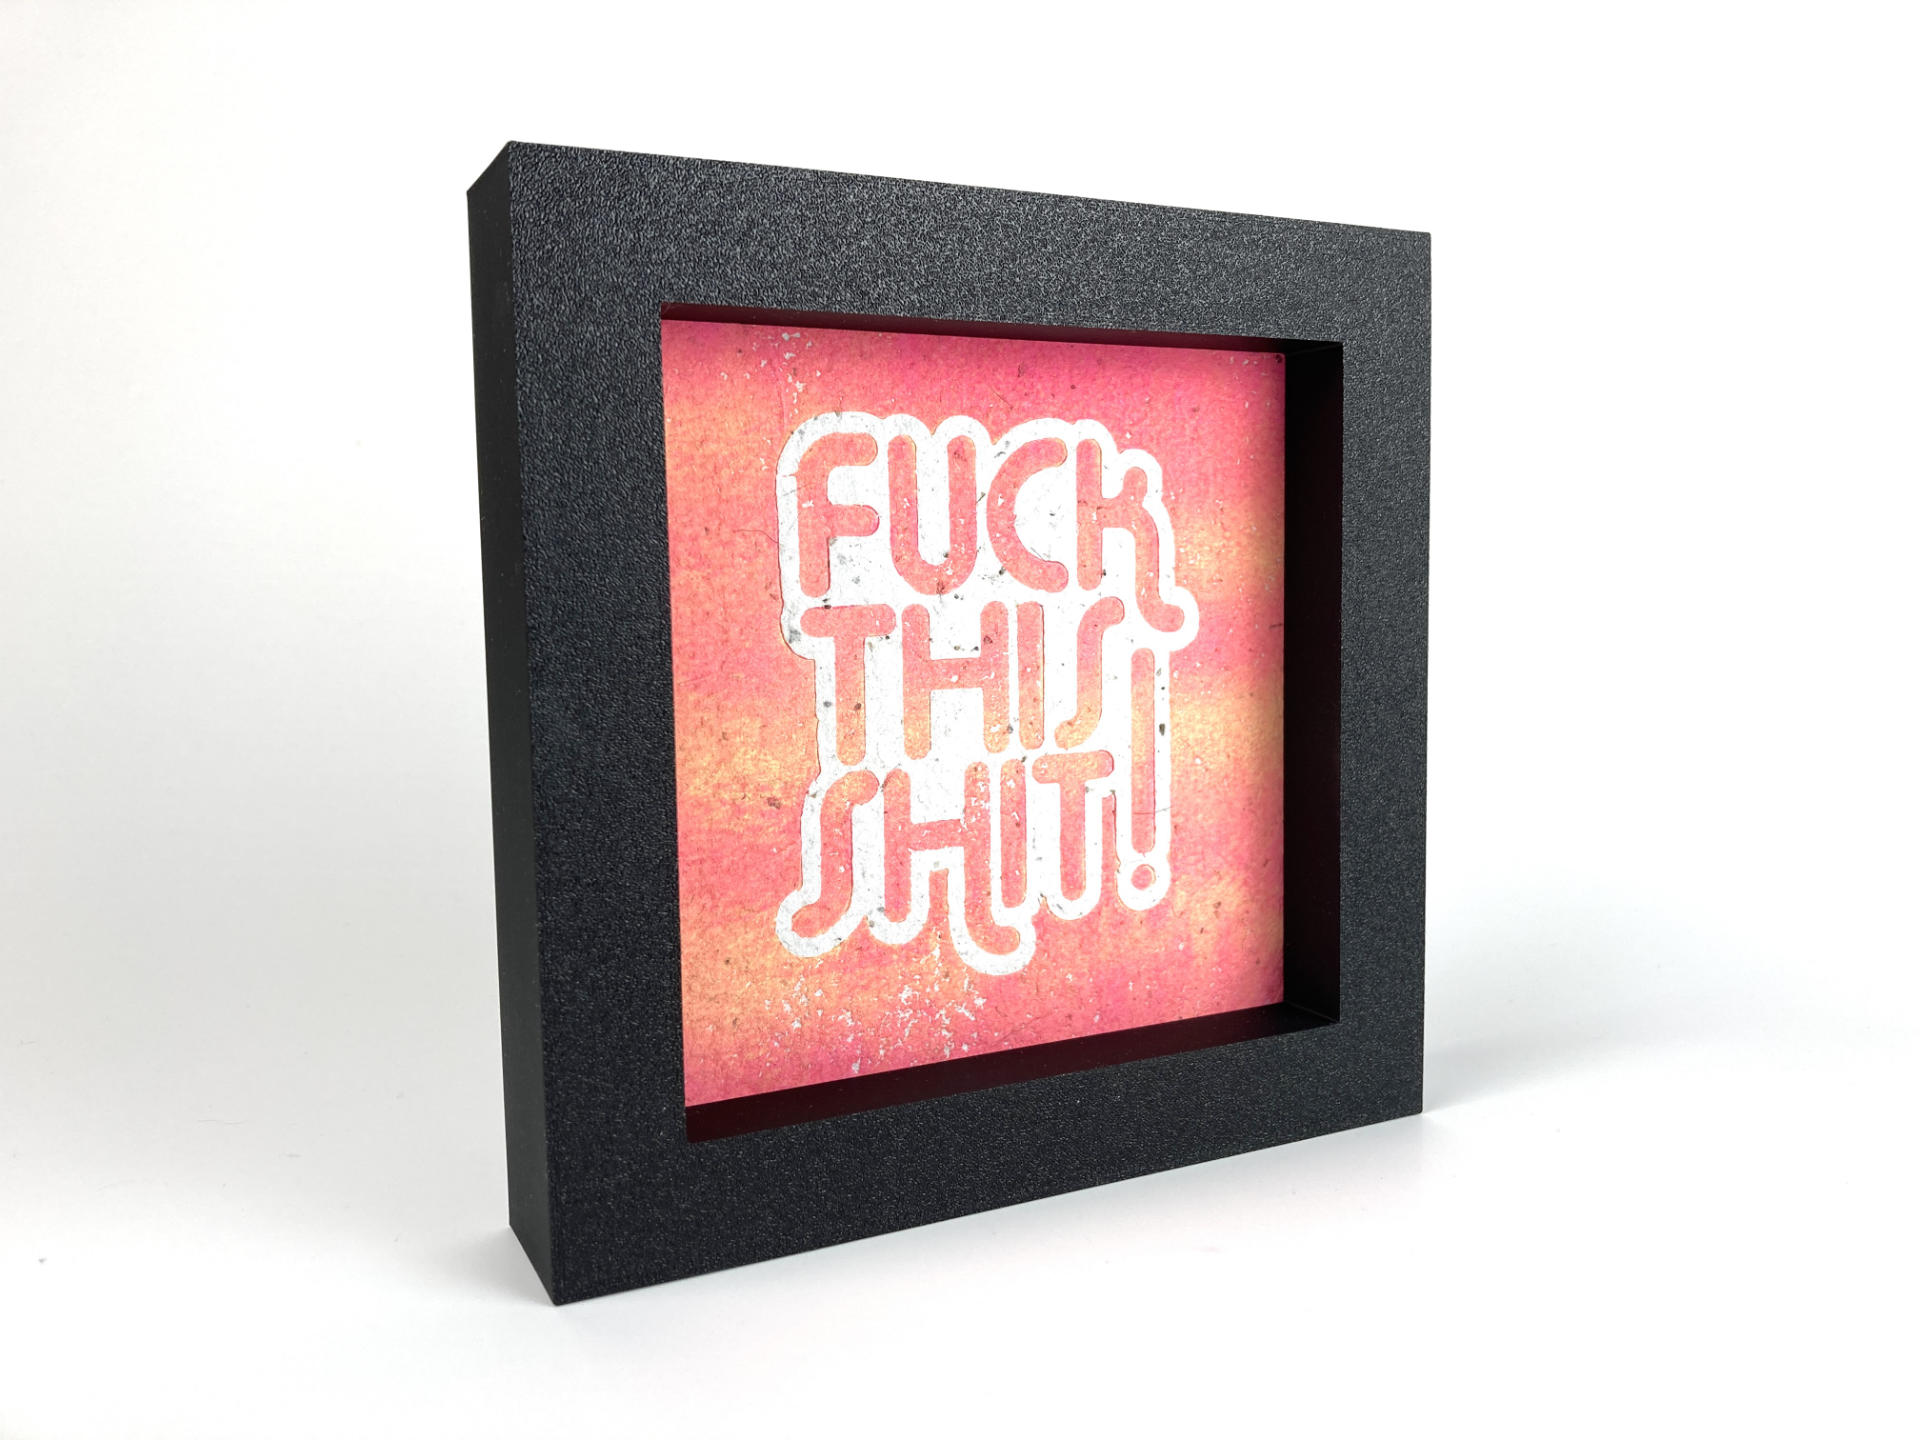
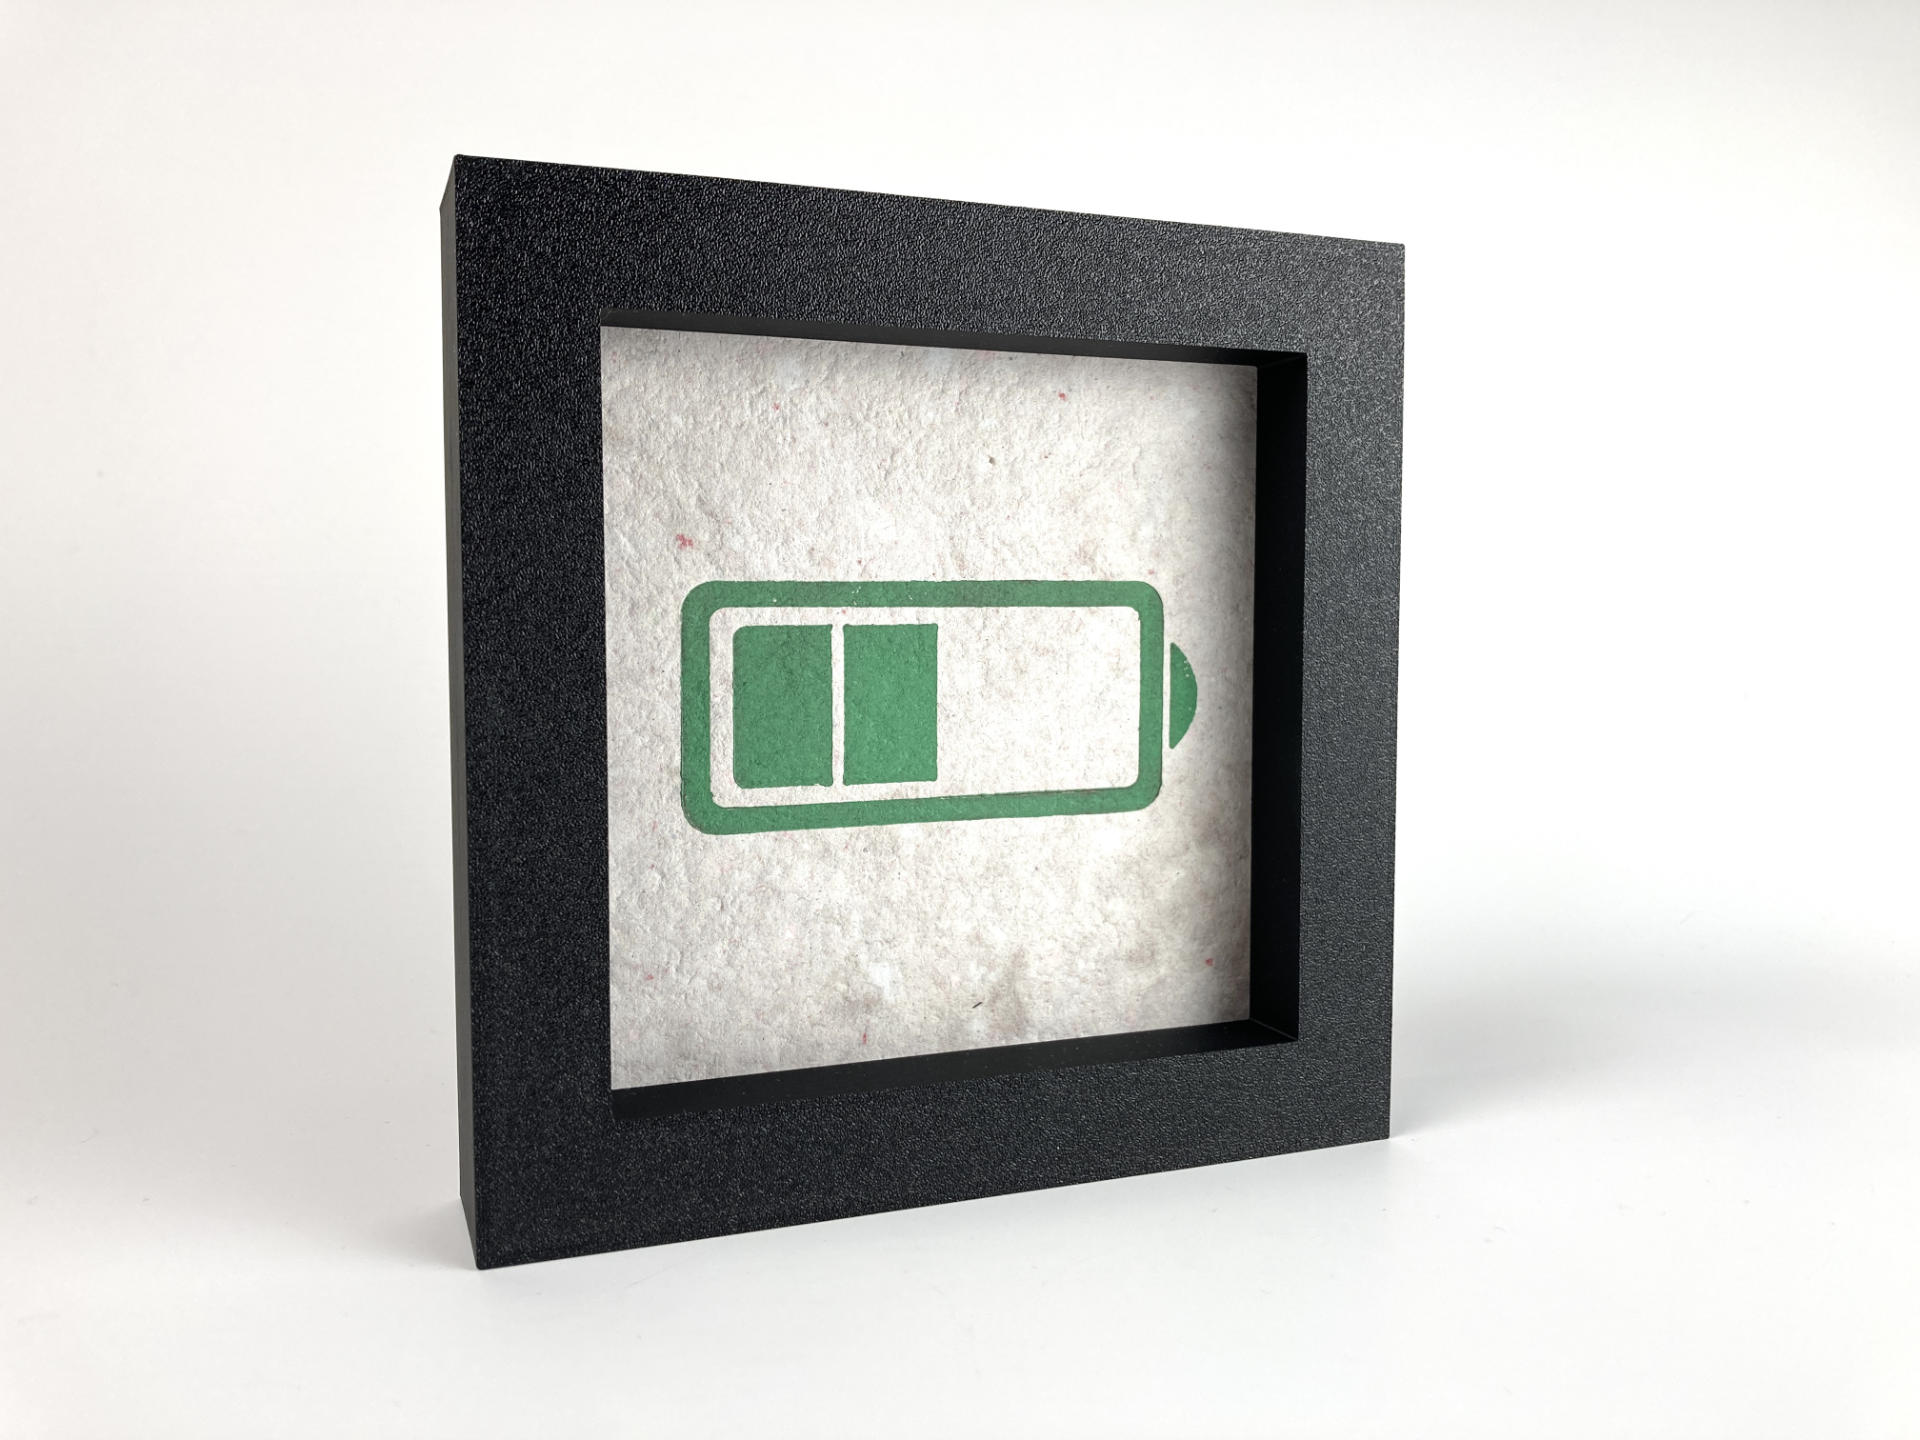
Speaking of approaches, these are relief prints and not linocuts or woodcuts because I don’t actually cut anything. Carving plates is a subtractive process while 3D printing the plates is an additive process. I am not the first person to do this, but I think I’m definitely a person who has now done a lot of this. As I mentioned in the previous post these 3D printed plates have some pros and some cons, and I’ll probably follow up on that topic in another post.

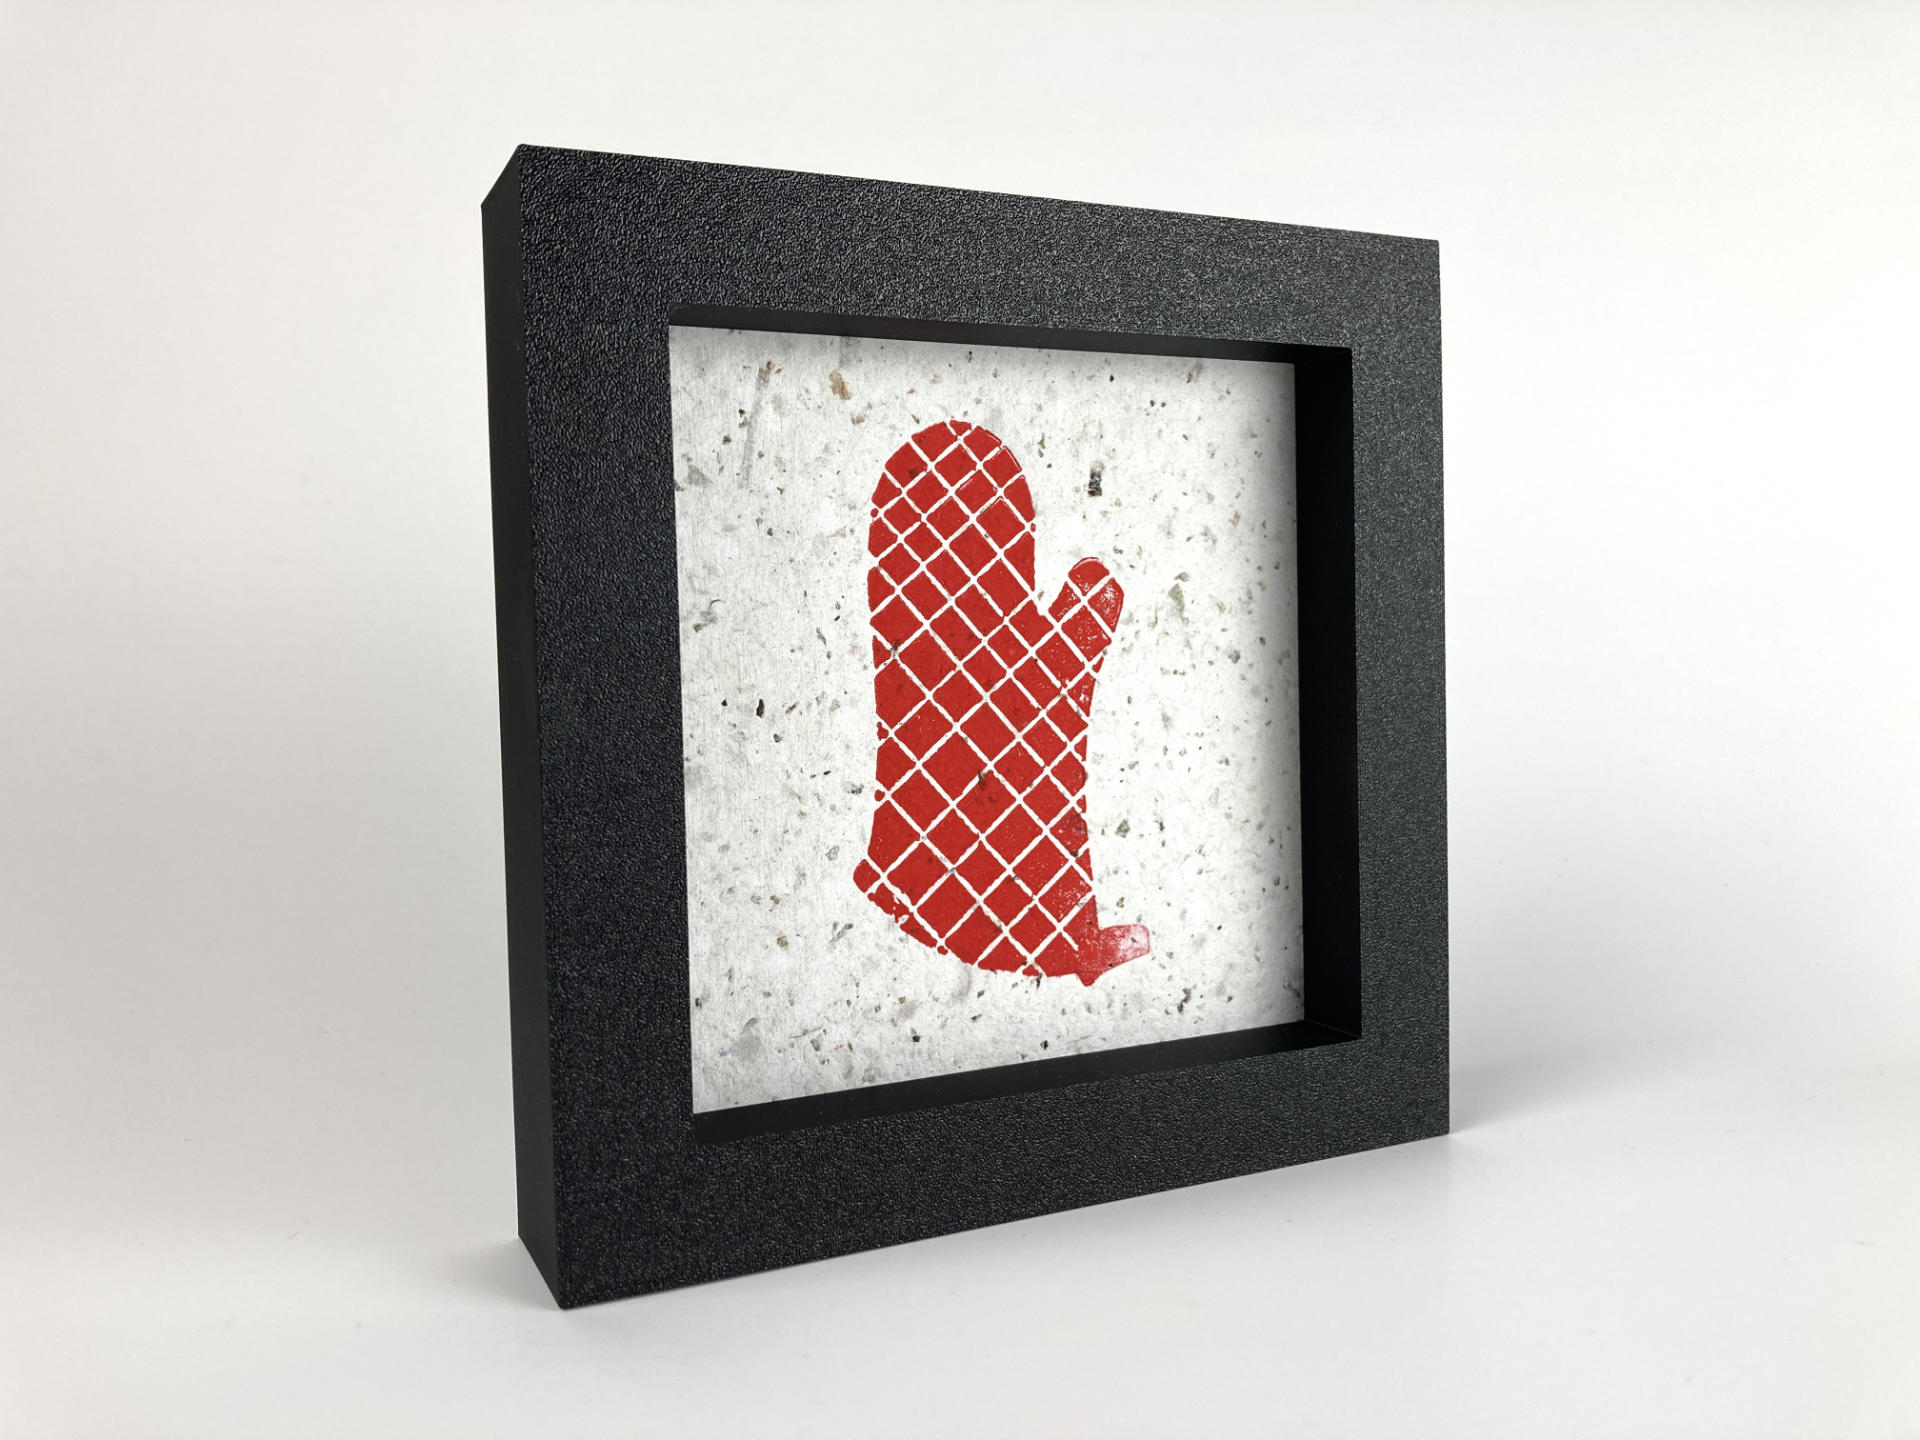
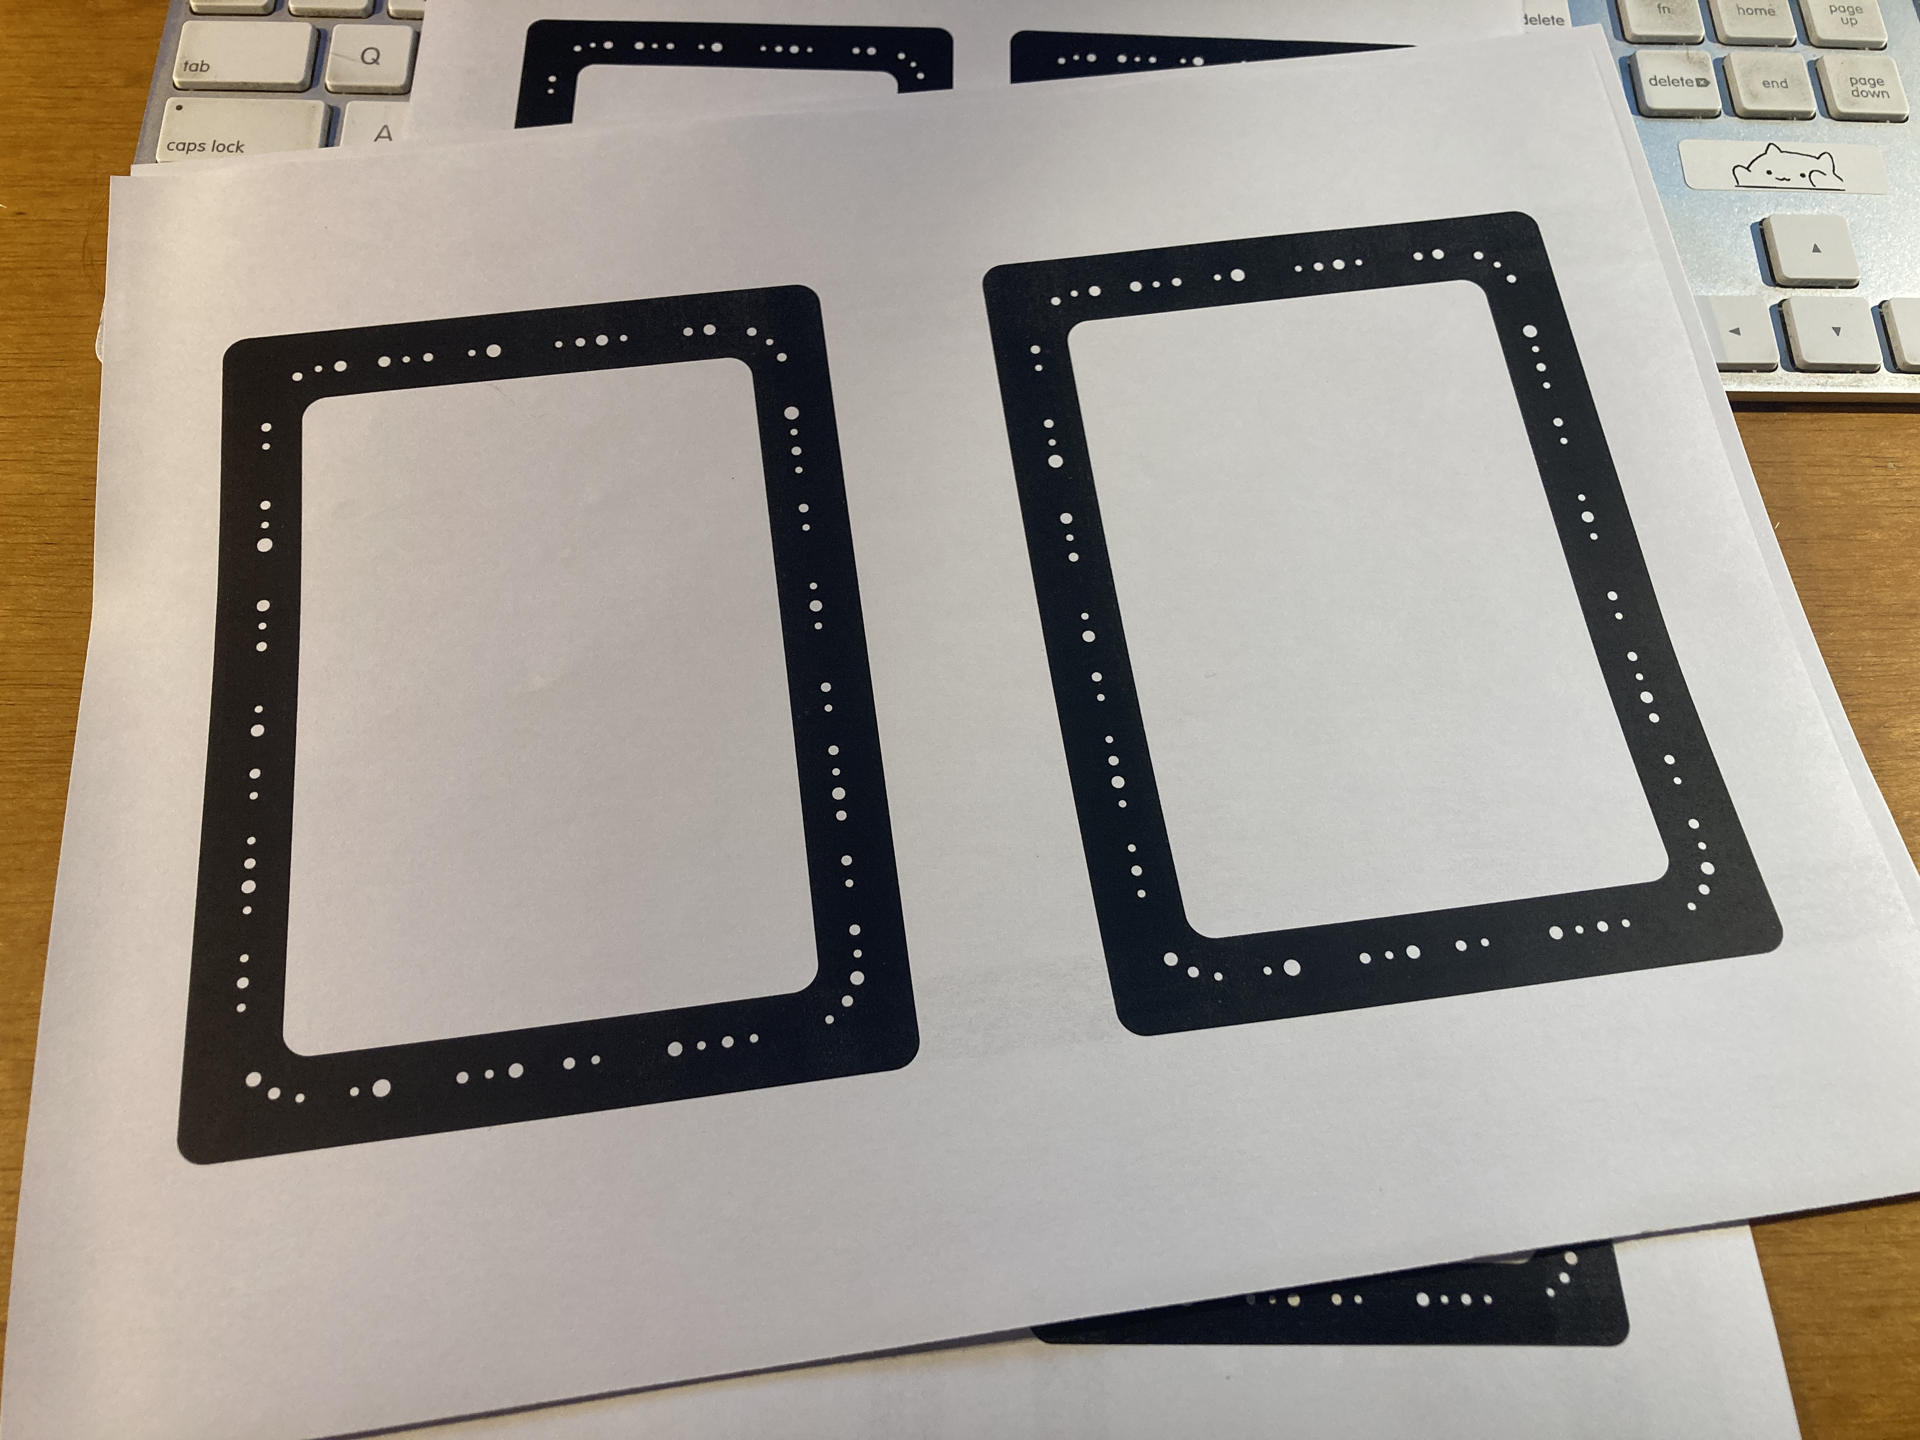
I also had to make more paper because of all these prints. Luckily I’ve sort of got that process down and can make about 16 to 20 sheets in about an hour or so and they are dry and ready to use in about a day and a half or so. Sometimes I really like the paper I make and other times I think I should just use pre-made quality paper made for printmaking. I’ll probably continue to make paper in the future (perhaps experimenting more and trying to create higher quality paper).

I hope you’ve enjoyed this update. We’ve still got another 10 days to go, so expect more prints to come. If you are interested in acquiring one of these prints for your collection let me know. We’re still running a “pay what you want” model in the interest of getting more art out to more people… people like you!

See Also: Part I, Part III, Part IV, and Part V.

Categories
Uncategorized

Using the Shaper Trace

Back in December I heard about the Shaper Trace and ordered one immediately. I normally don’t order products immediately but a few client payments all came in at the same time and I needed to spend something on new tools before the end of the year, so the Shaper Trace was it.

I am no stranger to using the the Image Trace in Adobe Illustrator or Trace Bitmap in Inkscape to convert images into vector artwork. I’ve also uses a desktop scanner dozens of times to scan an actual object or a drawing, and convert that to vector lines so I can use it in various ways. The Shaper Trace streamlines that process and makes it (in theory) as simple as taking a photo on your mobile device and letting a web site (not a locally installed app) covert it for you.

Does it work? Yes, it does work. Is it perfect? No. I mean, nothing is perfect, but it is quick and easy and as I’ve mentioned before the easier a process is the more likely I am to do it. If it takes me between 5 and 10 minutes to scan something, bring it into Inkscape, and then convert it to lines that’s not bad. But… if I can take a photo with my phone, save the file, and have it in Inkscape as a vector file in less than 60 seconds? Well that’s pretty damn good. Shaper says “From Sketch to Vector in Seconds” and it’s kind of true.

Caleb wrote up a post on Makezine back in July. I dug around but didn’t find too many other posts about it. Some forum posts, and some promotional videos, but few longer write-ups.

The idea that Shaper has is that you’ll use the Trace to capture a paper drawing, vectorize it, and then send it right to a laser cutter or CNC machine for cutting or etching, maybe with some minimal design work along the way. They show someone tracing the outline of a tool and then cutting out a pocket for the tool. I tried doing a few traces of objects and I just wasn’t pleased with the results. I’ve been using calipers and measuring things for CAD for a decade now, and I just feel like that’s a lot more accurate for my needs.

So what is this thing? It’s just a frame? Well, it’s a frame and a web app (not a mobile app) that captures an image and gives you a vector file. Note that you don’t have to perfectly align the camera directly above the drawing as the frame will compensate for angles. That’s nice. (In fact it seems that it might work better if you do shoot from a slight angle.) Each frame is the same on the front (more on that later) but on the back is a unique QR code associated to that frame, and you then register it to your account to use it. Want to share the frame with someone? You’ll need to use one account. The frame itself is just a hunk of plastic with no magic inside. And I mentioned the web app, right? A lot of people were really upset there is no local app that can work without an Internet connection. (I’d like both options, please!)

So basically you are paying a (one-time) fee to get access to an application running on the Shaper Tools web site that works with the frame. For $99 USD I guess I’m okay with that. (I will probably never buy a $2,900 USD Shaper Origin, and $99 is probably the upper limit I’d pay for a device like the Trace. It could honestly be a bit cheaper if you ask me.)

Since this post is titled “Using the Shaper Trace” I should probably explain how I use it.


Look, I made a drawing! It’s an oven mitt, in case you couldn’t tell…

I use my mobile device to load the web site and capture the drawing by placing it within the Trace frame.

The drawing is converted to vector and you can choose two options, outlines and centerline. I pretty much always use outlines since I’ve create my drawings with the idea that the outside of the line is what I want.

I save the SVG, either to my phone, a drive accessible to my computer(s), or in my case I use AirDrop to send it directly to my computer.

I think I’ve digitized a few dozen drawings with no issues. I do tend to place the Trace and drawing in good lighting and get a nice clear shot of it with the camera. Still, things can go wrong. Here’s an error I got one day. I think I closed the web page, reopened it, and tried again and it was fine. Not sure if the issue was their servers, my browser, or something else. (And of course you do need an Internet connection for it to work.)

I then sit down at the computer and open the saved file in Inkscape where I can do whatever I want with it. (I won’t get into the specifics of editing a vector file, preparing it for use with whatever machine you might be using, but hopefully you get the idea. It’s that simple.)

But Wait! What if you are at work, and your Trace is at home, and you really want to use it? Well, just use a copy. As I mentioned, all the Trace fronts are the same, so the web app doesn’t care what Trace you are using, as long as you have an account and it sees a Trace-like thing, it works just fine.

Here’s a printed out copy of the Trace frame. It’s not even my Trace, I grabbed the image from the Shaper web site and printed it on the copier at work. Neat! (Oh, some other people noticed this as well.)

Even better, you can print smaller ones. Here’s a letter size sheet of paper with four Trace frames. You can basically make them any size you want to work with the size of drawing you want…

This is really cool because if I wanted to do a small drawing with the actual Trace frame I’d still need to scan an entire sheet of paper and the drawing might be quite small on it, so this sort of lets you play with the resolution, which can make a different if you are drawing by hand, and lets you play with different pens and line width as well. This basically eliminates the need to even use the actual Shaper Trace frame.

So the Trace is an interesting tool, and I can totally see how someone might get one and it may not do what they want, and I think I felt that way at first, but the more I use it the more I am building a workflow around it, so that’s good. If you’ve got any questions about the Shaper Trace let me know!

Categories
Uncategorized

January Prints in Progress

Back in November 2023 a friend of mine said “Hey! I’m going to apply to the Var Gallery 30x30x30 Exhibition, do you want to apply?” and I said “Sure!” and I did, and then I started to prepare for it over the next few weeks, and then I did not get in! No matter. I’m not new to creative challenges so I decided I would still make 30 pieces of art in 30 days so that’s what I am doing. I should mention that there were over 220 applications for the show and (obviously) only 30 are selected. While my friend did get in (Yay Maks!) one other artists I know did not get in, and another said they didn’t apply because of the application fee. (Which sucks, and I will totally cover their application fee next year if they want to apply.)

So here’s my progress so far. The first 10 prints of the month, with another 20 (or more?) to do. I stuck with the small works format of 6″ x 6″ except mine are 152.4mm x 152.4mm because I’m like that.

Each print gets framed in a 3D printed frame that I designed and printed. I used OpenSCAD to create a parametric design so I could create frames of any size. (Here’s a mention of the frame and another.)

Each of these prints was done with a 3D printed plate. I design things in Inkscape (or draw on paper and scan it in) and then extrude the design and add a backing plate in OpenSCAD. (Yeah, I need to write up a post with that whole process.) Basically I am using 3D printing to create plates for printing 2D art and then framing it in a 3D print. Okay!

Some of the prints are really simple, and some are a bit more complex. The method of using 3D printed plates sort of forces some style choices, and producing work fast also adds constraints to things, but that’s sort of the idea right? A new piece of art each day isn’t easy, but it can definitely be fun. (Especially for someone who likes to make something, move on, and then make a new thing.)

Oh, and all that paper I made last month? I’m putting it to good use. Each print features the handmade recycled paper I made. Each piece of paper is unique and each print is unique. Of course along the way I also created a 3D Printed Mould and Deckle so I could make the paper because of course I did. DIY? Duh.

I’ve been doing a lot of rainbow rolls where two or more colors are used, and I’ve been mixing inks for a few of them. I ordered some white ink but it may not arrive until February so I really should try to get some locally because I still have a few ideas that would need it. I’ve also explored texture and color and share more than I typically do when creating art, which is a fun new thing for me.

I’ve been sharing the photos of the prints online (typically on Facebook, Instagram, Mastodon, Pixelfed, and even… LinkedIn!?) I love sharing the things I make with the world, and I always hope others enjoy them as well. In fact, people have actually wanted some of these prints. People wanting the art I made is a strange and new experience for me. I am fortunate enough to work two jobs which allow me to survive and making prints is basically a hobby/thing I love doing. In most cases it’s been people I know who want a particular print, and I’ve found a way to accommodate their requests. (Also, how fucking awesome is it to know my art will go to friends of mine? It’s really awesome.)

If someone wants a print I ask that they cover the cost of shipping and then I ask them to use the “pay what you want” model where they get to choose the price. Selling art is weird to me. I mean, I know artists have to survive, and selling their work is one way to do that, but for me and this adventure I just need to cover the costs of the shipping and materials, and if I make any more than that then I get paid something for my time. Again, with printmaking as a hobby I’m happy that people want these and are willing to pay for them.

I have no delusions of quitting my two jobs and becoming a full-time artist because I know the amount of work needed to do so. And the work is not just “make art” but all the work around that, which is marketing and promoting your work, constantly showing your work, always creating new work, making art people want to pay for, etc. Right now I am more than happy making a print, taking a photo, sharing it online, and whatever happens happens… even if nothing happens. Worse case I have a bunch of art in my studio (er, “basement”) and eventually I give it away or throw it away.

For me the largest value of this whole process is… the process. I’ve learned a ton of new things. I’ve developed new processes for making art, I’ve learned new techniques, experimented with styles, wrote parametric code to create frames, learned how to frame things inexpensively, and as always seems to be the case when creating things, I’ve learned about myself and the things I create. I shared with my artist friend that writing about the work (even if it’s just a few lines) makes me think about the work, and often have revelations about it, or form connections to it, and see how things connect to my life, and my experiences. And that is amazing.

So yes, stay tuned… we’ve still got 2/3rds of the month go to and we’ve got more art to create!

See Also: Part II, Part III, Part IV, and Part V.

Categories
Uncategorized

Speedball Brayer Holder

It’s a bad idea to store your brayers laying down on the roller, as they can flatten due to, you know, gravity (or mavity depending on your timeline) and since I don’t have a good place to hang mine I made a little holder that stores them standing upright.

Also, as I mentioned recently I use water-based inks, so that means I clean up my brayers with soap and water, so this holder makes a nice little drying rack for the brayers after a good washing.

The holes seem to fit all of the Speedball brayers I have, and others will not fit if the handles are a larger diameter (of course you can always adjust the OpenSCAD file to fix that.

So if you need to stand your Speedball brayers upright, and you have a 3D printer (or access to one) here ya go!

You can get the STL and .scad file from Printables.com – Speedball Brayer Holder. Print it if you need it!


Note: This post contains an Affiliate Link. Read More.

Categories
Uncategorized

Gallery 69 – Tyler Tork

Hello and welcome to yet another installment of the highlighting of an artist whose work is featured in Gallery 69! Tyler Tork is actually a VIP in the world of Free Little Art Galleries as he runs the web site freelittleartgalleries.art, and that’s how I met him. I listed Gallery 69 there and then he got in touch with me saying he’d be passing through town and was interested in stopping by!

And he did, and he brought some art for the gallery! He also had books, and I bought a copy of The Goodnight Agency for my partner, who happens to enjoy and teach literature. Tyler also makes art and other interesting/strange things, so check that out as well.

Some of Tyler’s things are 3D printed, and I’m pretty sure you remember that I’ve been 3D printing things since around 2011 or so. The chain pulls and light switch plate are 3D printed! The earrings are from another book Tyler wrote titled “The Deep End”. (I also really like the “Sad Computer Guy” magnet.)

I had a bit of a hiatus curating the gallery in the past month due to some health issues, but I’ve also been making a lot of prints and just did a refresh of all new things! Tyler’s stuff is going in there today and I’ll be digging through the archives for more art and asking other artists I know to contribute in the new year so keep an eye on the gallery for more! I often posts photos of the gallery’s new stuff on Facebook, so go be my friend there maybe.

Oh! You can also find Tyler on Facebook and Instagram, so check those out!

Gallery 69 is a Free Little Art Gallery located on 69th street just north of Locust street in the Enderis Park neighborhood of Milwaukee, Wisconsin.