You may already know that I’ve been building (and selling) USB controllers for the last 8 years or so. Most of them have been for photobooths, tradeshows, exhibits, museums, etc. Typically these have been very durable devices meant for use and abuse by the general public. They tend to do one thing, and do it well. Well, 2020 came along and all events and public gathers sort of… stopped, and with it, people wanting specific use USB controllers. I still sold a few, but it became apparent that lower-cost more consumer oriented devices were desires. That’s sort of what the 8K Controller is. I’ve sold about a half dozen, and I’m considering another run if people are interested in it.
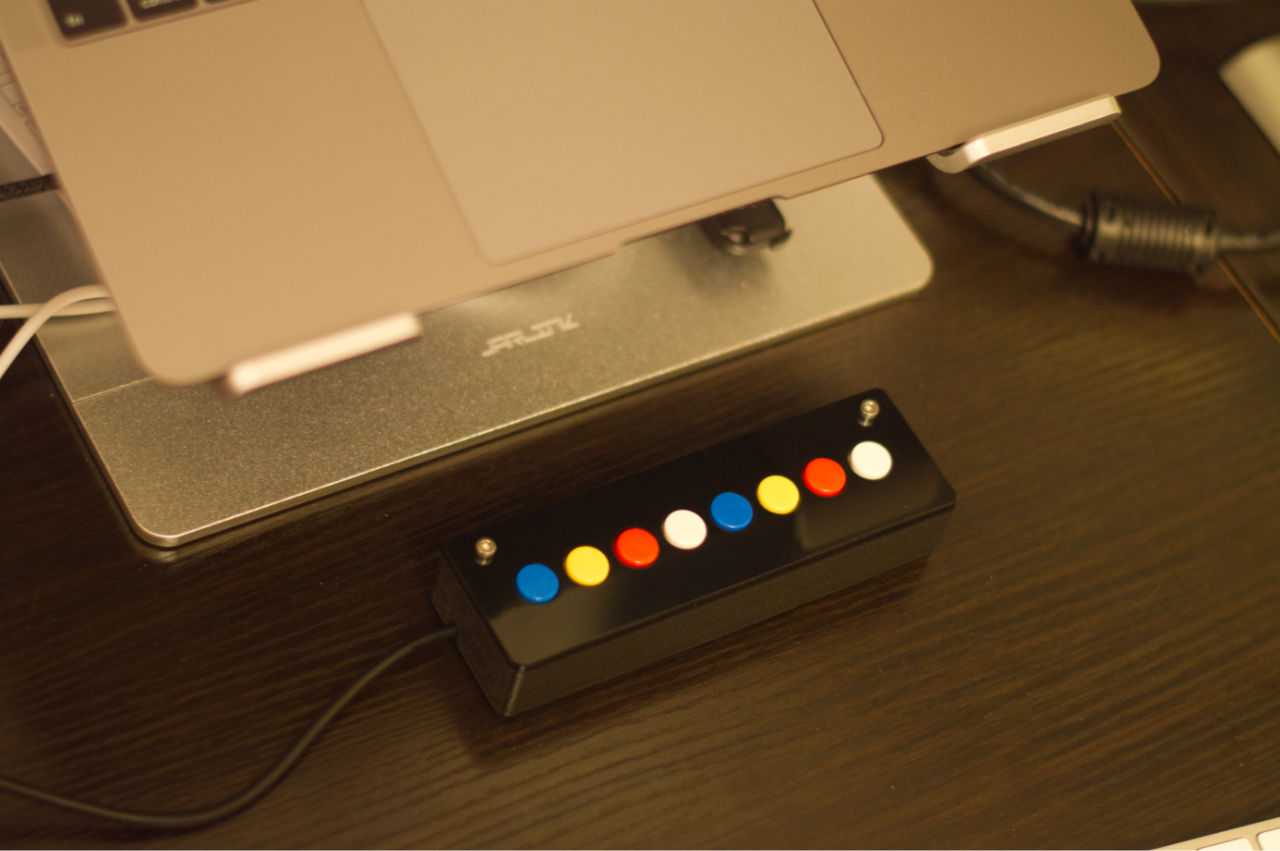
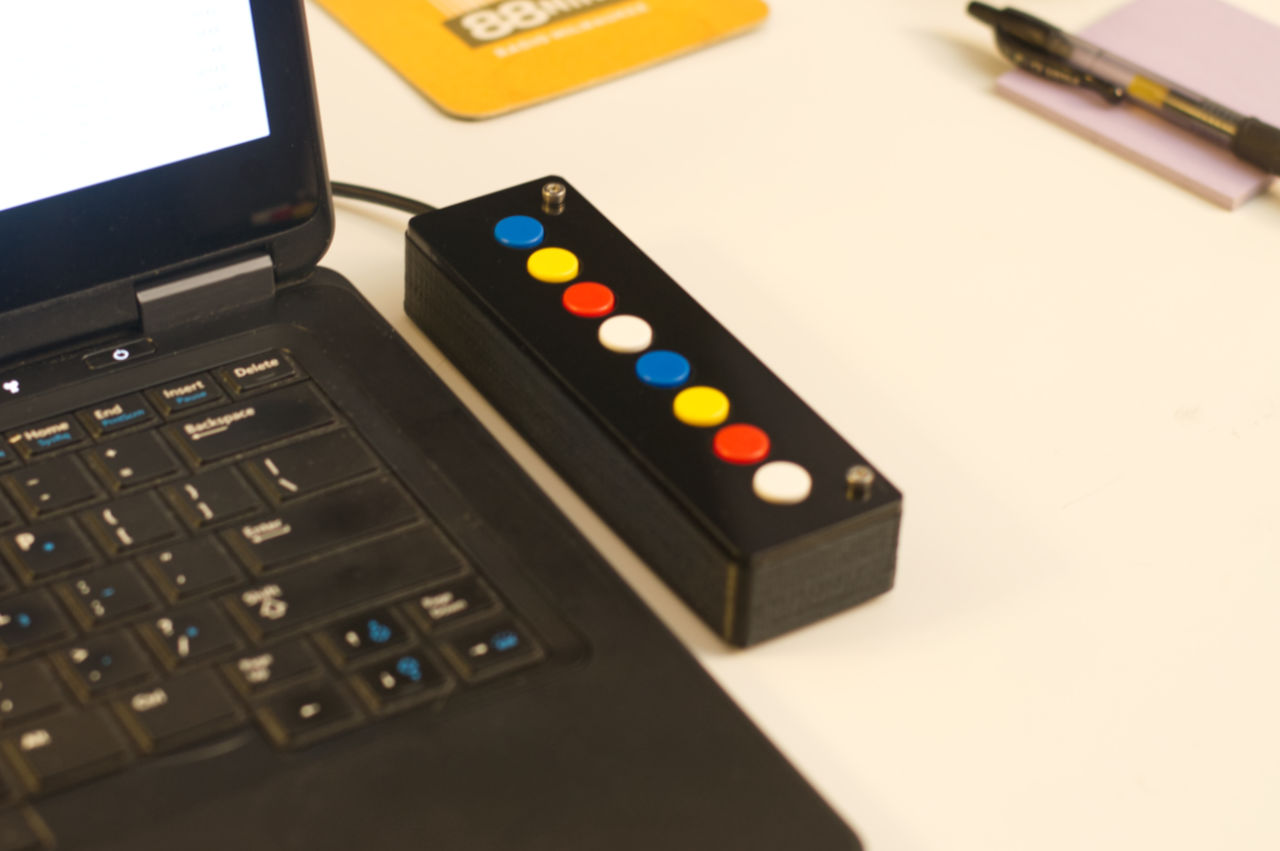
Yeah, so what is it? Well, it’s a USB controller. By default, it’s programmed for function keys F13 through F20 (which are not found on most keyboard) but it can be programmed for any keys, or key combos, or even as a MIDI controller. So yeah, what can it do? Well, with specific custom key commands it can serve as a controller for Zoom, Google Meet, or Microsoft Teams to mute your mic, disable your camera, and other things. As long as there’s a key command, it can do it.
If you just want the default F13-F20, you can use macro/automation software to do all sorts of other things, and I’ll write about these in the coming weeks. In fact, we’ll start right now!
Quick Disclaimer! By default the controller is recognized as a USB HID device, no drivers needed on modern versions of macOS, Windows, or Linux. In future posts I’ll jump into Windows and Linux, but I’ll start with macOS.
Today we’ll look at Quicksilver, which is open-source/free and can be found at qsapp.com Quicksilver can do a lot of neat things, and falls under the category of “productivity software” as many of these applications will.

Quicksilver allows you to create triggers that respond to key commands, which is perfect, because we’ve got 8 key commands just waiting to be put to use. I created a bunch of actions to open up specific web sites, and then for each one, clicked Edit for the Shortcut and pressed the button on the 8K Controller I wanted to assign it to. (I should note that I’m not a long-time user of Quicksilver. I downloaded it tonight and got this basic functionality figured out in less than an hour.)

I’ve now got seven buttons right behind my keyboard which will pull Firefox to the front (no matter what application is running) and load a specific web site. I can have Twitter or Facebook on my screen in a matter of seconds! (Those probably are not the best choices though!)
These are really just examples though. I’ll be changing them to things I actually need every day for work. Admin interface for the online shop, a few accounts I need to keep an eye on, etc. Sure, it’s not too difficult to command tab through the open applications, get to Firefox, click a button in the bookmark toolbar, but… this is one press of a dedicated button, so yeah, it’s quite a bit faster, and I dare say more satisfying.

The view from the Raspberry Pi that has a camera pointed at my 3D printer is now just a mere button press away! (Hmmm, looks like it’s ready for a new print to get started.)
Oh, and one more thing… You may notice I used F13 through F19, but not F20. It seems Quicksilver does not support F20. I did find an issue about the higher numbered function keys, but no mention of F20. Maybe I’ll file an issue about it, but for now 7 out of 8 with a piece of free software isn’t too bad!