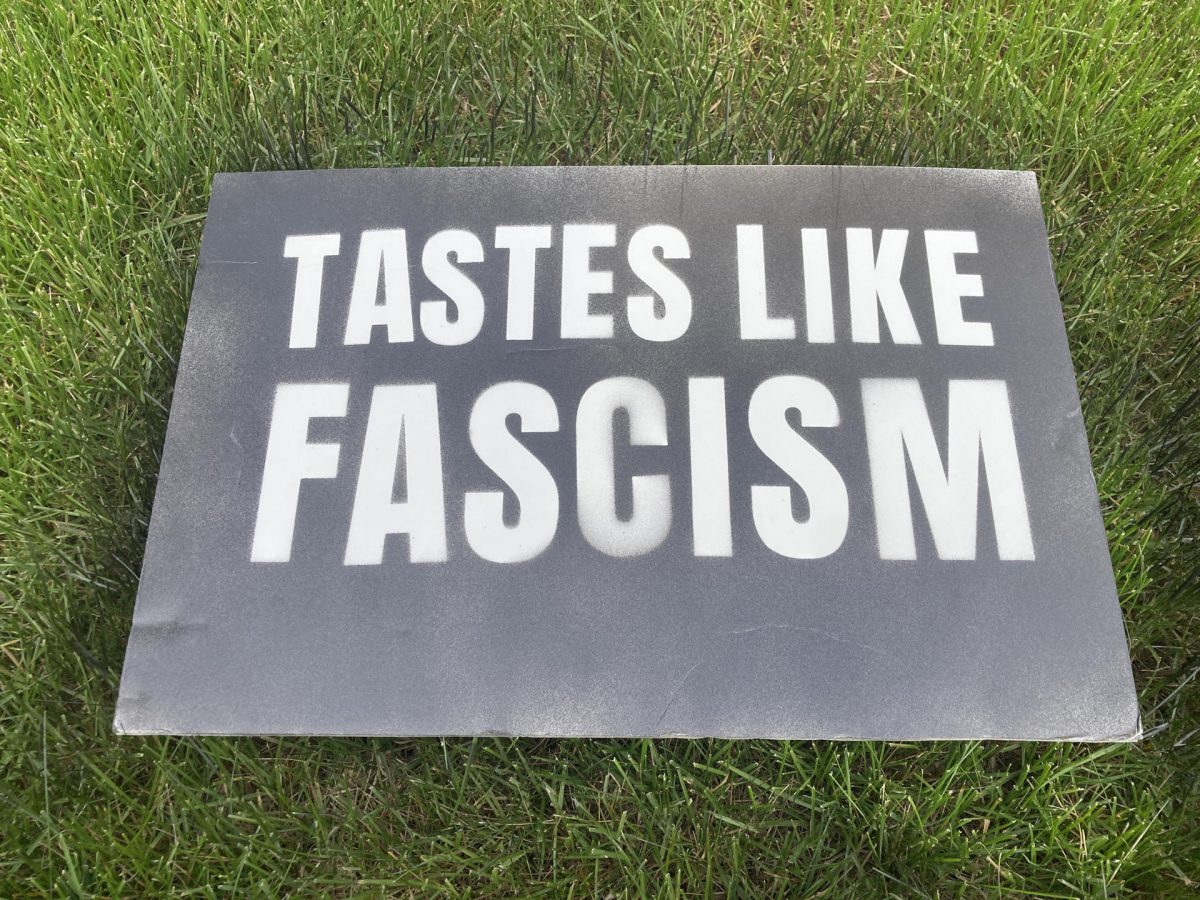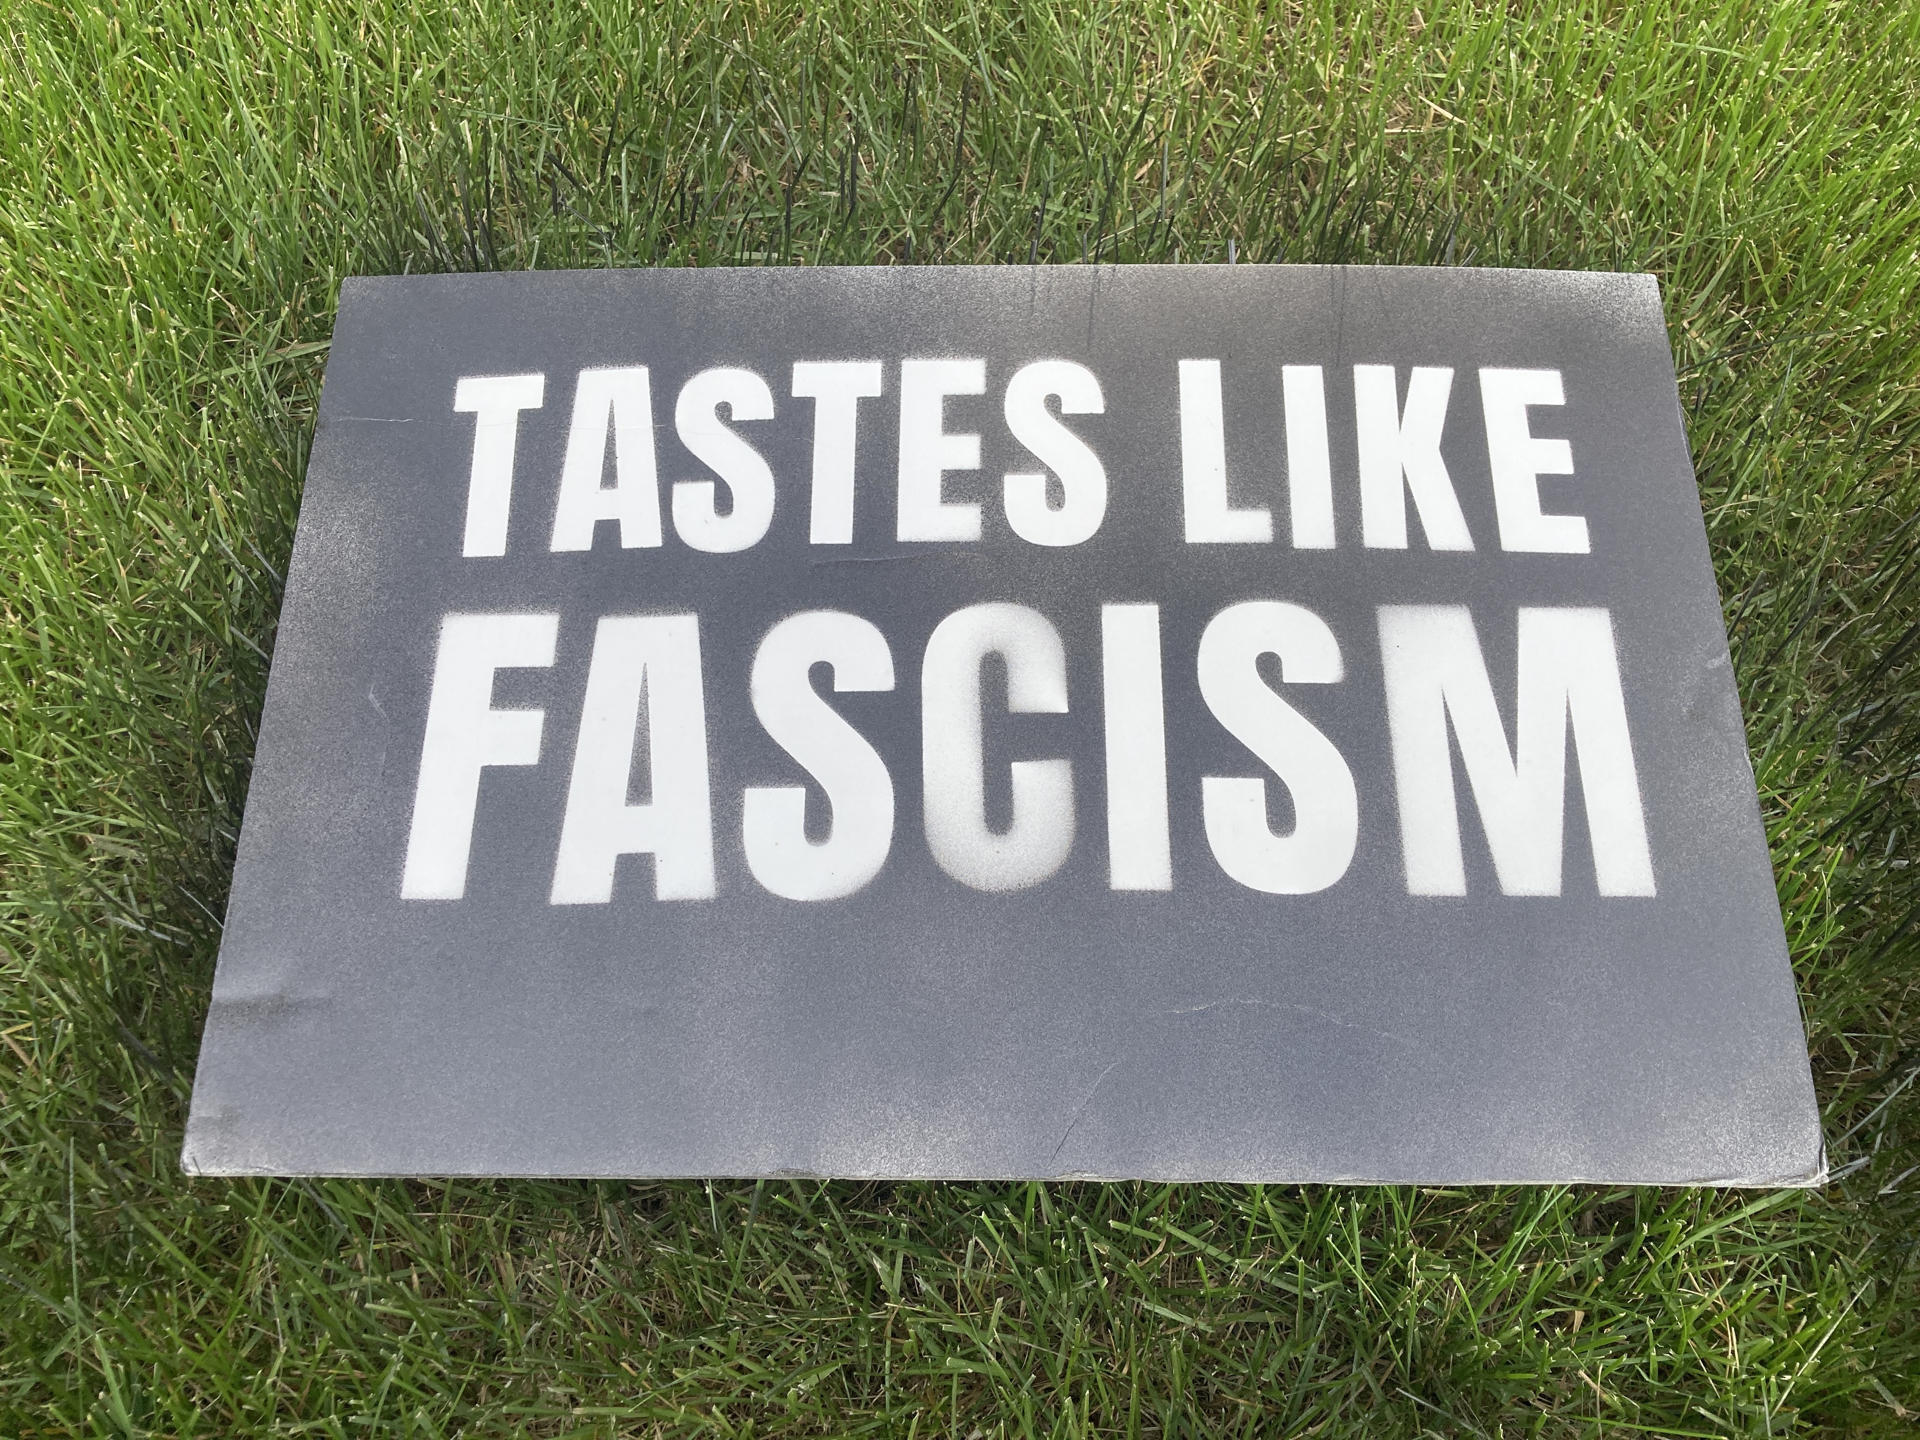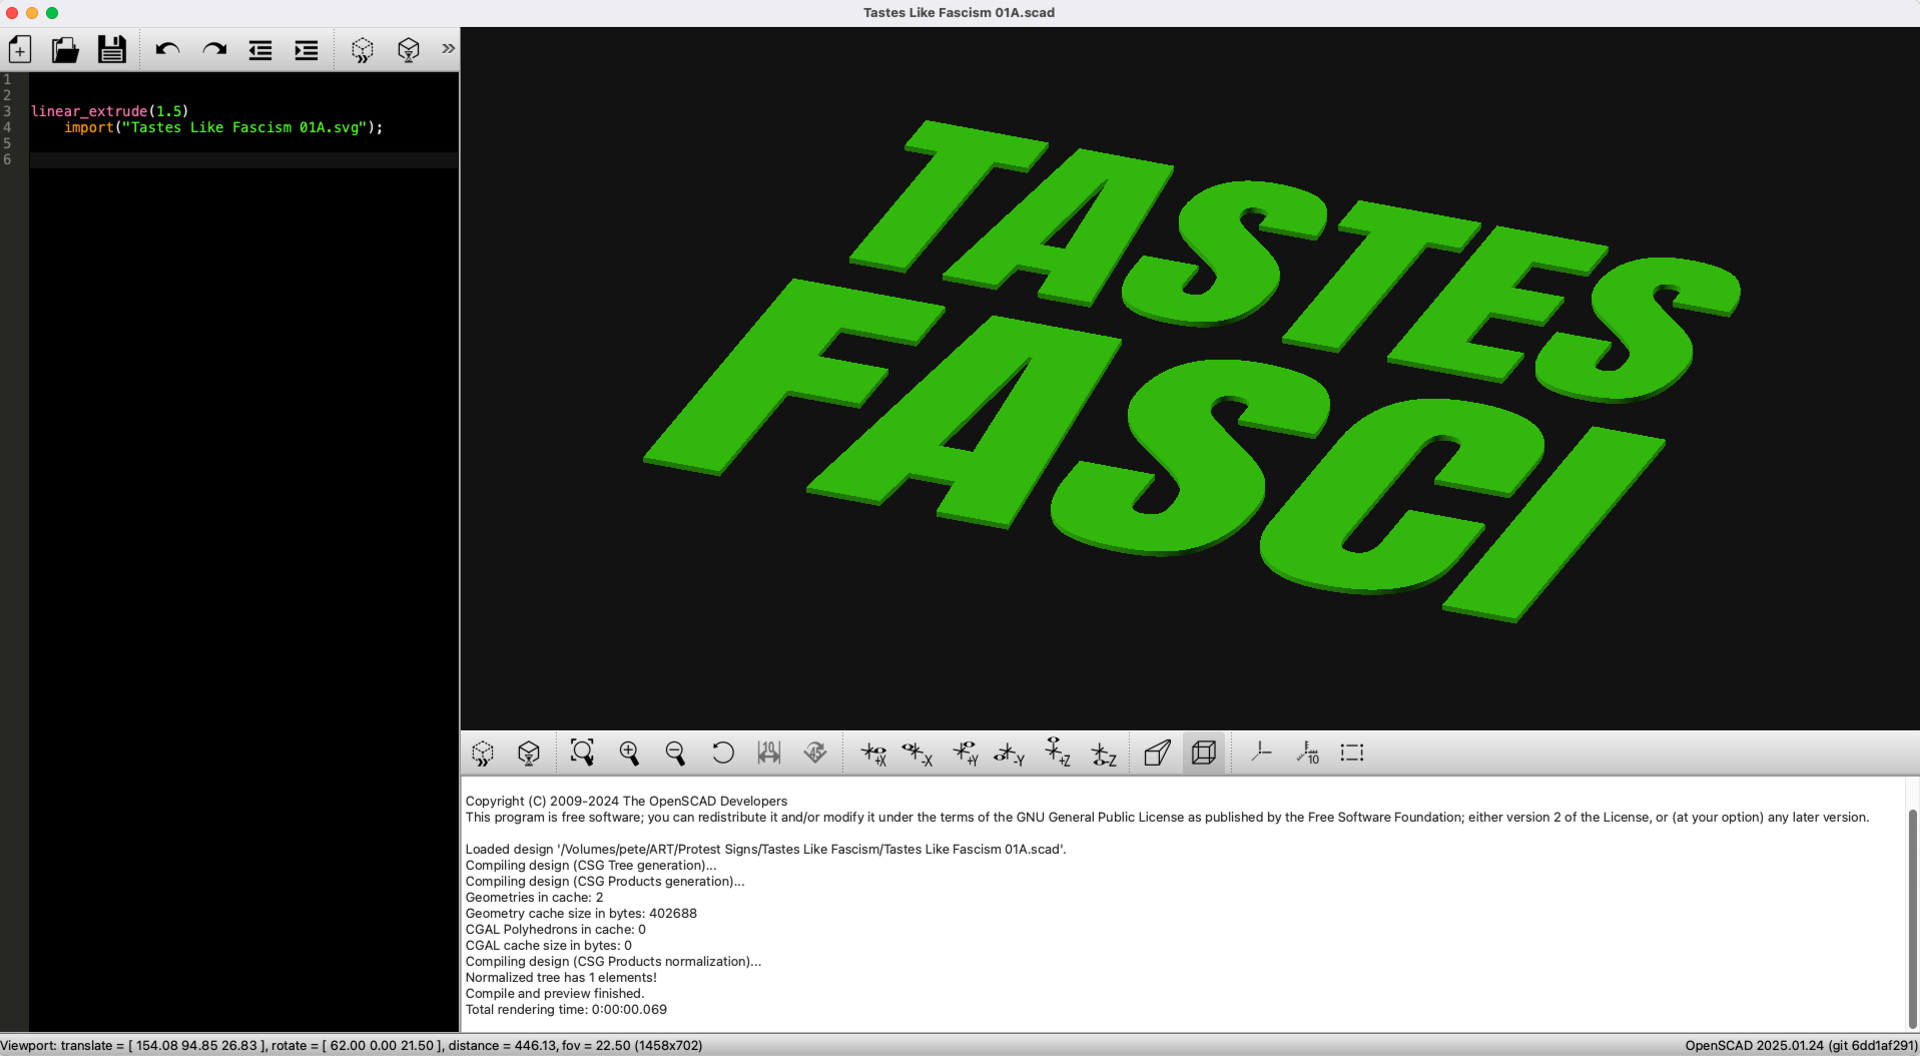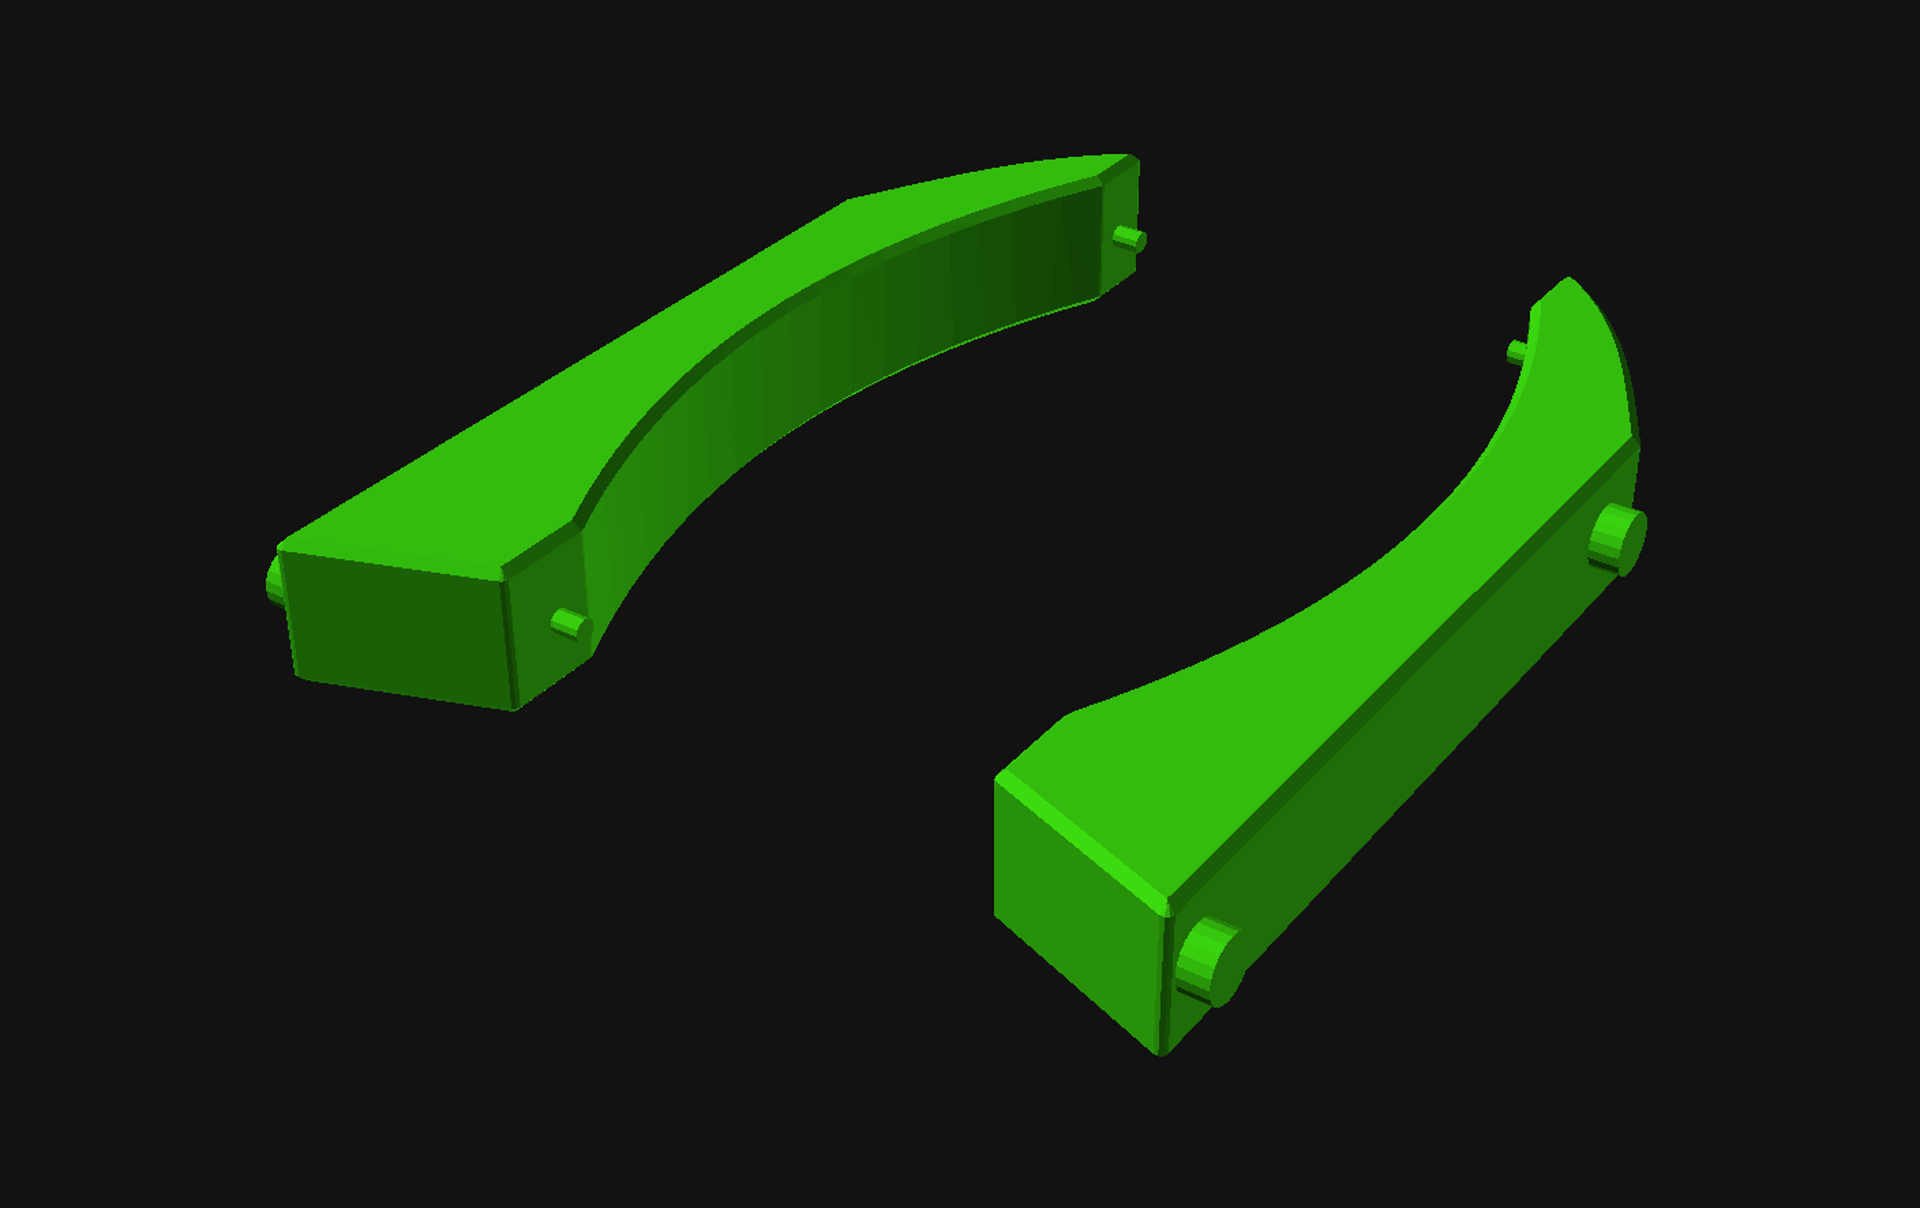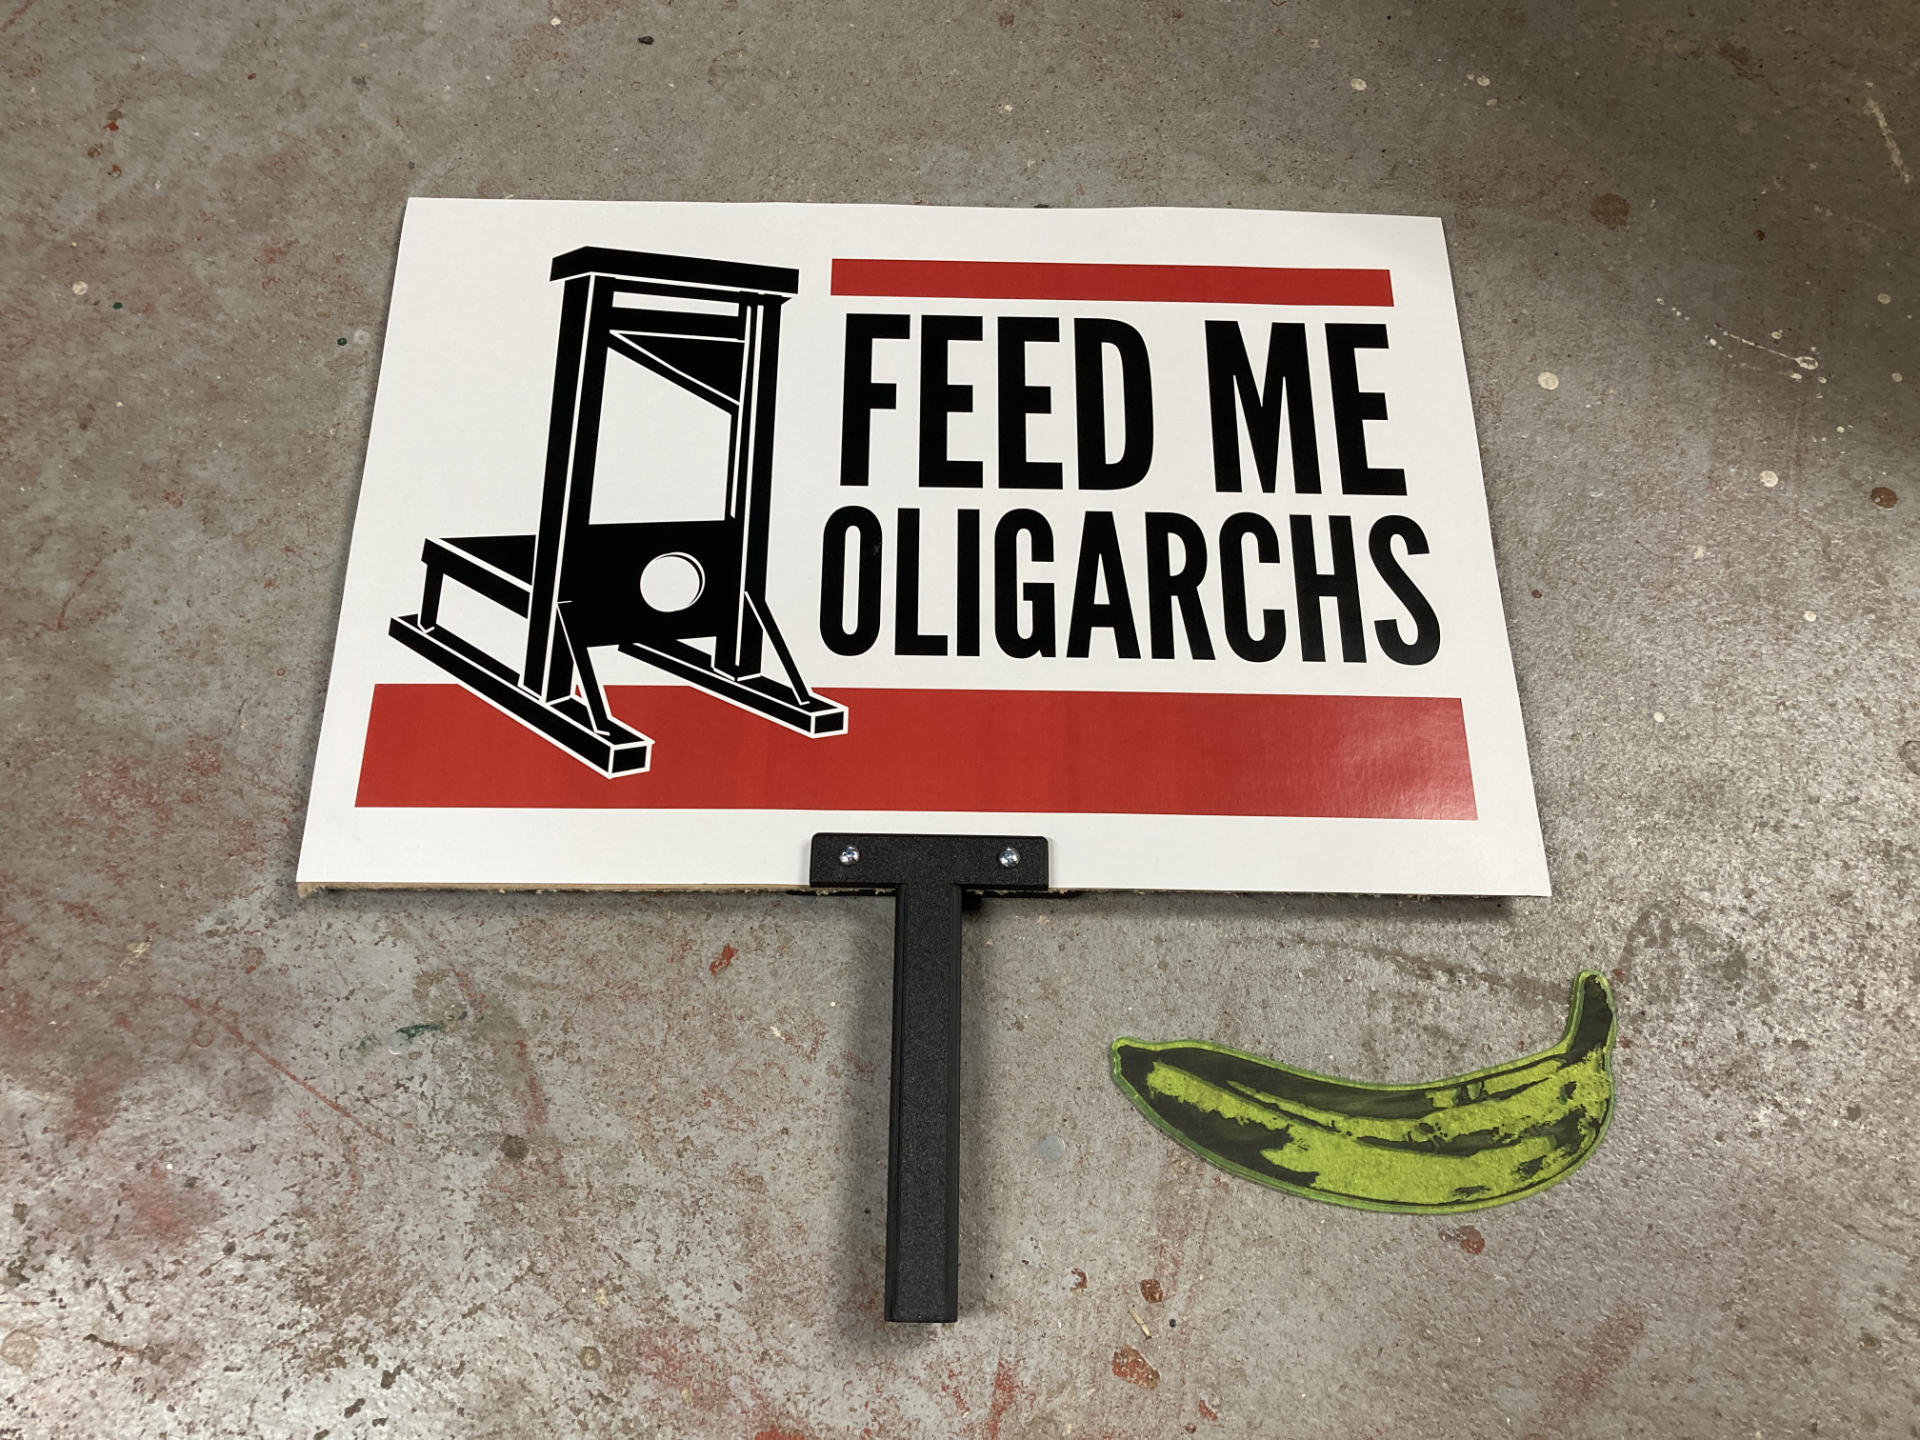
I designed a sign handle I could use for the protest signs I’ve been making lately.
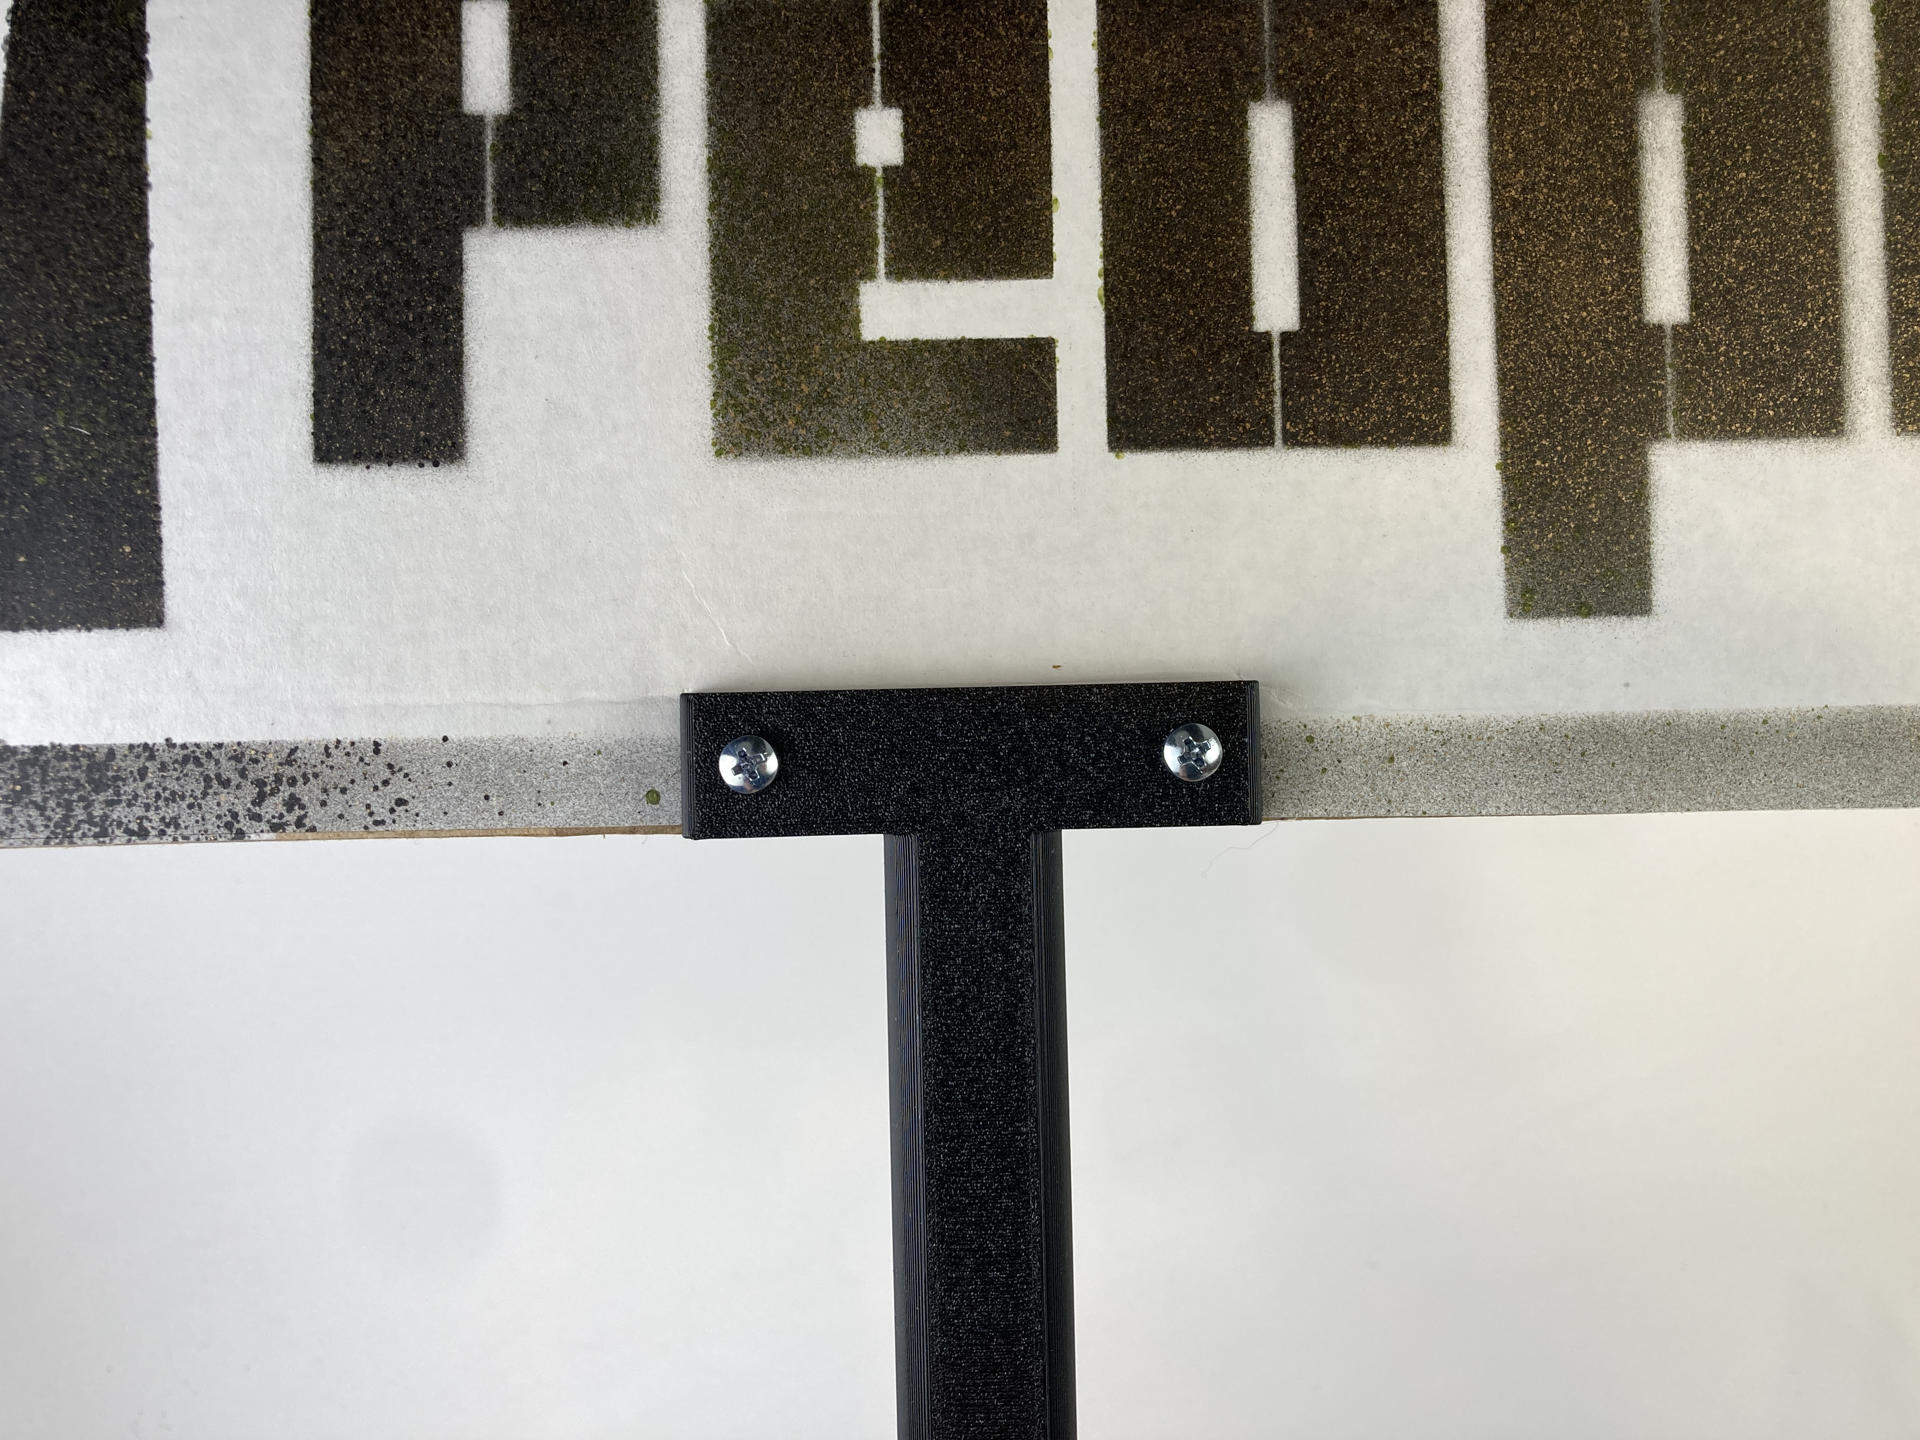
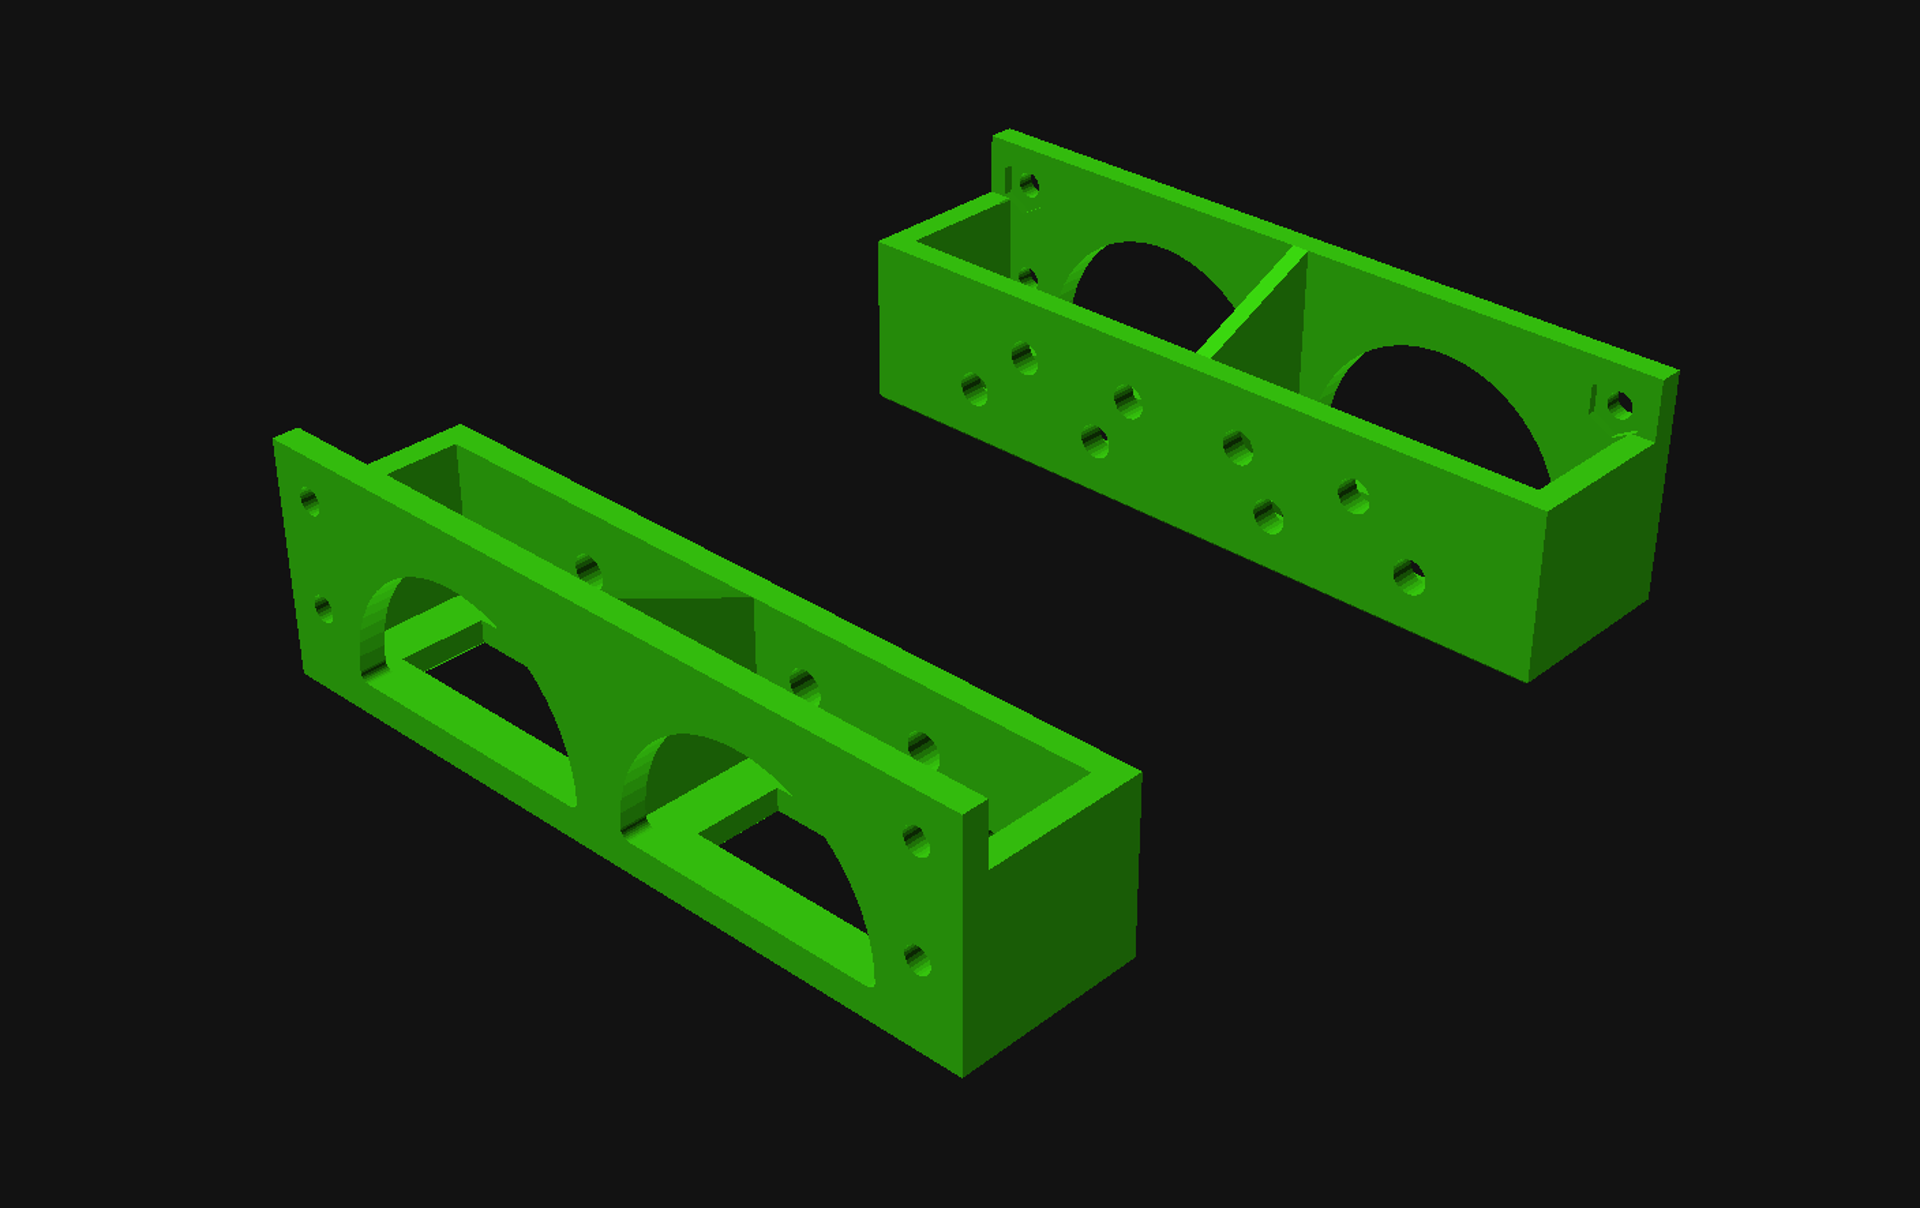
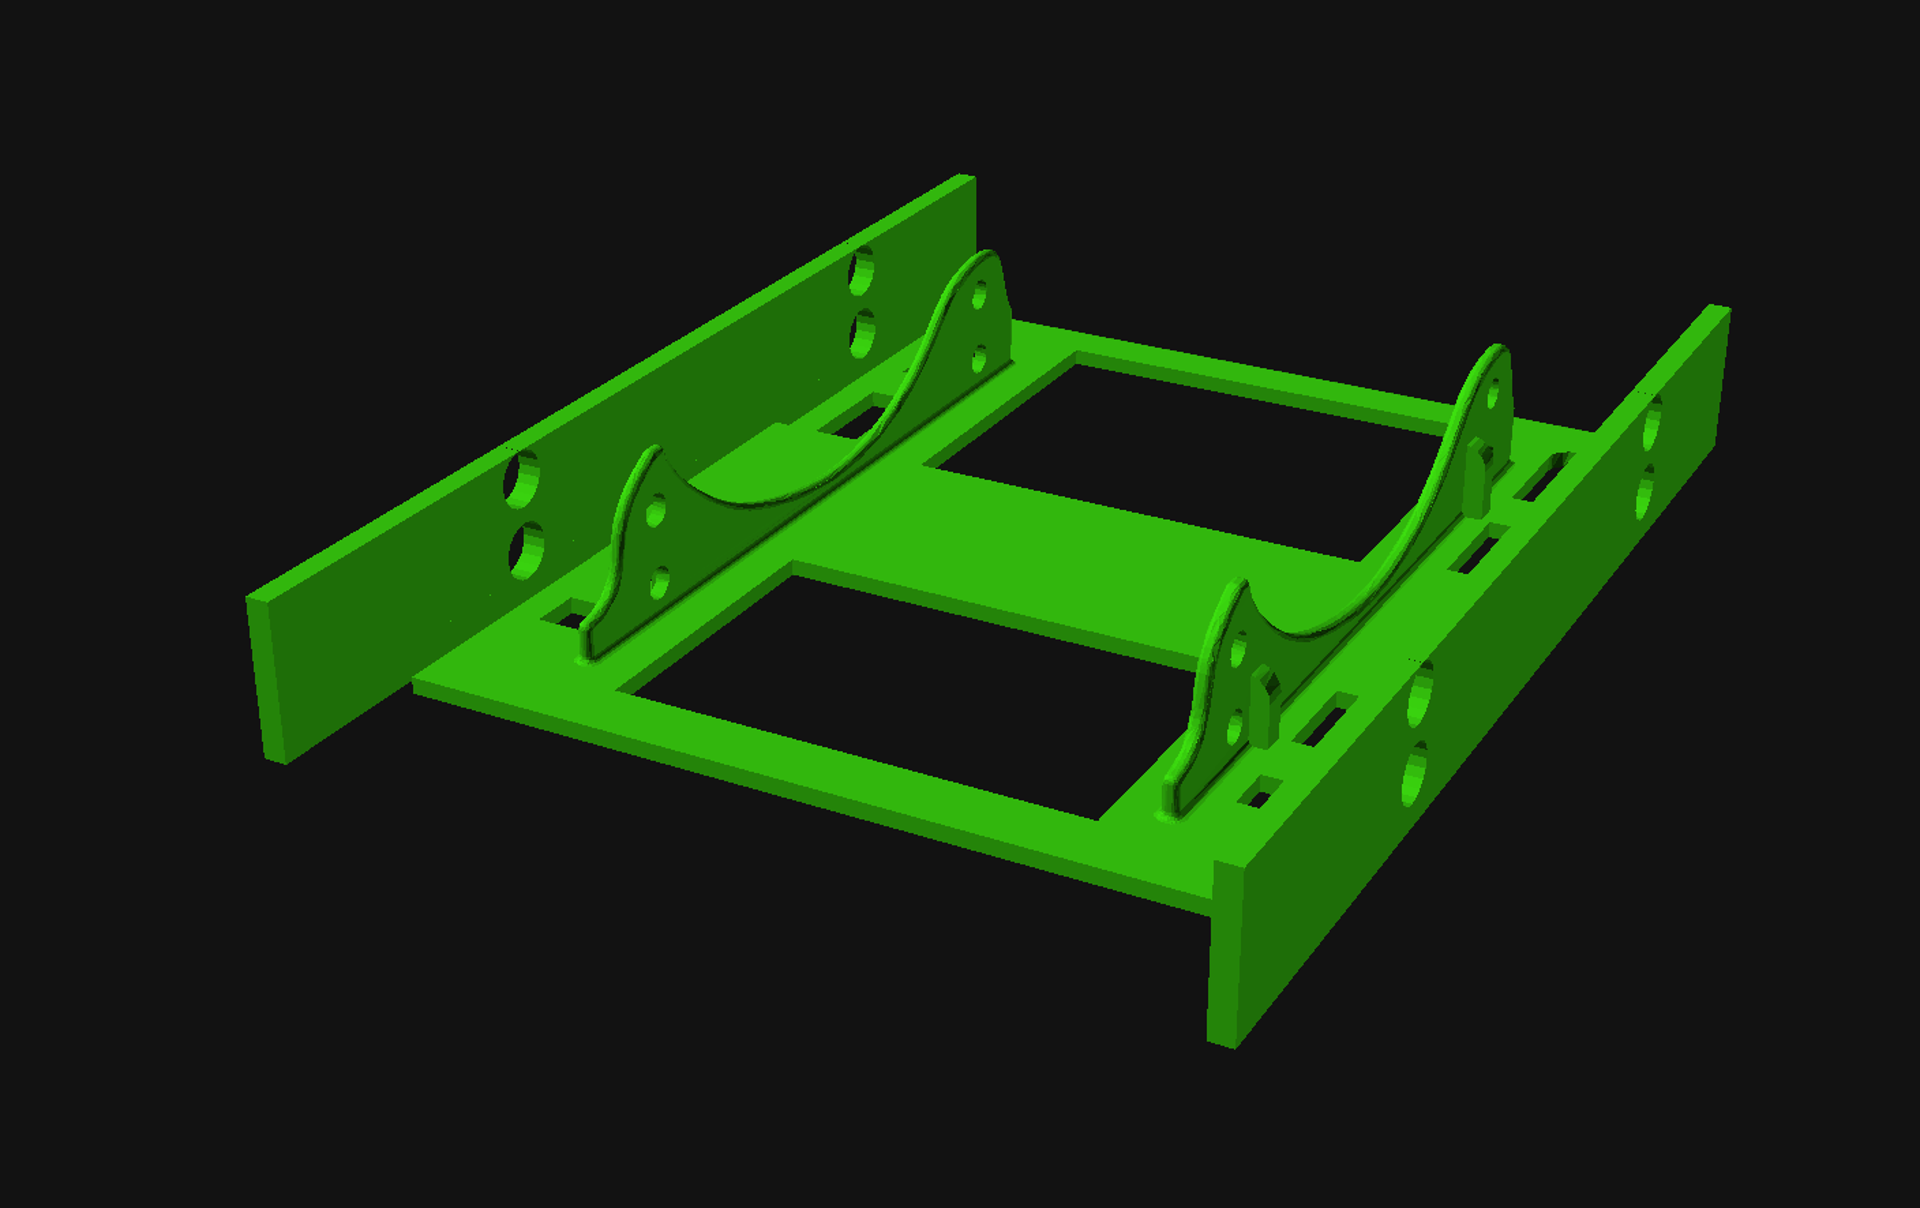
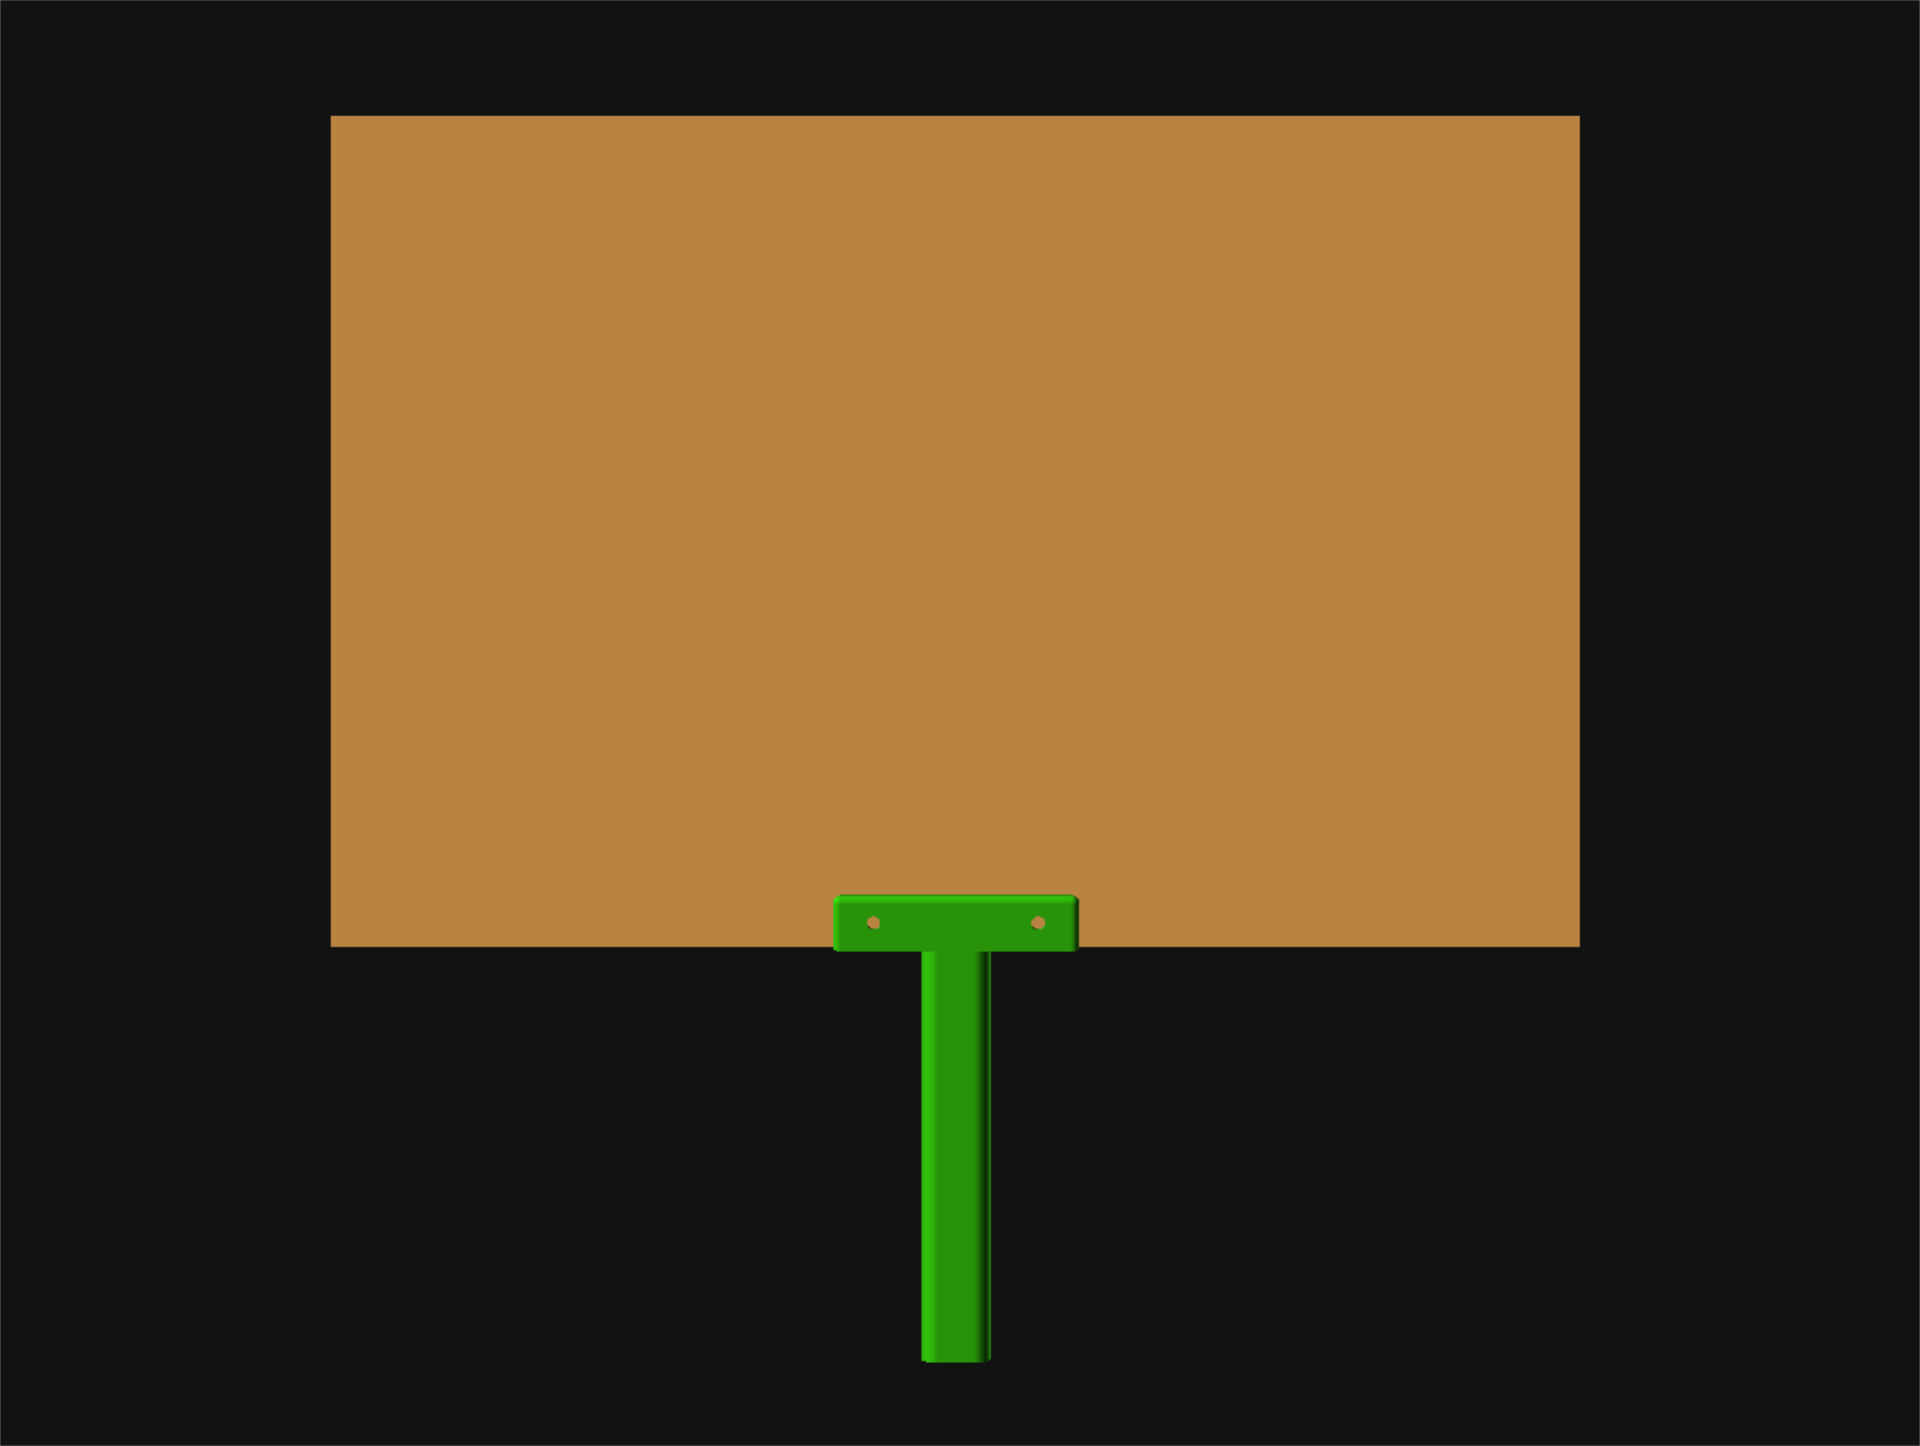
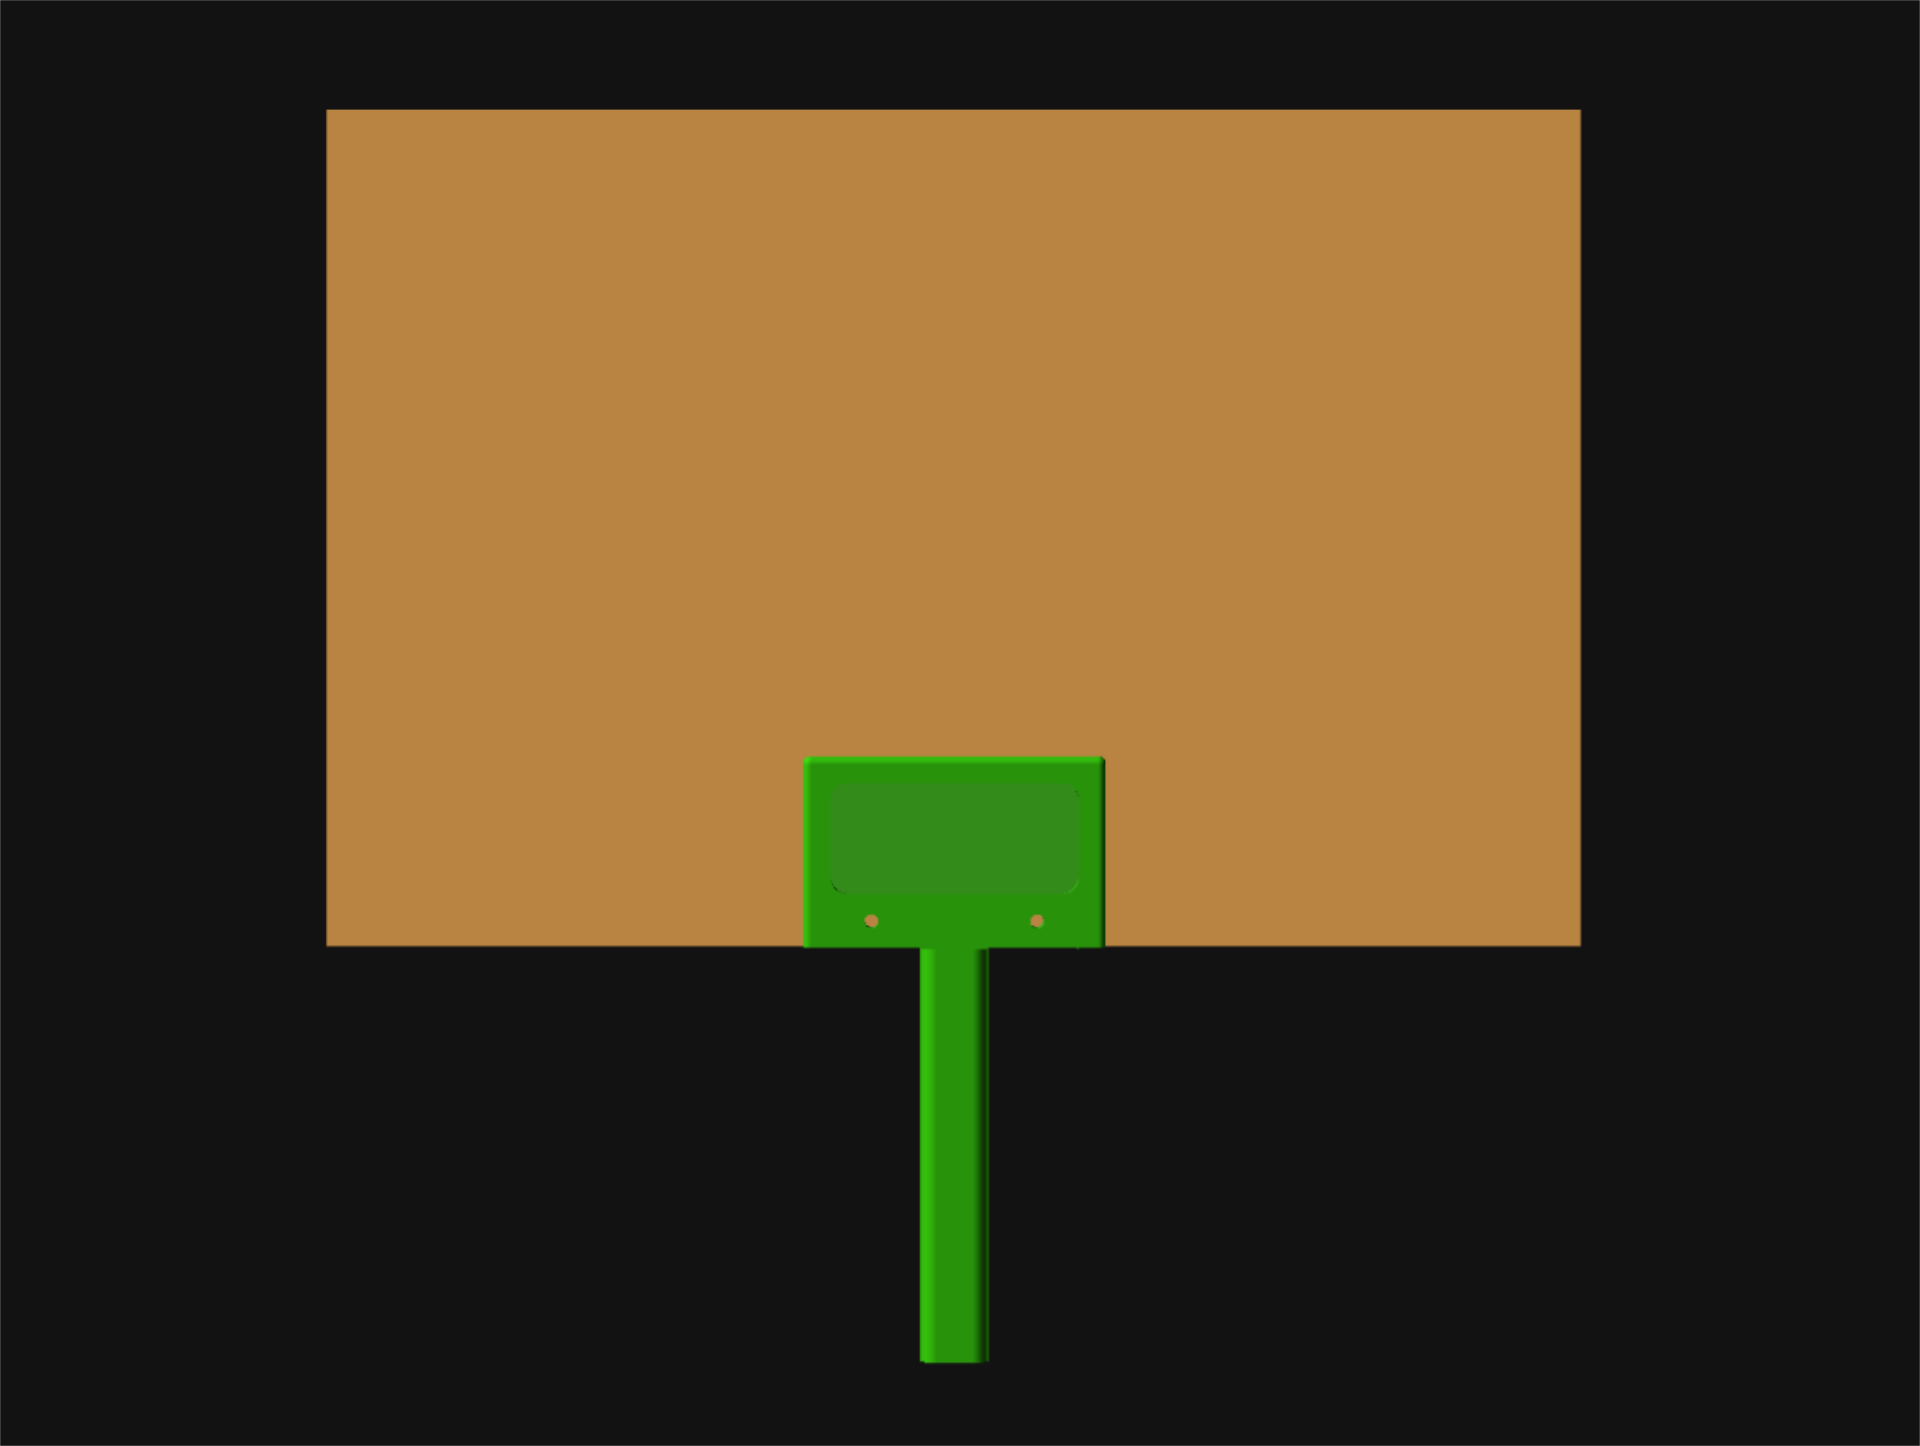
It’s a handle and backing piece. The two pieces bolt together using 8-32″ bolts (or 4mm bolts) and clamp around the sign. If you have concerned about wind you can hot glue the backing piece to the sign to add some solid support.
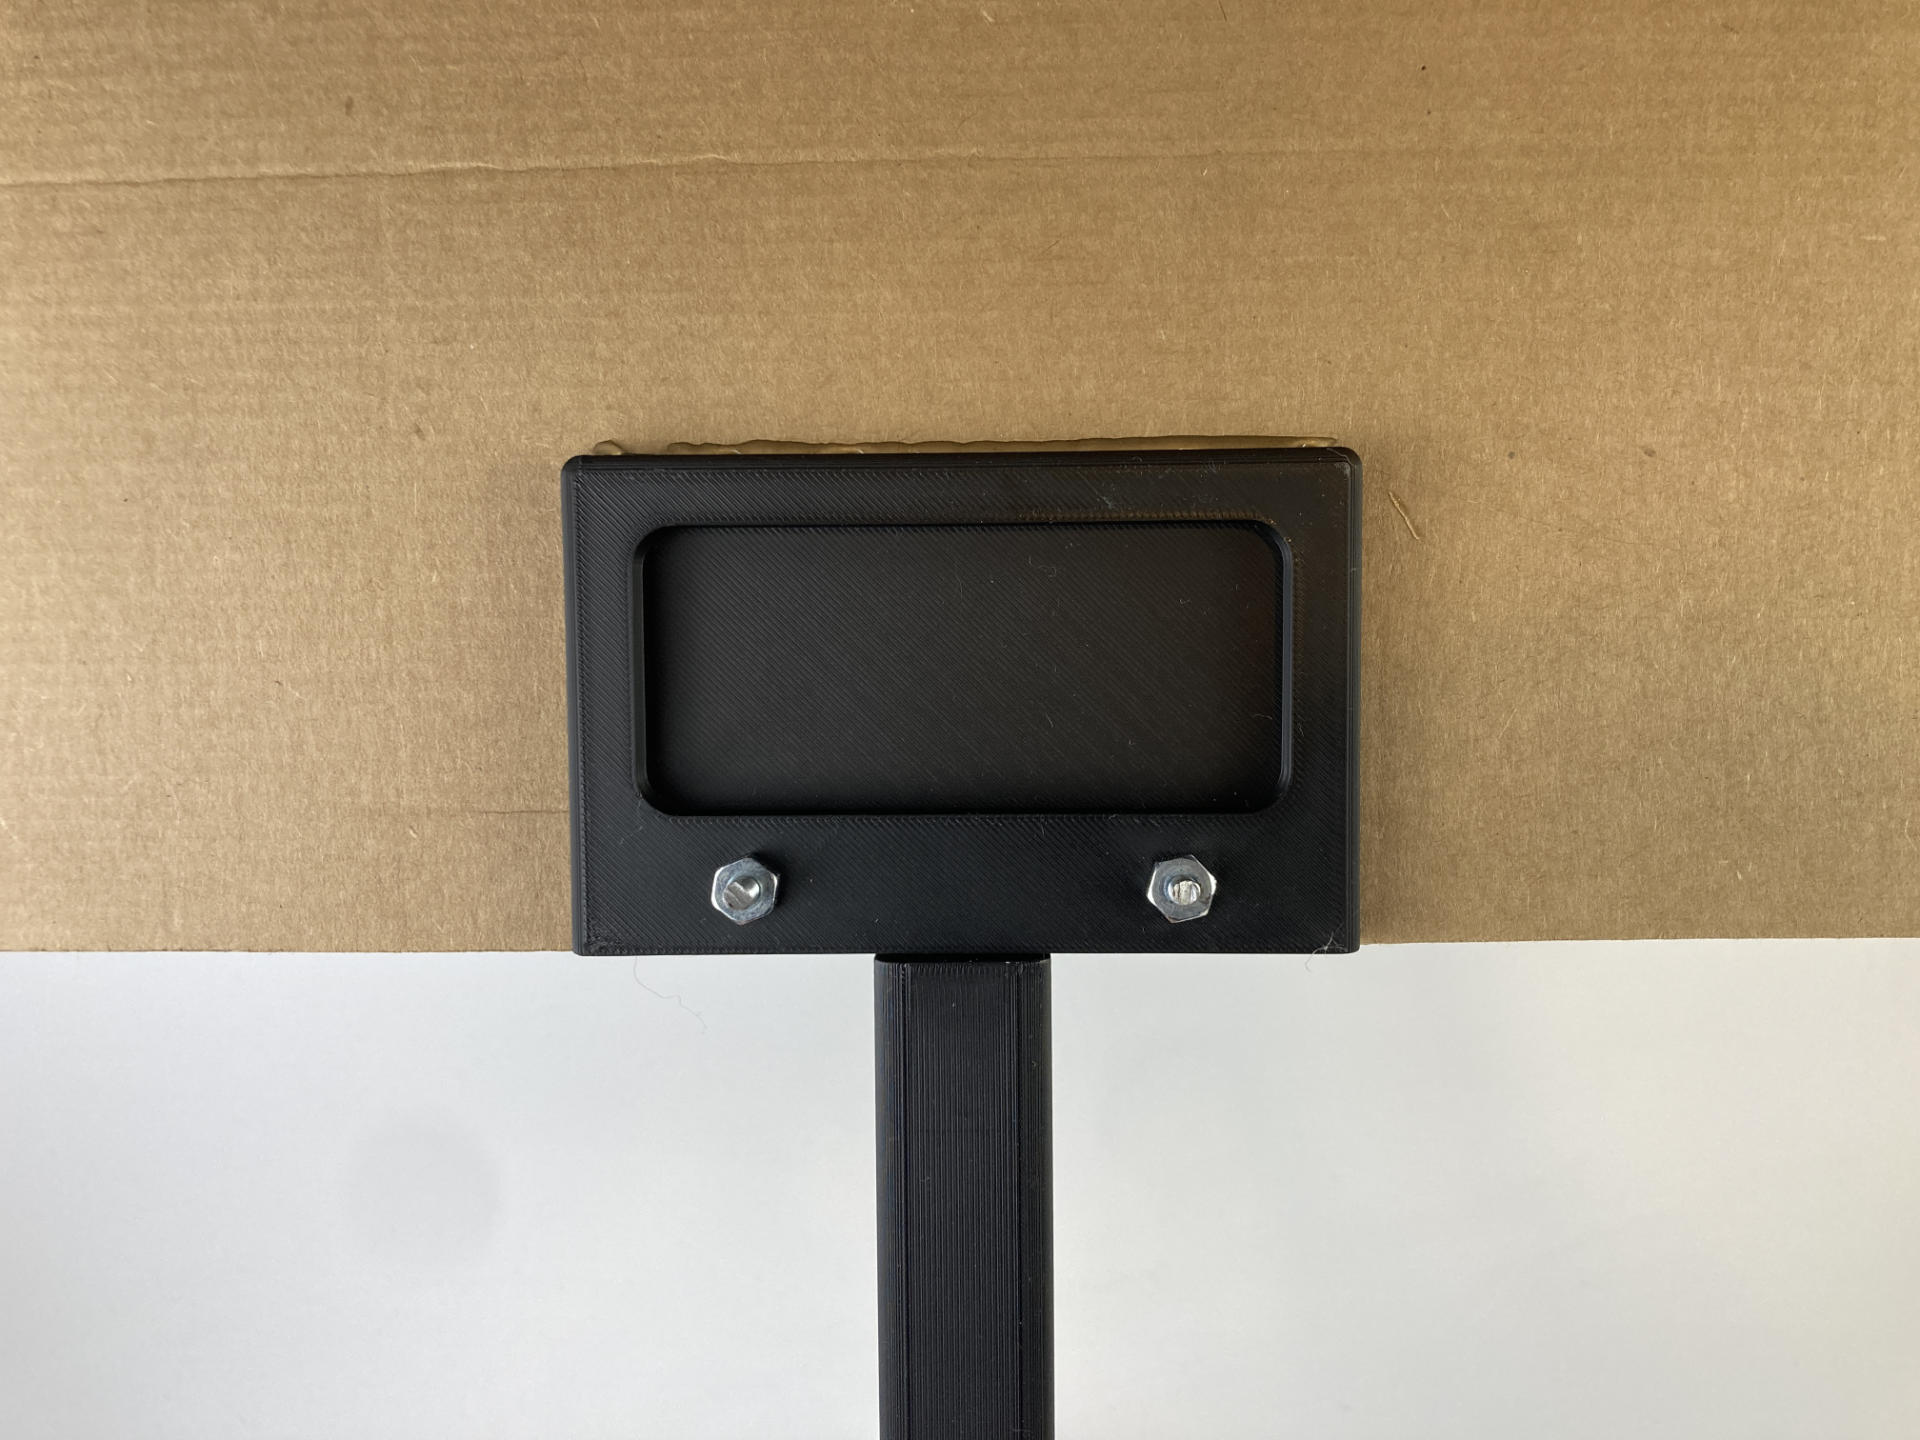
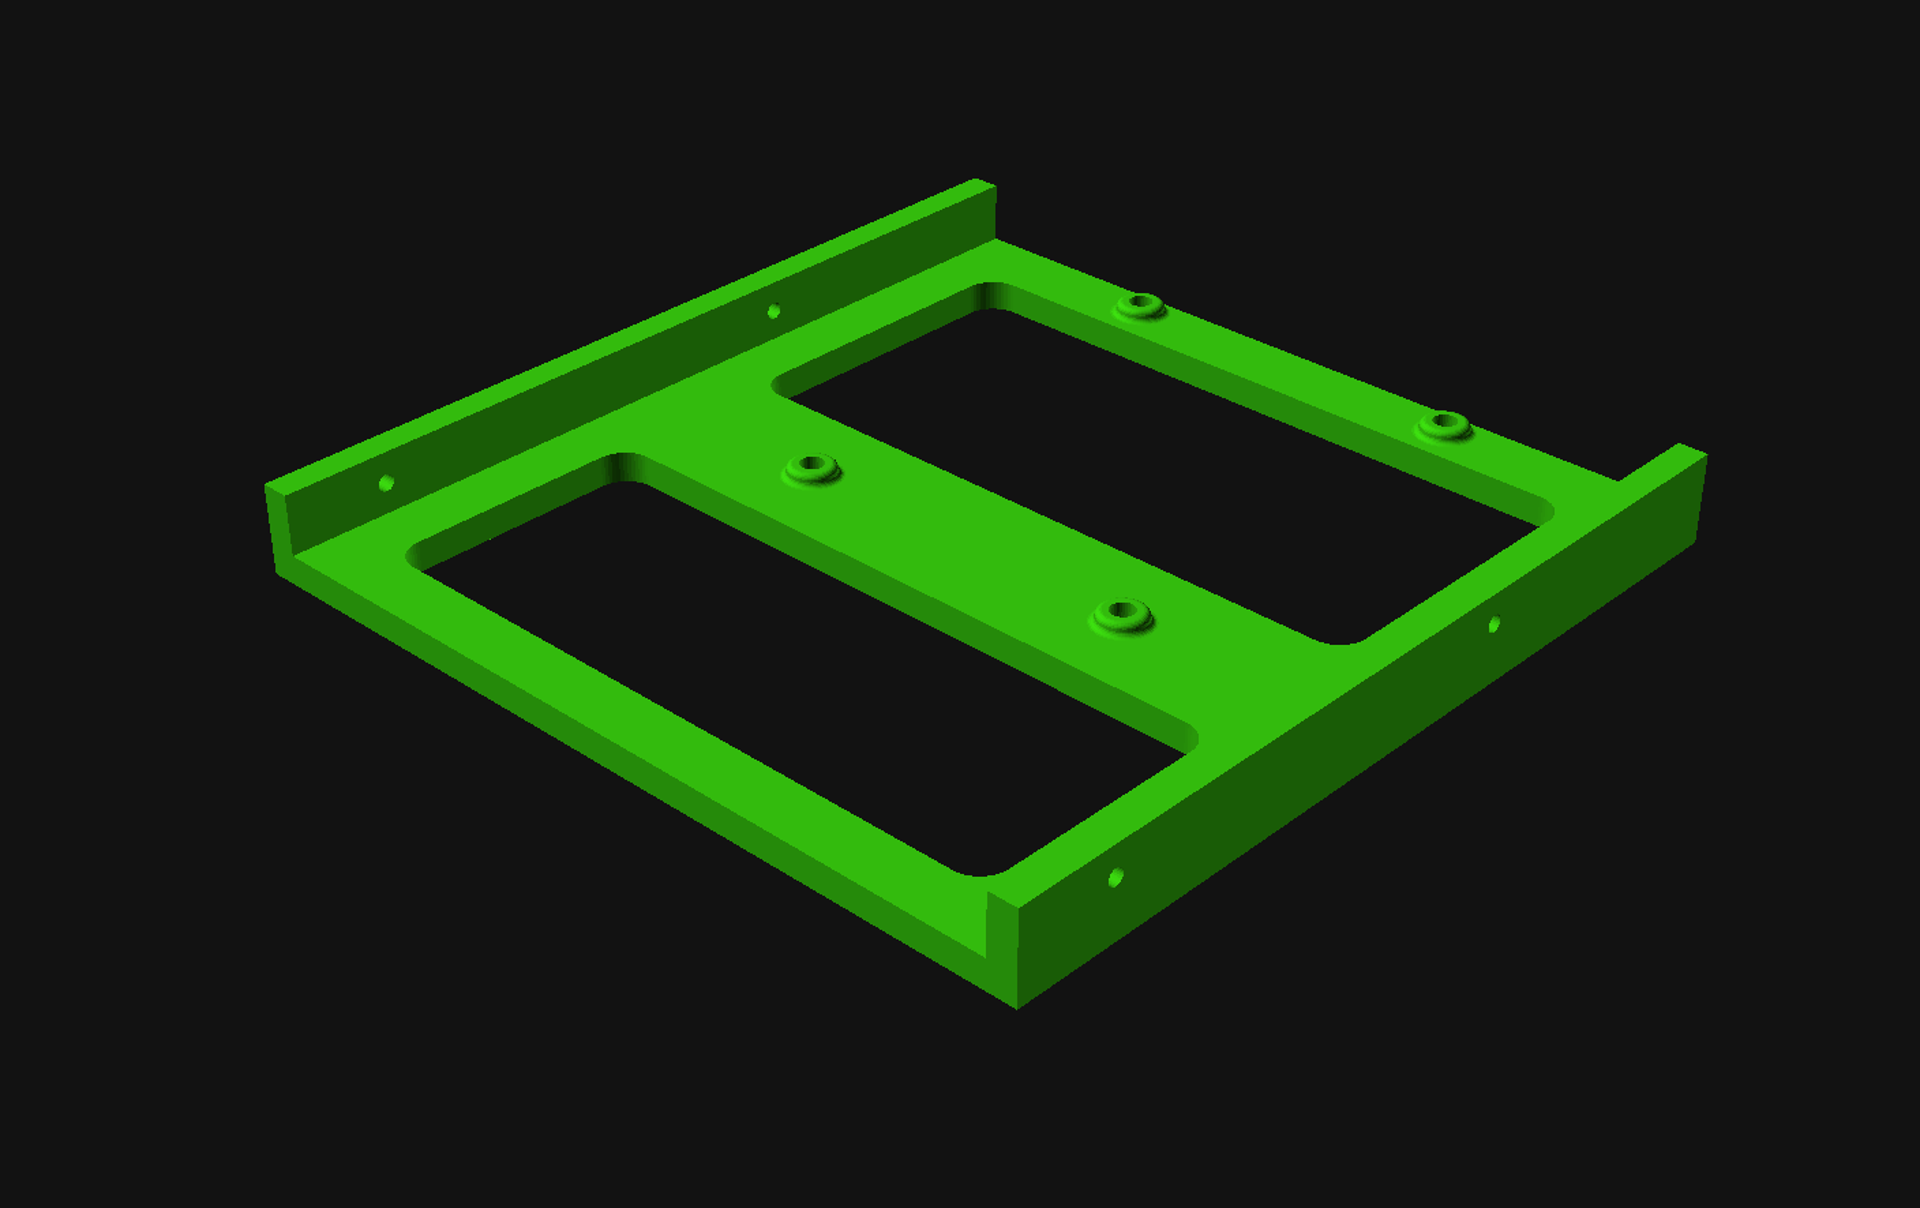
I made the back piece larger & taller and glued it in place after a particular windy day! (You can see a little bead of hot glue sticking out of the top of the back piece in the photo above.
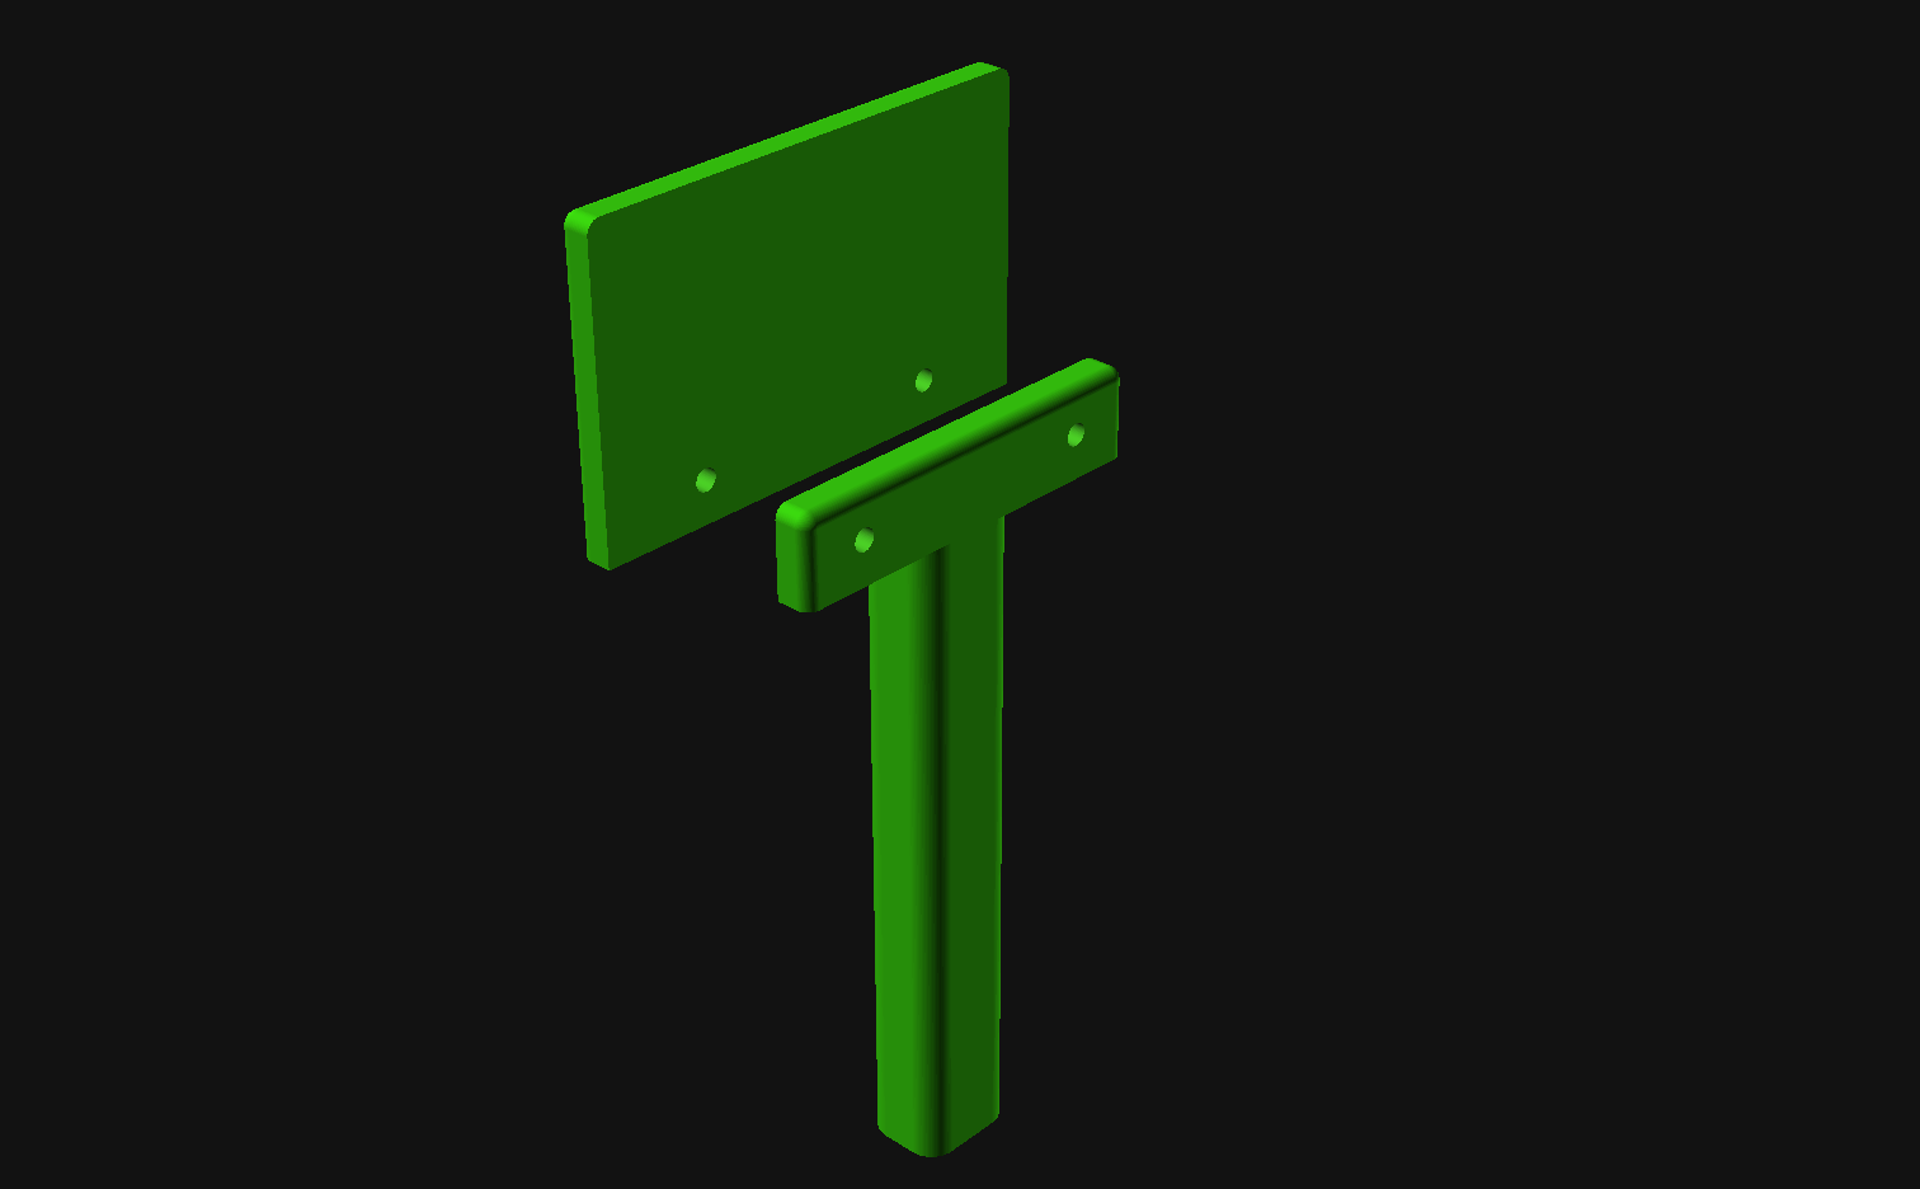
The handle part is hollow, but you can print the whole thing without support. This is one of those prints that is more functional than beautiful, and as long as it works I don’t care how nice it looks. (I mean, it still looks good of course!)
My signs are typically around 18″ x 12″ and I use cardboard of varying thicknesses. The only thing I don’t like about it is that I didn’t have the right size bolts so I had to cut some down to not stick out too far. (If the bolts stick out too far they could cause damage, and uh… well, no one wants that, right?)
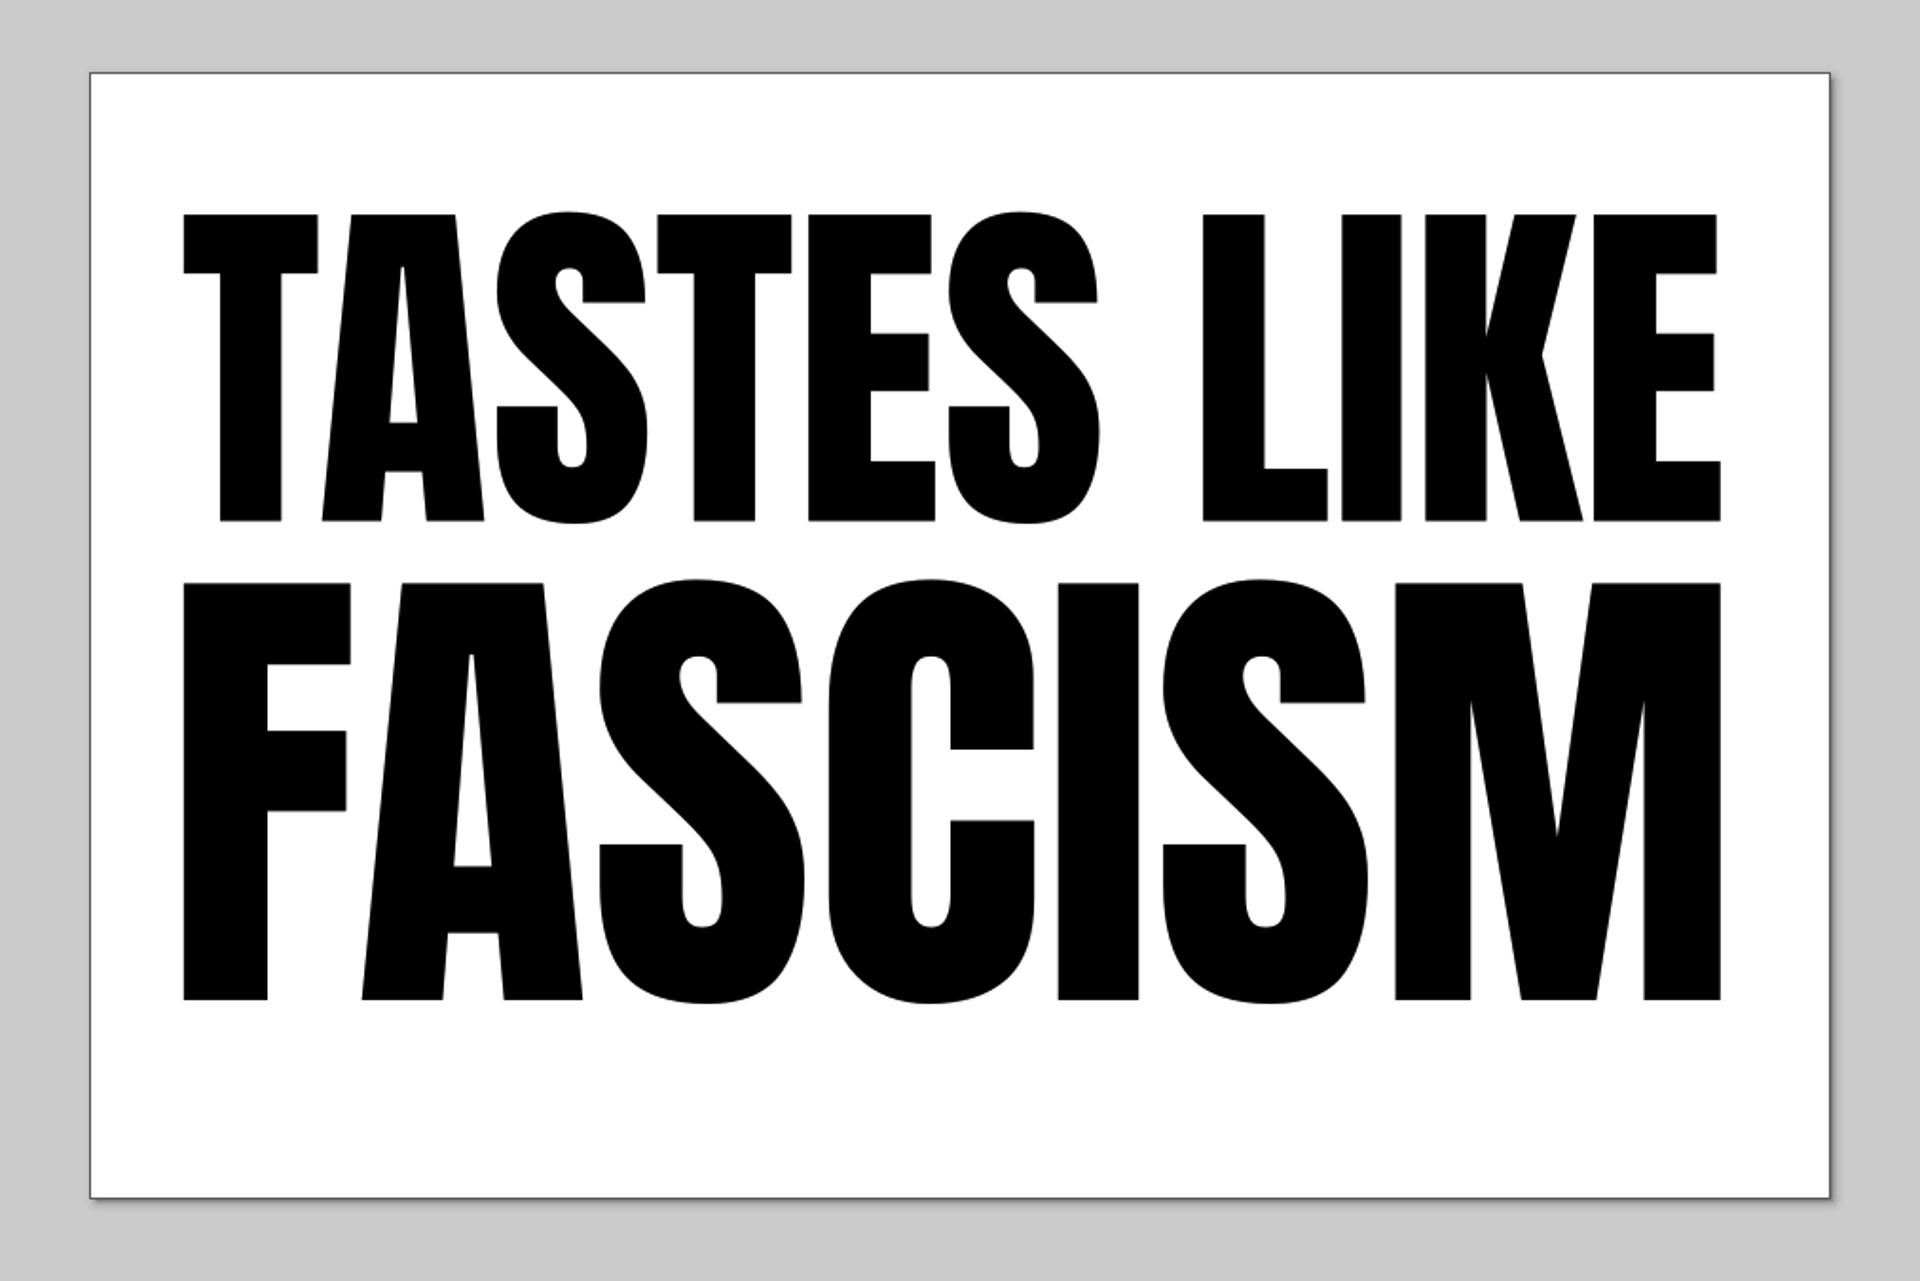
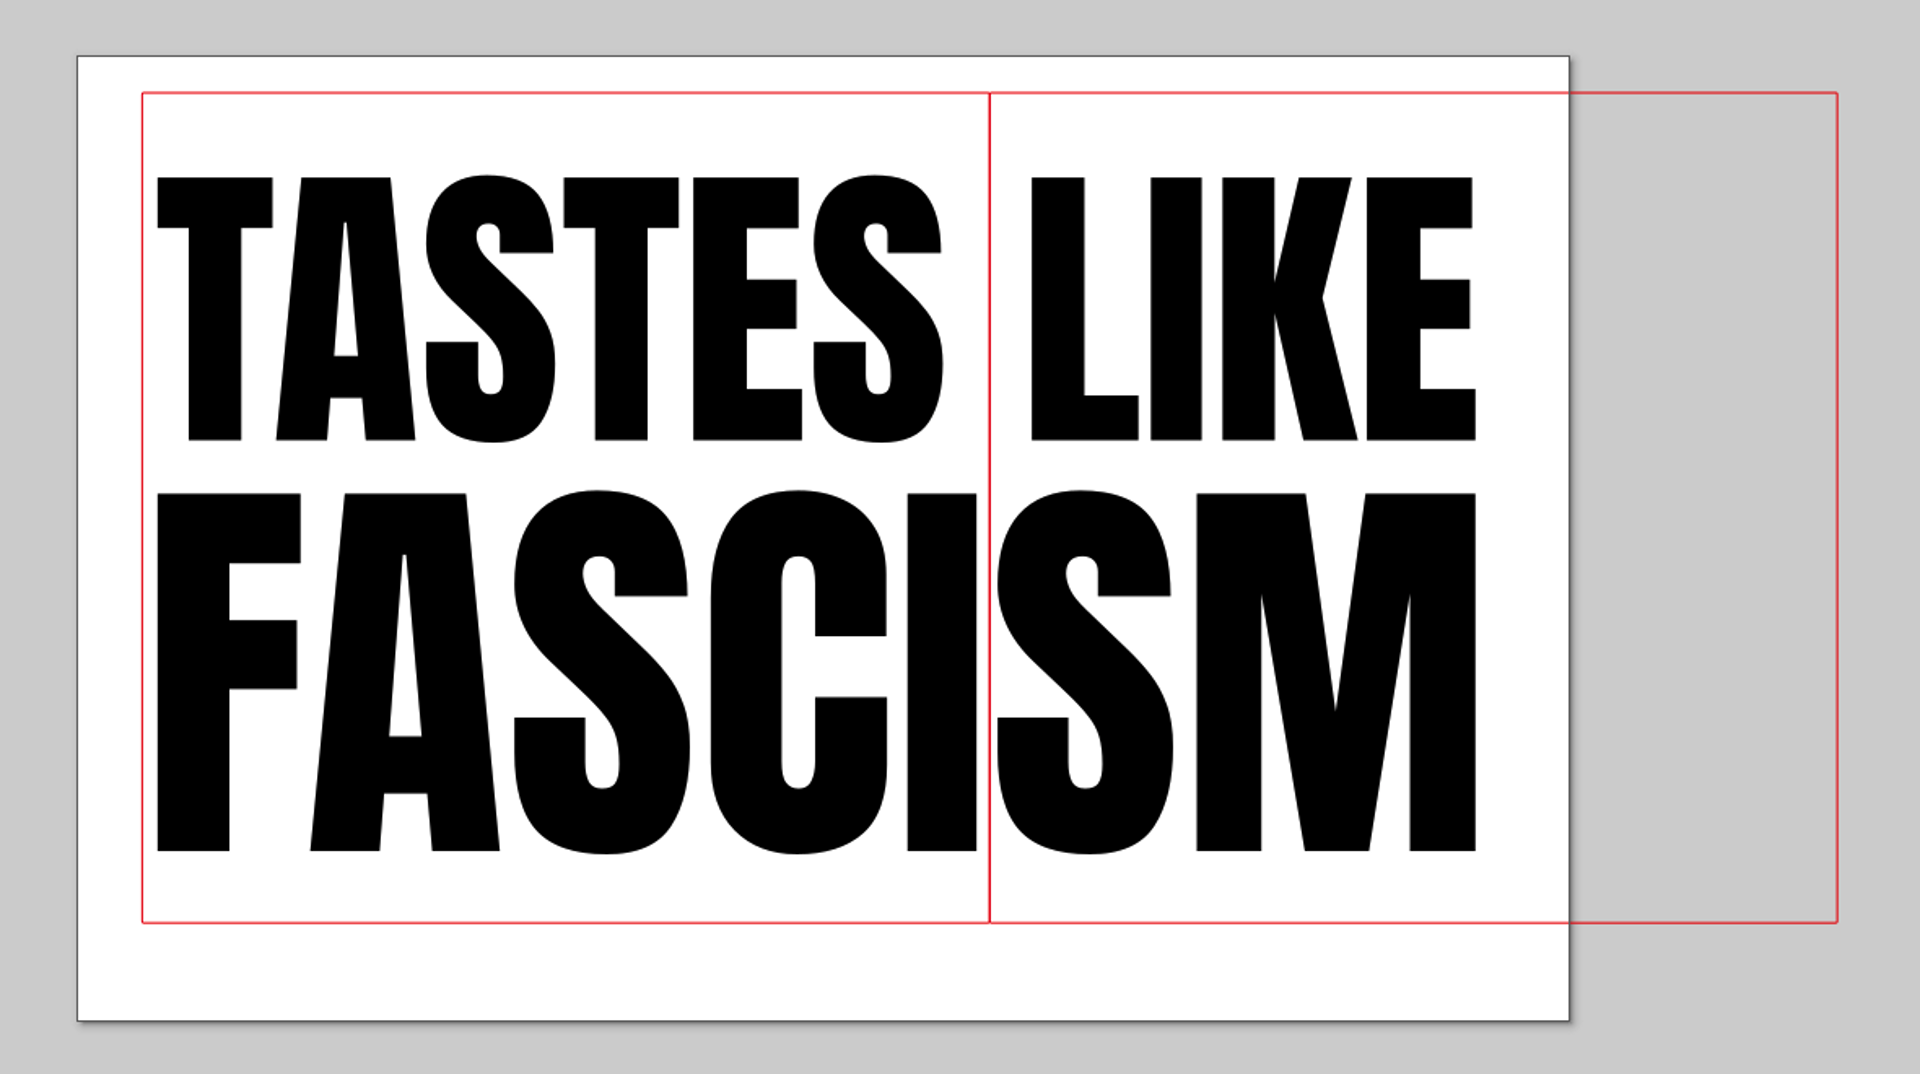
You can get the STL files from Printables.com – Sign Handle and you’ll need to make your own sign! (Or find some here!)