Did you read Rugged Box Silicone Gasket Seal (Part I) and Part II where I attempted (and succeeded!) at using CHANGTIKEJI Silicone Mold “Super Elastic Liquid Silicone” to make a gasket (seal) for these 3D printed rugged boxes?
Well, here’s the next installment. In Part II we tried to pour the silicone directly into the groove on the bottom half of the enclosure. Which worked but failed, so I guess it didn’t work. There were other factors at play, so I think it could work in some cases. Nevertheless, we’re going to try to “glue” this existing seal into place using silicone.
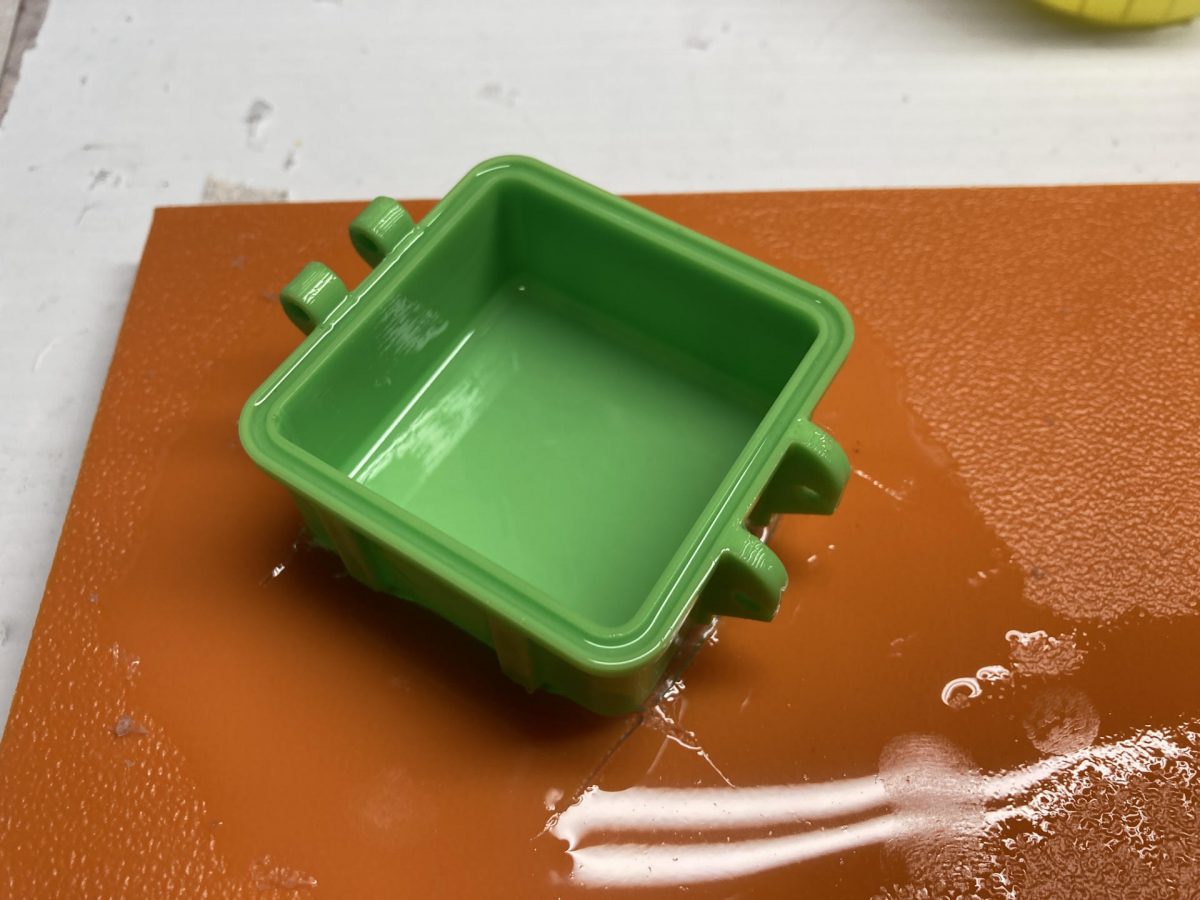
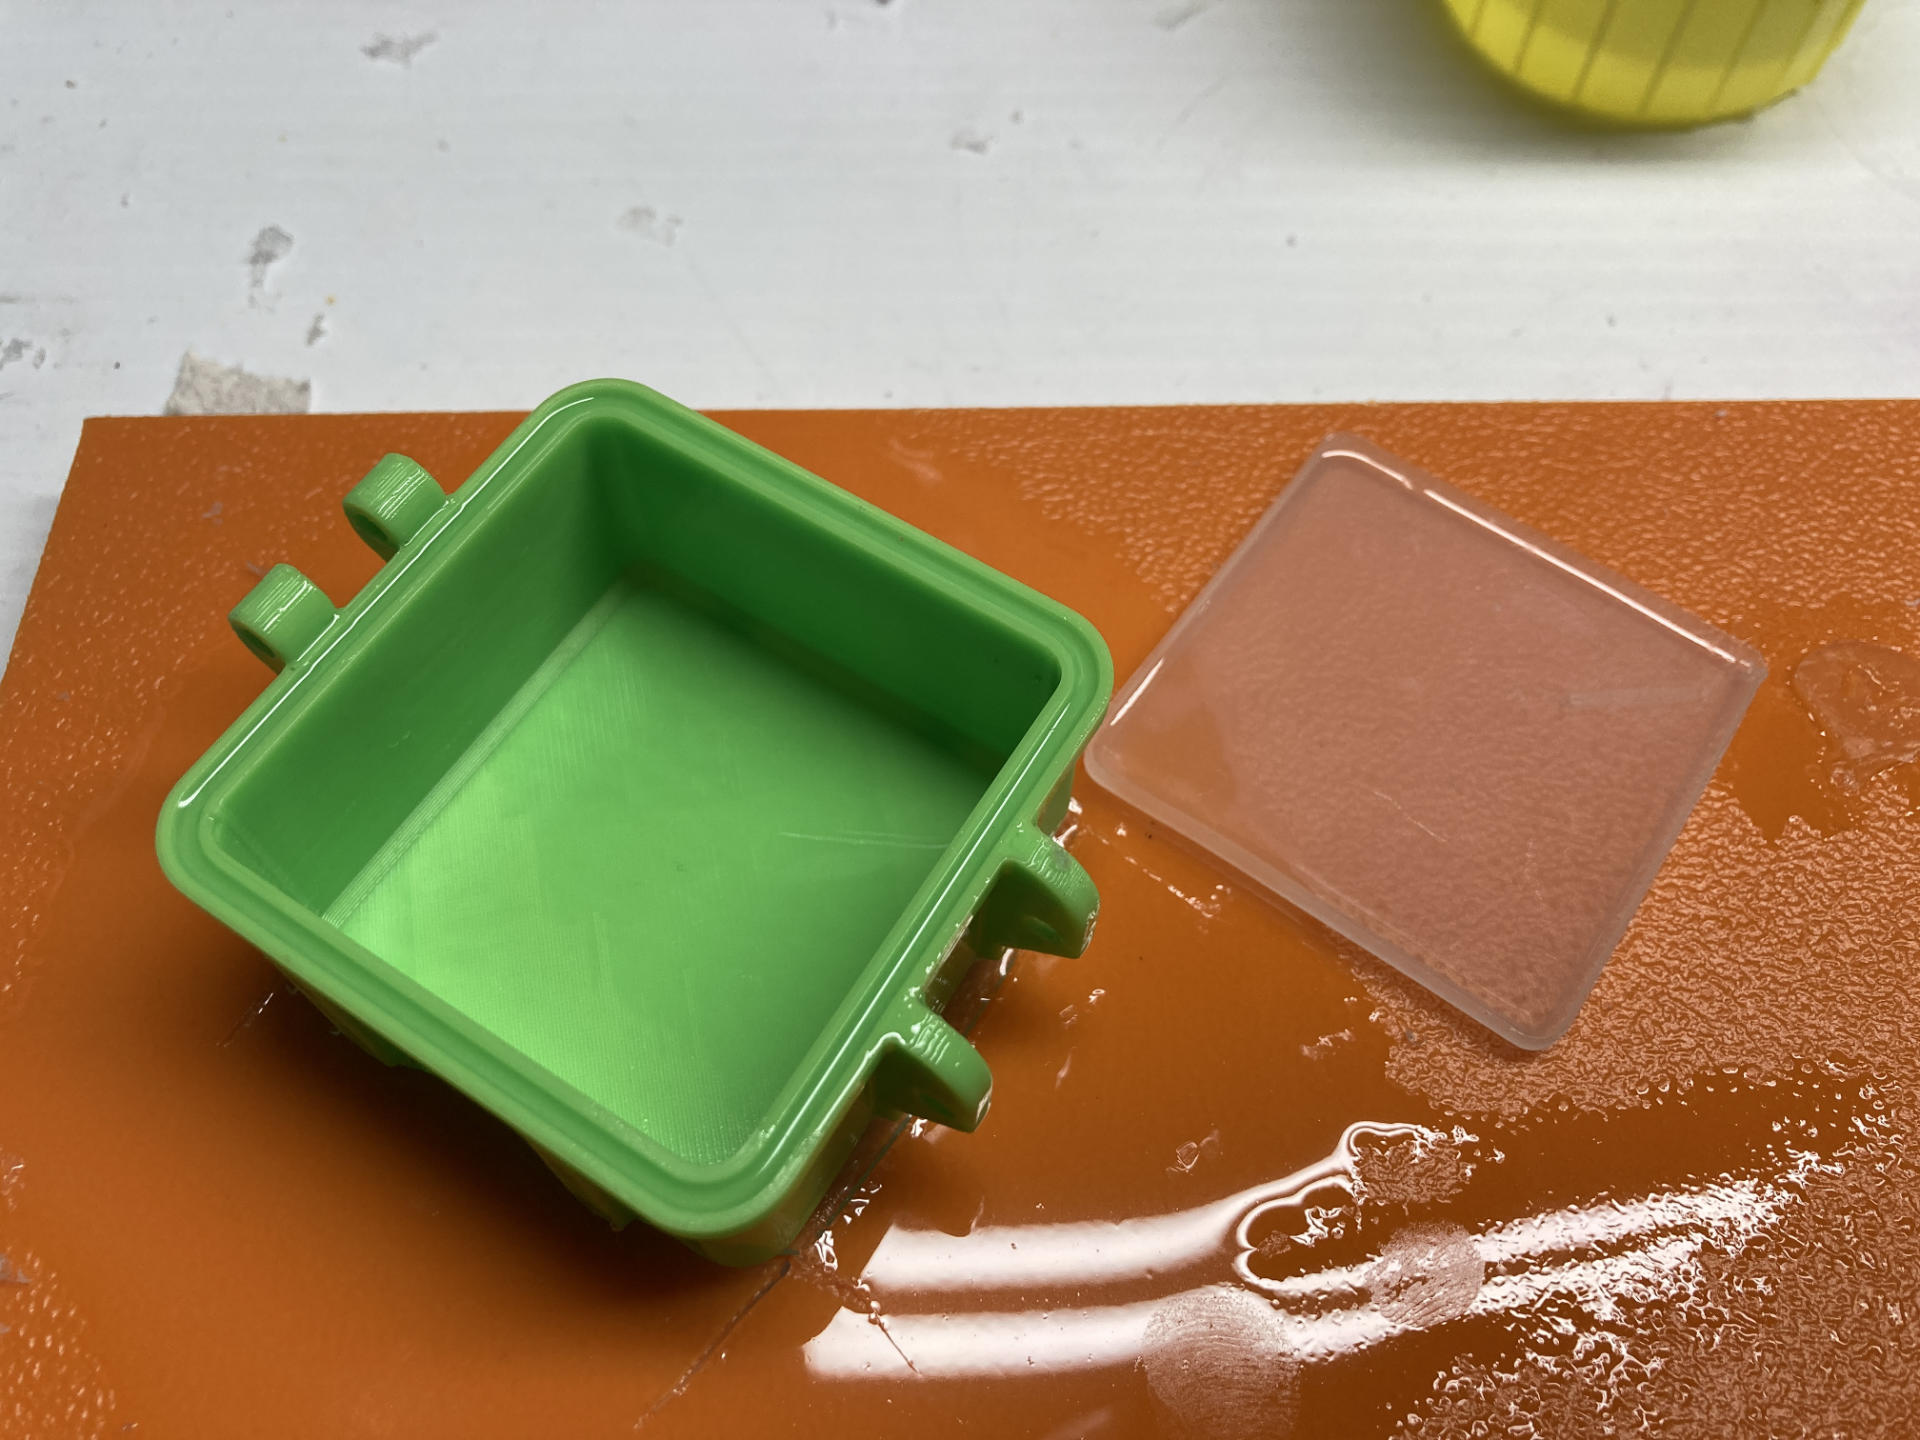
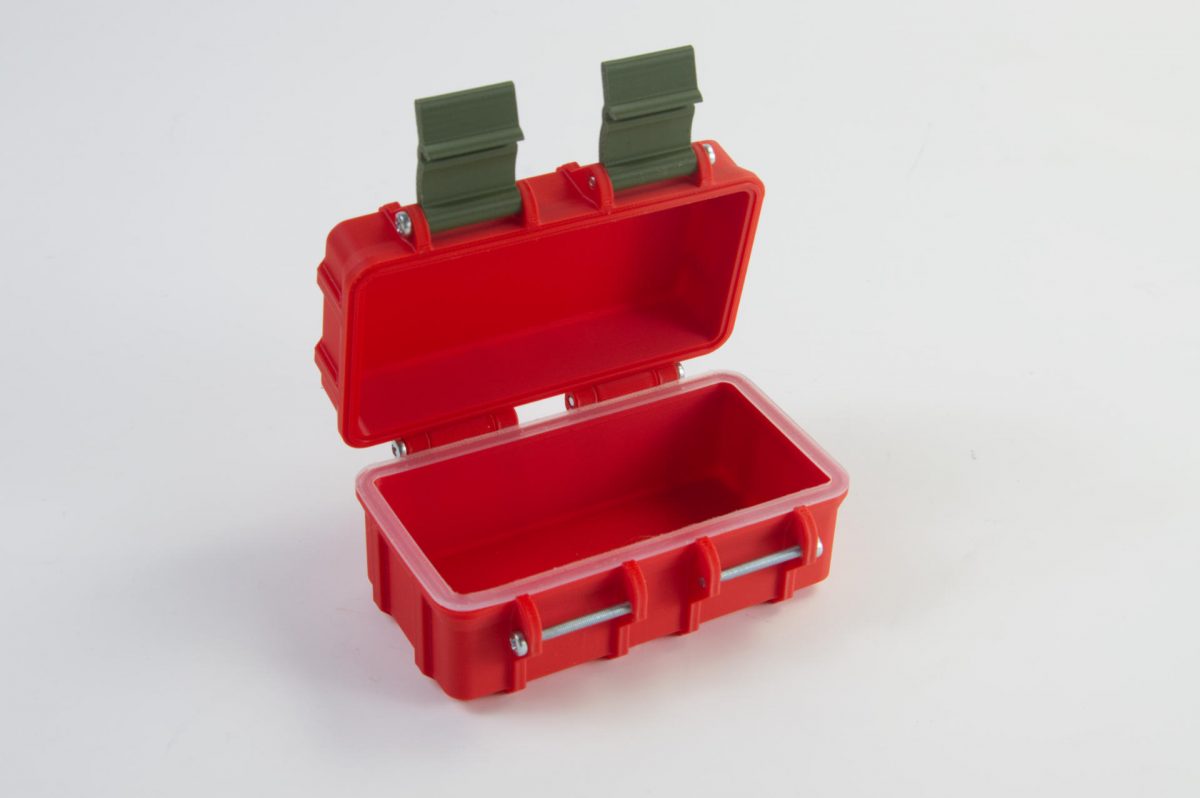
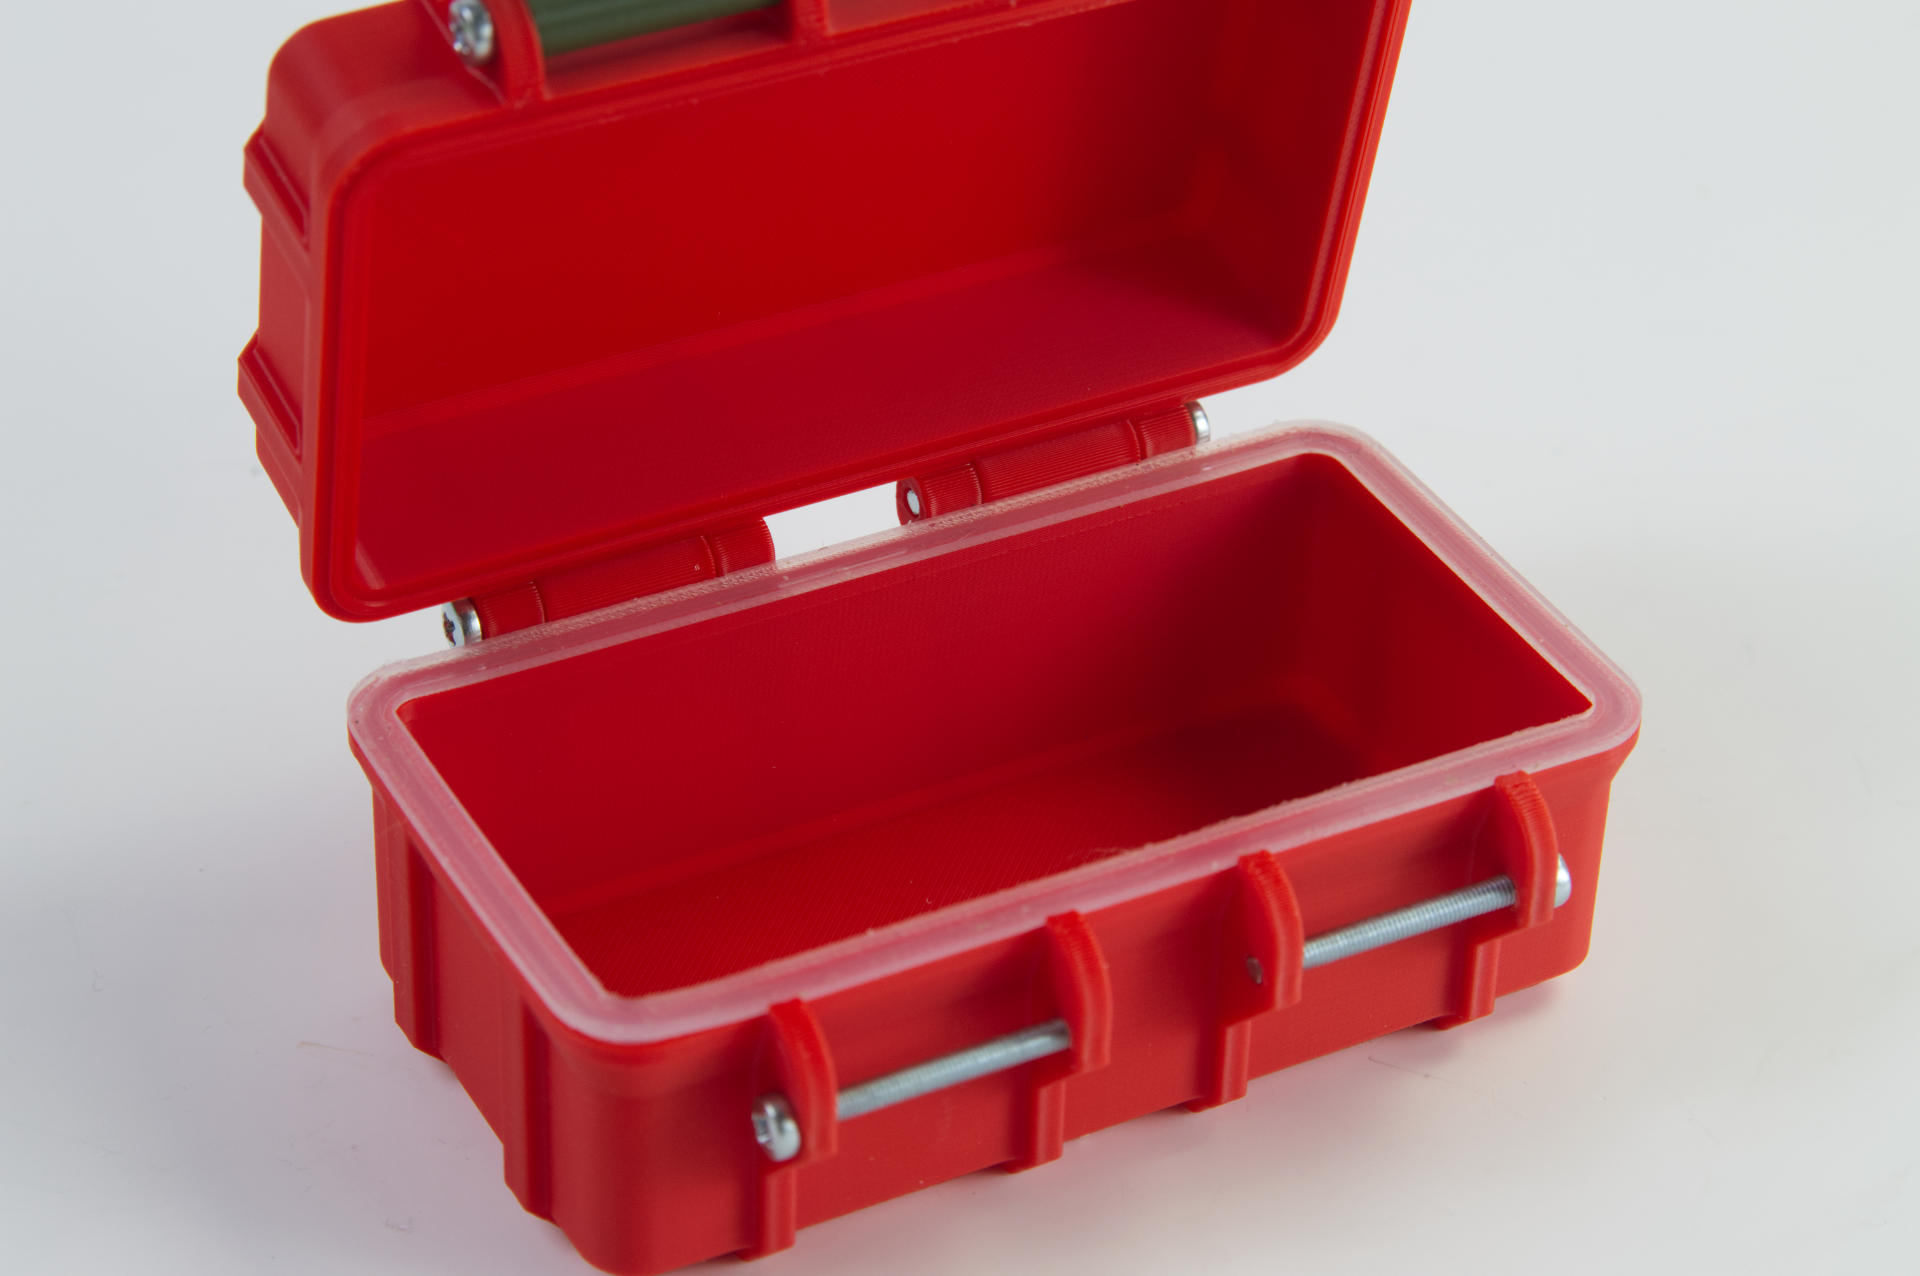
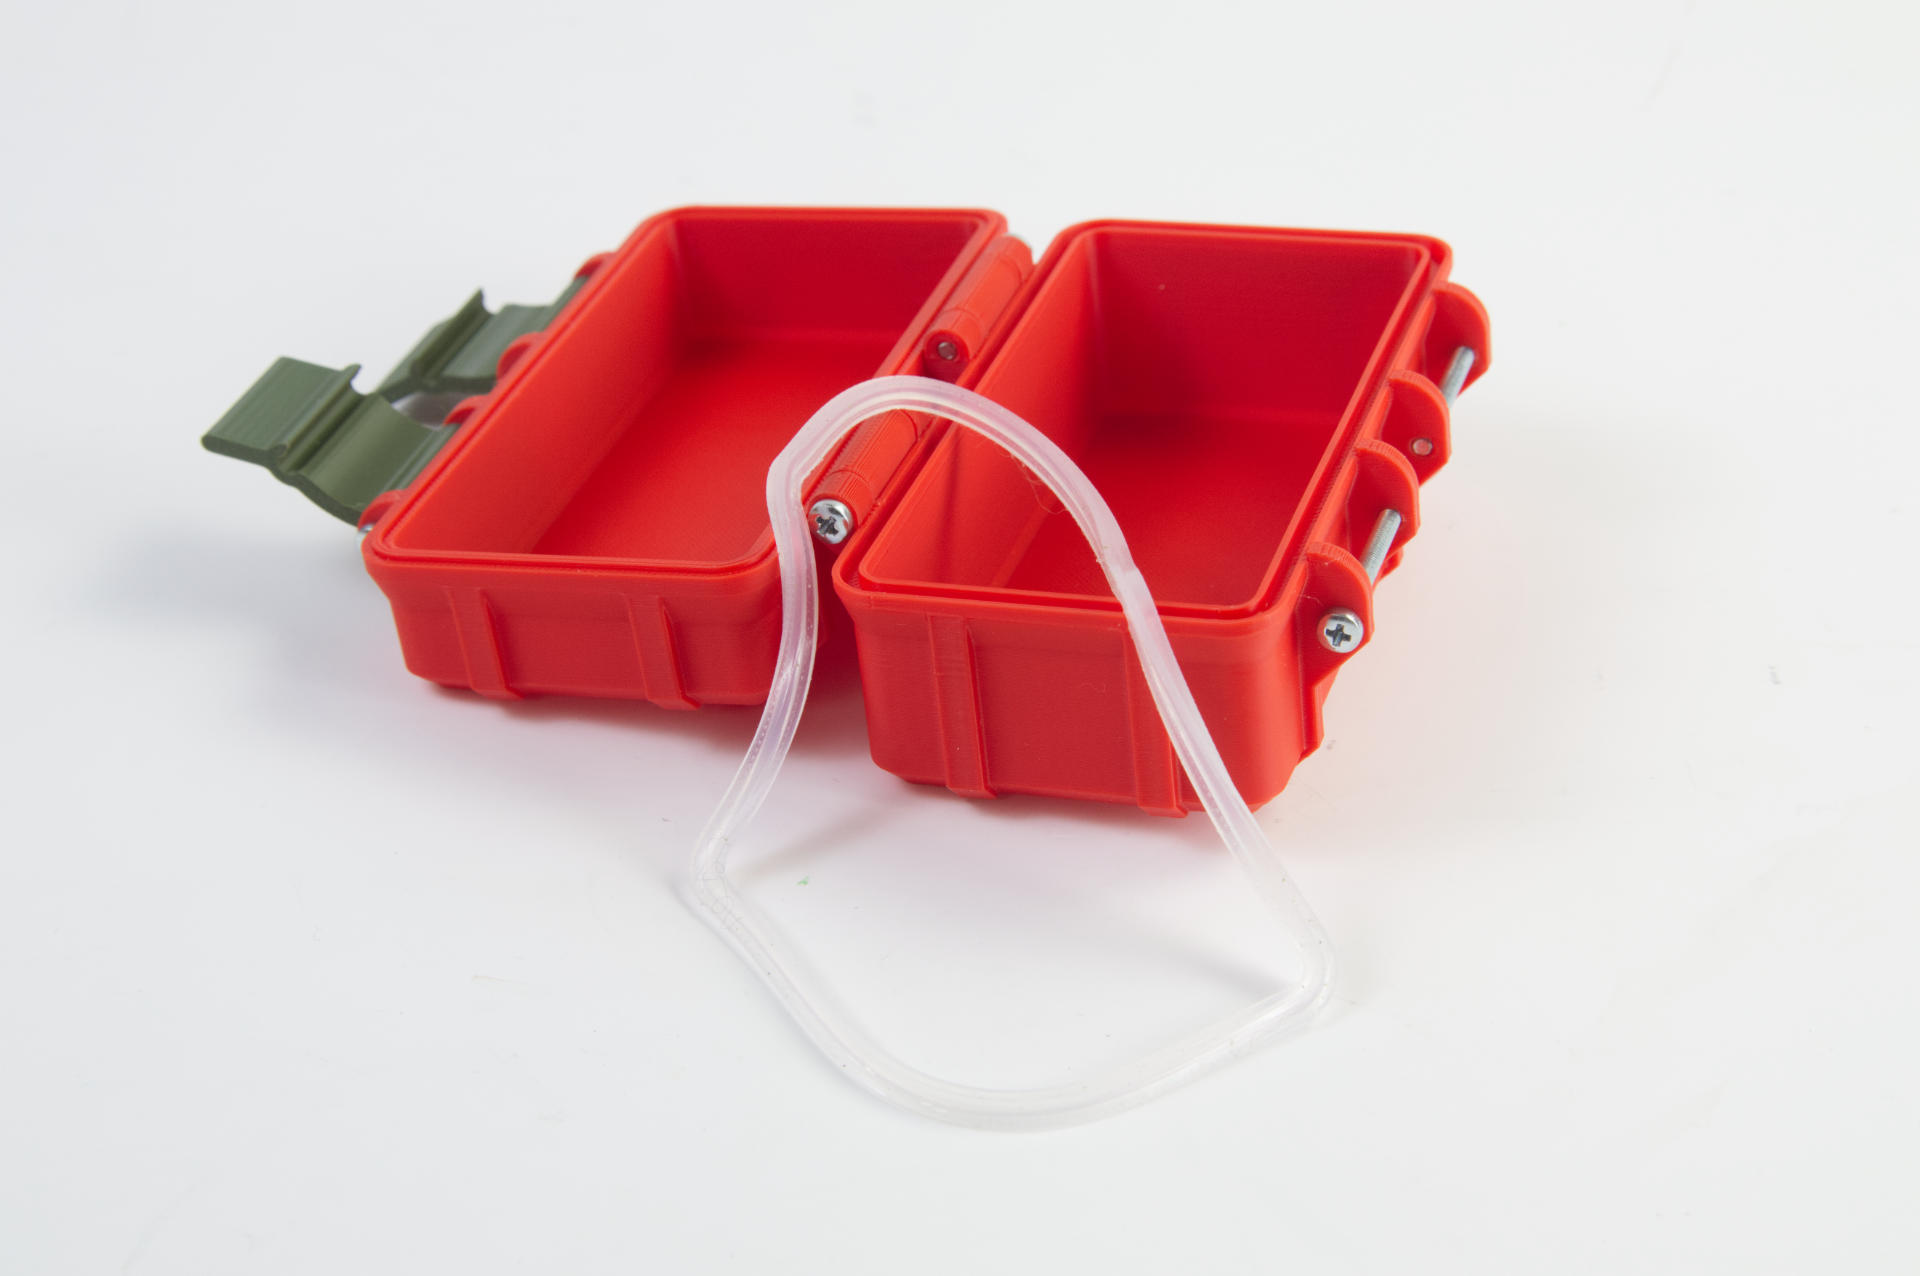
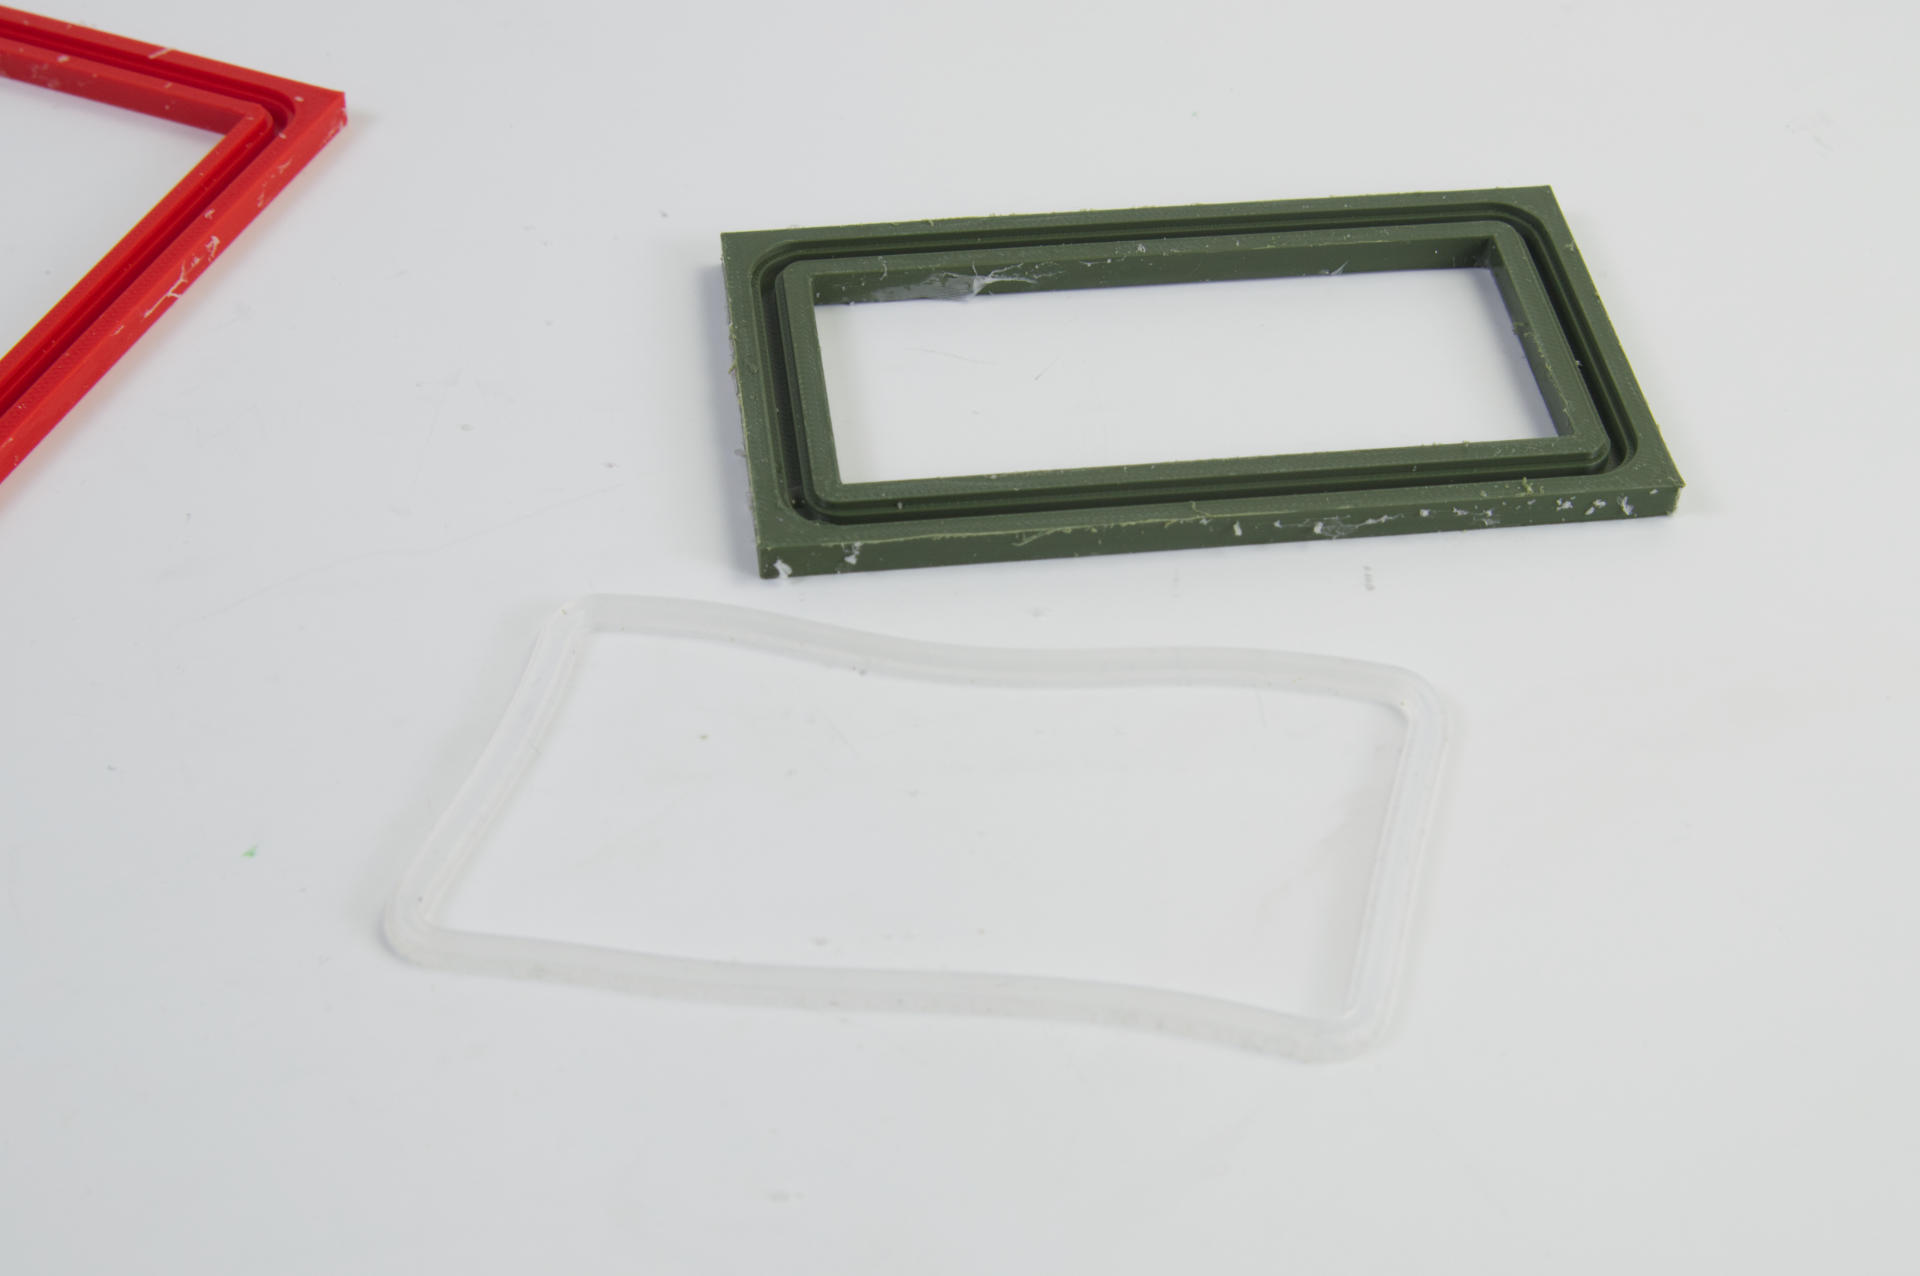
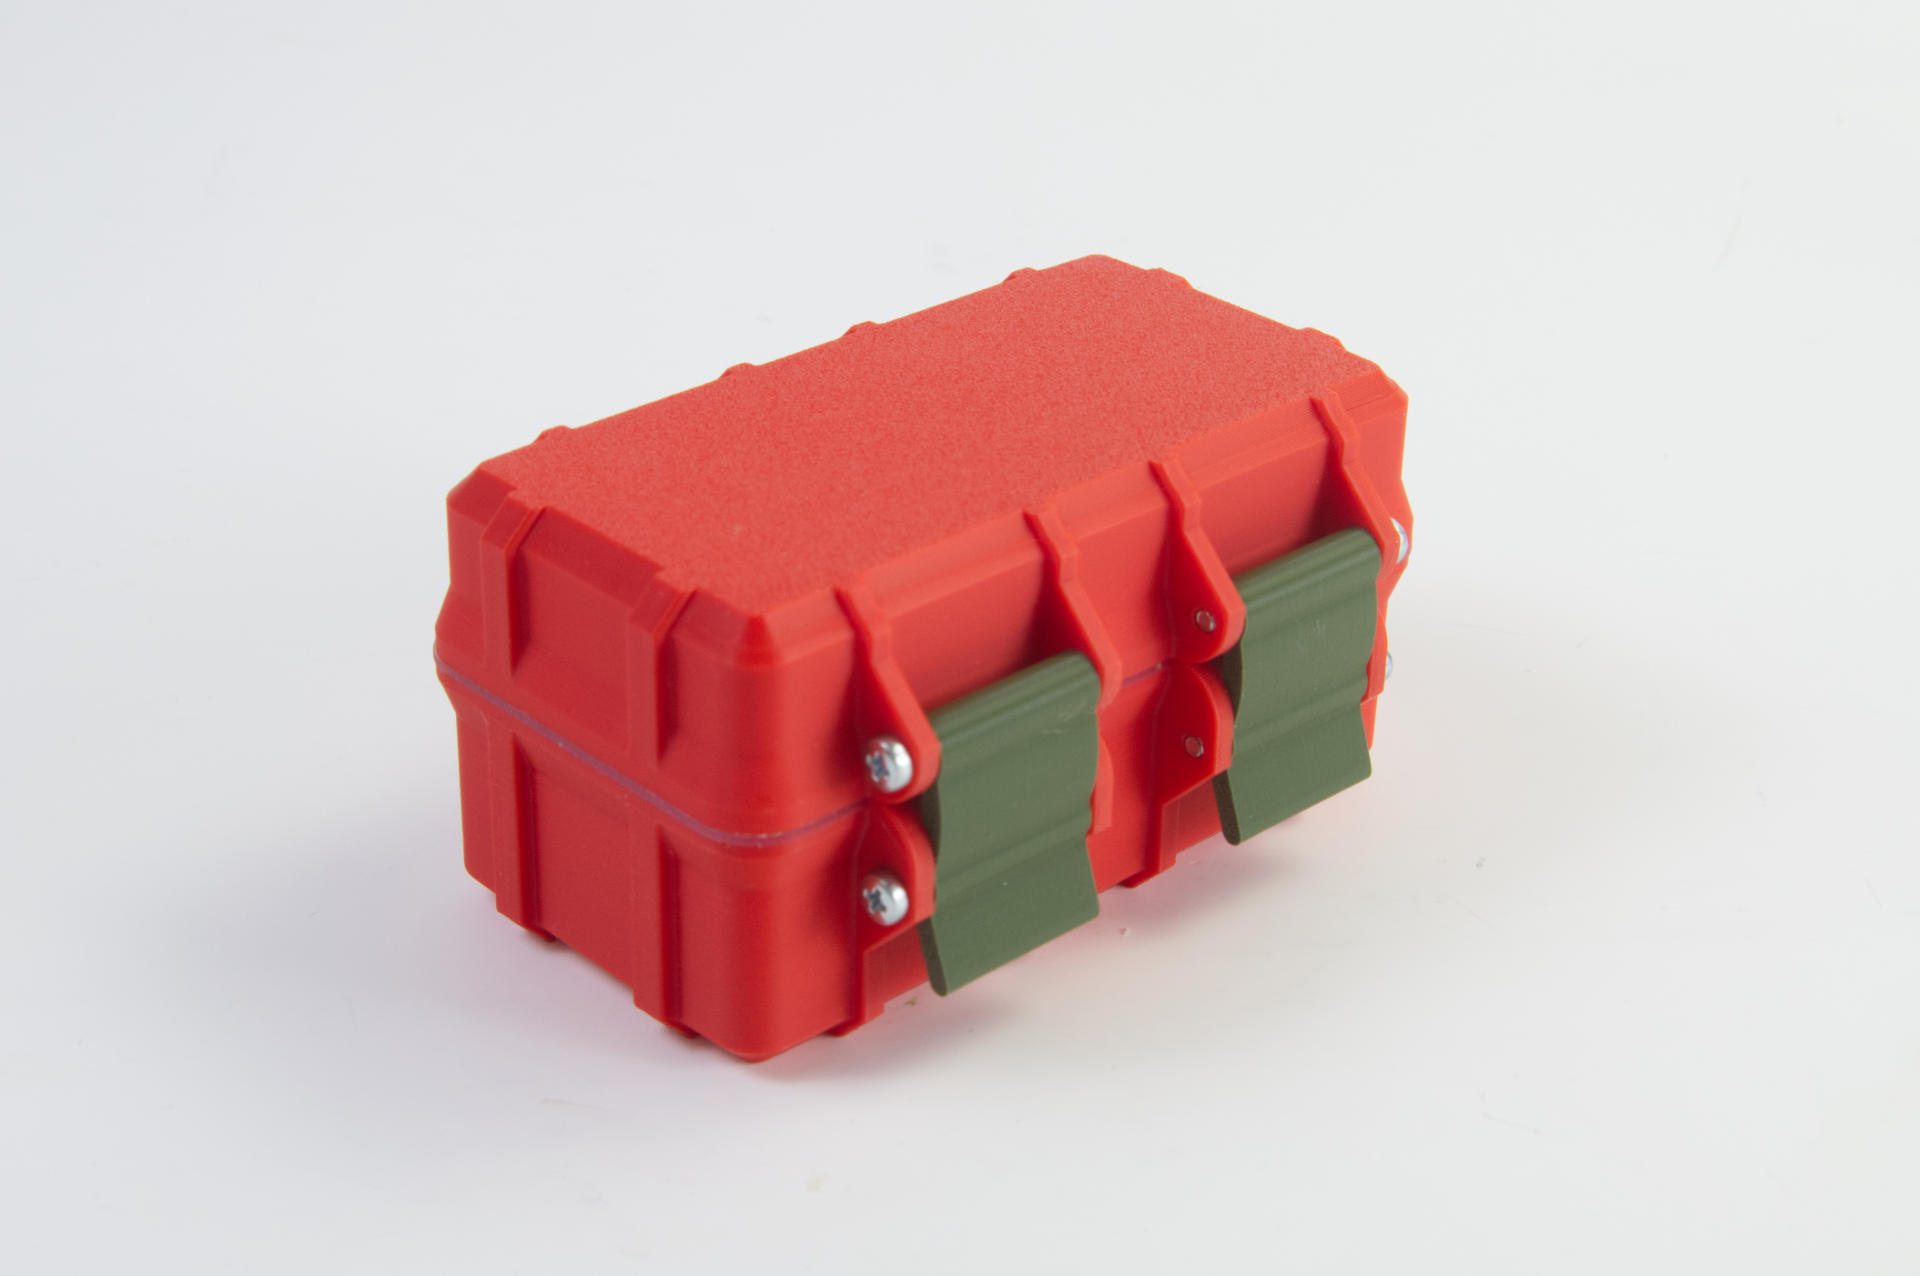
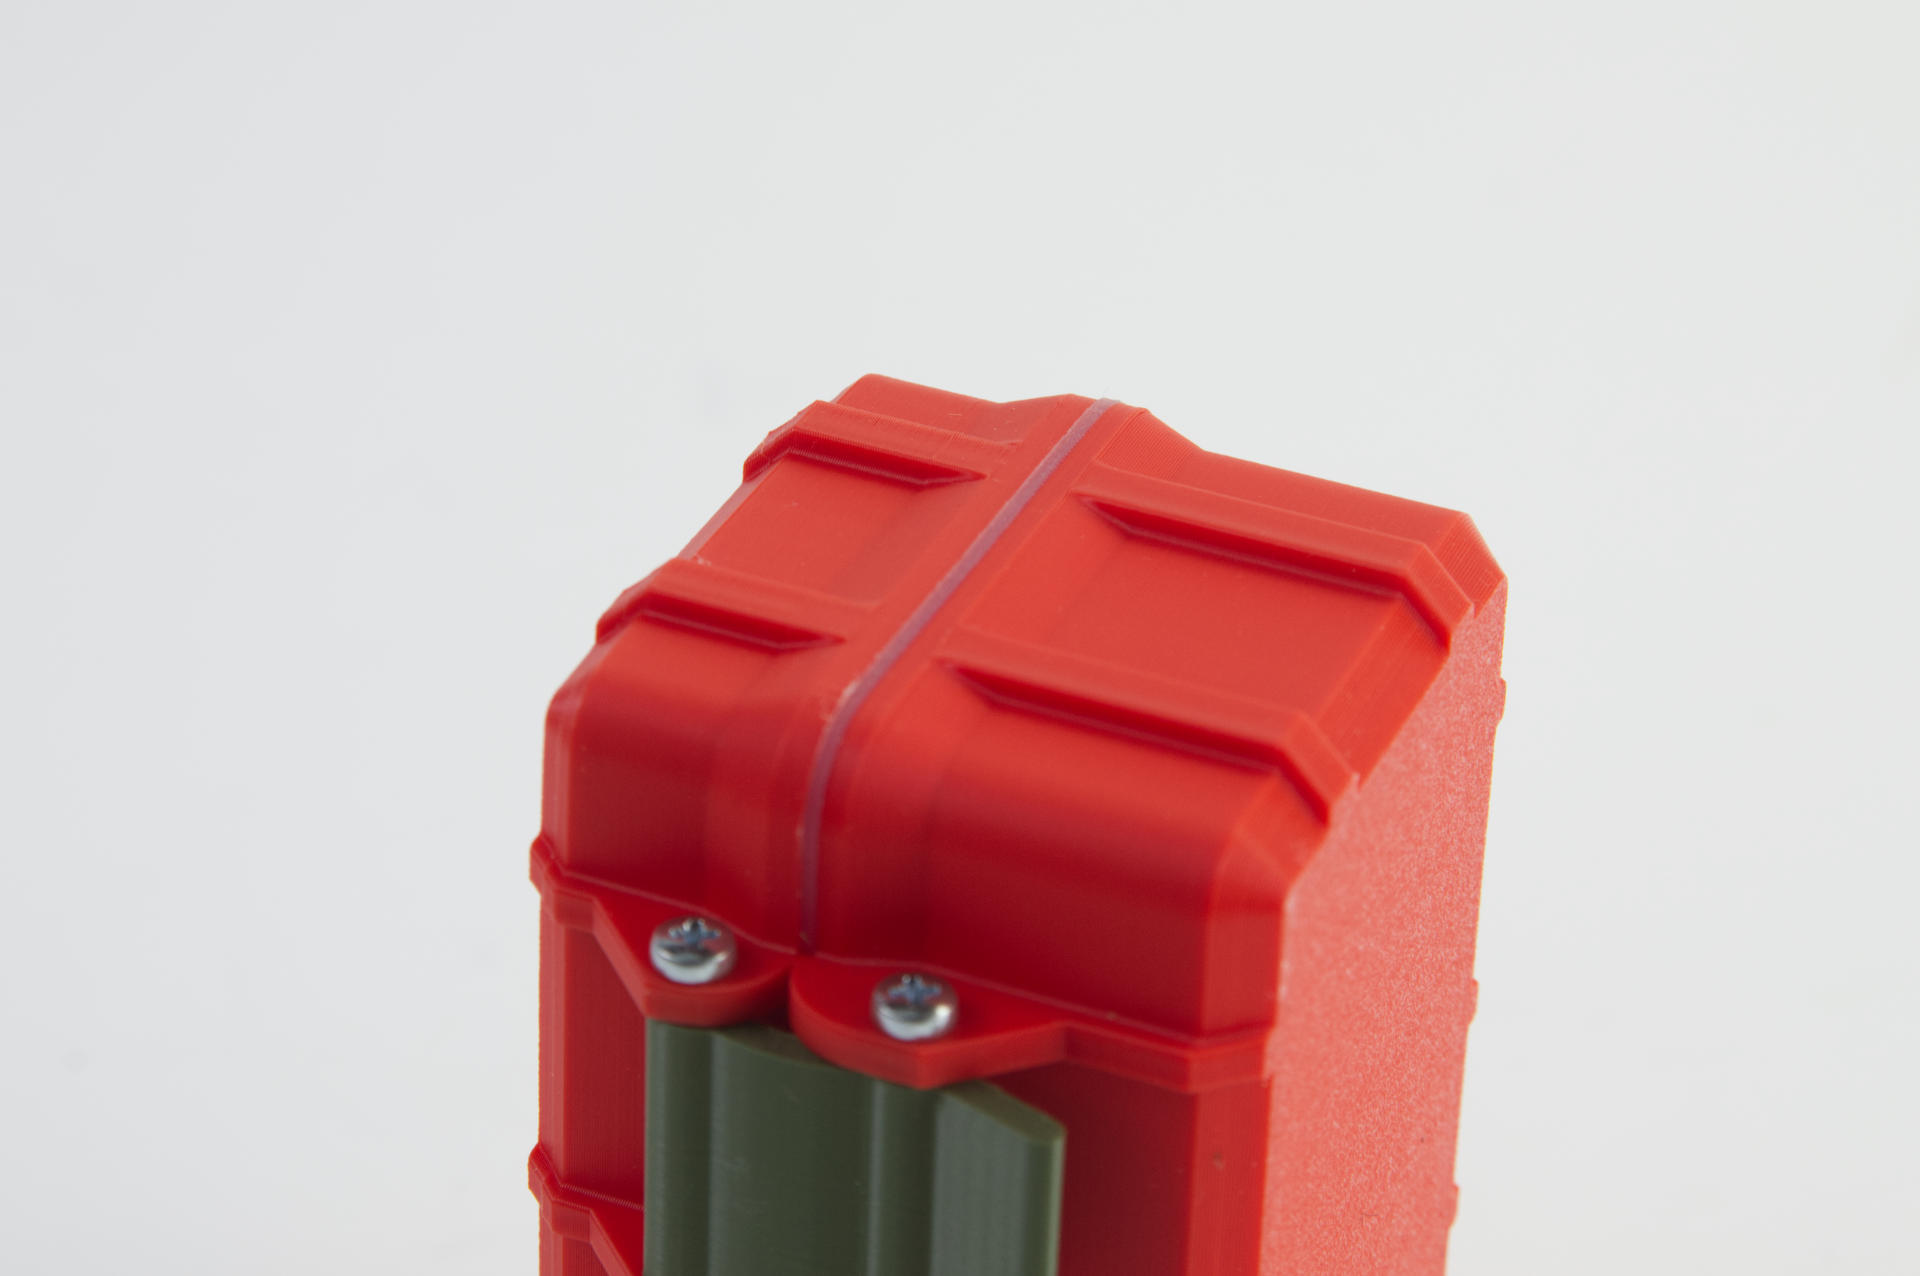
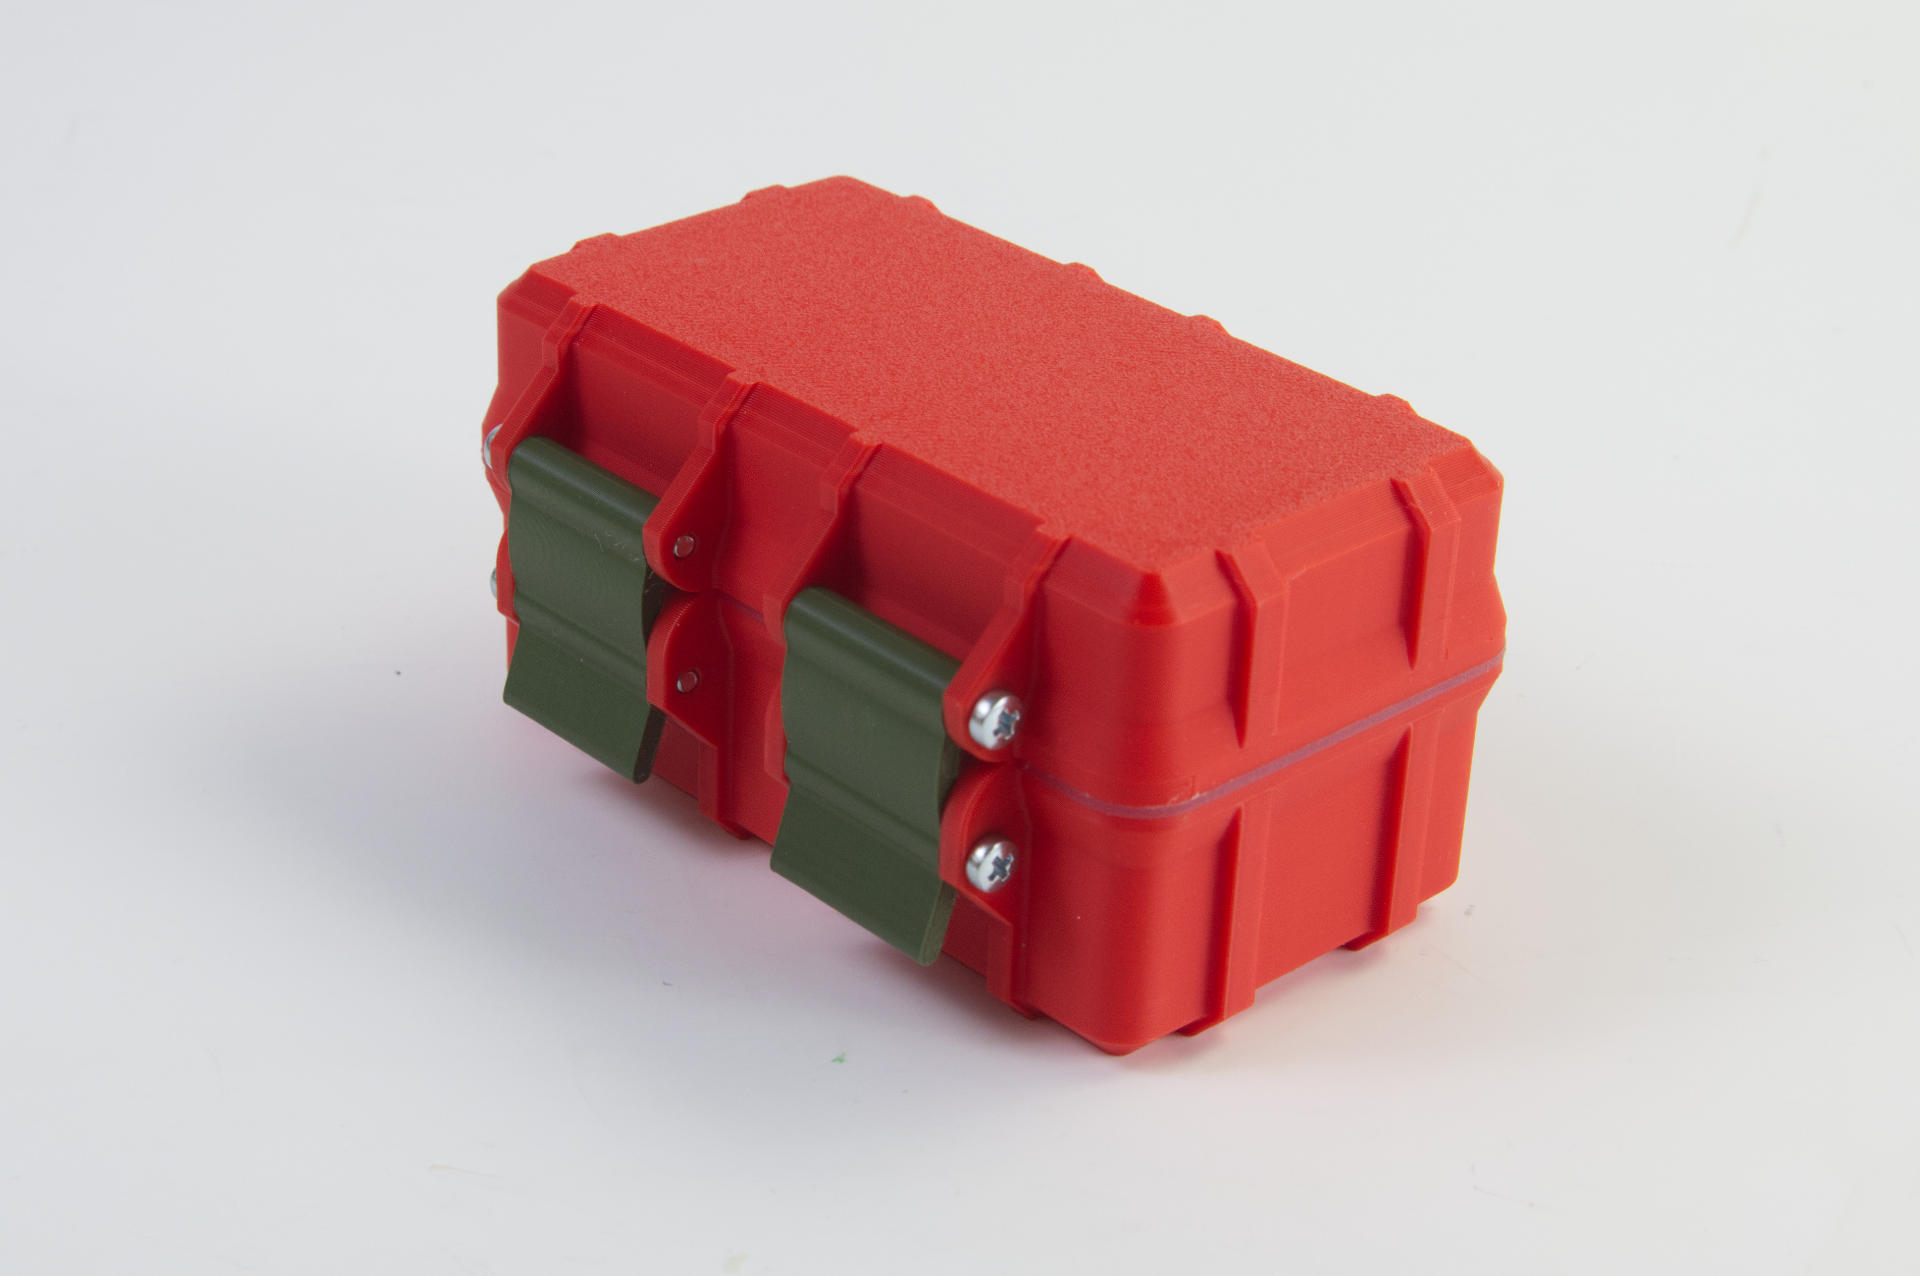
So this time we took the existing box and seal which do work fine, but have the bothersome quirk of the gasket not staying in place and falling out when you open the box. I drizzled just a little bit of silicone into the groove in the bottom part, then inserted the seal and put some weights on it to press it down into the uncured silicone. In theory the uncured silicone should stick (somewhat) to the 3D printed plastic, and adhere fully to the silicone seal, sort of “gluing” it into place.
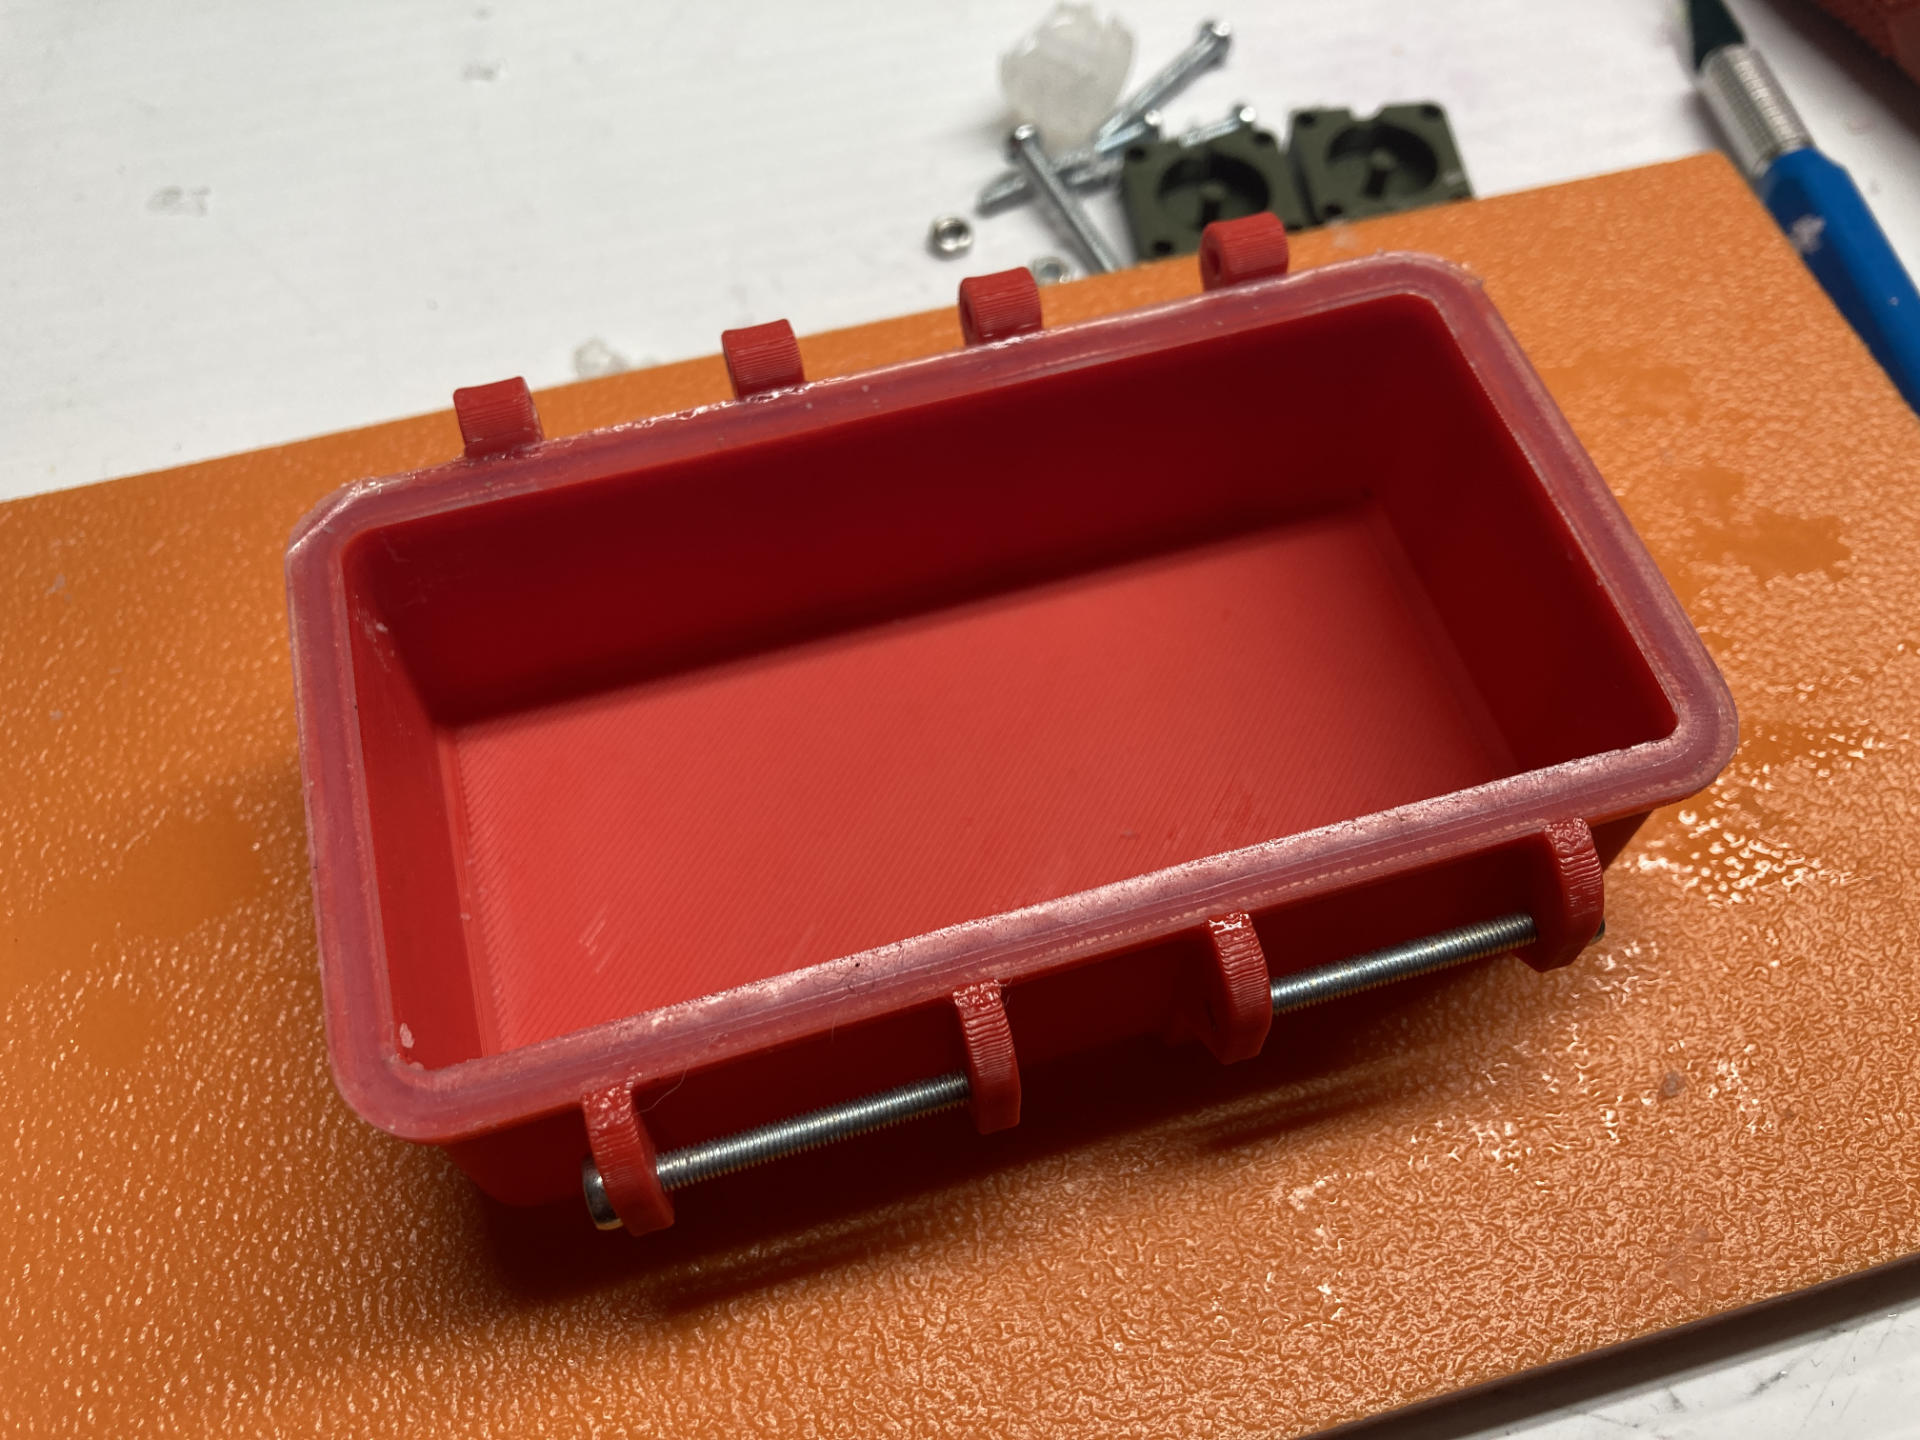
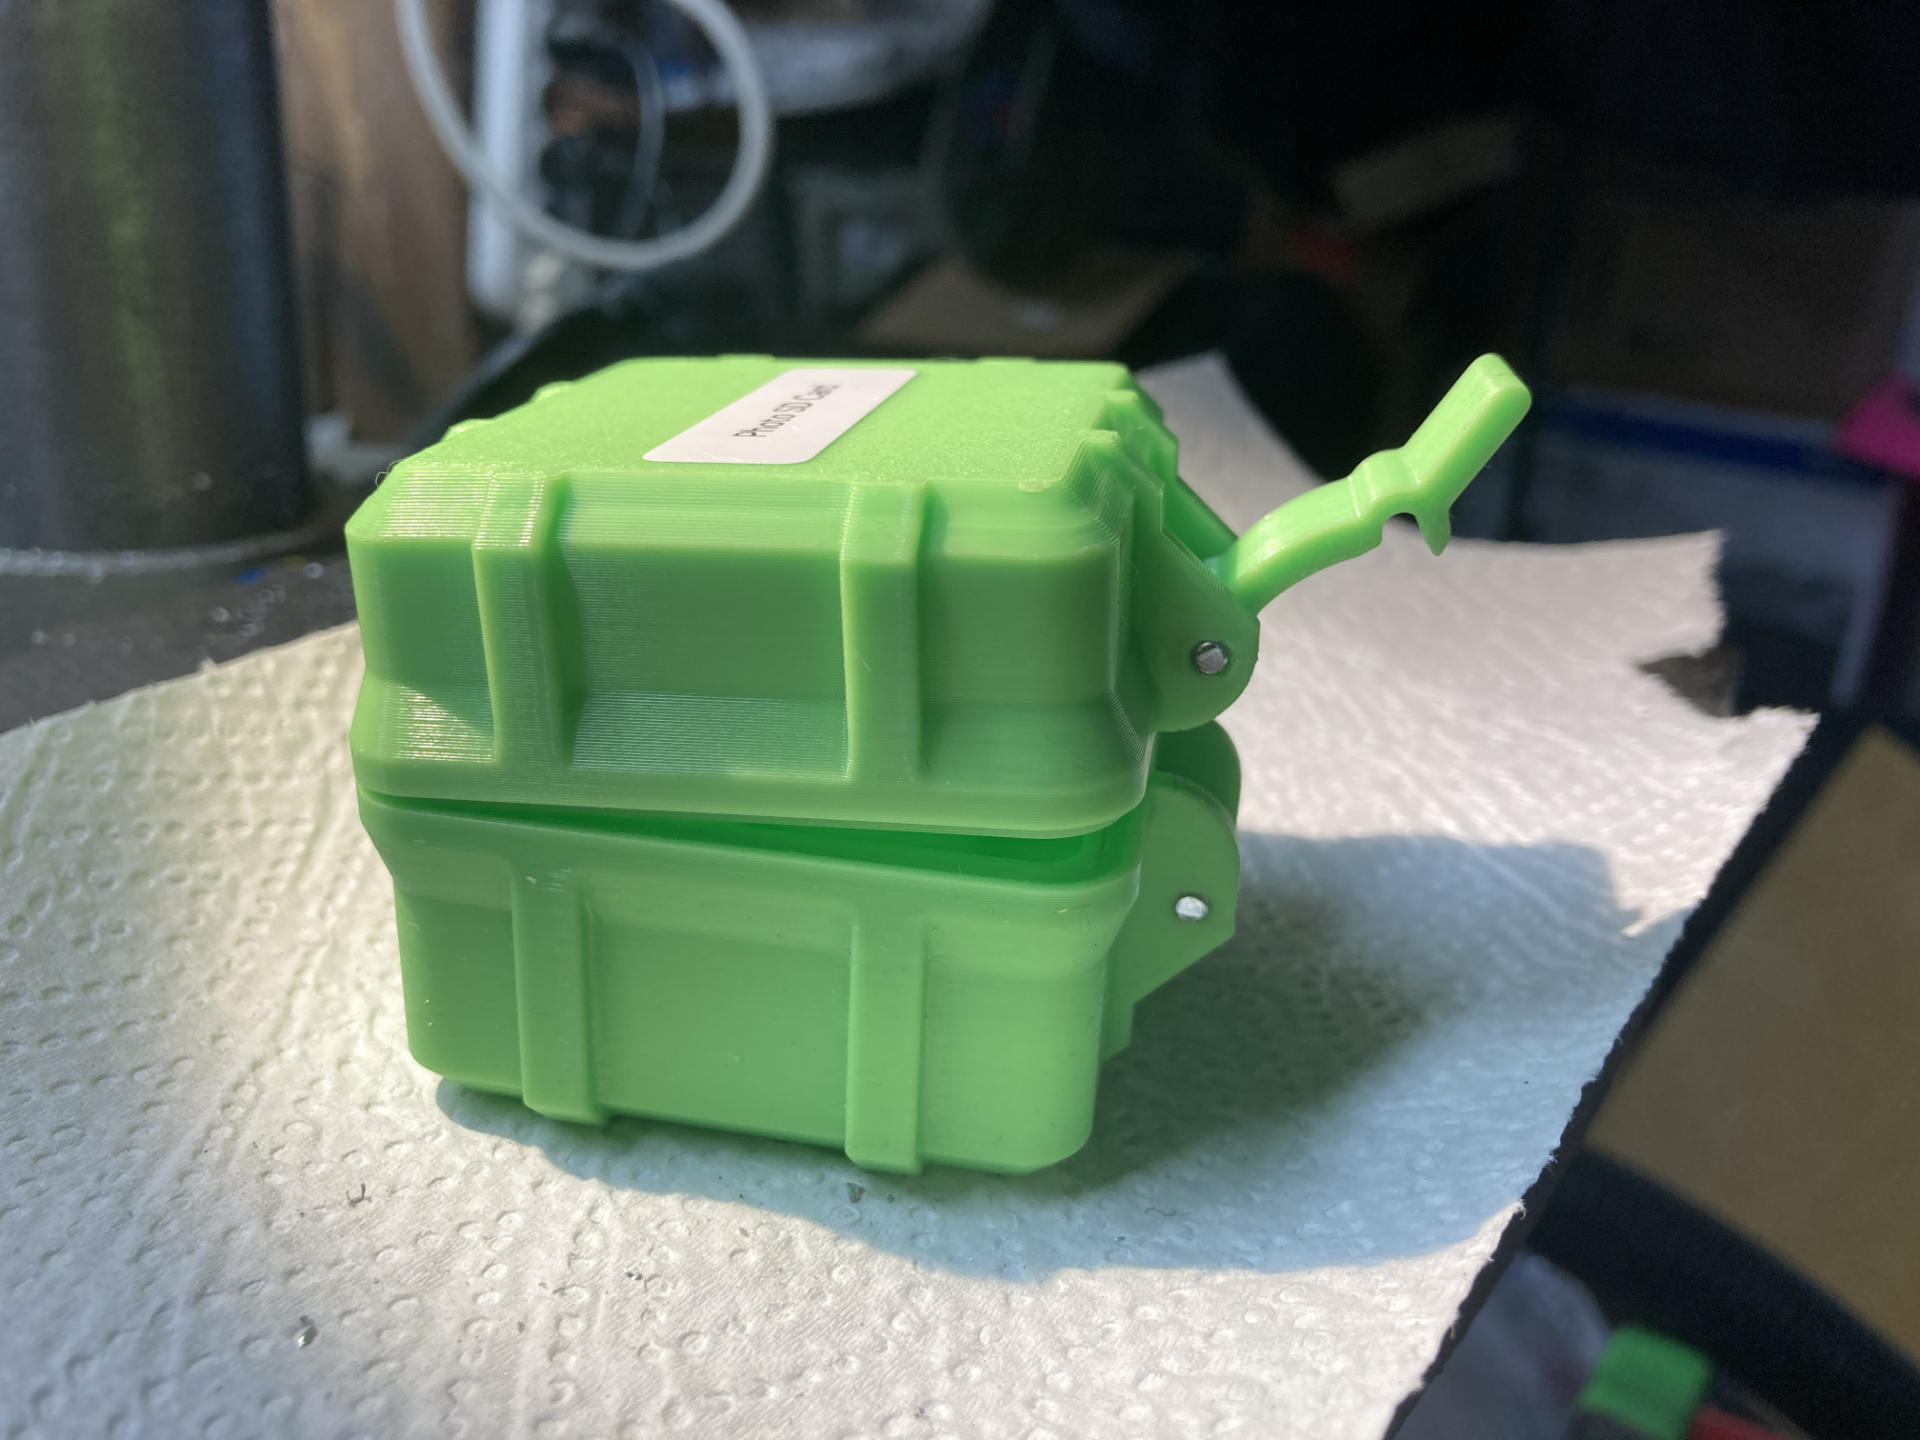
Did it work? It did work, as far as it has not fallen out. It seems to be held in place. I have not tried to pull it out, as I am sure I could do so, but the idea was to just prevent it from falling out every time I open the box, so there is some success there for sure.
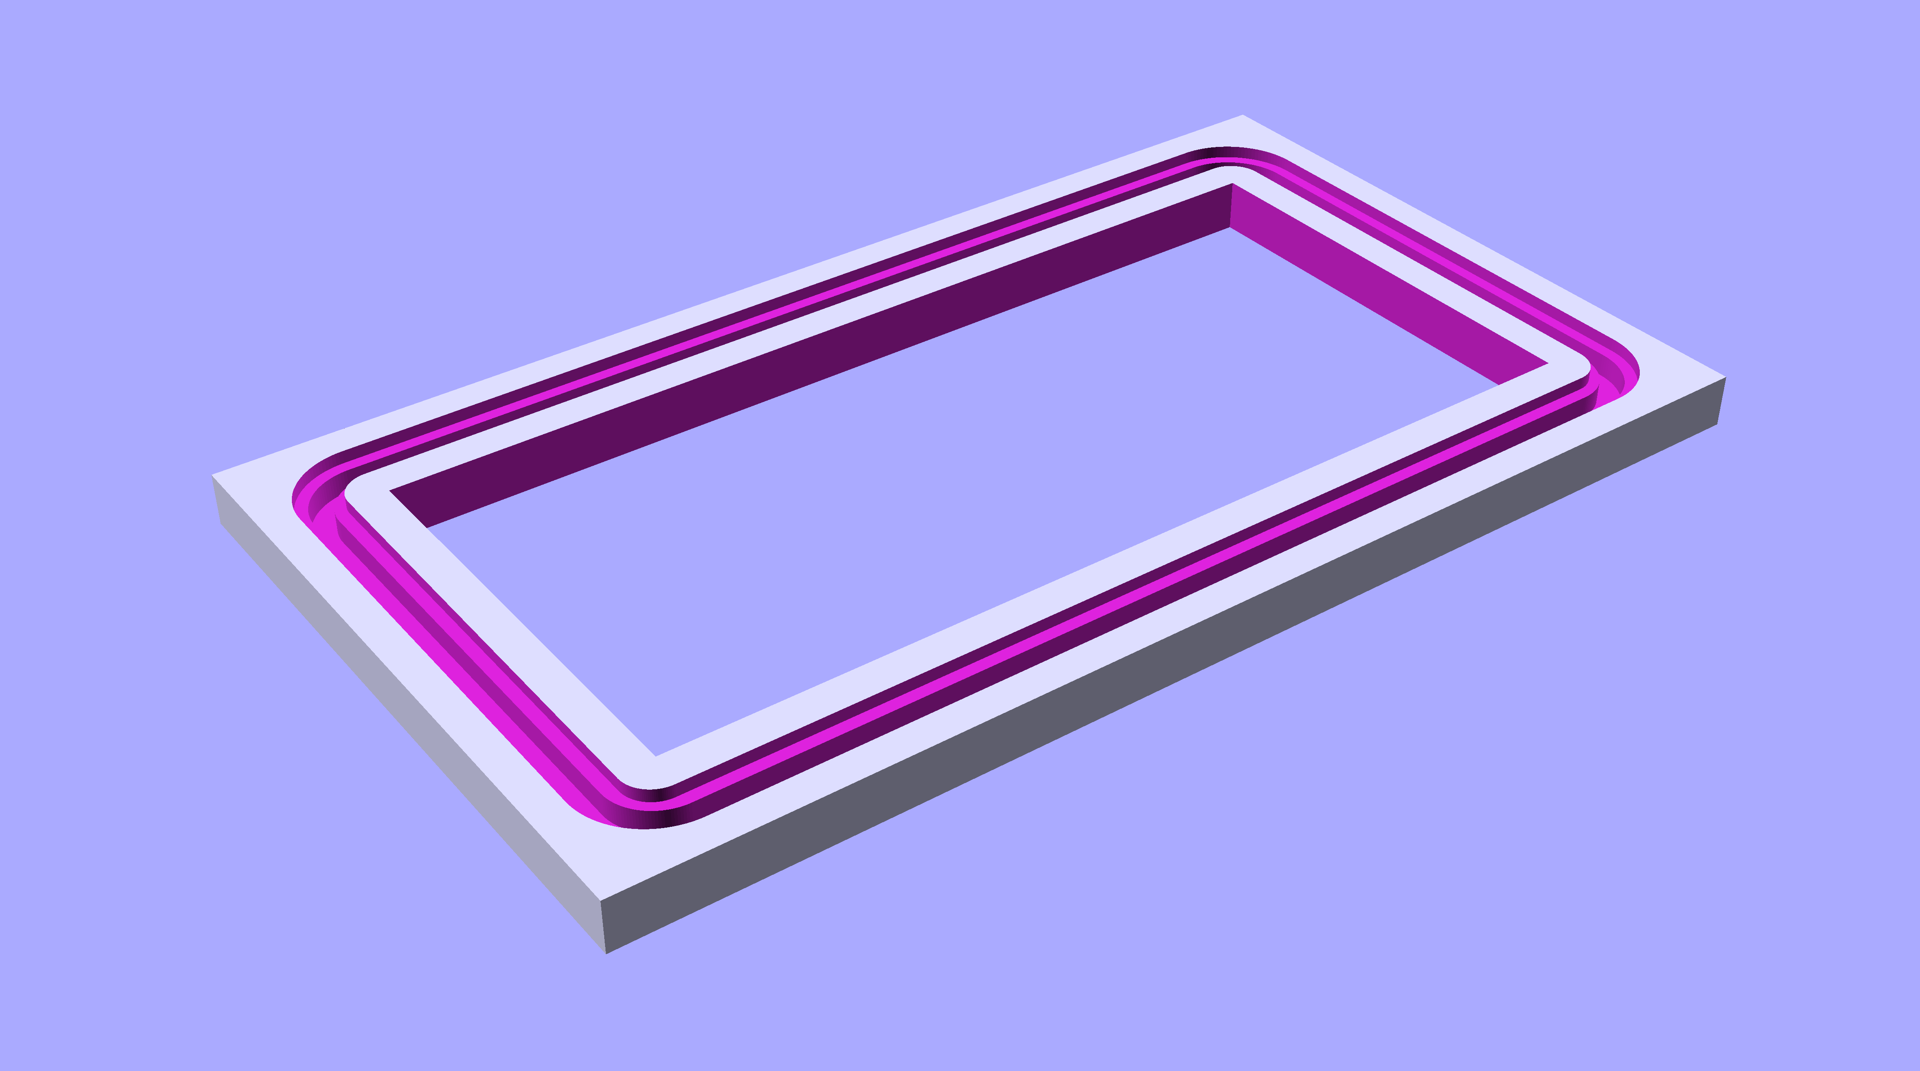
But remember this seal was made for a box that had a 1mm gap added in for the seal, so more space to fill means a larger/thicker gasket. I think this made everything a little easier.
As I’ve noted before, there’s a bit more experimentation to be done, but I’ve learned a few things in the process so far, and that’s what it’s all about!
See Also: Rugged Box Silicone Gasket Seal (Part II) and Rugged Box Silicone Gasket Seal (Part I).
Note: This post may contain Affiliate Links. Read More.