Here’s the short version, I used CHANGTIKEJI Silicone Mold “Super Elastic Liquid Silicone” to make these seals / gaskets for the rugged box(es) I 3D printed. There’s a smaller size available as well. I have not used it but it should be the same thing. Keep reading for more!
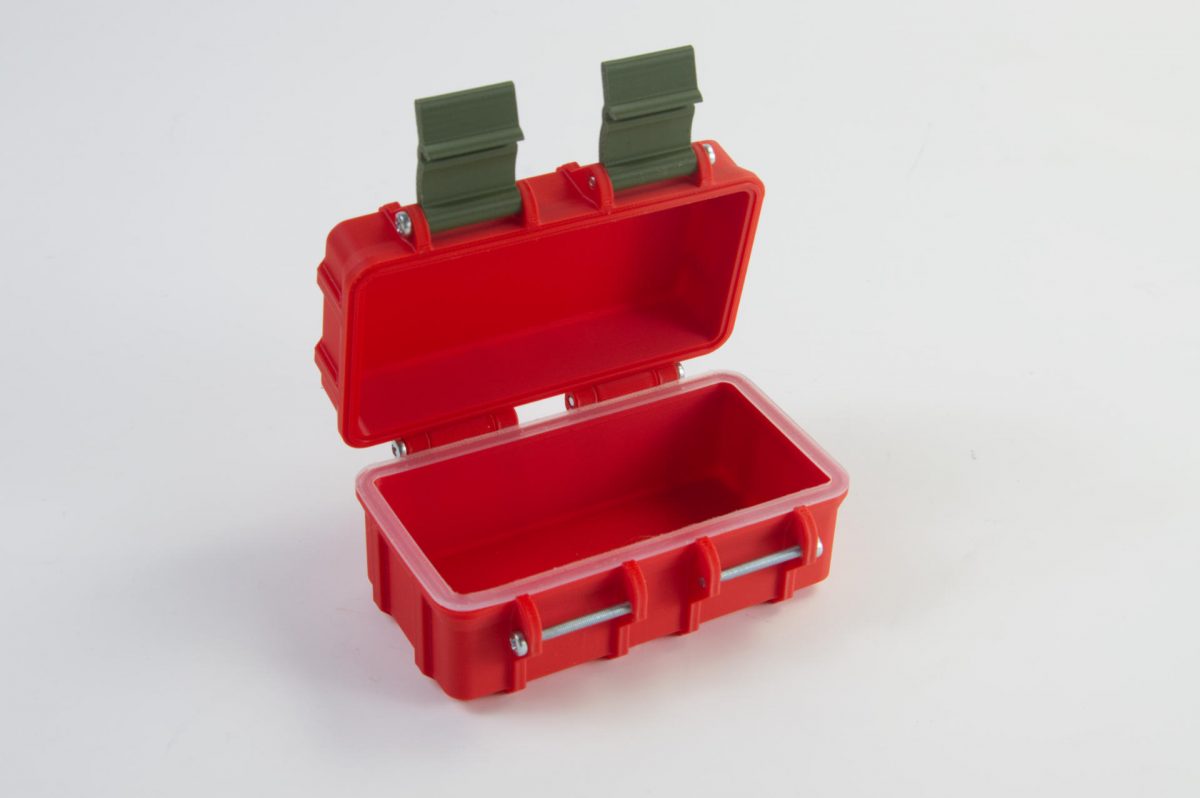
I’ve mentioned these Rugged Boxes before which are based on Universal Parametric Rugged Box by Rainer Backes, and the design allows for a gasket to seal the lid and bottom, and the suggestion is to print it with TPU, a flexible filament but I’ve been making a ton of silicone molds lately, so I gave it a go. And it worked!

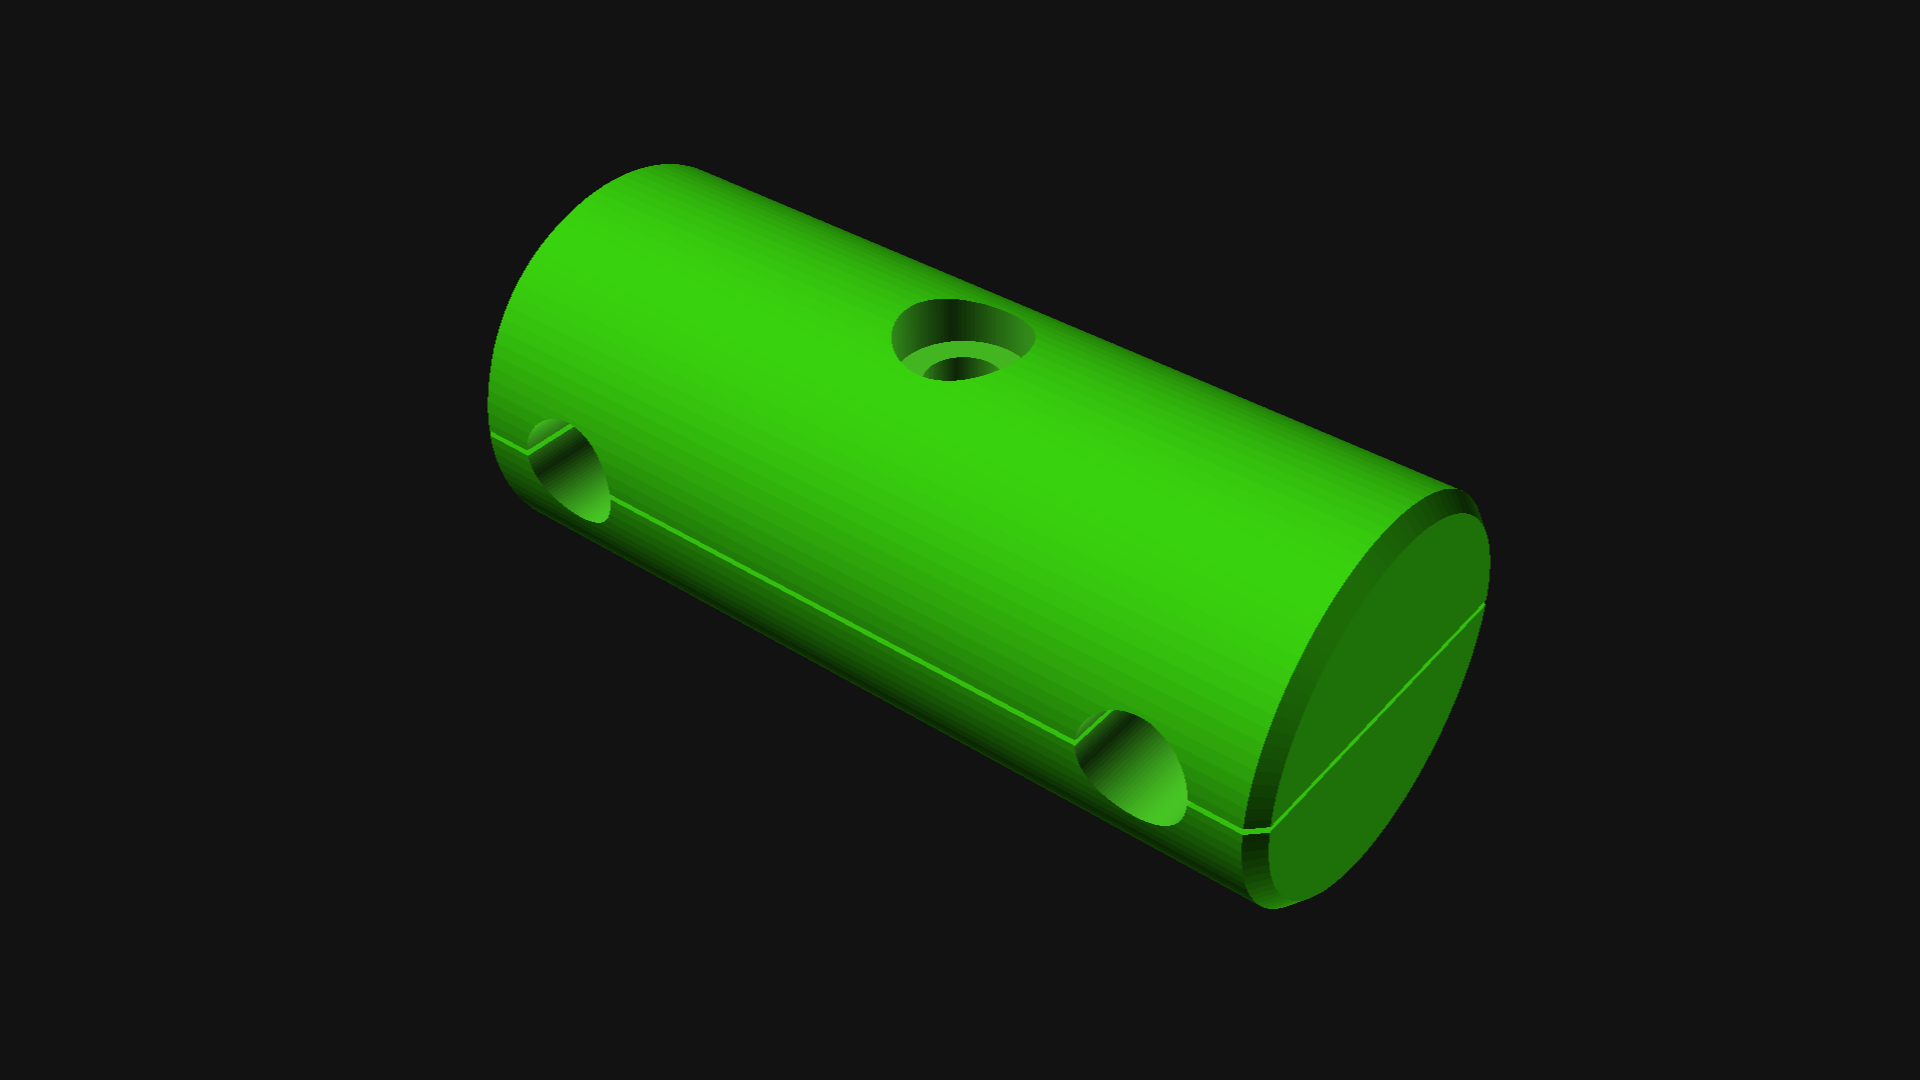
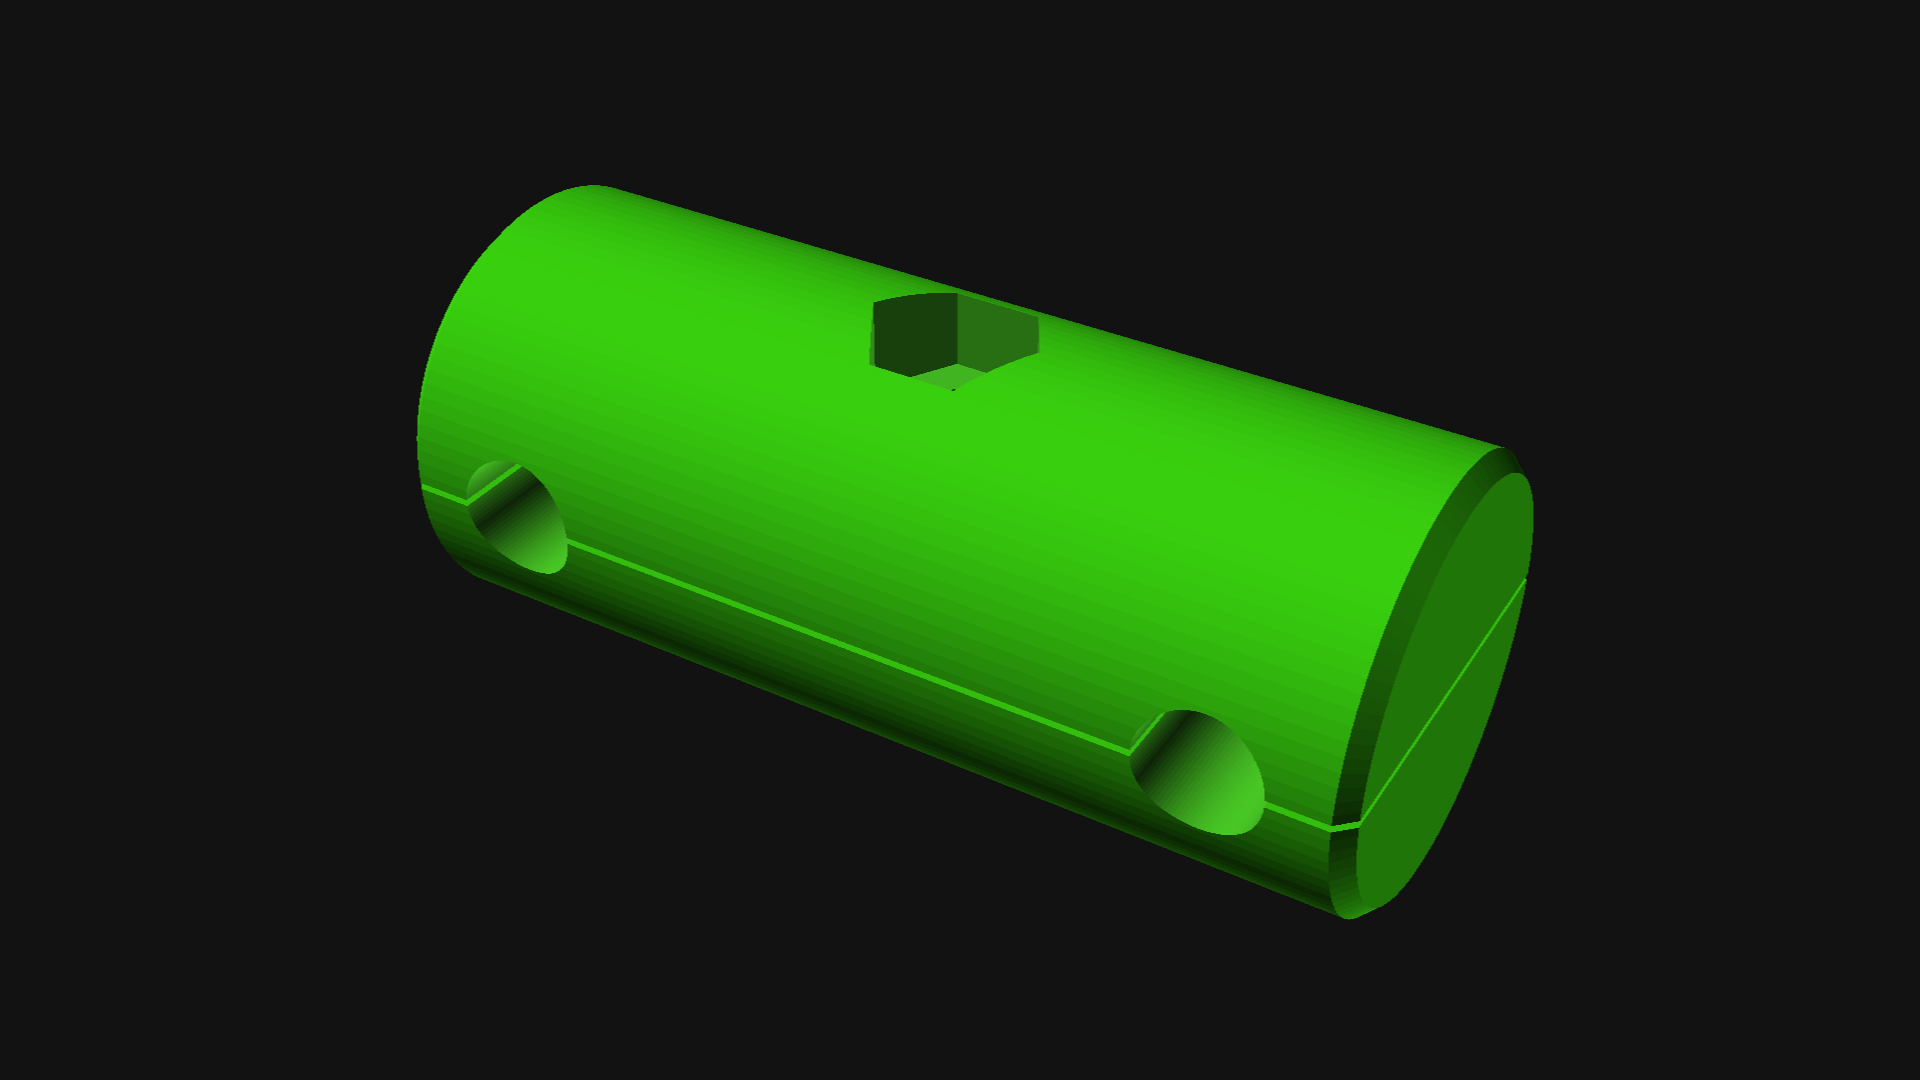
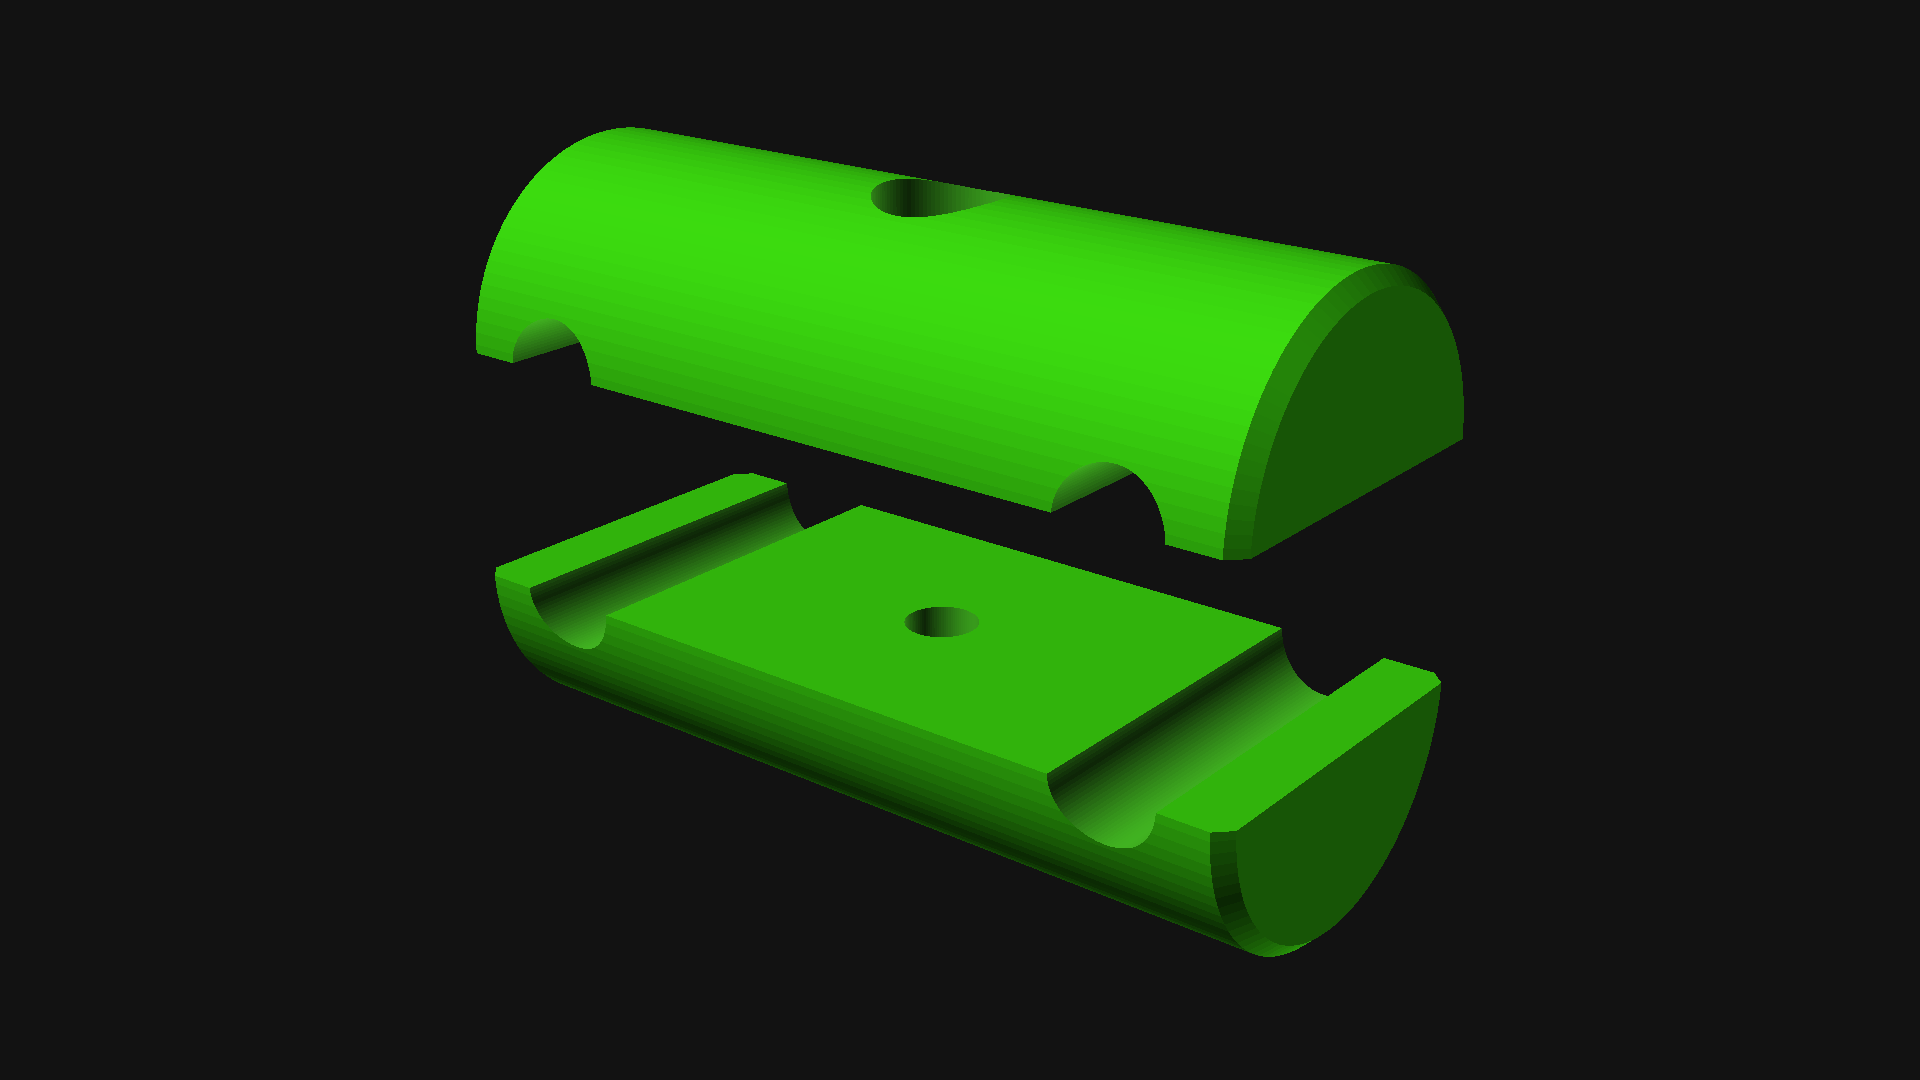
Here’s the box with the seal rendered in orange…

You can export each part separately, so here’s the seal on its own. Again, you could print this in TPU, but the TPU I’ve tried isn’t very soft or flexible, so why not try silicone?
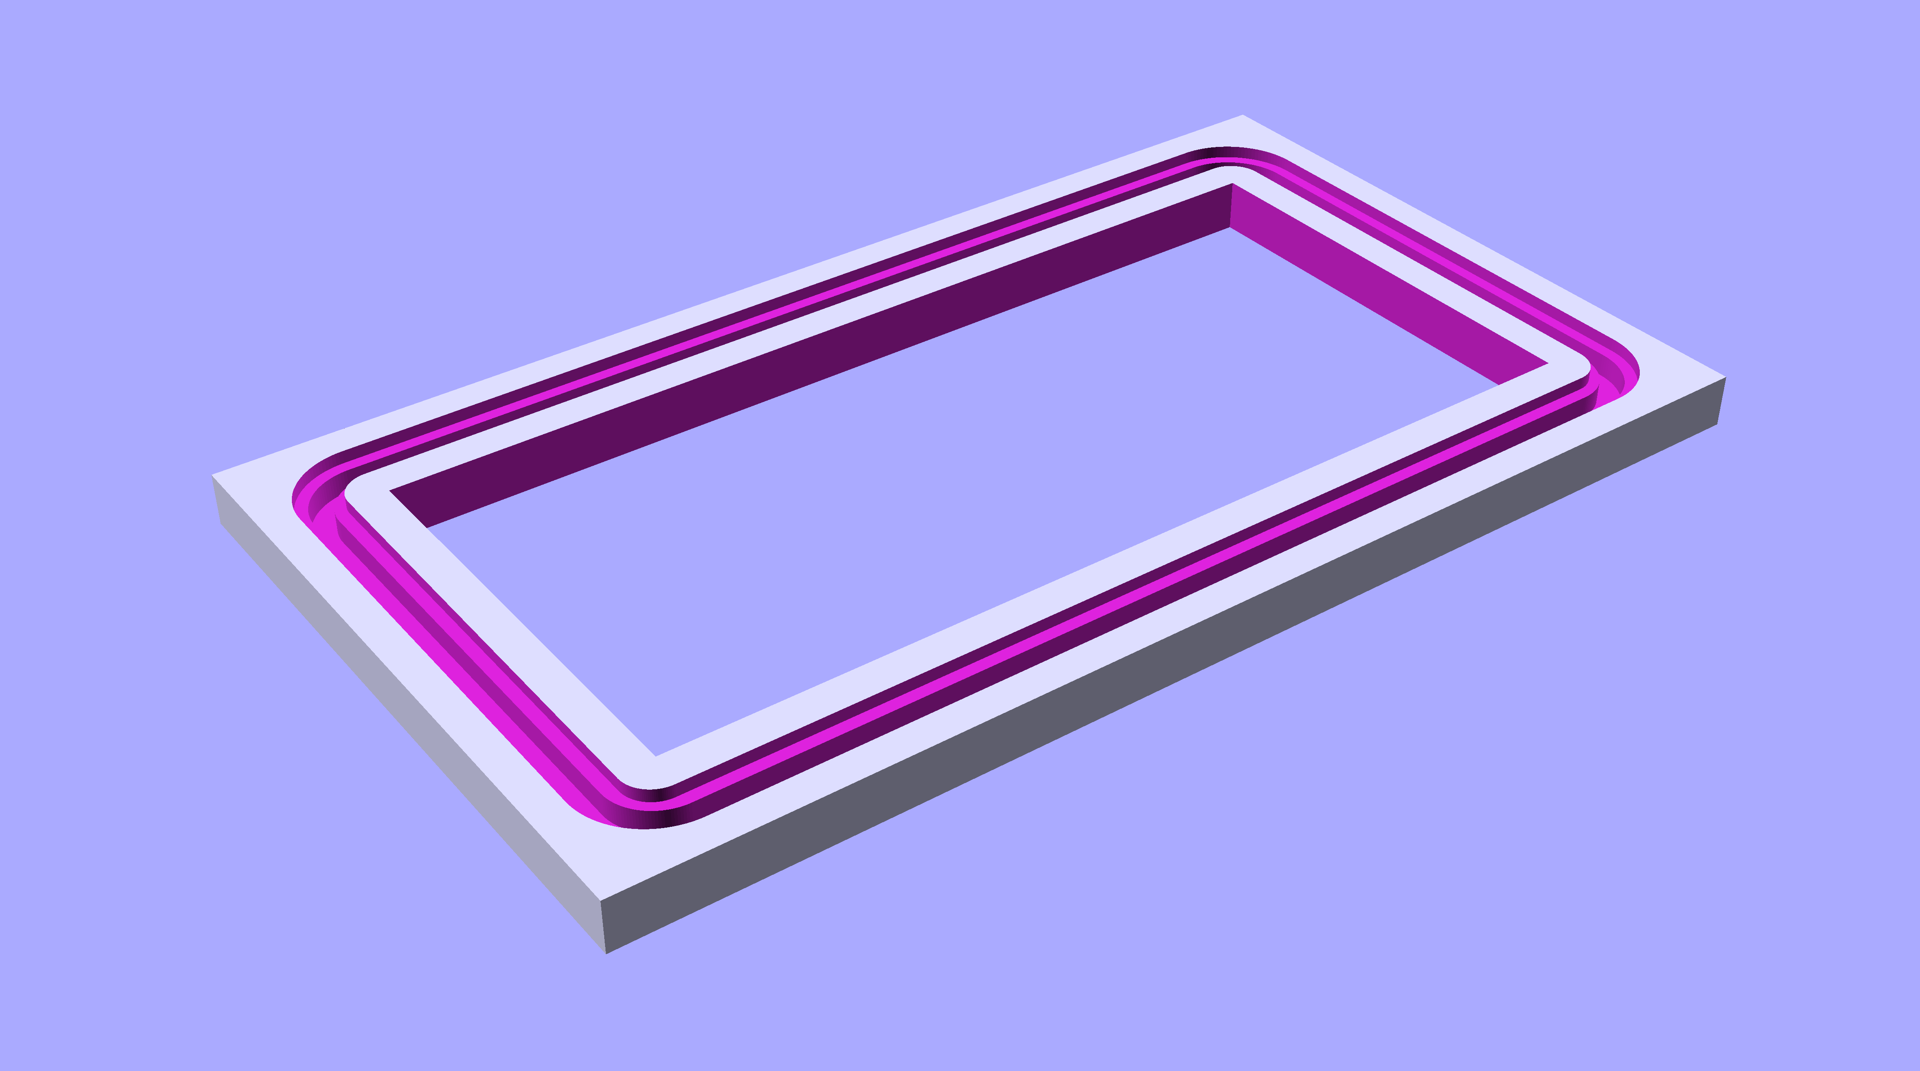
I make a little frame and differenced out the seal (after filliping it upside down) and then I printed it.
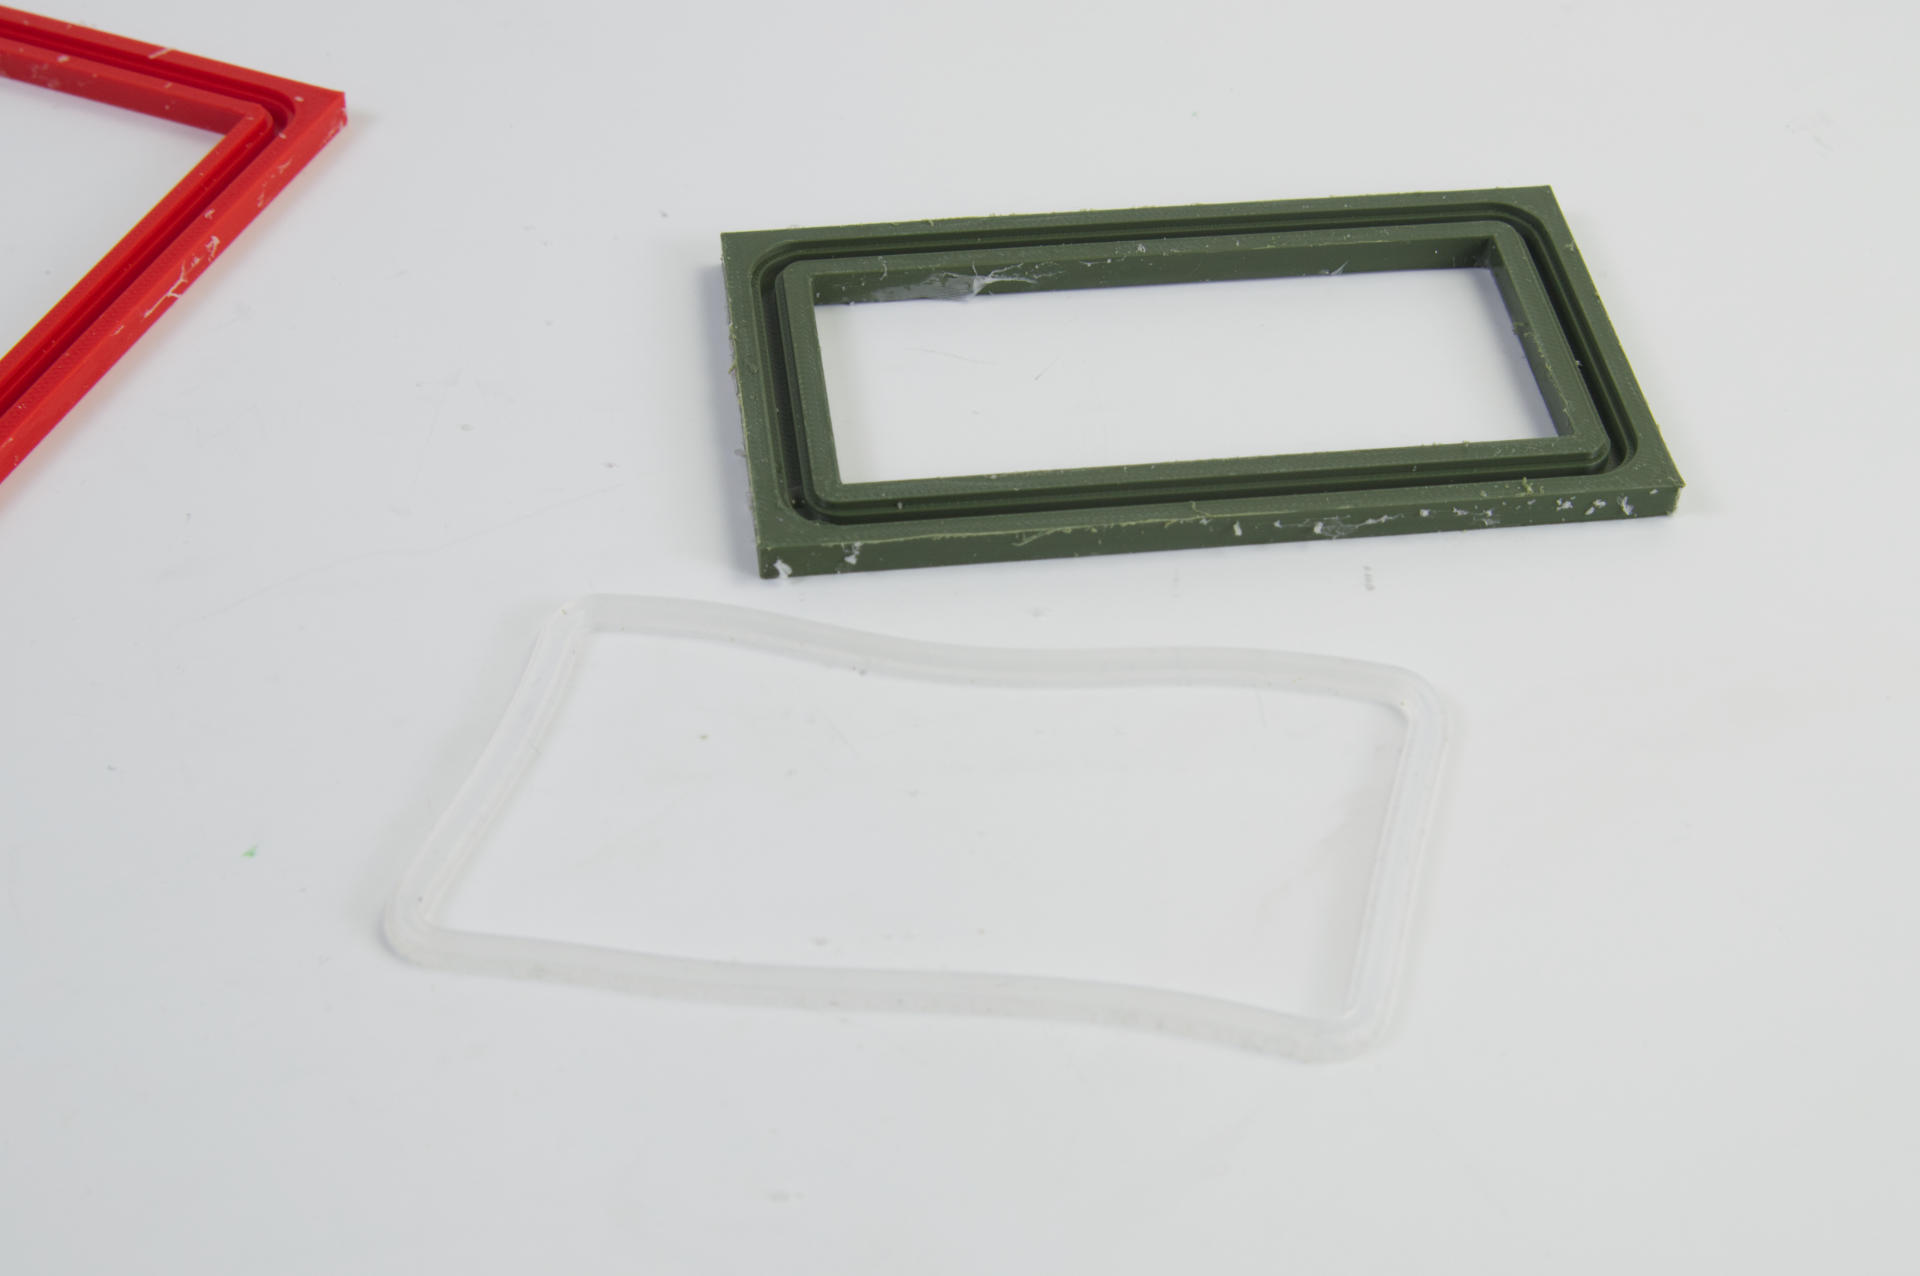
Here’s the print. (And another frame for another box off to the side. The silicone doesn’t stick to the PLA plastic so it peeled right out. I should note two things. First, I should have done the silicone pour on an even surface. In the past I’ve used a level and shimmed up a piece of flat stock to make sure the mold is nice and level so the silicone fills the mold without unevenness.
Second, I don’t have a photo of this, but after the silicone was set I grabbed a razor blade and scraped it across the top to clear off any little overflow strings and give a nice clean edge to the casting.

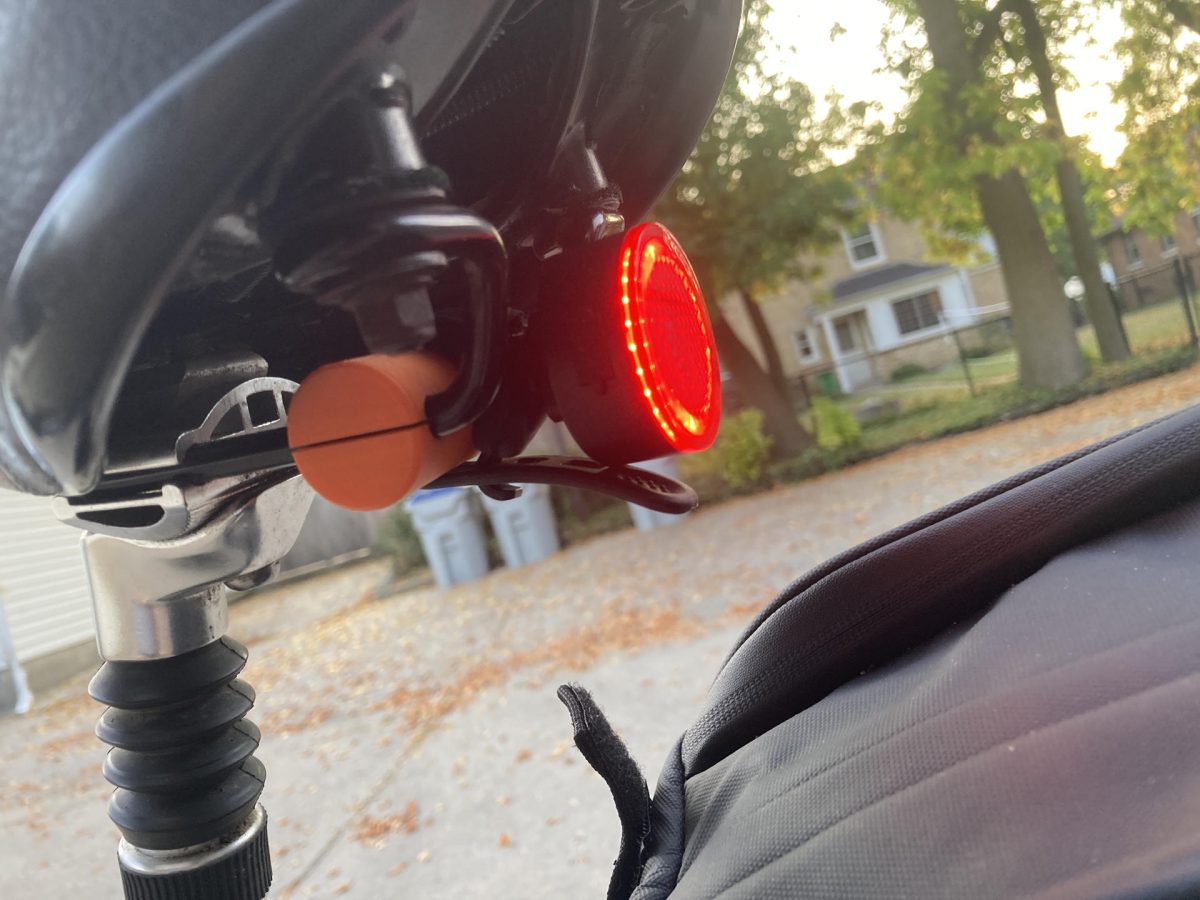
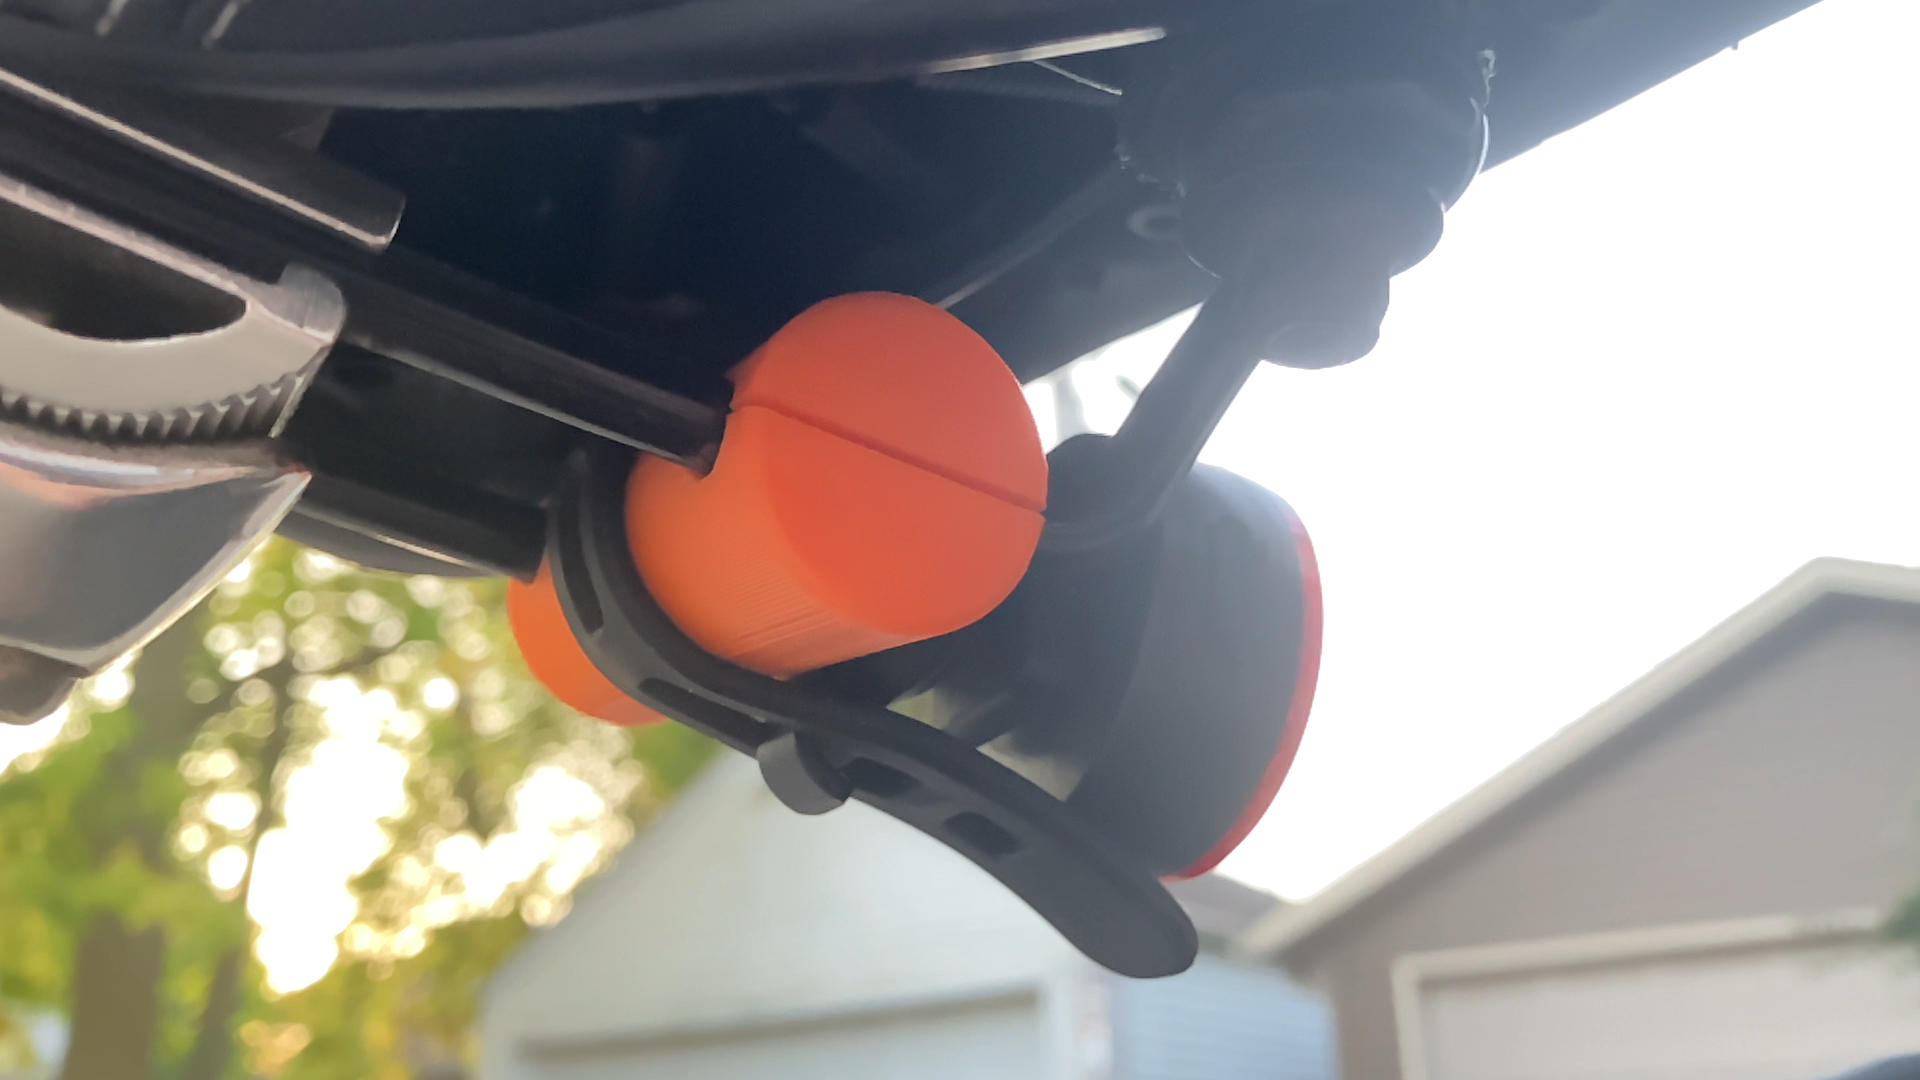
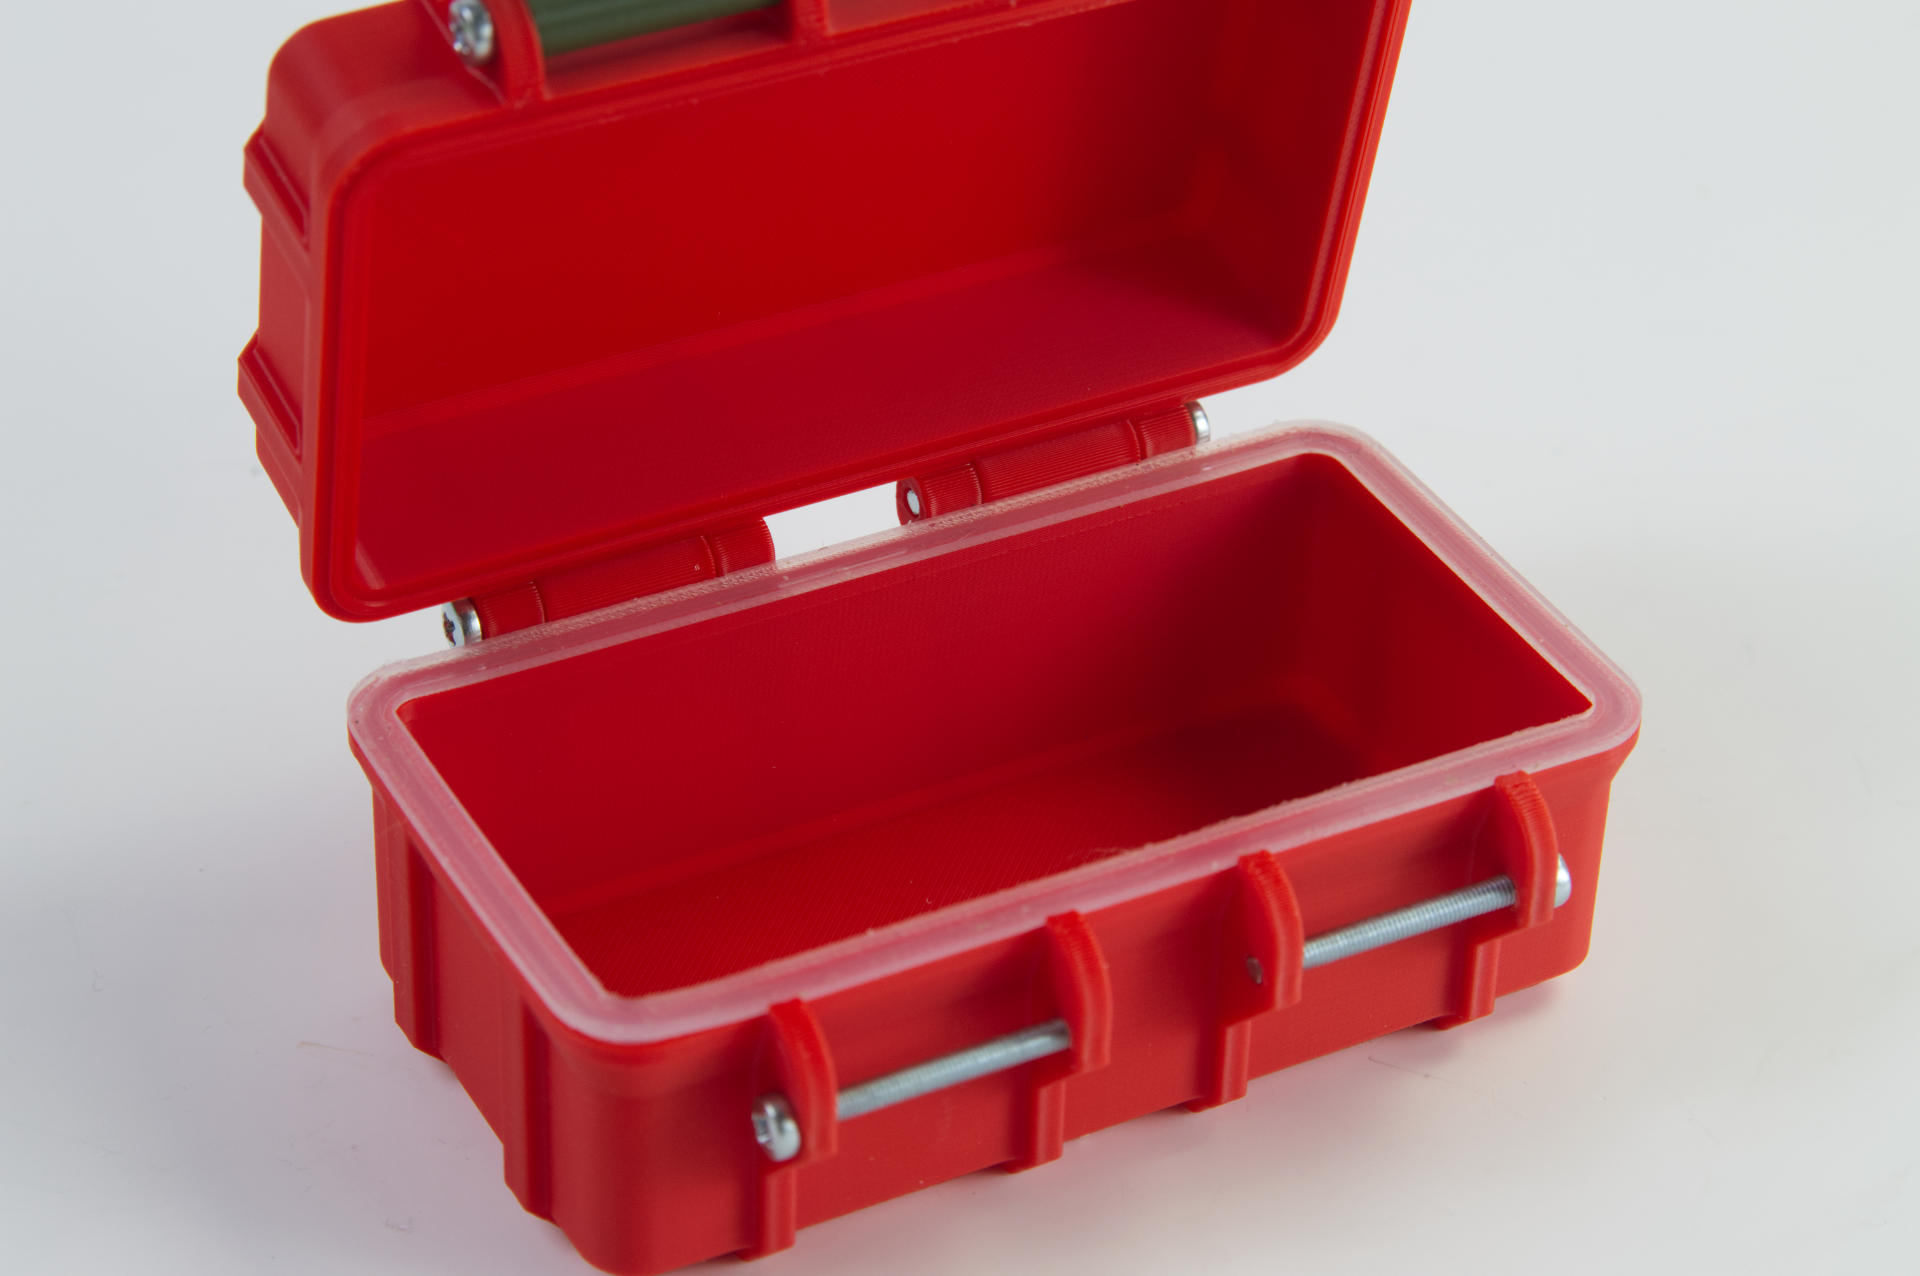
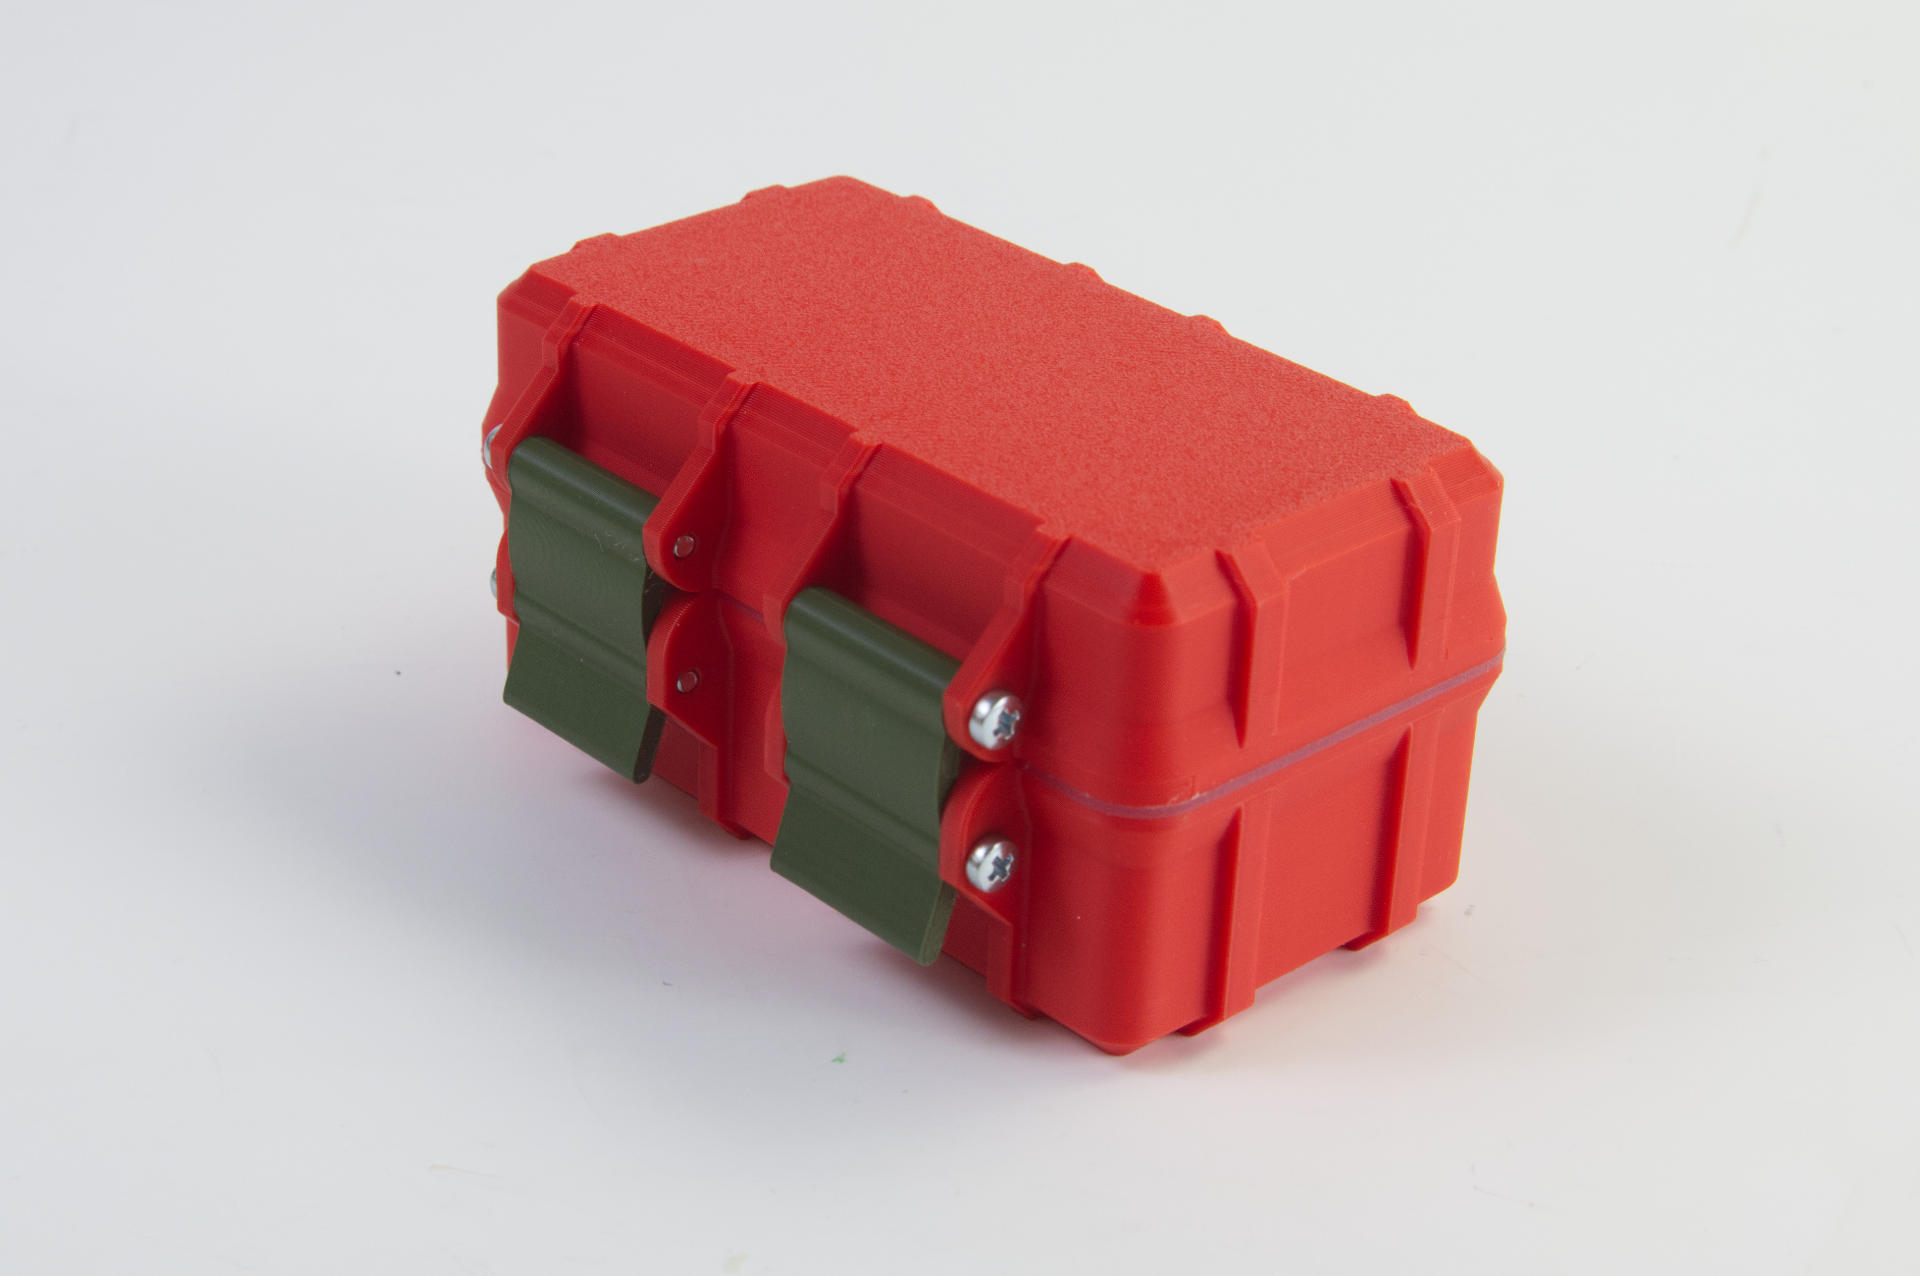
Here’s the seal in place after the silicone was fully cured. This CHANGTIKEJI “Super Elastic Liquid Silicone” is very soft and rubbery, which is a good thing, but it may not be the best thing… I sort of wish there was a way to “glue” it into place, but you can’t exactly glue silicone, because it doesn’t really stick to anything! I do have an idea for that…
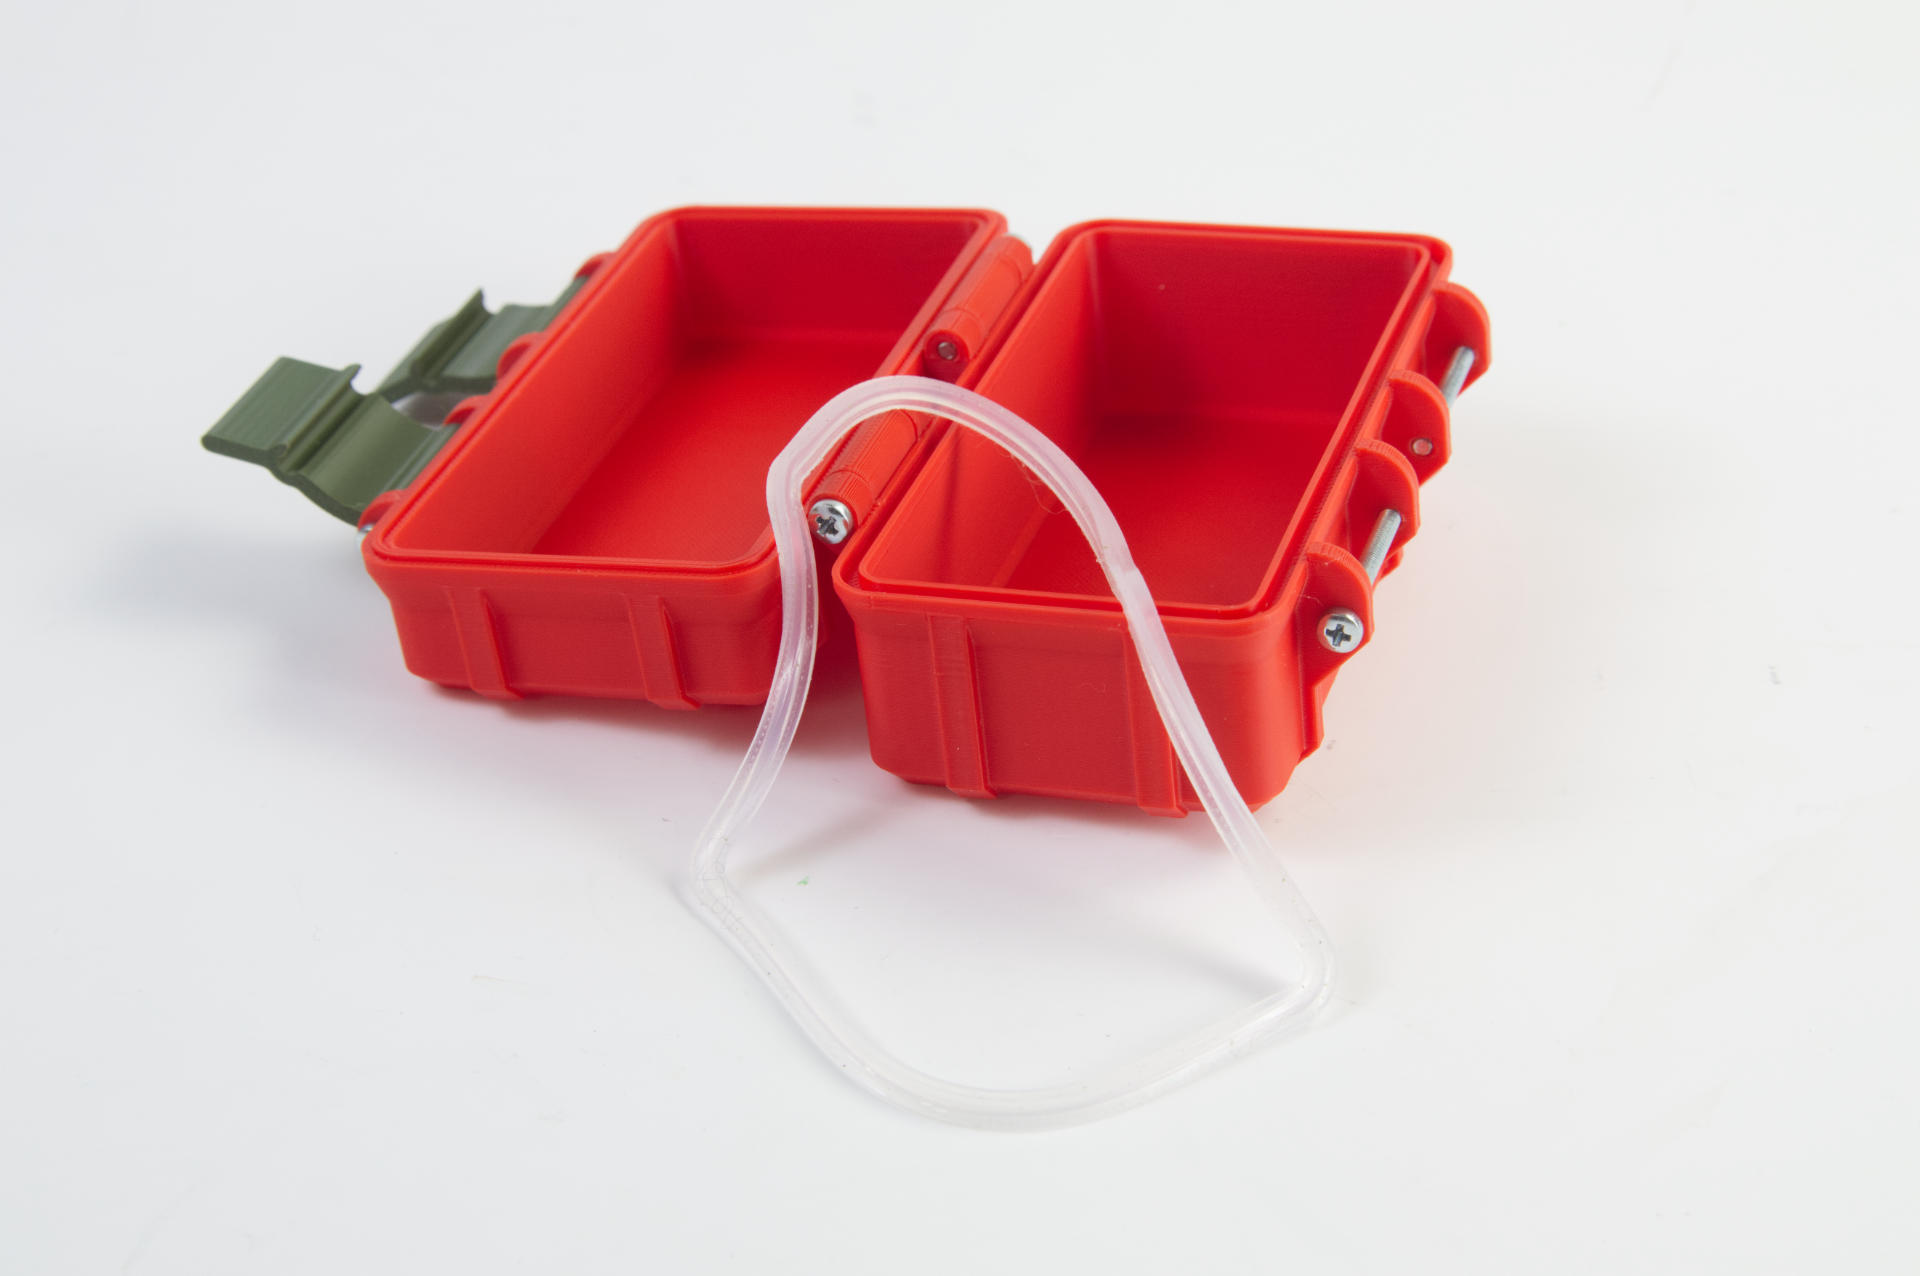
I think next time I’ll make the mold slightly smaller so there is some stretch when placing it into the slot of the box. The one thing I don’t like with this one is that it easily falls out. If this is a box you open a lot you’ll probably get annoyed with it falling out on occasion. On the other hand, if this box is outside and rarely opened, it would probably be fine.
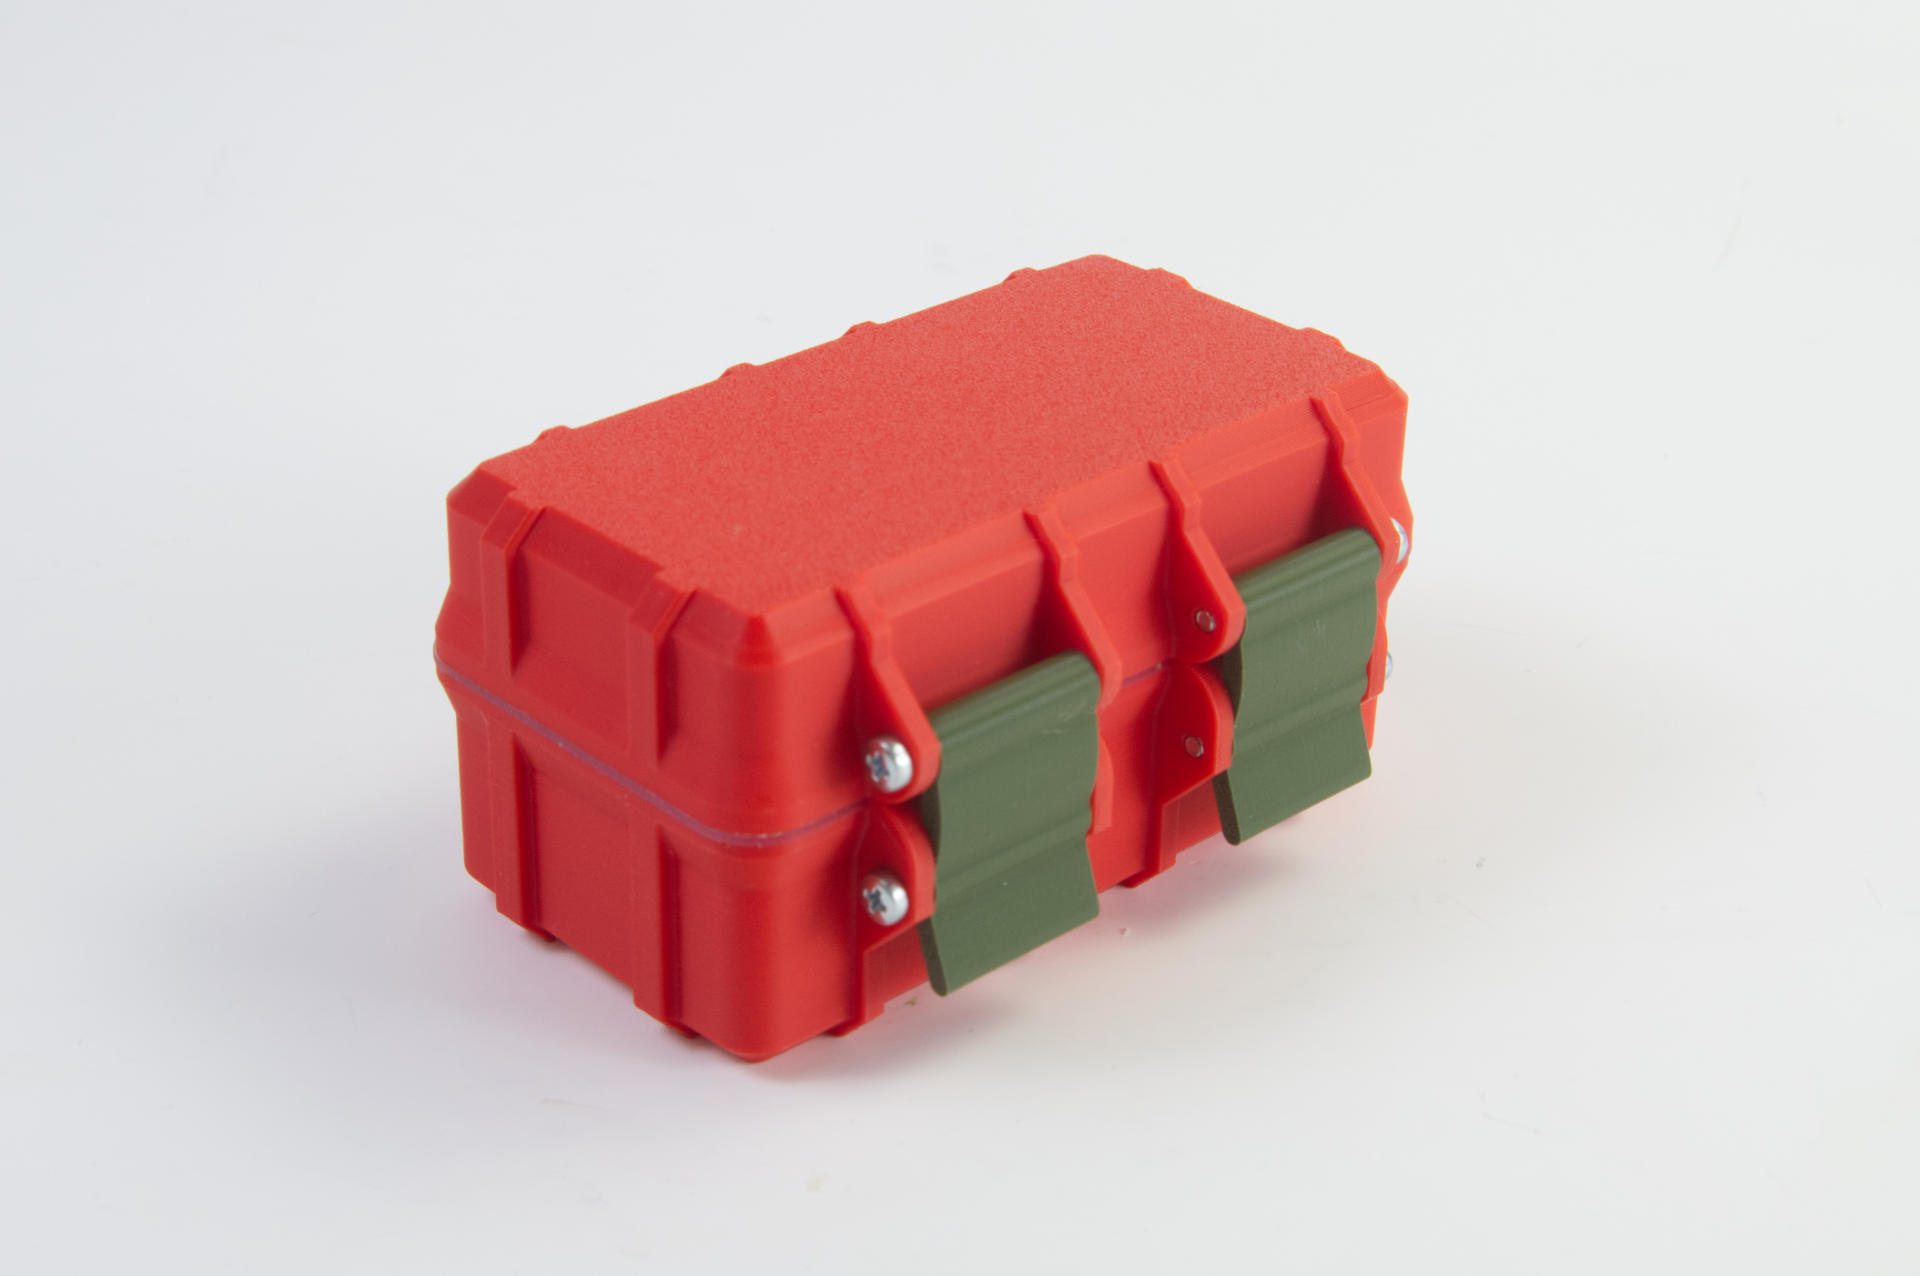
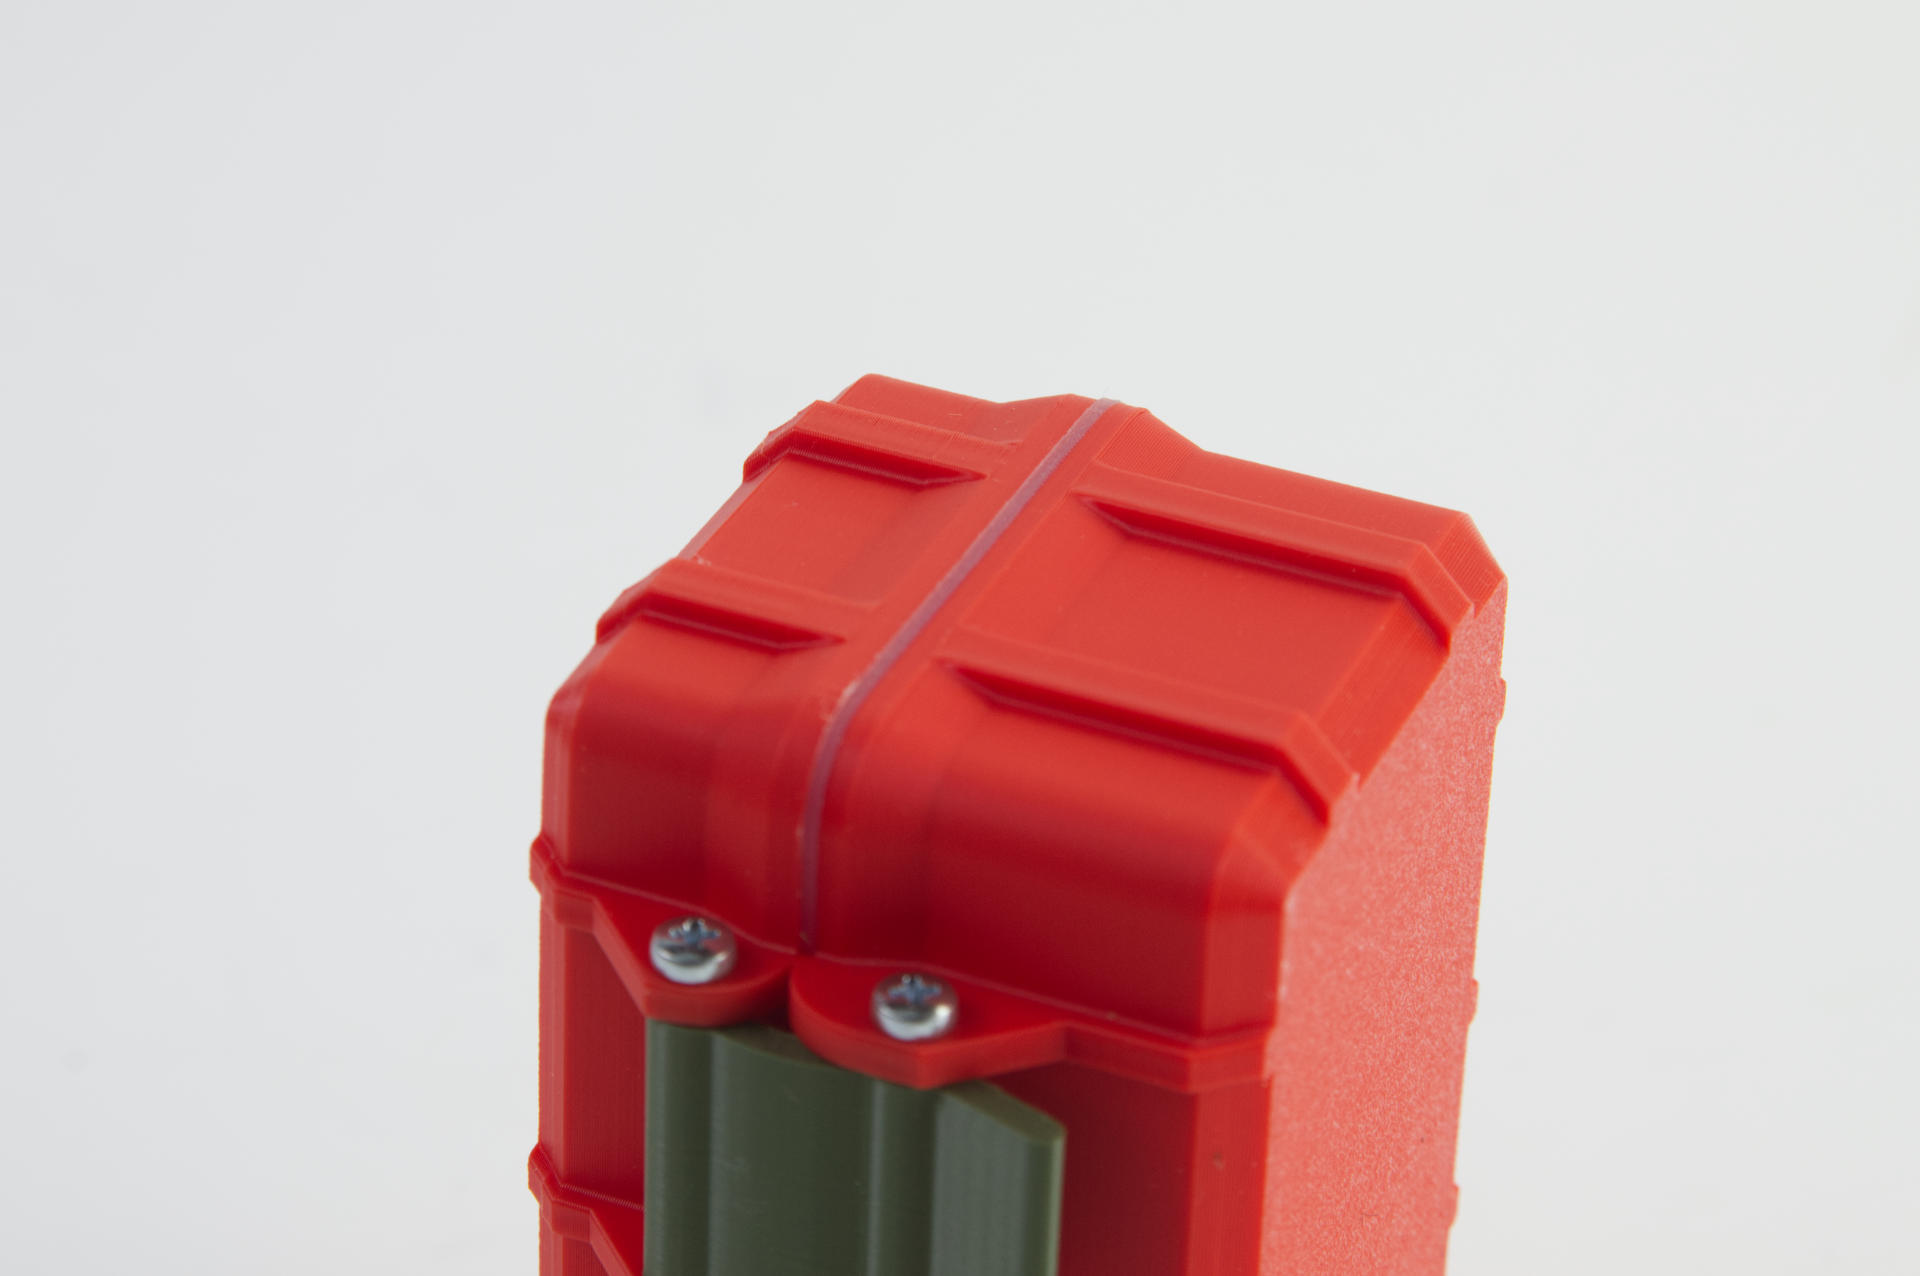
You’ll notice that there is a nice layer of silicone showing between the lid and the bottom of the box. There is a parameter named TSealHeight and while it is set to 0 for a default, I tried it at 1 for this box. So the seal has a “T” shape profile to it. I think next time I’ll try the 0 value again which will make the seal thinner and it should not even be seen when the box is closed.
Anyway, this was a great experiment, and very successful! I’m working on an outdoor box next, and a good seal will be important. I’ll most likely use ASA or PETG instead of PLA for the next one.
If you try this using the silicone I mentioned let me know how you get on. (My daughter originally bought some for a school project and I ended up liking it and ordering my own.) I’ve used Smooth-On silicone in the past and it’s worked well sometimes and not as well other times, that could be due to the scale I was using at the time. This stuff is a 1:1 ratio and when we measured in grams it worked great. We even did some large pours and measure in ounces (not as accurate) and it turned out just fine.
See Also: Rugged Box Silicone Gasket Seal (Part II) and Rugged Box Silicone Gasket Seal (Part III).
Note: This post may contain Affiliate Links. Read More.