Categories
Uncategorized

10K Miles: 10K Trees – REACH GREEN Virtual Challenge

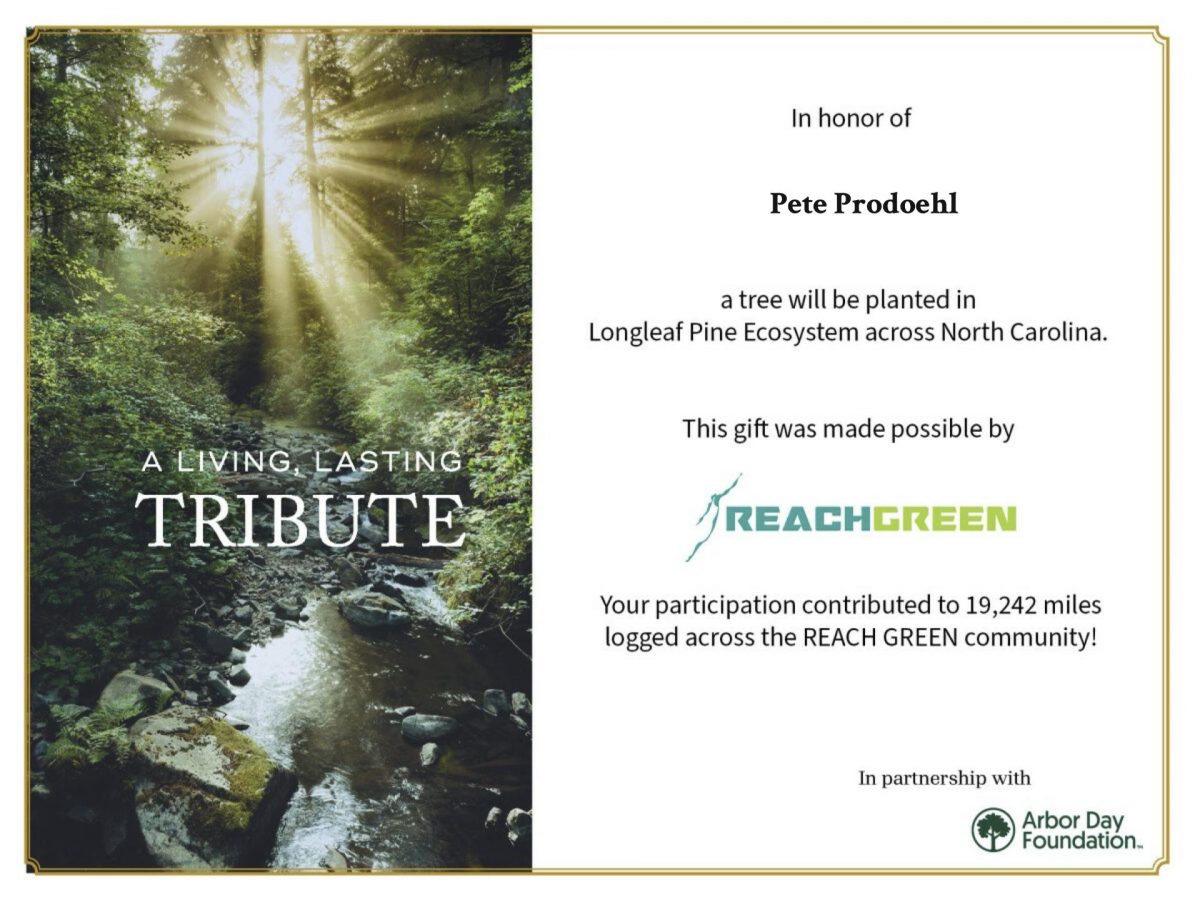
In October 2025 I took part in the 10K Miles: 10K Trees Virtual Challenge which was organized by Reach Green.

Here’s an excerpt from a post on October 16th, 2025:

Every mile logged in the 10K Miles: 10K Trees Challenge plants a tree and builds community. The early success of the 10K Miles: 10K Trees Virtual Challenge has done more than exceed expectations, it has validated REACH GREEN’s mission. We set out to prove that when people are given a way to take meaningful environmental action that feels relevant, accessible, and achievable within their everyday lives, they respond.

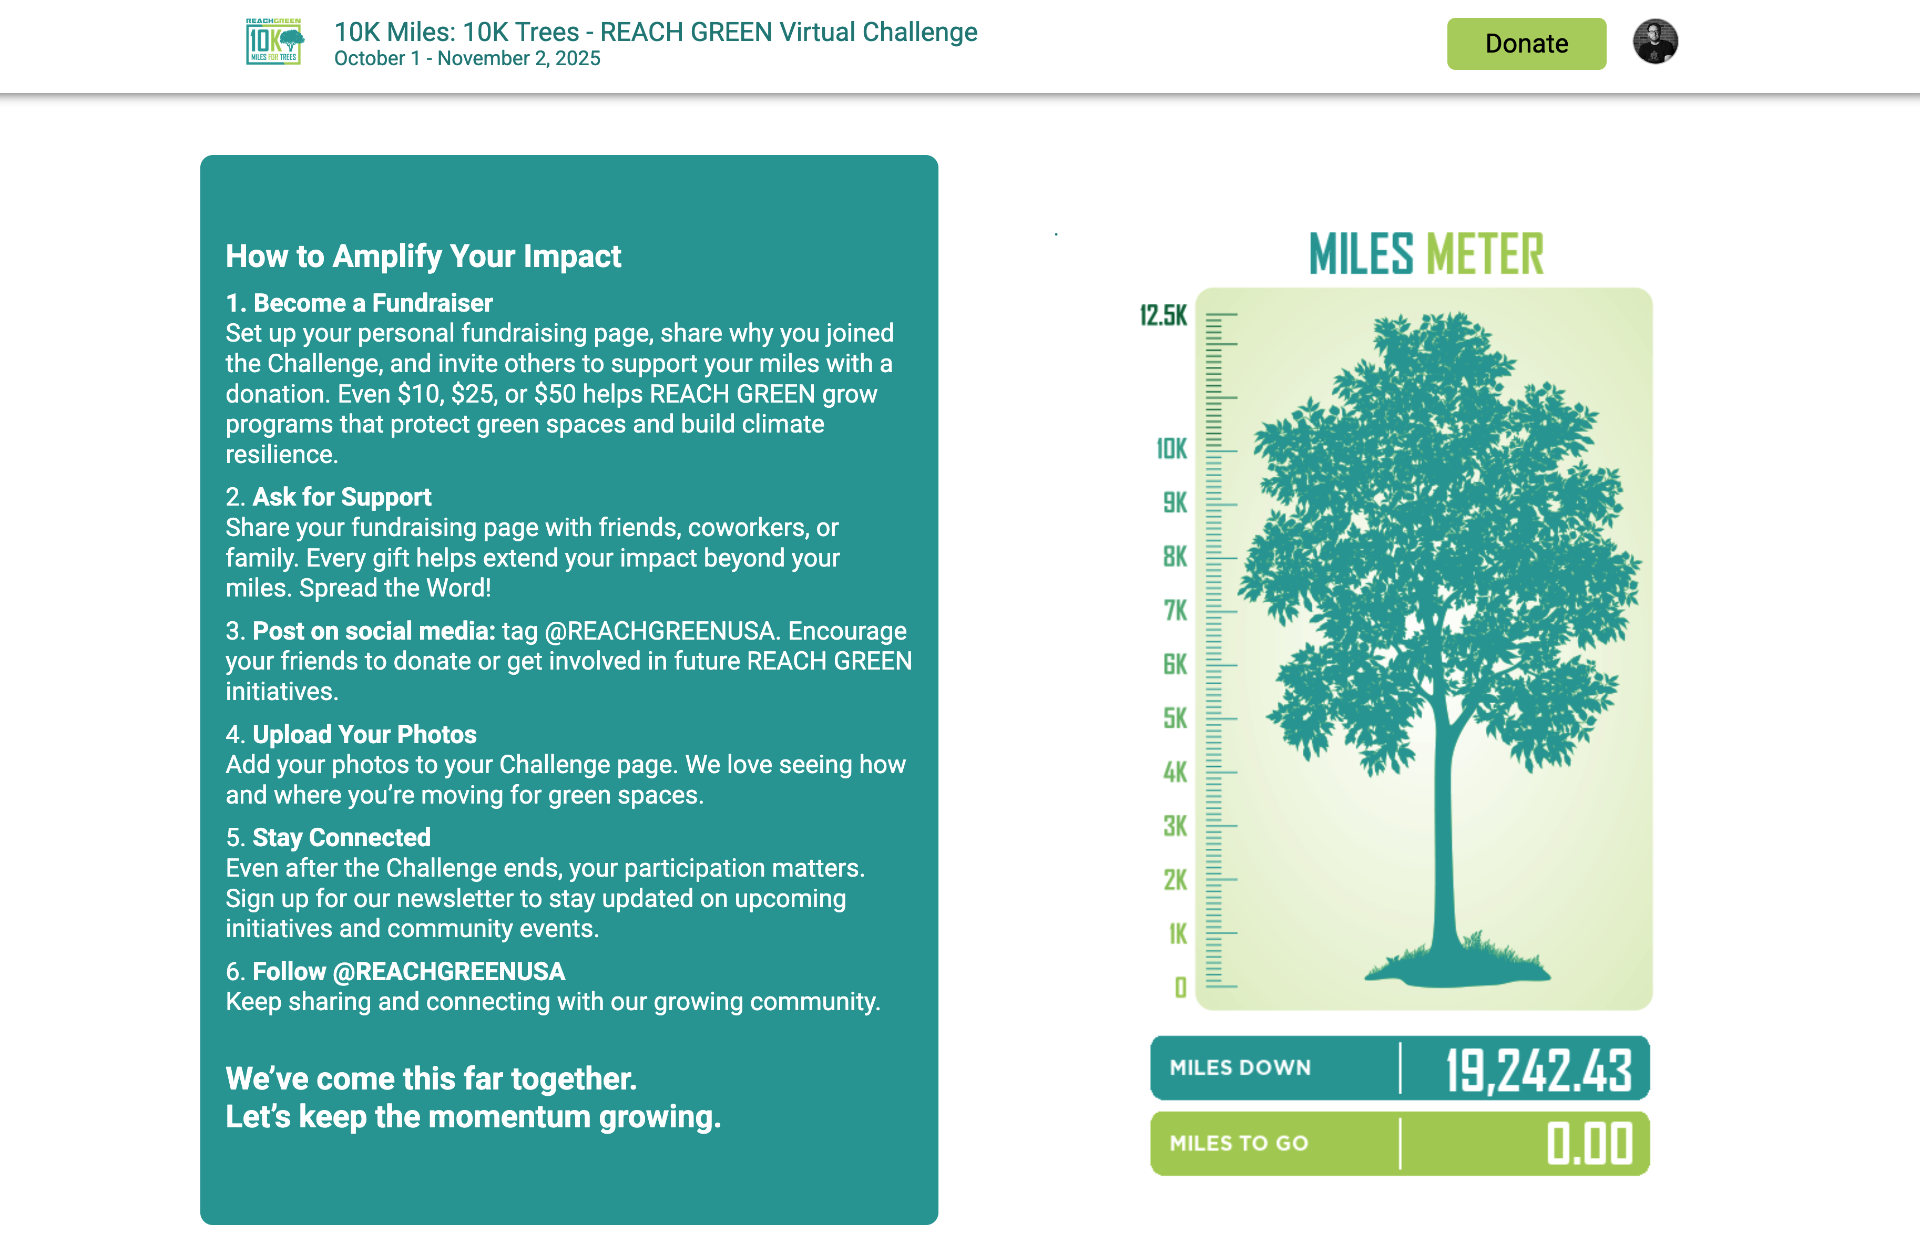
This month-long challenge invites the REACH GREEN community to collectively log 10,000 miles by October 31. If we reach that goal, we’ll fund the planting of 10,000 trees through our partnership with the Arbor Day Foundation, REACH GREEN’s first beneficiary. Each mile logged represents a tangible step toward a healthier, more resilient planet, and the restoration of North Carolina’s endangered longleaf pine forests through our first collaborative project.

I was a little skeptical but I figured I was going to ride my bike anyway so why not join in and contribute. I love trees!

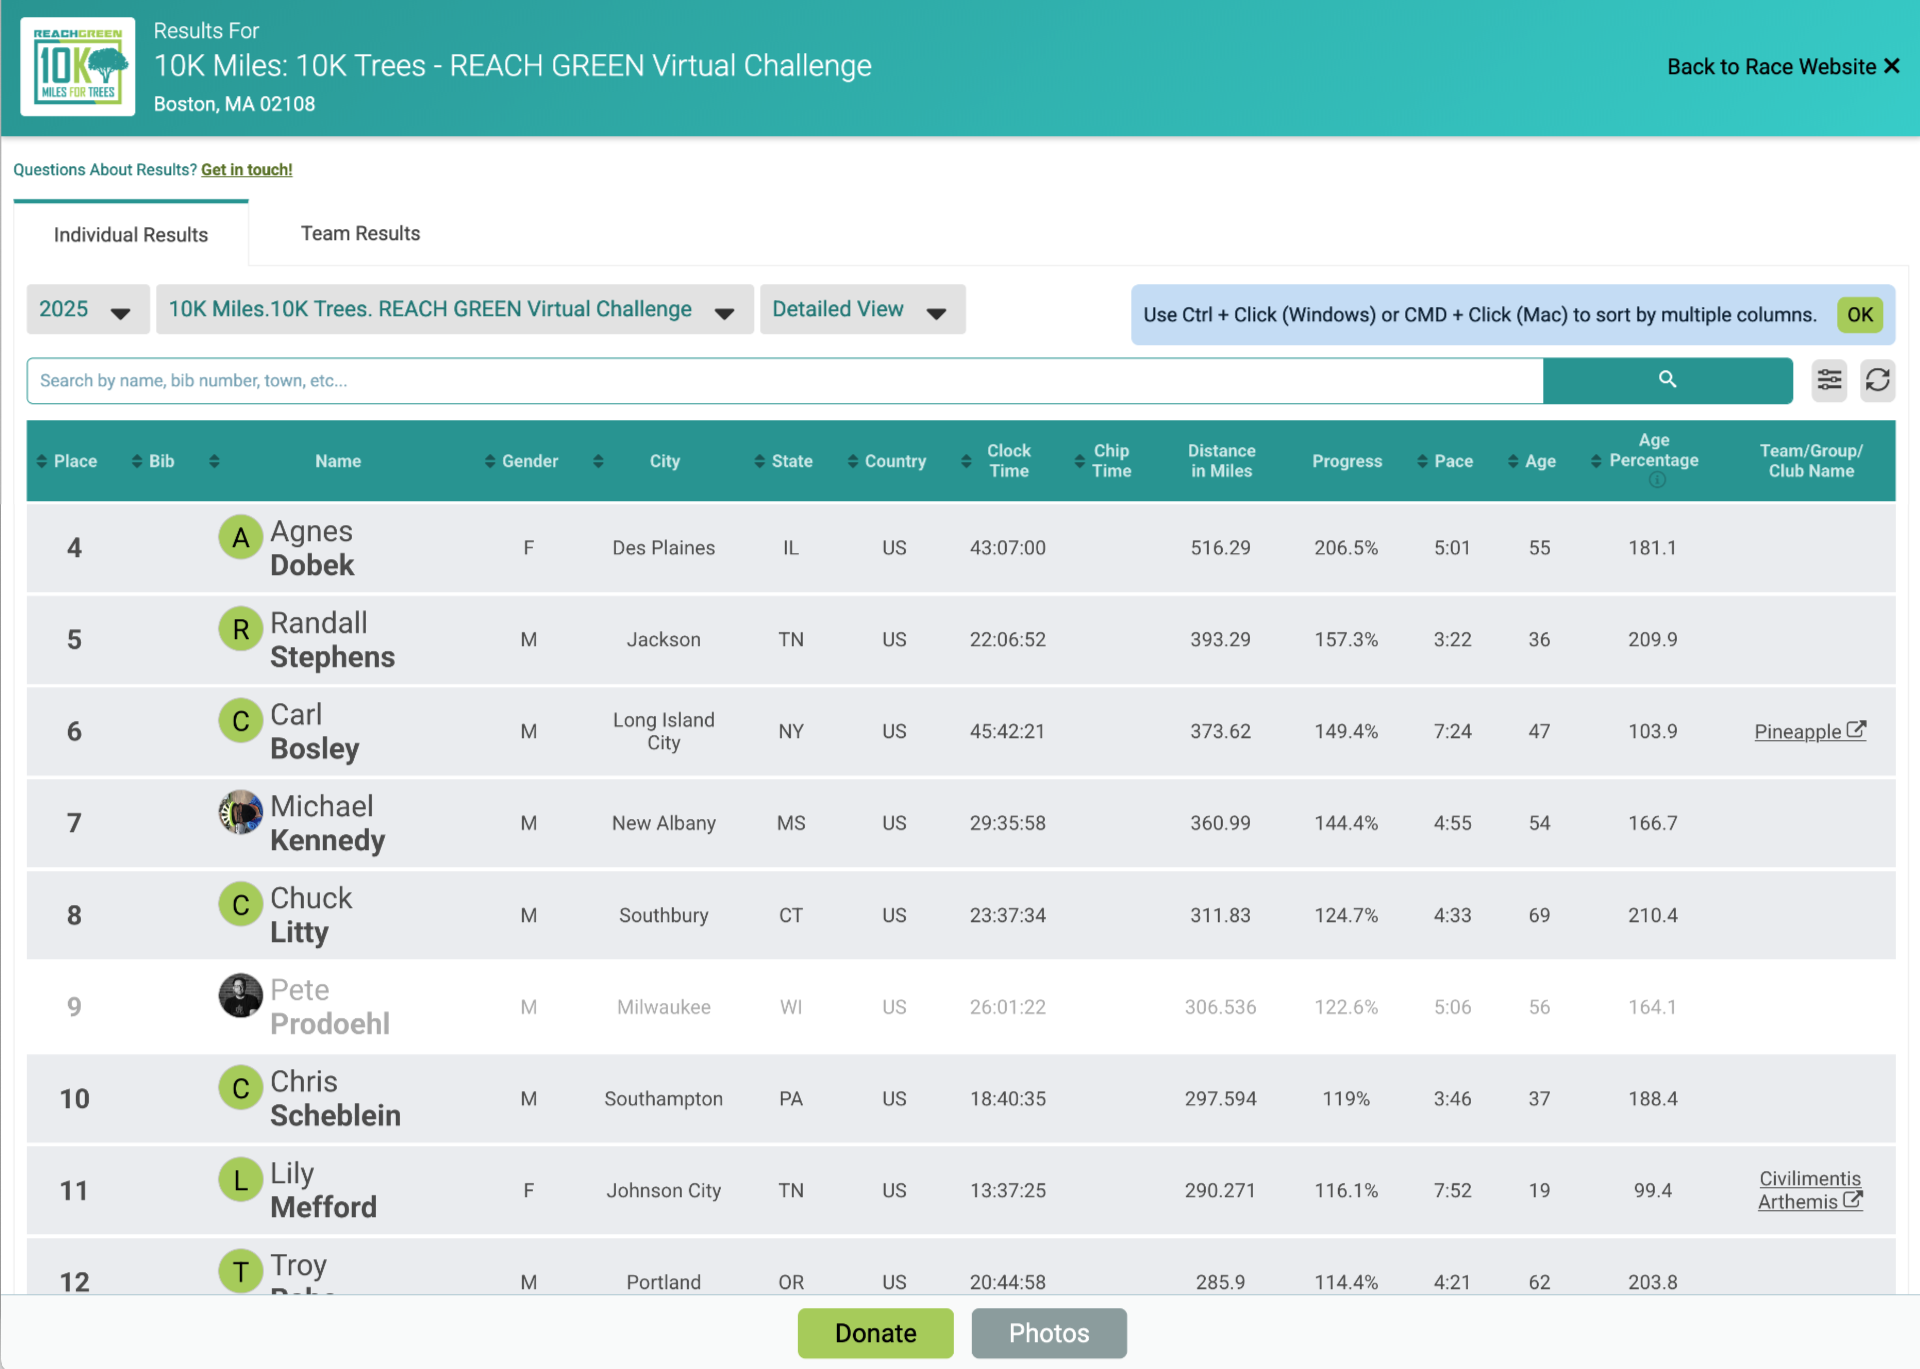
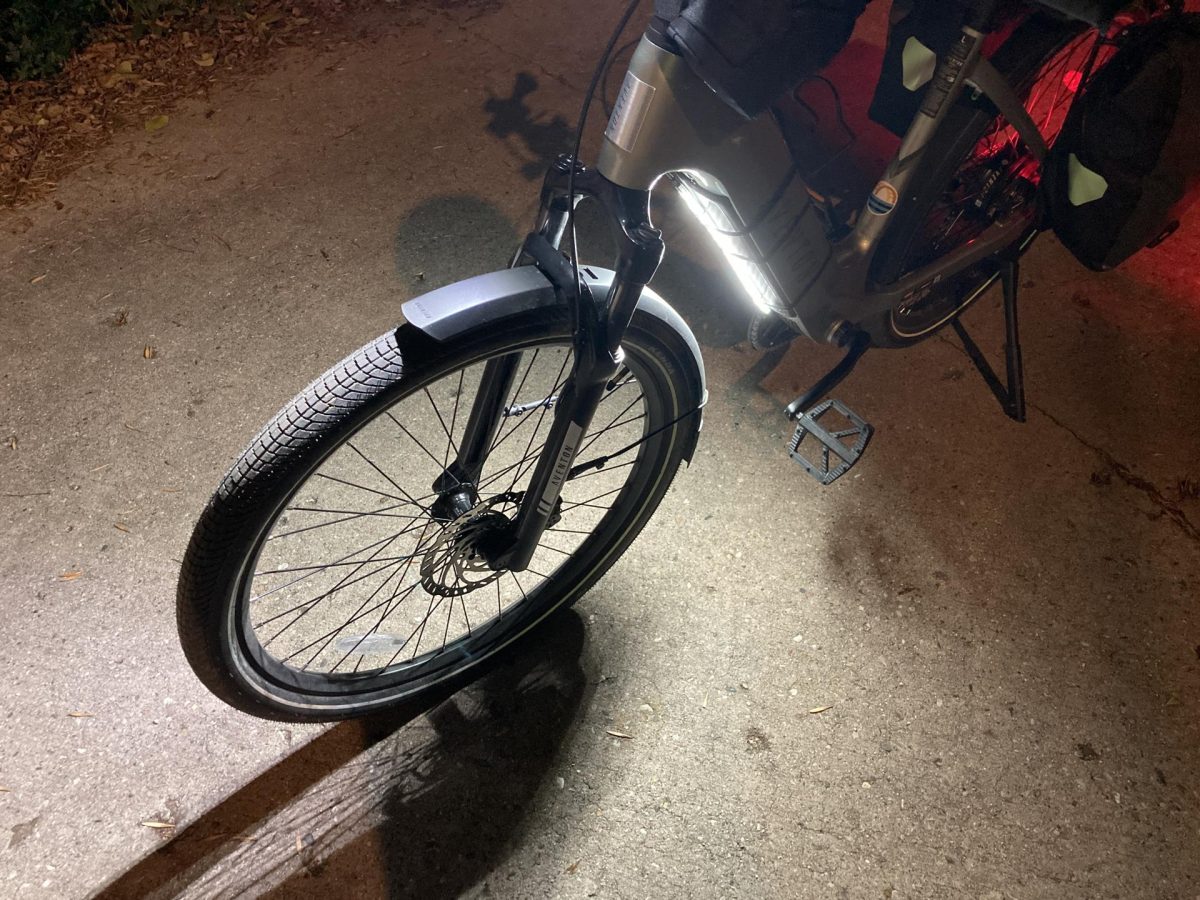
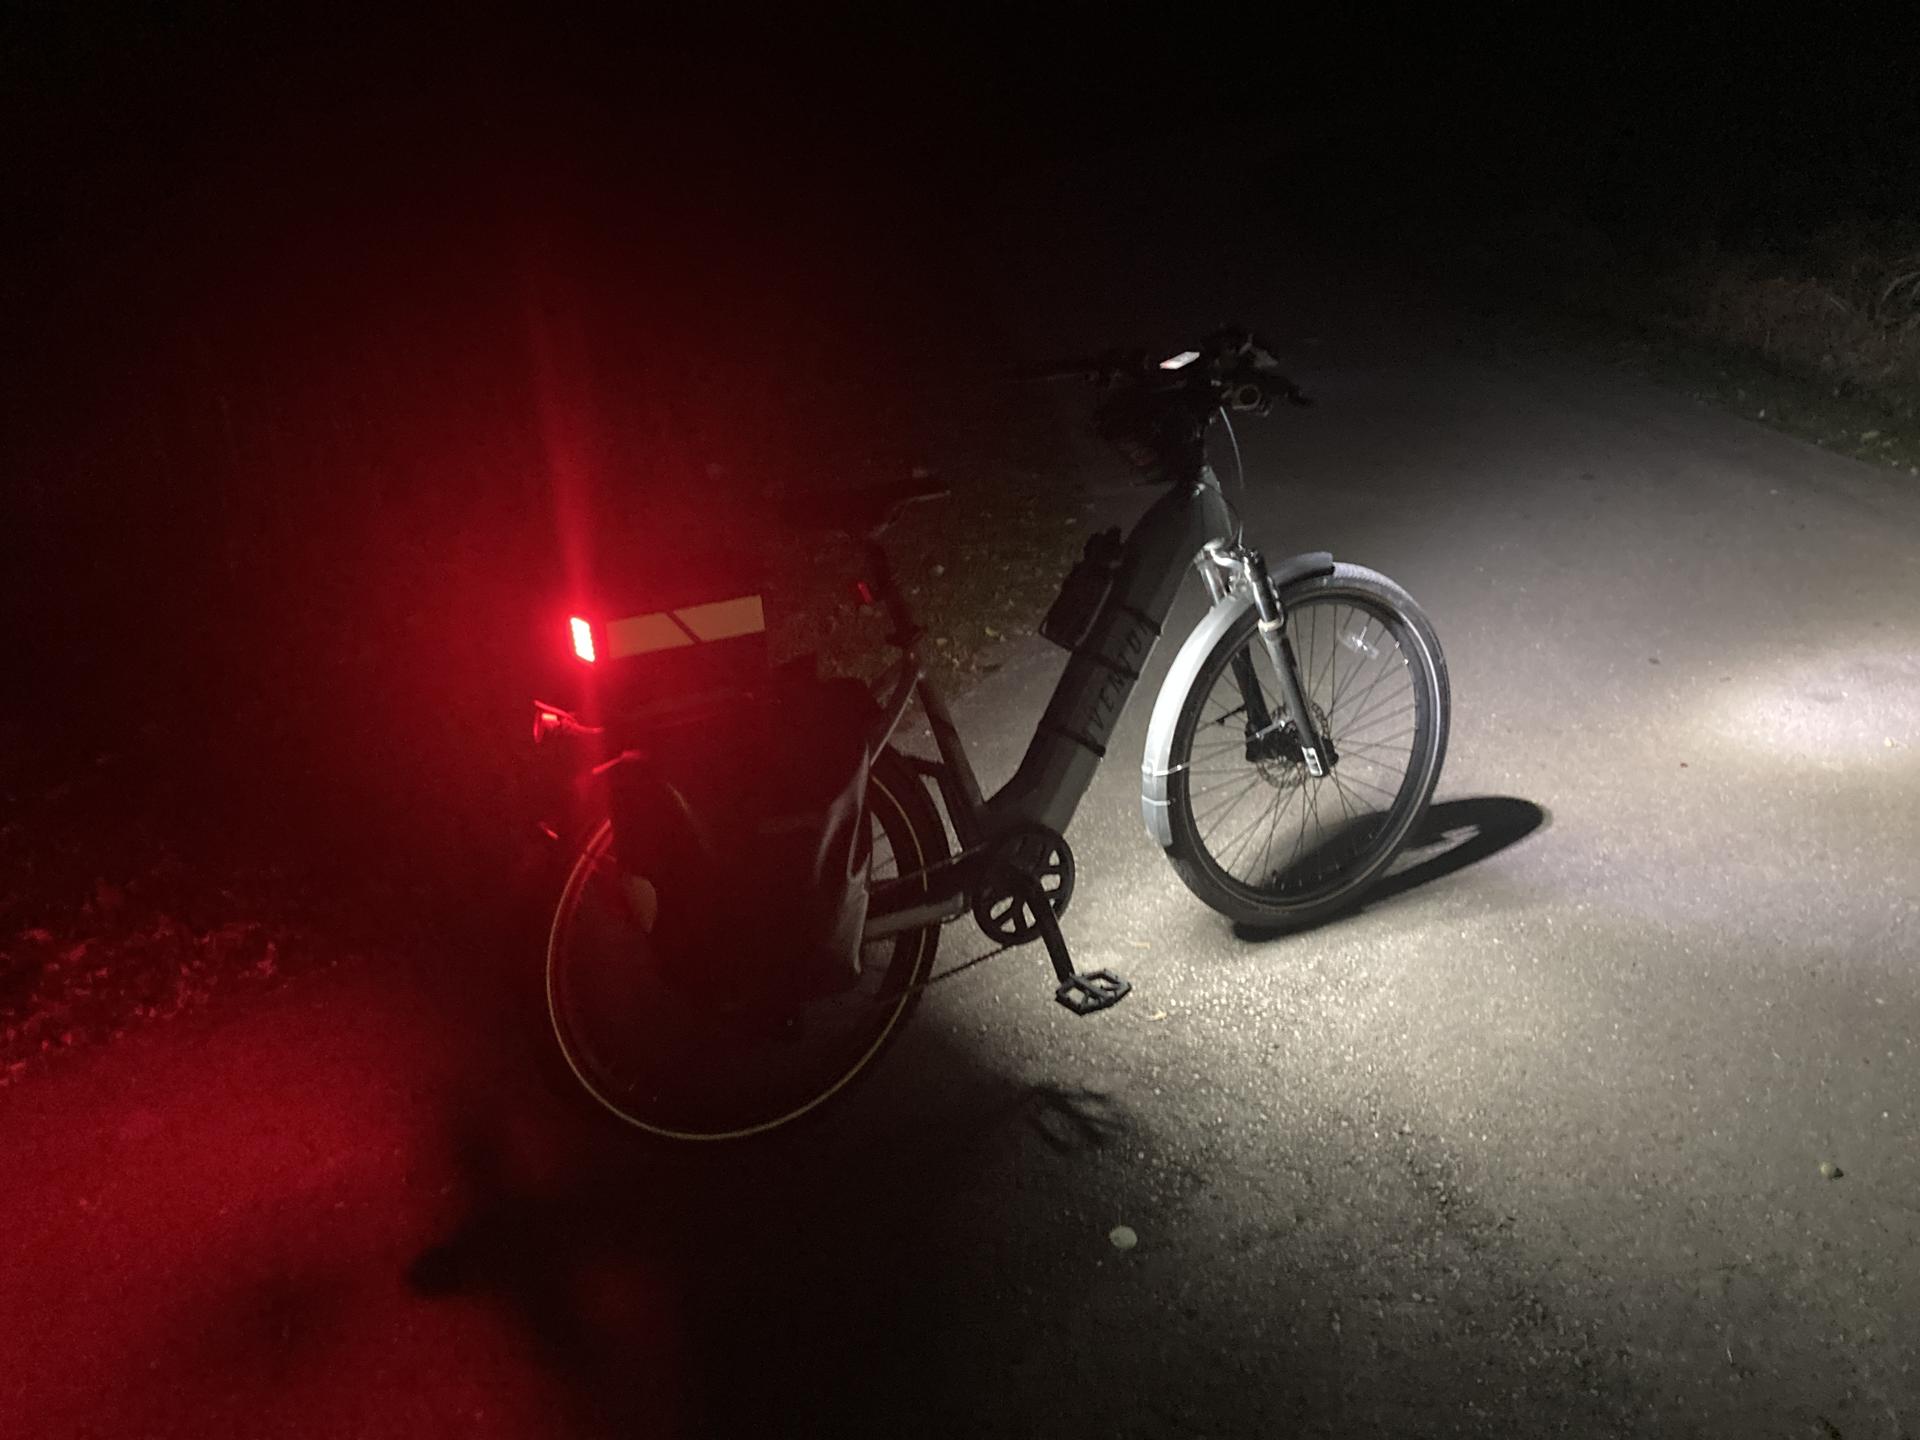
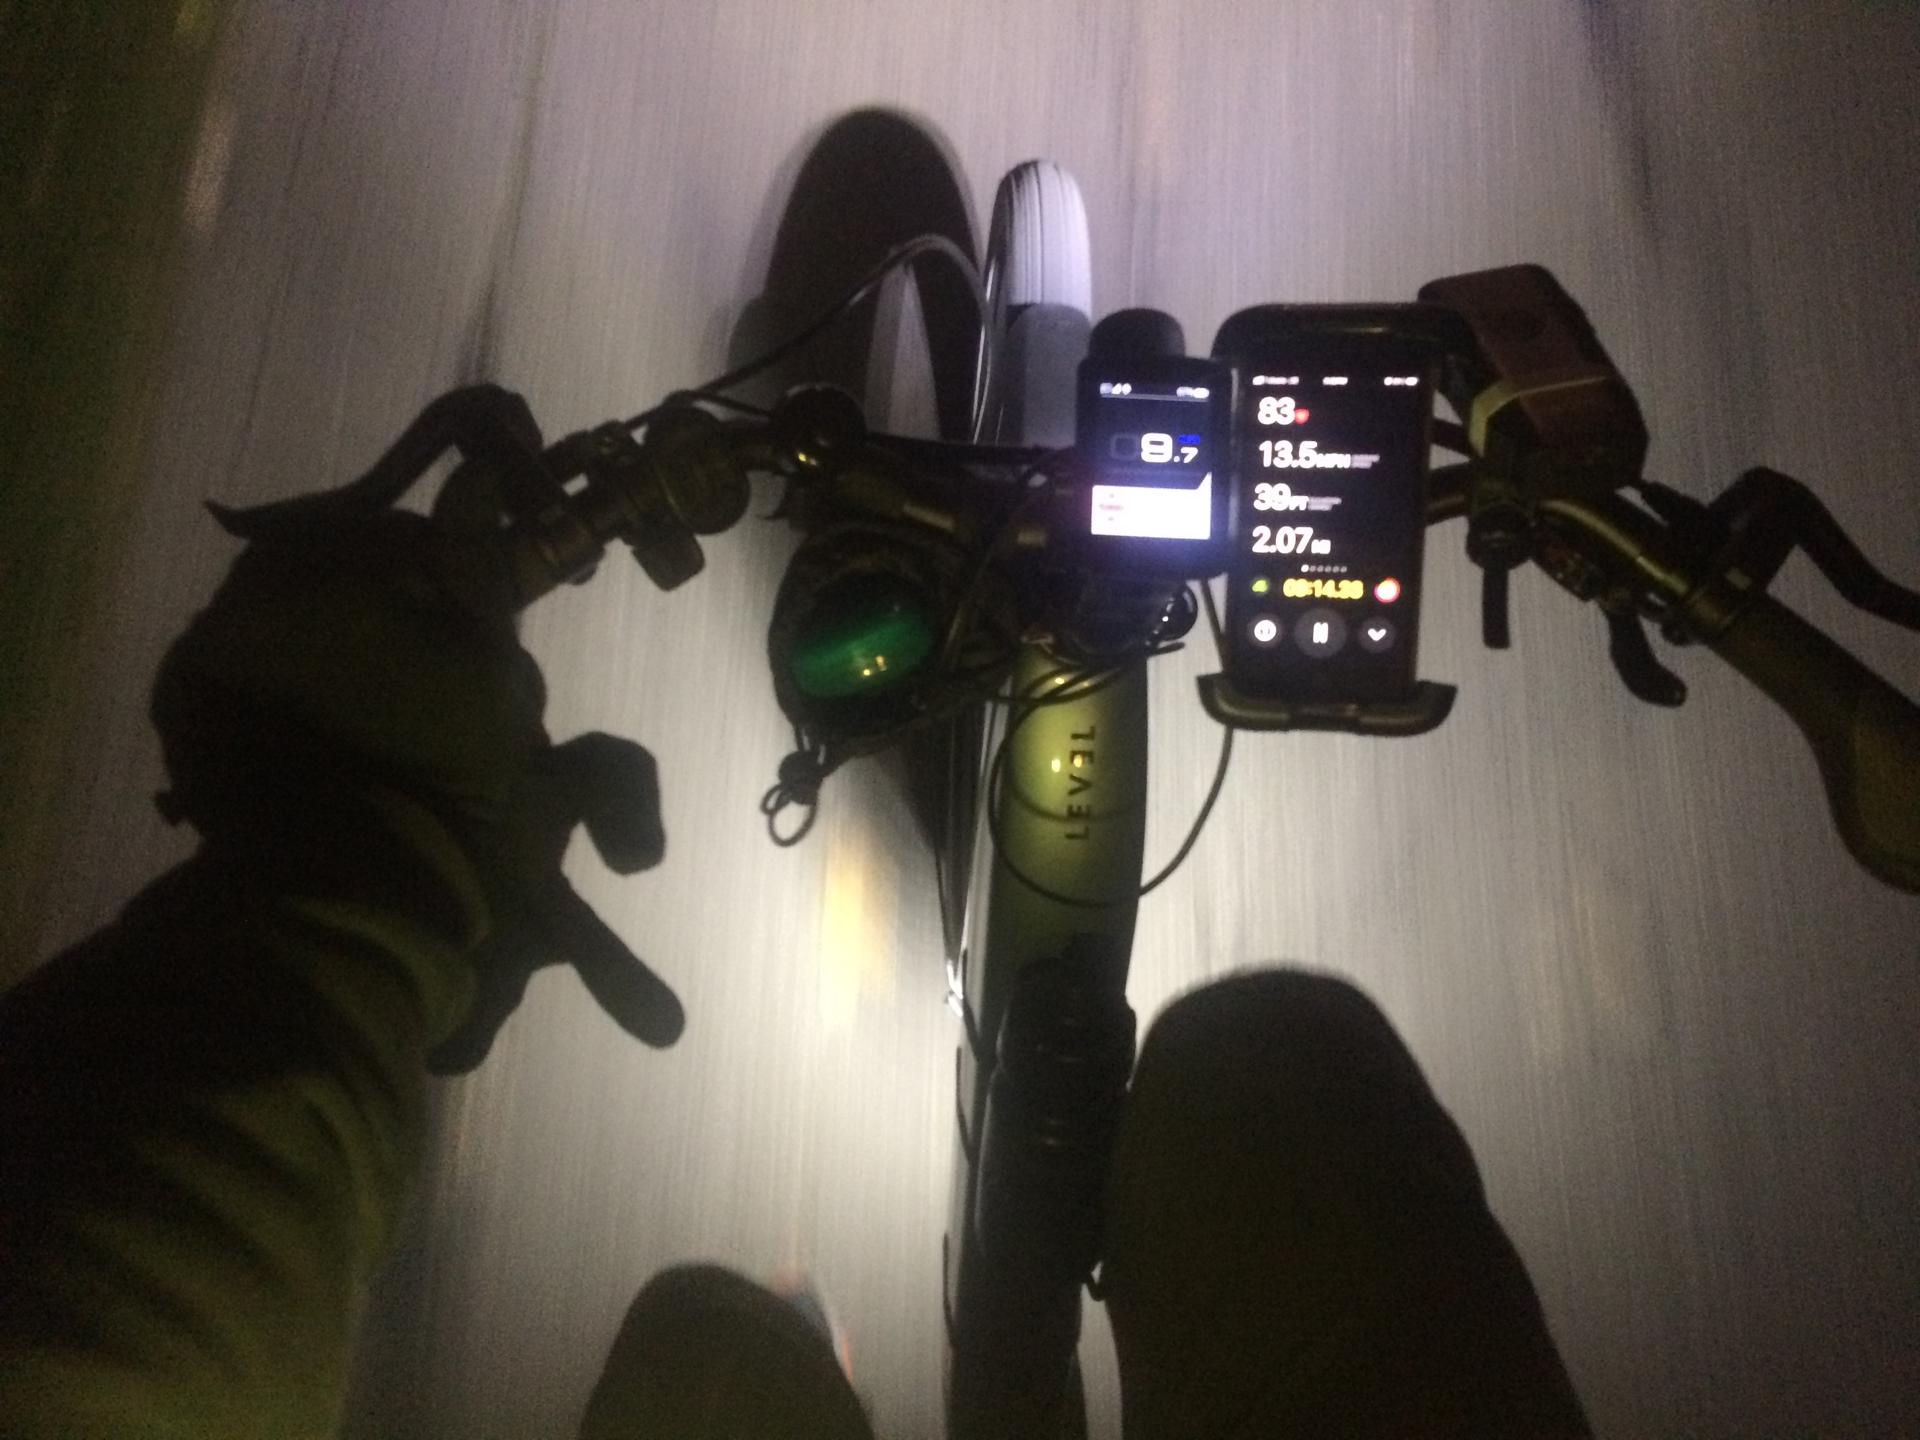
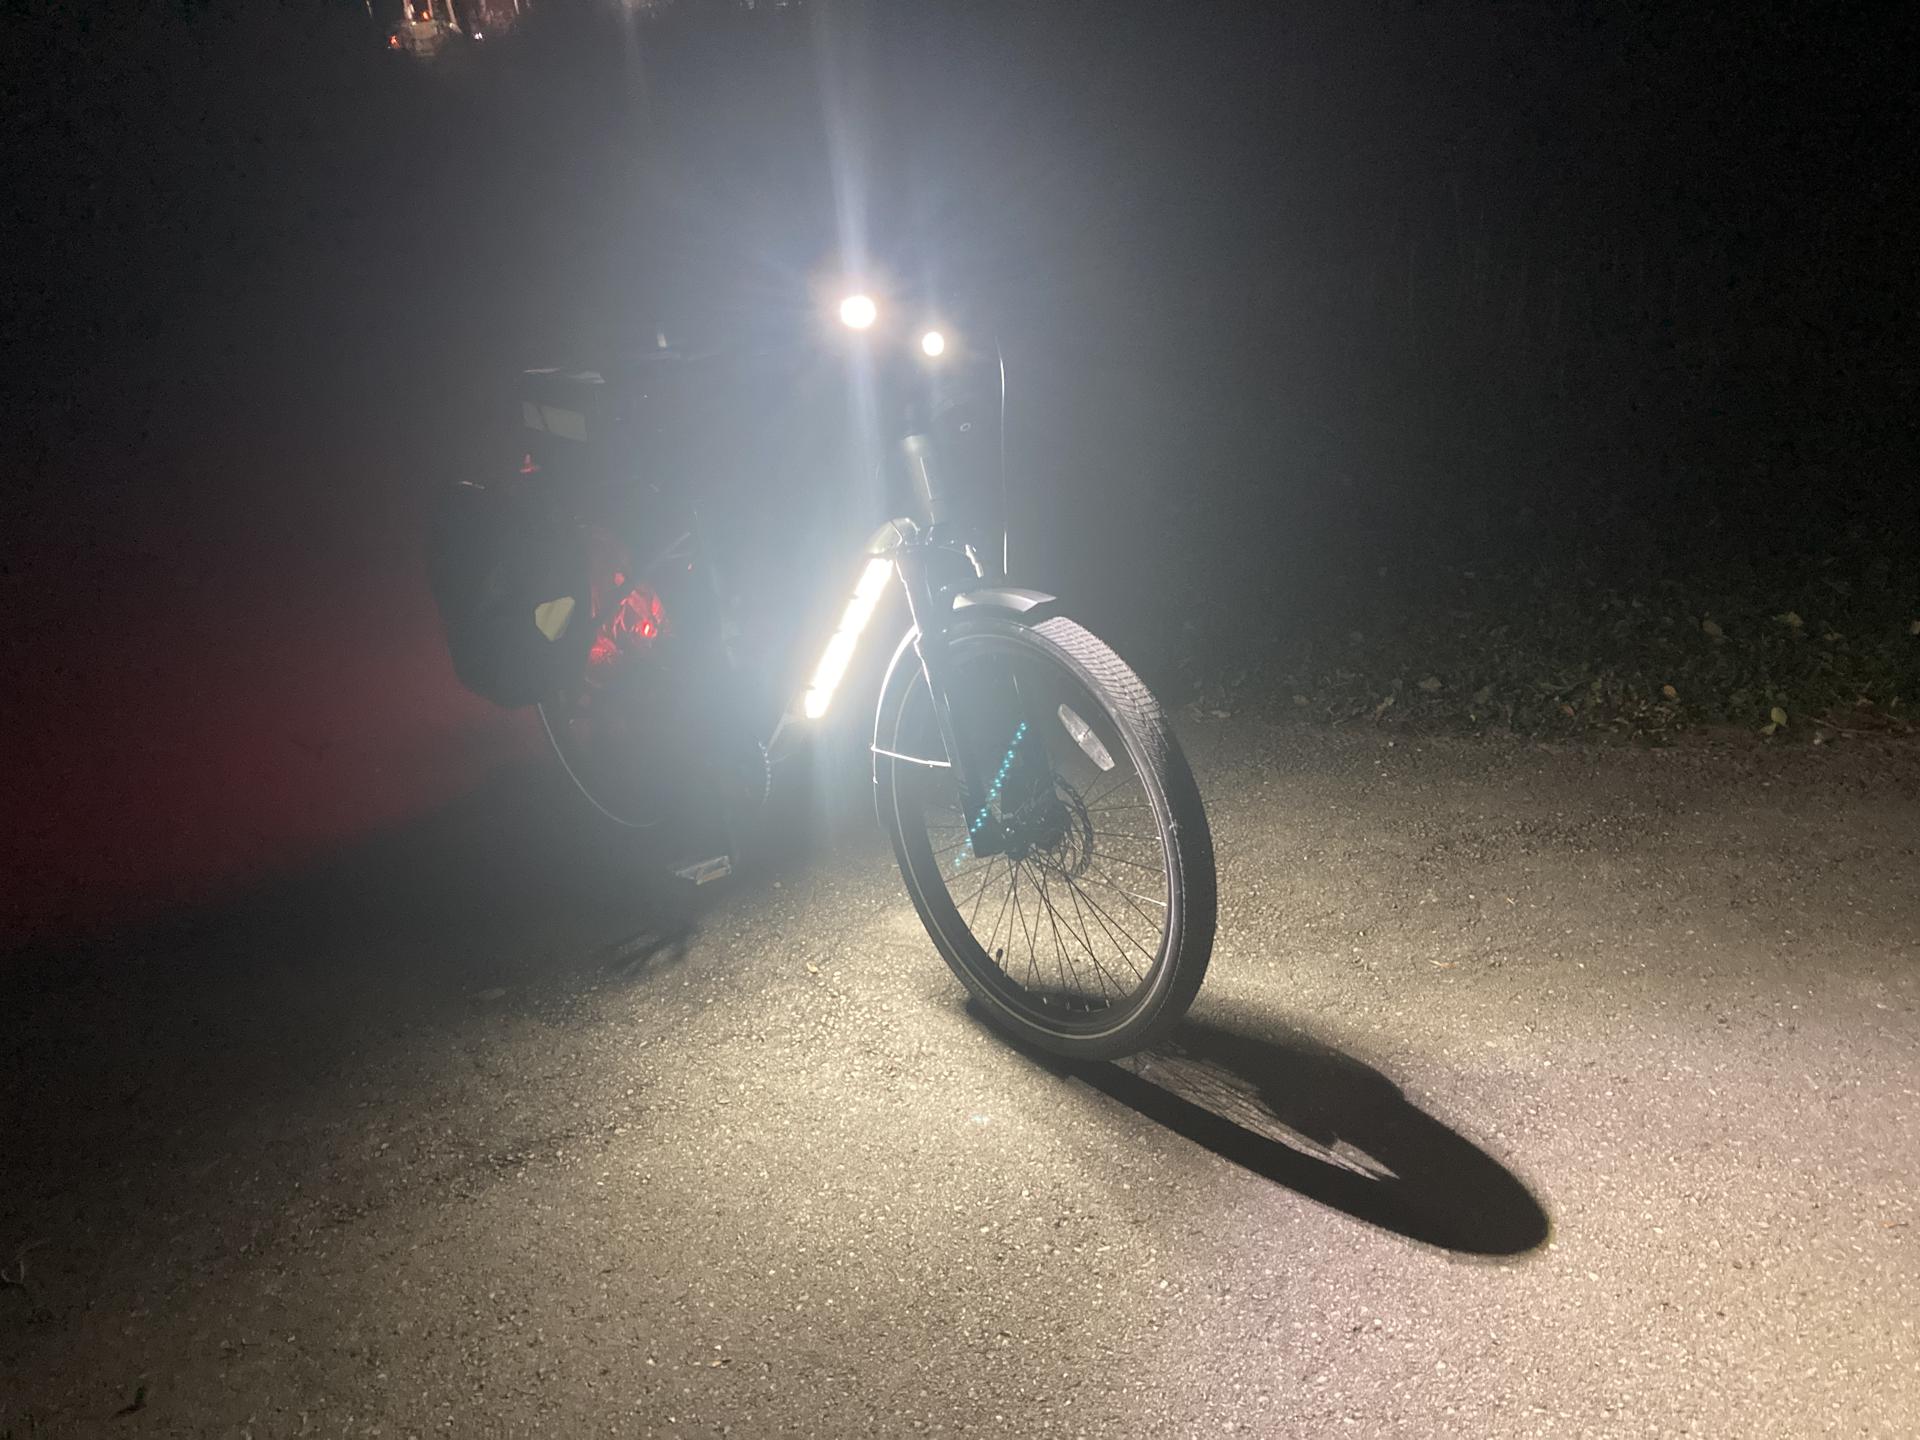
I’m not really a competitive person. I mean, I occasionally set goals for myself, but I’m not out to beat anyone. It was fun to watch the stats though, and I was usually between 9th and 12th place in the standings. October was amazing for bike riding. Not too hot, but still warm outside. I rode to work 15 days in October (often talking a longer route home) and was doing longer rides on the weekends.

In the end I came in 9th place (out of 226) with 26 hours of riding and 306.536 miles. Not too shabby! Since I was riding to work that also means it was just over 200 miles where I did not drive a car to and from work, so there’s a double-win there since I burned less gasoline and created less carbon emission from the car.

Categories
Uncategorized

NeoPixel Bike Light V2

About a month ago I posted about my first NeoPixel Bike Light but I’ve also been working on a newer version, and also got distracted along the way, but came up with a compact version, well, two versions. Here’s the first one.

I designed five parts that were then 3D printed, and added in a thin sheet of 0.04″ thick PET plastic.

It’s all held together with four button head screws in the corners. This back cover is plain (and white!) but I have something else in store for an upgrade coming soon.

There are two Micro USB ports on the side, one for charging and one for programming. I don’t love that they are exposed so that’s something I’ll work on in a future version.

Let’s look inside! There’s a 8×8 NeoPixel panel, a microcontroller, a charge controller, and a lithium battery. Here are the parts:

Let’s talk about the parts!

I never really build electronic things that use LiPo batteries and chargers, so this is somewhat new to me. For this project the LED panel sort of sets the X and Y dimensions, so I chose a battery that would be smaller than the panel. The batteries were a 4-pack but ended up being less than $5 USD each. The TP4056 Charging Modules come out to less than $0.75 USD each. They may not be the best, but they work. (Don’t forget to add a diode, though!) The ones I got were Micro USB but there are also USB-C versions. That’s our power sorted… oh, add a switch to make it a real project!

The LED Matrix comes in a two-pack for $11 so it’s about $5.50 for one. It’s a nice panel, seems to work well, and you only need to solder three wires to it. The mounting holes are in the middle of the PCB, not on the corners, which is fine. I just made pegs in my 3D printed part that it can snap onto.

Now, that Pi Pico. There are obviously smaller boards. I do prefer an RP2040 board nowadays if I can use one, and I usually have a few dozen Pi Pico boards in the shop. Alternately if you did want really small and maybe USB-C the Seeeduino XIAO 2040 would work great, though they often cost a lot more than a $4 USD Pi Pico. (Depending on where and how you get them.)

The The Waveshare RP2040-Zero is another small and cheap option. There are a ton of knock-off clones of that board under $4 USD each, but Waveshare is a good company worth supporting.

Hey, it lights up! You can program patterns or whatever. This one just does a “lime” color for reasons.

It’s fairly compact. I could make it slightly smaller (in fact, that’s in progress right now!)

So this is what I call “Pocket Light 1.0” which is an old Adafruit Circuit Playground. I got two of the “Classic” or “Developer Edition” board a long time ago, I think for super cheap. Anyway, they have built-in NeoPixels, can be programmed, and run with an attached LiPo battery. I was dropping this into the pocket of my hi-vis vest for a little extra light when riding my bike in the dark of winter.

So here’s the light! In my pocket, shining bright. I’m mostly pleased with how it turned out, but also know there are improvements to make, and I can do better, so I will.

This post was too long, but I have more so I’ll expand on things in another post.


Note: This post may contain Affiliate Links. Read More.

Categories
Uncategorized

Bike Light – Downtube – White LED Strip

I’ve previously posted about a bike light I made and while I am working on a more complex, programmable, and controllable set of lights, I needed something quick because it got pretty dark last week. I found this LED strip in the shop, which I think I got from the junk-pile at work. It may have been an under cabinet style light… I don’t know or remember, but I do know it has a Micro USB port and runs just fine from a USB power bank.

You can see the bare LED strip in the photo above… that’s how I found it. I was able to 3D print a sleeve for it to slide into. The Micro USB port is just at the end, and it’s not exactly waterproof, but I could just hot glue the heck out of everything if needed.

Besides the strip and 3D printed parts, there’s a 3 foot long Micro USB cable and some hook & loop straps. (I got a roll of 1/2in x 100ft Hook and Loop which someone said might be a lifetime supply.) There are also a few O-rings holding things together and they sort of work to help hold the strip in place on the bike. (I got a cheap O-ring set years ago.)

The 3D printed parts are taped together with clear tape, but Silicone Rubber Bands could also work.

I designed the sleeve / sheath thing in 5 parts. Two “outside” pieces and three “inside” pieces. I figured two and three would be good so the seams between the inside and outside parts didn’t all line up.

And here is what the pieces look like laid out so they are the length of the LED strip. I printed these with transparent PLA, which isn’t exactly clear, but it’s a thin print and the light shines through just fine.

If I were to make another one of these I’d probably use some COB LEDs. I’ve used these White 6000K LEDs bu you can also find cheaper COB LEDs. COBs are pretty bright, and some of them are also (mostly) waterproof.

To power the LEDs I have a USB power bank in my handlebar bag which I already use to charge my phone, so I just plug it into there.

Here’s how I attach it to the downtube of the bike, which is where the battery is. The one little thing is that the strip could be about 3cm shorter and then I wouldn’t have to slide the whole strip up a bit to get to the charge port. (Maybe that’s a reason to make a new COB version?)

But hey, I think it works well! The above photo was taken on the Oak Leaf Trail, where there are no lights around, so it’s pretty much pitch dark there. The light definitely lights up the ground below and in front of the bike!

I commute home at 5pm and this time of year it is… dark. So anything I can do to light up me, the bike, the road, etc. and hope that drivers can see me is a good thing.

Many of the COB LED strips are just plain white (especially the cheap ones) but taking a note from Ryan it would be easy to 3D print a sleeve with colored filament to make lights a specific color. (And yes, I have one of Ryan’s lights! I just need to find the time to install it.)

Note: Well, I managed to find my extra strip of COB LEDs and it’s actually got an 18″ long USB cable built into it. So making another one of these lights would be pretty darn simple… I might just do that since it would fix the 3cm issue I mentioned above.

Hey! It also looks like you can cut COB strips! So by cutting a COB strip I could make a shorter strip, a wider strip, etc. so yeah… I’ve got a few ideas now!

Categories
Uncategorized

My (First) NeoPixel Bike Light

You may have seen a sneak peek at this project in the post Aventon Level 3 MIK Adapter Plate, because I used the plate to attach this Sheffield Ammo Storage Box to the rack on my bike.

But I didn’t talk about the box or the light, so I’ll do that now.

I’ve got a bike bag on the back of my Trek, and while I can easily move it to the Level 3, I find it a bit wide and it gets in the way of the panniers, so I was looking for a less-wide thing, and this box looked right. I wanted to keep a few things in the box instead of putting them in the panniers for easier/quicker access while riding… and I figured since it was on the back of the bike, why not add a light?

Years ago I got these WS2812 RGB LEDs and they actually came as one unit, where you break off each PCB from the rest. I left them together and soldered all the connections in place… instant NeoPixel Matrix! I played around with programming it a bunch to do lighting effects, but never really used it in a project. Since it would fit perfectly on the back of the box, I designed and printed a few parts to make that possible.

The clear plastic sheet is 0.04″ thick PET. I didn’t even bother to fire up the laser cutter, I just used an X-ACTO knife to cut it. Sometimes being lazy works! And there’s a $4 Raspberry Pi Pico in there as well, which I’ll just power via a USB power bank. (I have at least a dozen power banks around the house. Most are a decade old, but still work well enough.)

I drilled a few holes in the box to feed wires through (just three wires, for VCC, GND, and Signal) and four more holes to bolt the outside plate into place. I later taped the Pico to the side of the box. there’s some foam padding in the bottom to cover the bolts and I keep a few other things (hat and gaiter) in the box as well.

The maiden voyage did not go well… See, I made mistakes when I printed the MIK Adapter Plate, and the whole thing flew off the rack less than 0.5 miles from home, busting the hinge for the lid and breaking a piece of the mount. I did manage to repair it (zip ties for a new hinge and one new 3D printed part in the correct orientation) but now I bungee the box to the rack, which isn’t great, but I’ll work on that.

As for the actual light, it’s great!. It is very bright, and right now is just red, but I can see doing some silly programming for events, and maybe working on some solid/flashing red modes as well. The USB power bank provides plenty of power for the Pico and NeoPixels.

I called this post “My (First) NeoPixel Bike Light” because I’m working on some other ones as well, so subscribe to the RSS feed!


Note: This post may contain Affiliate Links. Read More.

Categories
Uncategorized

Aventon Level 3 MIK Adapter Plate

Remember when I got an ebike? It came with a rear rack, which is handy. I added one (along with a bag) to my old Trek, and I used it all the time. I found that commuting to work often required me to move things, and a milk crate on the back worked well, but the zip ties meant it was a pain to put on and take off, so a quick release mount is a good option.

And guess what? The Aventon Level 3 might be MIK compatible. I say “might” because it’s tricky…

I asked Aventon for specs on the rear rack that ships with the Aventon Level 3 and they could not (or would not) provide them. I ended up modeling a version of the rack so I could virtually model something for it. (Note: The model is not perfect, but worked for my needs.)

Meanwhile I found this MIK adapter plate on Printables so I thought I would give it a try. (I loaded the STL file with the rack model I created and it looked it would fit.)

Does it work? Yes, but… But it’s 3D printed. This means you can make one for a very low cost as compared to buying one. (Here’s the real thing, at $40 USD.) I used ASA filament and a roll is $30 USD so I can print about a dozen adapter plates…

The first one I printed was actually PLA to make sure things worked. I used it with the milk crate on my bike rack and it did work. I destroyed it when I grabbed the crate to move the bike. Bad idea! The ebike weight over 65 pounds. I just ripped the adapter apart.

I printed one in ASA and that one broke as well, so I modified the model to make it stronger, but that one flew off my bike when I took a fast corner. So I learned a few things. First, I am riding an ebike, often going over 17mph on rough Milwaukee streets. I can’t always avoid potholes or other street damage so I bump and bounce occasionally. On a heavy bike with a heavy rider on bad streets the 3D printed version might not hold up.

The most recent failure involved the little part that uses a spring to click into place. I realized I should have printed the part sideways instead of flat. I re-printed, and with more shells and infill and it’s held up so far, but I’ve added a bungee cord to be safe.

I may go back to printing with PLA modifying things a bit. maybe creating a better locking mechanism than a spring loaded wedge part. I really think that’s the failure point, and it shouldn’t be too difficult to figure something out. The next alternative after that is to scrap this whole idea and come up with my own mounting solution. In theory it should be quick and easy to install and remove something from the rack, but it should hold well enough to not fall off… how hard could that be!?


Note: This post may contain Affiliate Links. Read More.