Categories
Uncategorized

Light Tracing Box

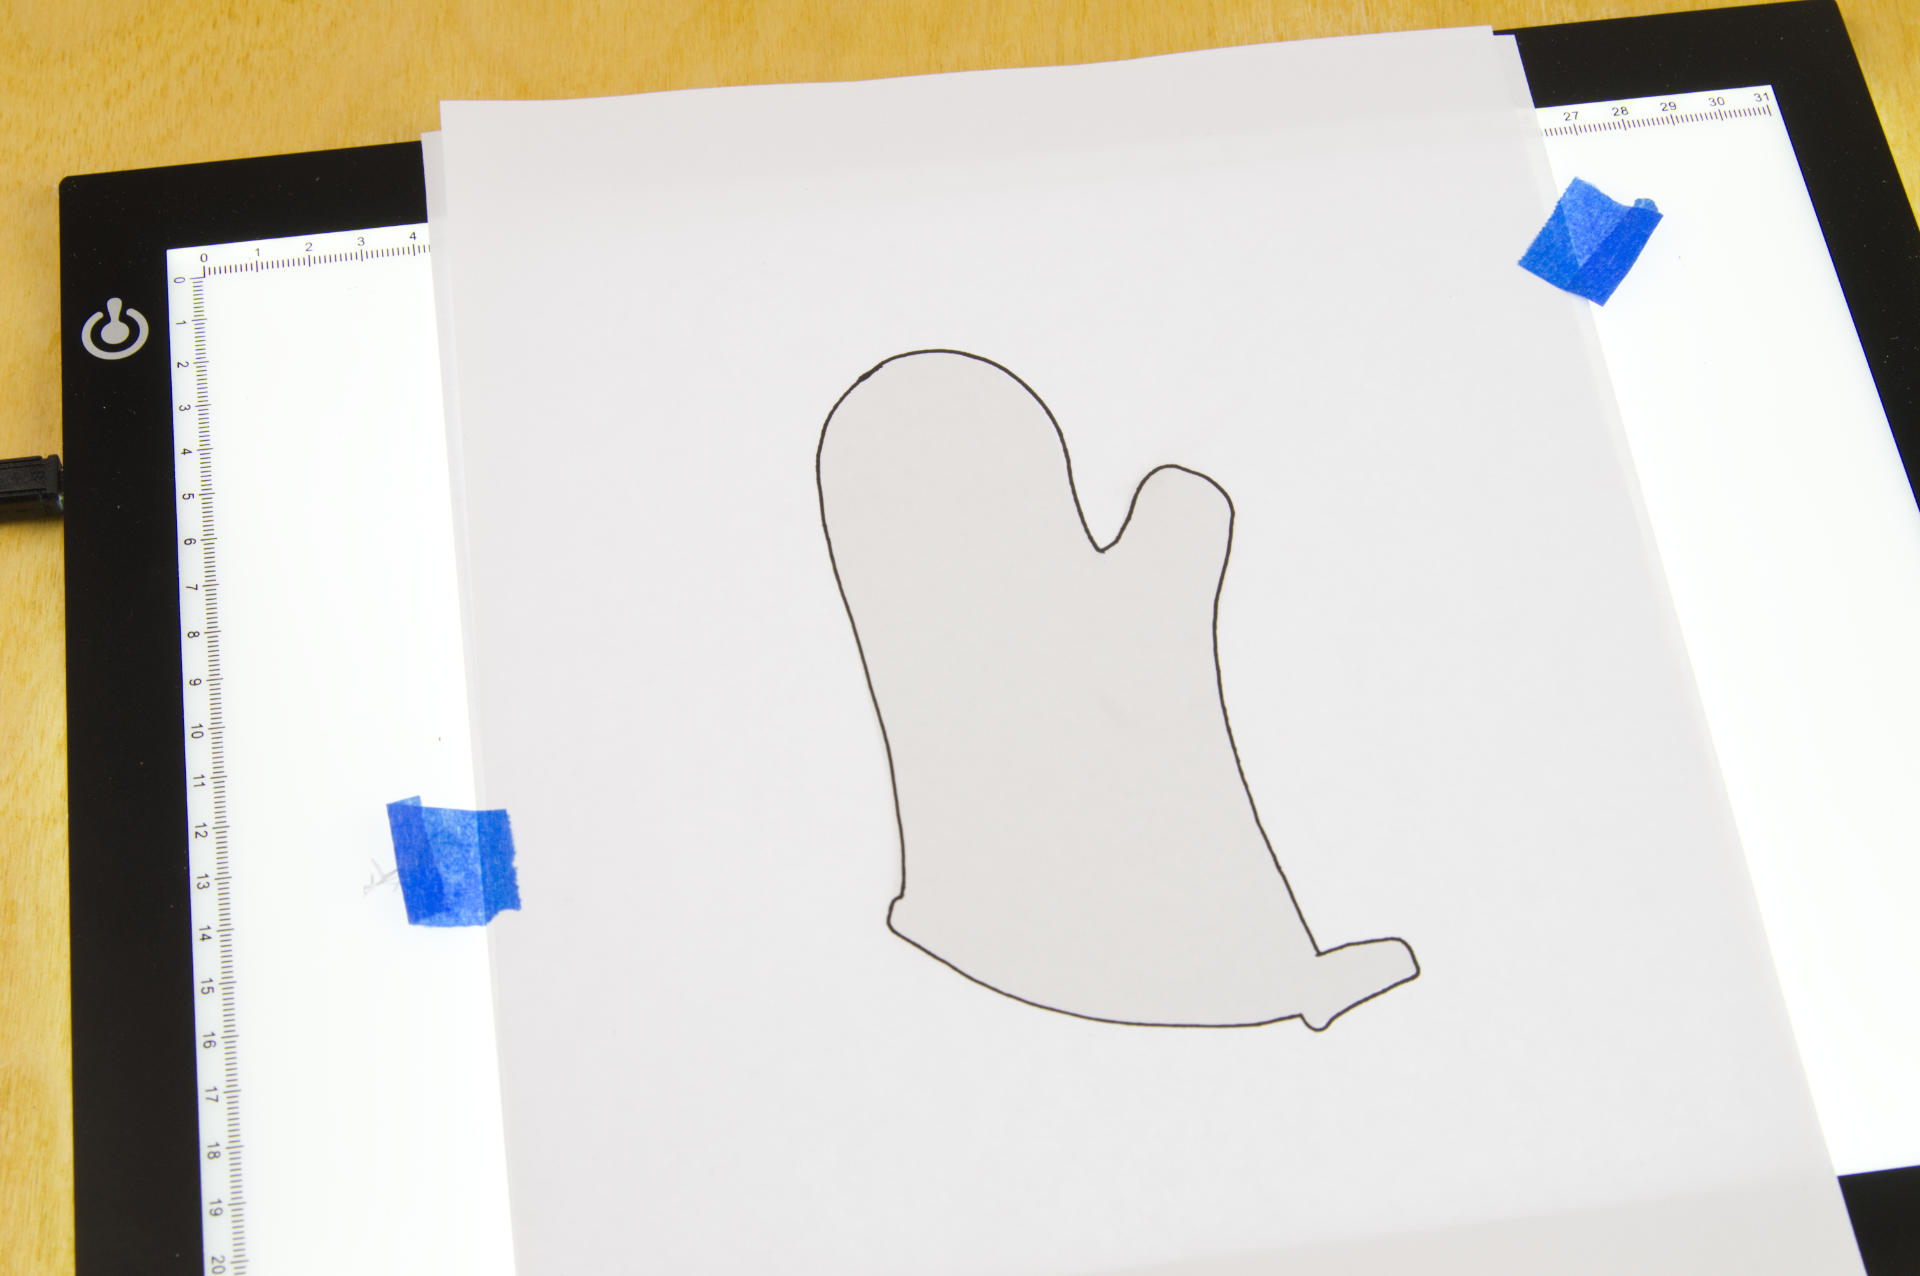
Back in the 1990s I built my own small light box. It was constructed from cardboard and had aluminum foil lining the inside along with a short fluorescent tube that was still probably 18″ long. I had a sheet of plastic for the top surface with a piece of vellum spray glued to the back. It totally worked. For a few minutes I considered building a new one using a flexible LED strip but then I looked online and realized I should just buy one.

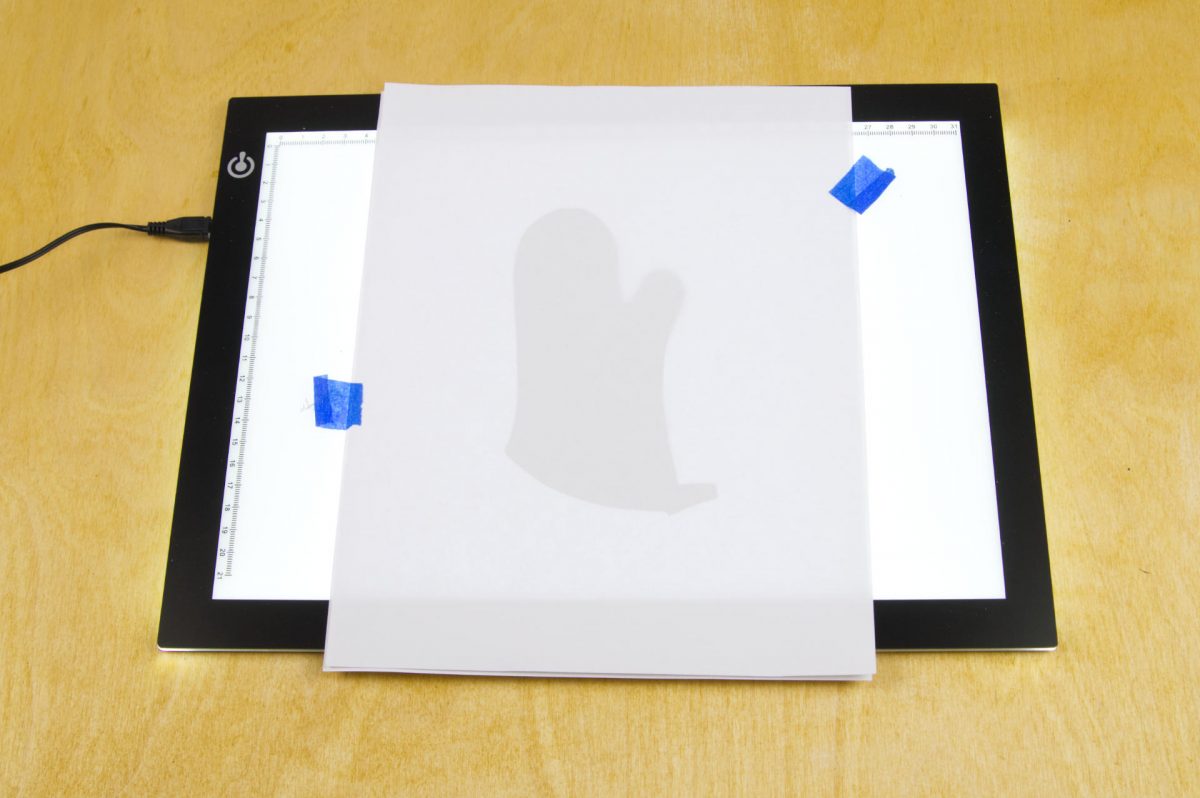
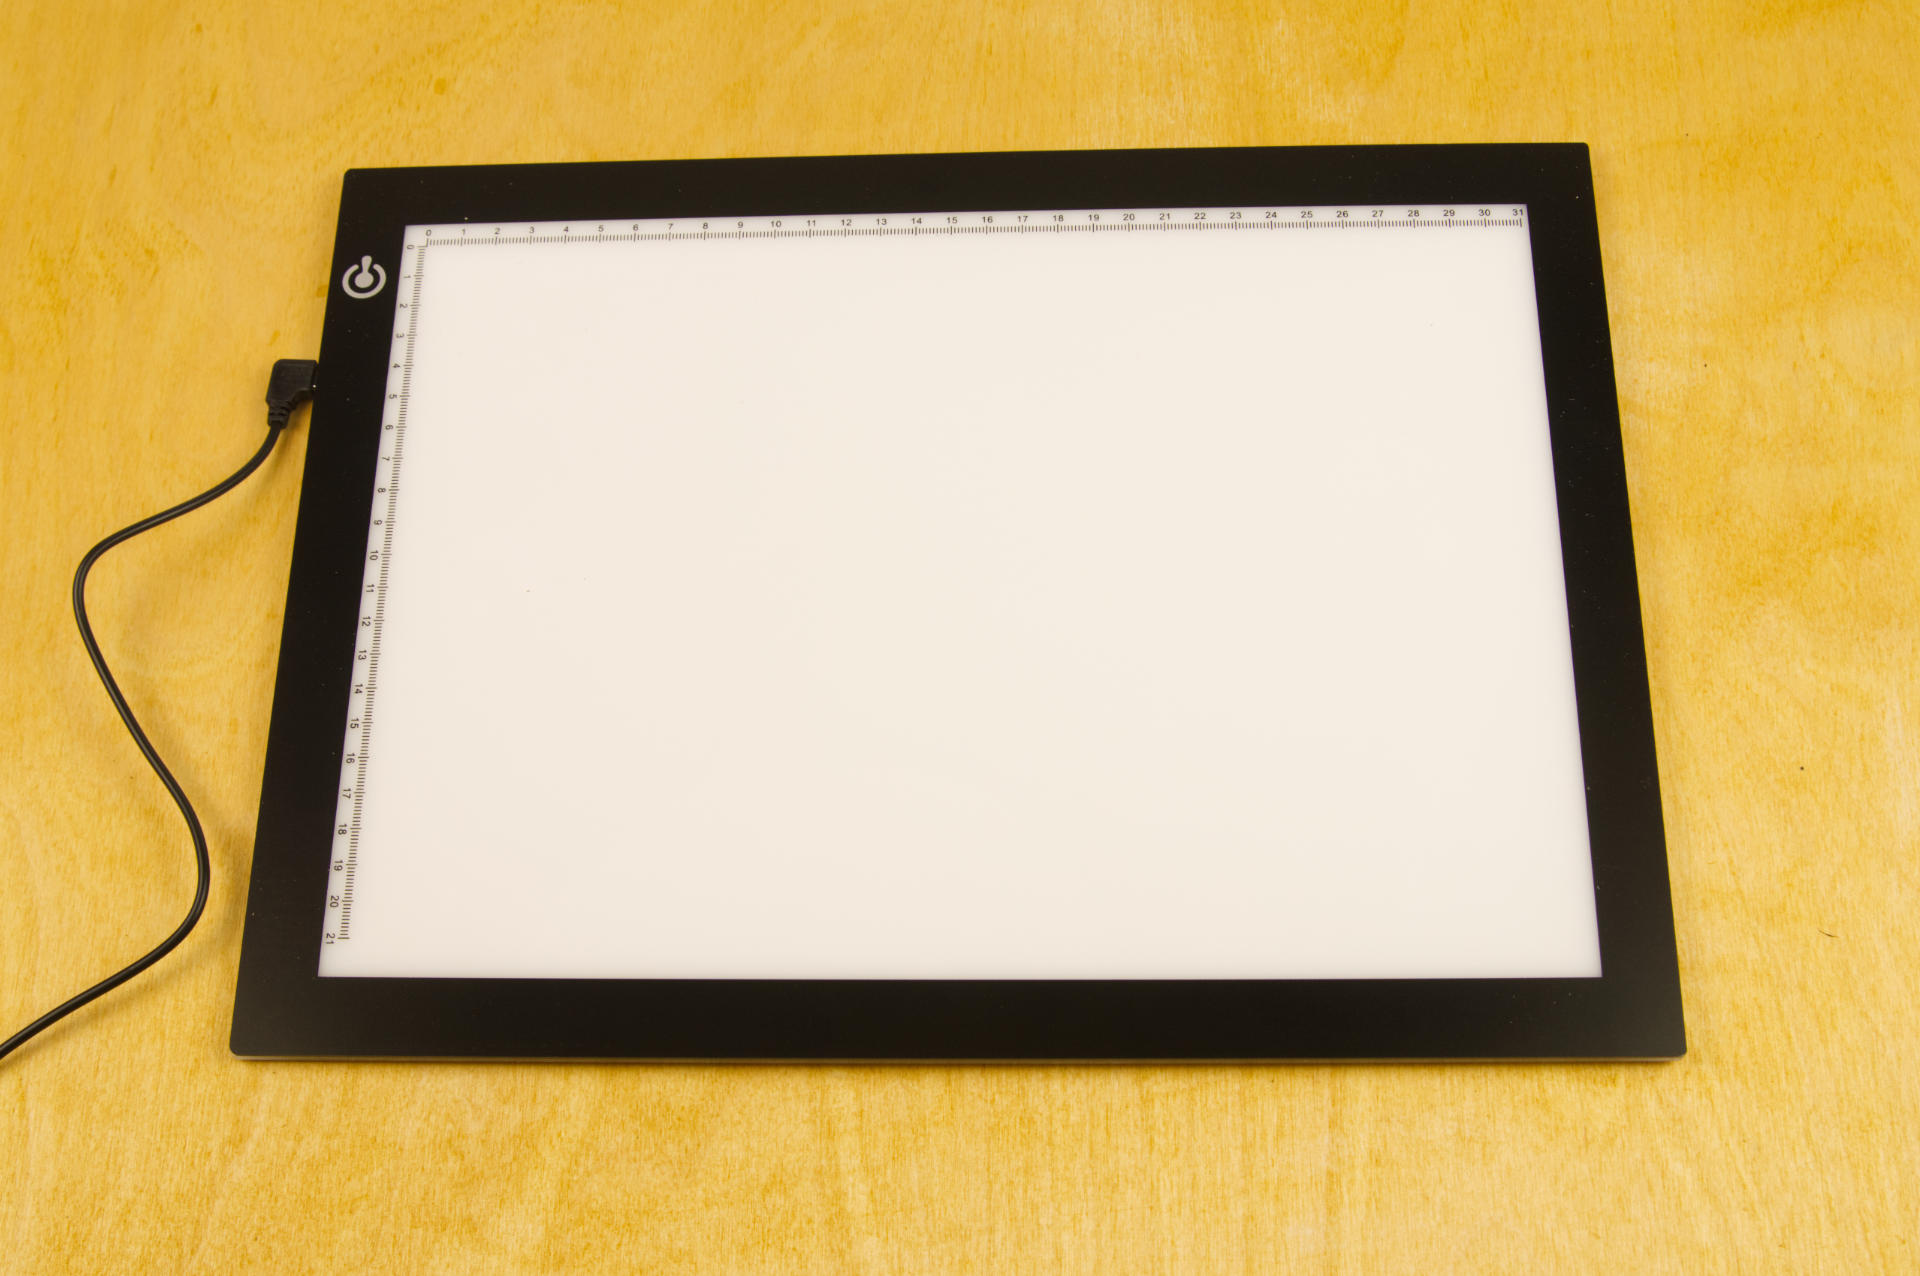
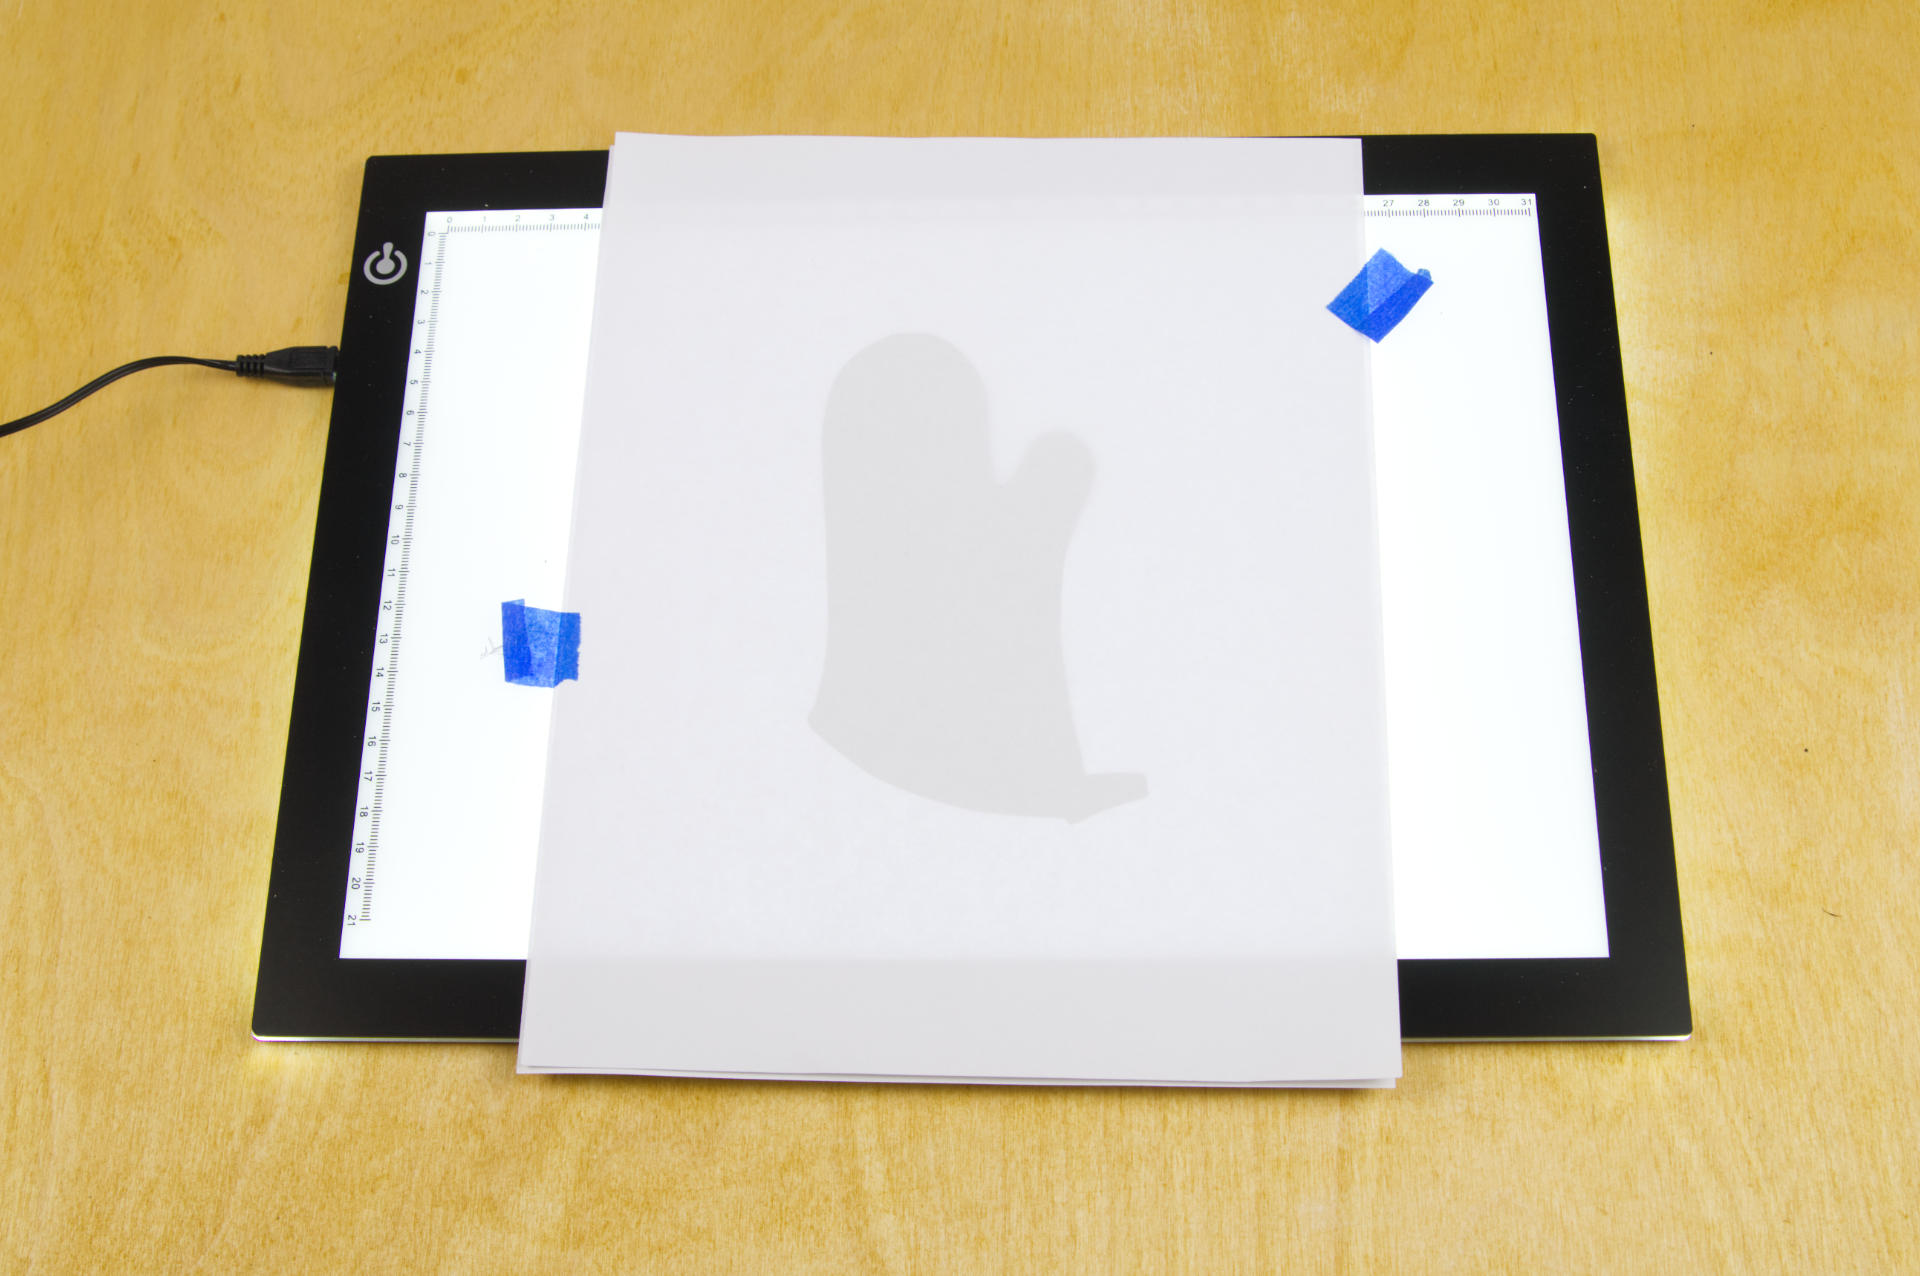
I grabbed this LitEnergy A4 Light Tracing Box for around $16 USD, and it works well enough. I mean, just look at this description:

This tracing light pad is a sleek light-up pad, the light from the pad through the paper clearly illuminates the images, which make tracing images become easy.

Right? It works for a sheet of A4 paper (210mm x 297mm or 8.25″ x 11.75″) and the “Visual Work Area” is 304.8 x 228.6mm (9″ x 12″) which means a piece of 8.5″ x 11″ US Letter sized paper works great as well. (Calling it a “box” is a little silly though.)

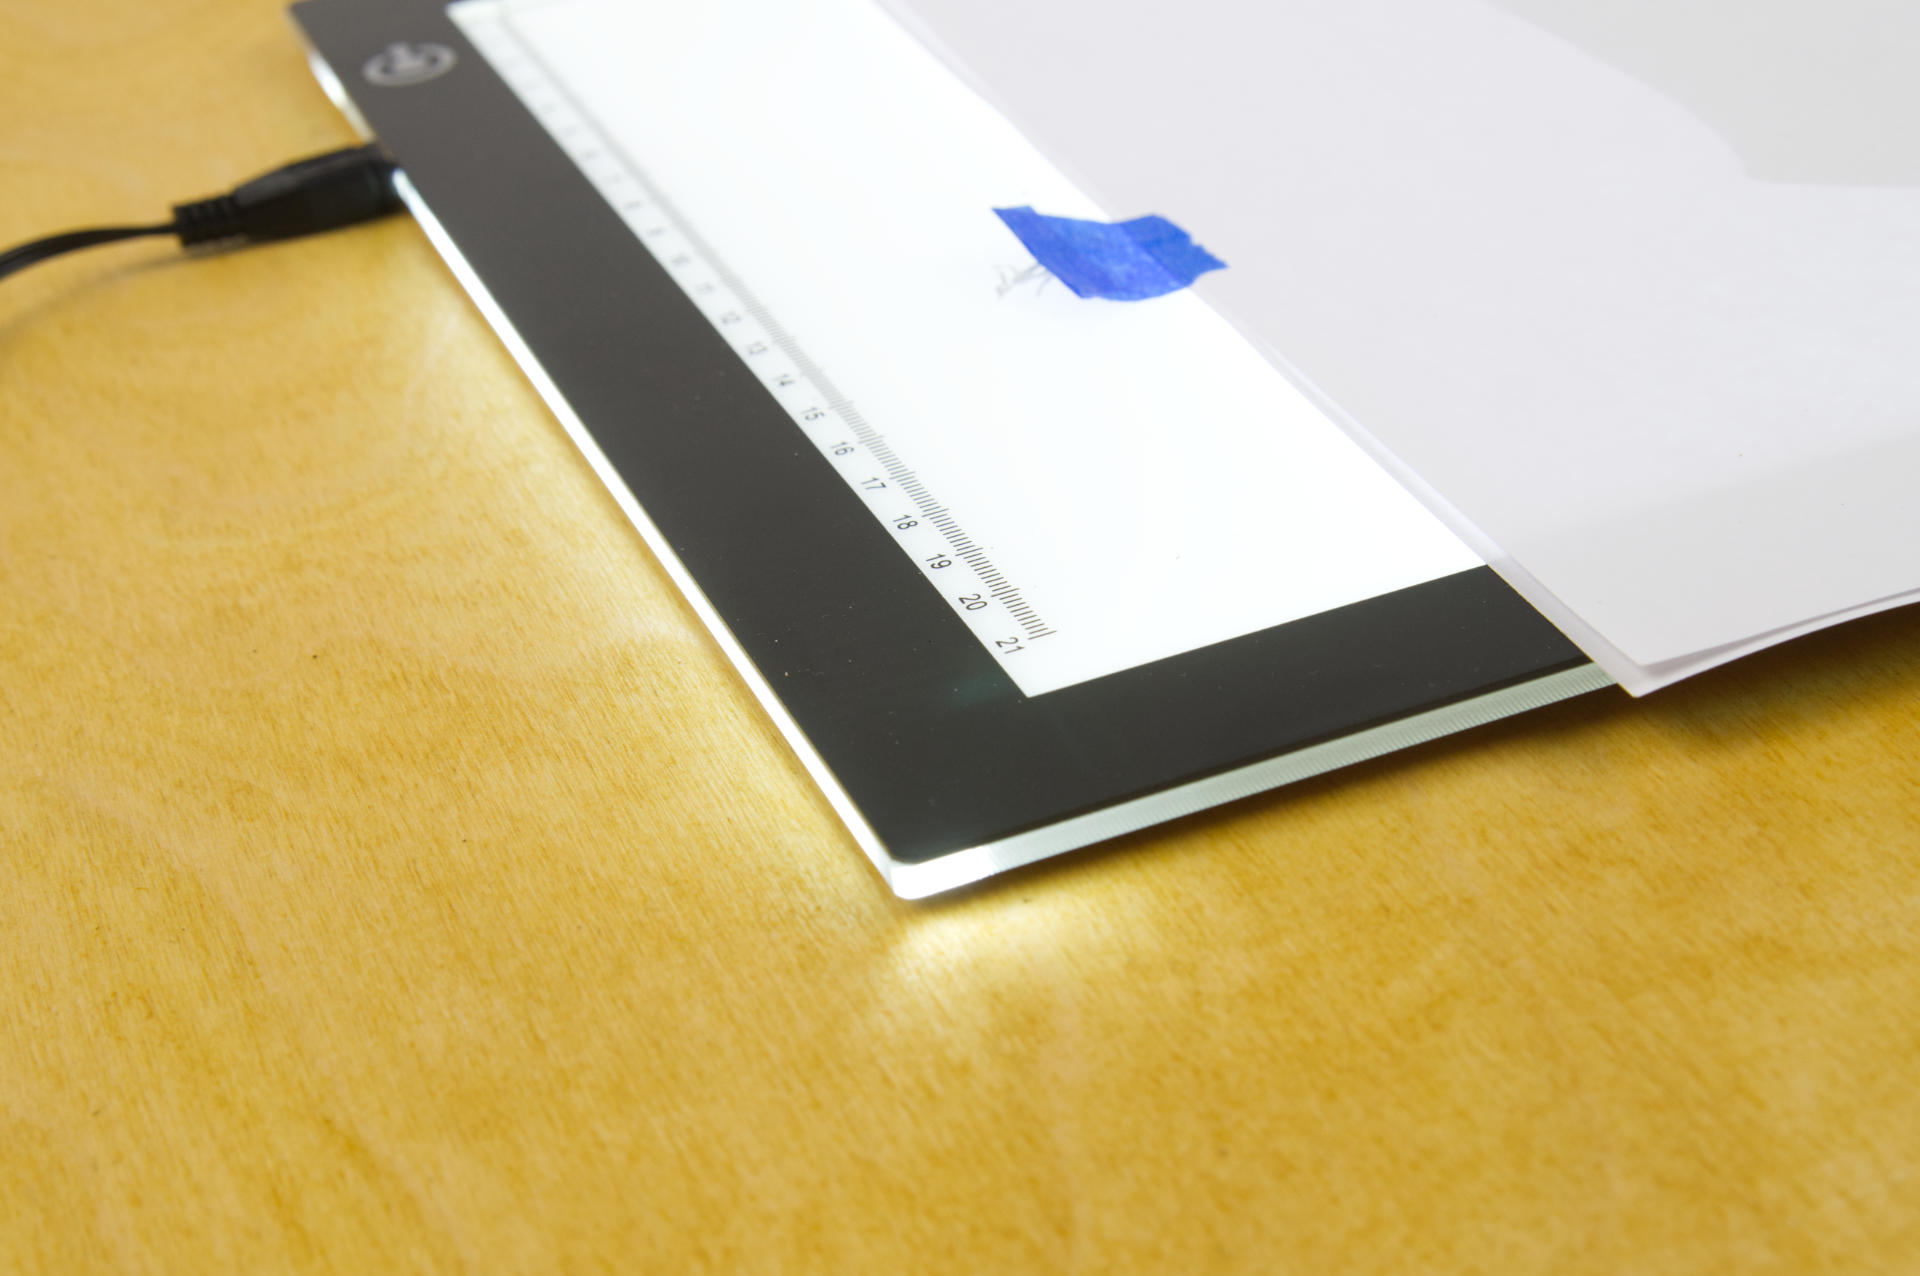
The device itself is 360.68mm x 269.24mm x 5.0mm (14.2″ x 10.6″ x 0.2″) so it’s super thin and obviously pretty lightweight. That’s all good, and the only thing that bothers me is the brightness control.

Stepless Brightness Control from 0-100 % with memory function allows you to adjust illumination freely and get the same brightness the next time you turn it on.

– Adjustable Brightness — simply keep pressing the touch switch for several second until you get the desired brightness which you want.

– Memory Feature — smart memory the brightness of your last use.

When you press the power button once it turns the unit on. Press and hold it after that and it cycles up the brightness to the brightest setting and then dims it back down to the lowest setting. So to get the brightest setting you need to recognize what is the brightest and release the button at that time. It’s not the greatest. I’d prefer 5 or 10 brightness steps so you could tap the button X number of times to get what you want.

It does seem to remember the last setting you used, so as long as you only tap the power button once to power it on and don’t accidentally touch it while tracing (because it’s not a physical button but a touch control) all is good.

I always use the brightest setting but I also use 24 lb (90 GSM) paper so maybe my paper is just a little thick and more difficult to see through.

Some of the comments I’ve seen for it say things like “Works only when plugged in” and “It has to remain plugged in to use it” and, wow, no shit… you’ve purchased a device that needs power and does not have an internal battery. Some people complained the cord was too short. It’s a standard Micro USB cable, so you can get a longer one or you can use a power bank, or even plug it into a laptop for powering it (somewhat) portably. I’m surprised no one complained they can’t use it in the rain.

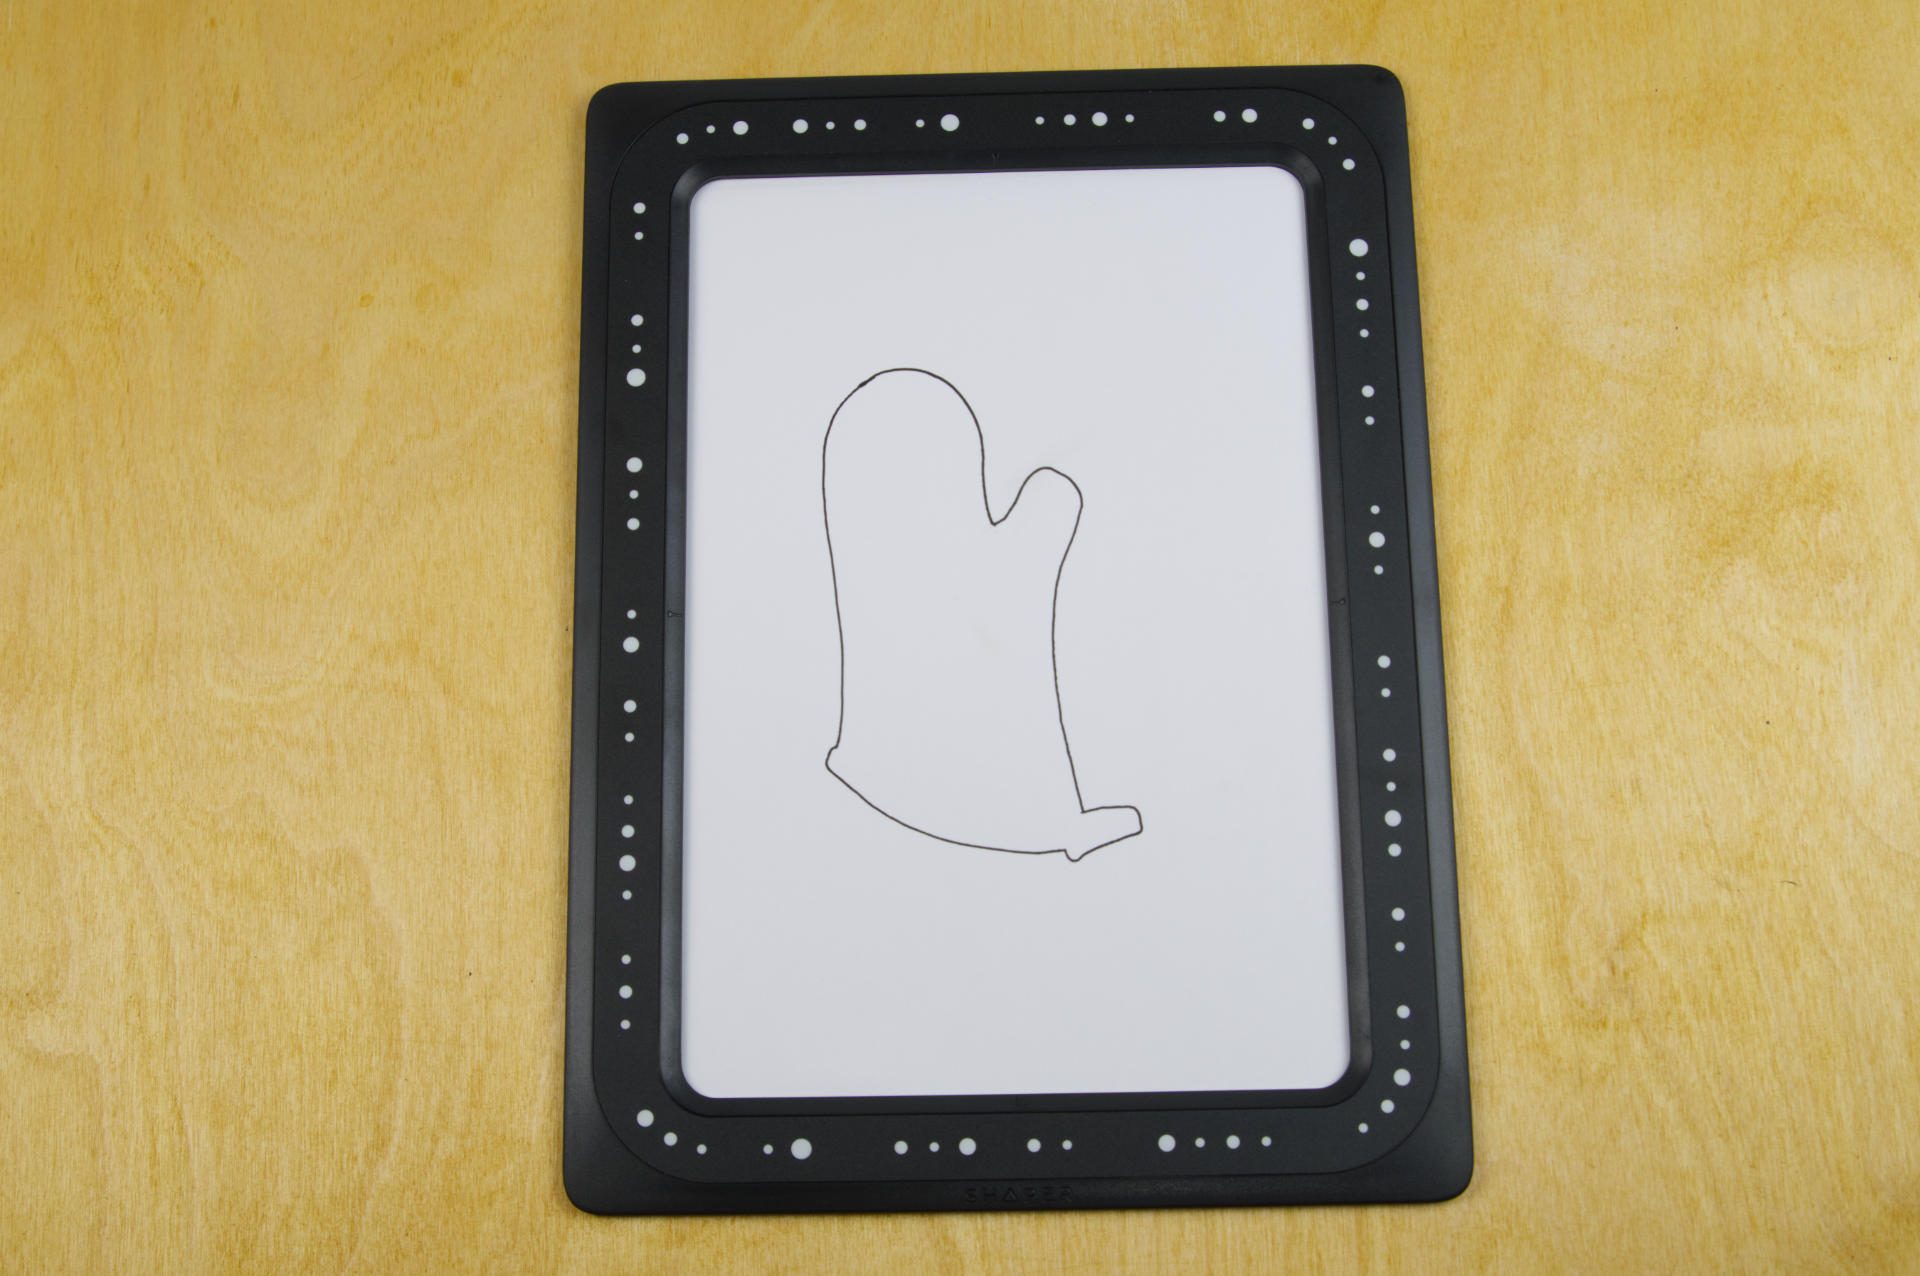
As for the stuff I trace, I take those drawings and digitize them with the Shaper Trace to get digital vector files.


Note: This post contains an Affiliate Link. Read More.

Categories
Uncategorized

Hammer, Screwdriver, Illustrations, etc.

I use Illustrator a lot when I create guides at Brown Dog Gadgets, but most of my vector work in the past 10 years has been creating files for digital fabrication, so getting back into the “illustrate a thing to make it look nice” has been interesting. I’m about 6 months into almost daily use of Illustrator and I’m now working on making better illustrations.

Above is a hammer I recently illustrated, at home, on my own, for fun. I started with a photo of a hammer as a guide and got the basic outline and shapes by tracing on top of it, then I put it off to the side and used as a reference. There are things I really like about it, and some room for improvement, but overall I think it’s good progress.

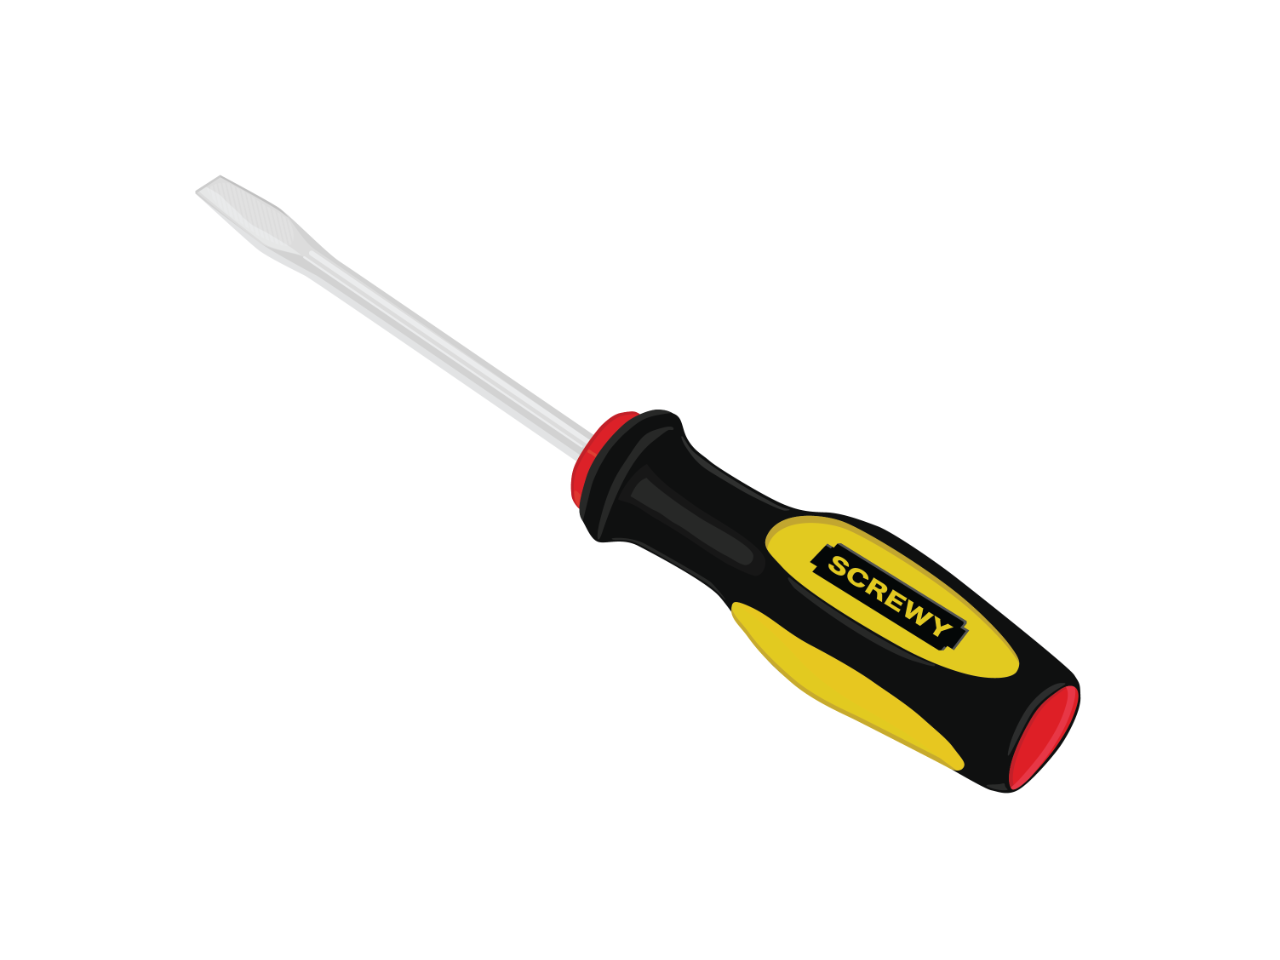
Here’s another one, which is (obviously) a screwdriver. This one took about 90 minutes (the hammer was probably a little less) and I definitely could have done more, or come back to it, but part of this process is not to obsess over it, or go back to it again and again, but to sit down, do an illustration and call it done. (Probably 60 to 90 minutes and not more.)

Here’s a recent one I did for work. I needed a safety pin for a guide, so I very quickly made this one based on a photo I found. This is not perfect, but I think it’s good enough. Part of creating guides is just getting it done quickly, so being able to knock these out in a timely fashion is key.

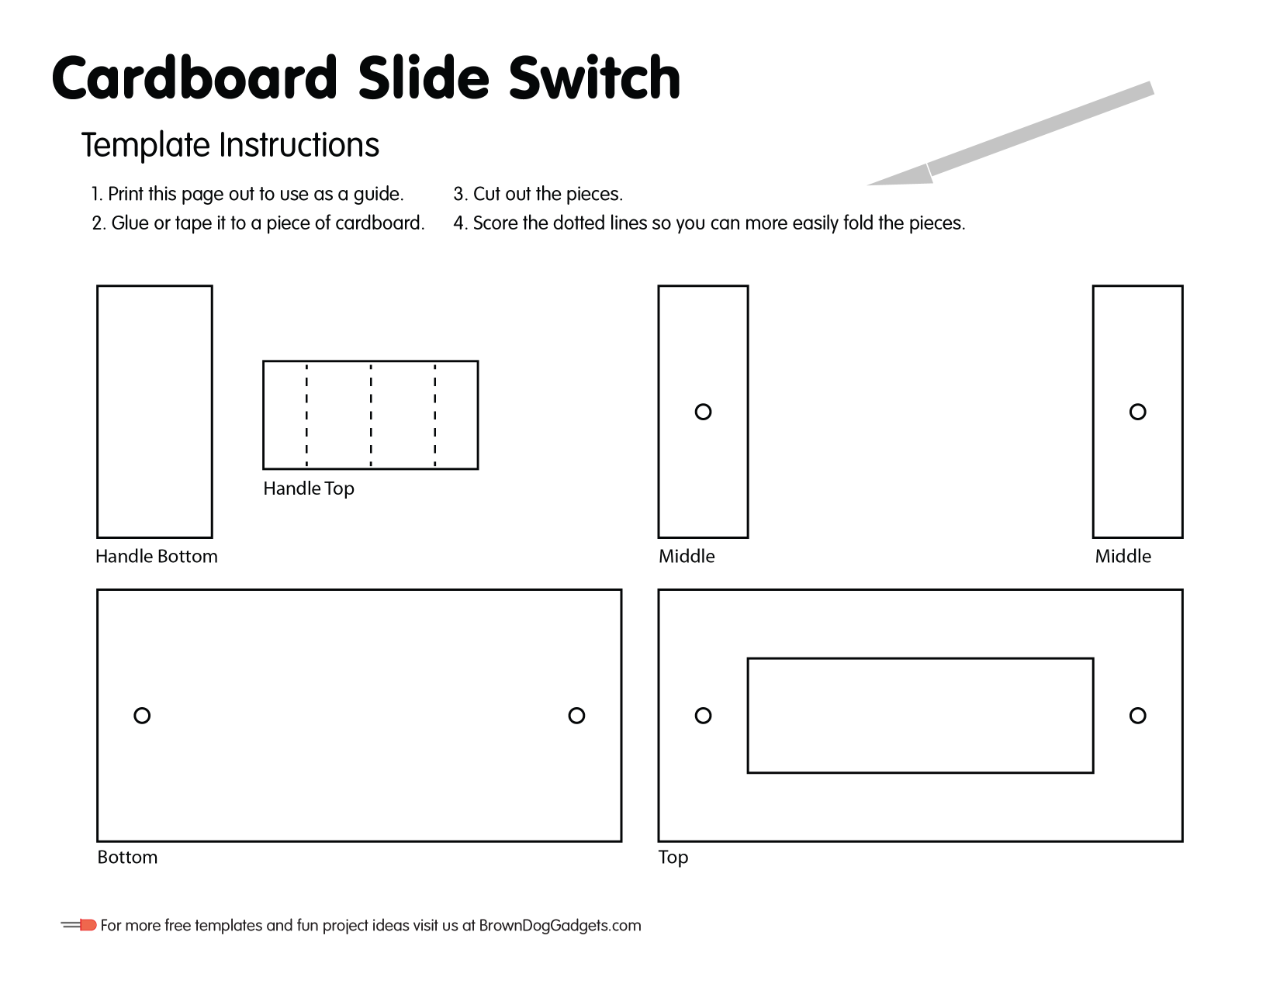
Below is an example of a guide with a bunch of illustrations. This is one of the more complex guides. I usually do the three dimensional view part of it by taking a 2D version and using the shear tool. I don’t yet know if there’s a better way to do it. One of the guides I looked at basically said “Prepare for the shear tool to get away from you and screw everything up.” So, yeah… I’d love to find a better way to do it, especially since the proportions seem off.

I typically use Inkscape for my digital fabrication work, and I did get a license for Affinity Designer which I’ve used a bit, but overall I’d prefer to keep my skills separated and not tied to a specific application, which may mean I have two things to do: Get more familiar with Adobe Illustrator, and also start doing these sorts of illustrations in Inkscape and/or Affinity Designer.

Also, I am open to any critique or advice on my illustration work. (Thanks!)

Categories
Uncategorized

A Brief History of Drawing Machines

Machine Drawing

I stumbled upon this project titled Machine Drawing Drawing Machines by Pablo Garcia a while ago, and then I found this great video of a talk he did at MIT about the history of drawing machines.

Pablo Garcia

Technology and art have always come together in some way…

It is a long video, and it was an hour into it before I realized Pablo was the guy behind the NeoLucida Kickstarter. I’m not as much a fan of drawing aids as I am machines, but there’s a ton of great info in the video.

There’s also a DrawingMachines twitter account worth checking out, as well as Pablo’s account, and his web site at pablogarcia.org

The video revealed a lot about machines and drawing that I’ll be thinking about for a while, especially in relation to my own work and views on these things. Good stuff!

Categories
Uncategorized

Day of the Pete!

Day of the Pete!

Día de Muertos! Day of the Pete!

After coloring the Wenchkin van, our pal Wenchkin was so pleased she actually drew me! So now you can colorize Pete.

(The image above is of course from my avatar, which originally came from this photo.)

I feel quite honored… If you like coloring (and who doesn’t!?) check out the rest of the Yucca Flats, N.M. site for more awesome coloring action.

Categories
Uncategorized

Wenchkin Van

Wenchkin Van

Over on Google+ I started following Carolyn Curtis (aka Wenchkin) because she makes awesome art.

The latest awesome thing she’s done is Yucca Flats, N.M., a new art blog with some coloring pages, and if you know me, you know I love me some coloring pages, and I love me some vans… combine the two? You get my “Wenchkin Van” you see above. (Click the image for the full-size version.)

It felt good to use the Wacom tablet again, even if I’m just coloring in something I didn’t draw myself. Part of my problem is that I don’t think I draw very well, but I still like to draw, so this is a nice compromise.

I hope you like it Carolyn! :)