Categories
Uncategorized

Deftaudio MIDI Enclosure

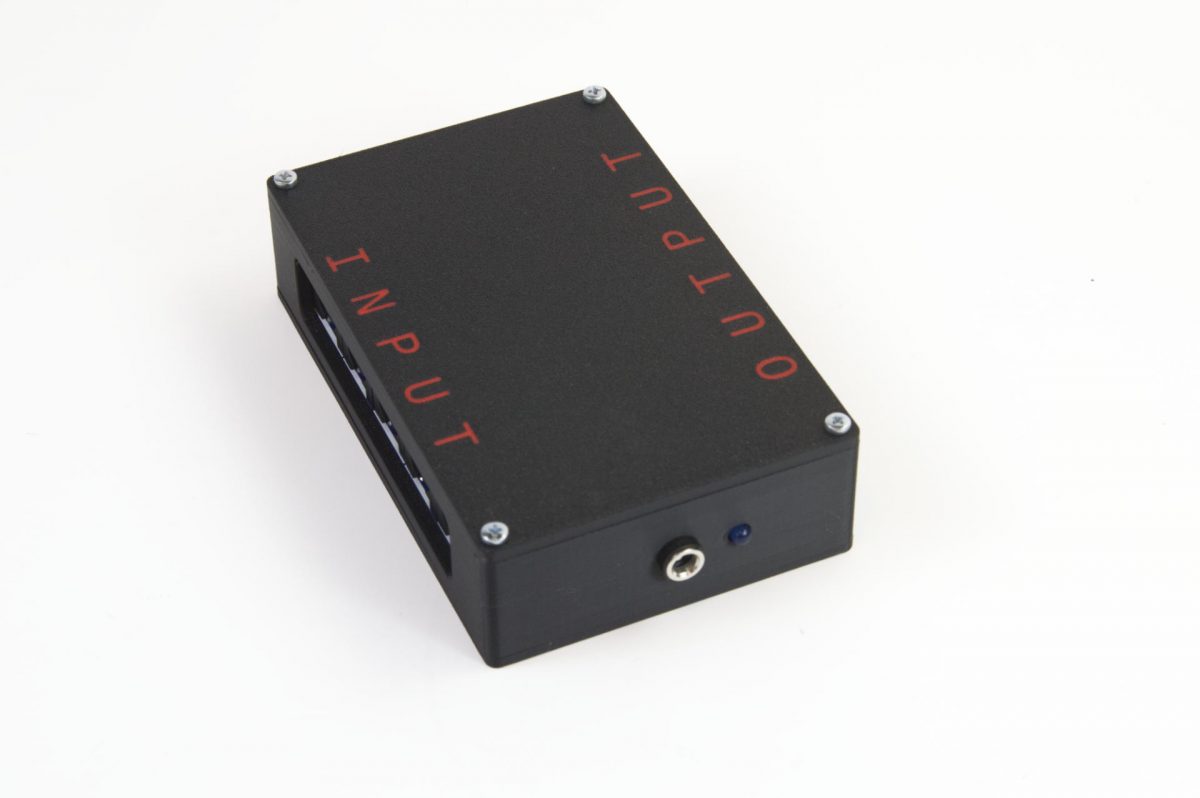
I’ve mentioned Sky Creature before, as I’ve made a few things for them. So back in April I was chatting with Matt and he said he got a Deftaudio Teensy MIDI Breakout Board but would have to figure out an enclosure for it. I said something like “I make a lot of enclosures!” and he said “I’ll keep that in mind!” and then I totally forgot about it.

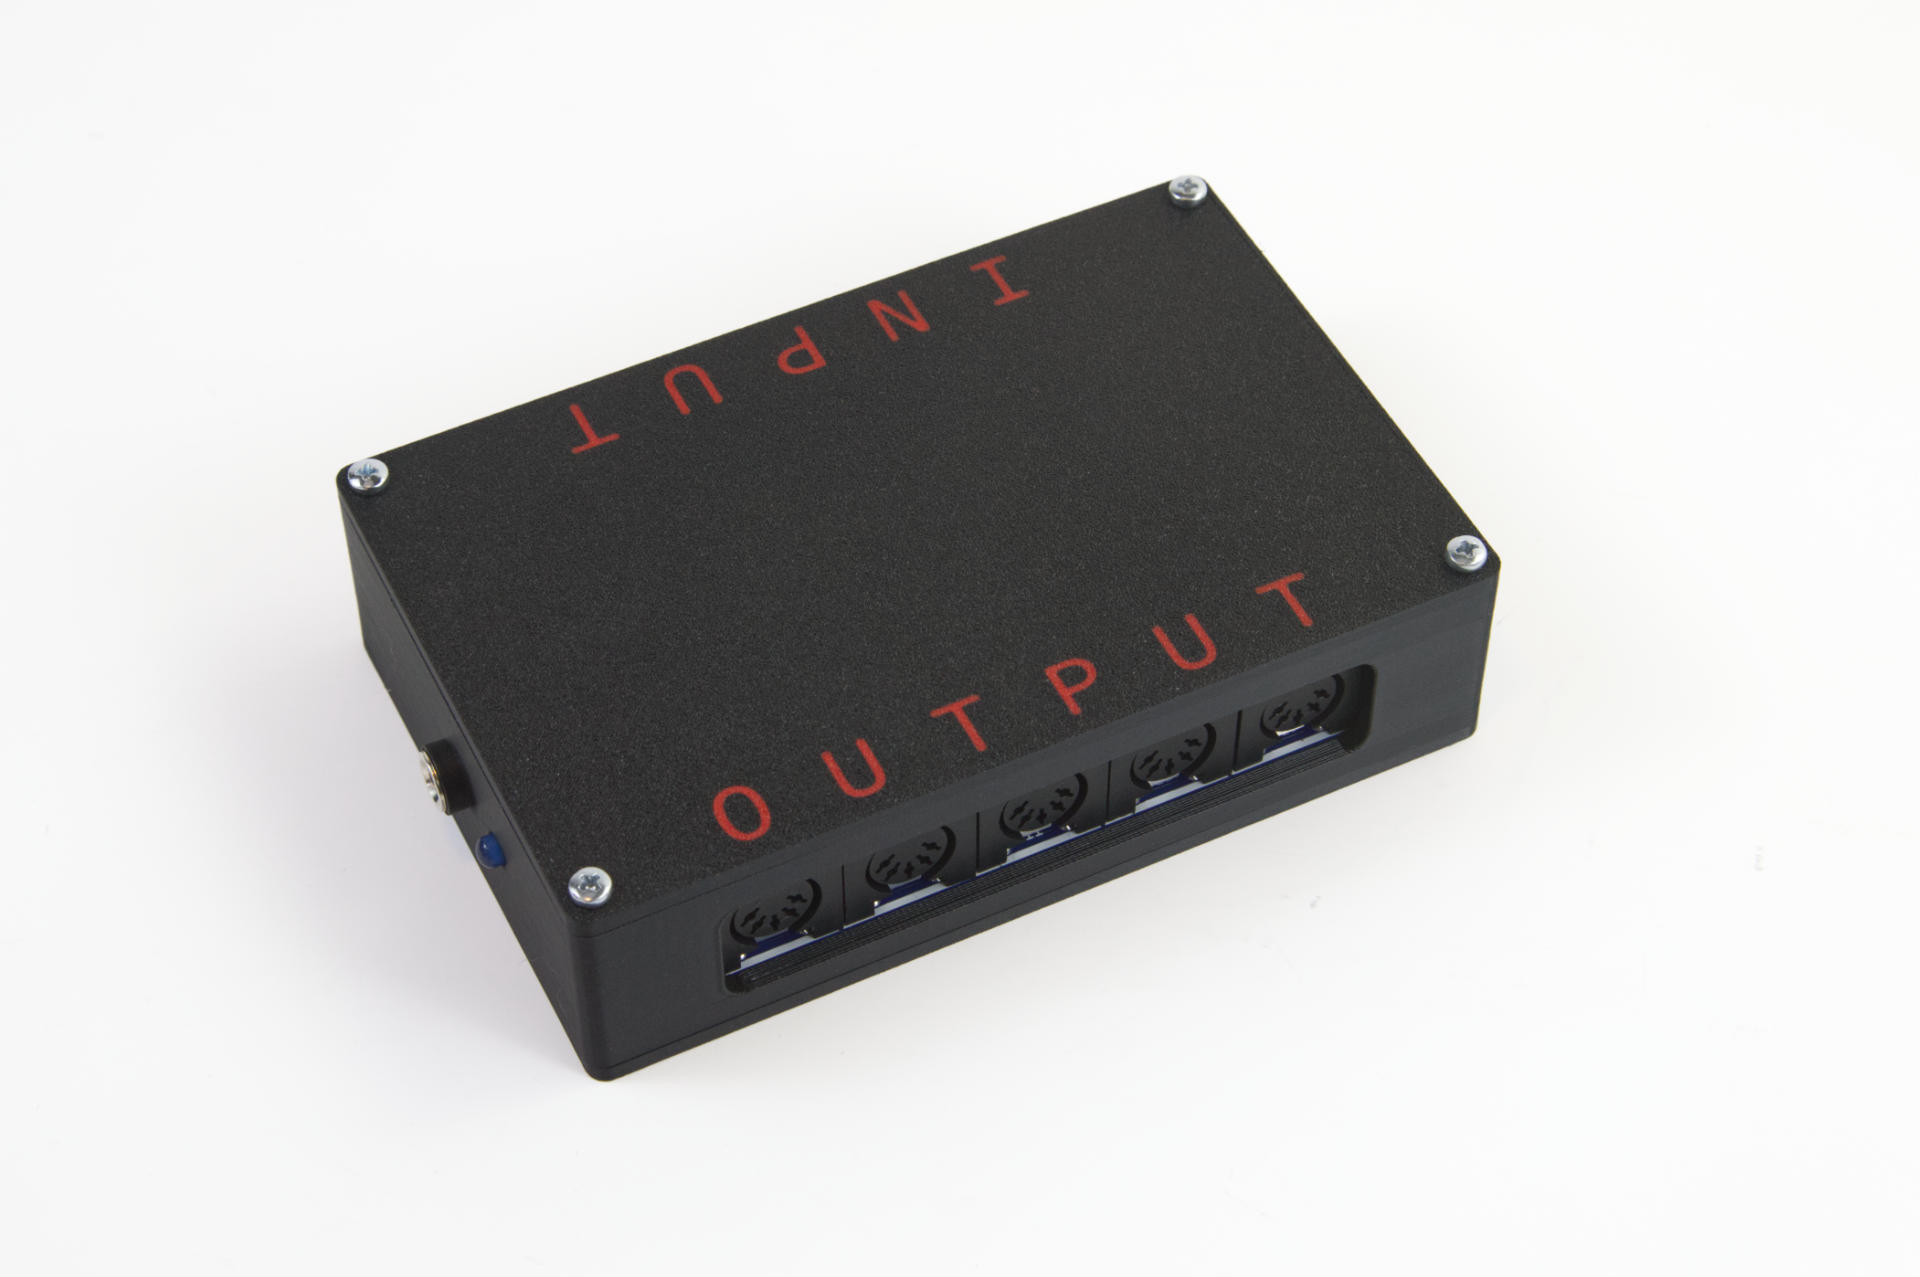
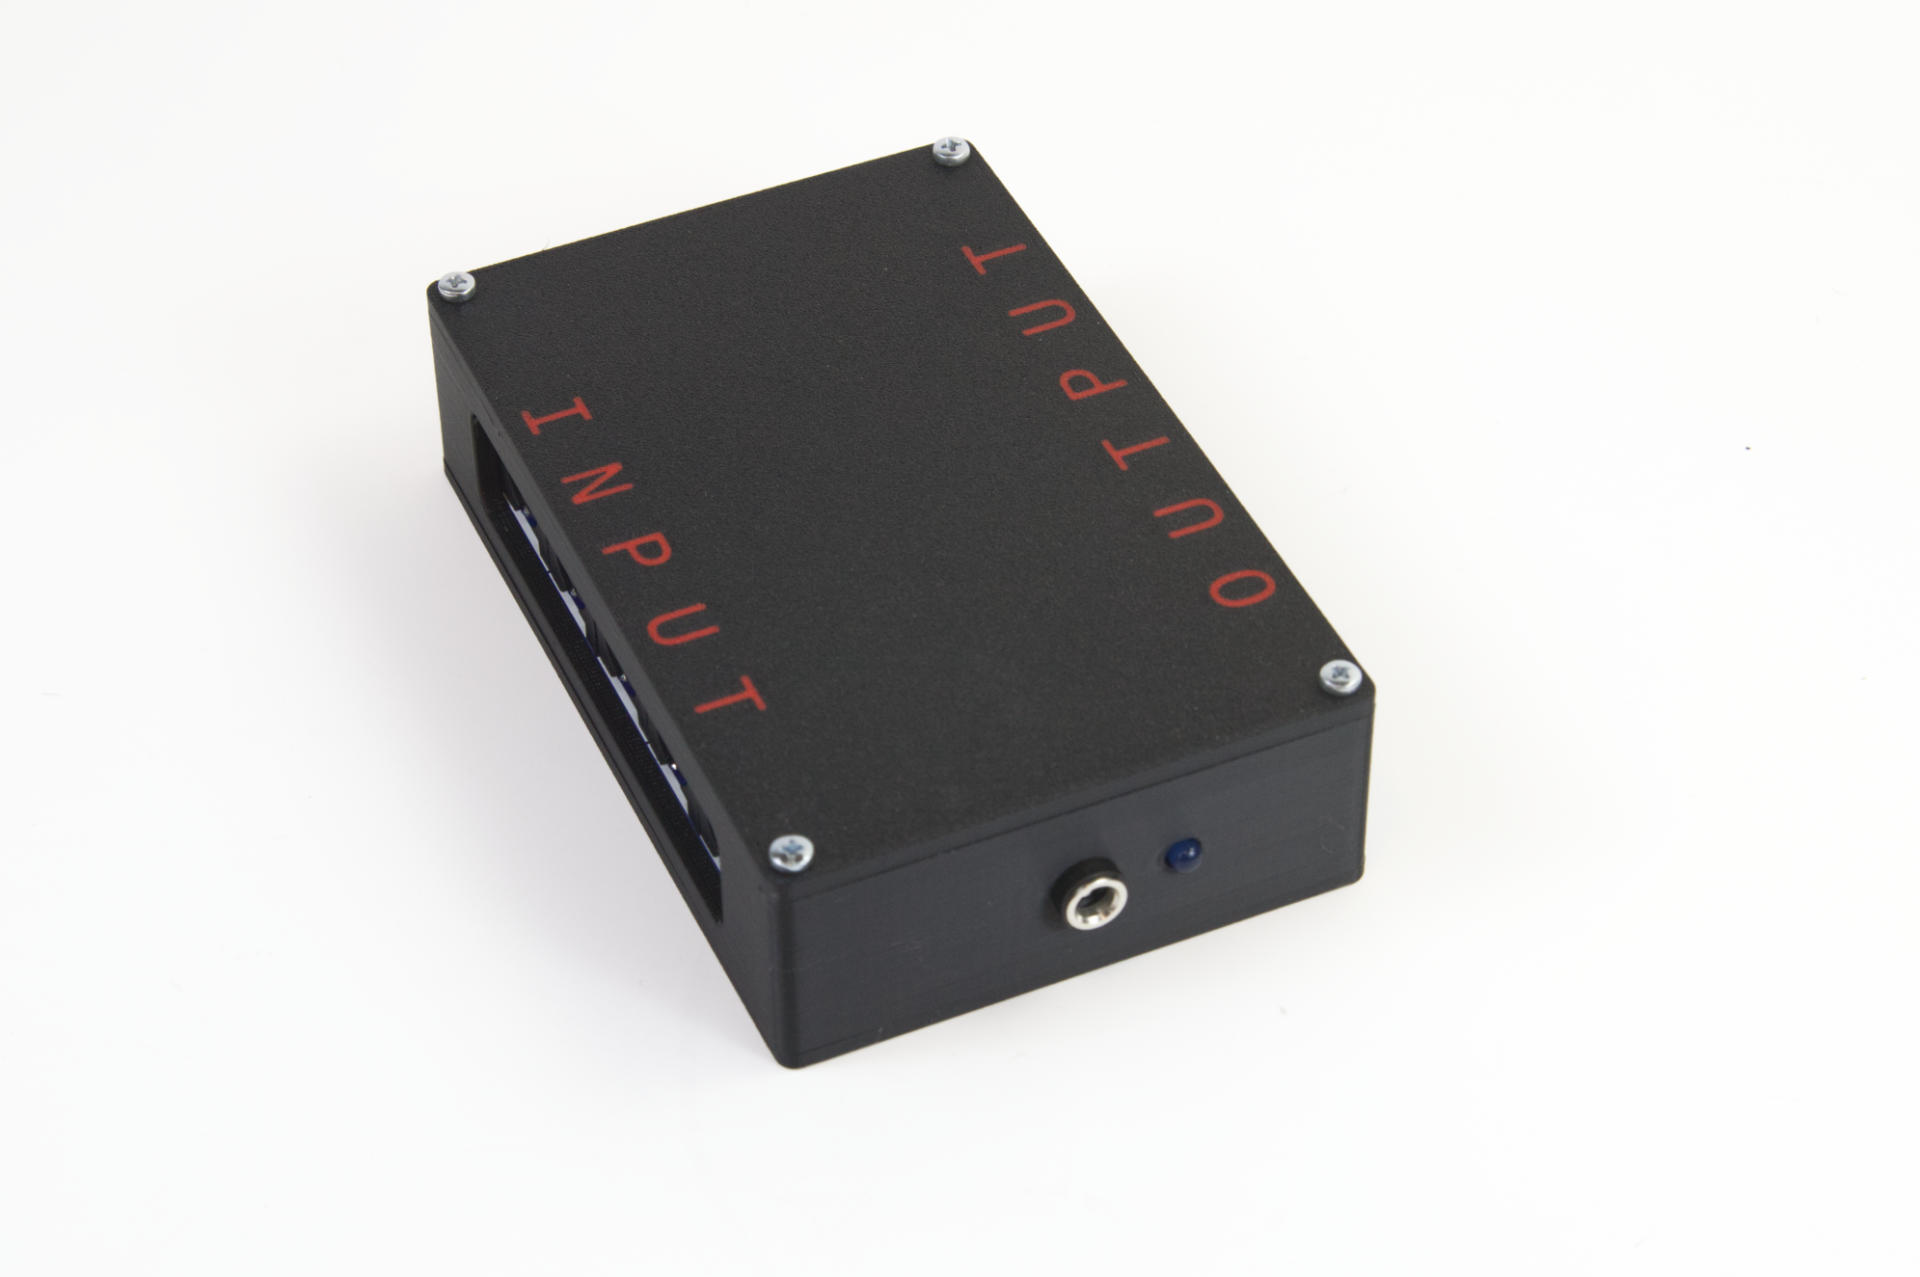
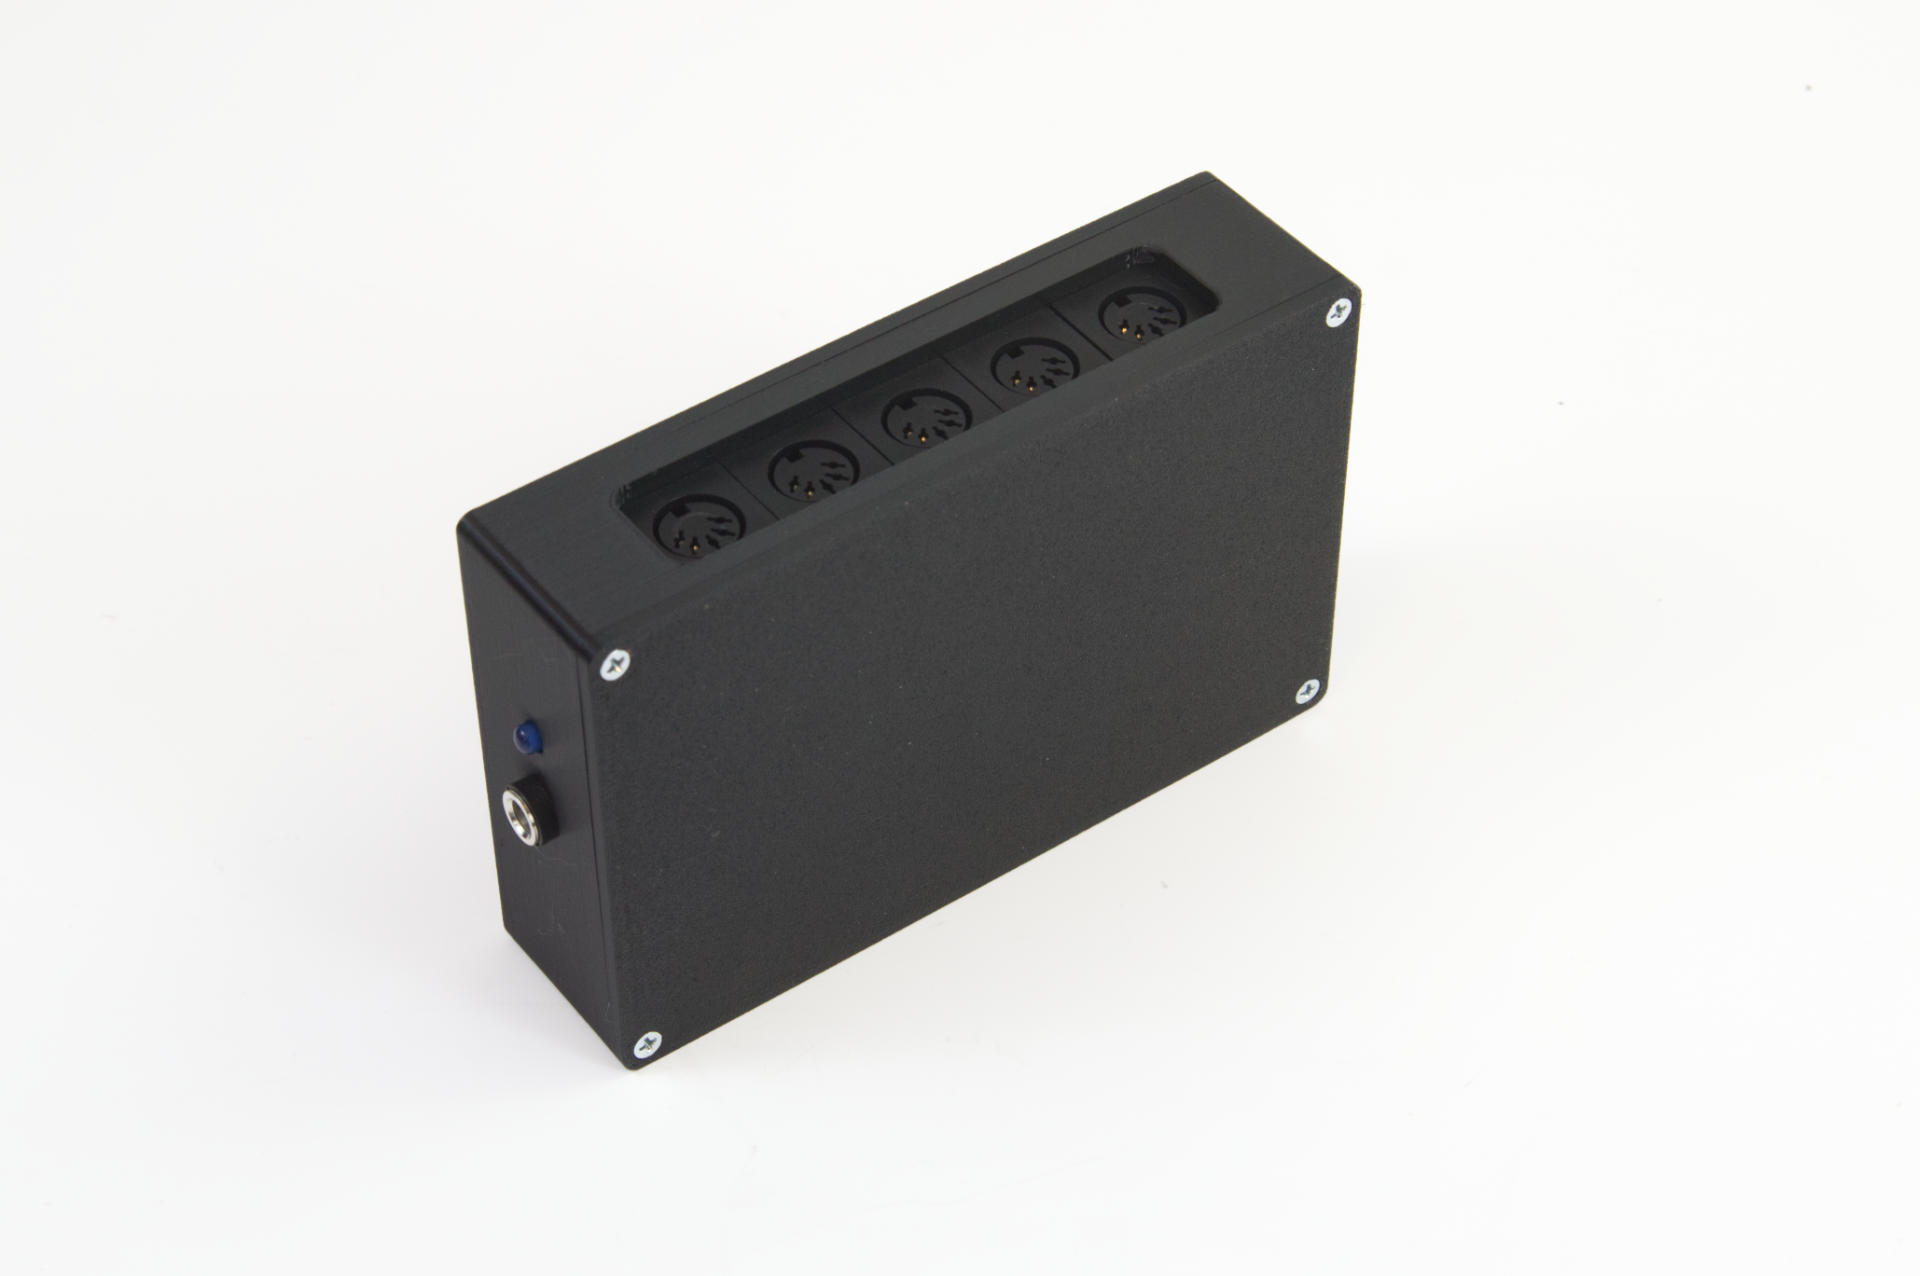
Matt did not forget about it though, and asked me to knock out an enclosure for it before they headed out on tour. He shipped me the assembled and programmed device and I designed and fabricated an enclosure for it. Oh, I also added circuitry so it could be powered by a standard guitar pedal power supply, which is a barrel jack with 9 volt tip negative. I threw in a power LED while I was at it. (The Deftaudio board is nicely designed and easy to add things to via a set of male pin headers on the board.)

I got this done it about a week. The funny thing is that I sent Matt a photo and he said “That’s a great looking render” and I said “Sir, that’s a photo… I’ve finished it!” but sadly I forgot he wanted easy access to the USB port for (re)programming. I had it so you could remove the bottom cover and get access but I ended up redoing the body of the enclosure to make it easier.

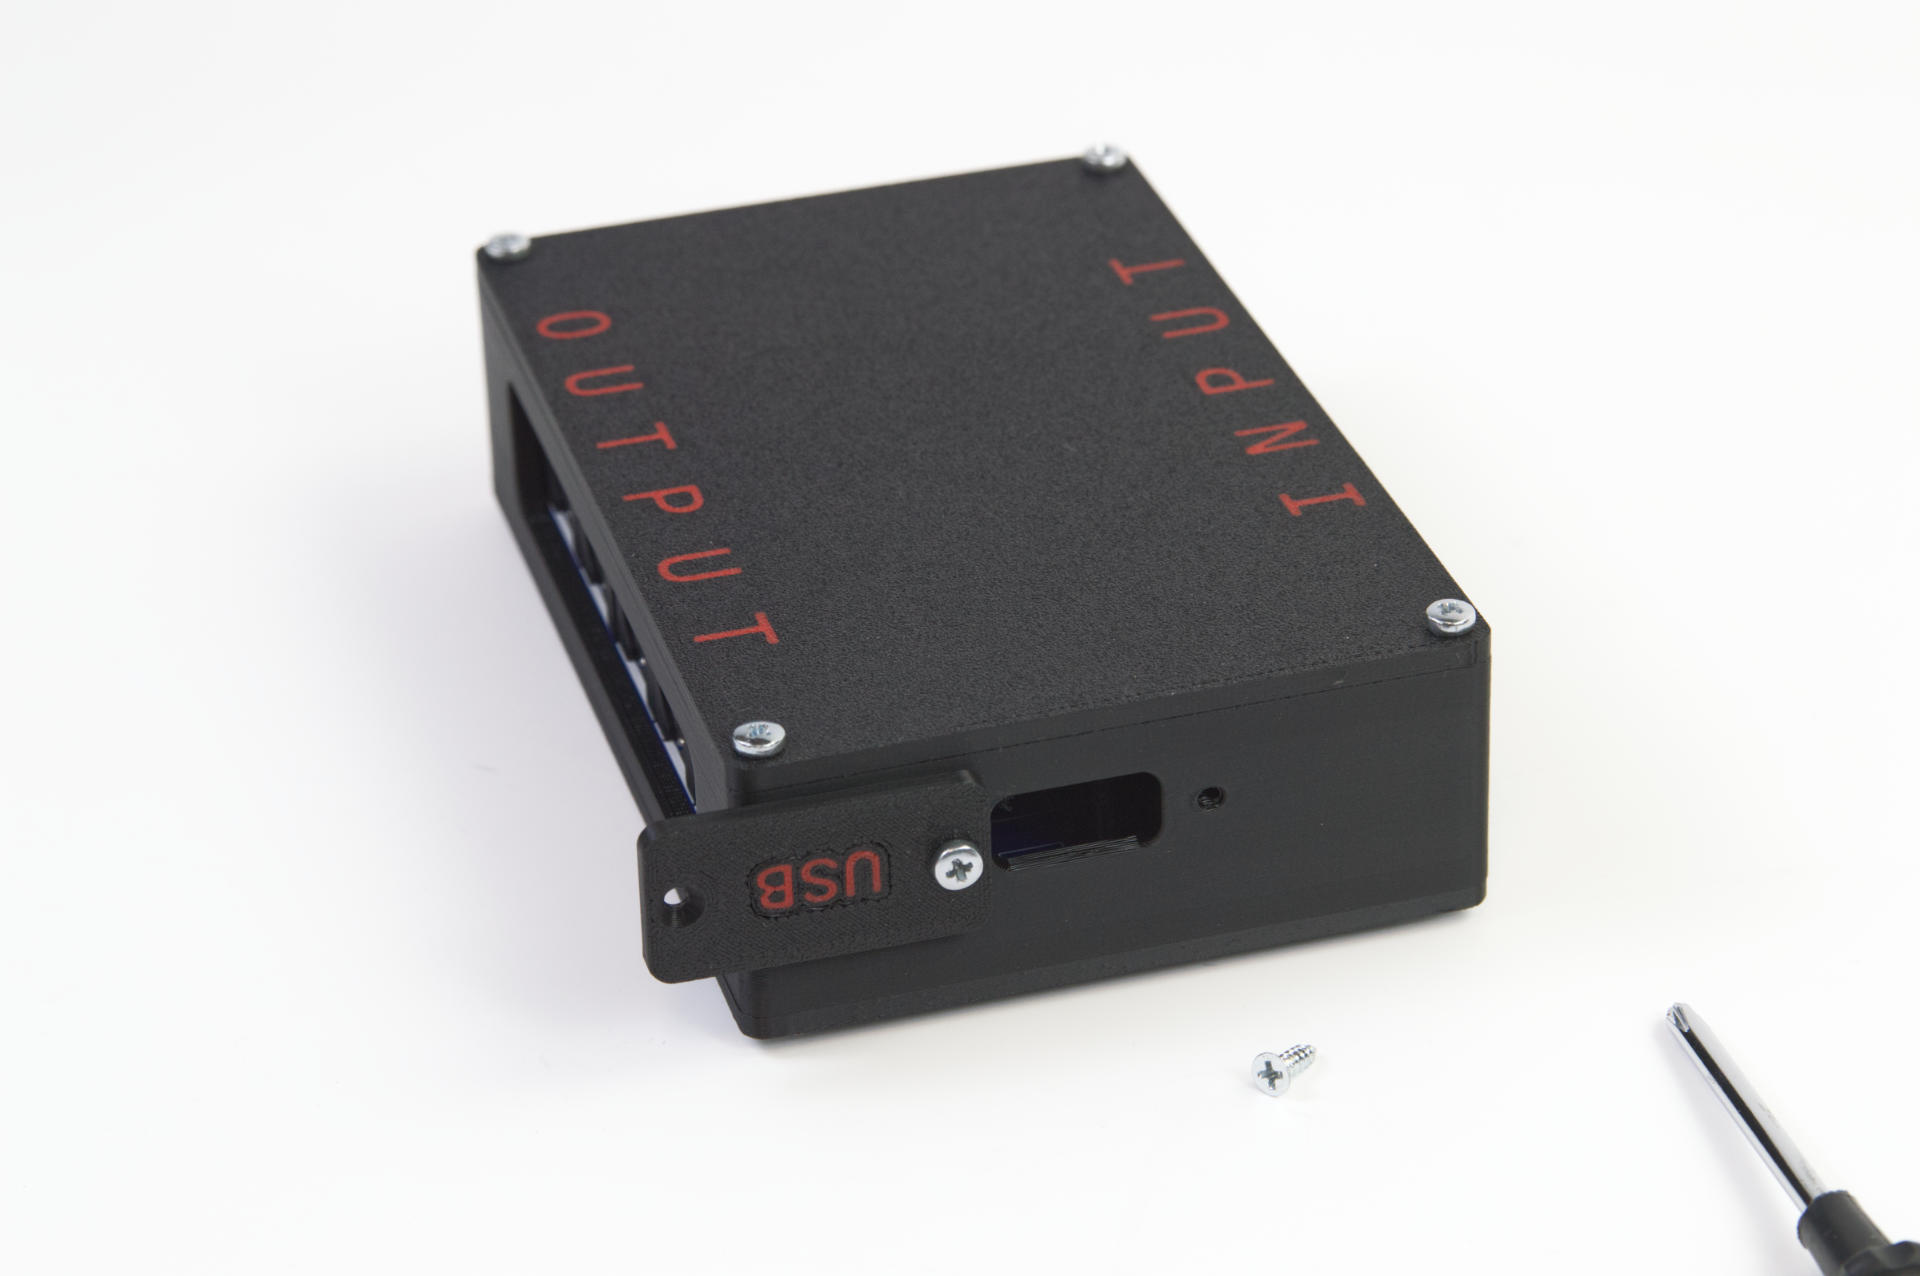
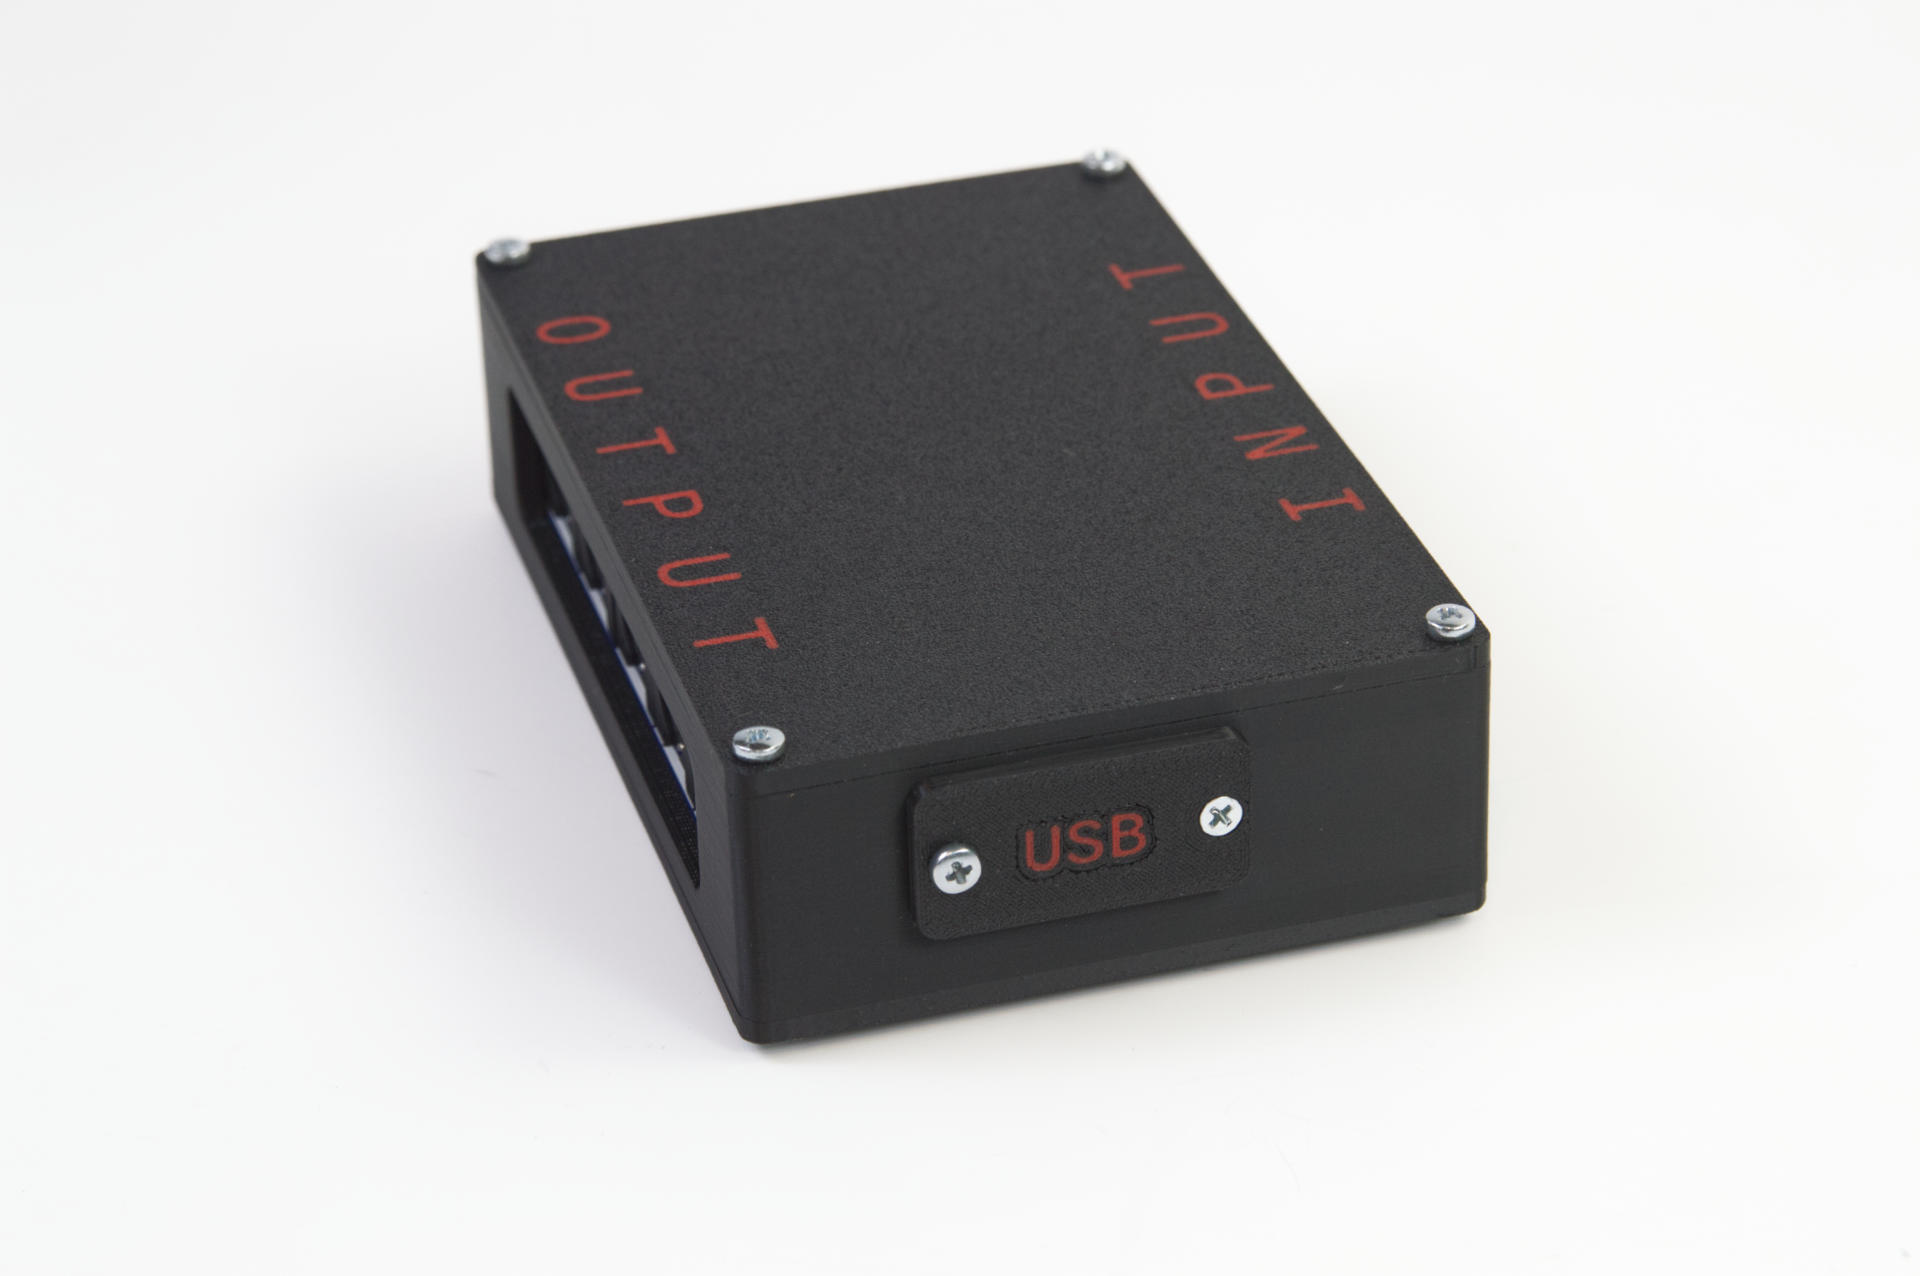
It was sort of last minute and a rush and I don’t know how elegant it is, but there’s a little swinging hatch that pivots on a 3mm screw with a cap nut cranked tight on the end of it. The other side of the hatch has a small screw to hold it in place…

The idea being that you remove one screws and flip the door around 180 degrees to plug in a Micro USB cable, program it, then remove the cable and replace the little door. I think it’ll work well!

I also sent Matt a bag of extra screws. The screw used for the door is the same size as used on the bottom to hold the cover in place, so a few extra seems like a good idea, I used plain old 3mm pan head screws for the top so those could also come out with a standard screwdriver. I typically use black button head screws because they look better, but I didn’t want to include a tiny hex key when a standard Philips screwdriver is probably easier to attain.

I also did a two color print for the top cover and the USB door. The door print didn’t turn out amazing (rush job, didn’t have time to print another) but I think the top looks really good!

Anyway, I really like doing these sorts of things, so if you have a project in mind let me know!

Categories
Uncategorized

6 Button MIDI Controller

I was recently asked to build a 6 button MIDI controller. This will be used with a Midas M32R Digital Console by someone who runs sound production. They wanted (up to) six mute groups, so the MIDI Controller LC was a little short with only four buttons.

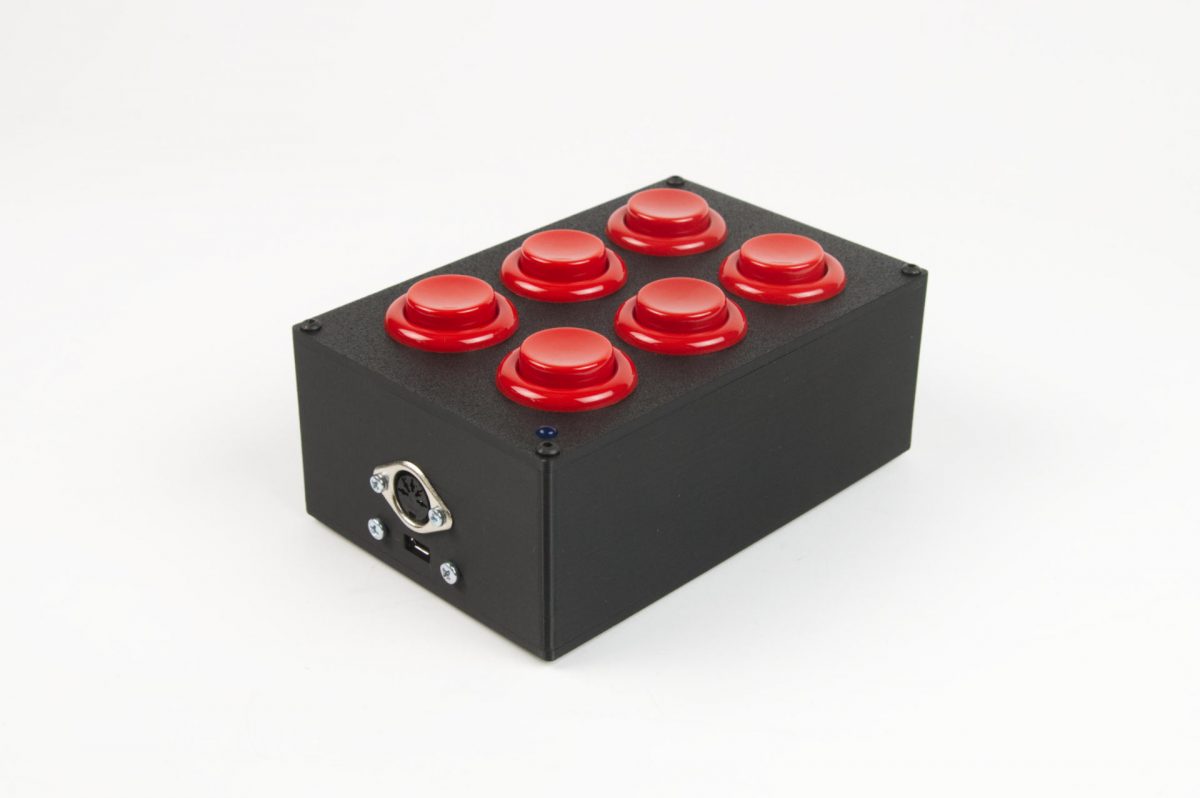
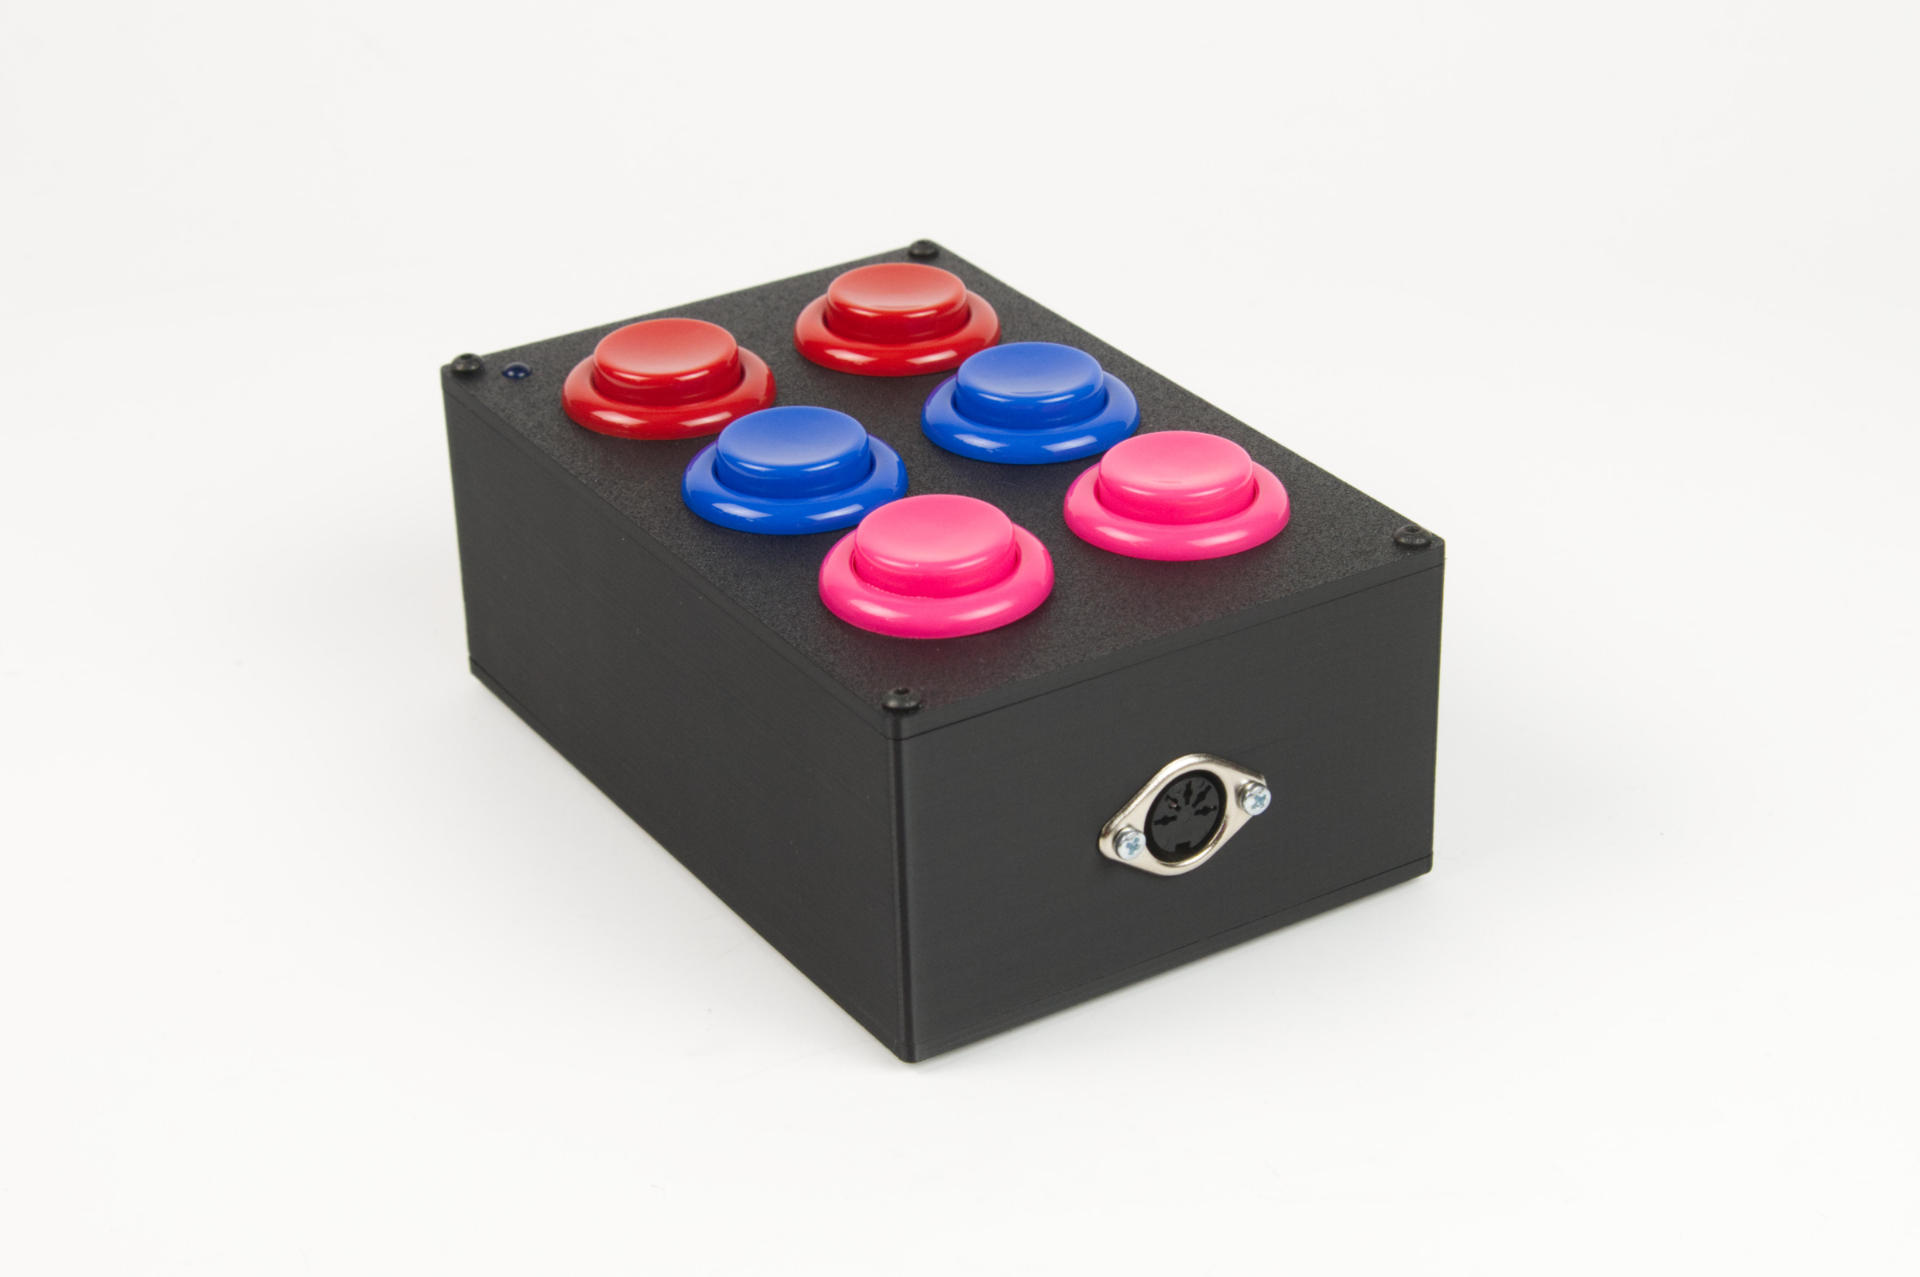
I ended up modifying the LC enclosure to fit two more buttons, and you’ll notice there’s actually a 5 Pin DIN MIDI output port on both ends. That was a request from the client, and fairly easy to do. Like most other MIDI controllers I build this one is powered via a Micro USB port. The nice thing about this is we can do USB MIDI output (if plugged into a computer) as well as standard MIDI out via the 5 Pin DIN ports. Alternately you can just power it via a standard USB wall wart power supply instead of a computer.

For the programming the client asked for something special as well. Instead of just sending a single MIDI command, it toggles between two different commands. I think the M32R expects one thing for mute and another for unmute. That was pretty easy to implement.

The bottom cover is removable in case the client ever needs a firmware update. Some of the devices I build have enclosures with small holes in the bottom to load the firmware without opening them up via access to a reset button. Not all devices have that, and it’s actually pretty rare that I do need to provide firmware updates, but it’s there if needed.

The client wanted all red buttons, though when I was sending in-progress shots I threw a bunch of other colors in for a quick photo.

As always, if you need some custom built MIDI or USB controller, get in touch!

Categories
Uncategorized

8K2 Controller and DM48X MIDI Harmonica

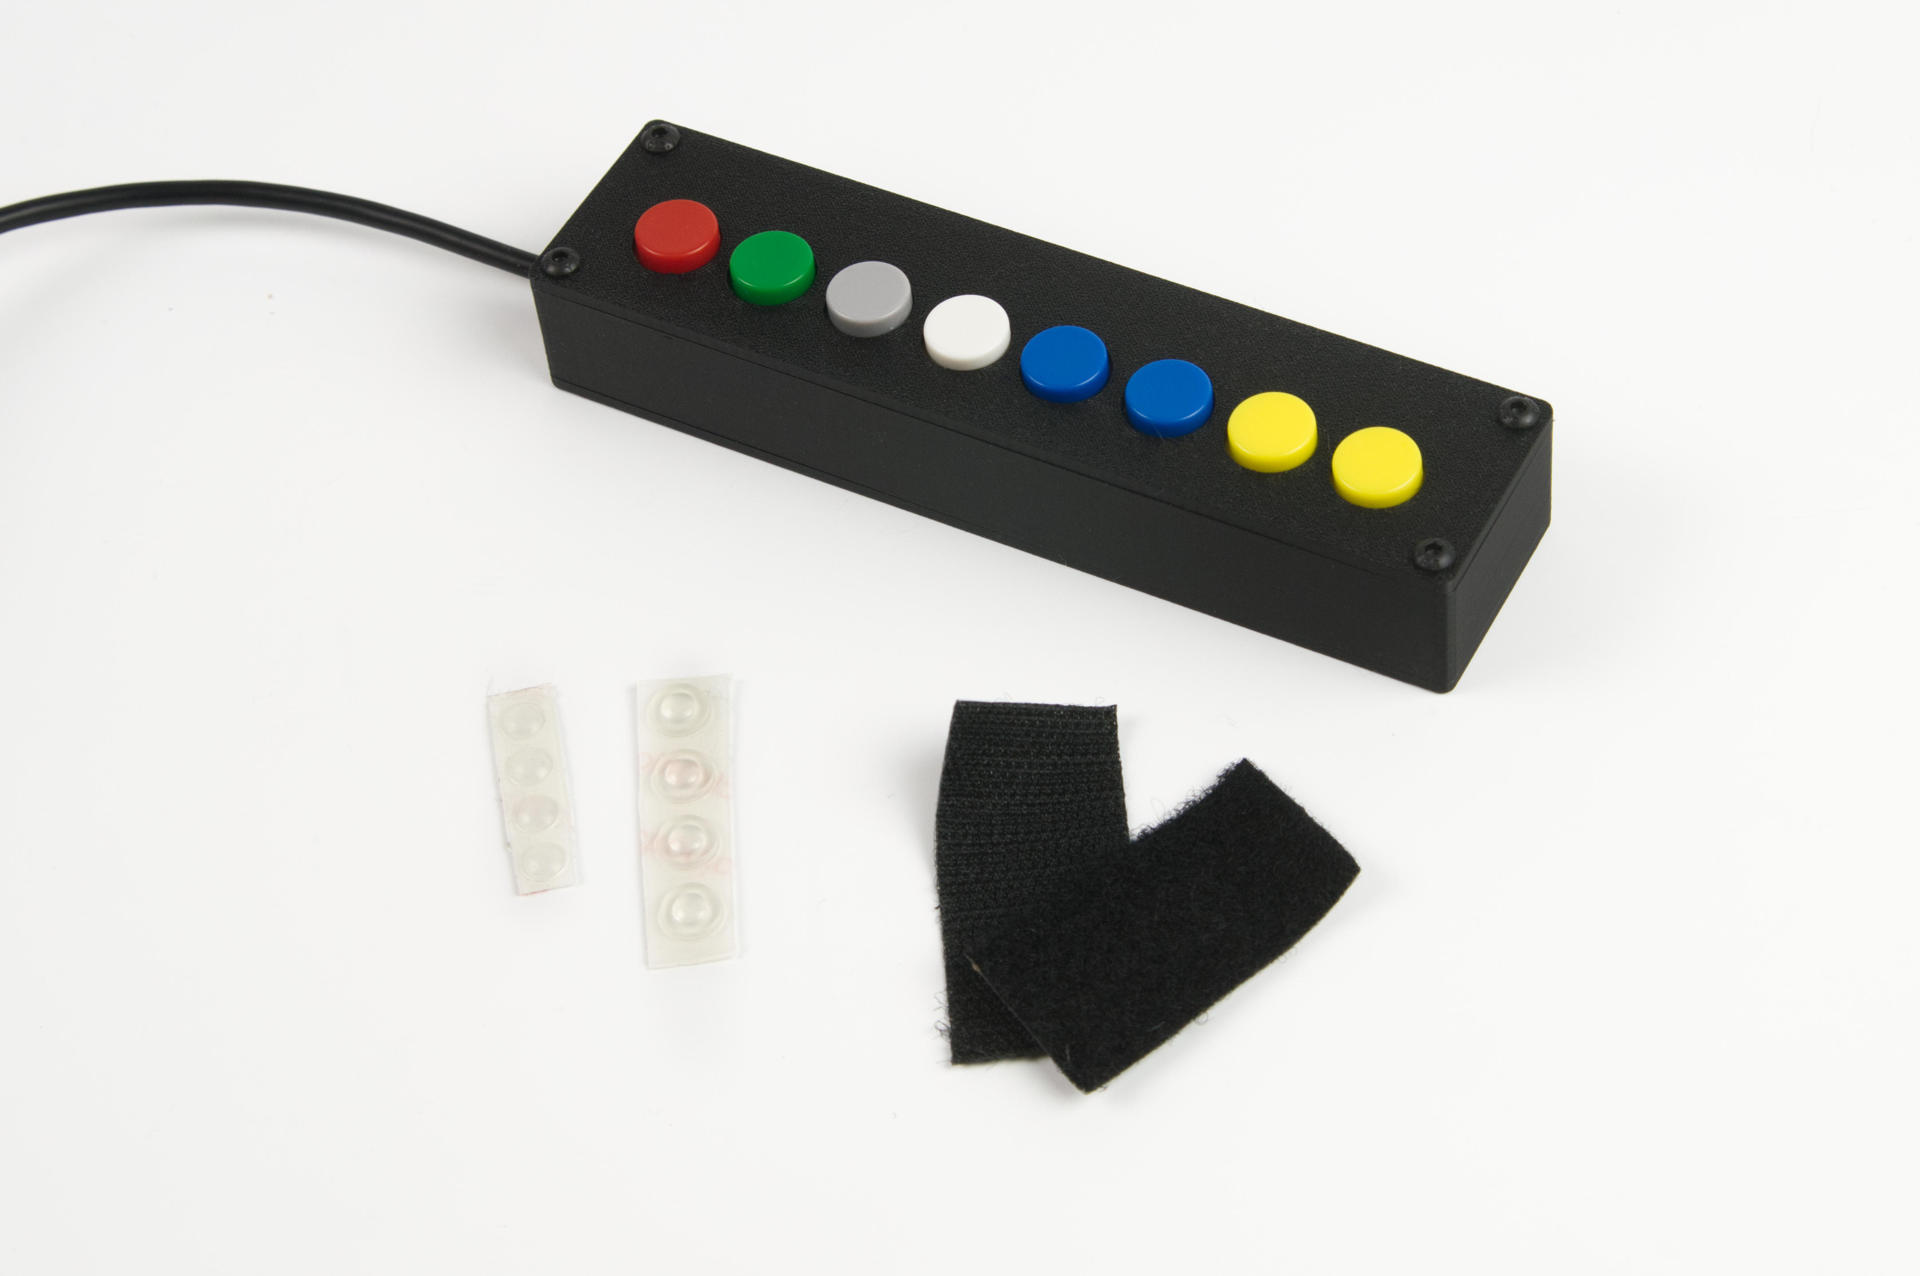
Back in 2020 I built something I called the 8K Controller which was a USB HID device that could send various key commands to a computer. I sold a few of them, but since it could also work as a USB MIDI device I ended up selling one to Jason Keene who is this amazing musician who plays a Lekholm DM48X Digital Chromatic Harmonica. (Yes, a MIDI Harmonica!) He wanted the controller to work with the AUM Audio Mixer on the iPad.

Now I don’t really know anything about the DM48X or AUM, but Jason worked with me to figure out the programming he needed, I wrote the code, sent him a controller, and it all worked! A few other people wanted the same thing, so I made a few more…

Jason had one request though… make it smaller. And I had one issue… the chip shortage. So to solve those two issues I did a redesign, made it a bit smaller, swapped out the microcontroller, designed a new PCB and enclosure, and made the 8K2 Controller. The name might not be great but you can get it on Etsy.

8K2 Controller on Etsy

We’ll program it the same way we did for Jason, and though we can’t offer much support in the way of the setup. It will come with a 10 foot USB cable, some hoock & loop, and a few rubber bumpons. And while we can’t offer much in the way of support for using AUM or the DM48X, Jason is available for that sort of thing, so get in touch with him.

Finally, here’s a great video Jason made showing off his chops and how he uses the 8K2 Controller with his setup.

I’ve said it before, I really love making things for musicians and other creative people, so if you’re looking to try this controller with your setup get in touch or just grab one from the shop.

Buy the 8K2 Controller


Categories
Uncategorized

Press Better with Sky Creature

Back in 2021 I built a Four Button MIDI Box for the band Sky Creature. The controller itself had to fit certain requirements (with regards to dimensions and functionality) and while I did build at least one more for another musician it was a bit of a pain, so to make things easier I created the MIDI Controller 4 Button LC which was an easier-to-assemble (and Lower Cost) build. I’ve sold a few of them this year… Anyway, back to Sky Creature!

It’s eleven months later and I heard from Matt again and he let me know that Sky Creature did a 42 show tour across the country, as well as a few shorter tours, and the controller held up beautifully. Good to know! I mentioned to Matt that I seldomly get to hear about my devices after they leave the shop, and rarely get to see them in the wild… So he sent me this photo:

I like that they named it “Press Better” as well. As for Sky Creature, they’ve got a unique sound… I mean, what if Enya were in Minor Threat? I’m definitely a fan of their DIY take on things. They booked their tour themselves, and are very much about just getting out there and doing it. Sure, they got some help from Steve Albini to record things, but most smart people do.

Oh, total side note here… I’m excited for Majel’s new podcast A Music of Their Own, which will “seek advice from women artists that have their act together”. It’ll be on NPR starting December 8th, 2022.

Matt and I are discussing another controller right now, and honestly it feels good to get new challenges for the things I create. I’ve been building various controllers and physical computing devices for over ten years now, and without customers and a purpose it can often feel a bit isolating, even when you are learning new things. Having people use and enjoy thing things you make is a great feeling.

Categories
Uncategorized

QLab Four Button MIDI Controller

I was contacted by a QLab user who wanted a custom controller. He wanted a device with a 5 Pin DIN MIDI output and rectangular buttons for go, stop, next, and previous. It was a bit of a rush as well, and since he wanted something similar to the MIDI Controller 4 Button LC I had previously built, I started with that as the base.

I did up a quick sketch to make sure I knew what I was building (mainly to determine button spacing) and then got to work making it. We just used four different MIDI noteOn events for the buttons. I should also note that while USB is used to power the device it can also operate as a USB MIDI device. This means you can choose between the 5 Pin MIDI output, or the USB MIDI output, or use both… going to two different computers even. I think that’s a nice feature.

The one snag on this project (which I blame on doing it very quickly) was that I accidentally swapped the position of the red and green buttons! I did not notice until it shipped, and offered to correct it if needed. It turned out it was very easy for the recipient to pop off the red and green covers and swap them on his end. Problem solved!

The one other think I did here was separate the cover from the enclosure so it could print separately, which makes it a bit more modular of a system for future changes, and also allows printing without support. So, less material, and faster production. Nice. The black screws on the top are also a good fit.

We also used a USB-C connection for this one. I’m normally not a fan of USB-C but if requested it’s certainly an option that can be provided.

Do you need a custom controller? Get in touch with me!