Categories
Uncategorized

MIDI Control for Delay Guitar Pedal

MIDI Control for Delay Guitar Pedal

I was recently contacted by a guy named Marcus who was looking for a custom MIDI controller that could be used with a guitar pedal that accepted MIDI input. First of all, I’ve never seen a guitar pedal that could take MIDI input but… that’s pretty cool.

Marcus said it was a bit of a rush because they were leaving for tour in two weeks. That was a bit rough, and I wasn’t sure I could get something custom built (and delivered) in two weeks.

Well, we traded a lot of emails, and I sent a render of what I thought I could get done in time using hardware I had on hand. (Marcus also suggested some large knobs.)

It was a bit large, and Marcus suggested a specific Hammond enclosure. It seemed a little small, but I did a render and included the size of knobs I usually use, and thought it would work…

So I decided to go for it, told Marcus I would order some of the enclosures, and while I waited for them to ship I did a 3D print of my model to test the fit of things.

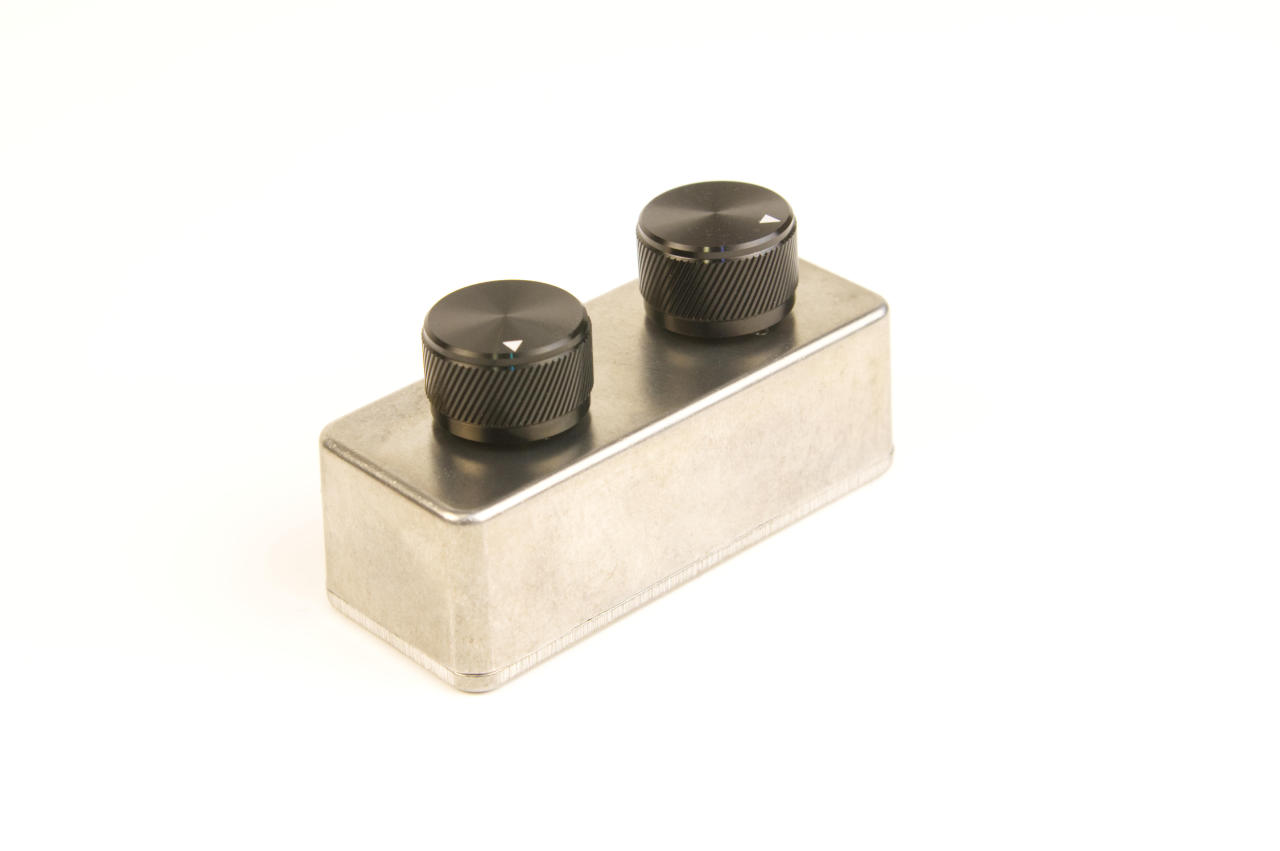
Once I put it together I realized I had to move things bit, but was confident it would all fit okay.

Marcus shared a video with me Neil Finn & Liam Finn Of Crowded House [Guitar Rig Tour 2022] to show the existing setup. Wait. What!? Yes… Marcus is the guitar tech for Neil Finn from Crowded House, Split Enz, and Fleetwood Mac. Okay, that was wild! I was building hardware for Neil Finn.

MIDI Control for Delay Guitar Pedal

Also, I did not built one, or two… but three of them. As Marcus says “If you have one, you have none. If you have two you have one.” And this is because things break. Getting three was probably a safer bet, since if two broke they’d still have one. (I really hope these don’t break though!) Part of what a guitar tech does it make sure the guitarist always has equipment that works, so that involves a lot of spares. (This isn’t a new concept to me as it was a good rule when I built interactive exhibits.)

MIDI Control for Delay Guitar Pedal

And the pedal that takes MIDI input? It’s the Art Van Delay by Bondi Effects. (How can you not love that name!?) The manual goes into depth about how MIDI can control it. I believe the Art Van Delay will replace a Boss DD-3 delay pedal Neil has been using.

MIDI Control for Delay Guitar Pedal

This is probably one of my favorite builds. Marcus was just awesome to work with. I ended up checking out a few interviews with him and he seems like a great guy, so that make things even better. Also, I built hardware that will be used by Neil Finn while Crowded House tours across Australia. Hey now, hey now… that’s pretty cool!

MIDI Control for Delay Guitar Pedal

My only regret is that I wish I could have got the enclosures powder coated as I’m not a huge fan of the bare metal. Since this was a rush job there was no time for that, but I did polish them up a bit on the buffing wheel before they went out. Otherwise I do love how they came together and I’m proud to have built them. Cheers!

Categories
Uncategorized

USB Footswitch

I made a USB Footswitch. Someone got in touch with me and wanted a button that could work with QLab and that they could easily trigger with their foot. I designed and printed an enclosure and I made it pretty darn solid. I’ve stood on it and it hasn’t broken yet.

You can find this USB Footswitch on Etsy if you want or need one. It can be programmed to do pretty much anything you could do with a computer keyboard, and it can alternately work as a USB MIDI device. Which, as long as you need only one button, might be useful!

Here’s a shoe for scale. It’s a shoe that belongs to my wife. I asked her if I could borrow a shoe and she didn’t even want to know what I was using it for. Anyway, it shows how you might trigger the button with your foot.

There’s a port for a Micro USB cable, and you’ll get a 6 foot USB cable with it. You could use a 10 or 15 foot cable if you have one, or use a pair of USB over Ethernet if you want to go even further. Maybe your computer is in another room, or another part of the building. Maybe it’s in the control room and you’re in the booth. I don’t know.

Those rubber feet on the bottom should prevent it from sliding around. It’s also fairly heavy for its size, so that should help it from sliding around. Stay put, footswitch!

Here’s a computerized rendering of the device. I model everything I 3D print using OpenSCAD because I love it.

Categories
Uncategorized

A Real USB Knob and Virtual Knobs

Back in 2021 I built this USB controller featuring a rotary encoder that can turn endlessly in both directions. I sell the S1 Controller on Etsy.

Update: There are now two new versions: S1D Controller and S1A Controller.

If it’s programmed as a USB device it can act like a mouse scroll wheel, which I discovered some people love for controlling analog-style knobs on-screen. Typically someone will have a DAW with a bunch of dial in the interface where they can adjust them by putting their mouse pointer over one and then using the mouse scroll wheel. But some people really like the feel of turning an actual know… So we can do that!

With the S1 Controller you just put your mouse over a control and then turn the knob on the S1 Controller and the knob on-screen changes value. Along the way people would ask if the S1 Controller would work with their software, so I made this for people to test things: raster.github.io/knob

Basically if you can control that knob with your mouse scroll wheel, we can program the S1 Controller to work for you. It’s that simple. (I’m a huge fan of simple devices.)

The S1 Controller can also be programmed as a USB MIDI device. Some people use it to control specific parameters in their DAW. Typically we set the knob to output MIDI CC3 (from 0 to 127), and the button to send 127 on CC9. (But we can use any CC number, or noteOn/noteOff, etc. Anything MIDI really.)

I’ve been pleased that so many people have wanted a physical control for an on-screen UI element. As much as we love what computers can do for us and the capabilities they provide, it’s still nice that the analog world (or the desire to emulate it) hasn’t completely disappeared.

(Oh, the code for the virtual knob can be found here: github.com/raster/knob. It uses the JavaScript pure-knob from Andre Plötze)

Categories
Uncategorized

MIDI Controller 4 Button LC

I was contacted by someone who really liked the Four Button MIDI Box I had built but was hoping for a less expensive version, so I built one. The Four Button MIDI Box had some specific design requirements regarding size and power, which made it more expensive, but this version (dubbed “LC” for “Low Cost”) does not have such constraints, uses a different source of power, and different components.

This one actually gets power via Micro USB, so any old cheap phone charger should work just fine. Also, while this specific one only does MIDI out via the 5 Pin DIN port, it is capable of doing MIDI out via USB as well. In fact, it can send different data out of the DIN port and the USB port if desired, which is kind of cool.

I usually start these kinds of projects doing some simple sketches to get an idea of size & scale of things. Once the customer and I agree on things I do a 3D model of the enclosure so it can be 3D printed.

It usually take between two and three prints to get it perfect. Sometimes I just do partial prints of certain parts (like the holes for the jacks) to make sure it’s all good. This time I did the math wrong so I did three prints to get things perfect. (I also printed a spare right away in case it was needed.)

I’m pretty happy about how this one turned out. Leaving a bit more room for wiring inside the enclosure really helps. I also used silicone wiring which is more flexible and easy to shove into place. In fact, I may build another one right away and add it to the shop in case someone else wants one.

Categories
Uncategorized

Four Button MIDI Box

A musician got in touch with me about building a custom MIDI controller. This one works in conjunction with a Roland TM-2 Trigger Module. The way the TM-2 works is that it has two physical trigger buttons, but you can use two more by pressing a “shift” button so you get a total of four buttons. He said this worked fine for recording, but was not great for a live setup, so wanted a device with four physical buttons to press. He was looking for something about 2″ by 4″ in size.

I asked if he wanted all four buttons in a row, or two rows of two buttons, and we went with the latter. He also wanted buttons closer to 20mm rather than 30mm in diameter so that meant standard arcade style buttons would not work. I found some nice (metal) push buttons thar were solid so we went with those.

Here’s the 2D sketch I provided to the client. These sketches also help me determine the dimensions of the final unit. I basically create these sketches at actual size so I can determine spacing of all of the components. I also use the sketches to get approval from the client.

Like the Handheld 5 Button MIDI Controller we decided to go with a 3D printed enclosure rather than track down an existing metal or plastic enclosure that was the required dimensions.

The one difference from the 2D sketch is that the power LED got moved to the opposite corner just to allow more spacing between components. Speaking of spacing, I do wish I had made this enclosure just a wee bit larger, as stuffing all of the components and wires in was a bit tricky.

Somehow I managed to not take a photo of the power plugged in, but it goes into the smaller socket to the right of the MIDI jack. The LED turns on when power is plugged in.

This was another fun project and I learned a few things in the process. Hopefully the group using this (who makes music described as a “euphoric collision of post-punk, trance, and deconstructed opera”) finds this controller to be useful in their live shows.