Categories
Uncategorized

HP Z420… More Drives!

The TrueNAS build is still going on! Last time we talked about Drive Caddies but that was weeks ago. Blame work being busy and some travel mixed in, anyway… I thought I could only add six drives to the Z420 because there were 6 SATA power cables… of course there were more than 6 SATA data ports! (Yes, there are five 2.5″ drives in the photo above.)

The optical drive power cable was one of the old 4 pin jobbers, but guess what? They make 4 Pin Male IDE Molex to 15 Pin Female Dual SATA Adapter/Splitters. So I got one. Well, two actually because it’s a two-pack.

So yeah, now I have 7 SATA drives plugged in, and can actually add one more. There are two pools, each with three disks, and then the boot drive, and I will see about adding a second SSD to mirror the boot drive. Yeah, 8 drives… who would have thought such things were possible! This is the free computer that just keeps on giving!

I will have to rethink the strategy of fitting all the drives into the front bay though. Luckily they are all 2.5″ so it may just be a matter of using some of those two-high 3D printed drive caddies I found.


Note: This post may contain Affiliate Links. Read More.

Categories
Uncategorized

HP Z420 Drive Caddies…

3D Printed Drive Caddies

This TrueNAS project has had some setbacks, including RAM, but I’ve made progress!

3D Printed Drive Caddies

Since I am loading up this machine with drives I need some way to hold the drives in place, so once again 3D printing is the solution. I didn’t want to design a drive caddy as I assumed there would be some out there already, and there are, so I started looking, My results are below.

3.5″ to 5.25″ Drive bay adapters – Universal
I like this one. It does require a few bolts, but those bolts do allow you to secure this into the case, which can be a nice advantage. It’s got a lot of hole pattern options as well. It definitely feels solid since it gets bolted onto the drive.

3.5″ Hard Drive to 5.25″ Drive Bay Adapter
This is an interesting design! It uses no hardware and (for my print) snaps into place using the screw holes in the hard drive. It you don’t have hardware or don’t want to use it, this is nice. IF the fit isn’t tight it should still stay together once inserted into the computer. (I did need to print with supports.)

3D Printed Drive Caddies

3D Printed Drive Caddies

HP Workstation Rack for 2.5 HDD-SDD
This one is pretty good for holding a 2.5″ drive with bolts through the bottom. The one issue I have is that it’s a bit too long, at least for my computer. I could probably do a quick tweak on it in OpenSCAD to work for my needs though. It does need bolts on the side to slide into place.

3D Printed Drive Caddies

3D Printed Drive Caddies

3D Printed Drive Caddies

2.5” to 5.25” adapter for HP workstation case
I like this one as it’s got space for two drives, though you certainly can put just one drive it in if you want. It’s got a nice little cutout handle to make it easy to slide in and out if needed. I’m pretty sure I had to print it with supports though because of the little rails on the side.

HP Z440 3.5 drive caddy for 2 ssd drives
This one is okay, though I think I prefer the one above over this one. The sides where the drives attach seem a little thin, and the drives could be spaced out a bit more, though this one does have a hole on the bottom for more airflow. This one does not have built-in rails (so not support needed) so you’d need to add some bolts.

I’m still not 100% sure which of these I will end up using as they all have pros and cons. Of course it’s nice to see some variety in design and how people approach the problem of holding a hard drive (or two) in place.

Categories
Uncategorized

Nextcloud on TrueNAS

Since I started messing around with OpenMediaVault and TrueNAS Scale I have been experimenting with using containerized applications running on them. Some at easy to install and configure and some… are not. It’s also been really interesting to see the difference between how OpenMediaVault and TrueNAS handle them. OMV is more like “paste docker compose file here and edit it” and TrueNAS is more “here’s a long web page form, select things, fill things out and submit it” and both have pros and cons, but I’m here today to talk about Nextcloud on TrueNAS.

I should note my environment, even though it may not have a huge impact on things. Still, it’s worth a mention because every install is different. I use Nginx Proxy Manager to be able to use some of my hosted services on my home network outside of my own network. So while Nextcloud might be at 192.168.1.105 at my house, I might want to visit it at nextcloud.example.com from elsewhere in the world. (Assuming I have control over nextcloud.example.com, which I do not, because it’s just an example.)

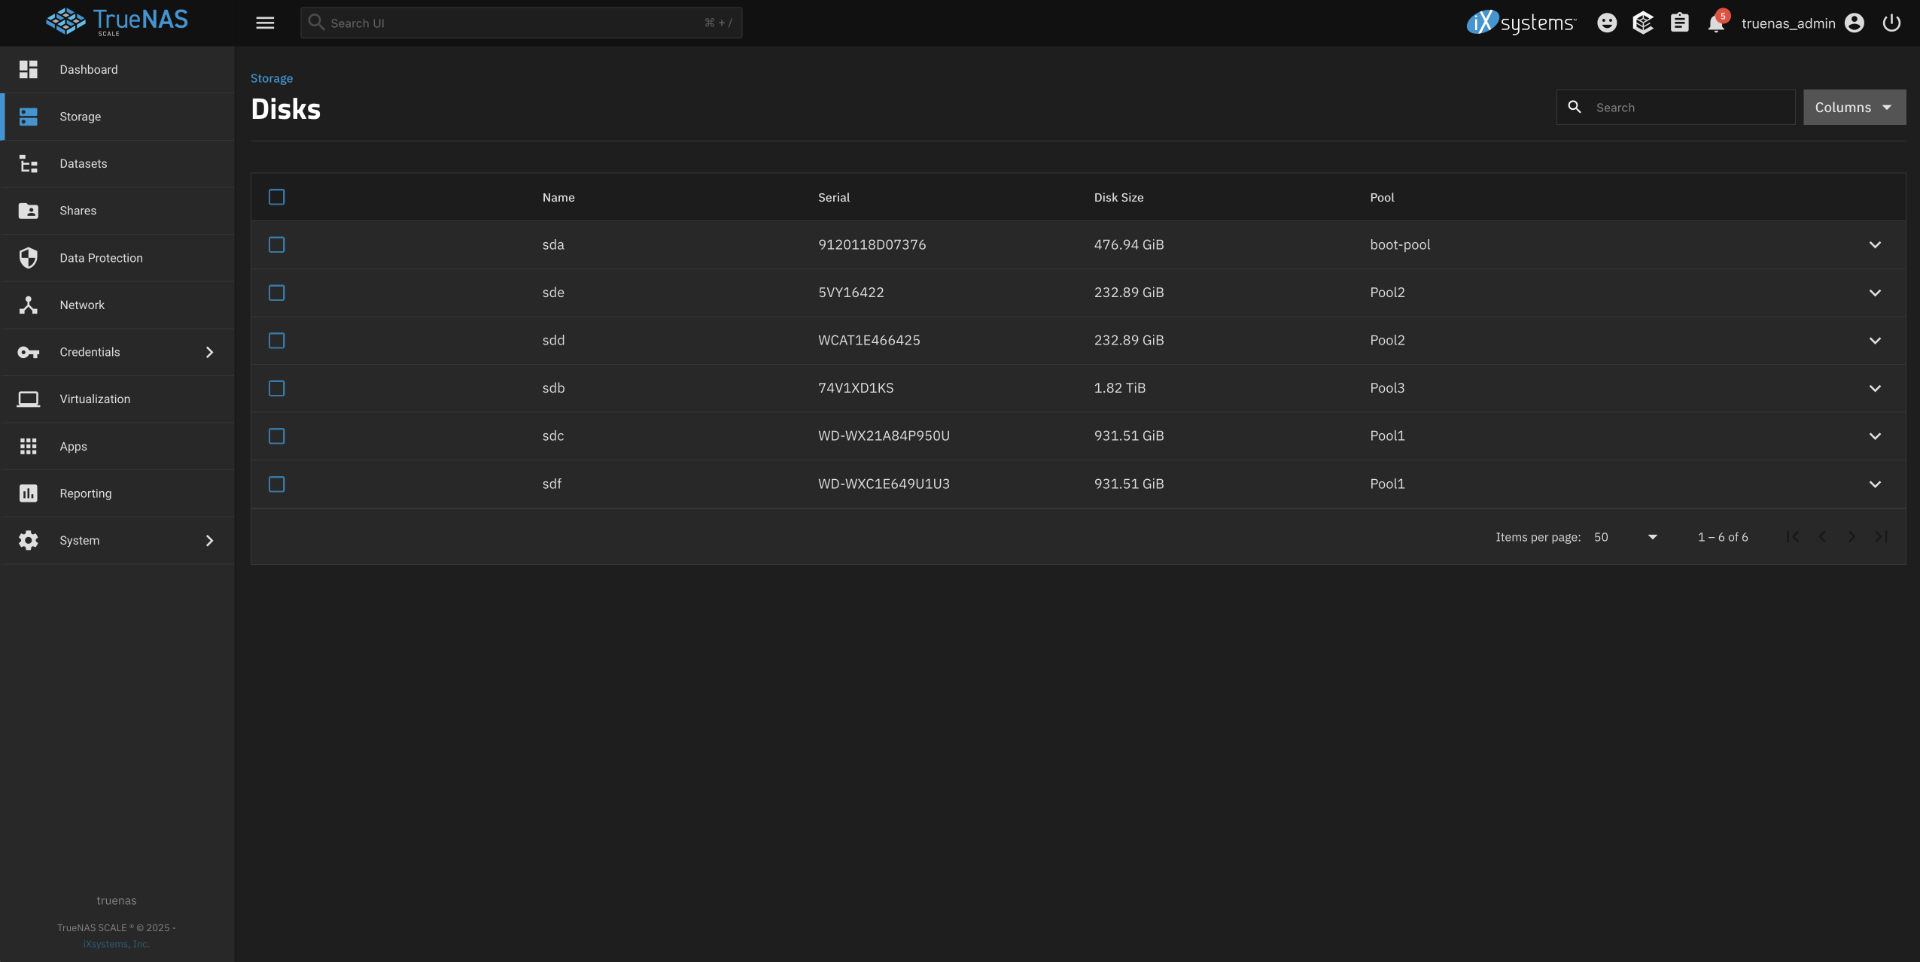
Anyway, I used the TrueNAS “app store” to install Nextcloud. I had to fill out the form a few times to get things right. I made sure I noted any passwords I typed into the form. Eventually I got the form to submit and Nextcloud was deployed! I tried to visit 192.168.1.105:30085 in my browser (TrueNAS gives every containerized application a high port number, above 30000 so as not to conflict with anything else I guess) but it did not work. That’s okay…

One of the neat things about TrueNAS is that the web interface have a system shell built into a web page in the admin where you can type commands and do whatever shell stuff you need to.

Since I logged into the TrueNAS web admin as tnsadmin I was put into the shell as the user tnsadmin which can use the sudo command. So I had to edit the file Nextcloud config file found at /mnt/.ix-apps/app_mounts/nextcloud/html/config/config.php.

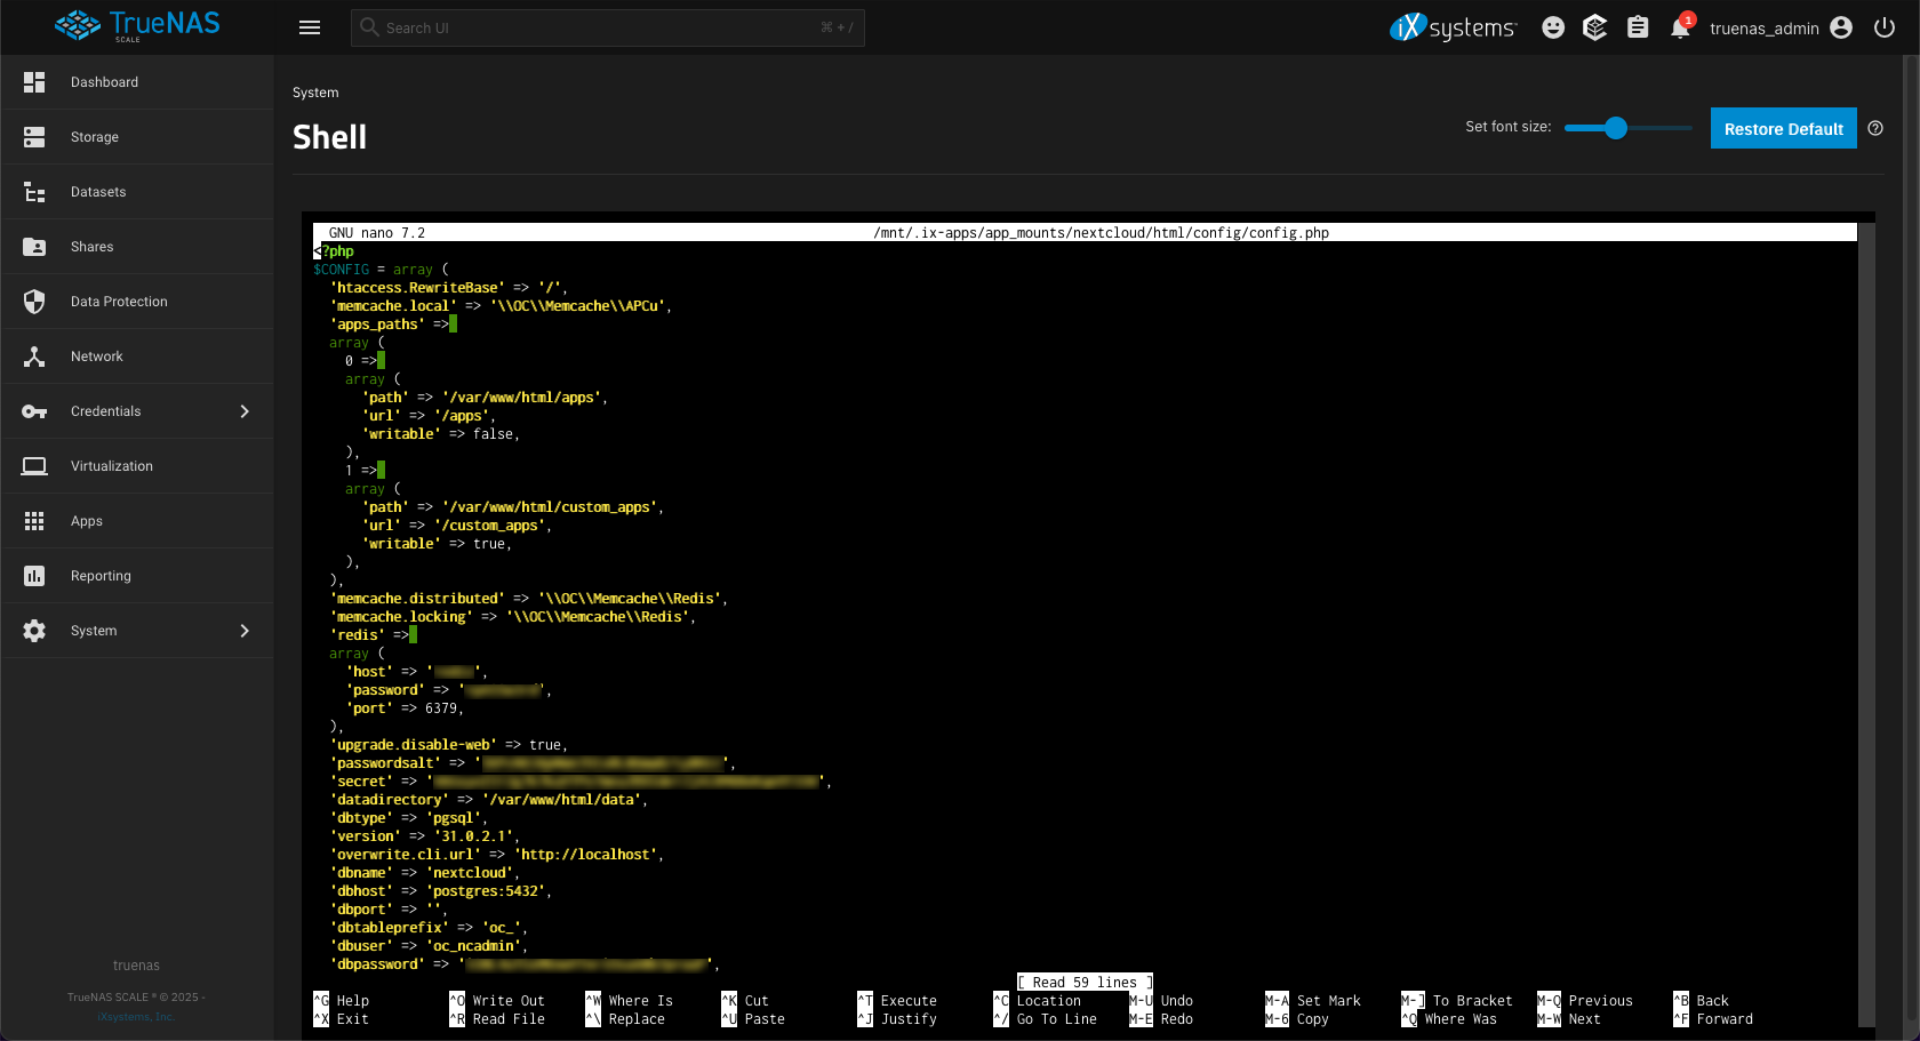
The config file has a line with 'overwriteprotocol' => 'https', which tries to force HTTPS. Since i was running on am IP address on my local network using 192.168.1.105 that caused issue because there is no cert for that. You can try to set it to use the TrueNAS certificate but that did not work and just kicked me from Nextcloud to TrueNAS in my browser… maybe because of the port number? I don’t know. I changed from HTTPS to HTTP with this 'overwriteprotocol' => 'http',

There is also this whole section on trusted_proxies I tried to mess with since I did plan on using a proxy. I ended up deleting everything I added there, and what you see below seems to be the default from the file before I made any edits. I don’t know if that is a default or was generated by my system. It didn’t seem to matter.

'trusted_proxies' =>
array (
0 => '127.0.0.1',
1 => '192.168.0.0/16',
2 => '172.16.0.0/12',
3 => '10.0.0.0/8',
),

Next up was trusted_domains which I did change.

'trusted_domains' =>
array (
0 => '127.0.0.1',
1 => '192.168.1.105',
2 => 'localhost',
3 => 'nextcloud.example.com',
4 => 'nextcloud',
),

The 192.168.1.105 is the IP address of the server, and nextcloud.example.com is the domain I’ll use with the Nginx Proxy Manager. After all this nonsense… it worked! (Again, replace nextcloud.example.com with whatever you might be using.)

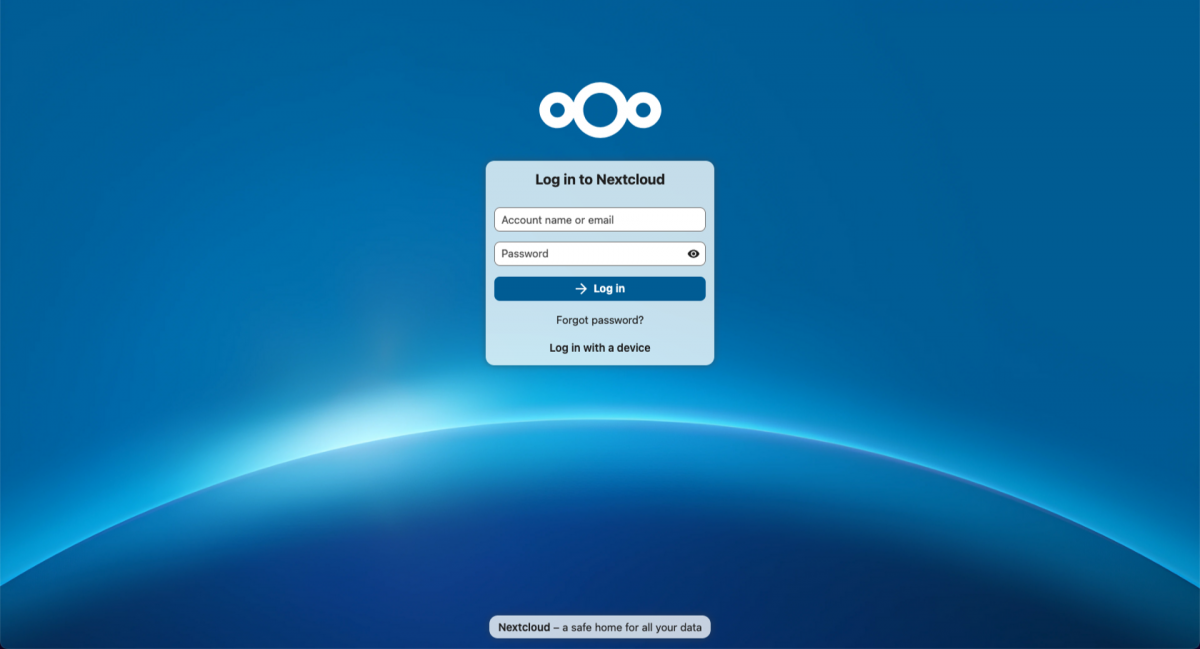
Well, it worked as in I could get my web browser to the Nextcloud login page. I could not login though. I tried all sorts of usernames and passwords and searched for Nextcloud default passwords and that all failed.

I finally found this form thread Logging into Nextcloud App for the first time – Cannot log in as specified user with the solution. Back to the browser-based shell in TrueNAS to type this command:

sudo docker exec -it -u 33 ix-nextcloud-nextcloud-1 php -f /var/www/html/occ user:resetpassword ncadmin

I don’t know if it needs to be ncadmin but that was what I was trying to login with based on a different post I read. Luckily it asked me for a new password (twice) right on the command line, so I type a new password (twice) and after that I was able to log into Nextcloud.

That login became the admin user since it was the first to login so I made a user account for myself and was up and running with Nextcloud.

Oh, I should also note that while I changed the config from using HTTPS to HTTP, my proxy server has a certificate (from Let’s Encrypt) so when I visit outside my network using nextcloud.example.com https works as the reverse proxy handles the https part of things.

I should add one thing! It’s important! Everything above is about Nextcloud in the browser. It works for me in a desktop browser and in a mobile browser but not in the mobile application (yet!) I’ve got a list of posts and notes to follow up to get that part to work.

I have also not been able to get all of the Nextcloud “apps” (add-ons within Nextcloud) installed and configured yet. It’s… a journey I guess. Sigh…

Categories
Uncategorized

HP Z420 RAM…

When I got the HP Z420 Workstation it had 4 sticks of RAM for a total of 16GB, except it got an error booting up and removing one stick seemed to fix it, though being down to 12GB seemed a little low since I plan to run a number of applications via containers. I took a gamble and ordered more RAM. I got these A-Tech 8GB PC3-12800E ECC sticks from eBay for $20.

As I’ve previously mentioned I’ve never built a PC, and my experience working on computers is (mostly) in the Apple world. I learned about ECC (Error Correction Circuitry) RAM and I did some reading on A-Tech. Consensus seemed to be that A-Tech RAM is cheap because they are most likely rebranded sticks from well-known brand name RAM manufacturers that may have failed one of their quality control tests. Eh, I figured I’d give it a try.

I added the two 8GB sticks in, and actually put all the RAM in the slots in the order specified for the machine. Things ran okay for a day but when using the system through the web interface it locked up… I had to hard reboot it, something I haven’t had to do at all since I got it running. I figured maybe the new RAM was the issue but the RAM testing stuff I looked up was for Windows… I didn’t know how to do the test with TrueNAS, which isn’t very supportive of just installing random command line stuff.

Folks recommended MemTest86+ which boots right into the testing application. Nice!

The MemTest86+ ISO was tiny, under 7MB! It flashed to a thumb drive almost instantly and I booted up to the testing. I had pulled out all the ram except the two new 8GB sticks and tested for hours. It passed everything. I rebooted, ran everything again for a few hours and all tests seemed good. I then rebooted back into TrueNAS and it’s been running without issue for a day now… but I will keep doing some testing to be sure.

There is a chance that the difference between the 8GB and 4GB sticks is causing issues, so I am hesitant to add the smaller ones back in… I will probably just run with the new 16GB total for now and if needed I could always get two more and kick it up to 32GB total.

Oh! I learned one more thing about TrueNAS. I guess it will use most of the “free” RAM for the ZFS cache but that will drop down as applications need the RAM. This is much different from my OpenMediaVault NAS which has 16GB of RAM and shows 12.91GB of free RAM…

Categories
Uncategorized

HP Z420 Progress…

Hey, I don’t know anything about computers! Just kidding, but when it comes to “PC hardware” it sometimes feels like it. We got past the previous setbacks and progress is being made. One thing I forgot to mention in the last post is that I could not get all six drives to mount. I thought it was a bad SATA cable so I ordered three more.

About those SATA cables… The computer had four, I ordered three more, and I had that crappy one that destroyed the SSD which I could not use, so I thought there was a bad one but it turned out there was not! No matter, I needed the right angle ones anyway. (So now I have 6 brand new ones along with the four that came with the computer. Good to have spares I guess.)

So what happened was that I did not realized the computer actually had 10 SATA ports! Yeah, not 6, but 10. Though there only seems to be power supply connections for 6 drives, so… But here’s the thing, two of them do not seem to work. So while I thought I had a bad SATA cable, or a misbehaving drive, two of the ports do not work. (The two bottom white ones.) I switched to the two block ones slight above the white ones and all six drives showed up!

Now there only seem to be six power connectors so six drives connected make sense, but there might be a way to use more of them. Also, I’ve read that the ones that do not work might be disabled in the BIOS, so that’s something to look into. Oh, I guess the SATA ports are a variety of different speeds as well? So I also need to figure that out to use the faster ones…

But hey, I’ve got six drives mounted and used by TrueNAS right now. The front (external?) bay is still a mess, but I’ll work on building something there to hold the drives now that everything actually works. (Well, more or less.)

Huzzah! Six drives. And yes, I did replace the SSD that got destroyed. Ended up with a 128GB since that is still plenty for the TrueNAS system to live on. I’ve got another post coming to talk about using TrueNAS and how it’s going on the software front.