Categories
Uncategorized

Water-Based Printing Inks

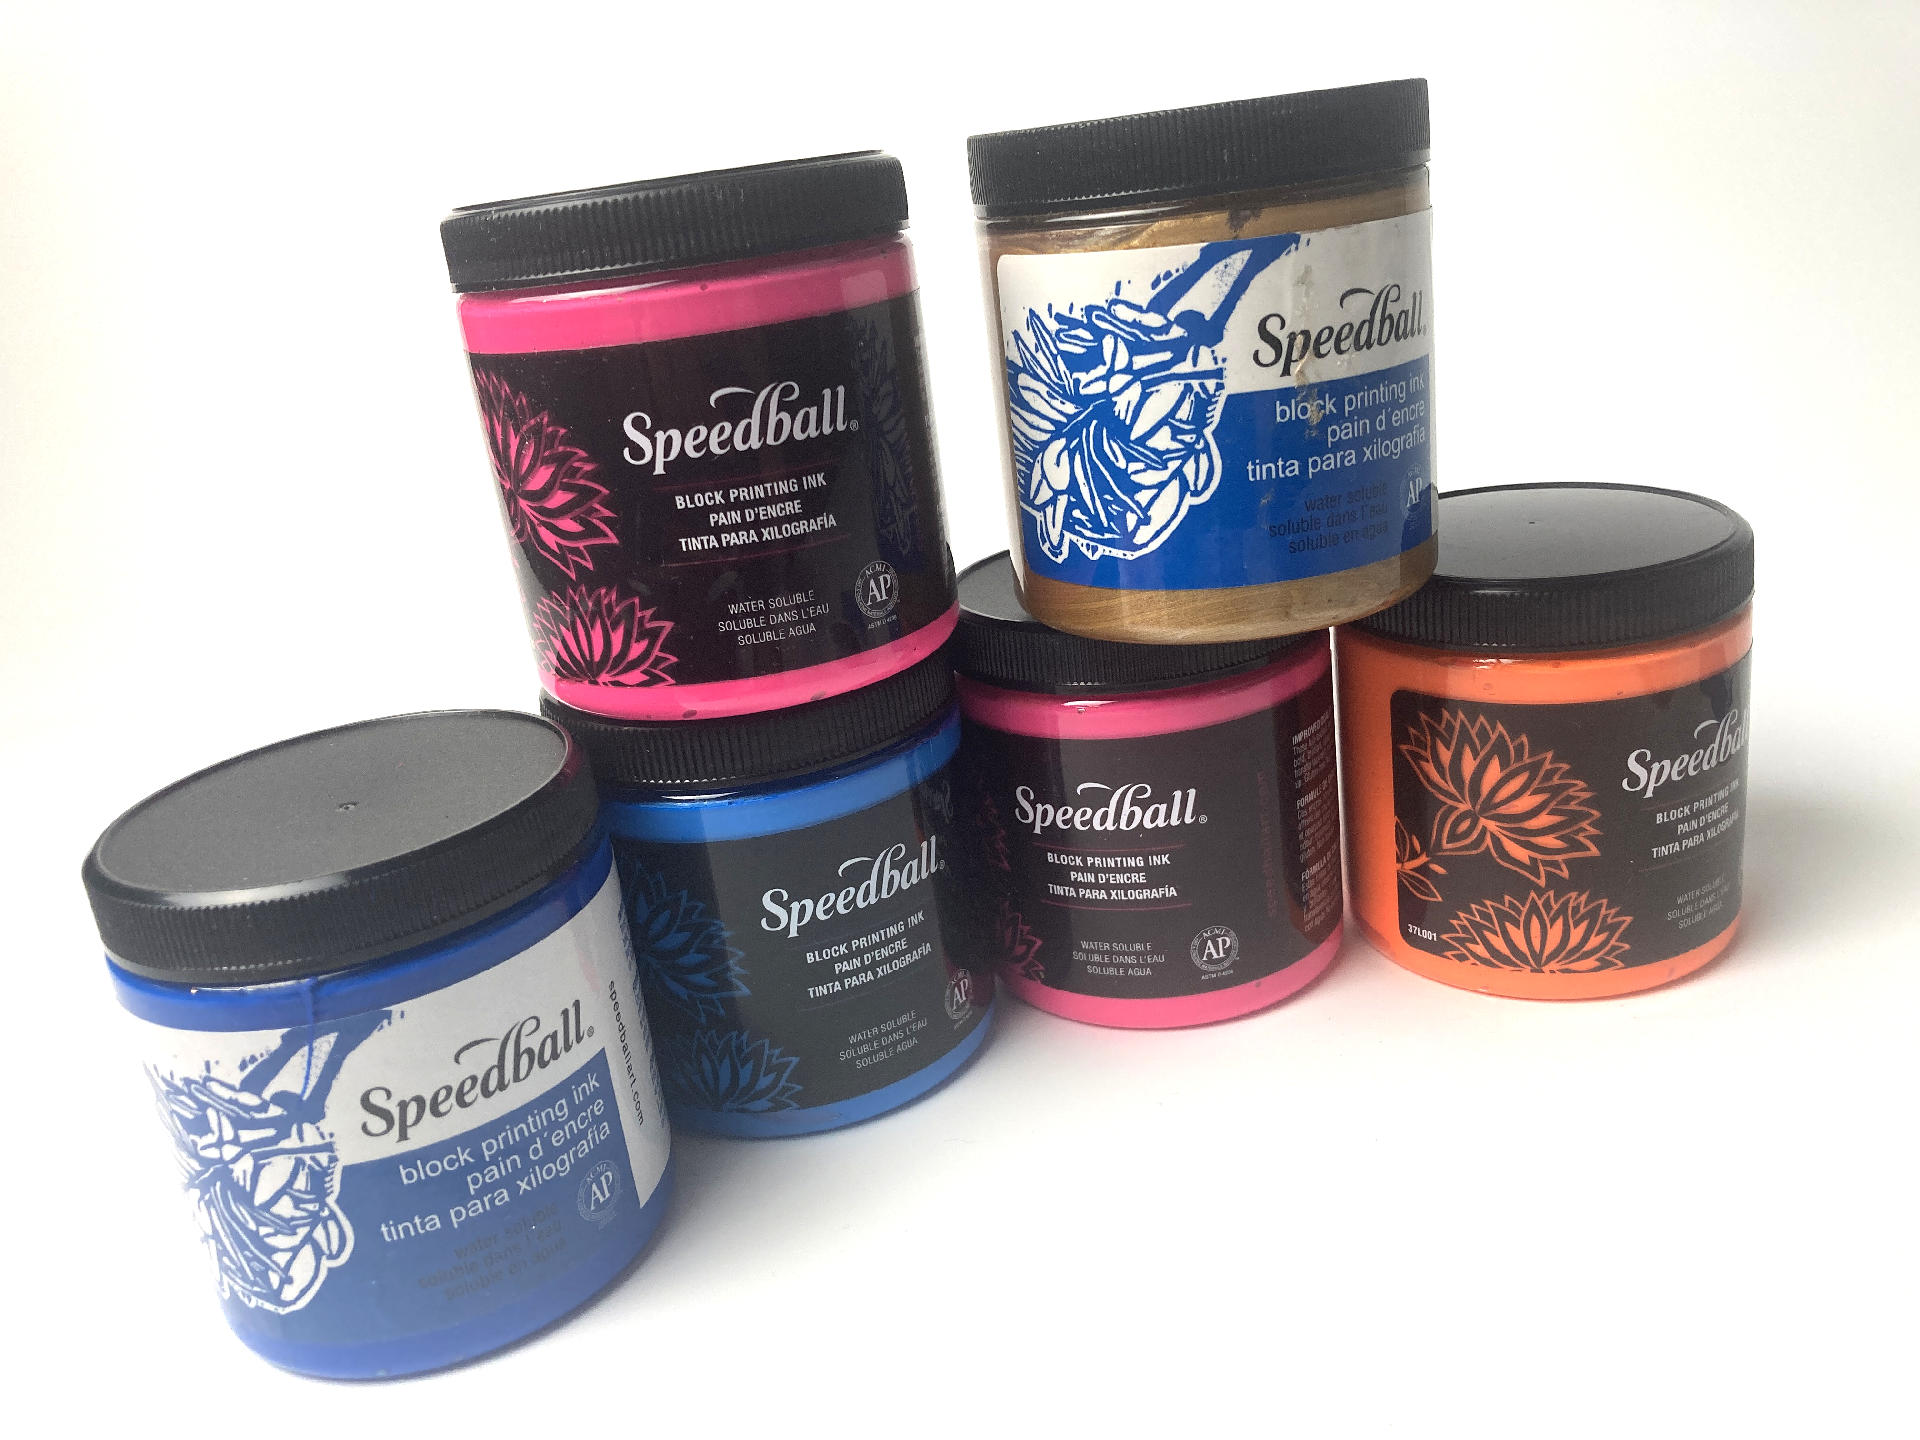
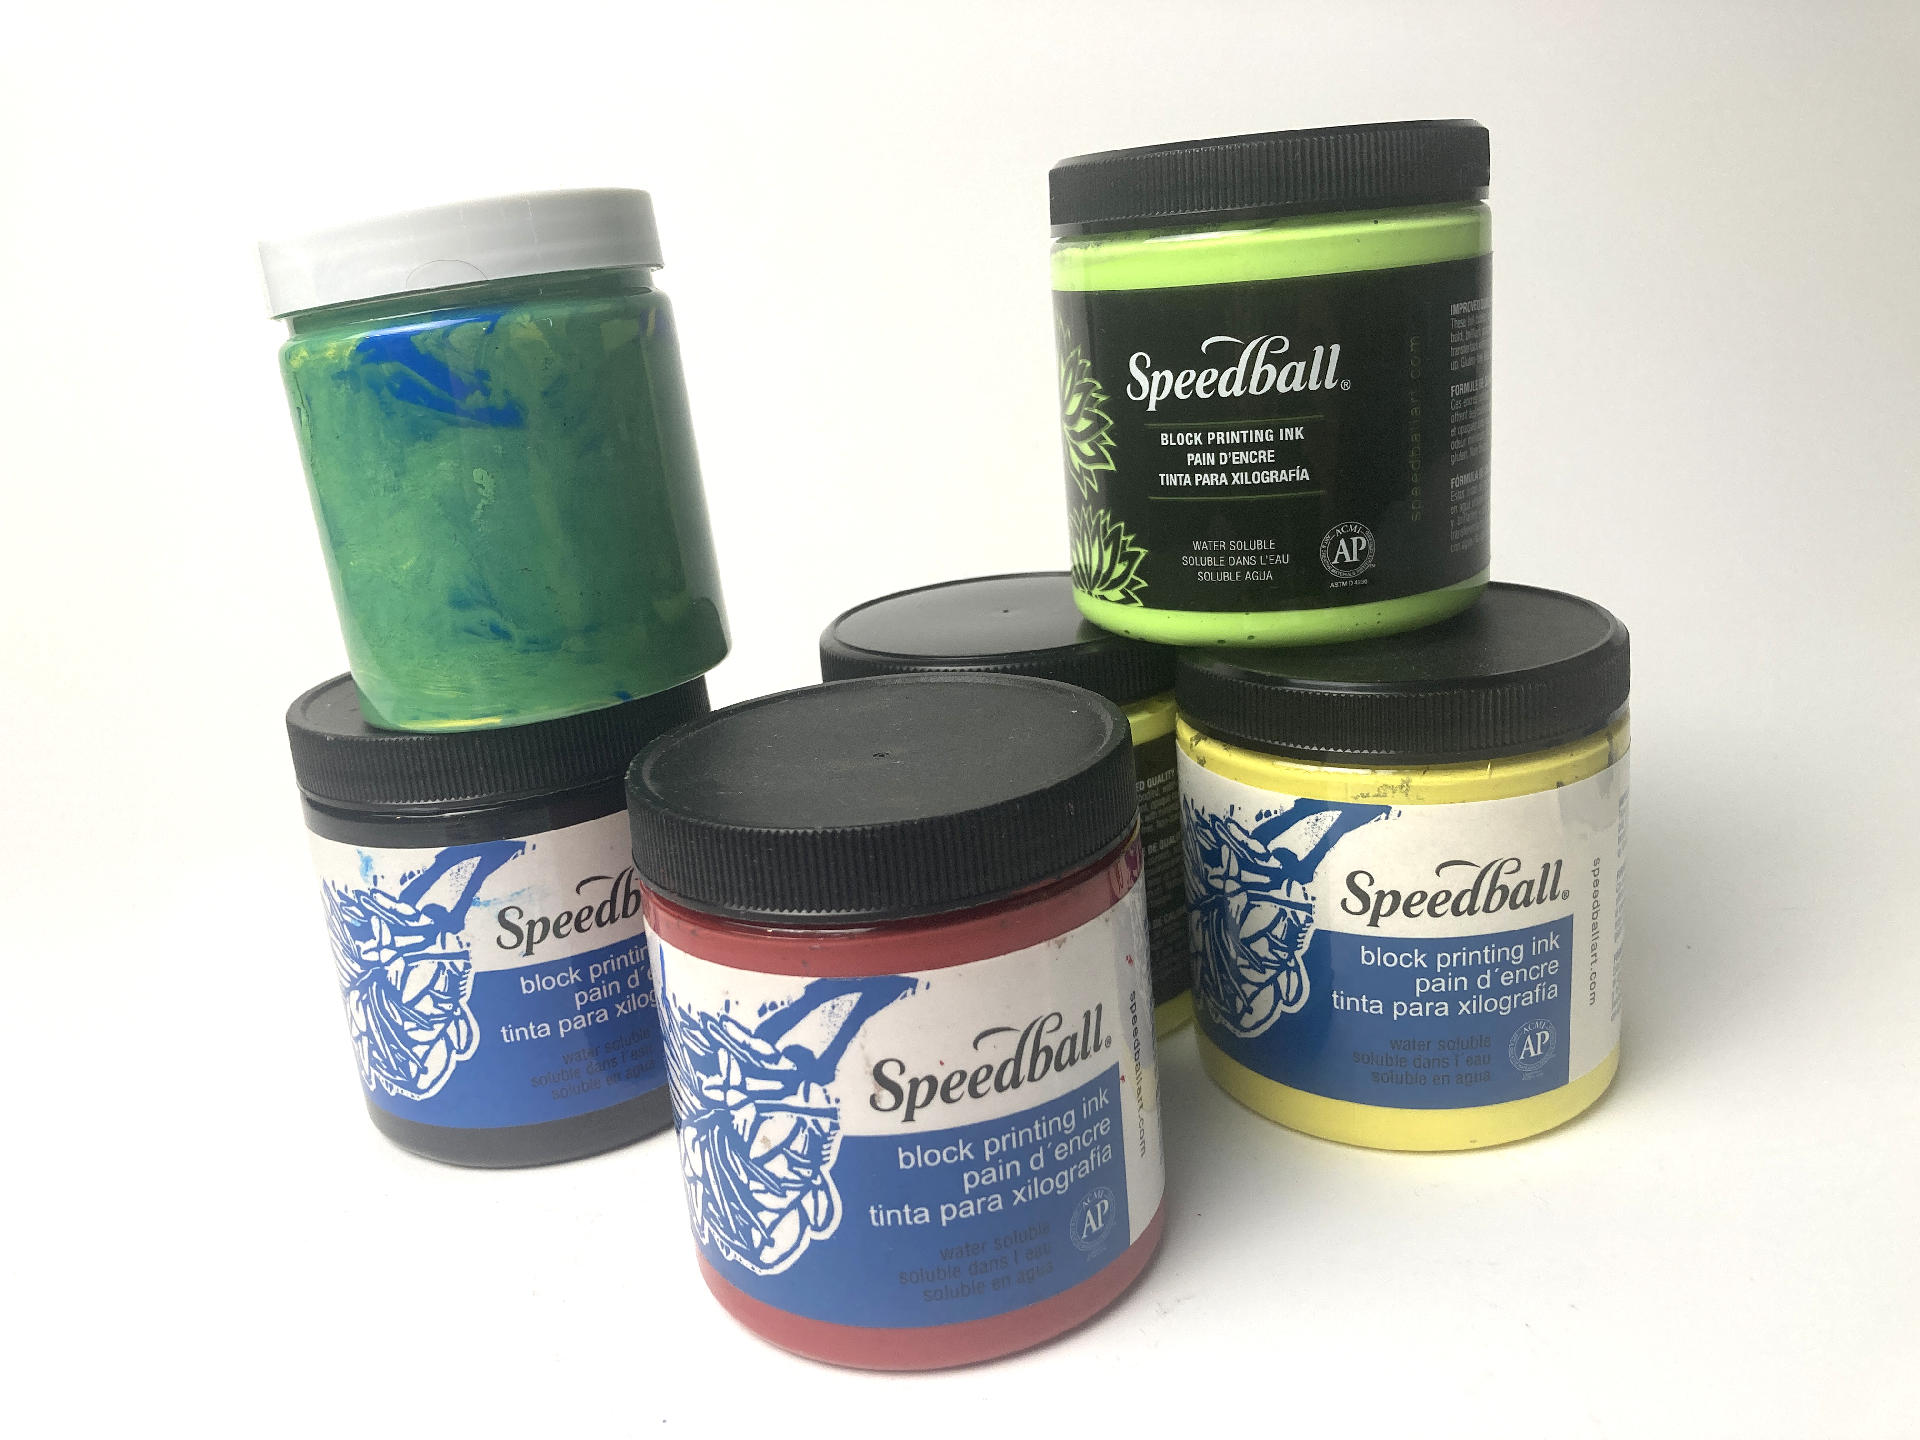
I like Water-Based Printing Inks. Yeah, I said it. Below I will explain in detail (possibly too much detail) why I like Water-Based Printing Inks.

First, some background. I’ve been printing for, well over three decades now. Yes, I am old. That doesn’t mean I know everything, or know more than you do, but it does mean I’ve observed a lot over the years. Second, I am cheap, or should I say, I like to keep things low-cost when I can. When I was printing shirts for punk bands and my own art in the early 1990s I would often get the cheapest shirts, scrounge materials, and buy low-cost things, and I could sell shirts for under $5 and still make a (small) profit. I mean, it wasn’t about the profits, it was about spreading art and making it accessible. Anyway, forget all that.

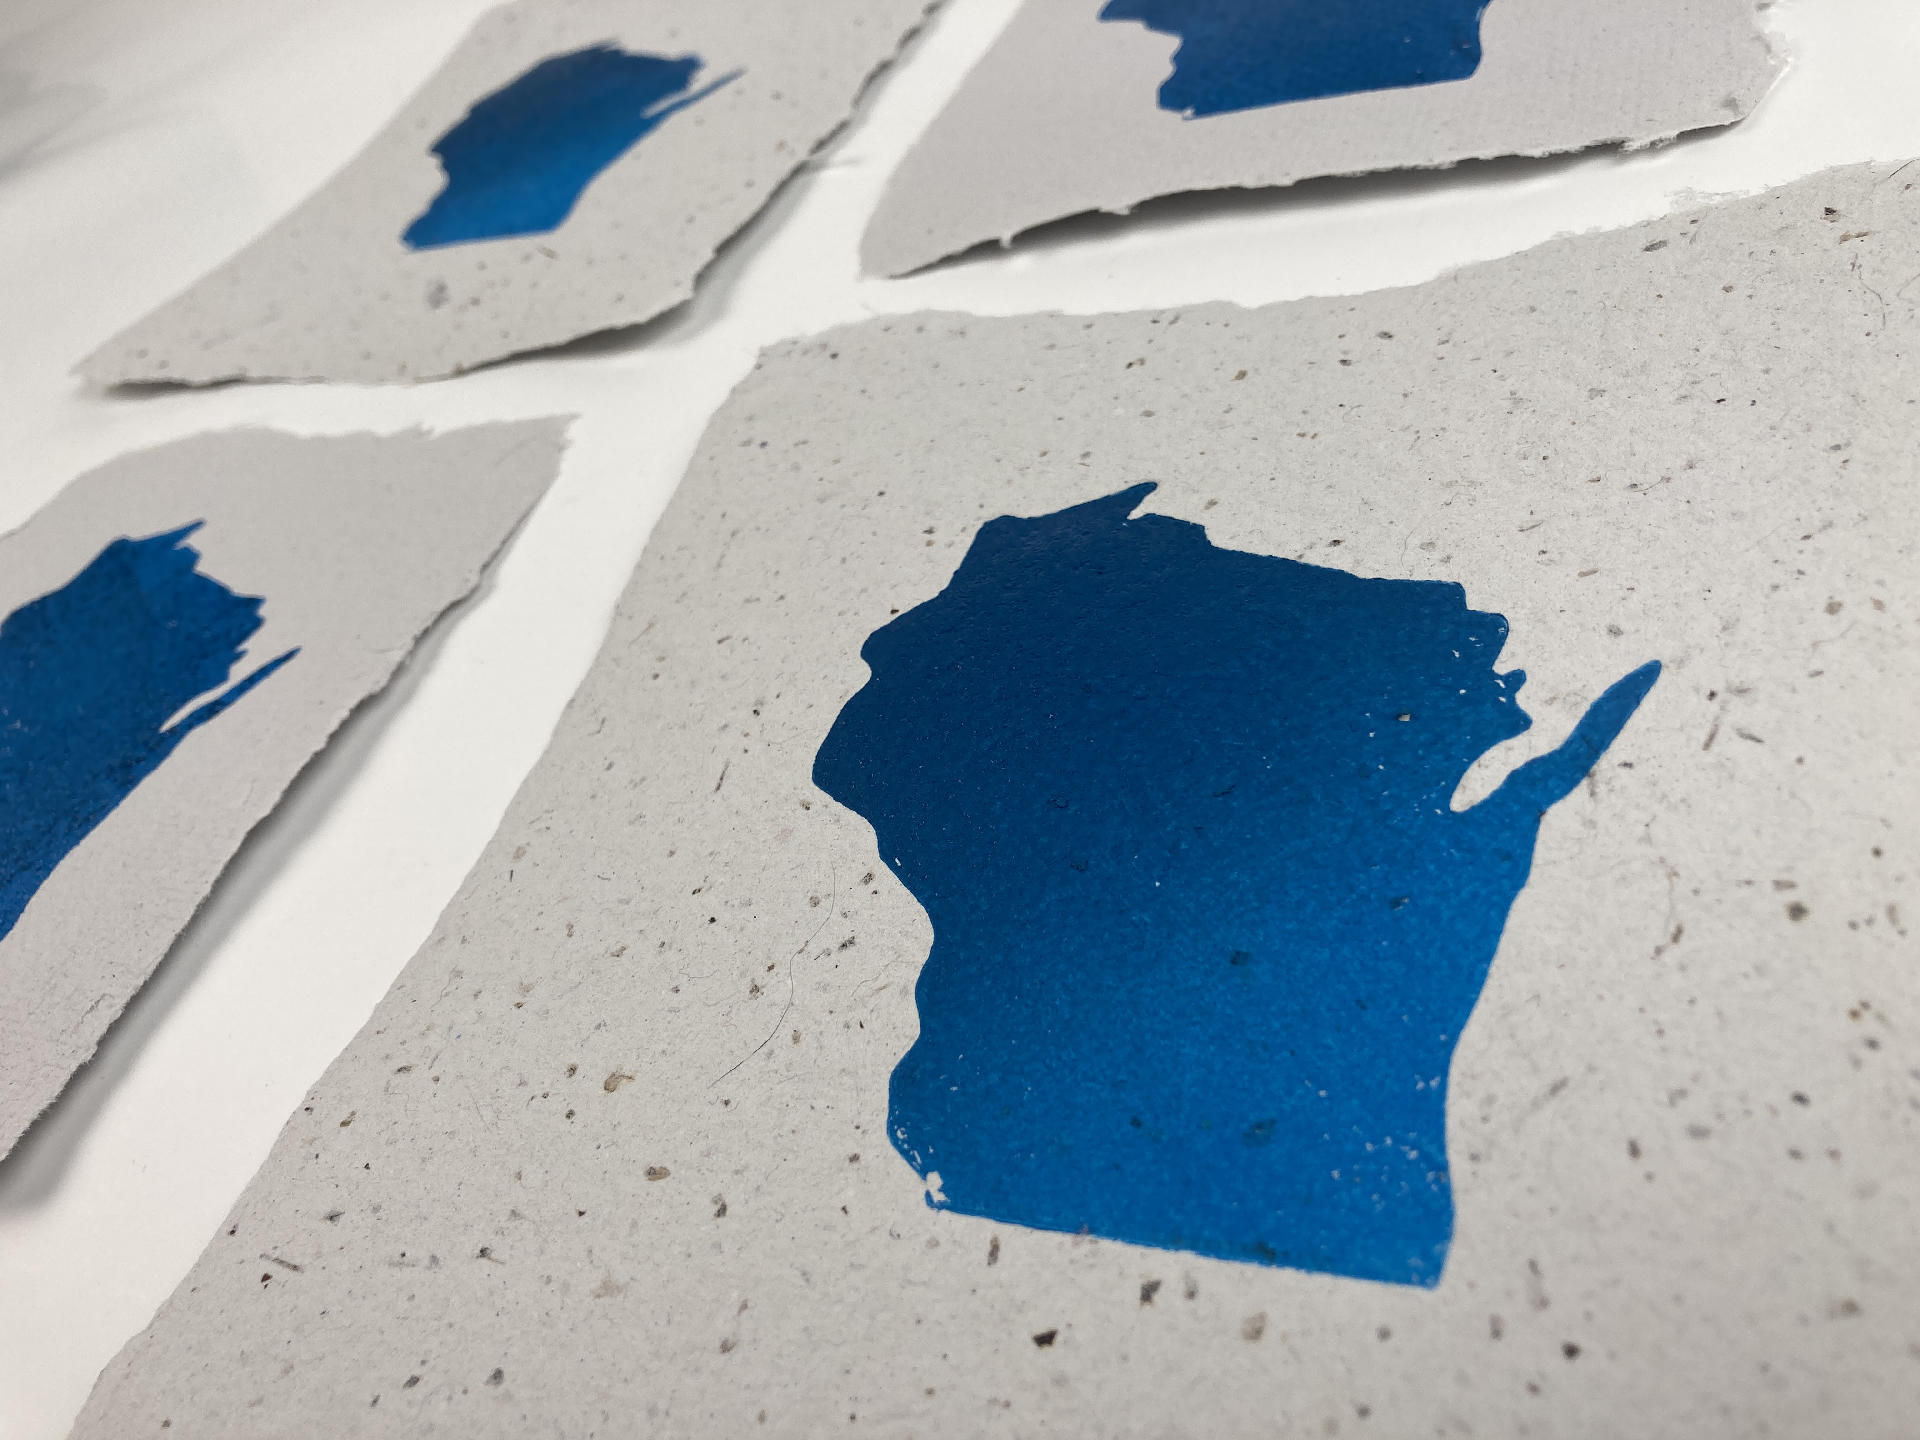
Printmakers will tell you to avoid water-based inks, and there certainly are reasons to do so, but I use them for two reasons. They are cheap and they are easy.

Cheap

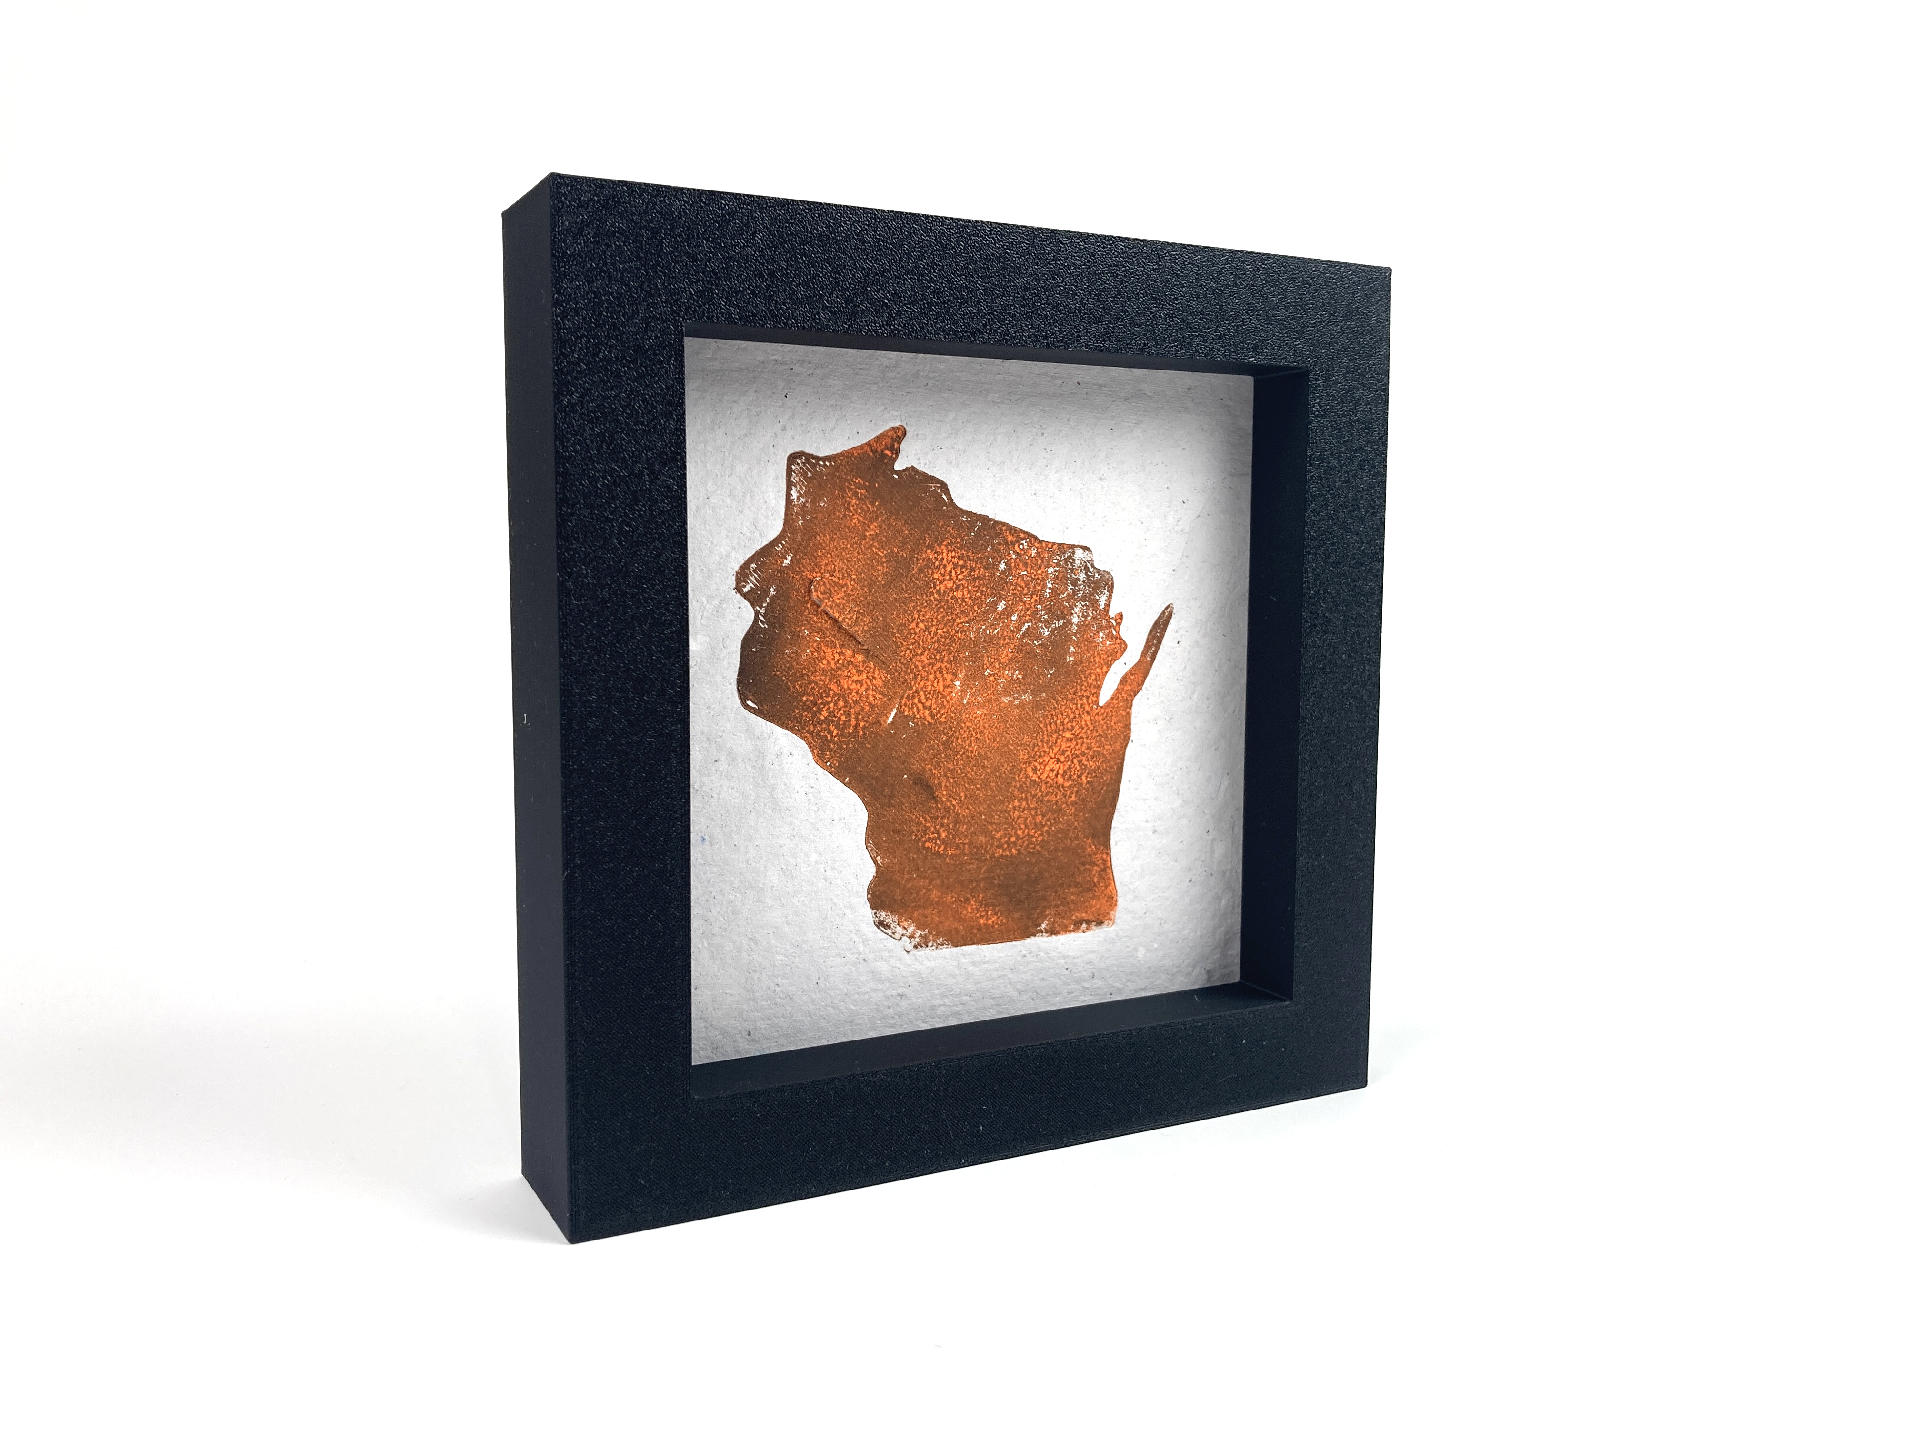
Compared to “good quality” oil based inks, water-based inks are going to be much cheaper. sometimes close to half the price. For me, this means I can get more colors, and right now I am all about the colors. If you buy a print from a professional printmaker it will probably have been printed with high quality oil based ink. If you buy a (cheap) print from me it will probably be done using water-based ink.

Note that I said “professional printmaker” above. I do not consider myself a professional. I am a printmaker but I do it for fun, to explore, to learn, and if I ever make money from it, cool… but again, I am interested in spreading art around for cheap.

Using water-based inks means I can make prints cheap, and sell them cheap. I like that, as it makes art more accessible.

Easy

Easy has a few components to it, the most important being that it’s easy to clean up. Water-based inks can be cleaned up with soap and water. That’s it. Like washing dishes. There are some hybrid inks that are oil-based but water-soluble or water-miscible. They cam be cleaned with water, sort of, but in a specific way, and you’re not supposed to put the water down your drain.

So here’s the deal… If I make it easy to print, I am going to be more likely to print. If cleanup is a pain in the ass, I won’t want to do it. If cleanup is super-simple, then I don’t mind it at all.

One issue with water-based inks are that they can be difficult to work with for a long period as they dry up while you are trying to print. You can add a few drops of vegetable glycerin to the ink to prolong your printing time but for me, it doesn’t matter because I am quick.

Often a printmaking session for me is done in well under 15 minutes. I often only make a half dozen prints. I’m not doing huge runs, but just a few at a time. Sometimes I do a few prints in the morning before work, get everything cleaned up, and the whole process is less than 20 minutes.

Since I am using the Provisional Press I’m not hand burnishing prints or rubbing a spoon for five minutes. I can roll that press and get a print in seconds. It’s not about going as fast as possible, but I’m not taking minutes per print, so that ink is not getting a chance to dry on the brayer.

Anyway, that’s my argument for water-based inks, and why they work for my specific needs. I don’t expect everyone to work the way I do, but I think that if you want to use water-based inks because they are cheap and easy you can totally do that. I support you!


Note: This post contains an Affiliate Link. Read More.

Categories
Uncategorized

Provisional Press

Last year I bought a printing press kit from Provisional Press. I used to have access to a press when I worked at the museum, and I’ve also borrowed a press from a friend of mine in the past, but most of my “home made” prints have been done with a baren. (I even 3D printed one.) Can you do prints with a baren? Totally, but using a press does make things much easier and more consistent.

I got the base kit with no extras (more on that later) so that’s what you see in these photos. Once you do the assembly, which consists of gluing and screwing things together, you can add in the metal plate as the base. If you use letterpress the metal base comes in handy, and you can grab some galley magnets but honestly I’ll probably just make my own plates like I normally do.

It comes with two “galley high” blocks, which you use to square things up properly so the roller height is consistent across the press. There is a process involving adding tape under the inside rails before you screw them in place.

Here’s what the bottom looks like. You’ll see that some things are not jammed tightly together. Maybe because wood can expand and contract over time and based on temperature and humidity? I’m not sure…

Here you can see some (blue) tape sticking out a bit. You basically add strips of tape to get things level with the roller. It didn’t take long, but it’s one of those things you should take your time with and get right, since once you screw things together you probably don’t want to unscrew them.

The roller is a large piece of PVC or “Charlotte” pipe. I used a bit of acetone to remove the red “Charlotte” lettering on it. It’s still slightly visible though, which is fine.

My plates are typically made from 3mm (1/8″) Baltic Birch plywood. I have a pretty good supply of scrap due to the fact we use a ton of it at work and often get strips left over that are around 4″ tall by 24″ long. I tend to cut them into smaller pieces to fit in my laser cutter. Making 3″ x 5″ plates is quick and easy and I can probably make 50 more with the scrap I have on hand right now.

To get the plate to the right height I dropped in a piece of 3/4″ plywood I had lying around, with some old cereal box board and sheets of paper underneath to get just the right height. It works well and if I consistently use the same wood I shouldn’t have to adjust things too much.

Hey, I made a print! You can see I added two pieces of soft felt as my “press blankets” which seemed to work well. The one upgrade I’ve already added is the 9″x17″ Grid Base which I should have grabbed when I ordered but for some reason did not. It makes it much easier to line things up and to clean things up.

About the assembly… It went well, but it did take some time. I think part of it was that since there was gluing involved I really wanted to get things right. The other issue (for me) is that the last few things I’ve built have been CNC machines, where getting things exact and precise is extremely important. This press is… a bit less so in that regard. It’s all wood, but you end up shimming things to get stuff aligned, and it just feels like there’s some wiggle room. Having built one I’m pretty sure I could build another in half the time.

I will recommend this: Watch all the videos and read everything completely before you start the assembly. Some of the parts do not match up exactly, which was confusing for a bit. The videos are not professionally produced, but hey, it’s a DIY kit, so that’s fine. Watch them all before starting. (And, read the FAQ!)

For the pins that keep the top roller from coming off, I did not glue them in place, as I wanted them to be removable in case I take the top roller part off for some reason. (Maybe for transport.) I just wrapped some tape around them to press fit into place. I did stain the side parts of the top roller section, and thought about staining more of the press, but you should do all that before assembly, and I didn’t want to spend the time doing that. I think it looks pretty good as it is. I mainly stained the side parts because they are 1/4″ laser cut pieces and I just wanted them to look a little nicer.

Oh, if you want to see a bunch of fun stuff from the Provisional Press crew, check out their Instagram account. Also, you can totally build your own! The plans for this press are open source.

I’ll probably do a follow-up post once I’ve got a bit more time into using it. So Stay Tuned!

Categories
Uncategorized

3D Printed Print Baren

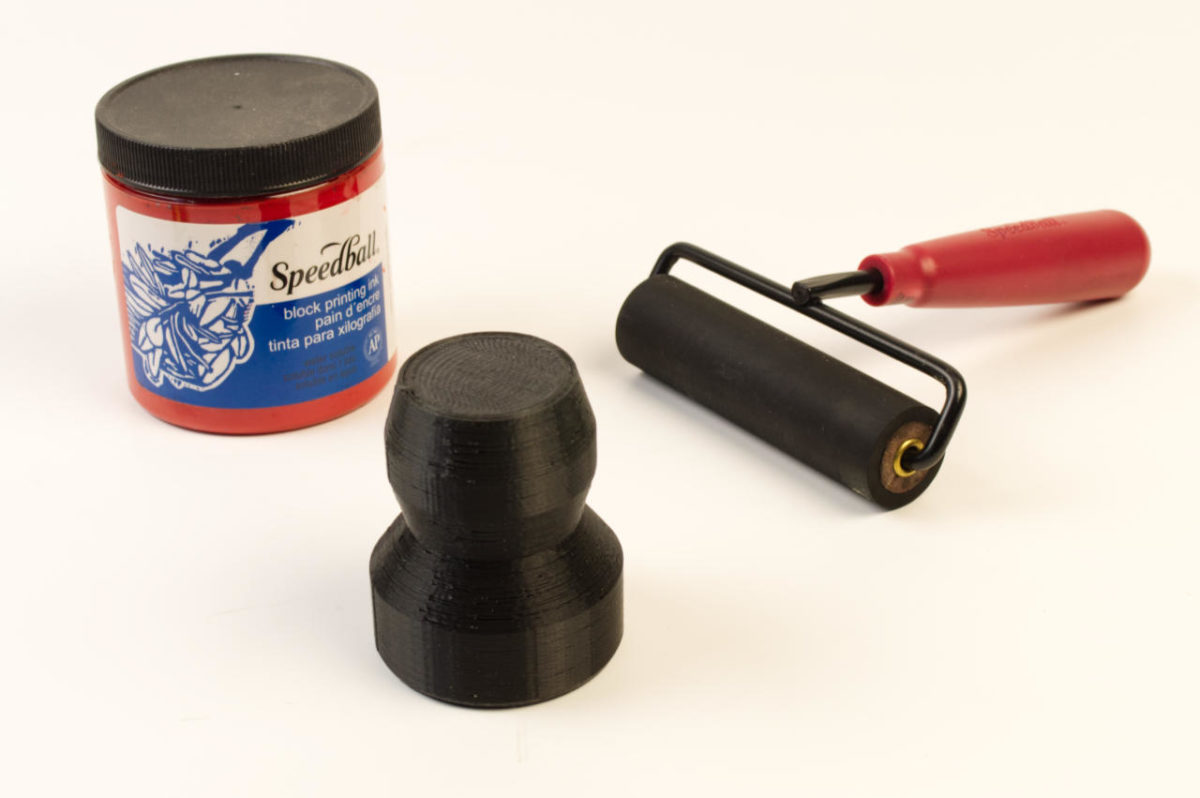
In the world of printmaking (of which I am far from an expert) there are many ways to print, including a printing press. I no longer have easy access to a press, so I’ve been using alternate methods of getting ink on paper. One method is to use a baren. The baren is a thing you hold in your hand to rub the paper against the printing plate, thus causing the ink to be transferred.

I bought a cheap Speedball baren years ago, and I never liked it, so I started looking at other barens. Now, printmakers tend to appreciate fine things and aesthetics, and there are a lot of different barens out there. Some are made of glass, some are bamboo, some have rope or ball bearings or pads, etc. So I finally asked the wisest of printmakers I know, and Jessica told me she just uses a wooden spoon.

Well, I decided to just make my own baren. So I quickly modeled something really ugly, and I 3D printed it. After I printed it I thought of a better way to model it, and I still haven’t made a new one. This one works, so I’ll just keep using it for now. It’s functional. It’s good enough.

I did sand the bottom of it… quite a bit! Working my way up to high grit sandpaper until the bottom was smooth. Really smooth. It’s smooth. Yeah. Smooooooth. I also sprayed it with Liquid Wrench and rubbed that in real good. It glides across the paper really nice. I’ve done a few prints with it and I’m pretty happy. 3D Printing. It’s handy!

Categories
Uncategorized

Acrylic Bender

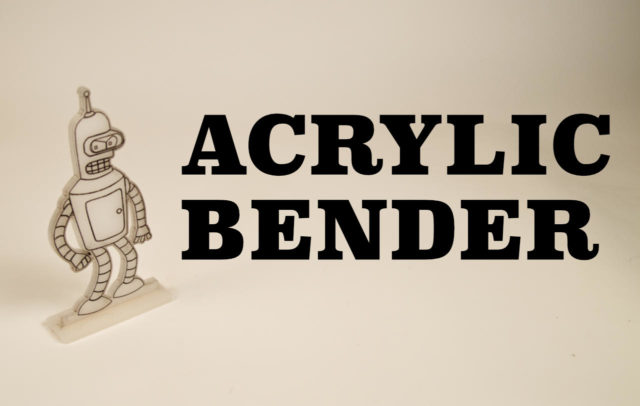
I made an Acrylic Bender. If you are one of the people who appreciates that joke, I appreciate you. I mean, it’s an Acrylic Bender, not an Acrylic Bender, an Acrylic bender, or even an acrylic Bender

Sheesh! Look at that face… it’s a face only a mother could love. Seriously folks, this “Acrylic Bender” joke is like six years in the making. I really hope you appreciate it.

I etched the acrylic as I usually do, with LightBurn and the RasterLaser upgraded with a Cohesion3D board…

After etching I applied some black Speedball block printing ink and spread it over the surface, pushing it into the etched areas. I then wiped it off the top surface with toilet paper… Just kidding! I used paper towel. (That joked will not age well.)

Thank you for reading this post, meatbag… also, bite my shiny, metal plastic ass!

Categories
Uncategorized

Multicolored Laser Etching

If you want a true to life banana you can’t just laser etch something, you need to go that extra kilometer to make it multicolor. (Of course real bananas need not apply.)

I didn’t go large this time, I went small… How small? Here’s a quarter for scale. Oddly enough, I did not find a banana in the house to use for scale, as they’ve all bean eaten, or frozen, so a quarter will have to do.

I etched some dayglow green acrylic using LightBurn and the RasterLaser upgraded with a Cohesion3D board…

Here’s a plain old green banana that has been laser etched. Look how lifeless and colorless it appears! It’s almost downright unappealing. I dare say we should consider slipping some color into place. It’s probably what Warhol would do.

I took some good old Speedball block printing ink and with my finger (inside a nitrile glove) rubbed ink across the surface. I then took some paper towel and wiped it off. It stayed in the etched part pretty good. Good enough for this first test anyway…

Here’s our multicolored banana with some edge lighting. I should try proper acrylic edge-lighting to see what the results are…

Here’s a view of the edge without extra lighting. This is 3mm acrylic. I’m thinking next time I’ll try additional coats of ink with time in between to dry.

Here’s another photo of the banana with a quarter, but the quarter is out of focus and in the foreground because it feels forelorn because it knows it is not a banana and will never be a banana, and for that, it mourns silently.

Enjoy your banana!