Categories
Uncategorized

Lino-Style Relief Print

I’ve been using this 3D Printed Printing Plates method for almost a year now, and one of the issues I’ve had is that most of the designs tend to avoid thin lines, and the reason for that involves the limitations of 3D printing. Thin lines get delicate because of how 3D printing works. (There are some workarounds but they are… complex.)

The other issue is that I really like the look of linocuts, including chatter, but since I am not carving away materials in a reductive process there is no chatter, unless we add chatter.

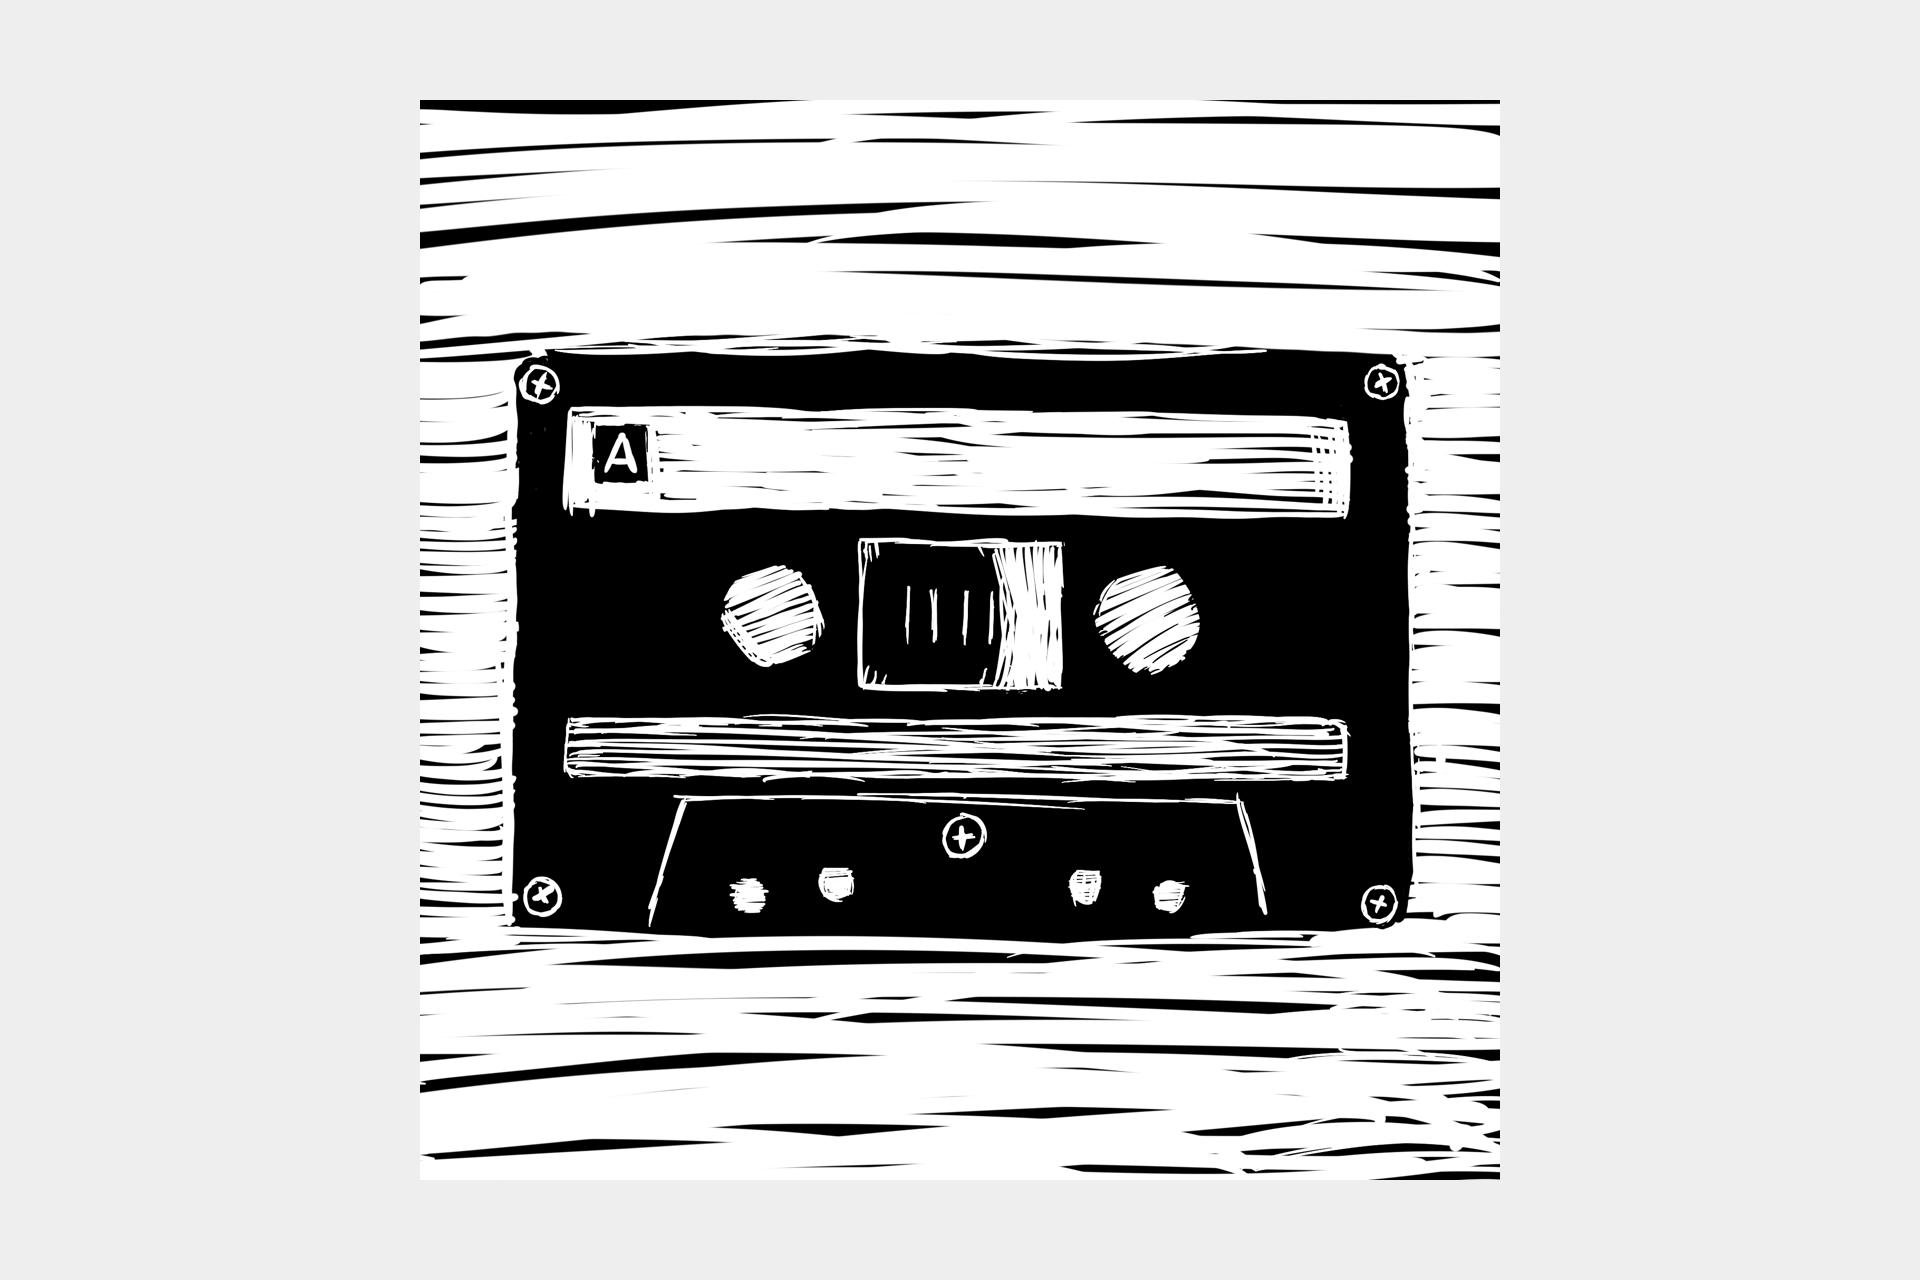
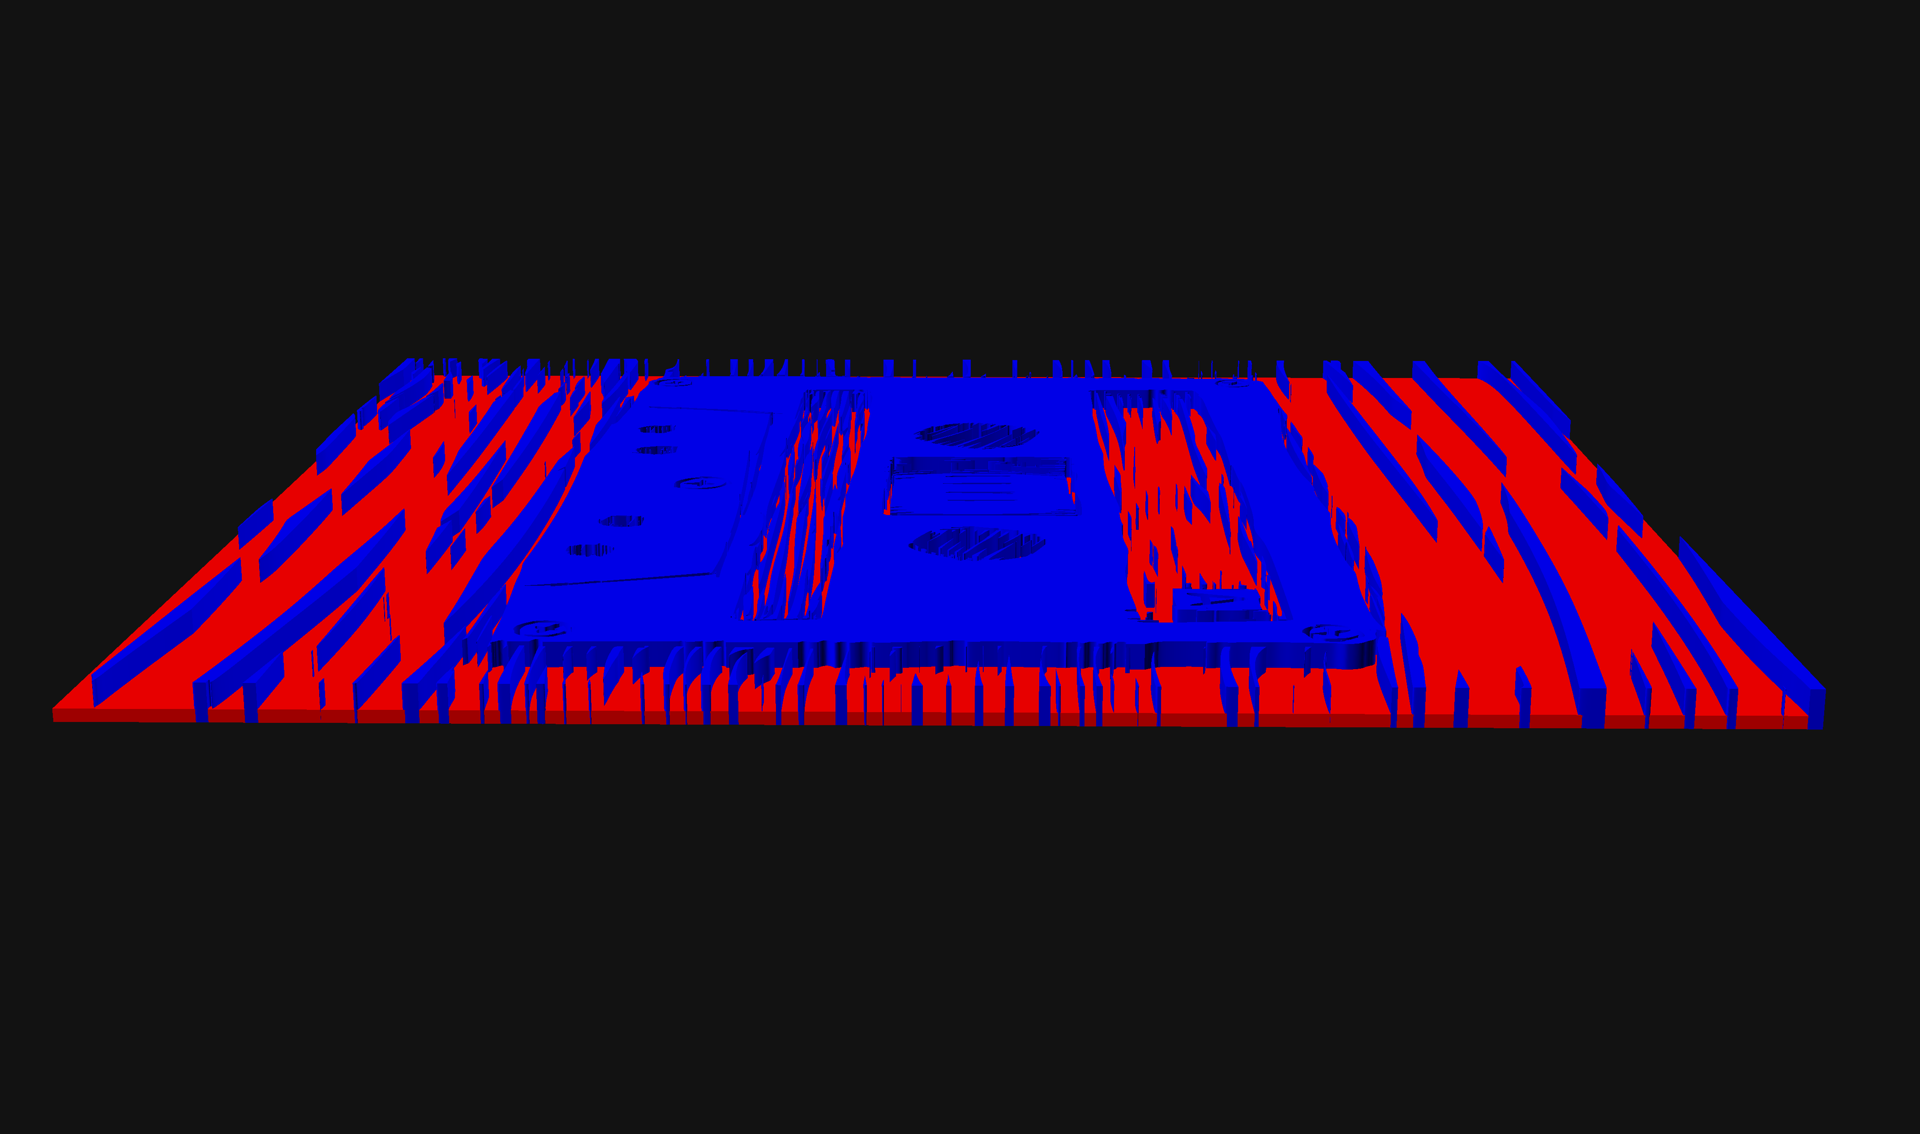
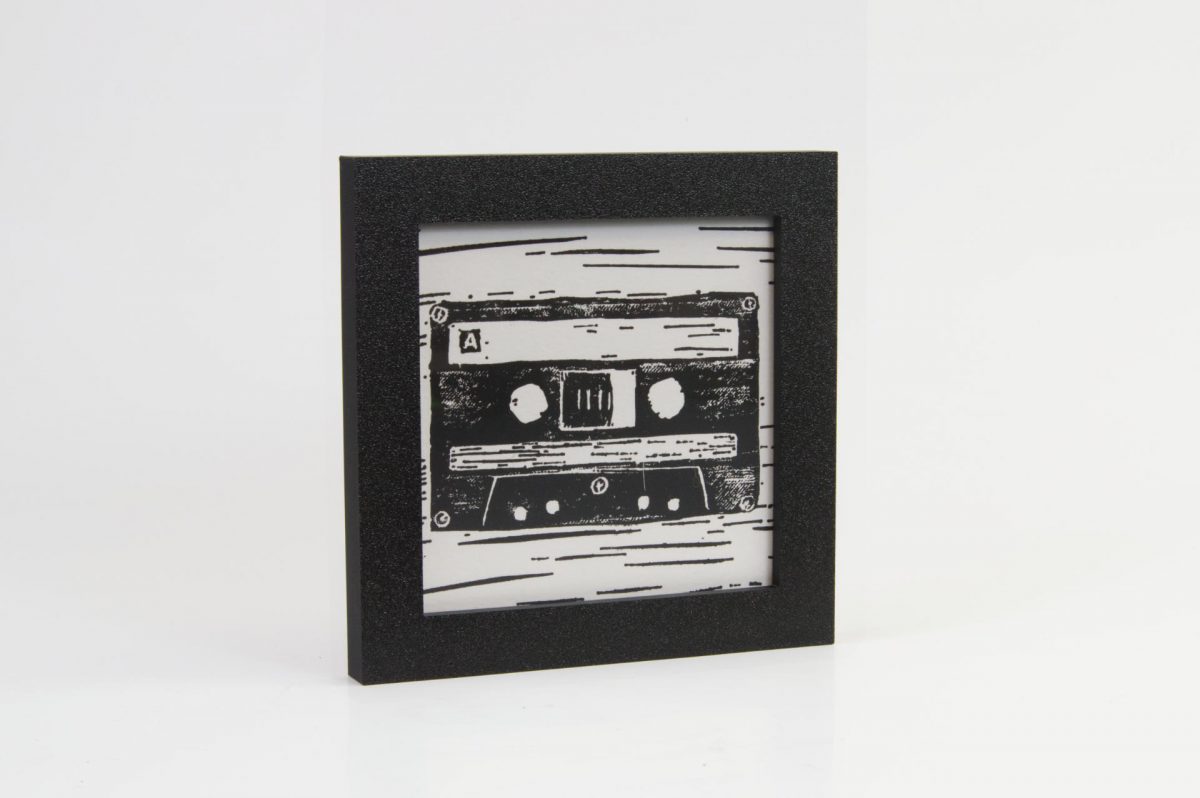
Here’s an illustration of a cassette audio tape I did in Procreate. Instead of drawing it like I normally would, I flooded the layer with black and then erased to get white, so this is sort of a reductive process since I am taking away ink (or pixels, as it were) which is somewhat similar to carving away materials.

I have not perfected this technique, and I think there are some good possibilities with it. I’ve noted before that I don’t carve linoleum for a few reasons, mostly arm pain. Besides that though, the digital to analog process offers a few great advantages. You can resize things, you can easily fix mistakes, you can make multiple plates since they are 3D printed (so iteration is built-in), and they are extremely cheap. Most of my 3D printed plates are less than $0.75 USD.

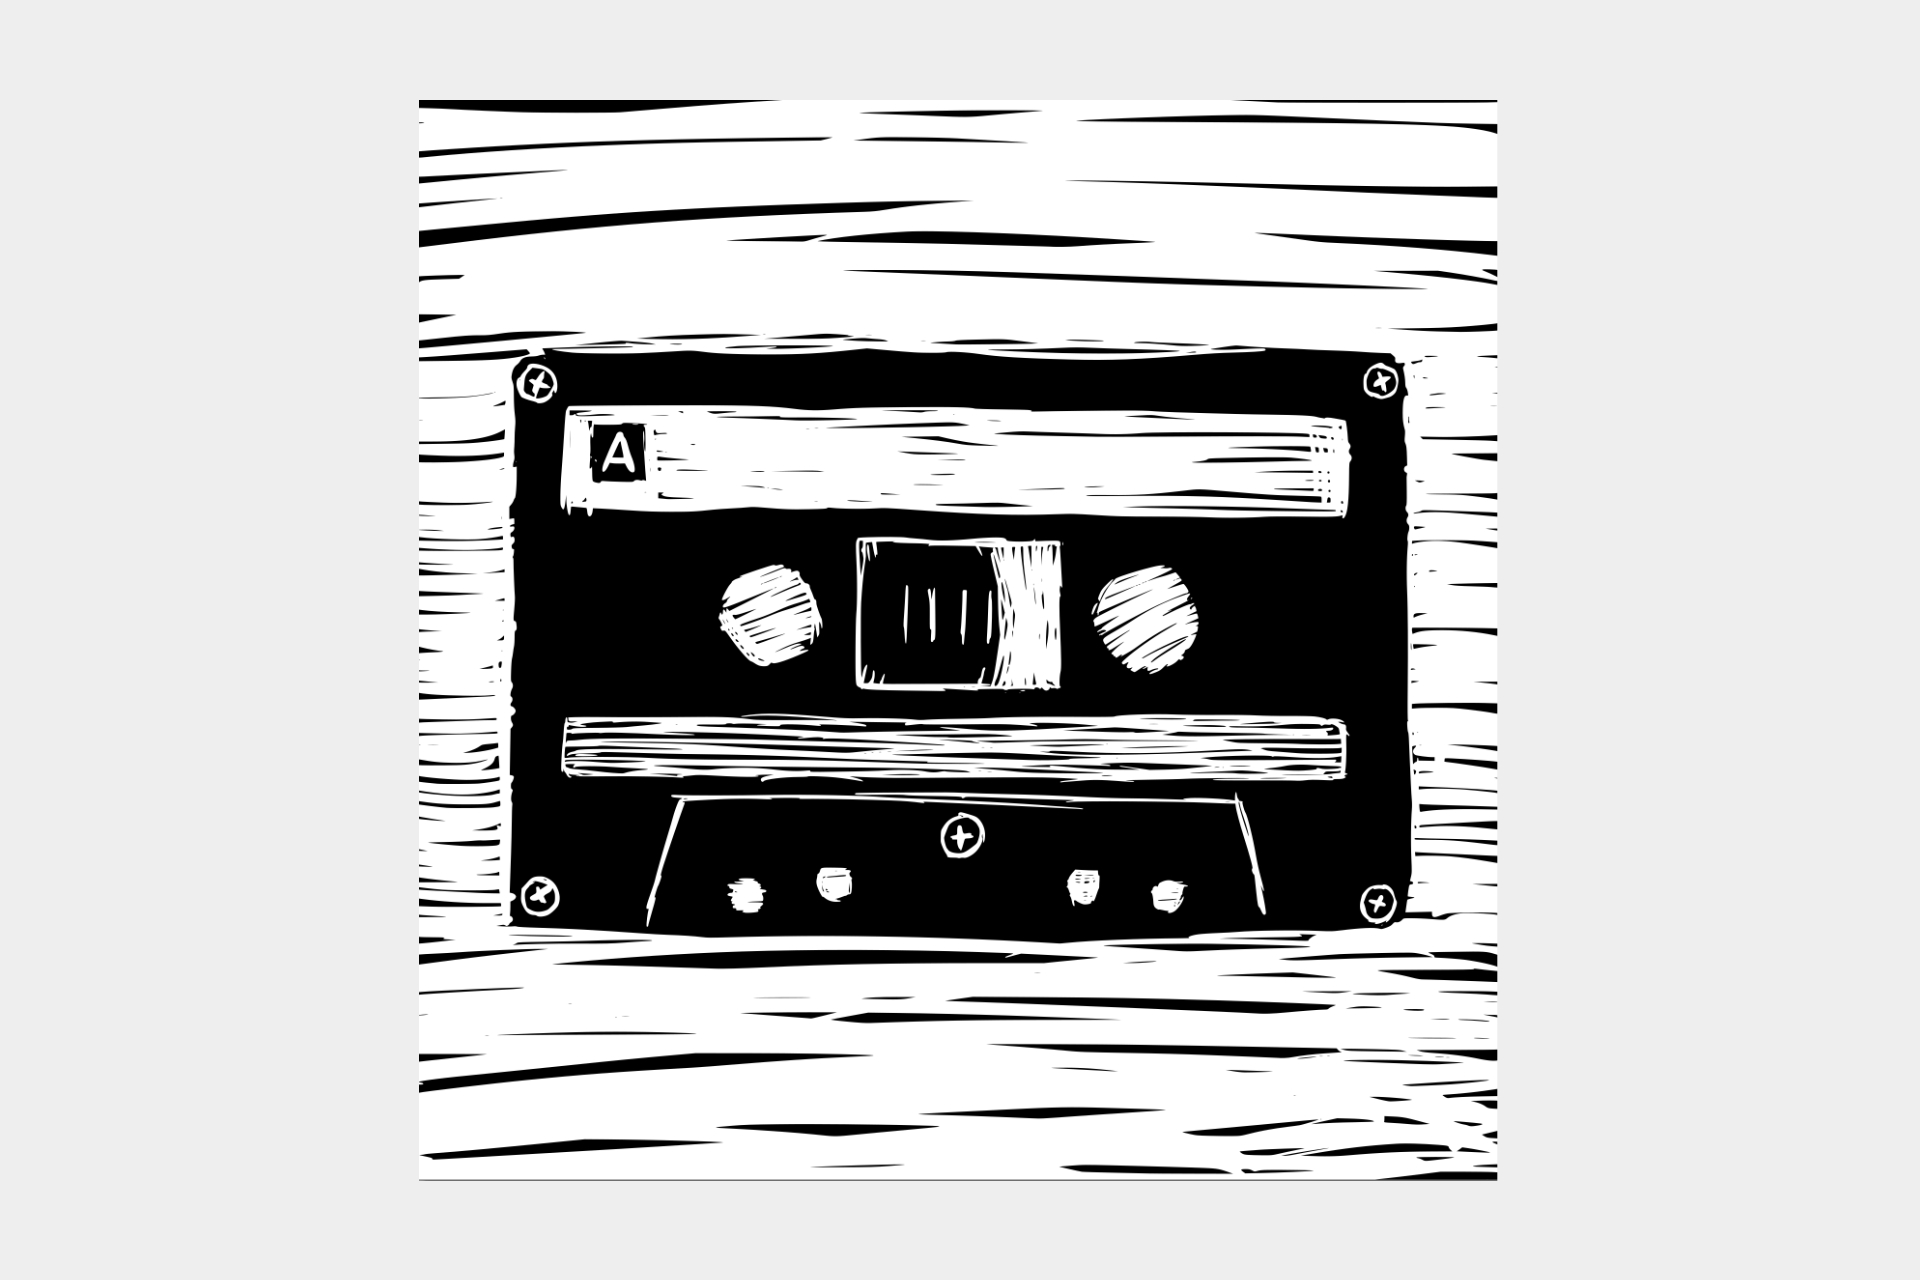
Once I finished the Procreate drawing I exported it to a PNG file, brought it into Inkscape, and then created a vector file from the bitmap file. Since this is a “rough” style of art I wasn’t too concerned with anything being precise, but it looked like a pretty good translation. From there I used the method outlined in How I 3D Print Printing Plates to make the 3D file to print.

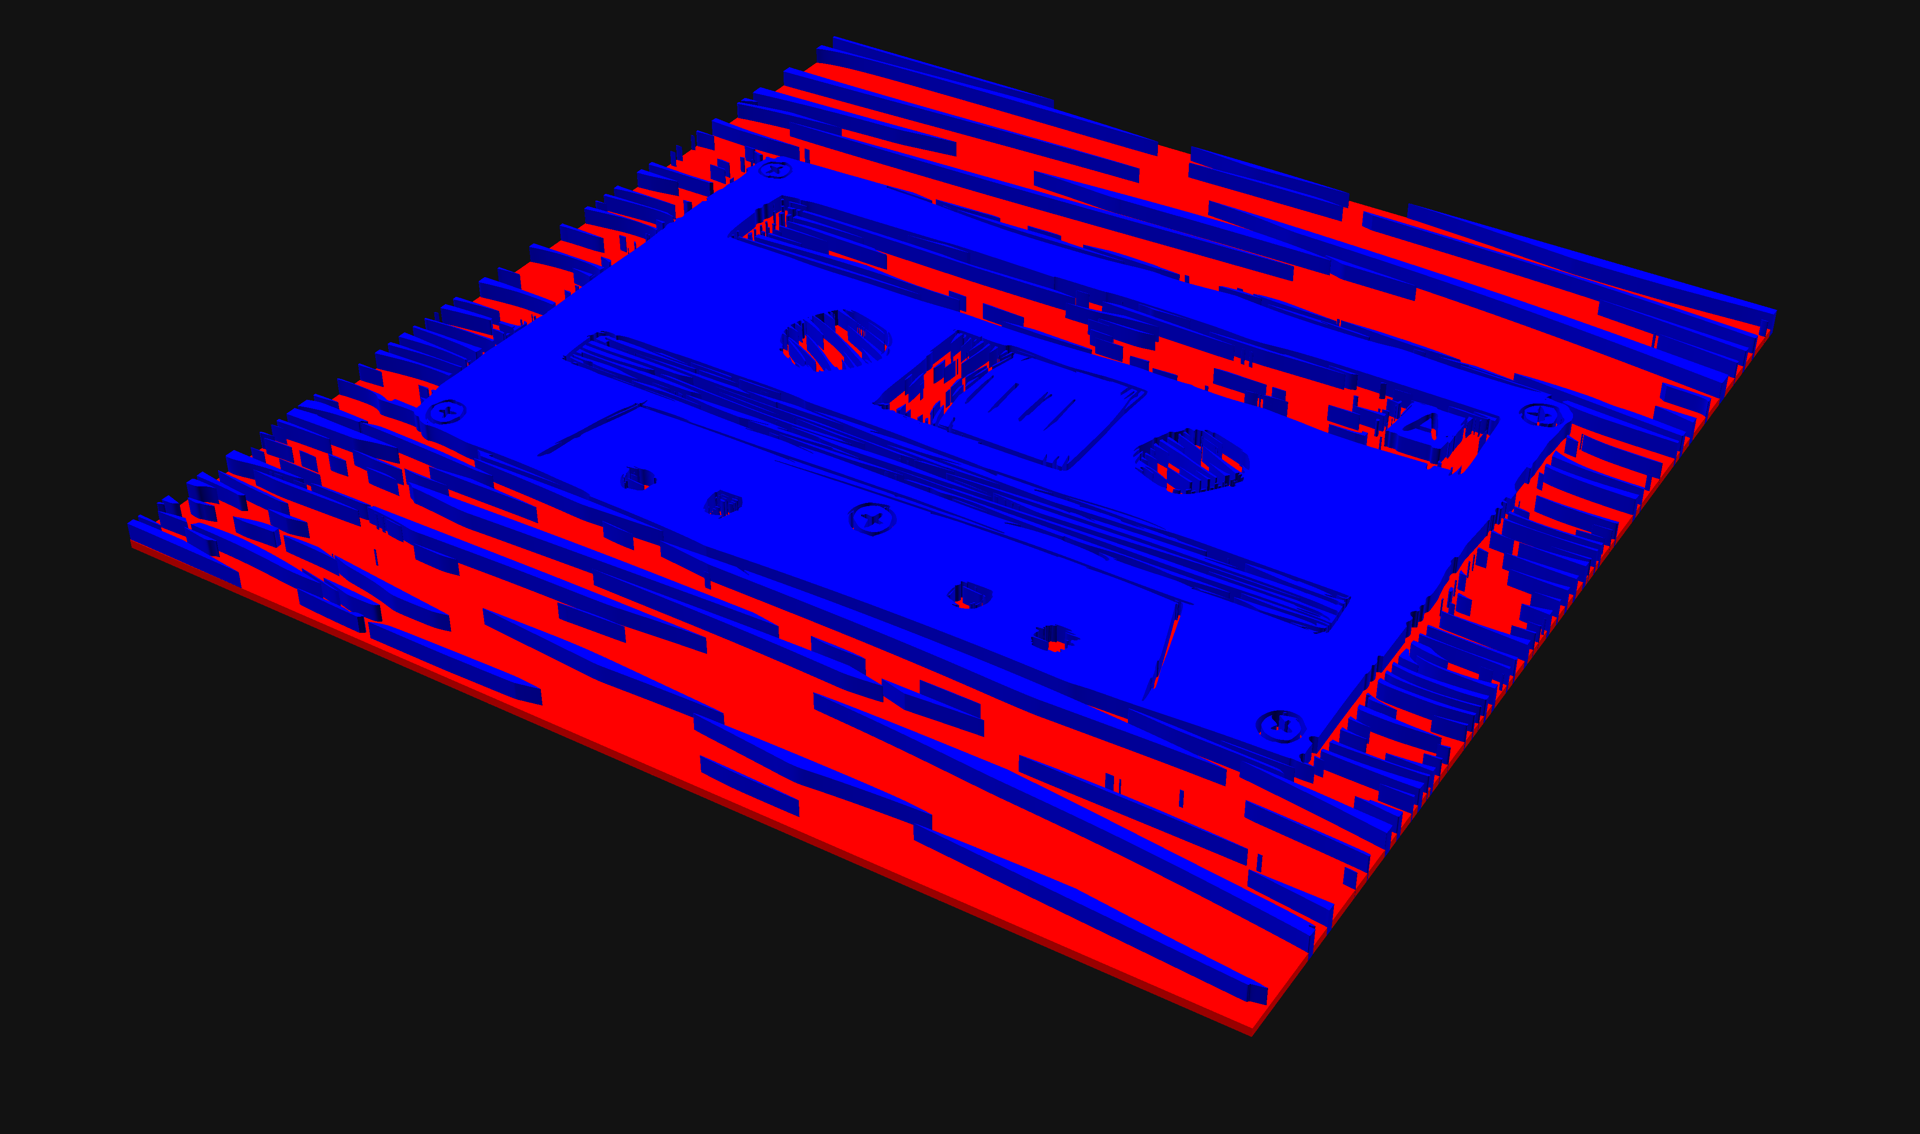
Here’s a render of the 3D model of the printing plate. I usually use 1mm for the bottom flat part and 2mm of “raised” art which has worked well for previous designs, but I’m also wondering if I can get away with 1.5mm or 2mm for the flat part. It’s worth testing and easy to do!

The reason for changing the flat backing plate versus artwork ratio is to help those thin lines be a little stronger sine they would not be as tall. Hmmm, something to consider!

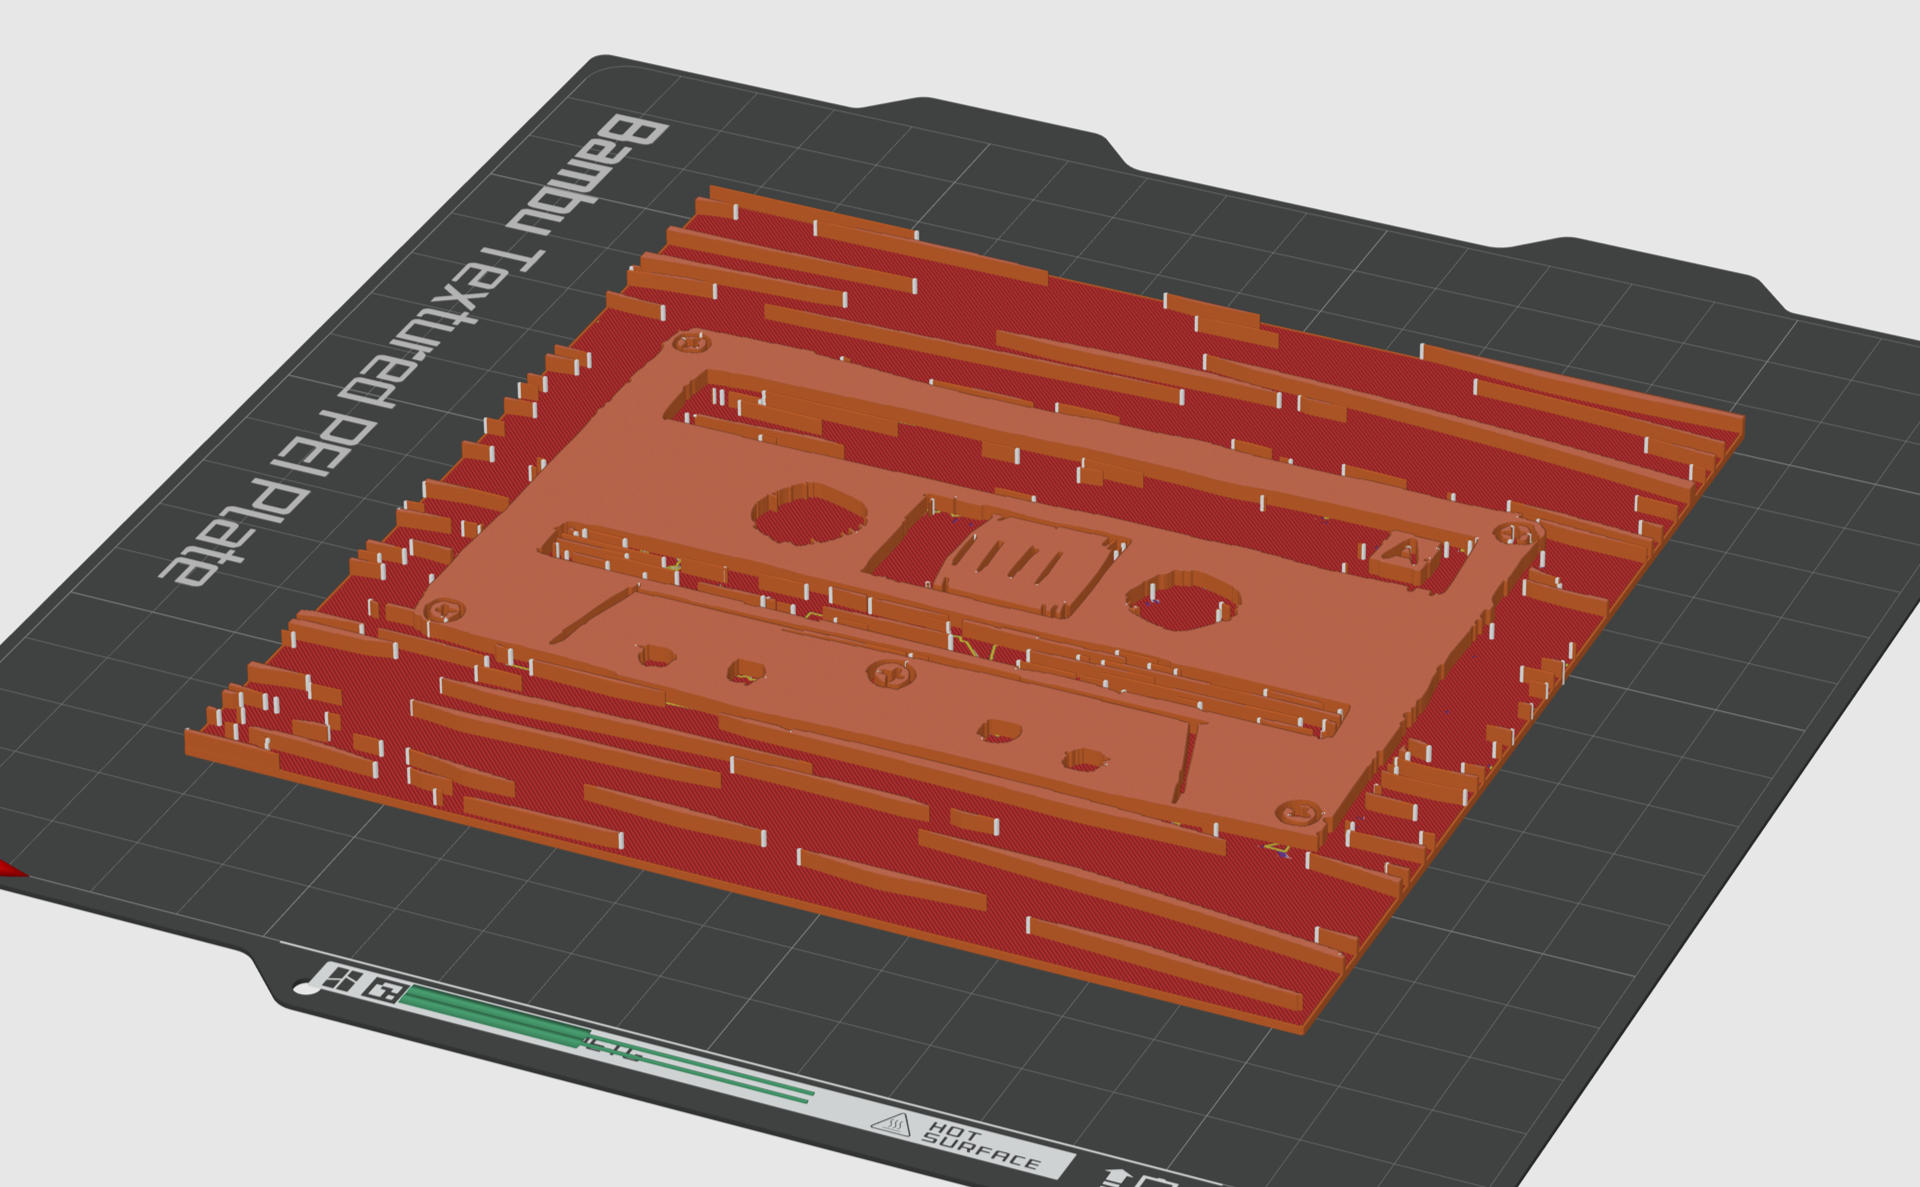
This is what the sliced plate looks like before sending it to print. I printed it on my Bambu Lab A1 mini 3D Printer which is a small printer and actually perfect for these small plates.

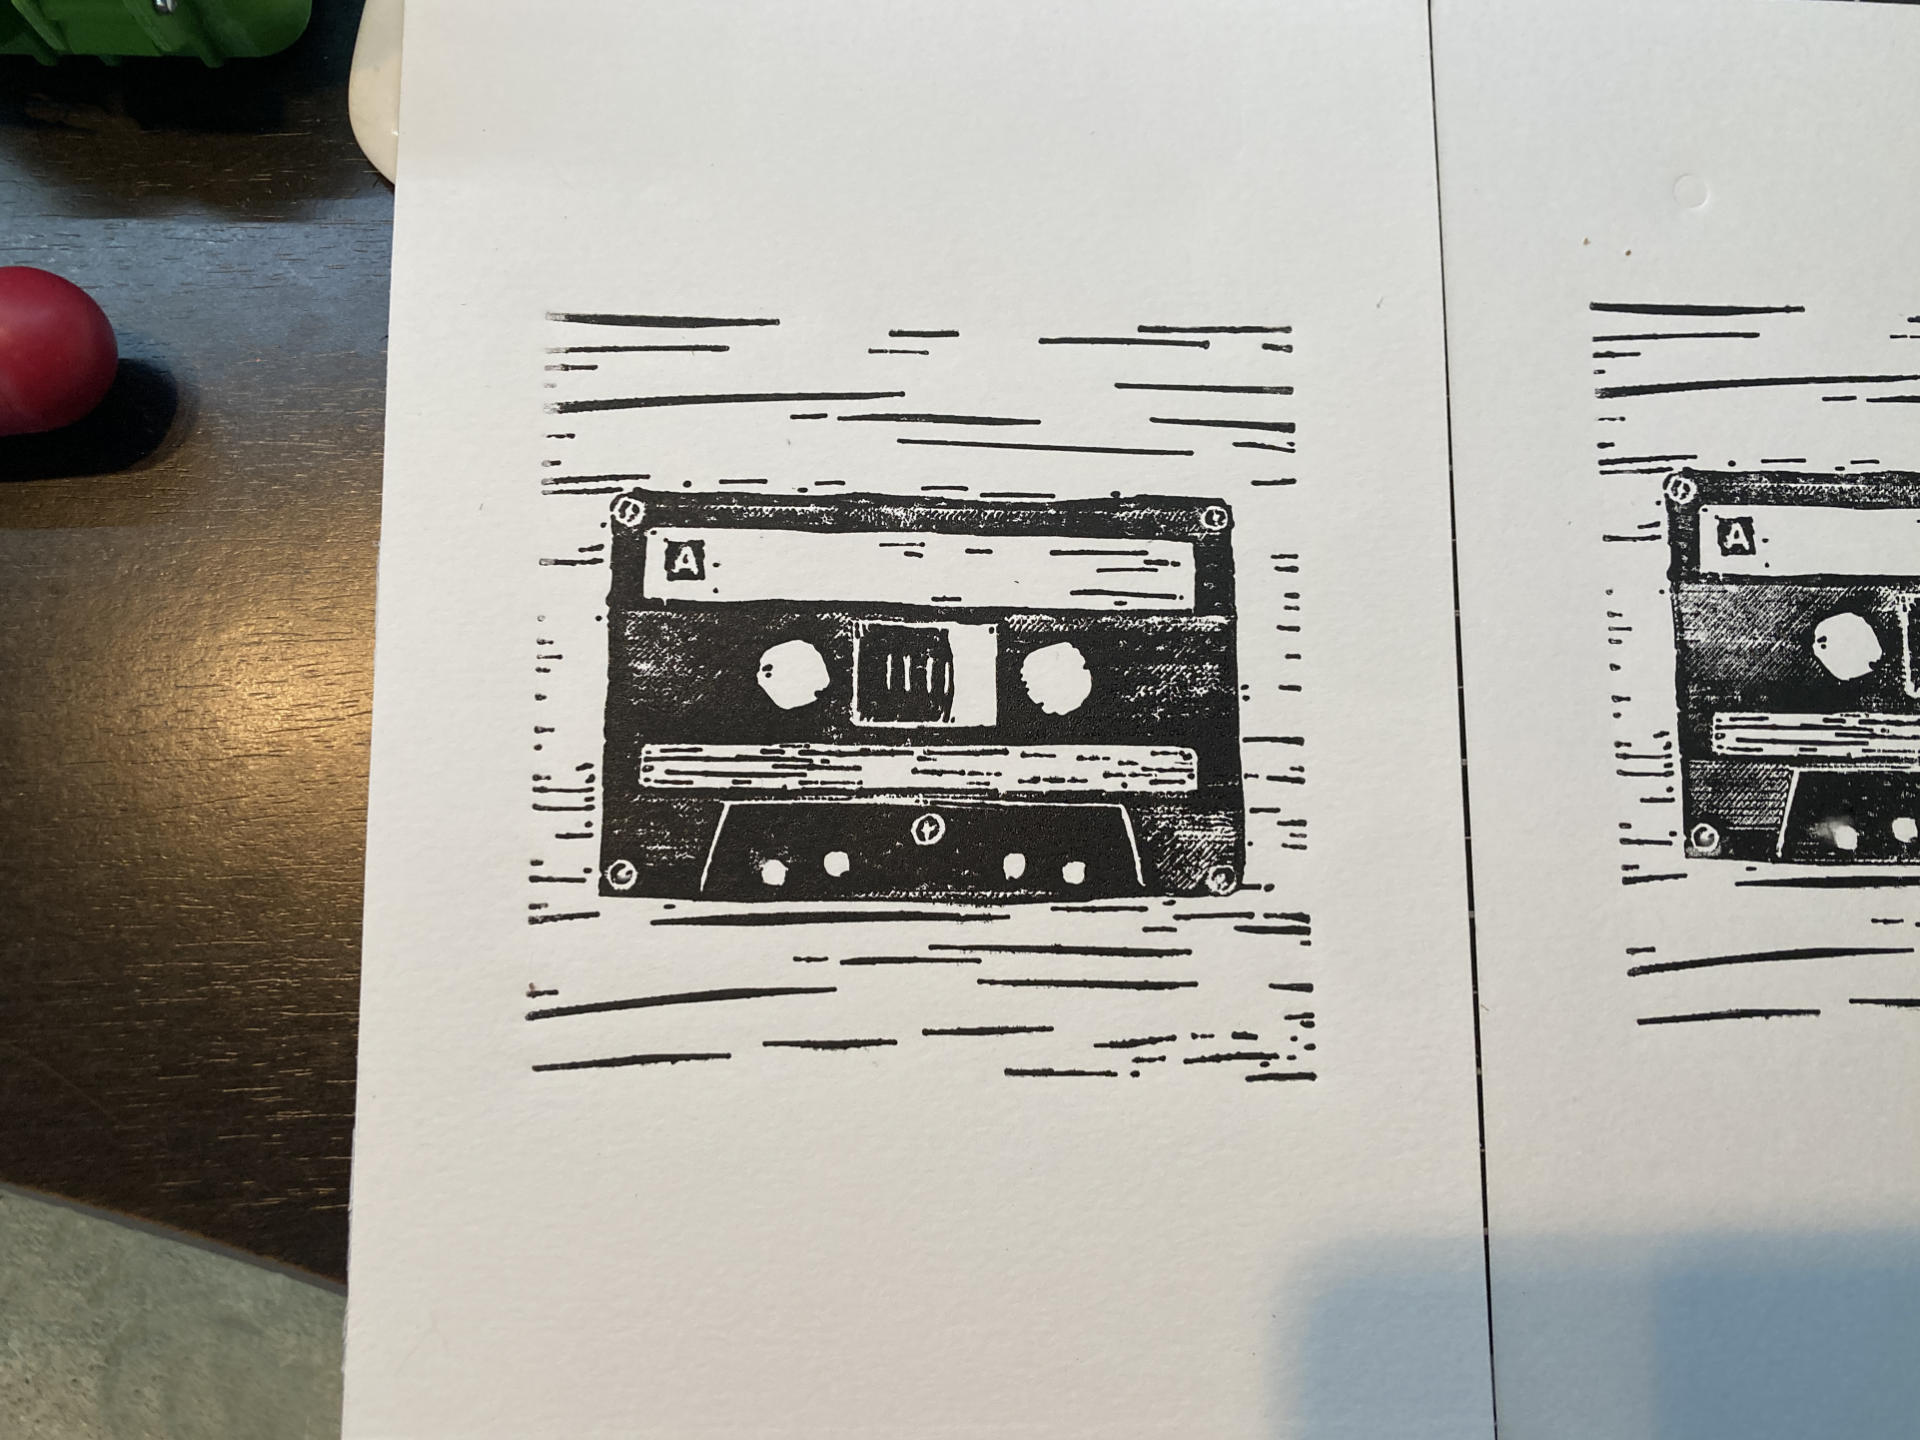
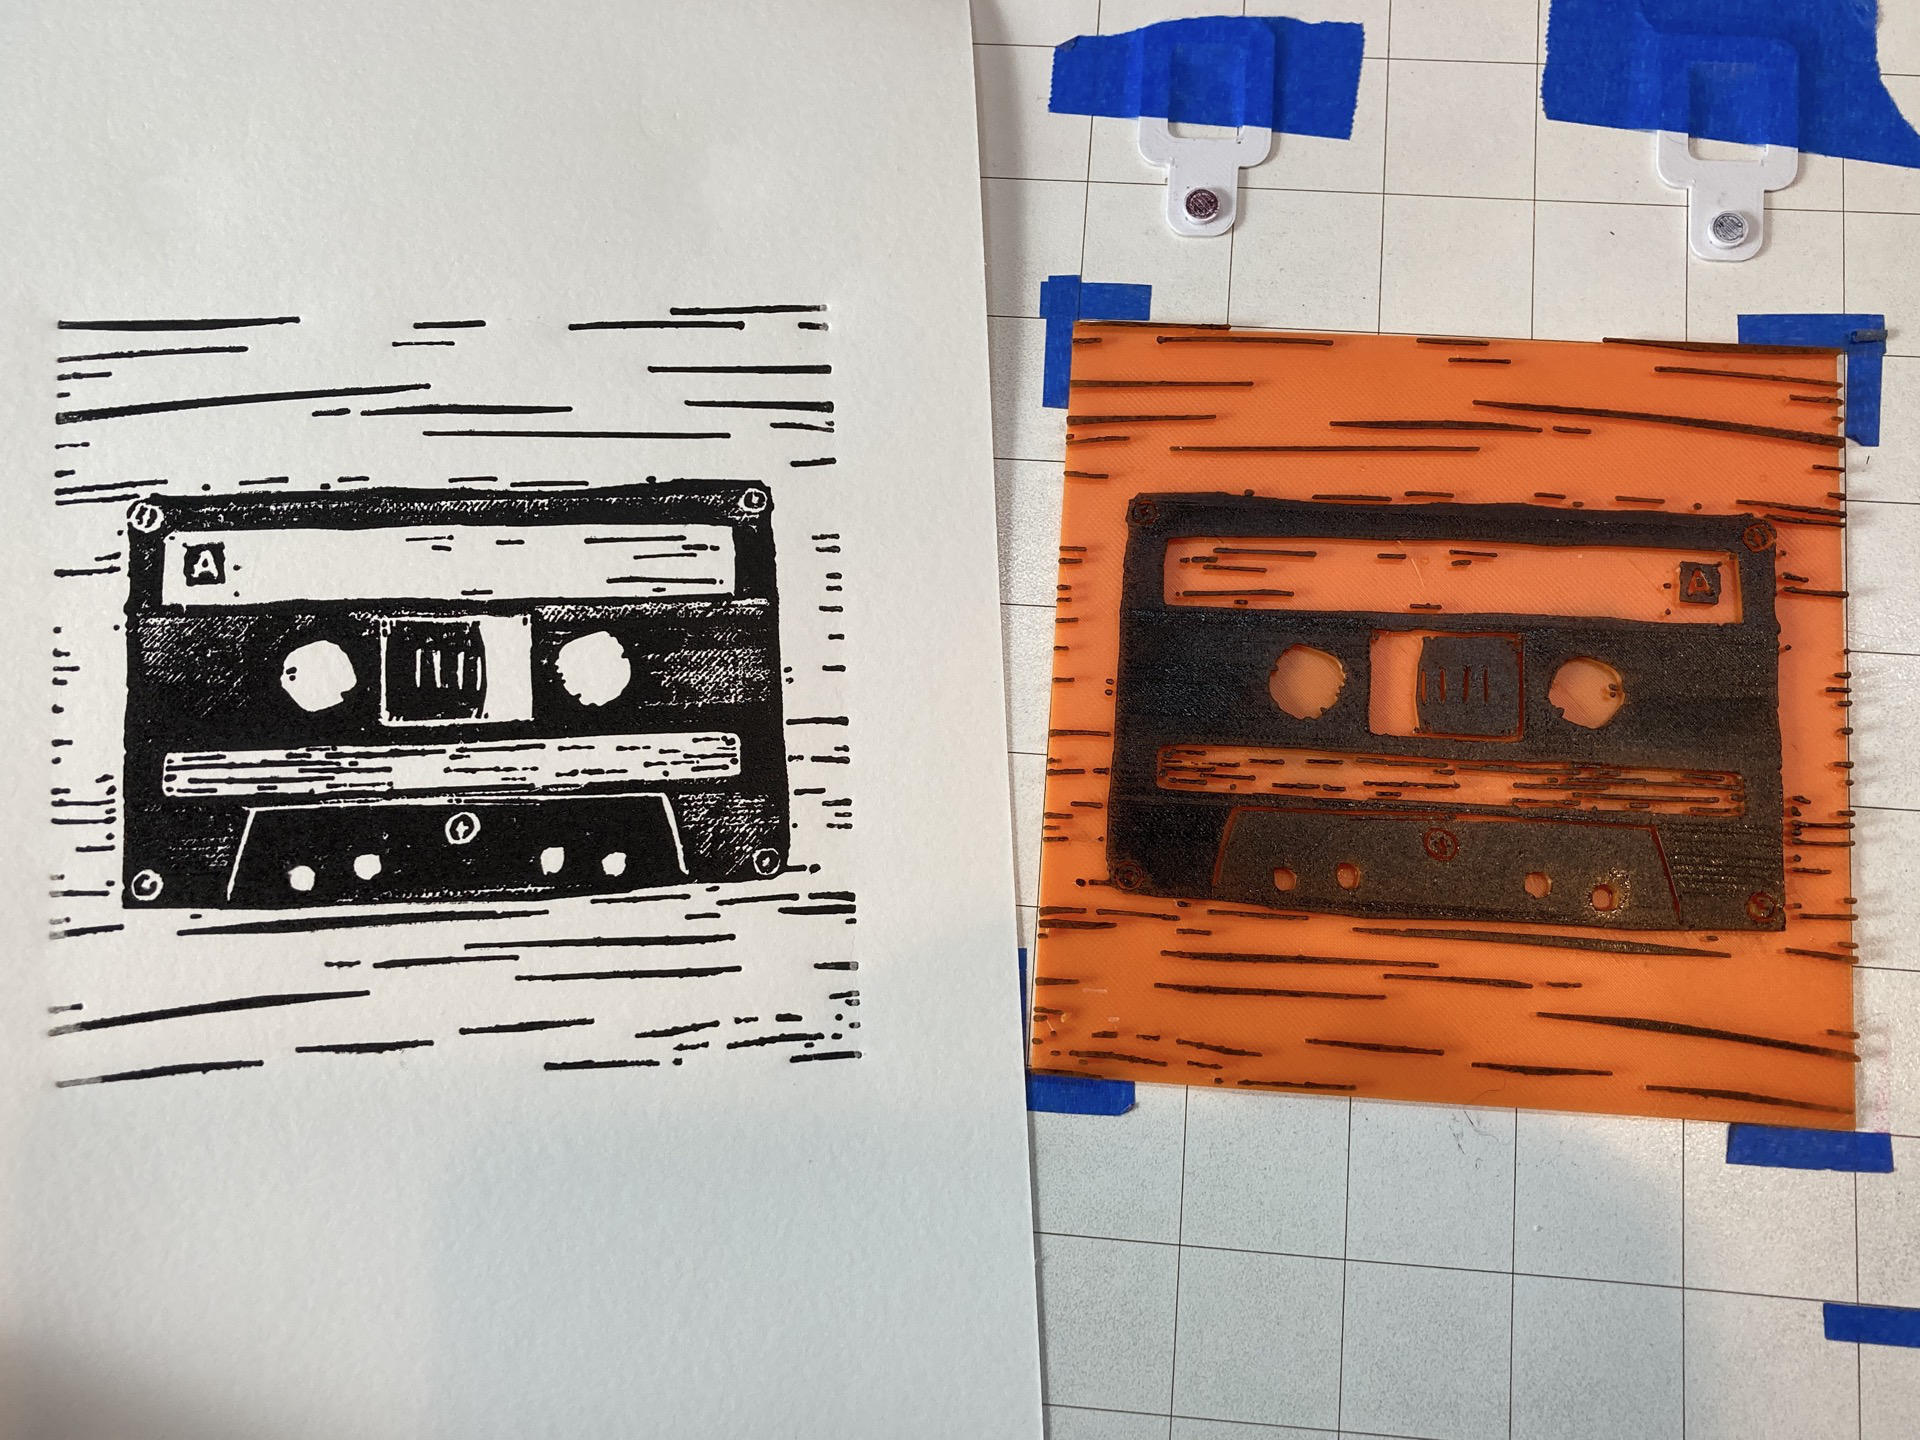
Ready to print! Here’s the first print along with the printing plate all inked up. I’m using my Provisional Press for this. I love the Provisional Press because it’s under $200 USD and works great for my needs.

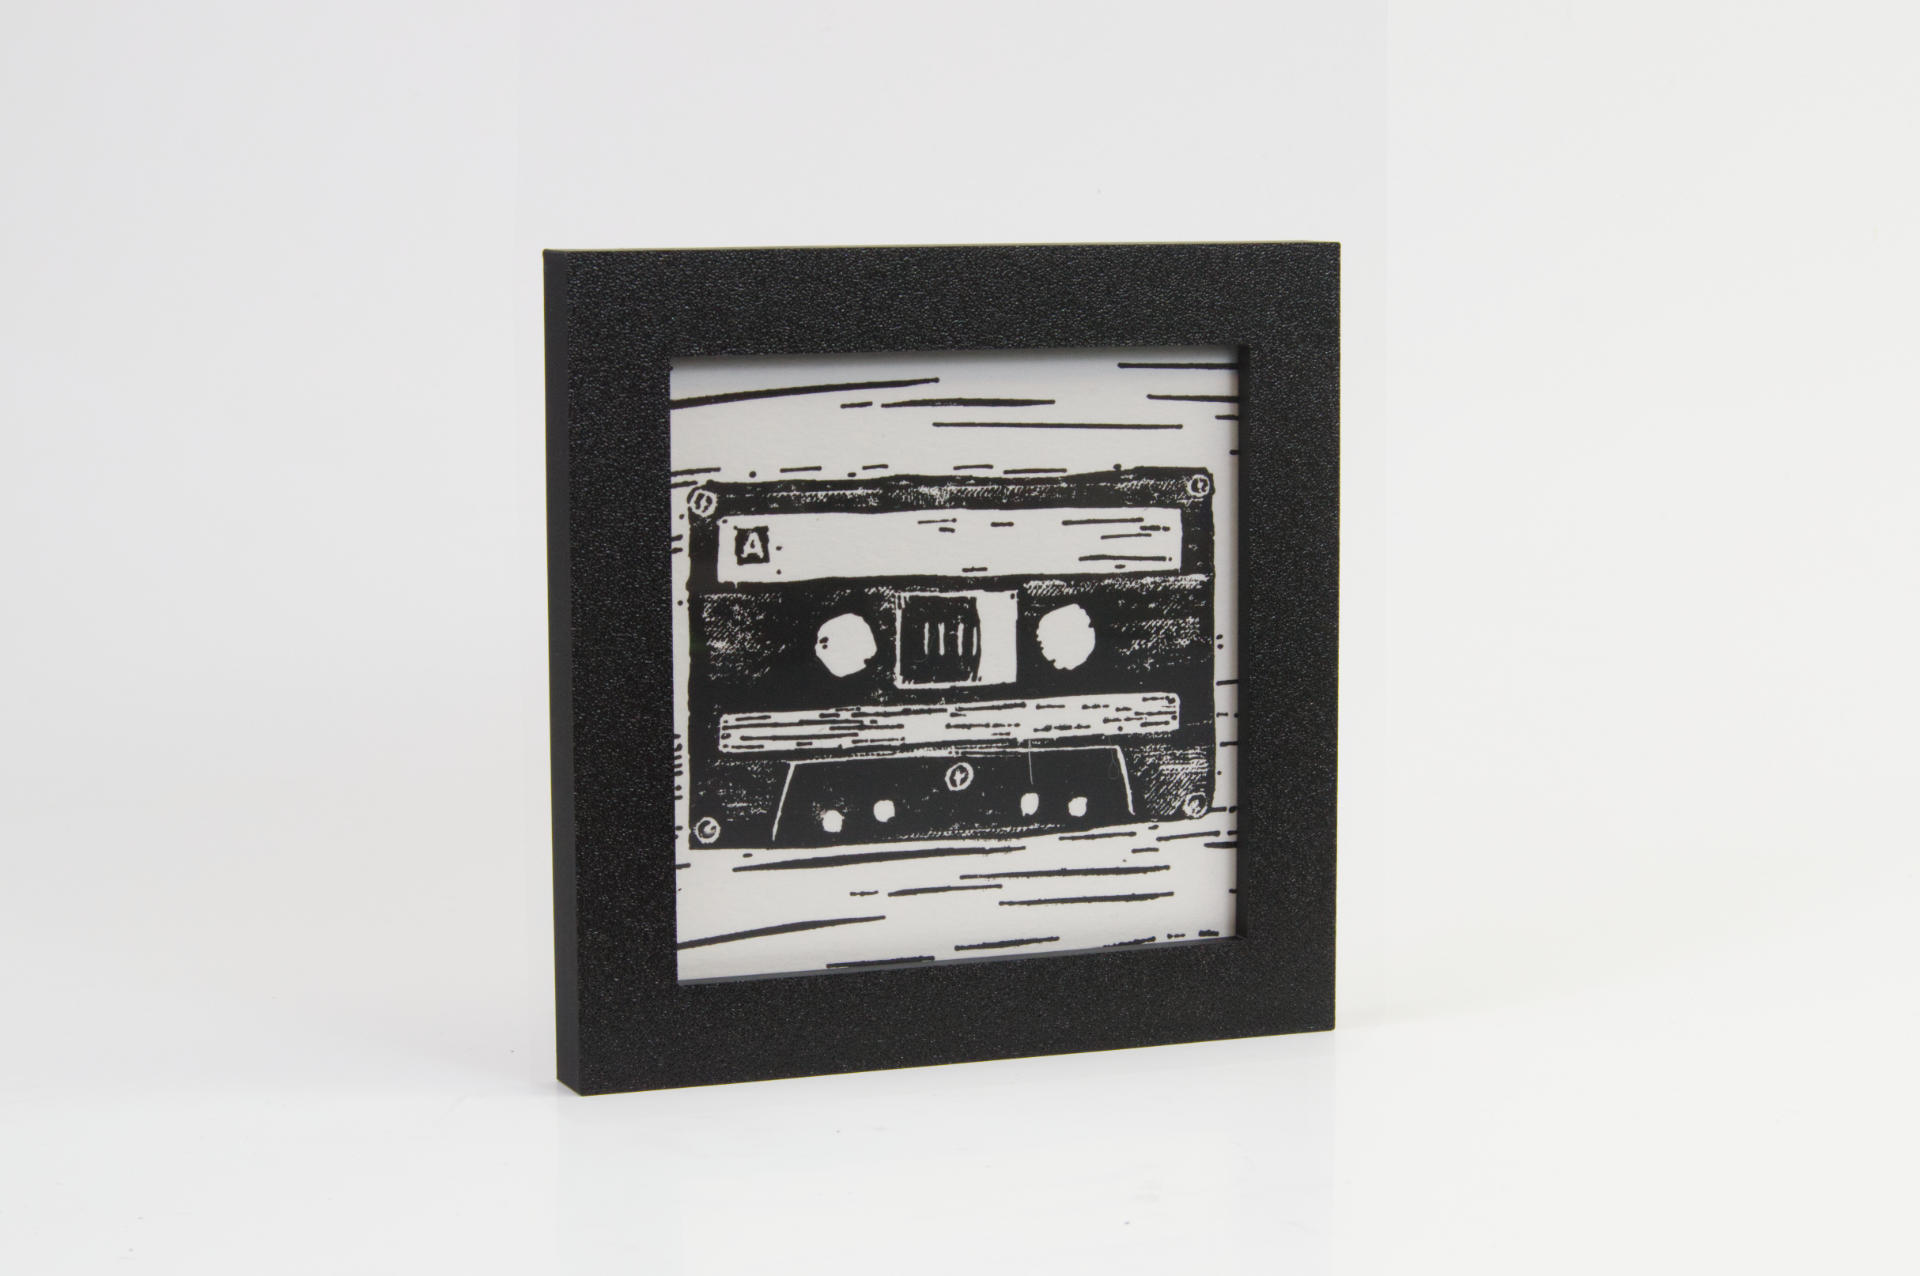
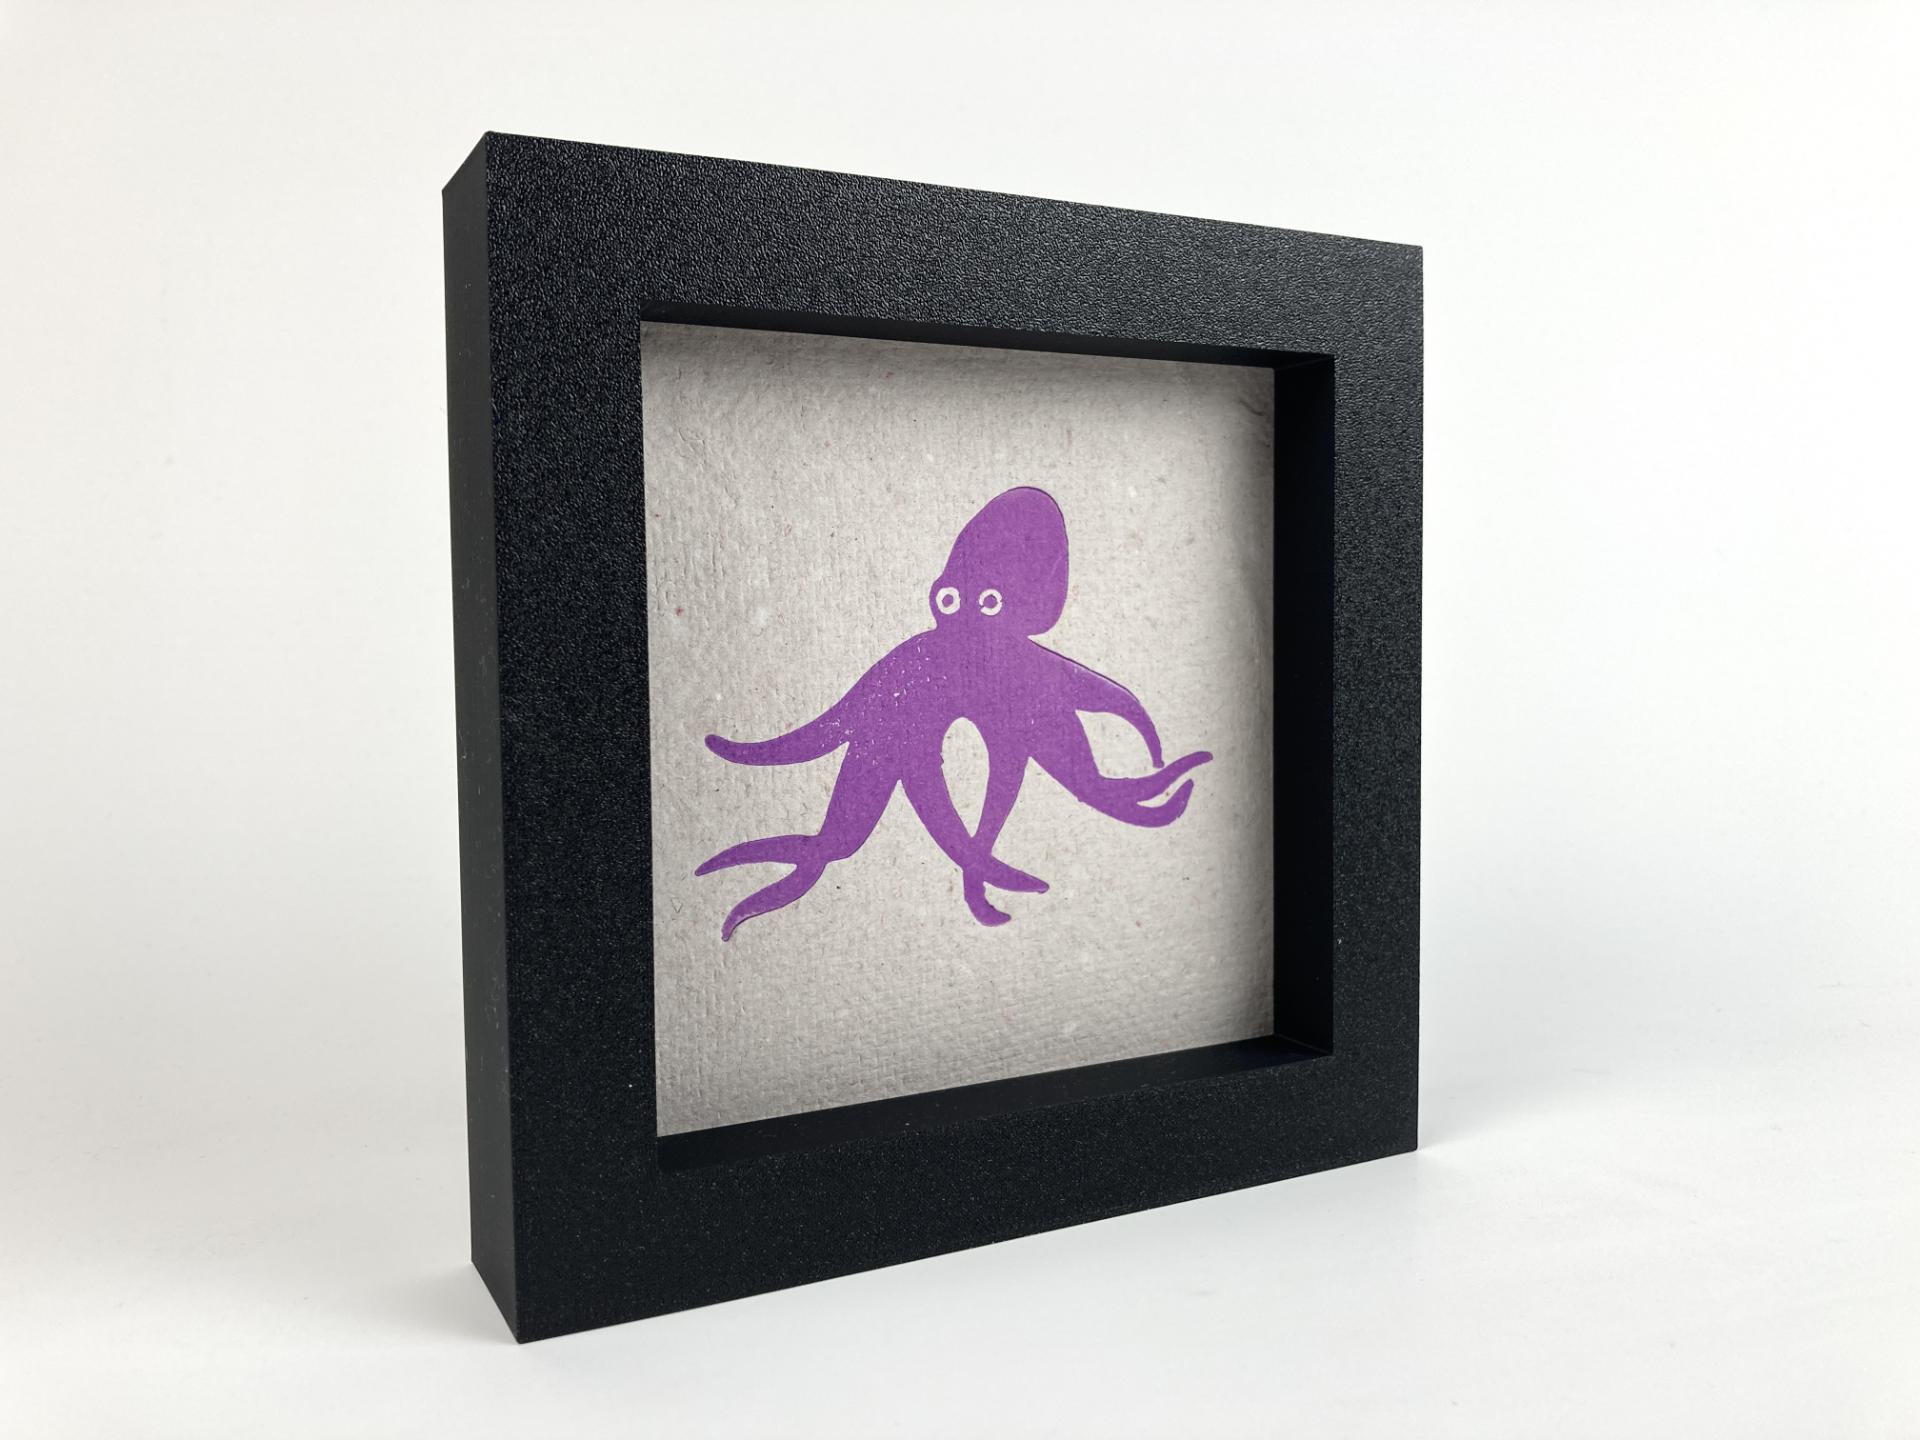
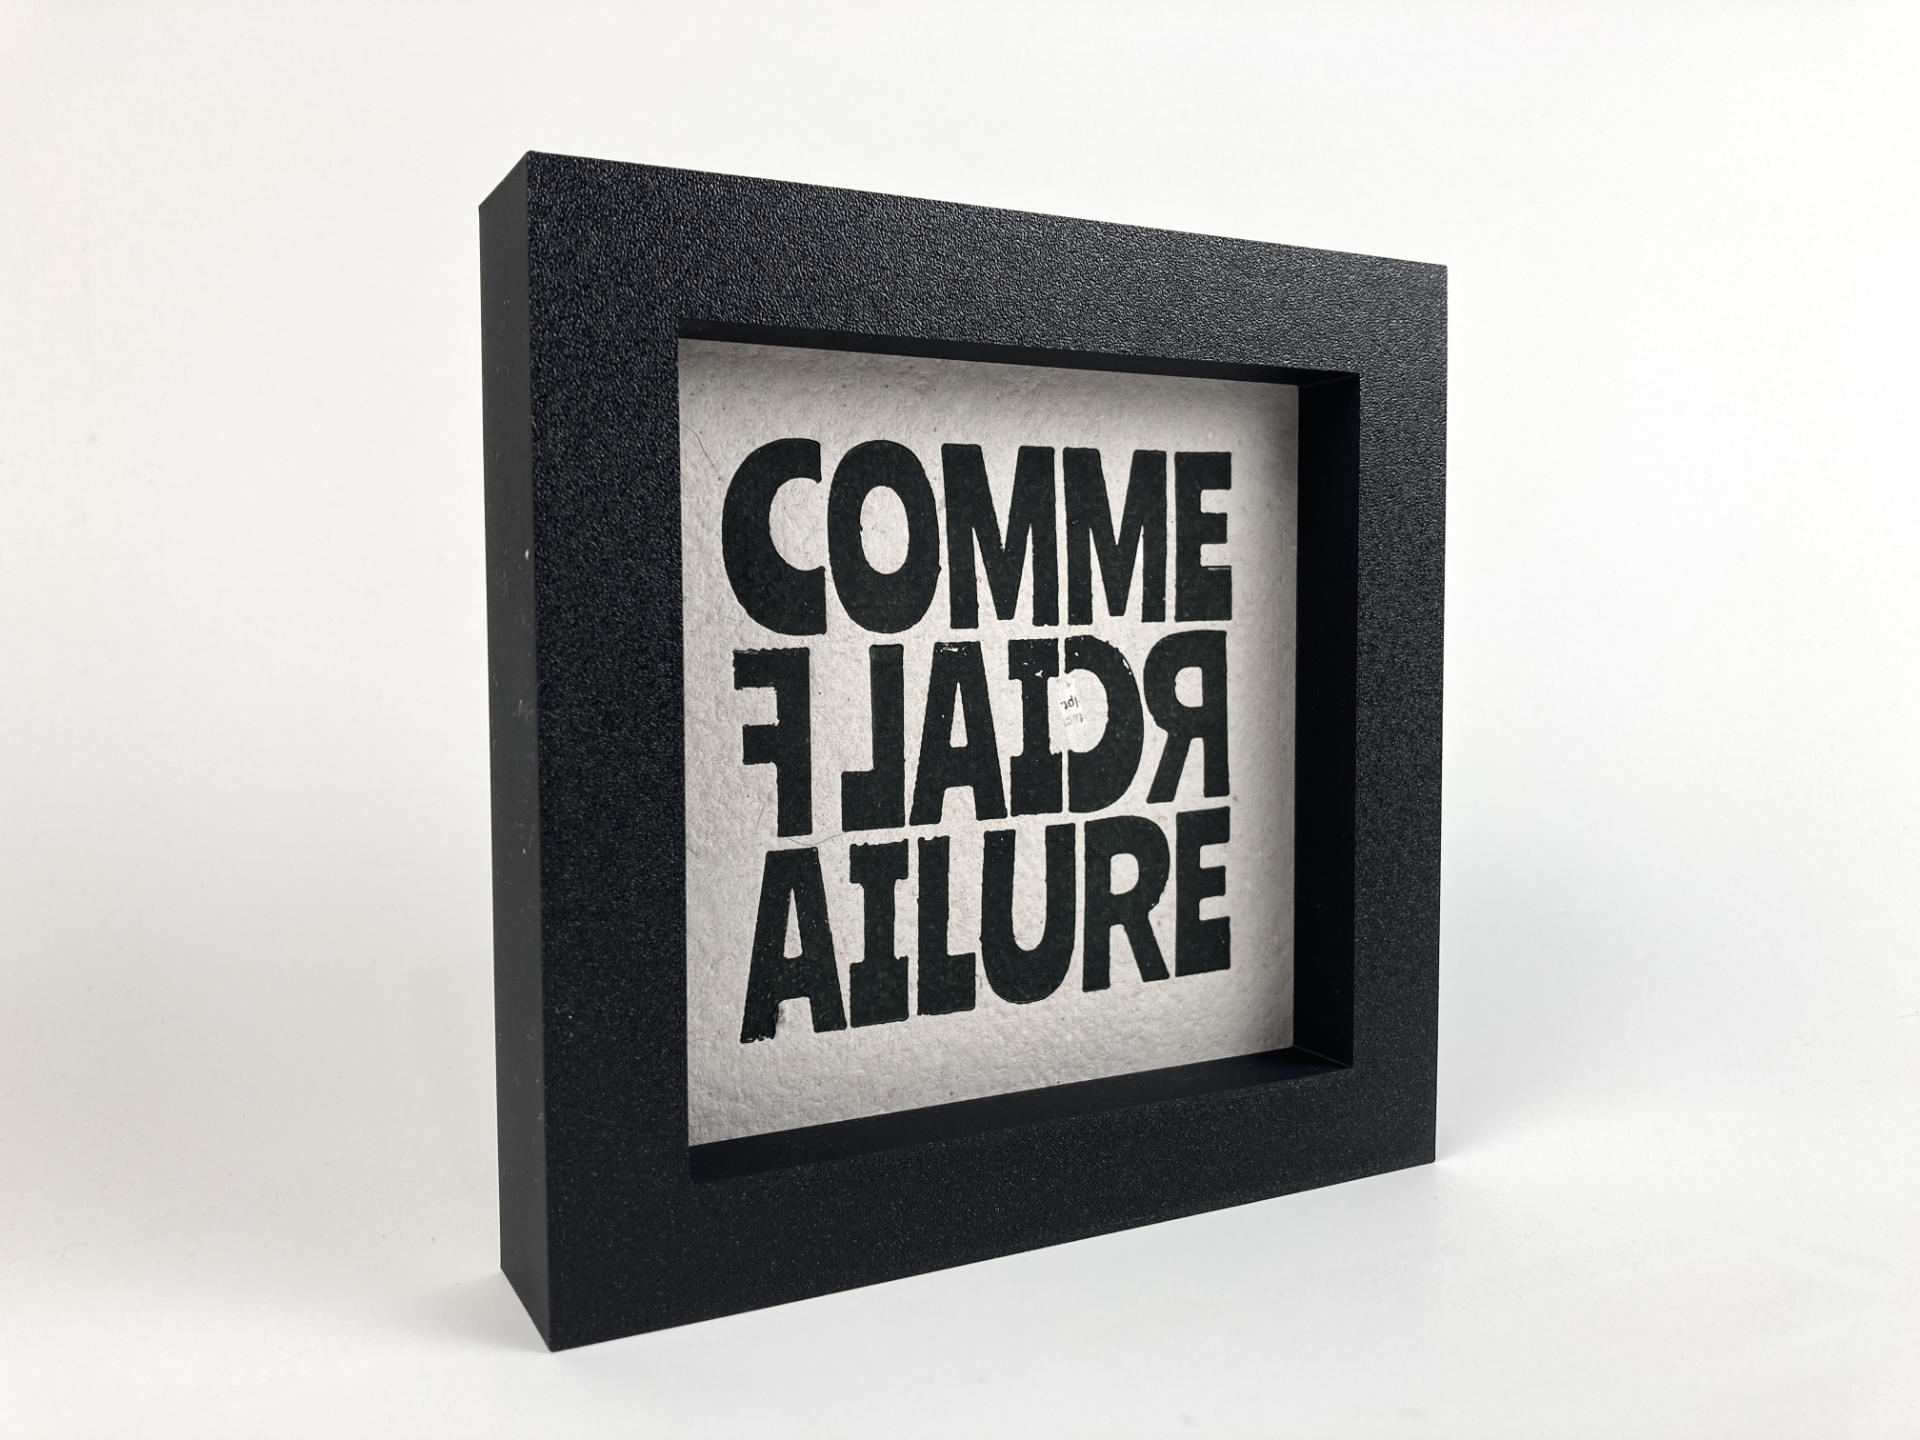
Finally, here’s the print framed. (Yes, I 3D printed the frame.) I like where this is going, and will definitely be working on this idea in the future. I think part of what gets me excited is that I am still figuring this stuff out as I go, and there is learning and exploration as part of the process. Always room for improvement, and always new discoveries and surprises along the journey.

Categories
Uncategorized

Skulls (2D and 3D)

A post I made on Facebook while at Ink Curds:

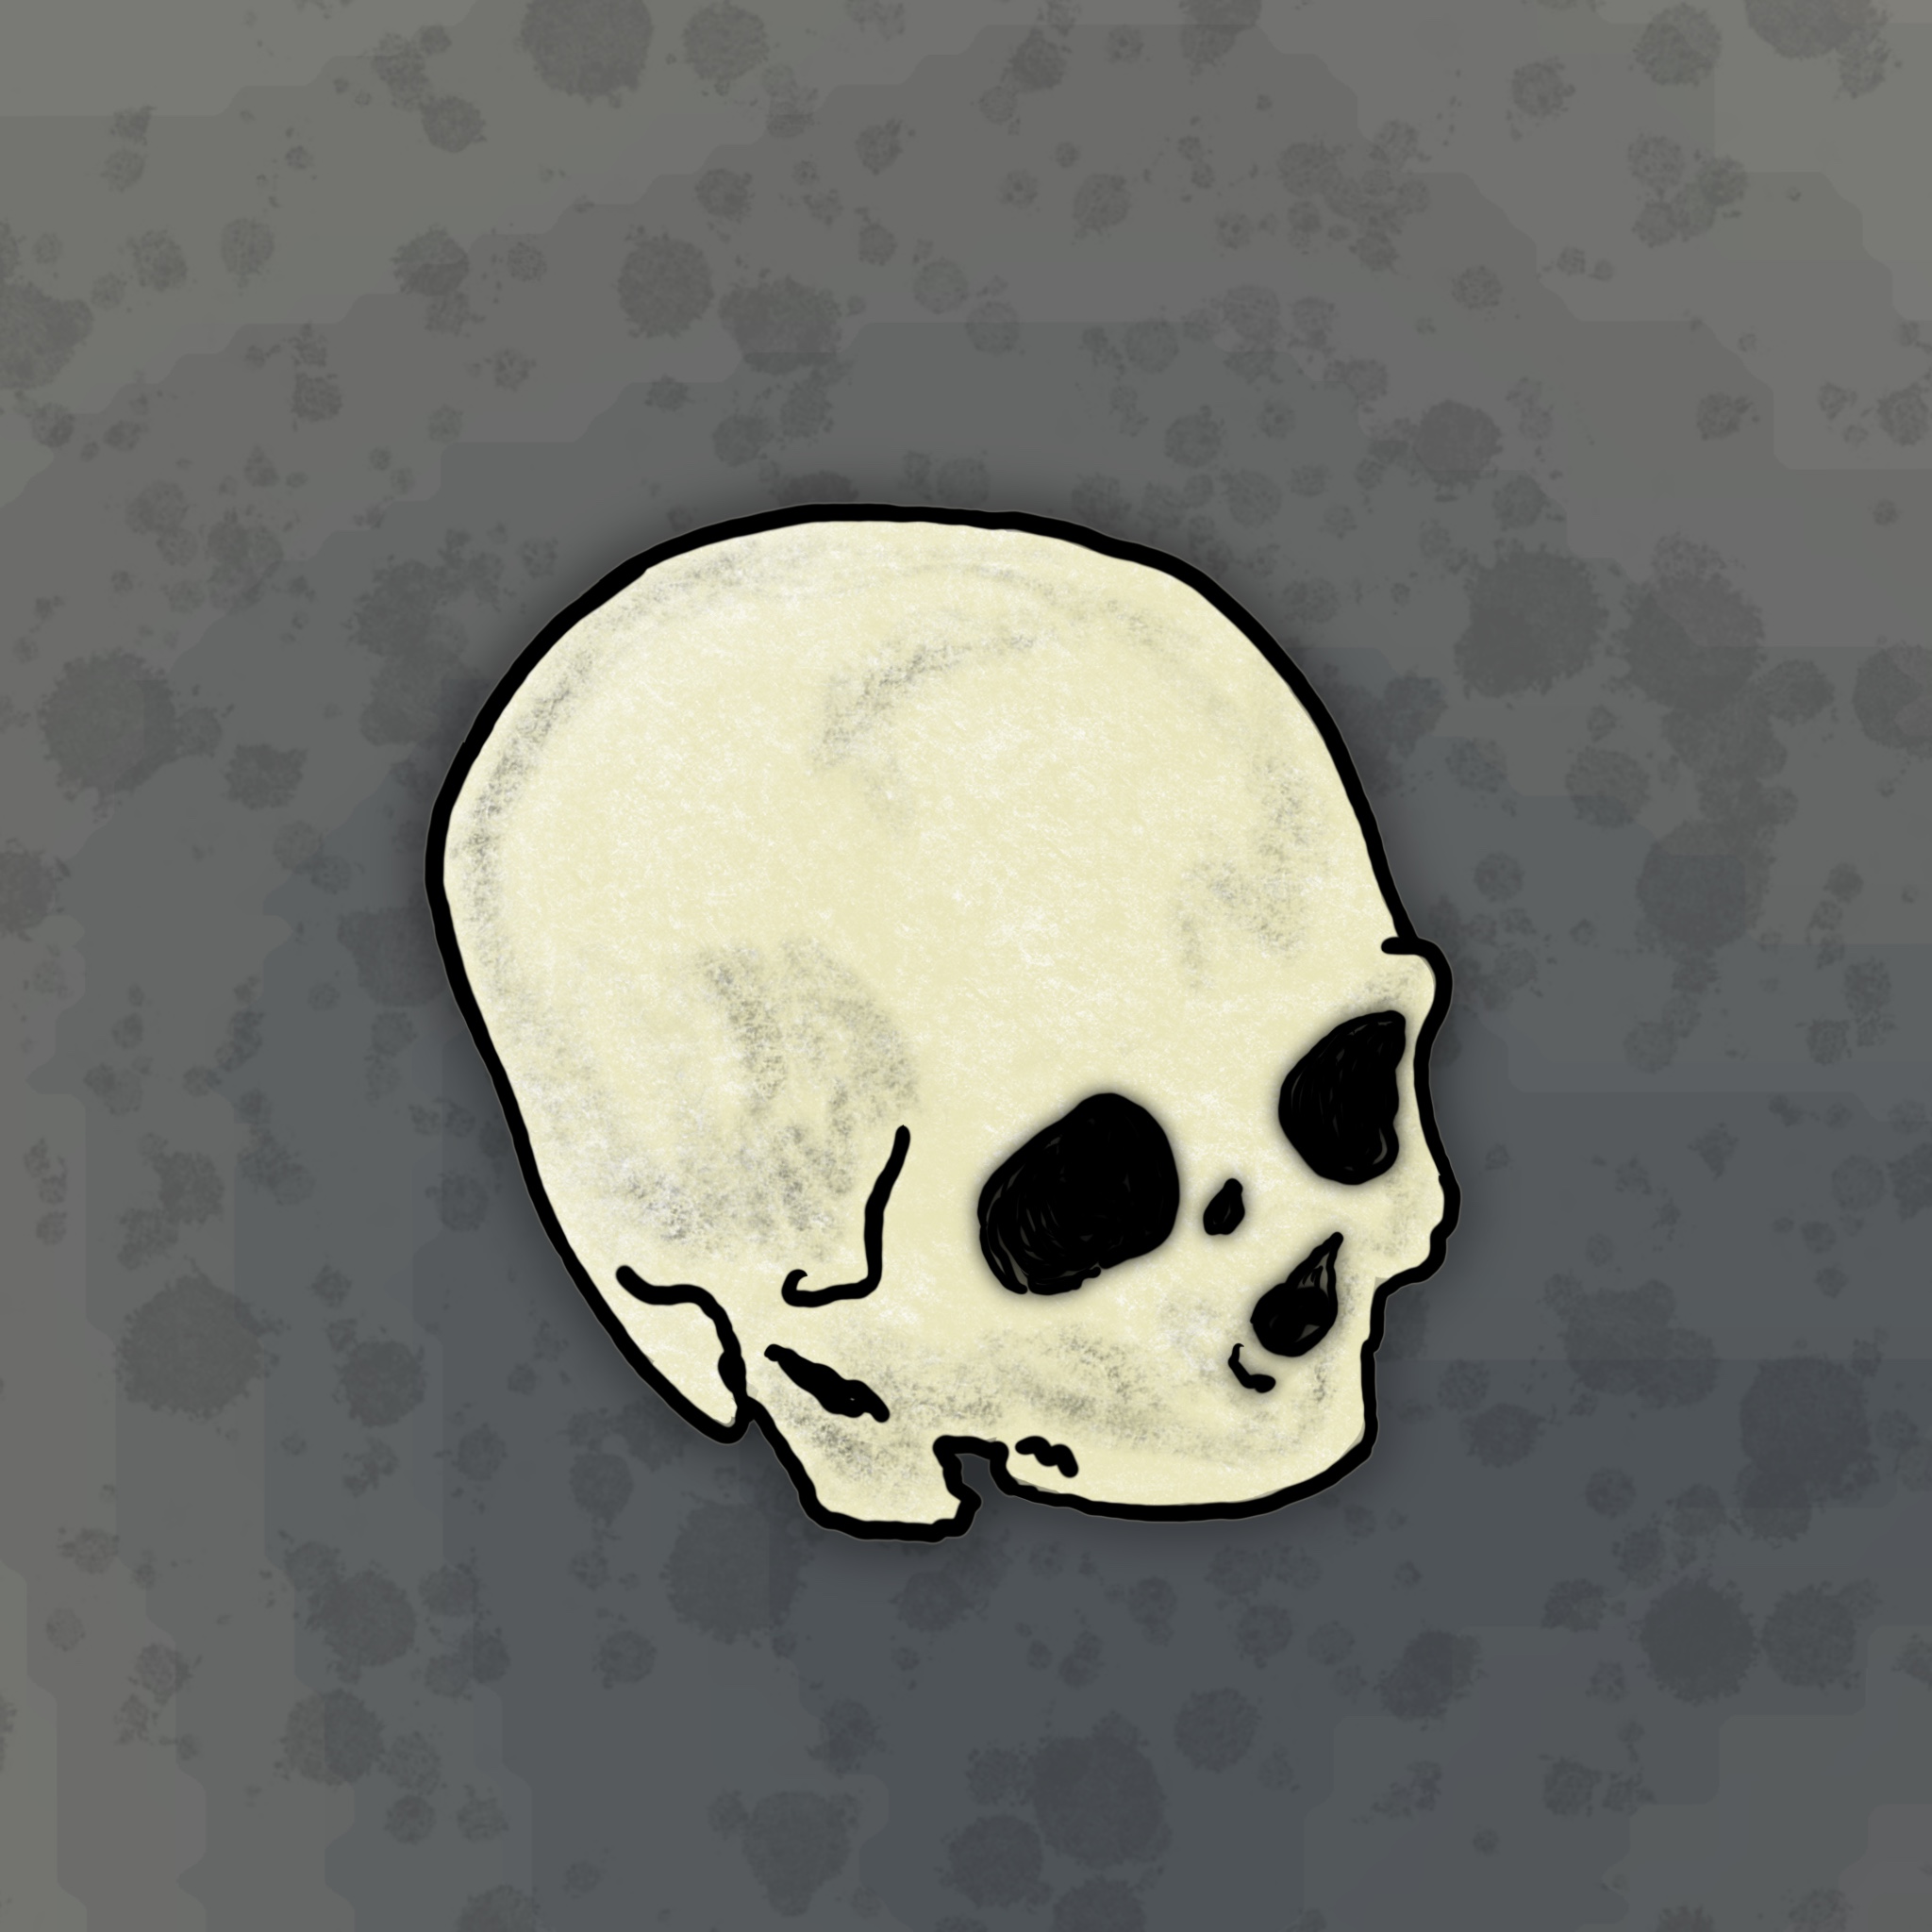
Me explaining my process: “So I 3D printed a skull, then I photographed it, then I made a drawing from the photograph, then I 3D printed plates from the drawing, then I made a relief print using the plates… oh, and I made the paper with a 3D printed mould & deckle, and used 3D printed registration pins for the two-color print… I guess I’m a printmaker.”

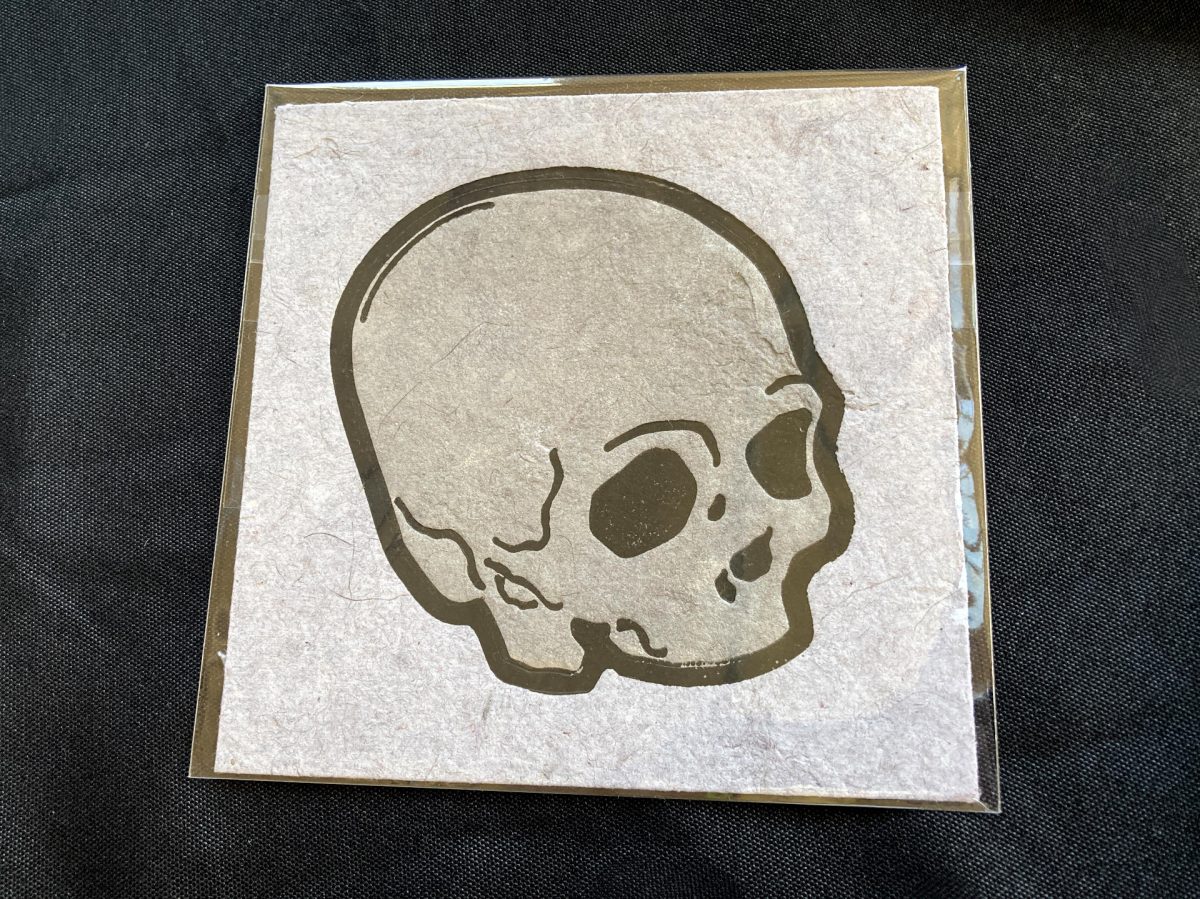
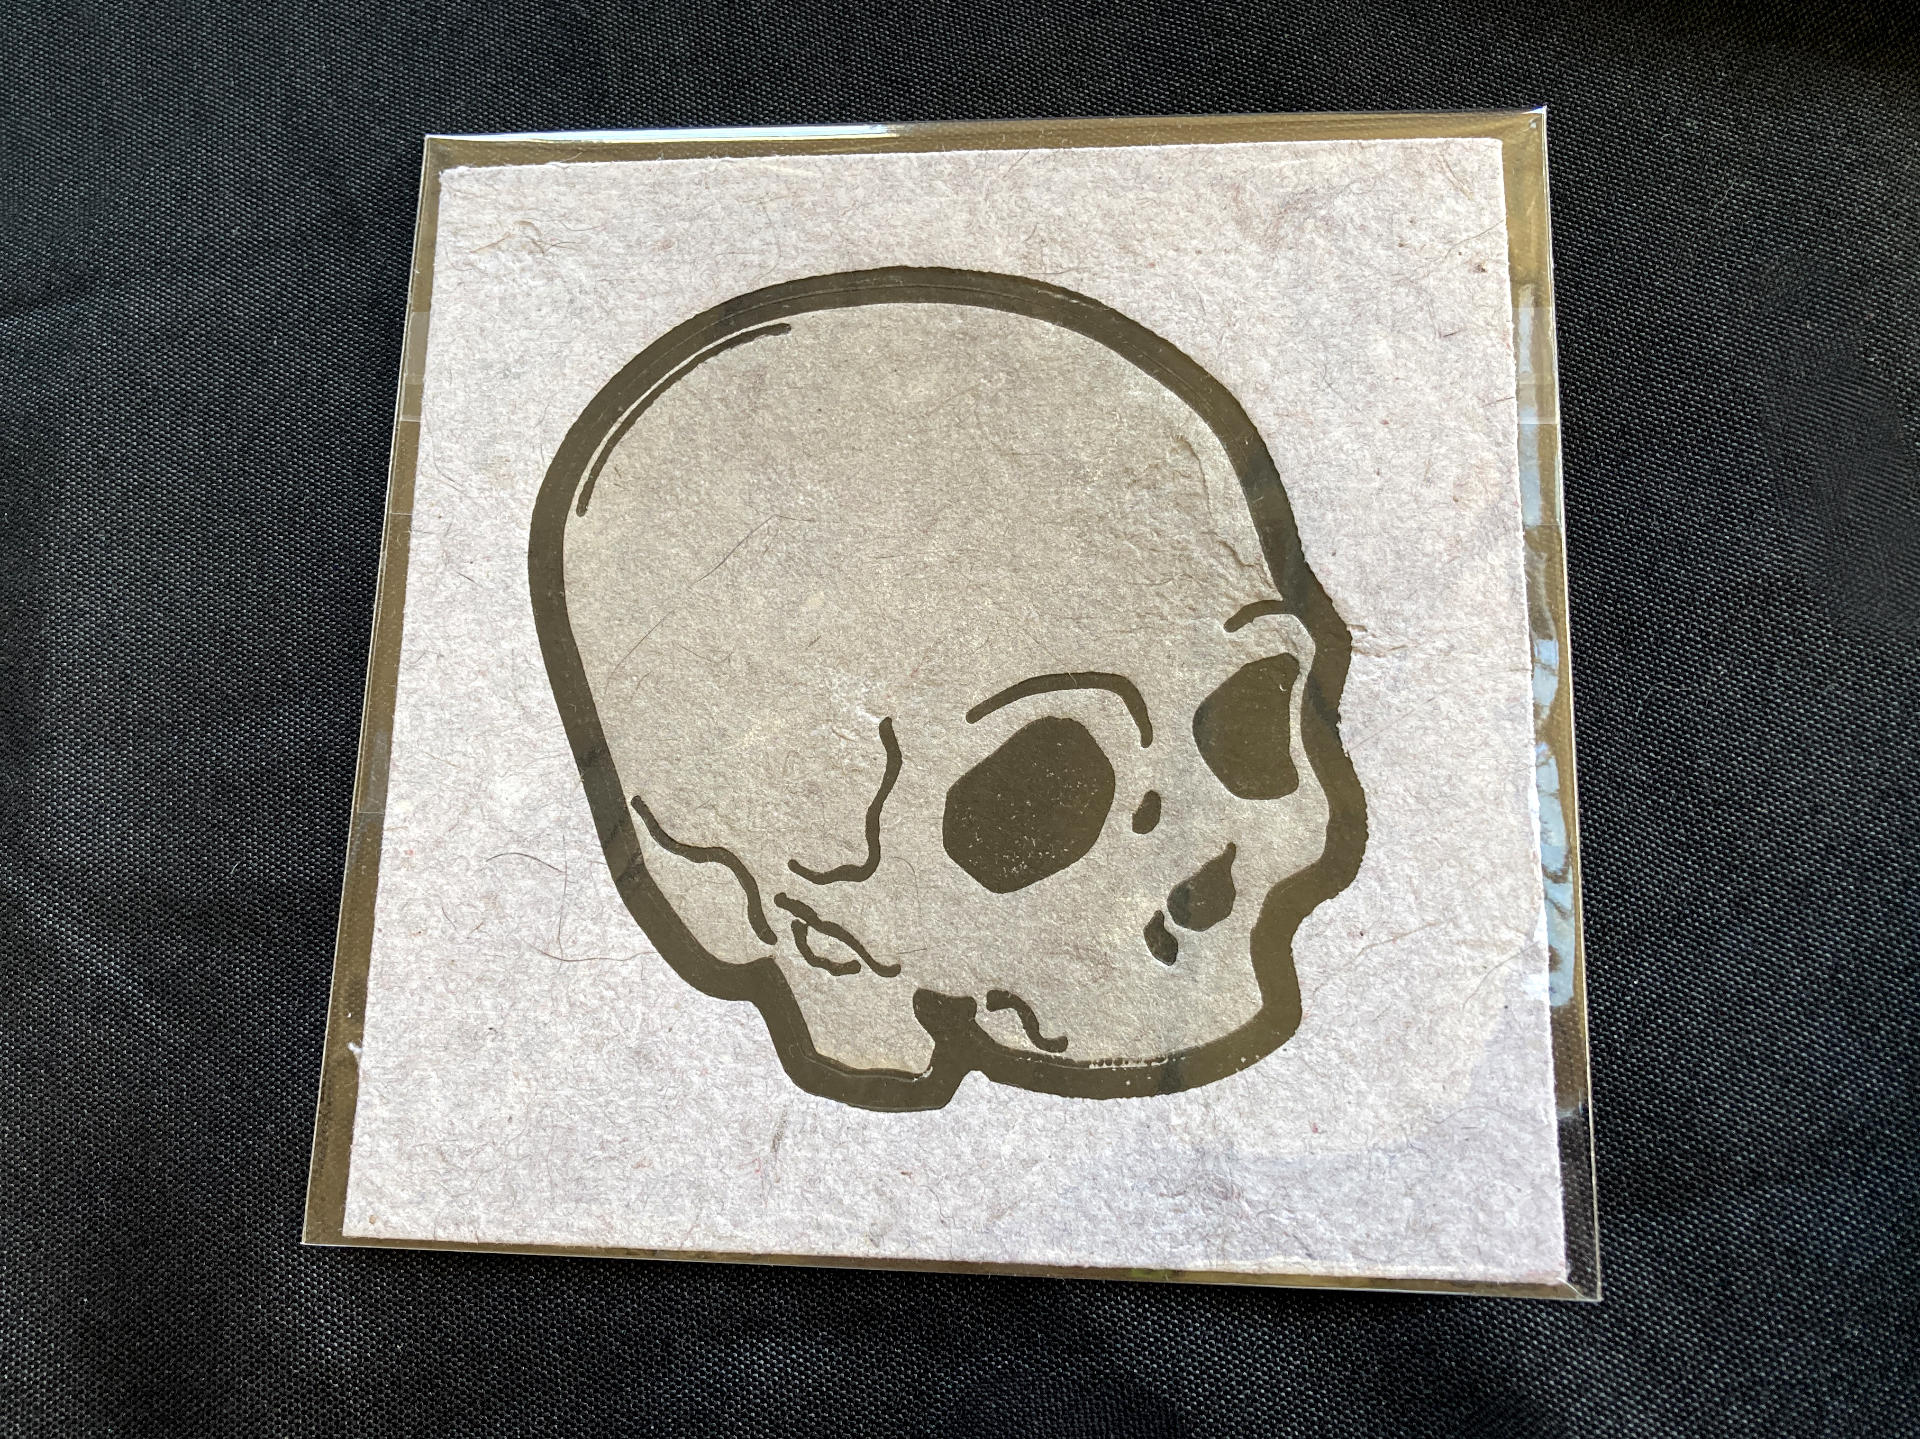
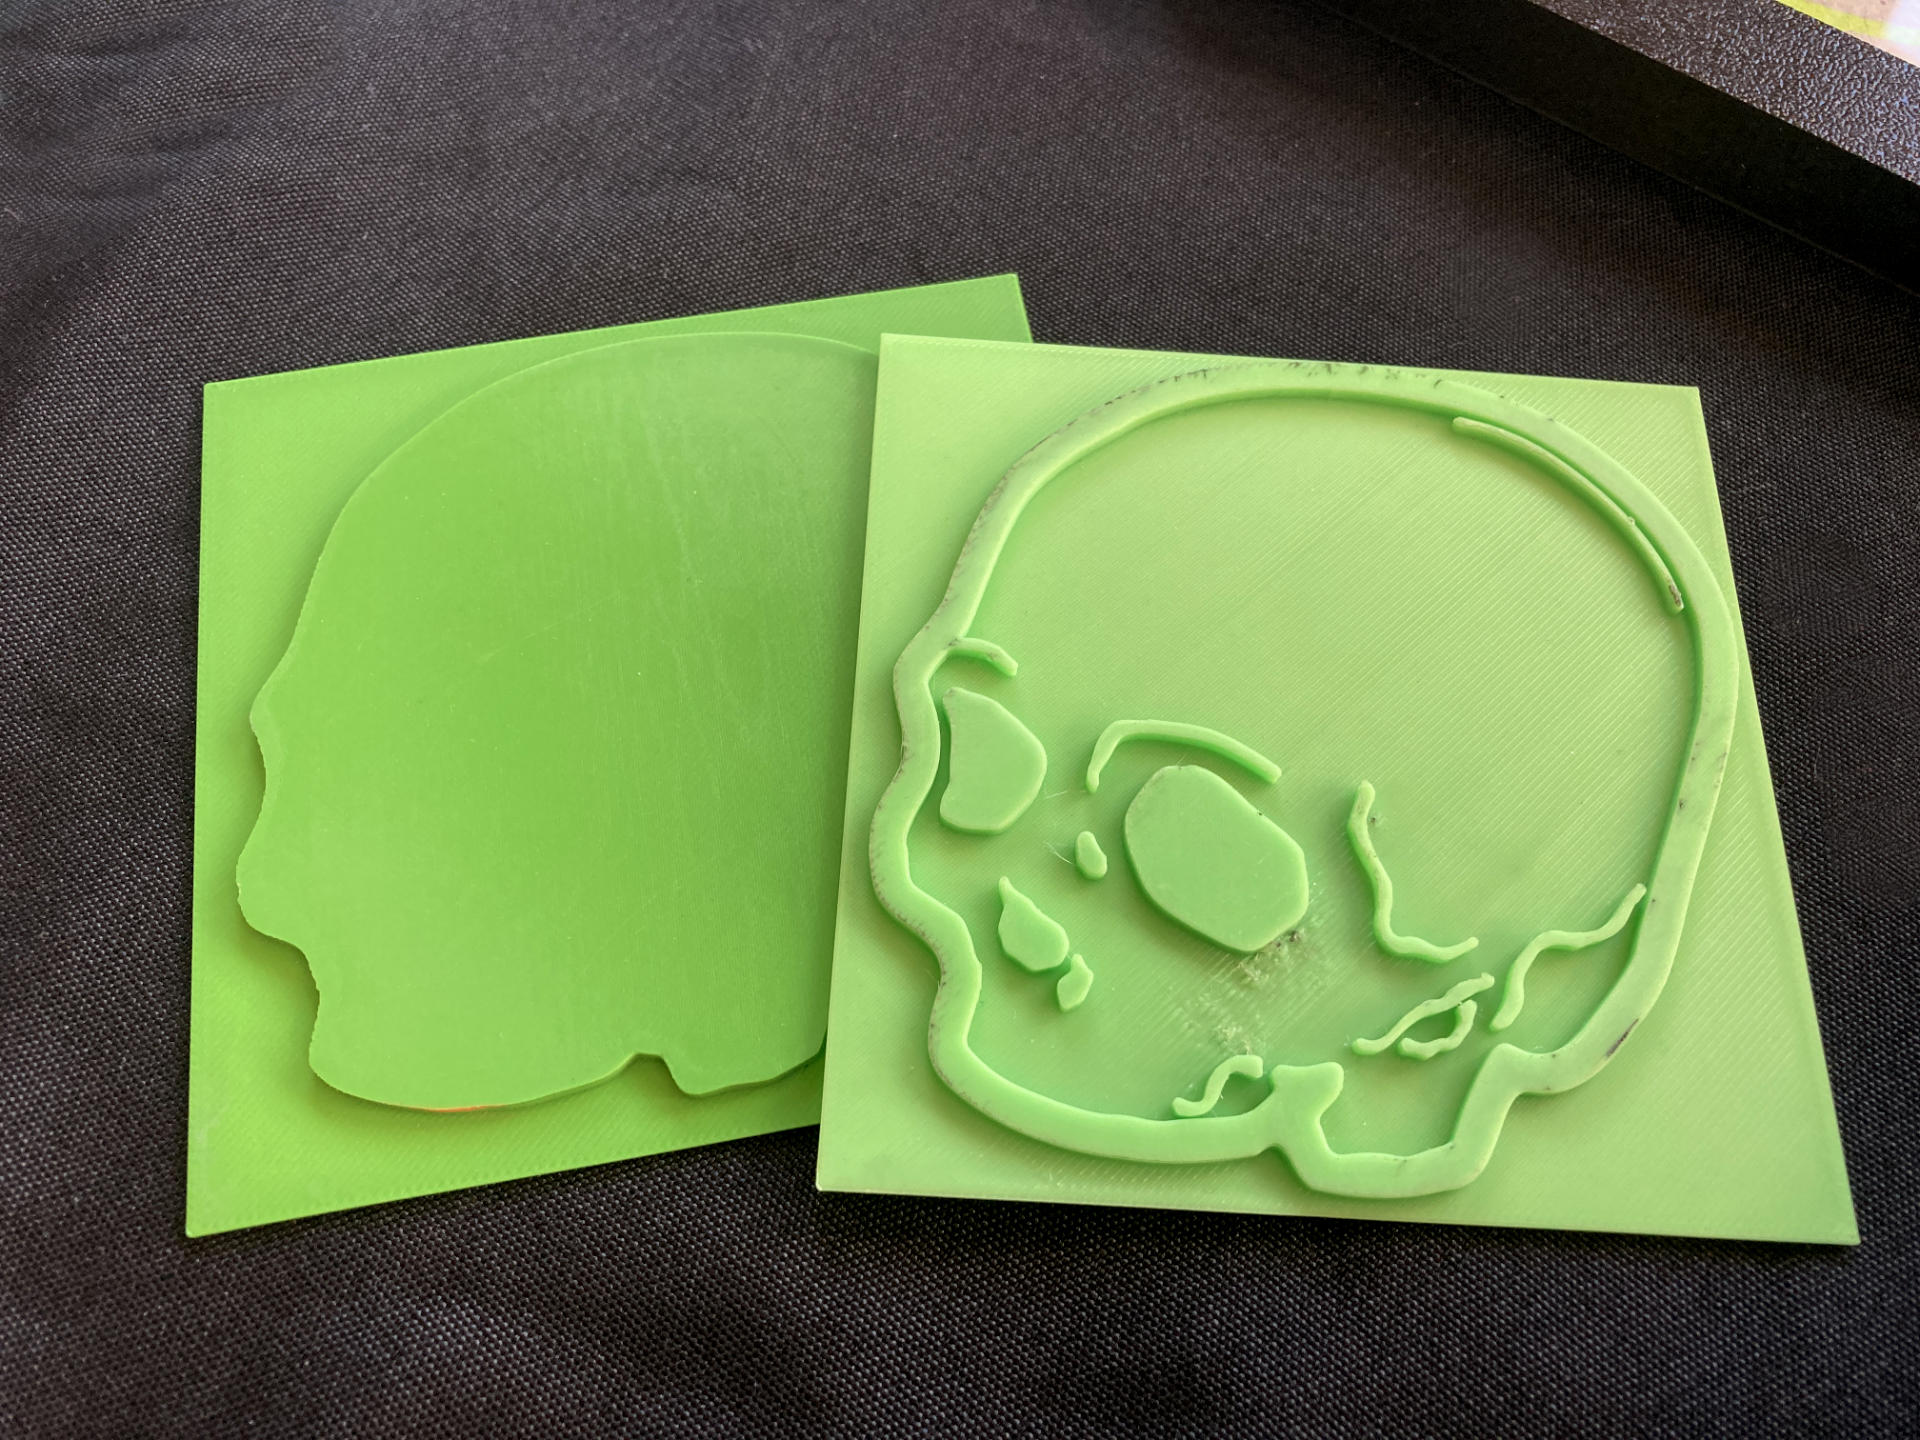
Right, so the print you see above is a two-color relief print of a skull. Down below you can see the two printing plates. (Remember than I 3D print my plates.)

I’m not the best at just drawing something, and I almost always use reference images, and occasionally do tracings of photos. This comes into play with this particular print.

Back in 2019 I 3D printed this skull, which I got around to posting about in 2020. It took a while because I sanded it, coated it, painted it, and then (attempted) to weather it. Hey, sometimes projects take a while!

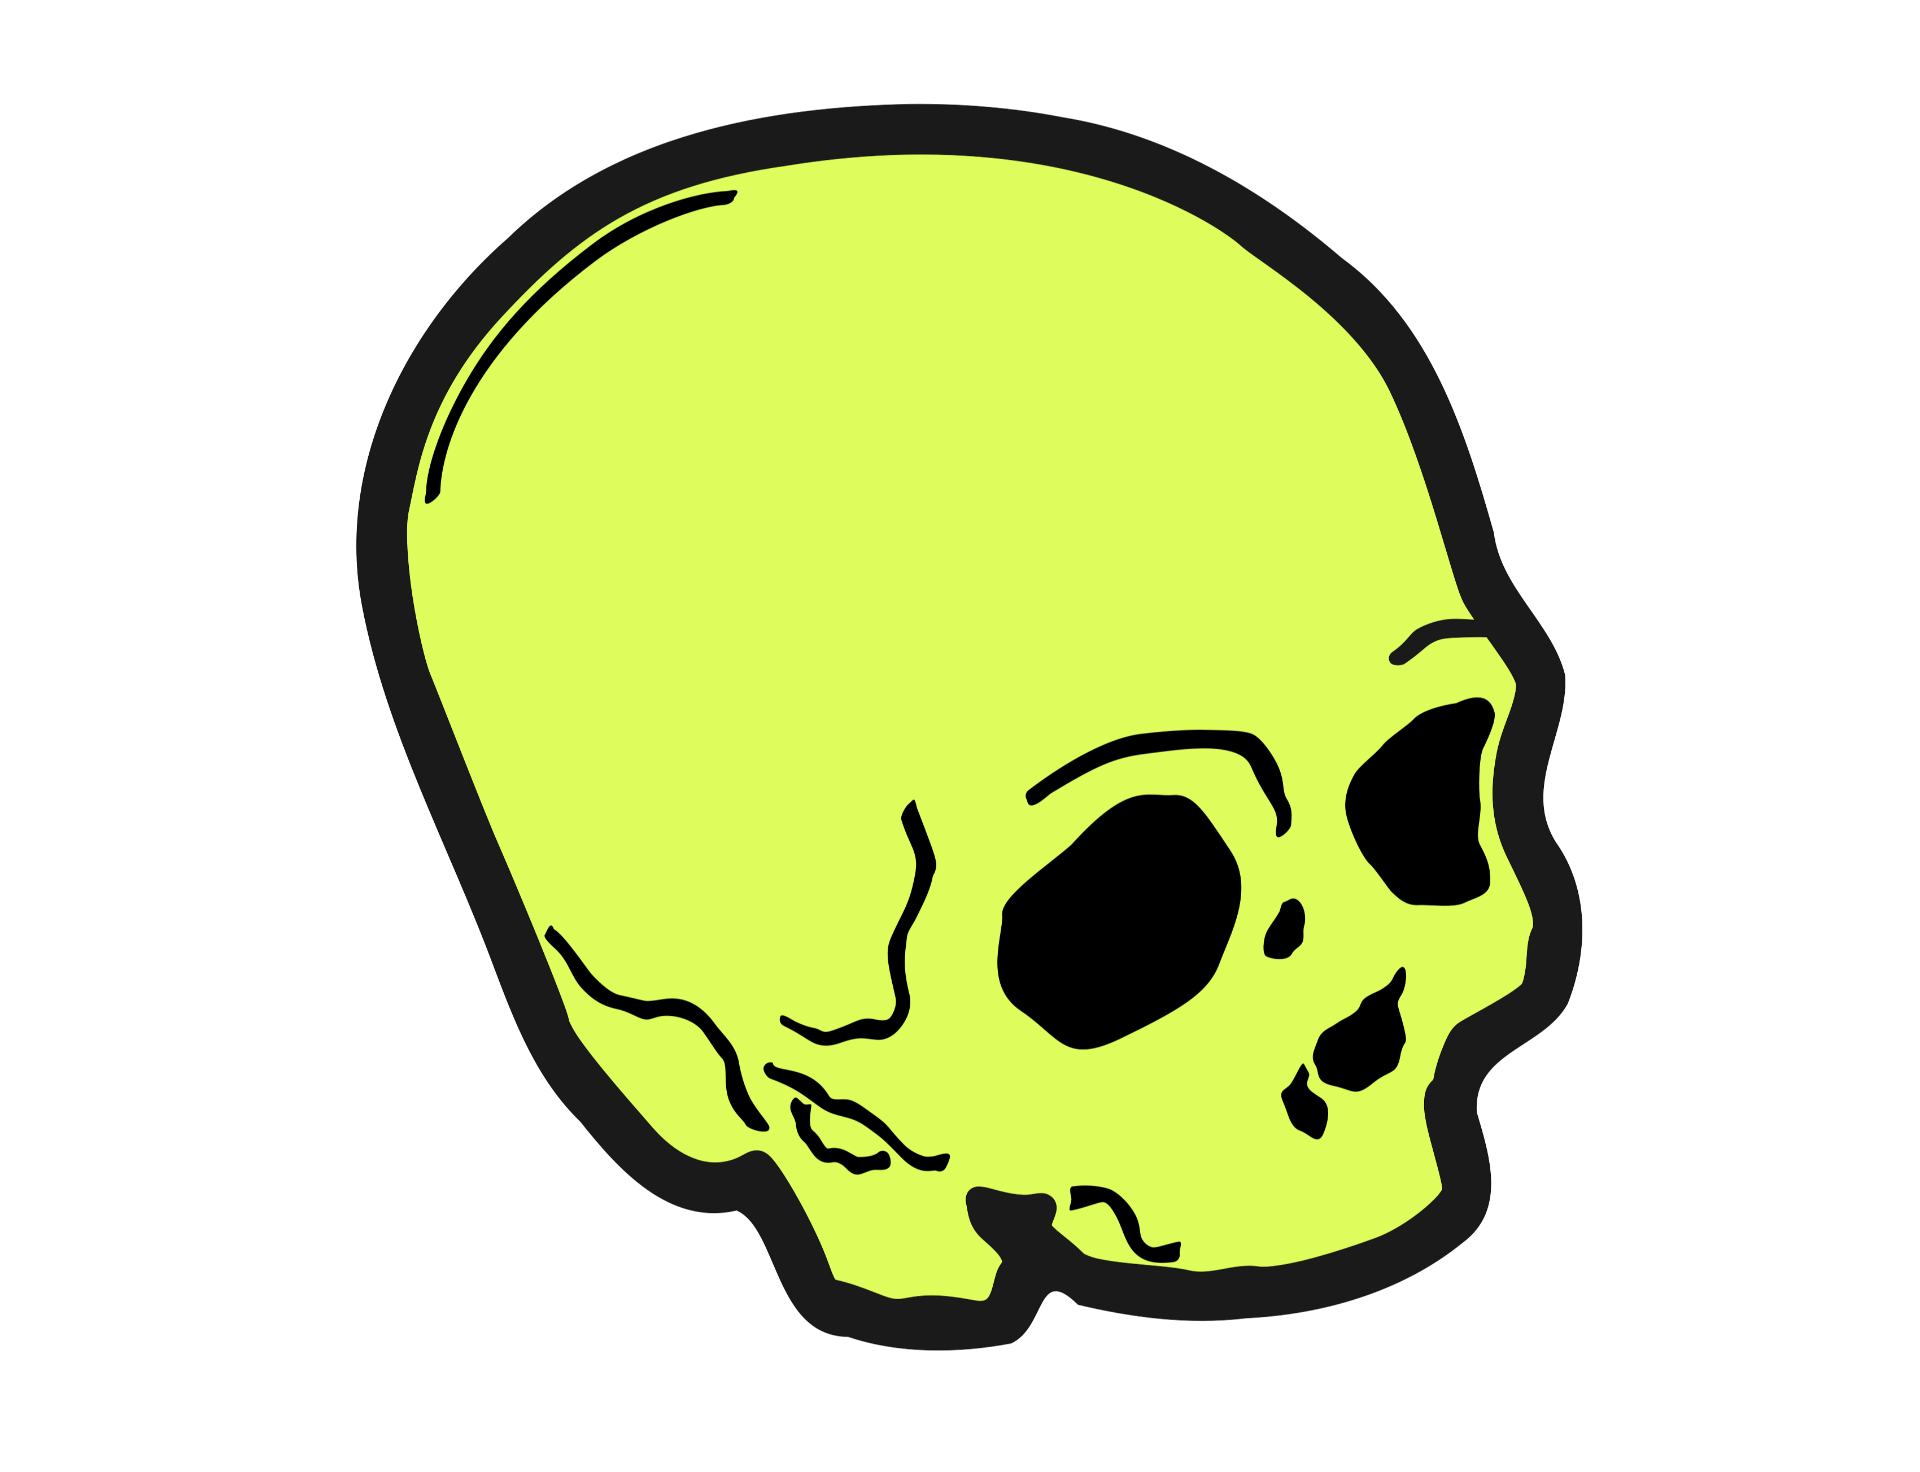
Then around February 2024 I ended up turning the photo into a two-color illustration that I could use to make the two printing plates.

So we started as a 3D file that was printed to become a real-world object, then photographed it and made it into a file. I then used that file to create two printing plates and printed it.

But wait, there’s more!

I also ended up using that photo for a digital illustration…

Ah yes, here’s a post about my Skull Sketch from May 2024.

The thing I really like about this process is that I used my own materials throughout the process (with the exception of the original STL file of the skull) and I didn’t need to look for images that I did not create. I will freely admit right here that I probably get a little too close with some of the reference images I’ve used in the past, and I’d like to get fully away from that so my own photos and illustrations as subject matter for prints is a goal moving forward.

Categories
Uncategorized

Pete’s Prints at Maker Faire Milwaukee

Back in 2015 I became a Producer for Maker Faire Milwaukee, and helped put on the Faire for the next four years until 2019. Life changed a lot in 2020 and I did take part in the event as a Maker in 2021 and 2022, but life got a little upset in 2023 so I just attended as an Attendee. Well, it’s 2024 and I’m back as a Maker!

So come on down to the 2024 Edition of Maker Faire Milwaukee happening on November 23rd & 24th November 2nd & 3rd at Discovery World and see Pete’s Prints.

HEY! So yes, the date has changed! It was November 23rd & 24th but is now November 2nd & 3rd, 2024.

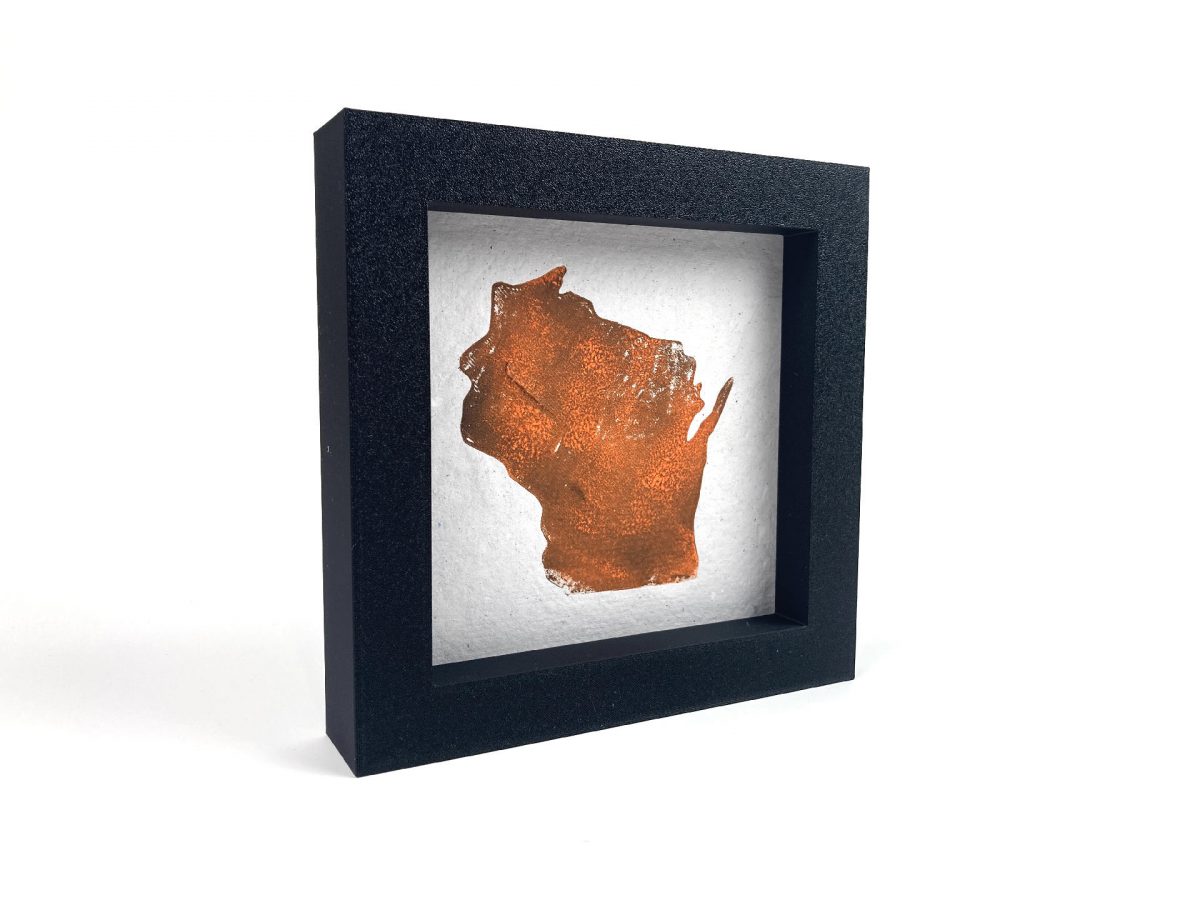
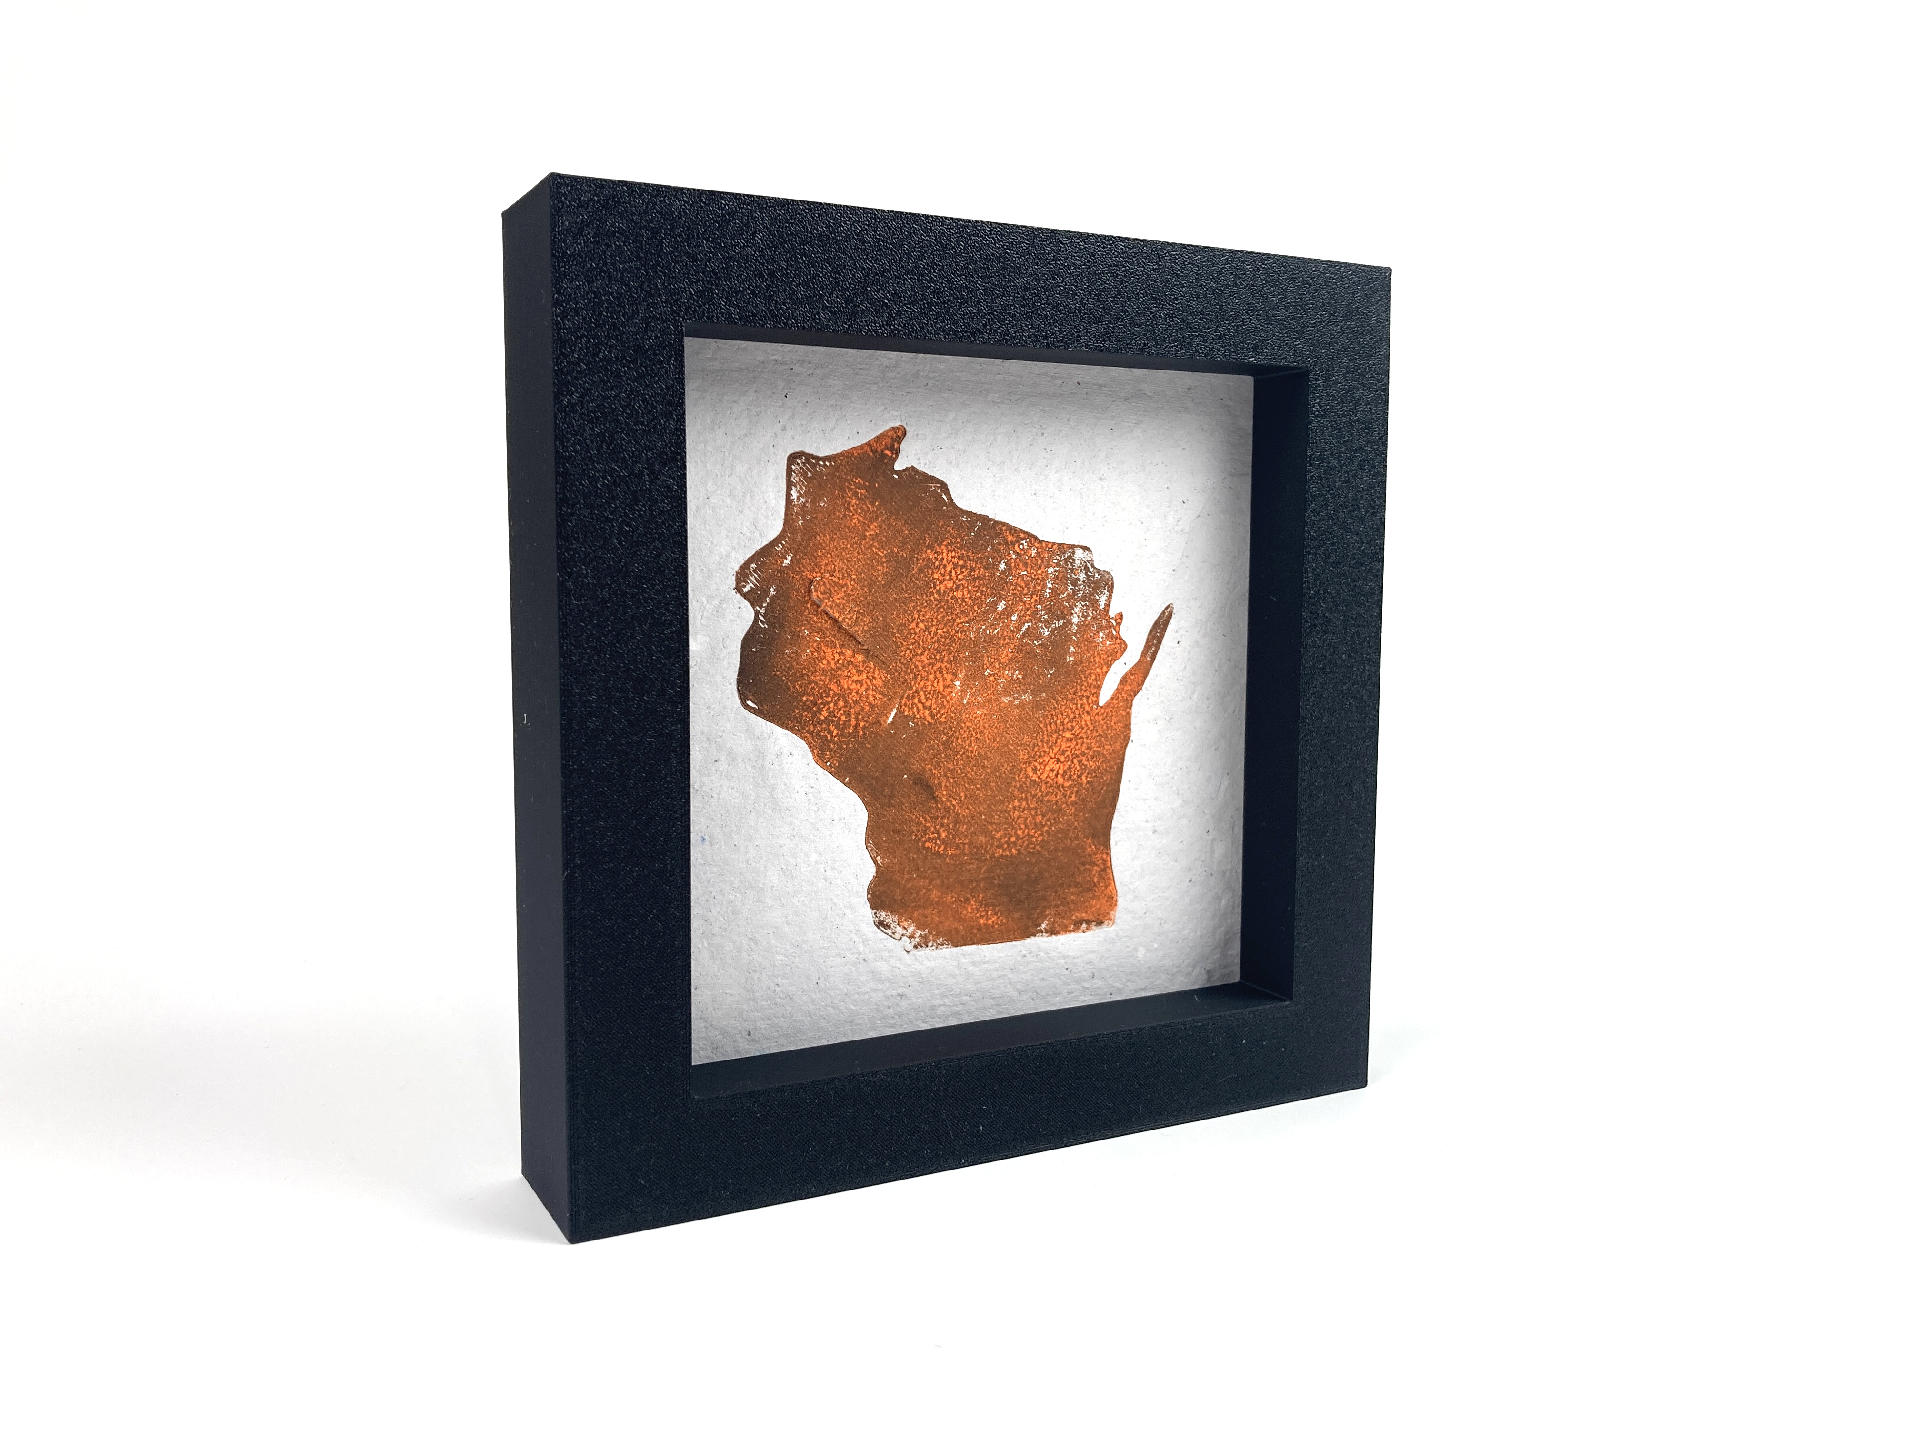
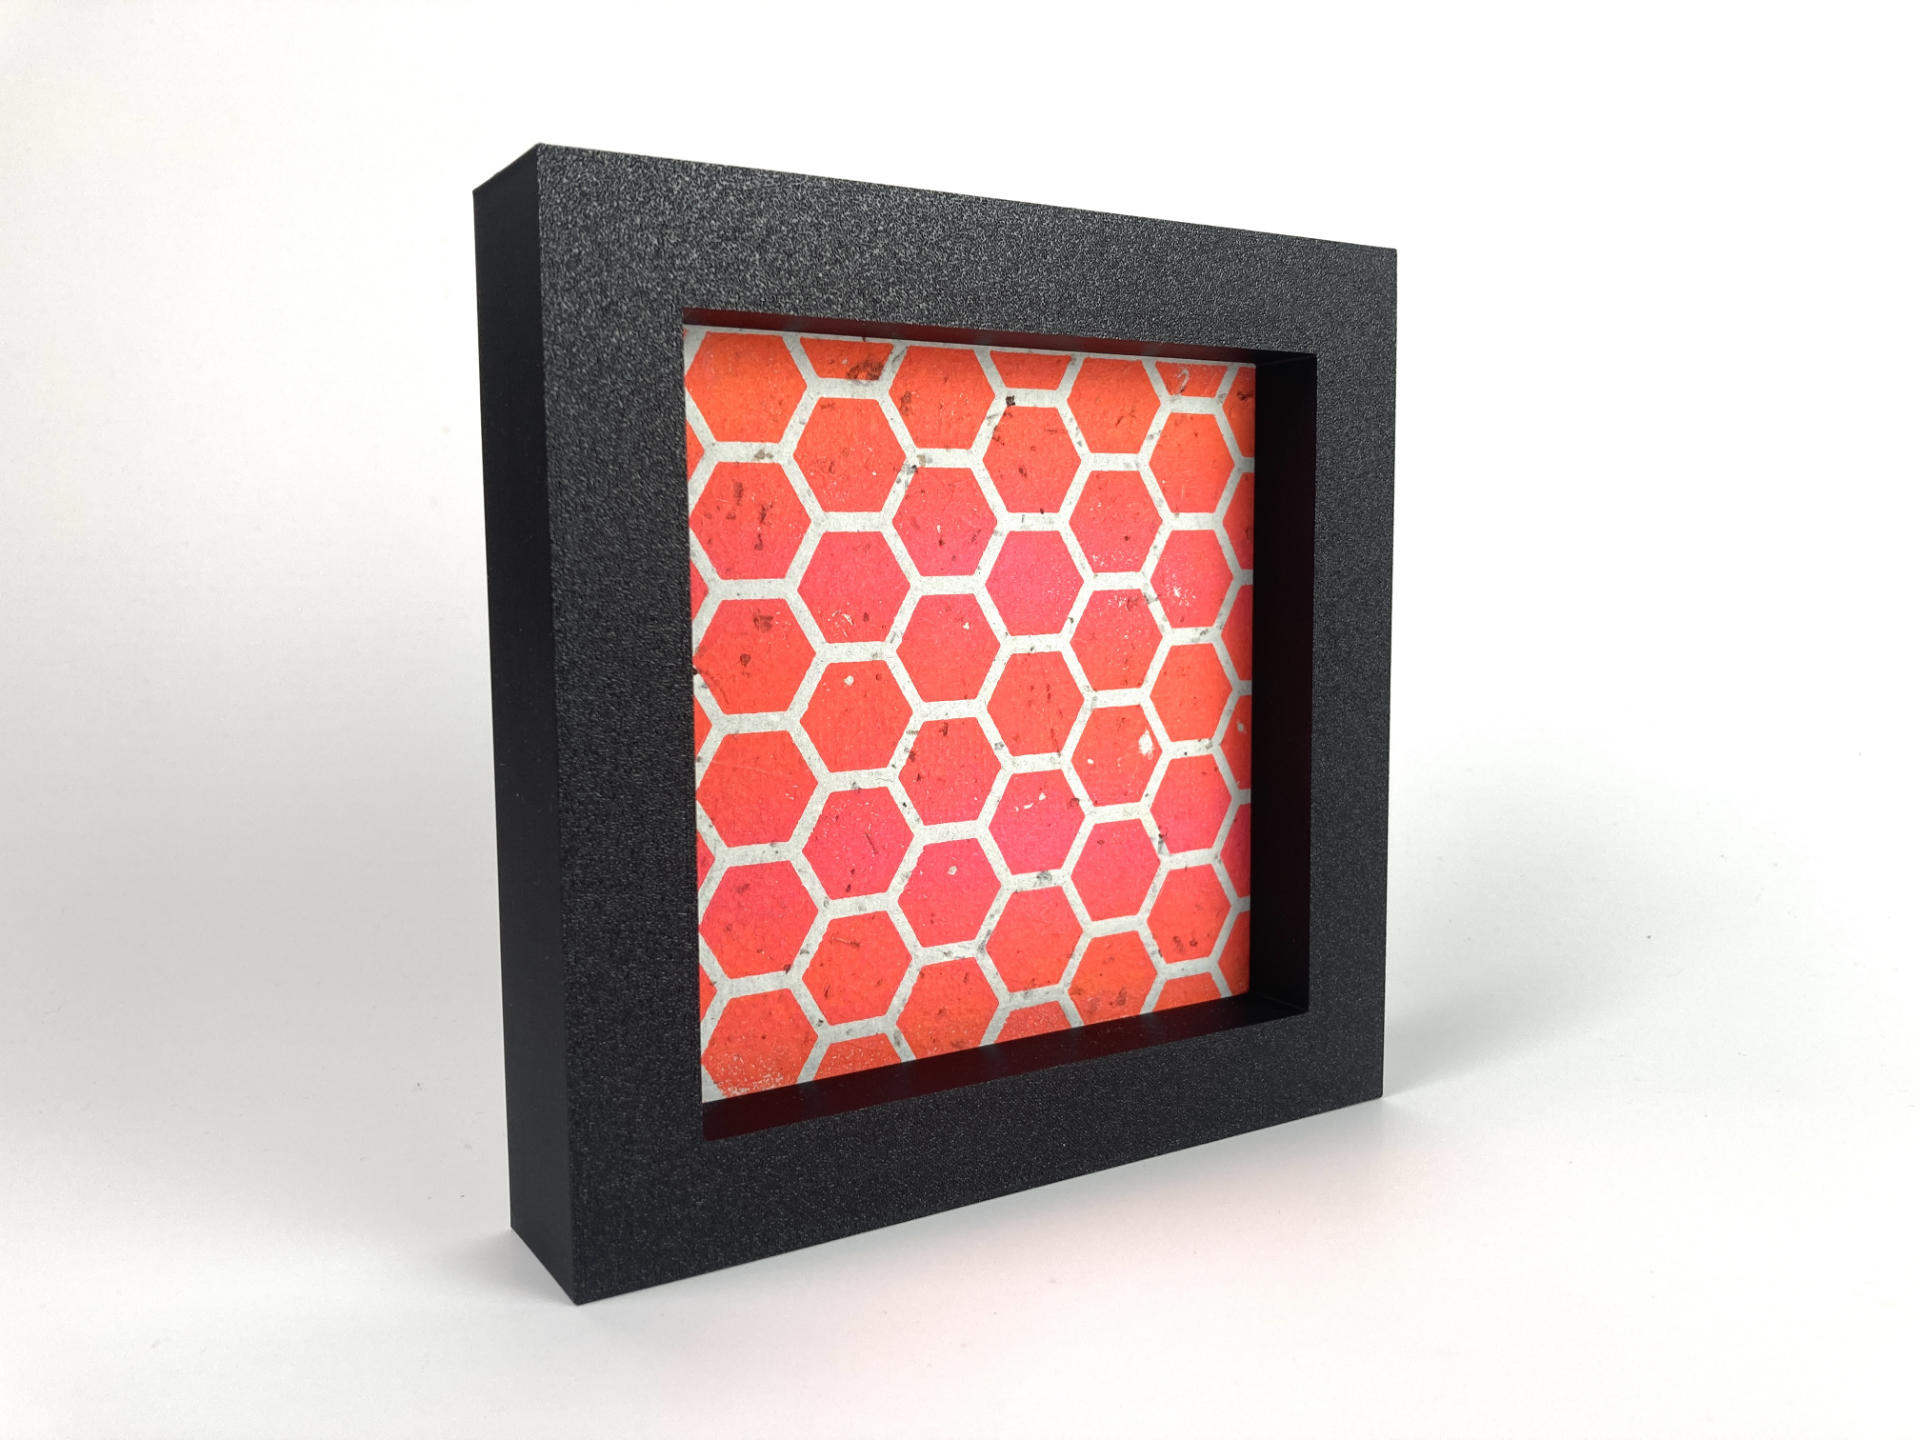
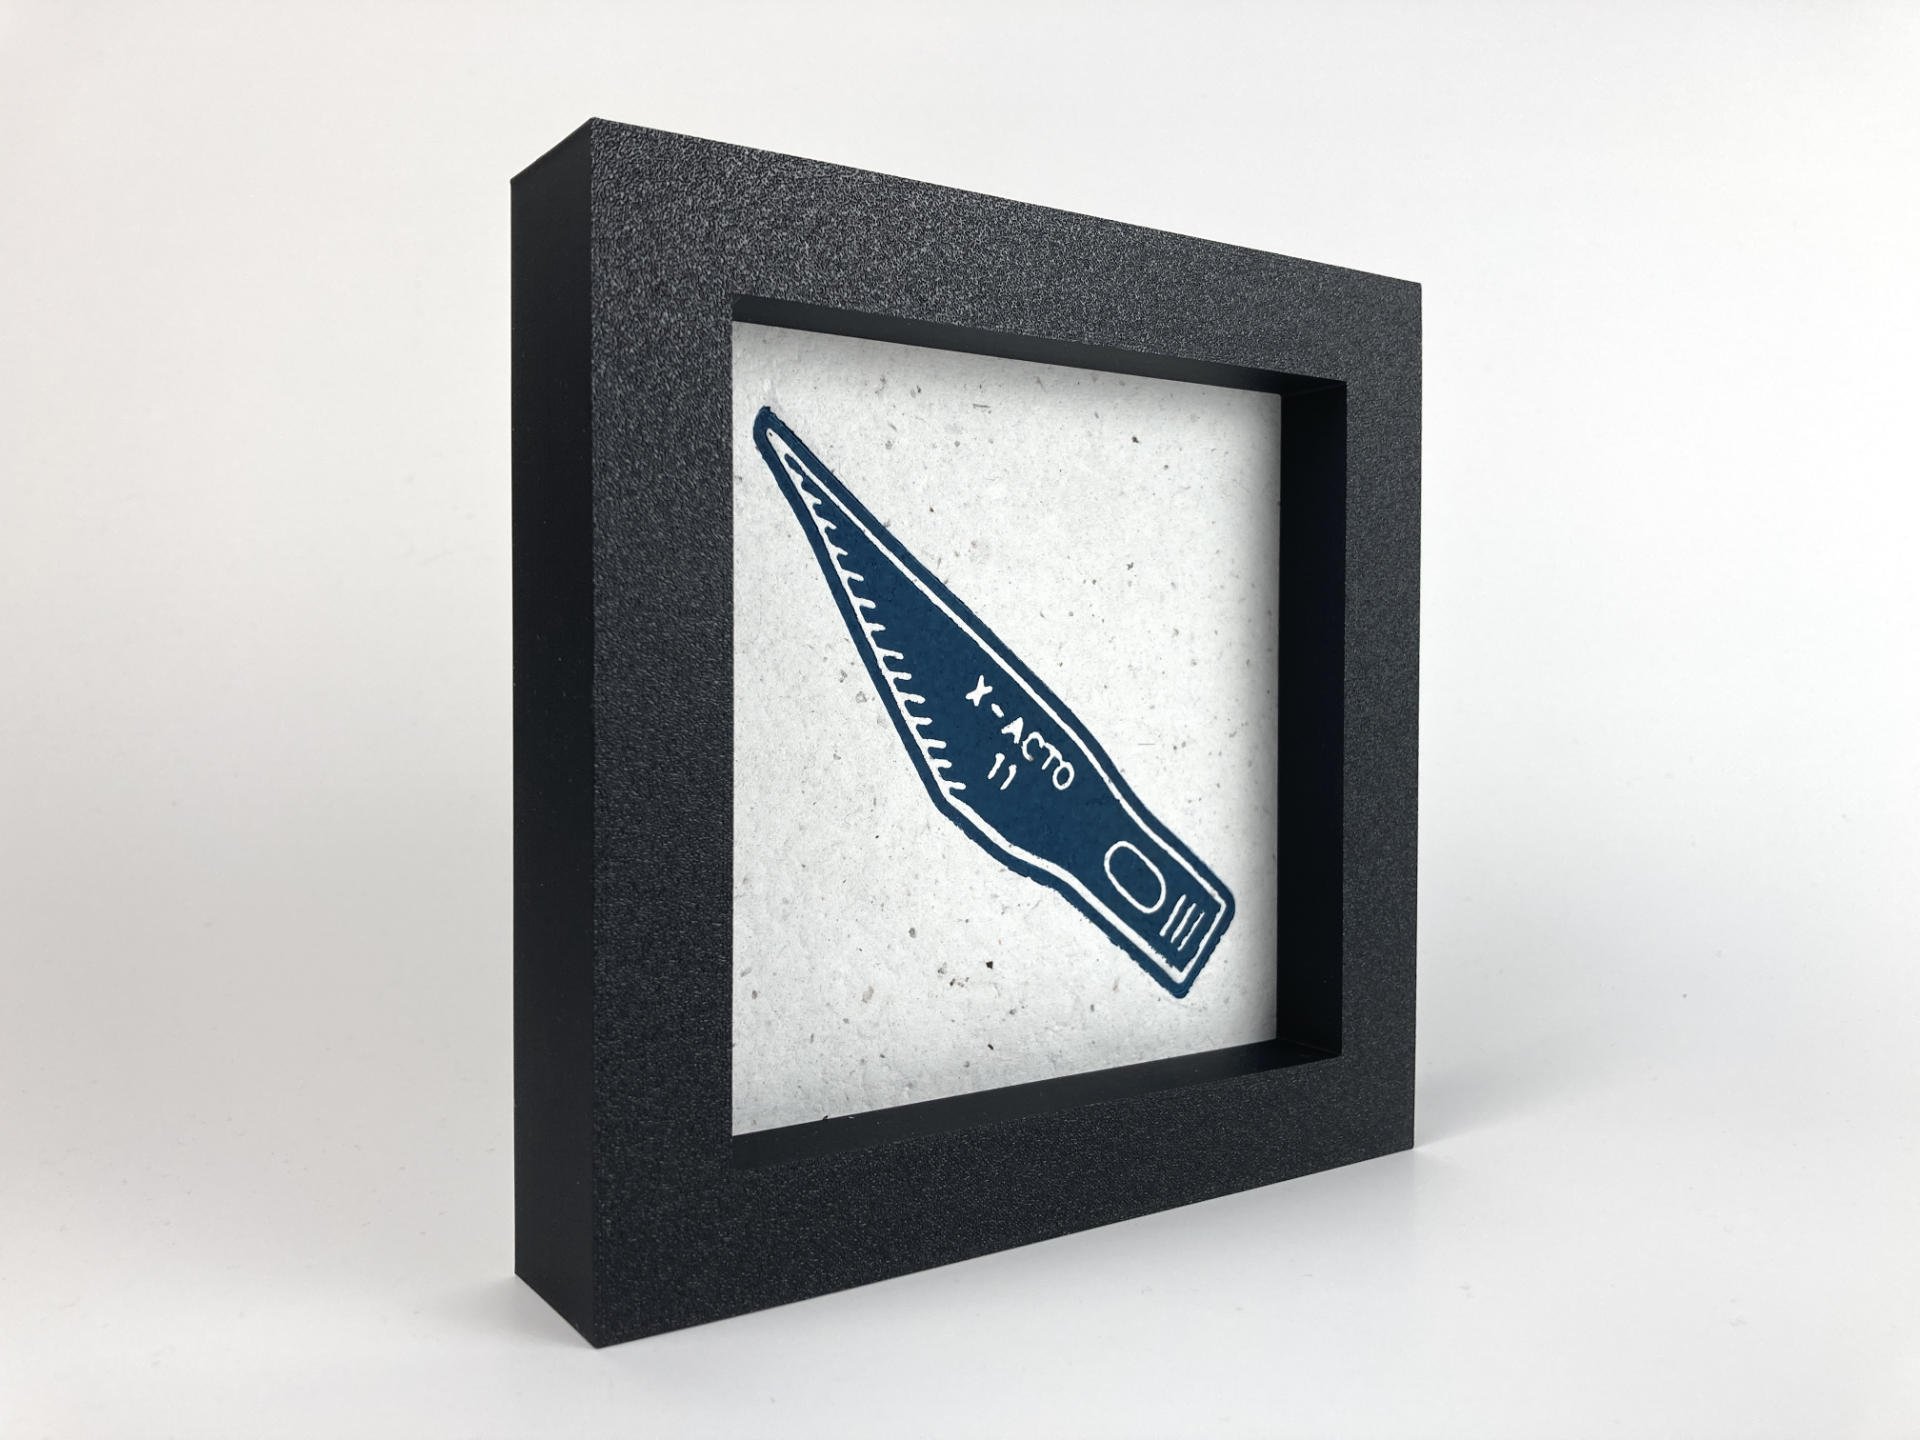
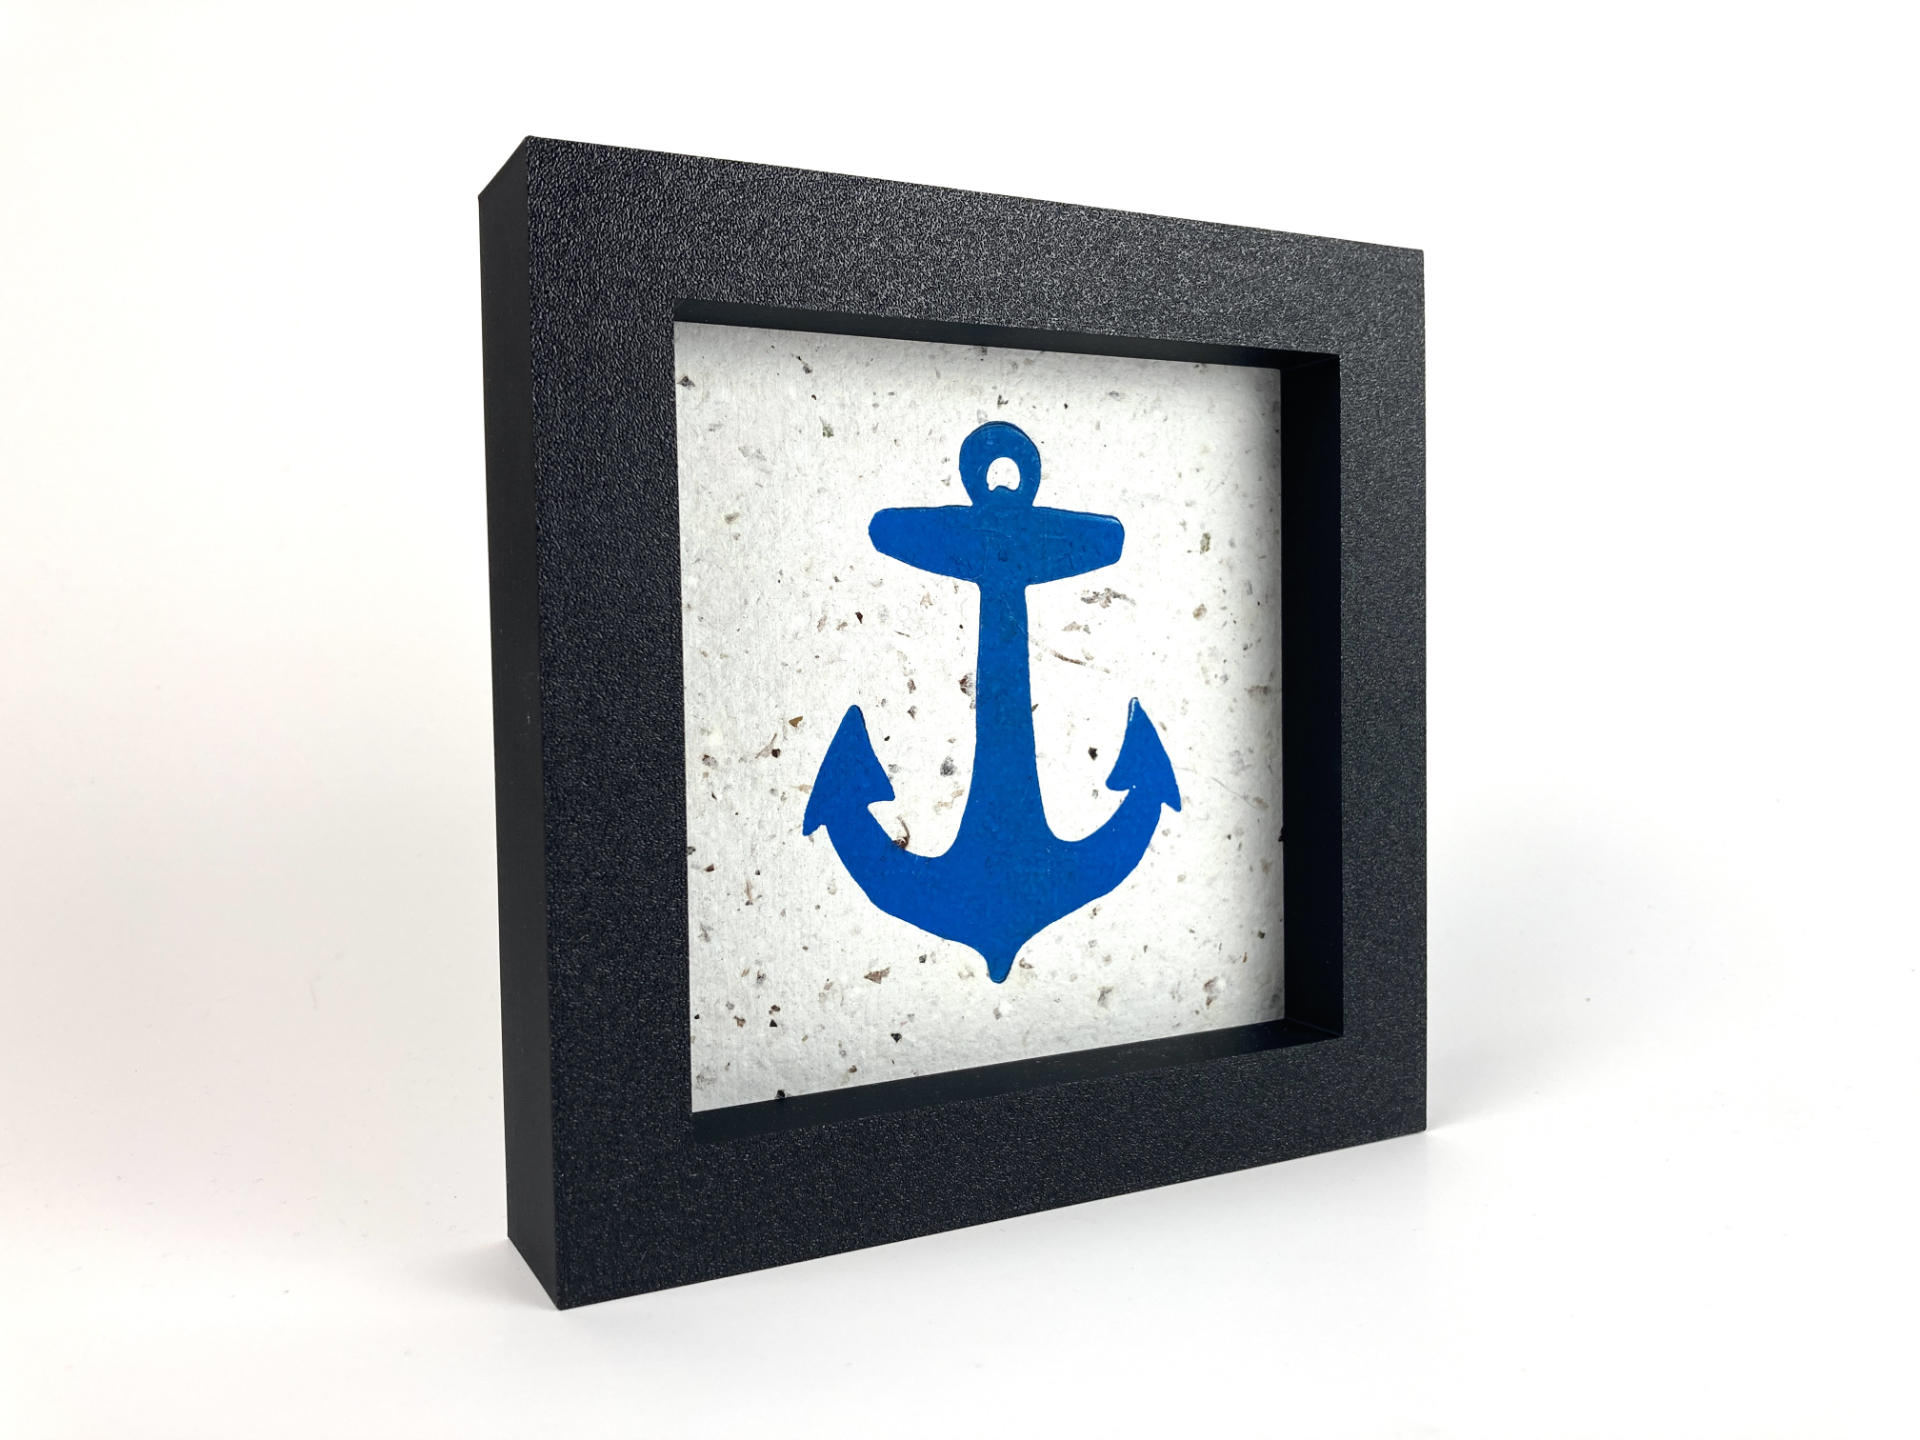
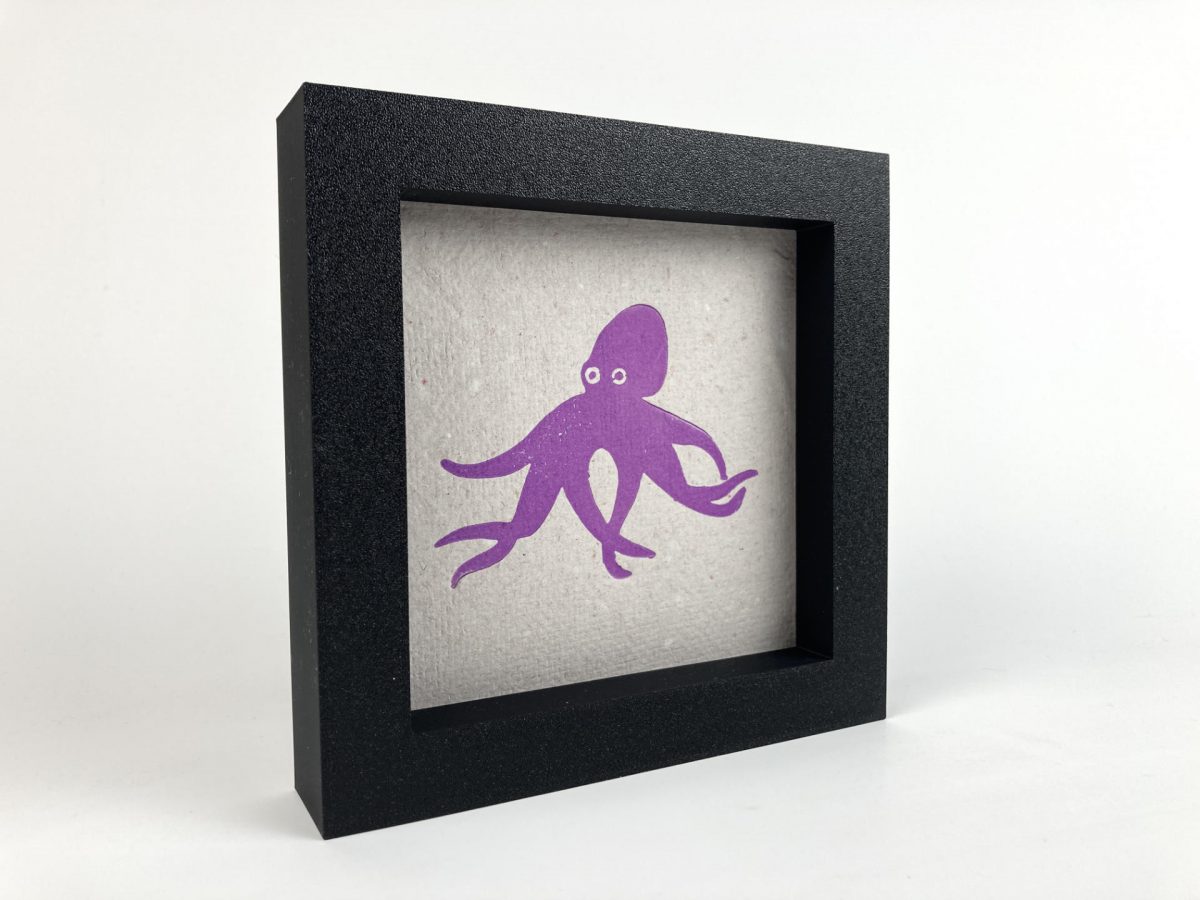
I will be there to show off my unique relief printmaking process. If you missed it, I designed and 3D printed my own mould & deckle and I make my own paper, mostly from recycled junk mail and other scraps of paper, and I then 3D print printing plates and print with them (onto the handmade paper) using a DIY printing press I assembled. Oh, I also 3D print frames for the prints.

Yeah, that’s a lot, so here’s a list of all of the posts I’ve written about my printmaking endeavors over the last year or so:

Whew! If you read all of those (or even just some of them) you might have some insight into my process. If not, feel free to come to Maker Faire Milwaukee and ask some questions!

Categories
Uncategorized

Pay What You Want for Art

In January 2024 I made over 45 relief prints. I set out to do this because I was not accepted to the Var Gallery 30x30x30 show and I wanted to challenge myself to create 30 pieces of art during the month even if I would not be showing my work in a gallery at the end of it. I shared all of my work online to my friends, family, and followers across Facebook, Instagram, and Mastodon. In theory more people saw my work than would have in a local gallery show.

I also wrote about the process and about art and life along the way. See the posts; Part I, Part II, and Part III, Part IV and Part V.

I had no intention of selling any art. Historically I have not sold much of the art I’ve created in my lifetime. I’ve sold a few things along the way, but I certainly didn’t have sales in mind when I started. Just like with the photography I’ve done in the past, if I can keep art-making very low cost for myself then I can either give it away freely (like I do with Gallery 69) or at least just share it online. Photos are great to share online. Physical goods, like prints, can be made pretty cheaply, of course there’s still the cost of ink and paper. (And I try to make a lot of paper.)

For me, making art is something I love to do, and I also love sharing it with others… which is why I’ve posted hundreds of photos with open licenses and why I have a Free Little Art Gallery in my front yard.

And yet… When I started posting prints people wanted them. I mean, often one person would want one. Sometimes two people would want a specific print. I should mention I was often just making a few prints and picking the best one as the “final” or sometimes even just one single print. Of course I could always print more (and yes, I’ll get into that later) but I would make a print, frame it, photograph it, post it, and every now and them, someone would want it.

So I told people “Pay what you want! Any amount will do.” Wait, could they pay nothing? Pay a penny? Well… sure. No one did that though. Perhaps because these are people that (in theory) already know me.

One follower said I needed to set up a shop and list them all because they didn’t want to have to ask me which prints were still available. I didn’t want to muck around with doing listings for all the prints, and honestly the conversation that happens when someone wants a print is valuable to me. It’s interaction with a person who actually wants a piece of art I created. It’s not a store where you anonymously just spend money and get something. I’m thinking about Commerce versus Capitalism. (Which is a topic that’s a bit deeper than this post is going to get into.)

What does this all mean moving forward? I may try to continue the Pay What You Want model for some of the upcoming prints I have planned, but I may look into things like goimagine which seems like an ethical choice for selling art as they take part in a caring economy. If I can get art out into the world at a low price and also help those in need? Well that’s what they call a win-win situation.

Categories
Uncategorized

Exclamation Mark (mini) Print

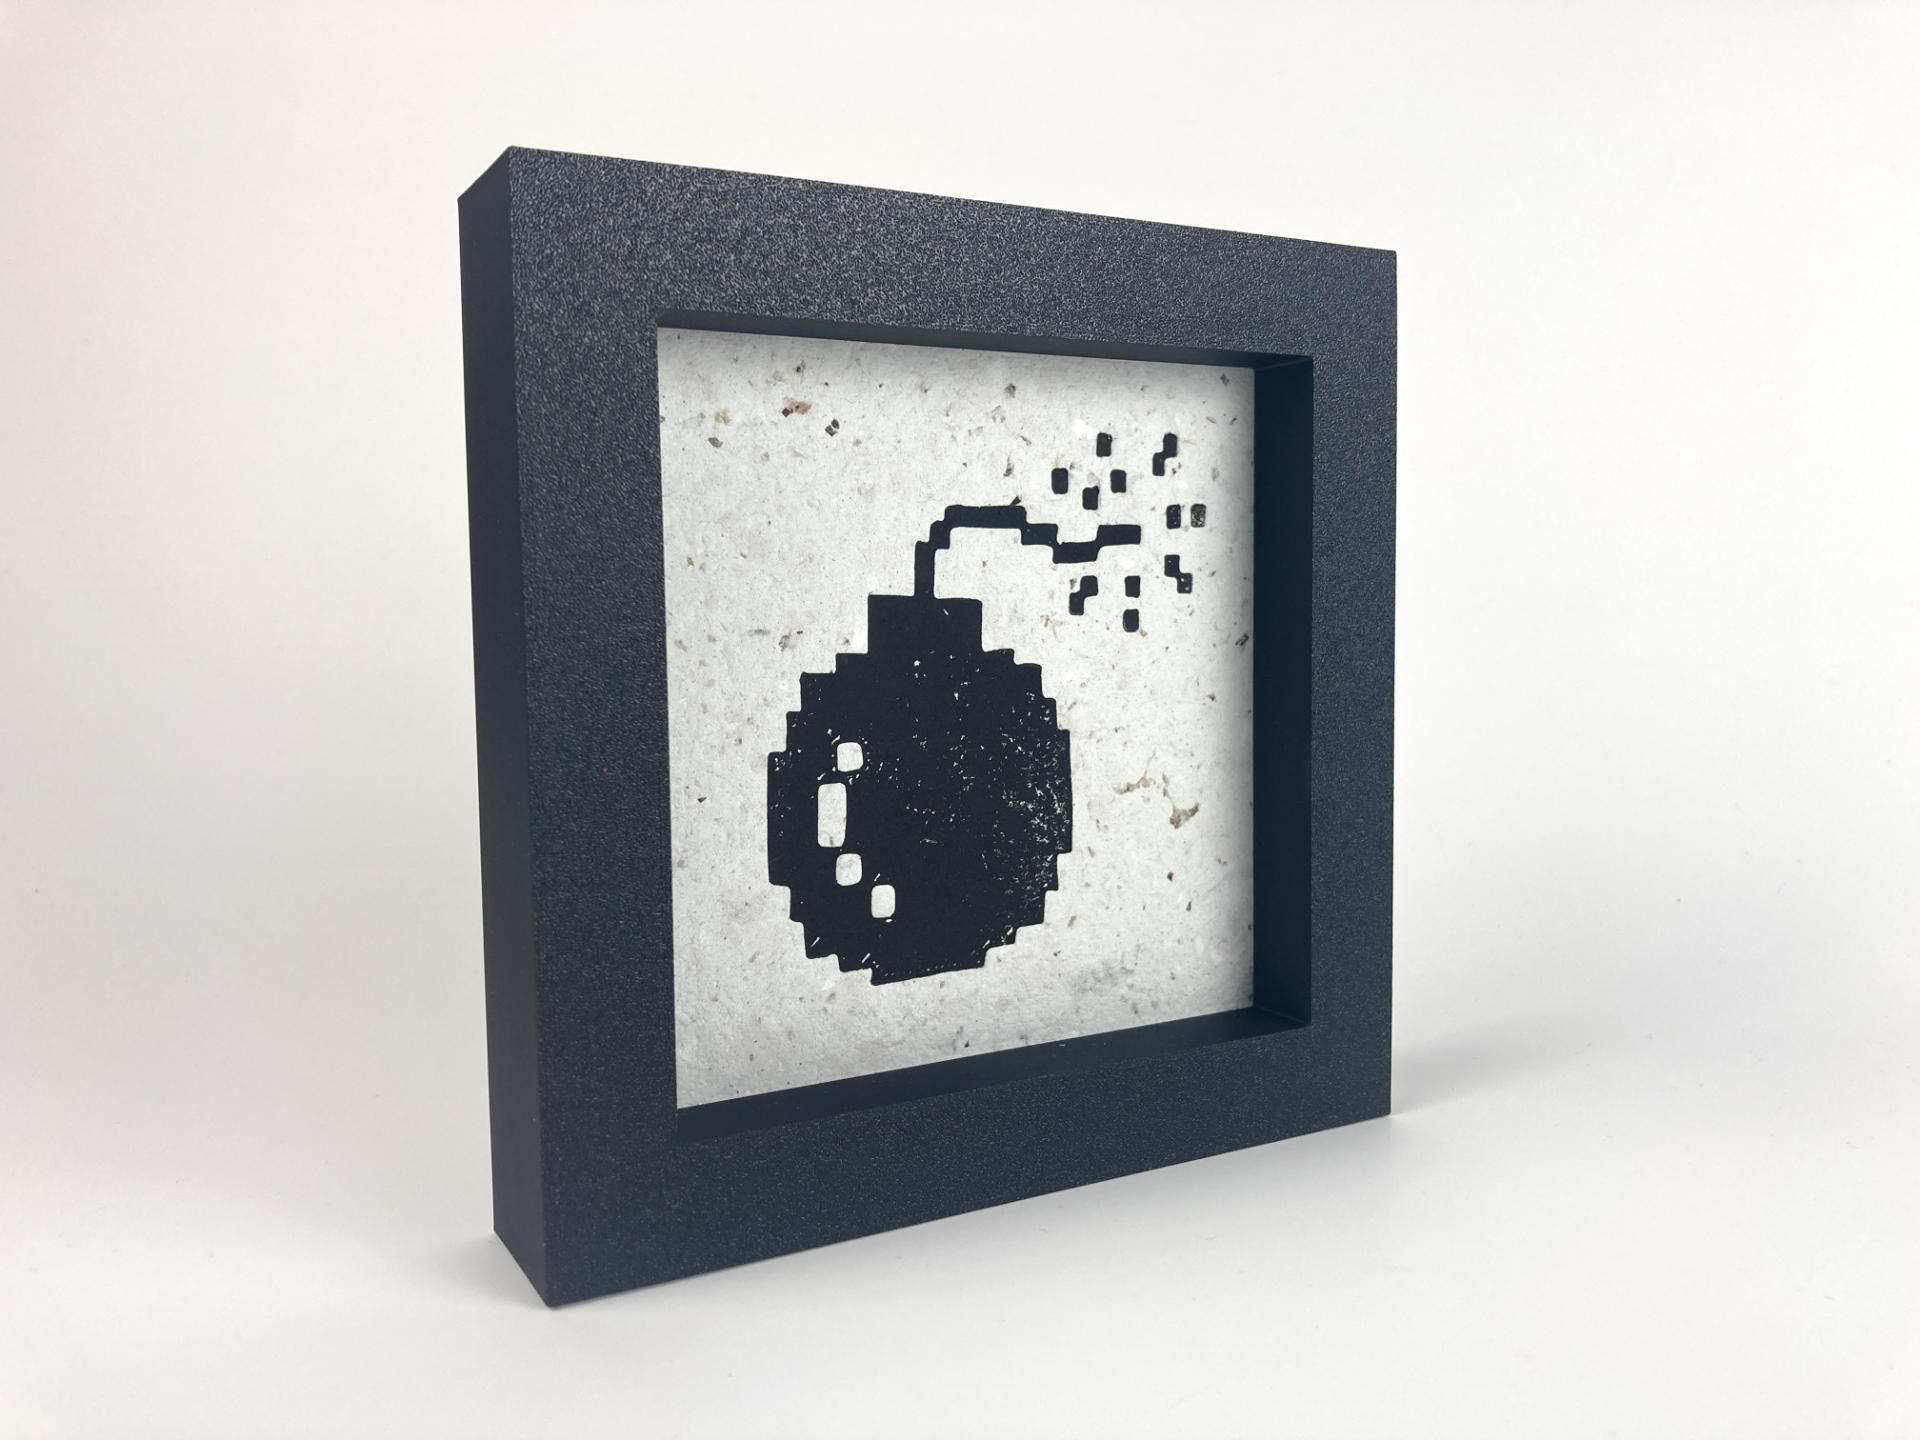
I had a lot of fun in January when I made 46 prints and those prints were in hefty frames that were 6″x6″x1.25″ frames. The frame (and thusly the size of the art you see) is 4.5″ which I thought was a nice size (and of course based on the 6″x6″ size of the 30x30x30 show (of which I did not participate.)

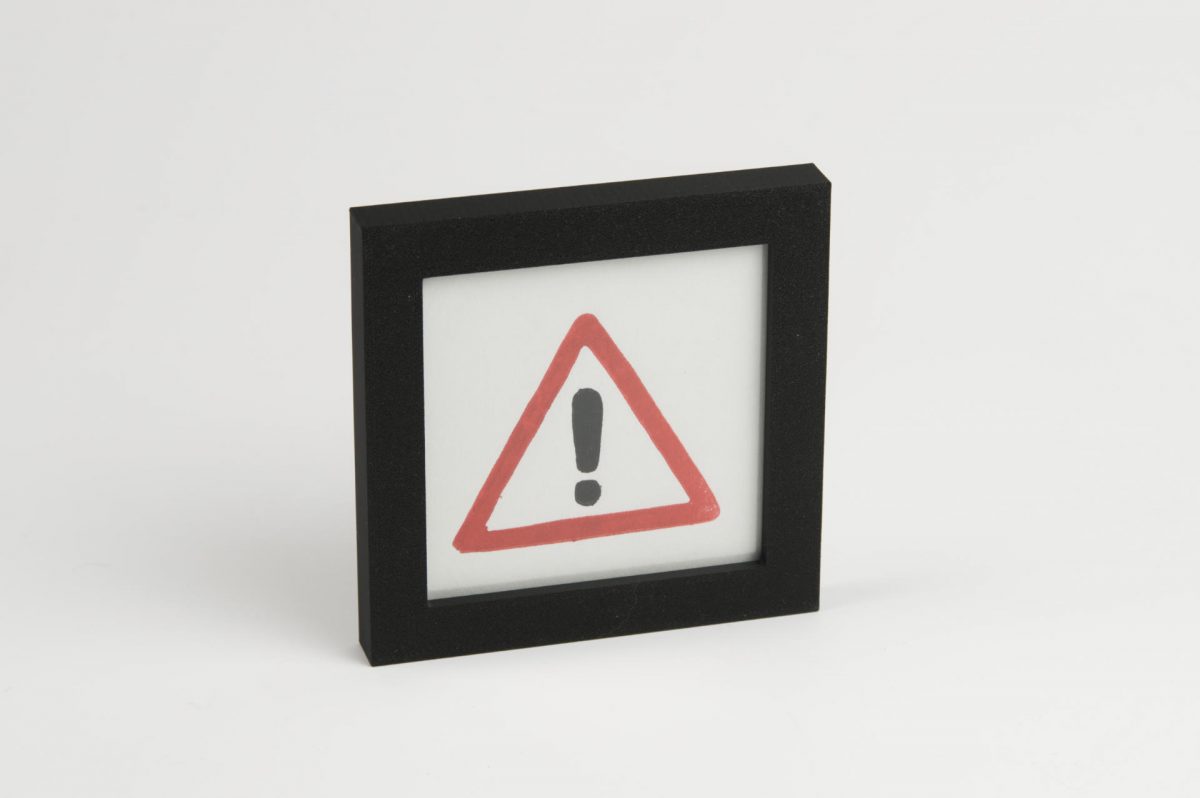
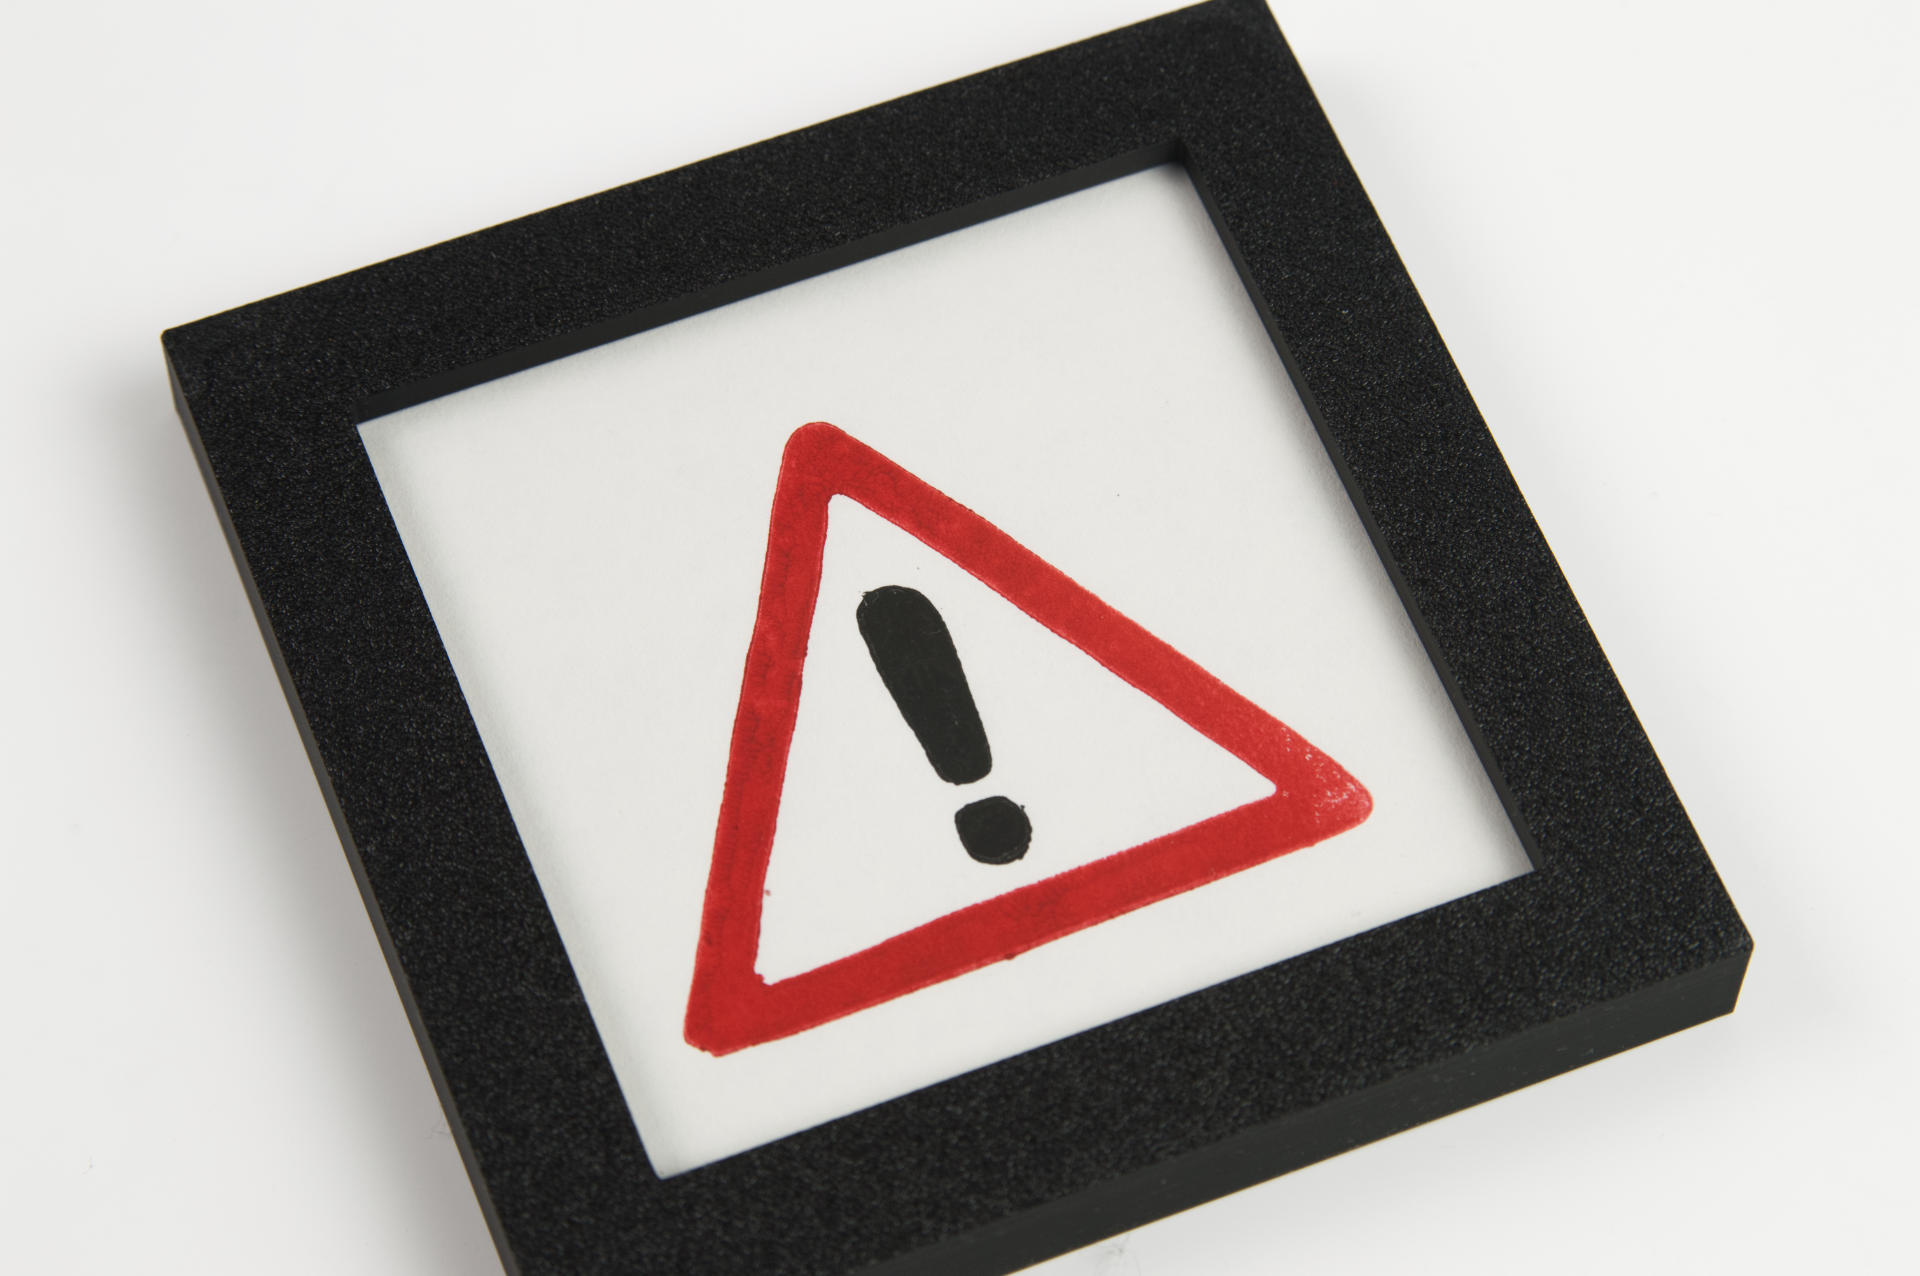
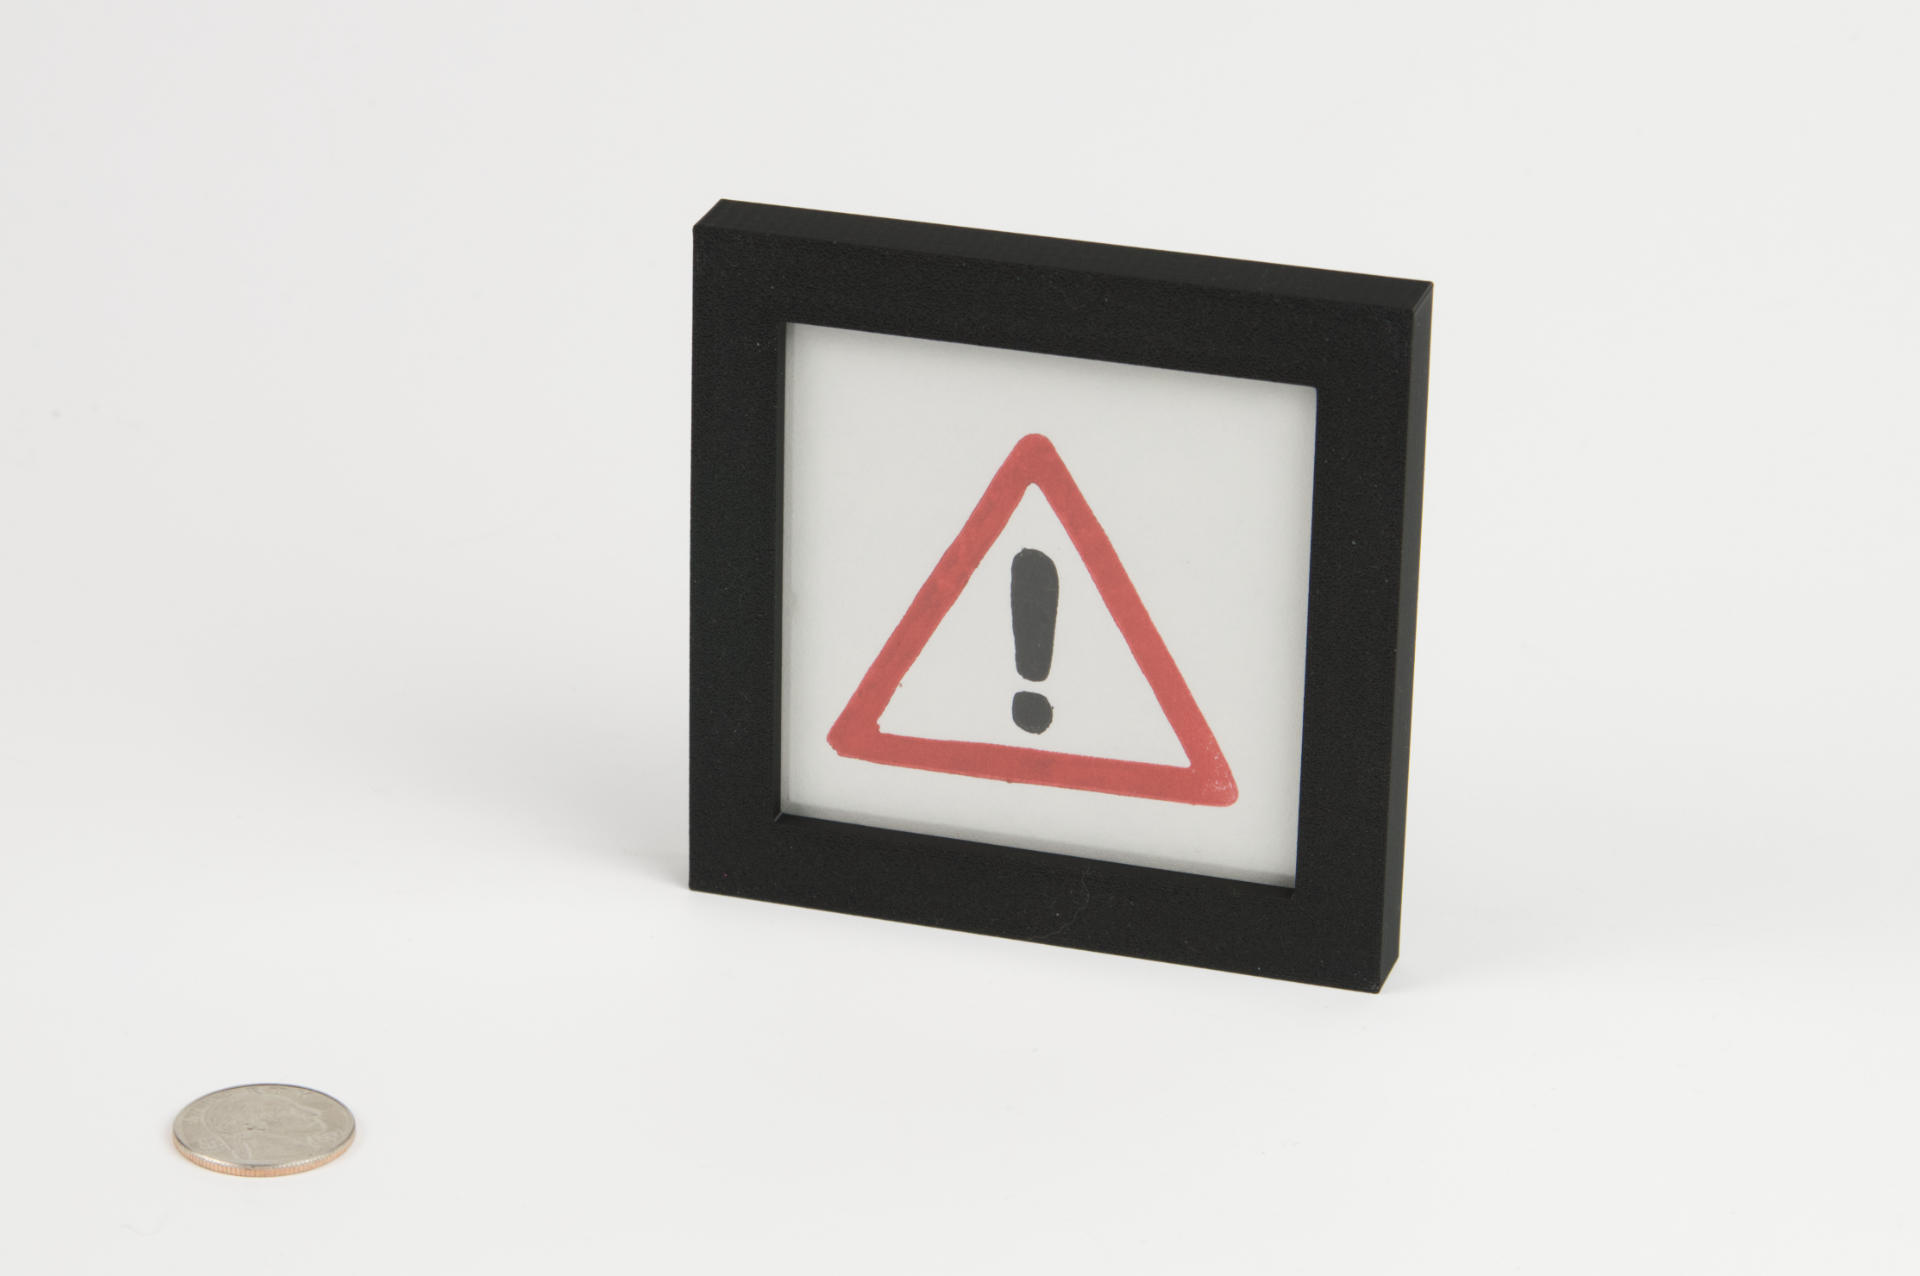
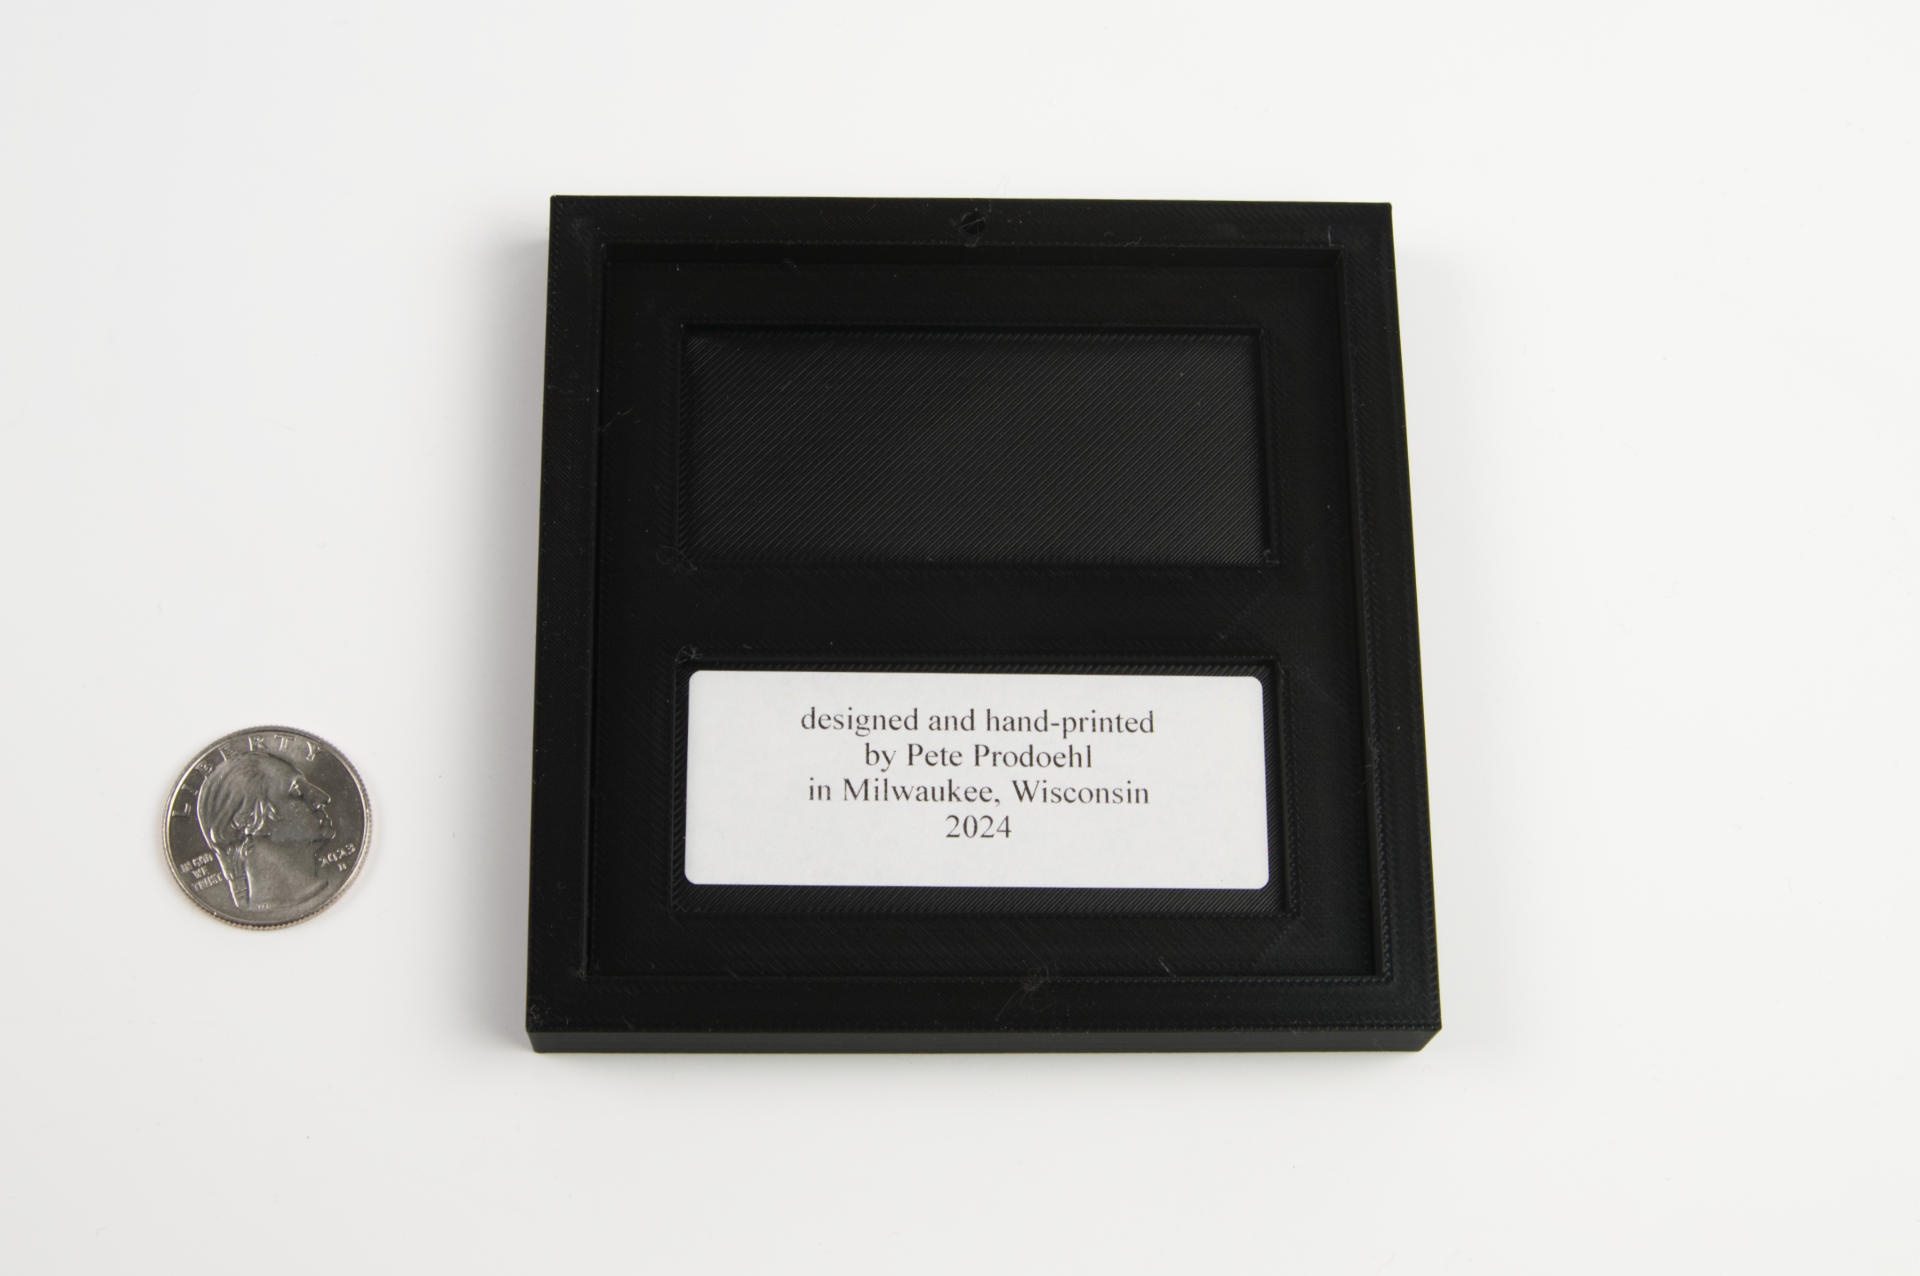
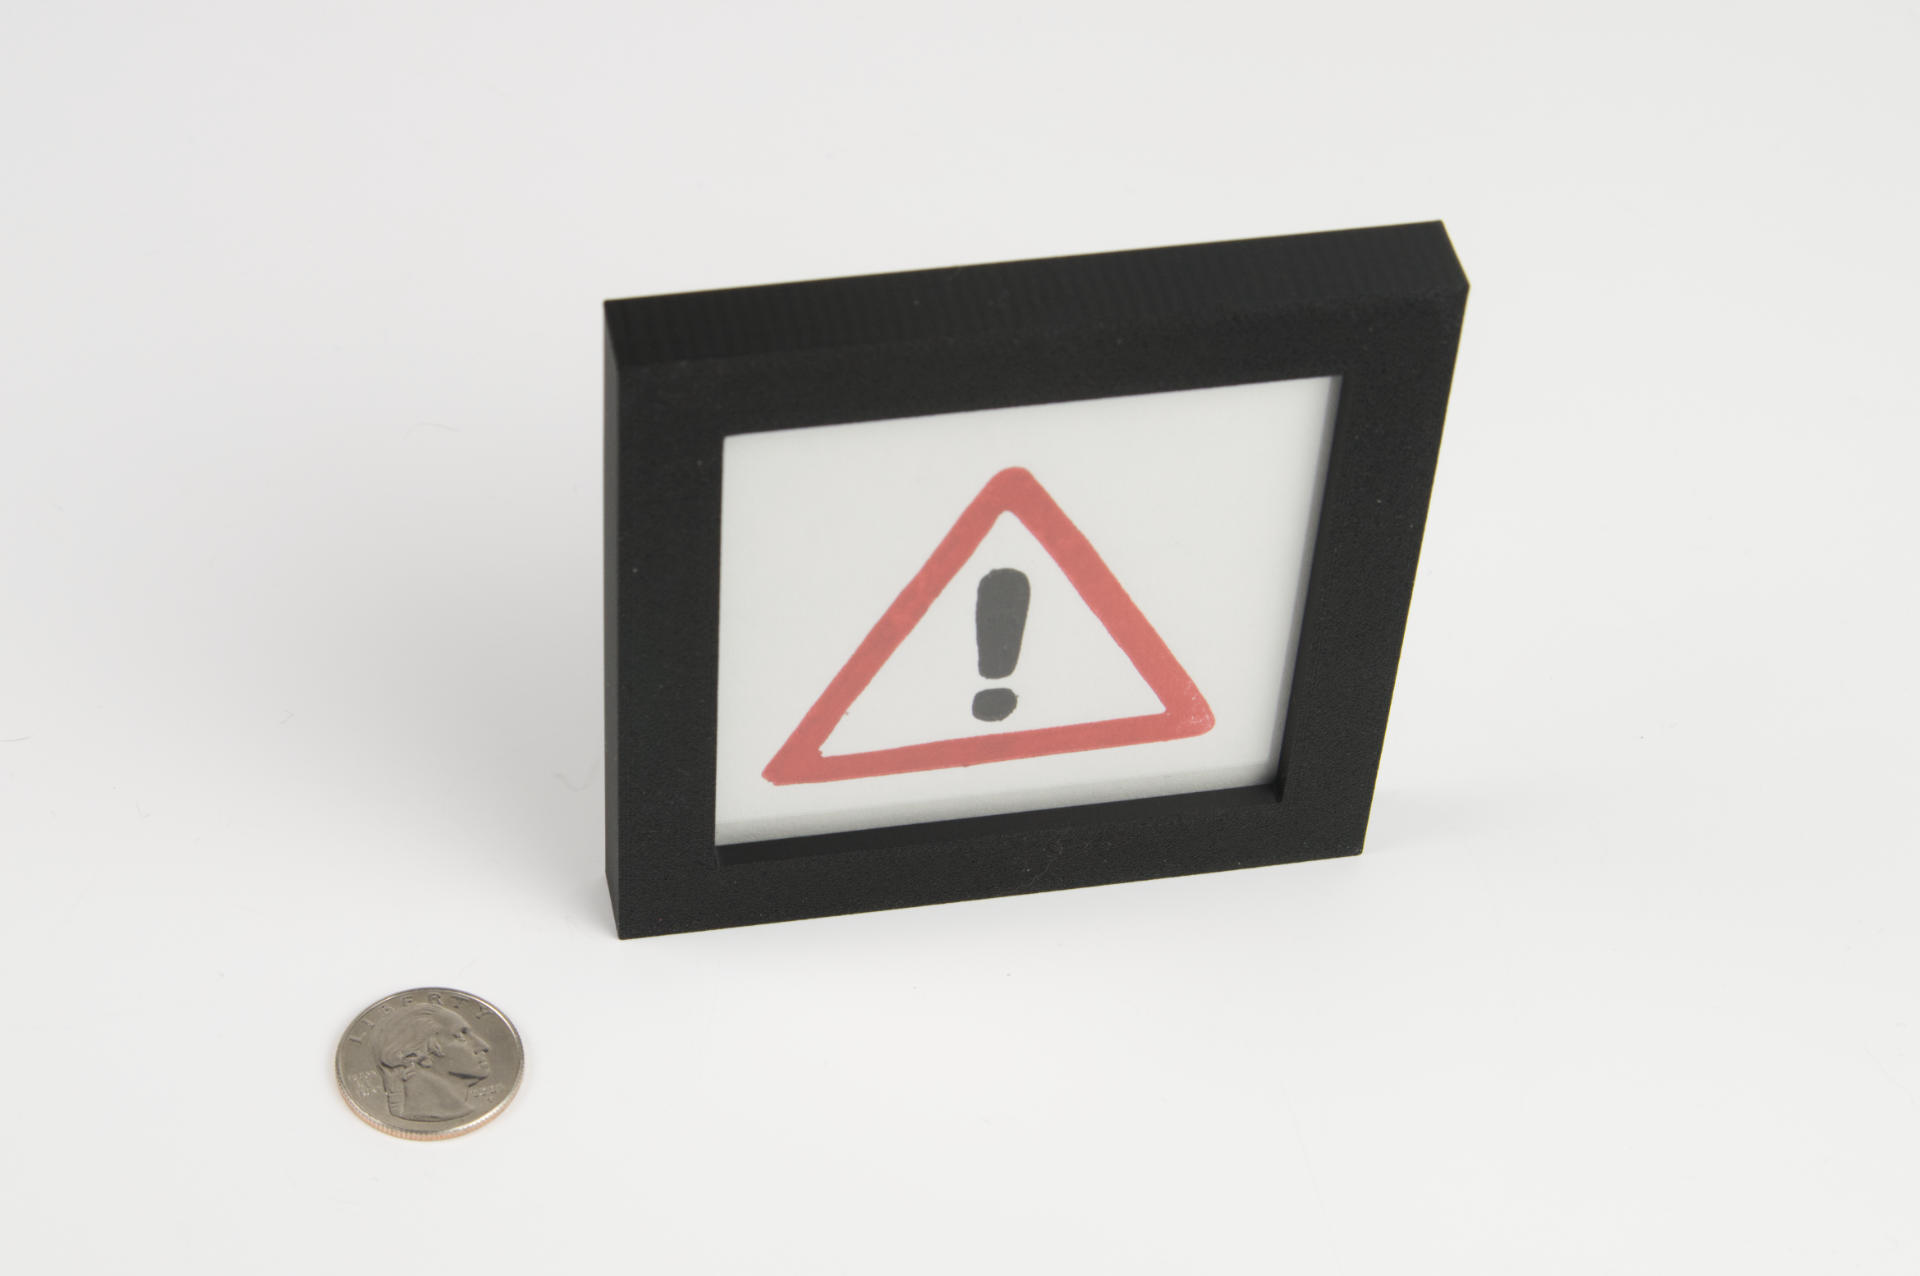
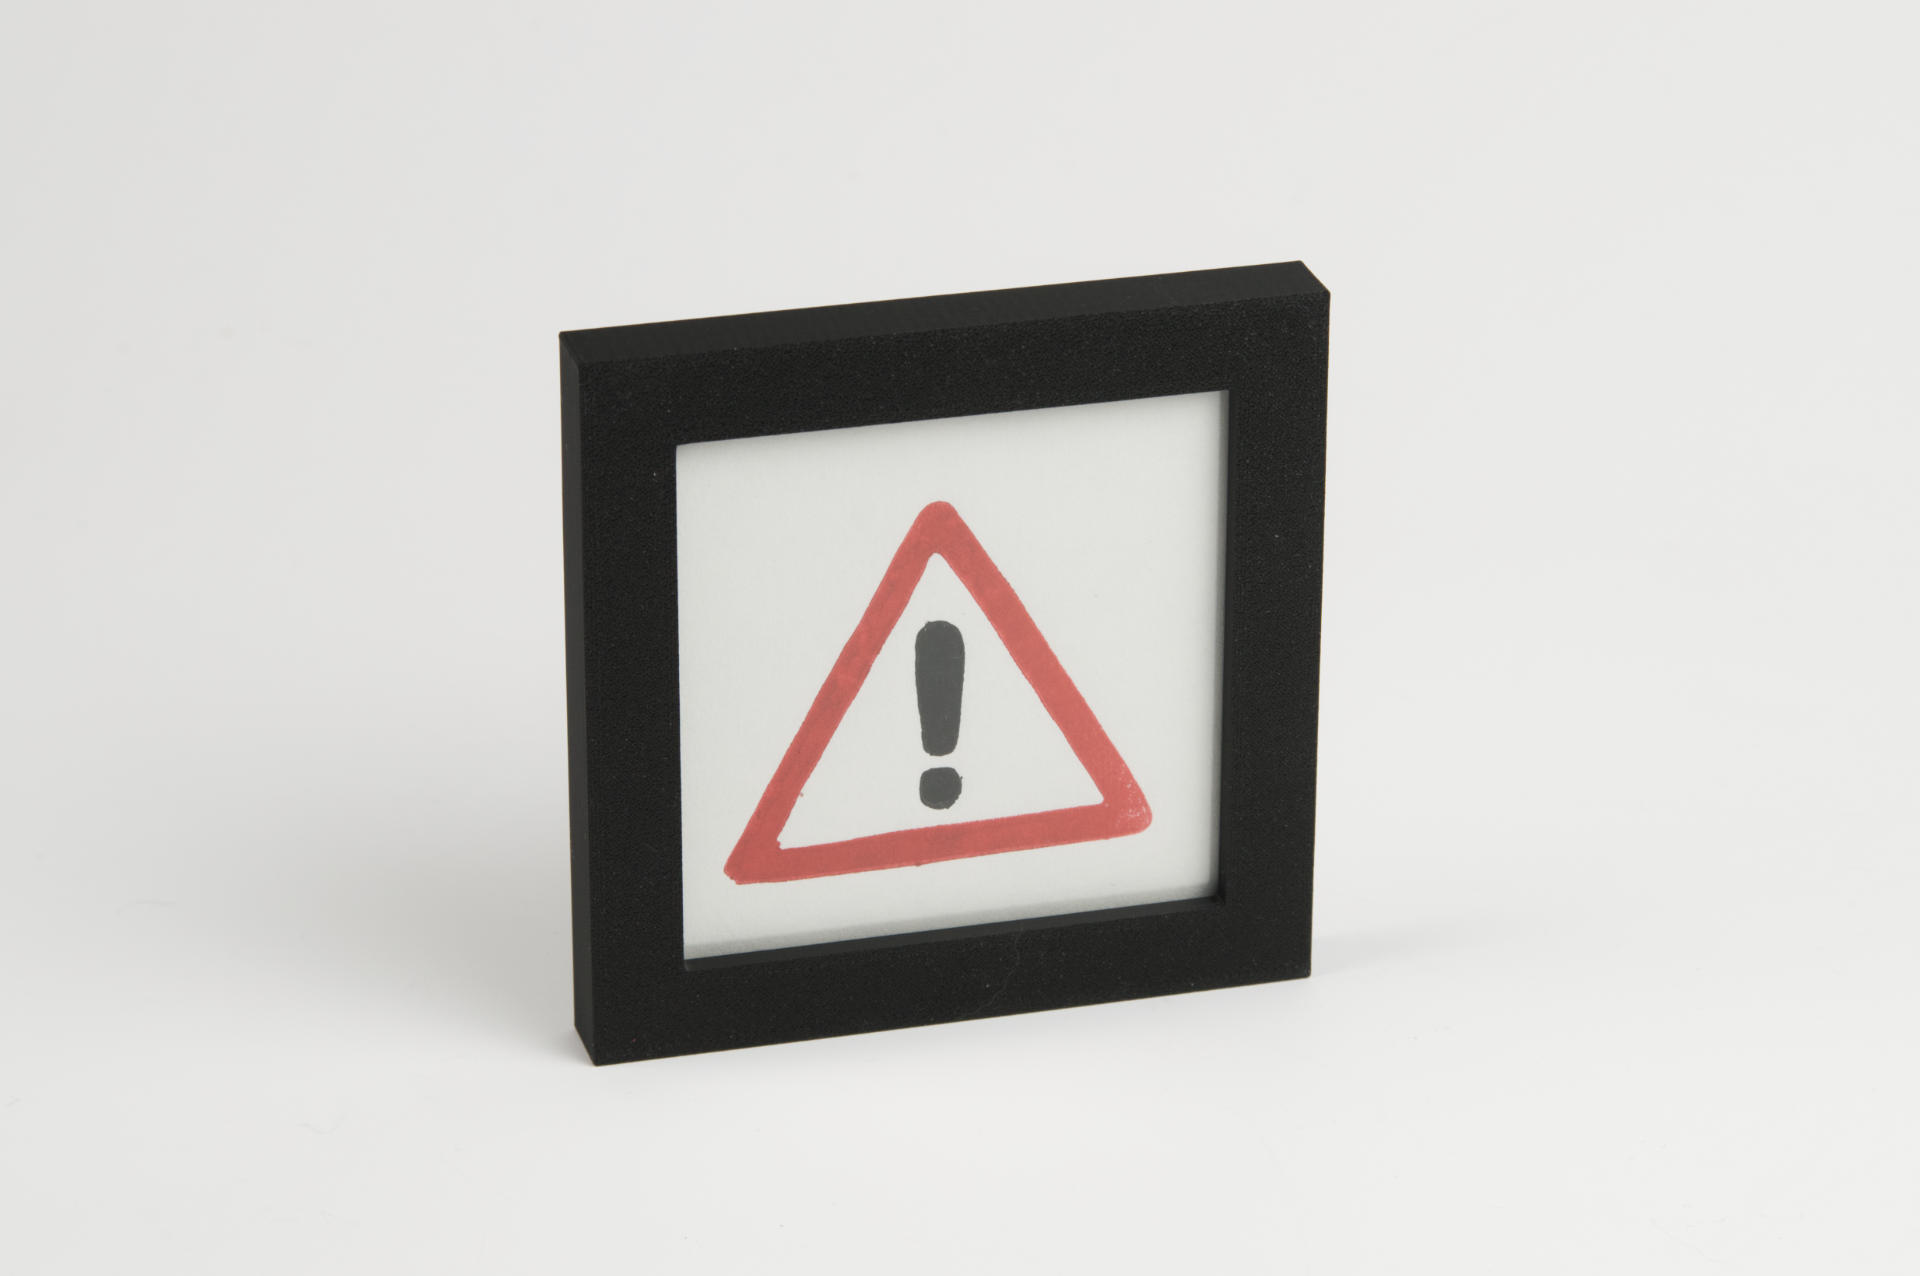
Okay, so anyway I really liked the size of those prints, and I will do more of them. But I also run a Free Little Art Gallery called Gallery 69 and I want to put art in there to give away for free. So I want to do a series of mini prints and here’s the first one, and yes it’s a two color print to make things even more difficult on myself.

These will not be on handmade paper but instead of (probably really) cheap paper. This isn’t fine art, it’s free art, but it does come in a frame and ready to hang. I can keep costs on these pretty low so I’ll make as many as I can and give them away (in the gallery, of course).

This one is an exclamation mark which is probably one of the most fascinating marks when it comes to punctuation. This one is specifically a warning sign, which is something you should look out for, and also seems fitting for the times we live in.

Whether you call it a “bang”, a “pling”, or a “shriek” if you are a programmer or someone who dabbles in code you’re probably all to familiar with the exclamation mark and using it for various purposes.

For a long time I use the name RasterWeb! for this site, though I’ve not always been consistent in the name. Yahoo! also used the bang in their name as do Yum! Brands and others. Seriously go right now to Wikipedia and read up on the !

Westward Ho!