So according to my previous post I last had a flat tire in October 2024 (and August 2024). For the one in August I took it into the LBS to get fixed, but in October I changed it myself because damn I should DIY that stuff, right?
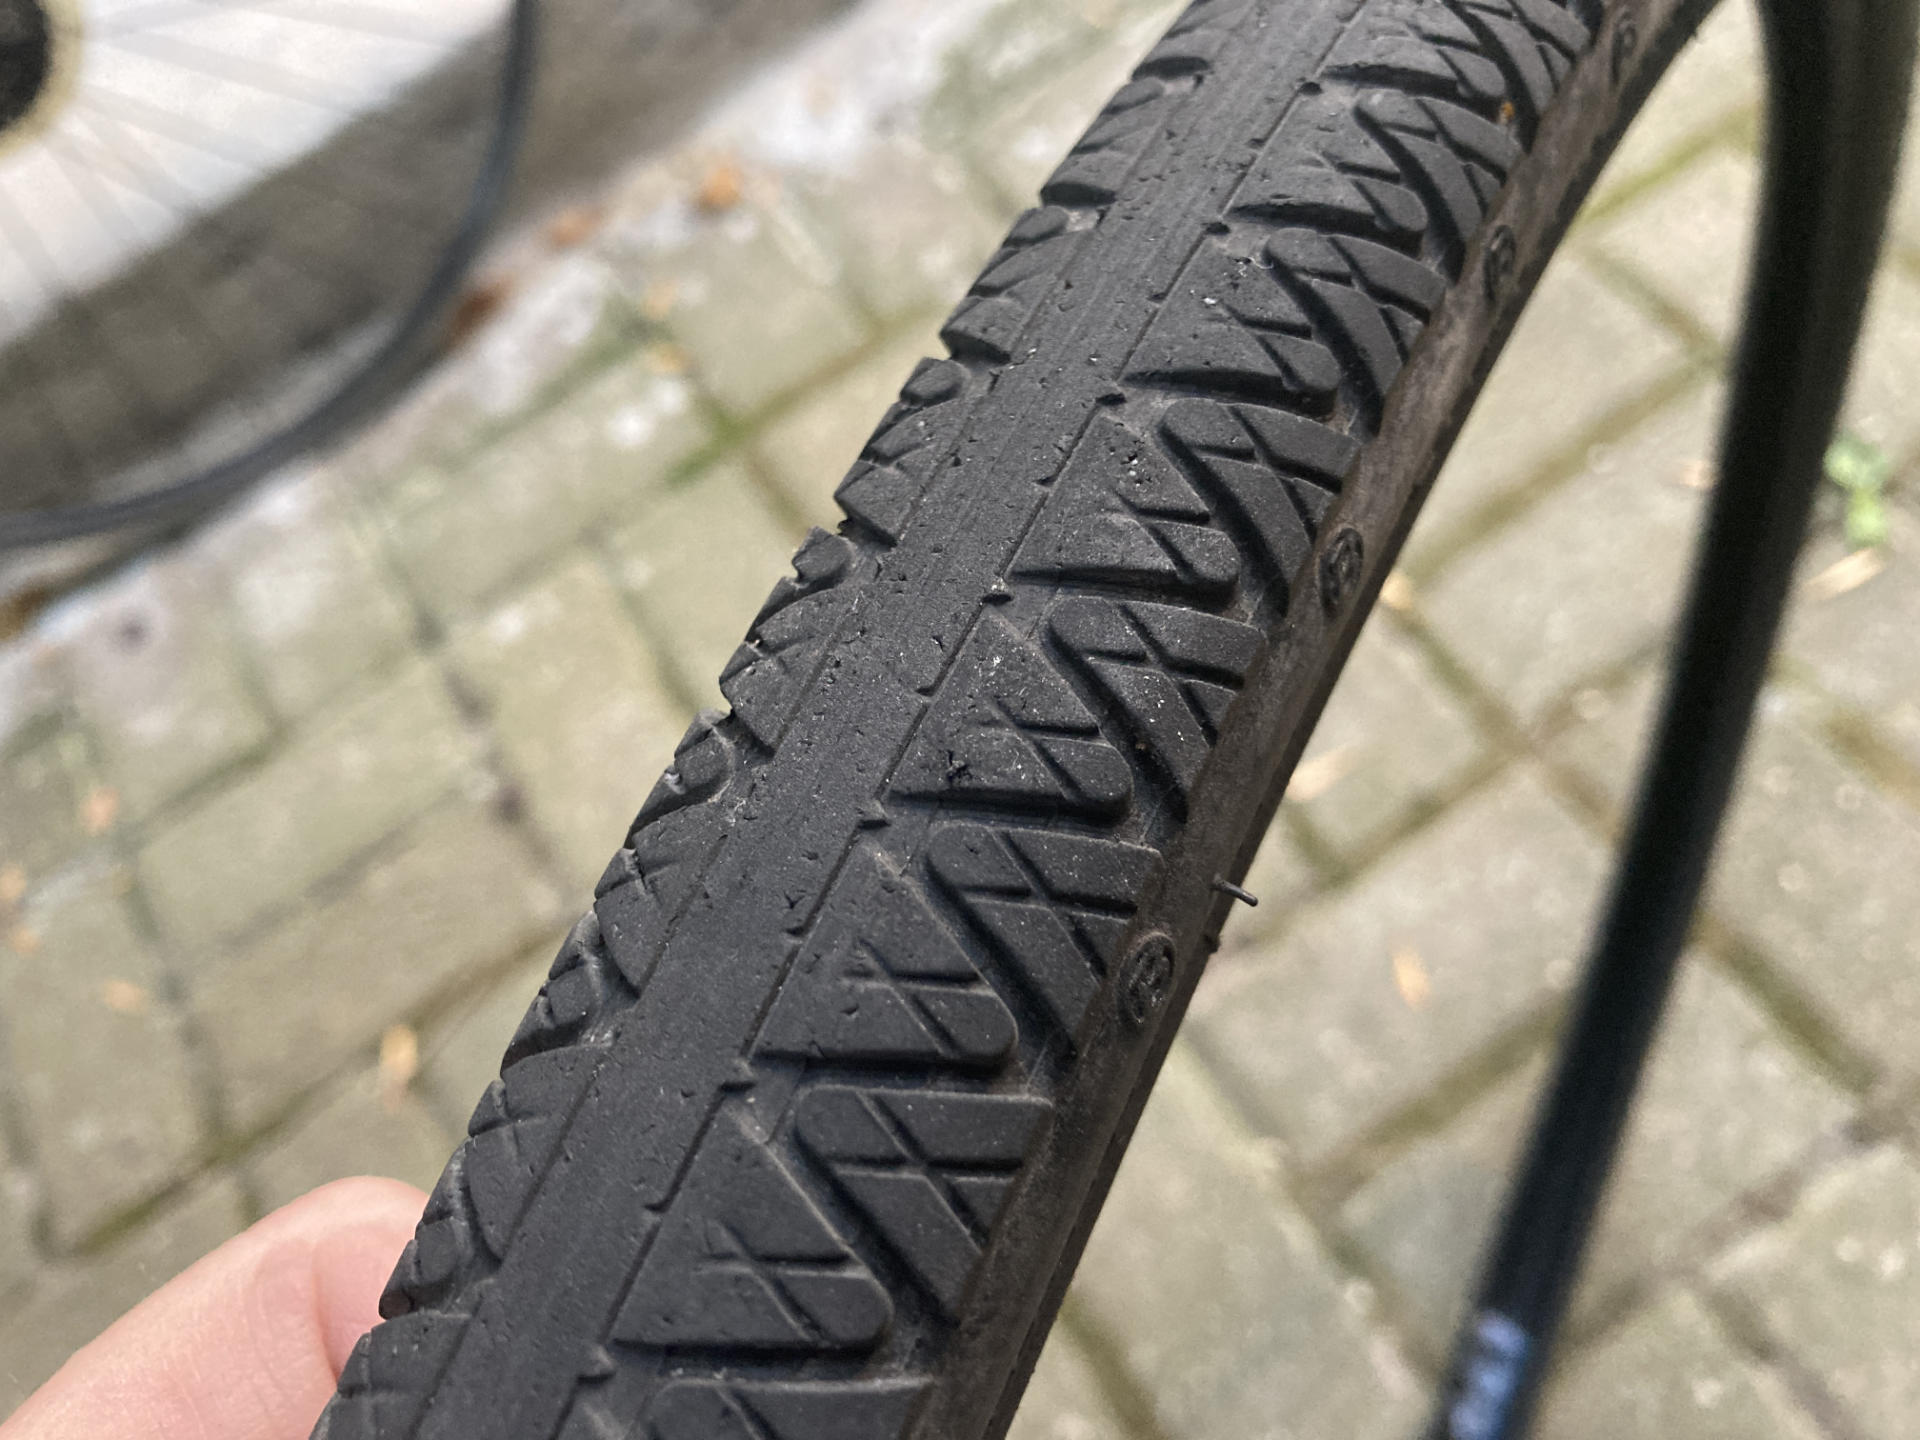
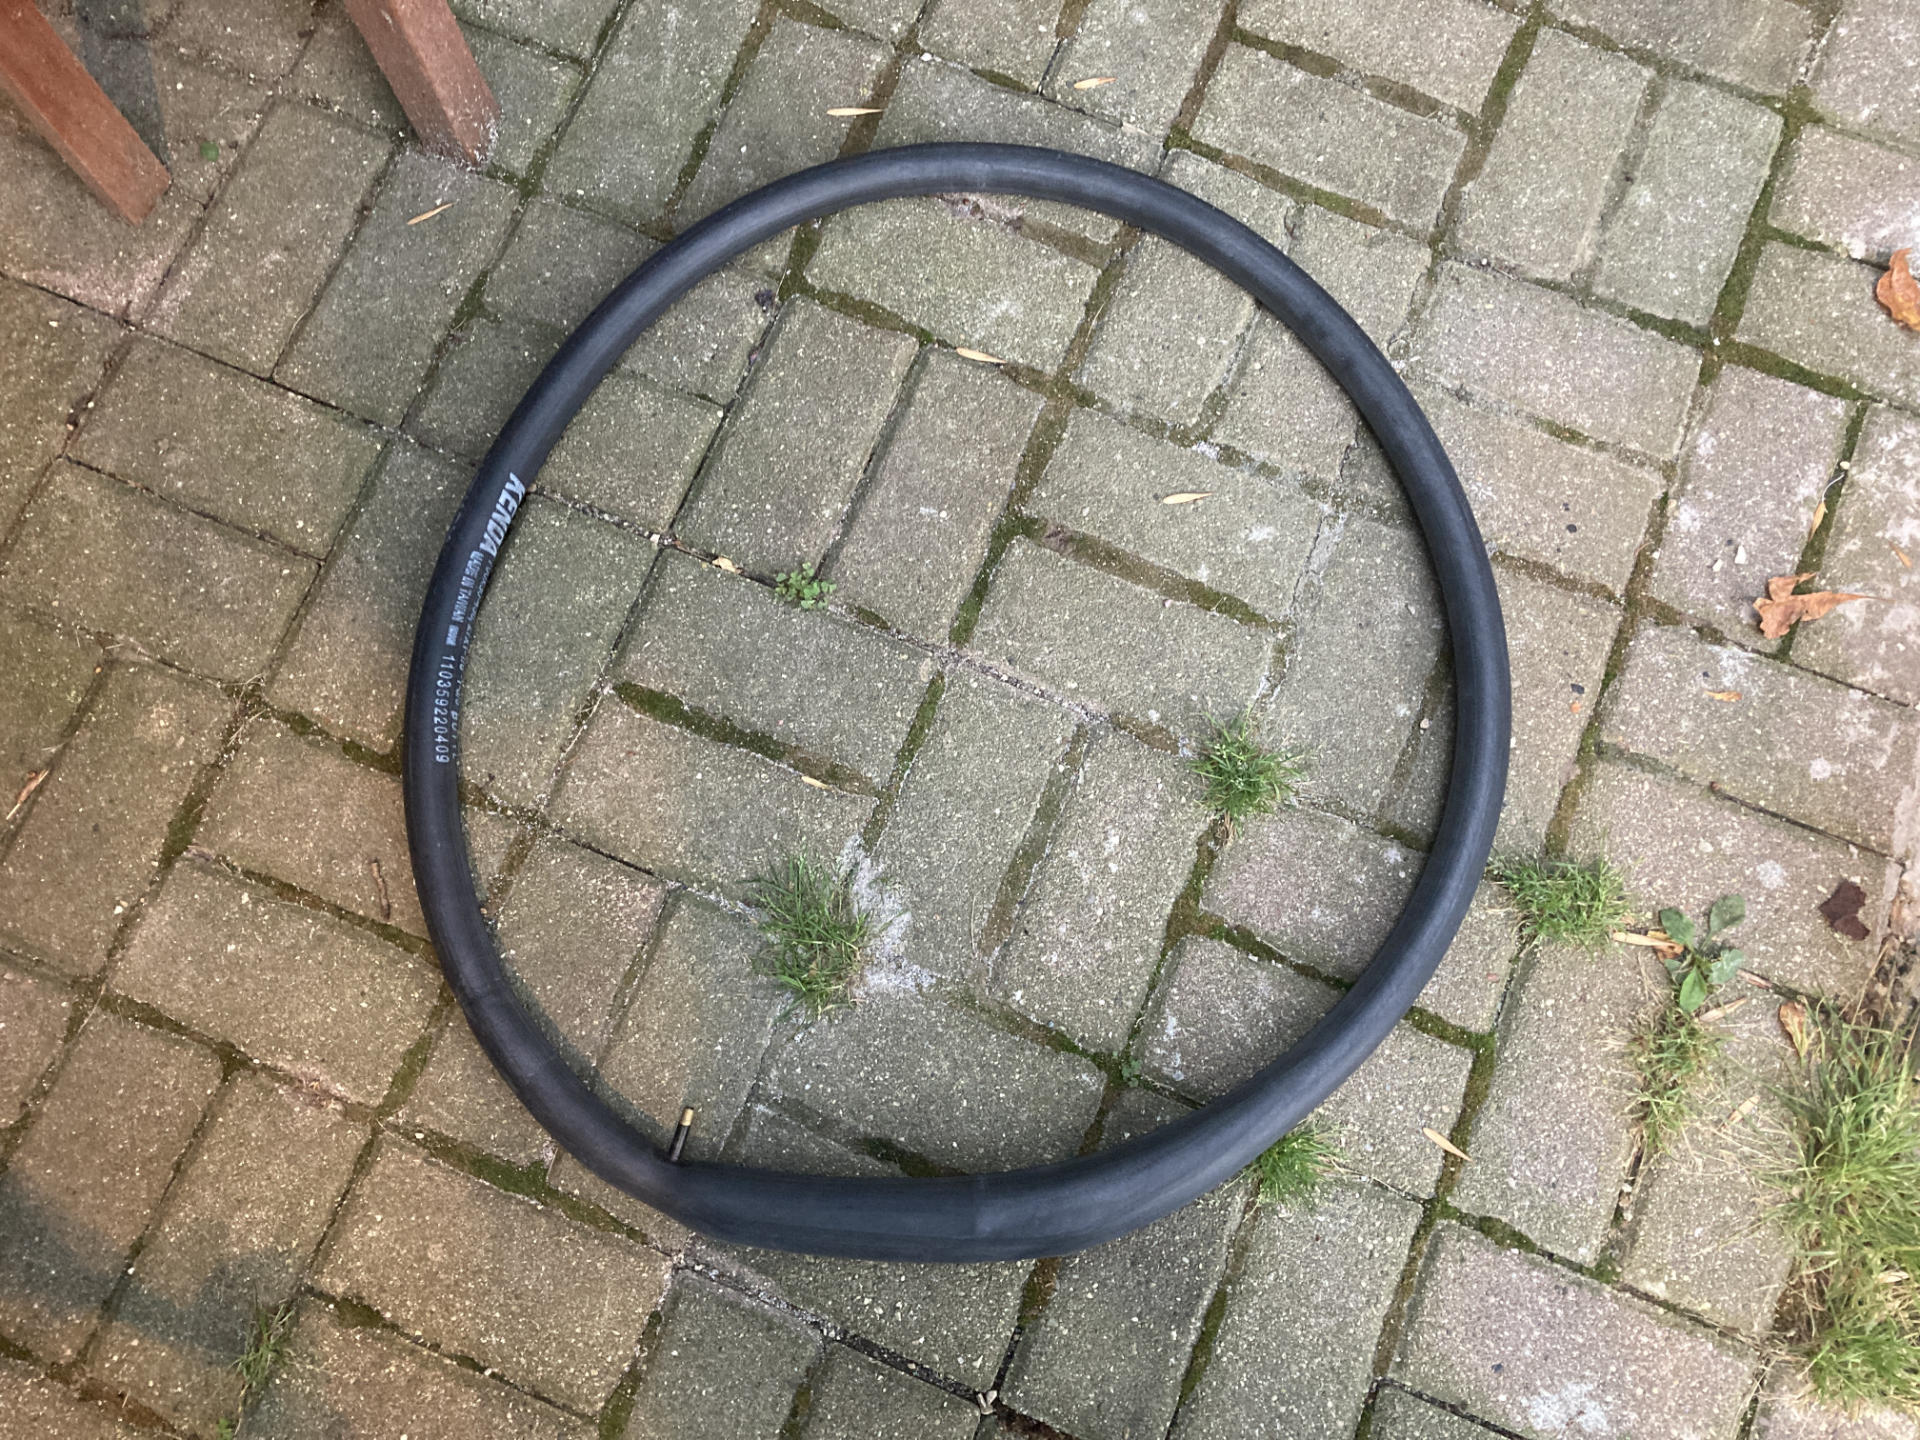
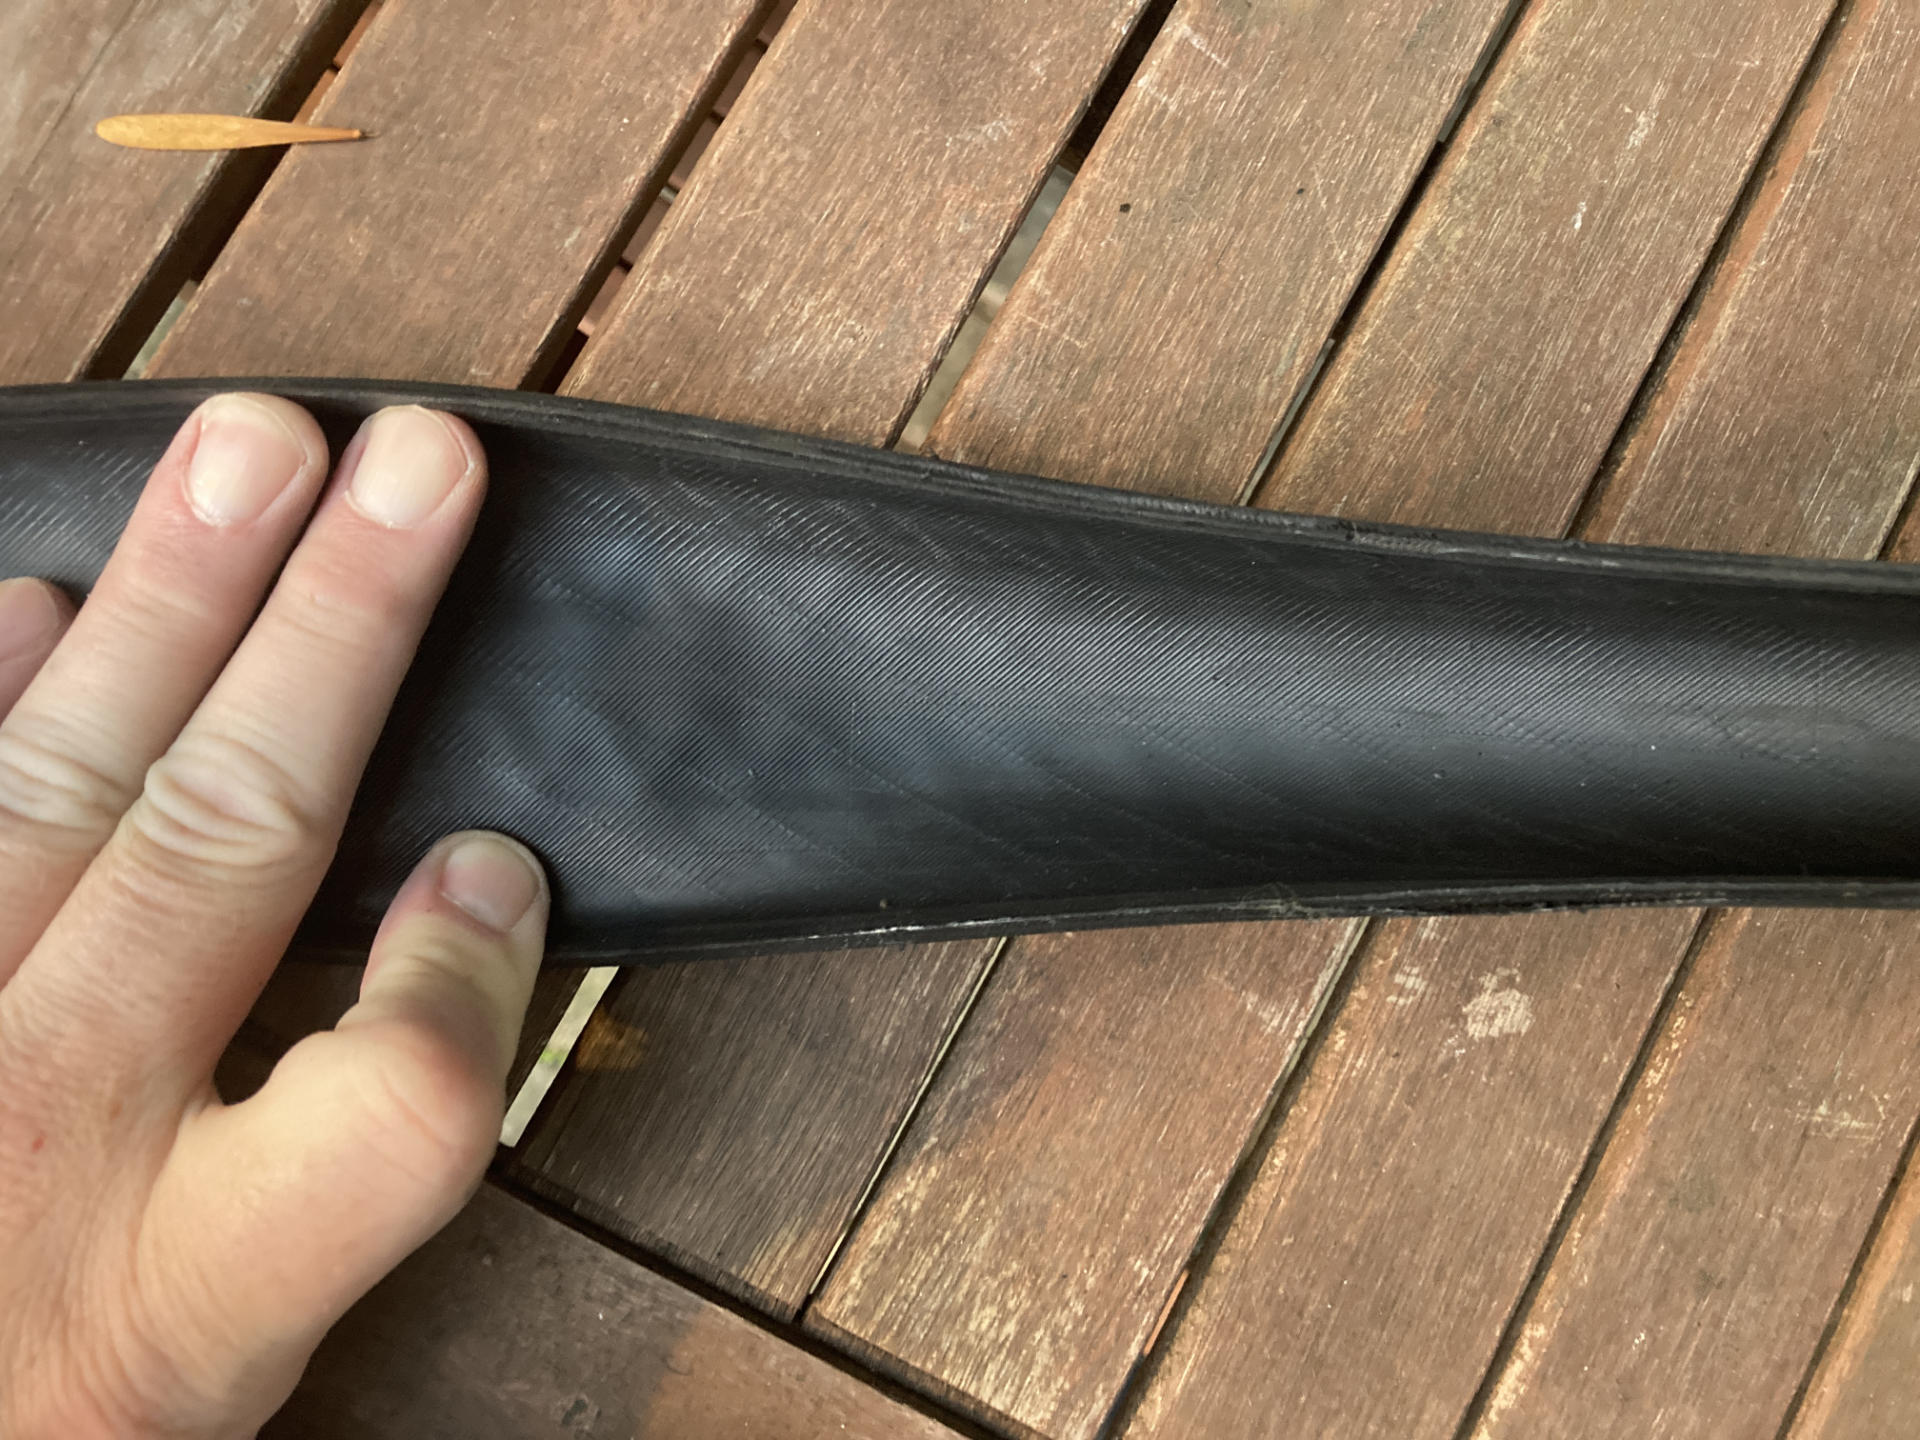
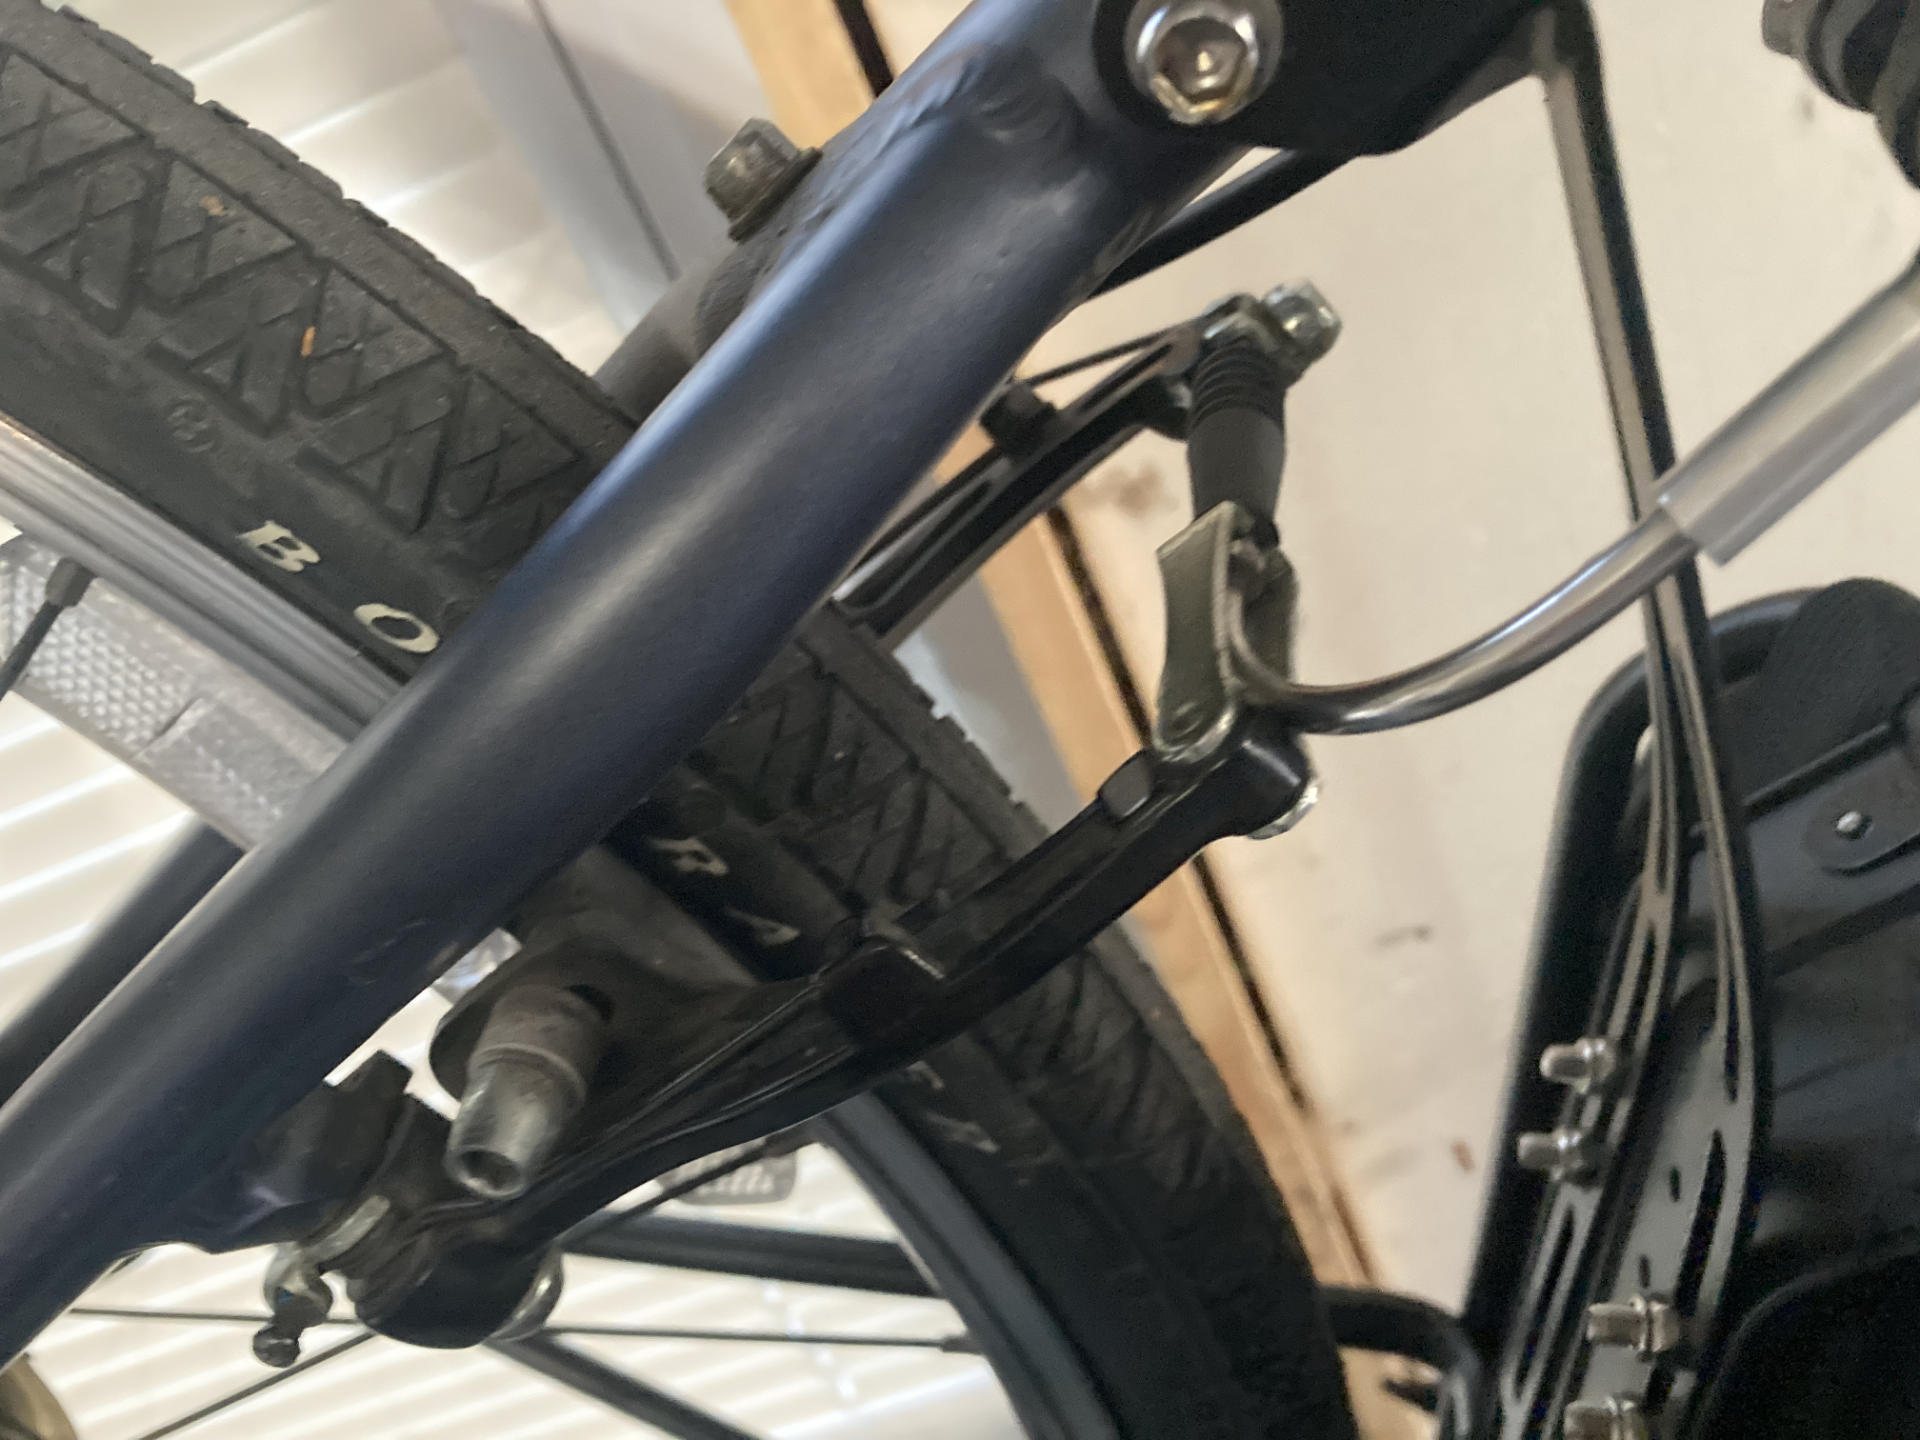
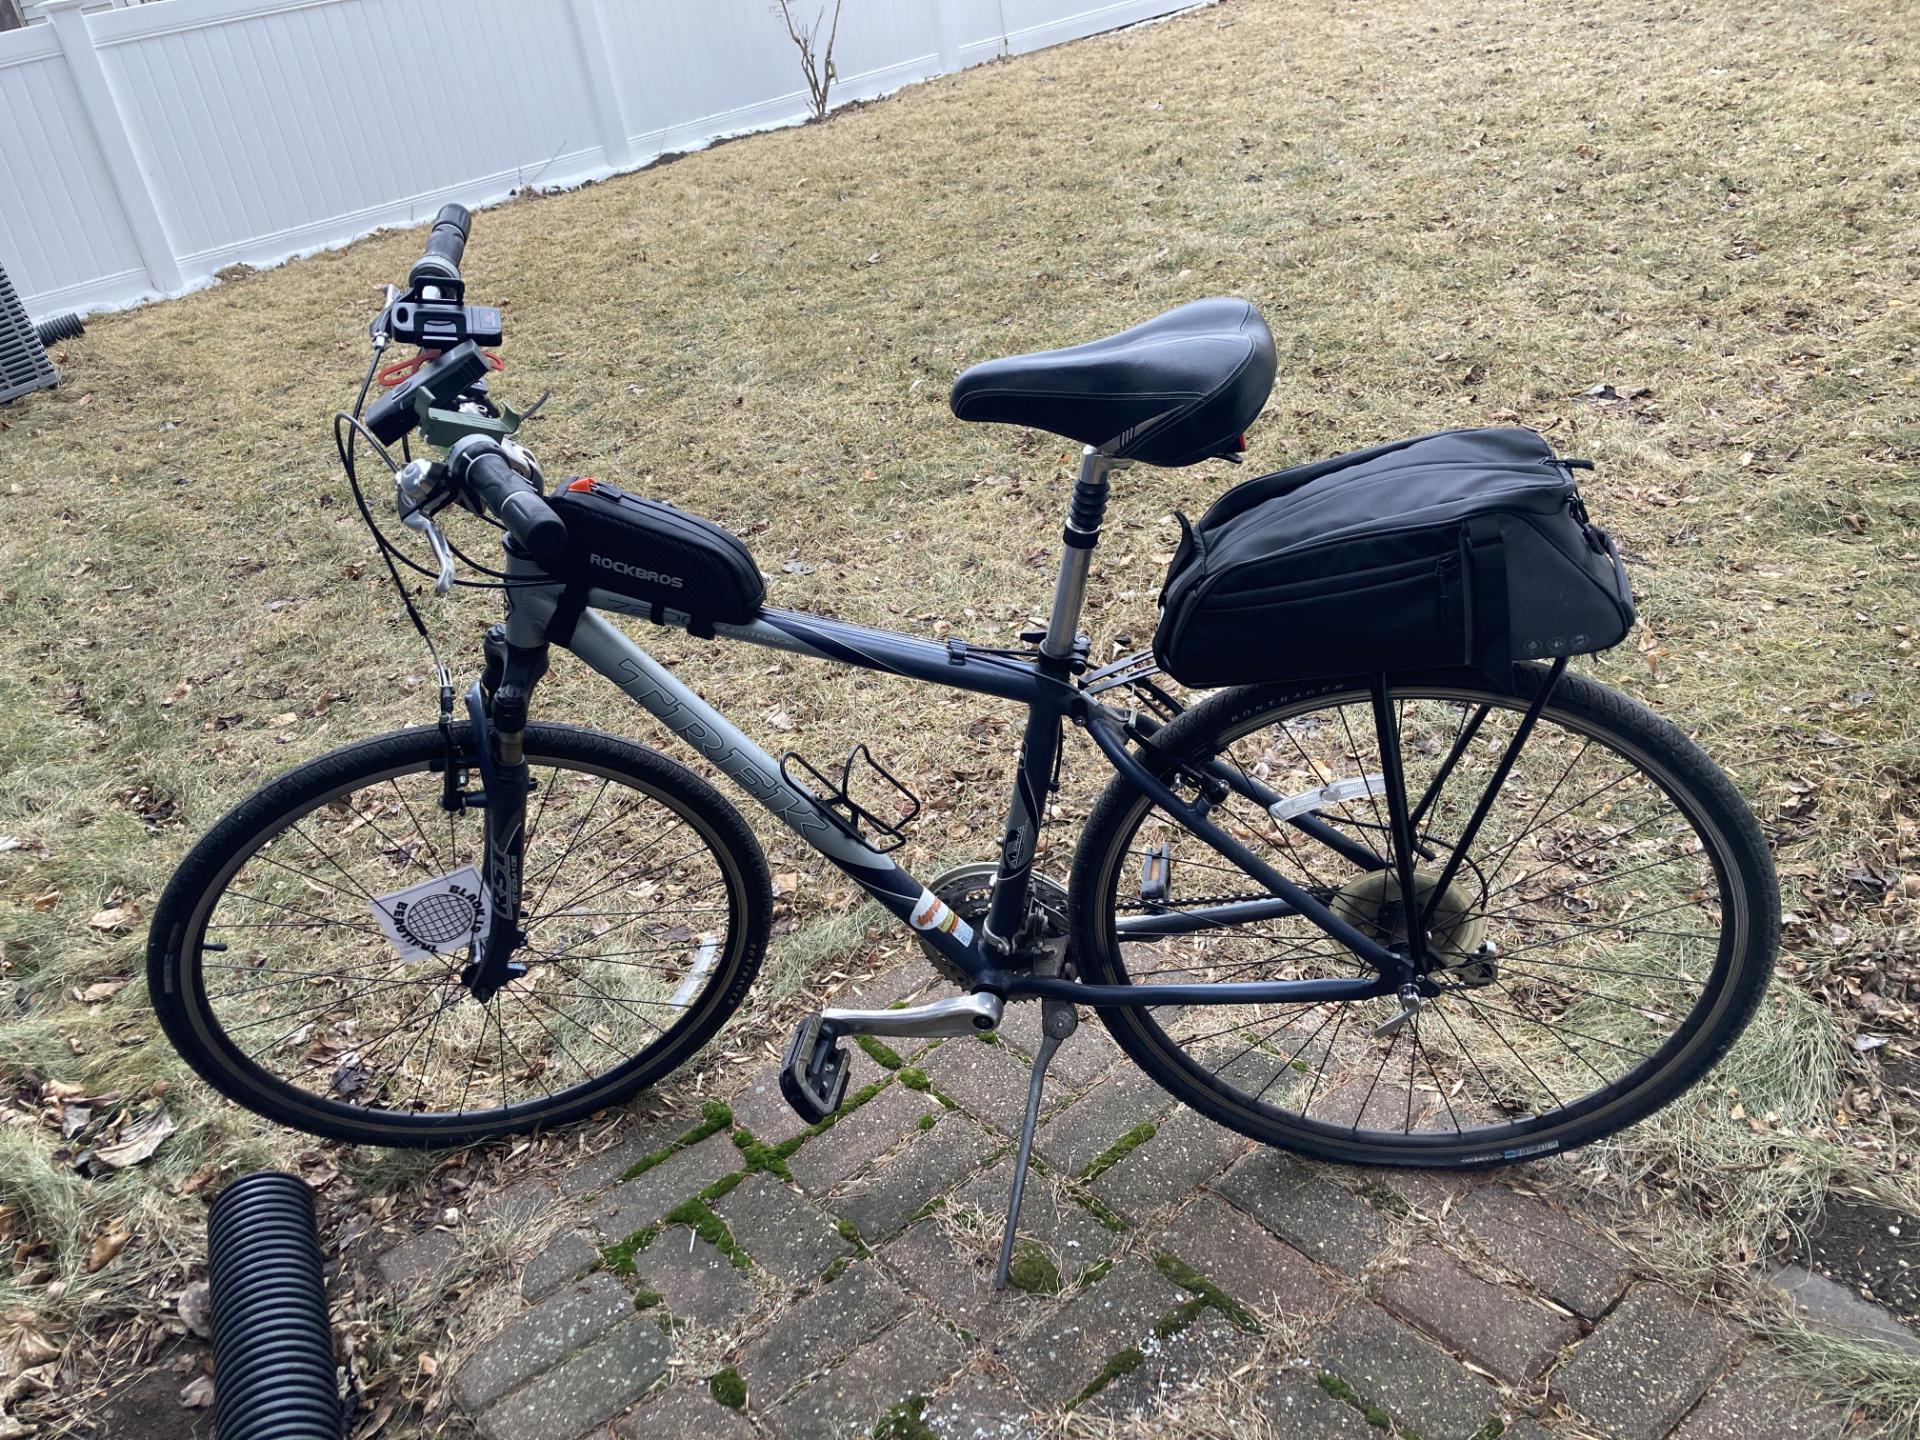
I probably got a puncture on the January Scrappy Hour Ride as my tire was pretty low at the end of the ride. Anyway, Matt was kind enough to give me a set of tires (nice tires!) so I pulled off my own worn out tire and put on a new tube and tire.

I actually had no idea the direction of rotation could matter, and I didn’t, notice the little rotation arrow until after I wrapped up the repair! Luckily I got it right.
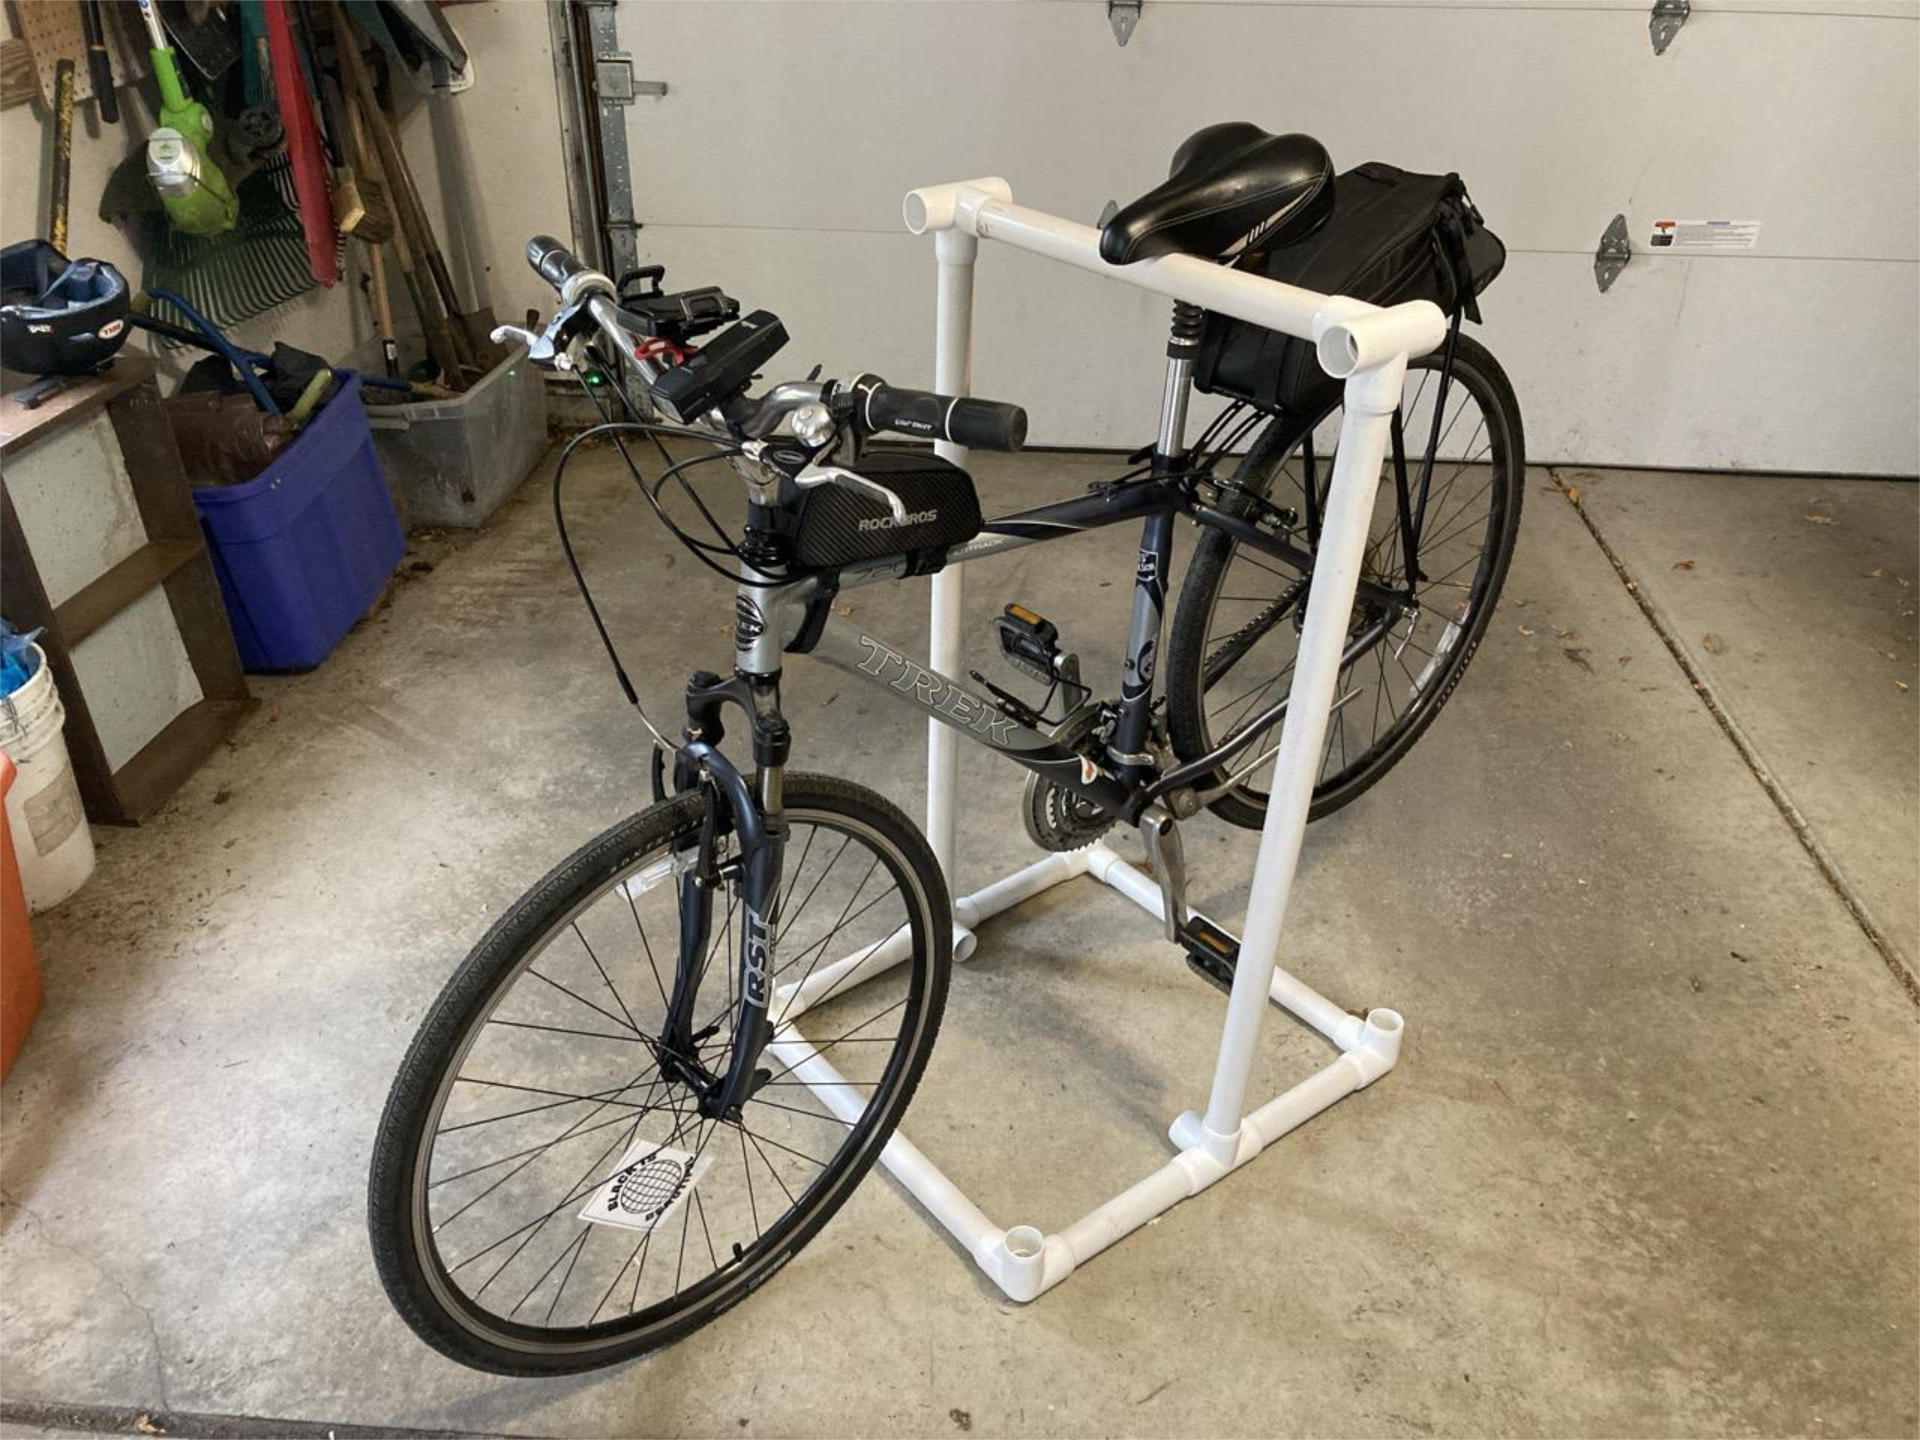
Oh, I did end up throwing together a simple PVC bike stand. It’s not great (yet) but it’s better than nothing. It definitely helps when changing the rear tire.
(Note: I also got a flat tire with my car last month but I’m not counting that one.)
So hey, we are back in business and as soon as it warms up a bit, or I feel like suiting up again, I’ll hit the road and try it out.