I’ve had a few requests to use the graphics I’ve been making lately, so I just dumped them all into a folder you can find here: http://apps.2xlnetworks.net/files/
At some point I may organize things a bit more but for now, do what you want with them. No license, no credit needed, no restrictions… just help us fight tyranny and oppression.
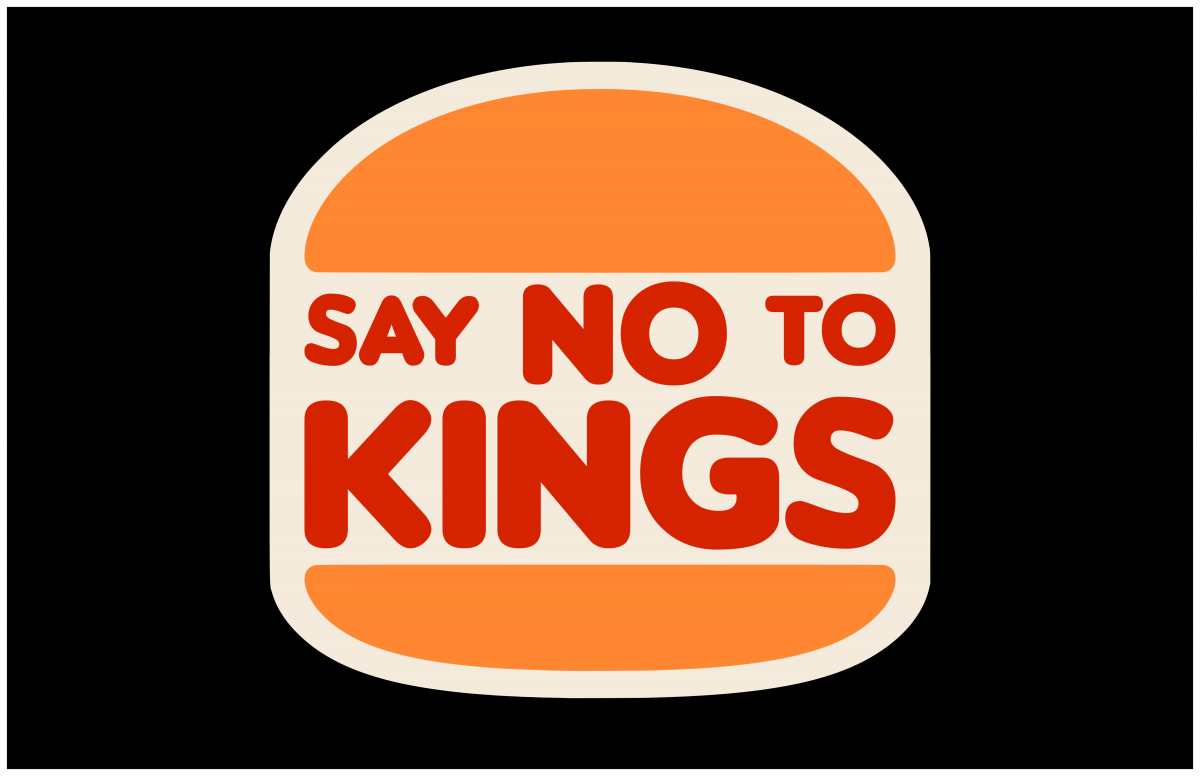
For this one I matched the colors and design and typeface of the Burger King logo, and it’s a parody, so yeah.
Dana and I went to the “No Kings” protest last weekend, and I asked if she wanted one of the signs I made, or if she wanted to come up with something. She didn’t have any ideas until Friday night, so I rushed to get a sign made for her Saturday morning. Here it is! If you haven’t seen Daniel’s comments, check it out.
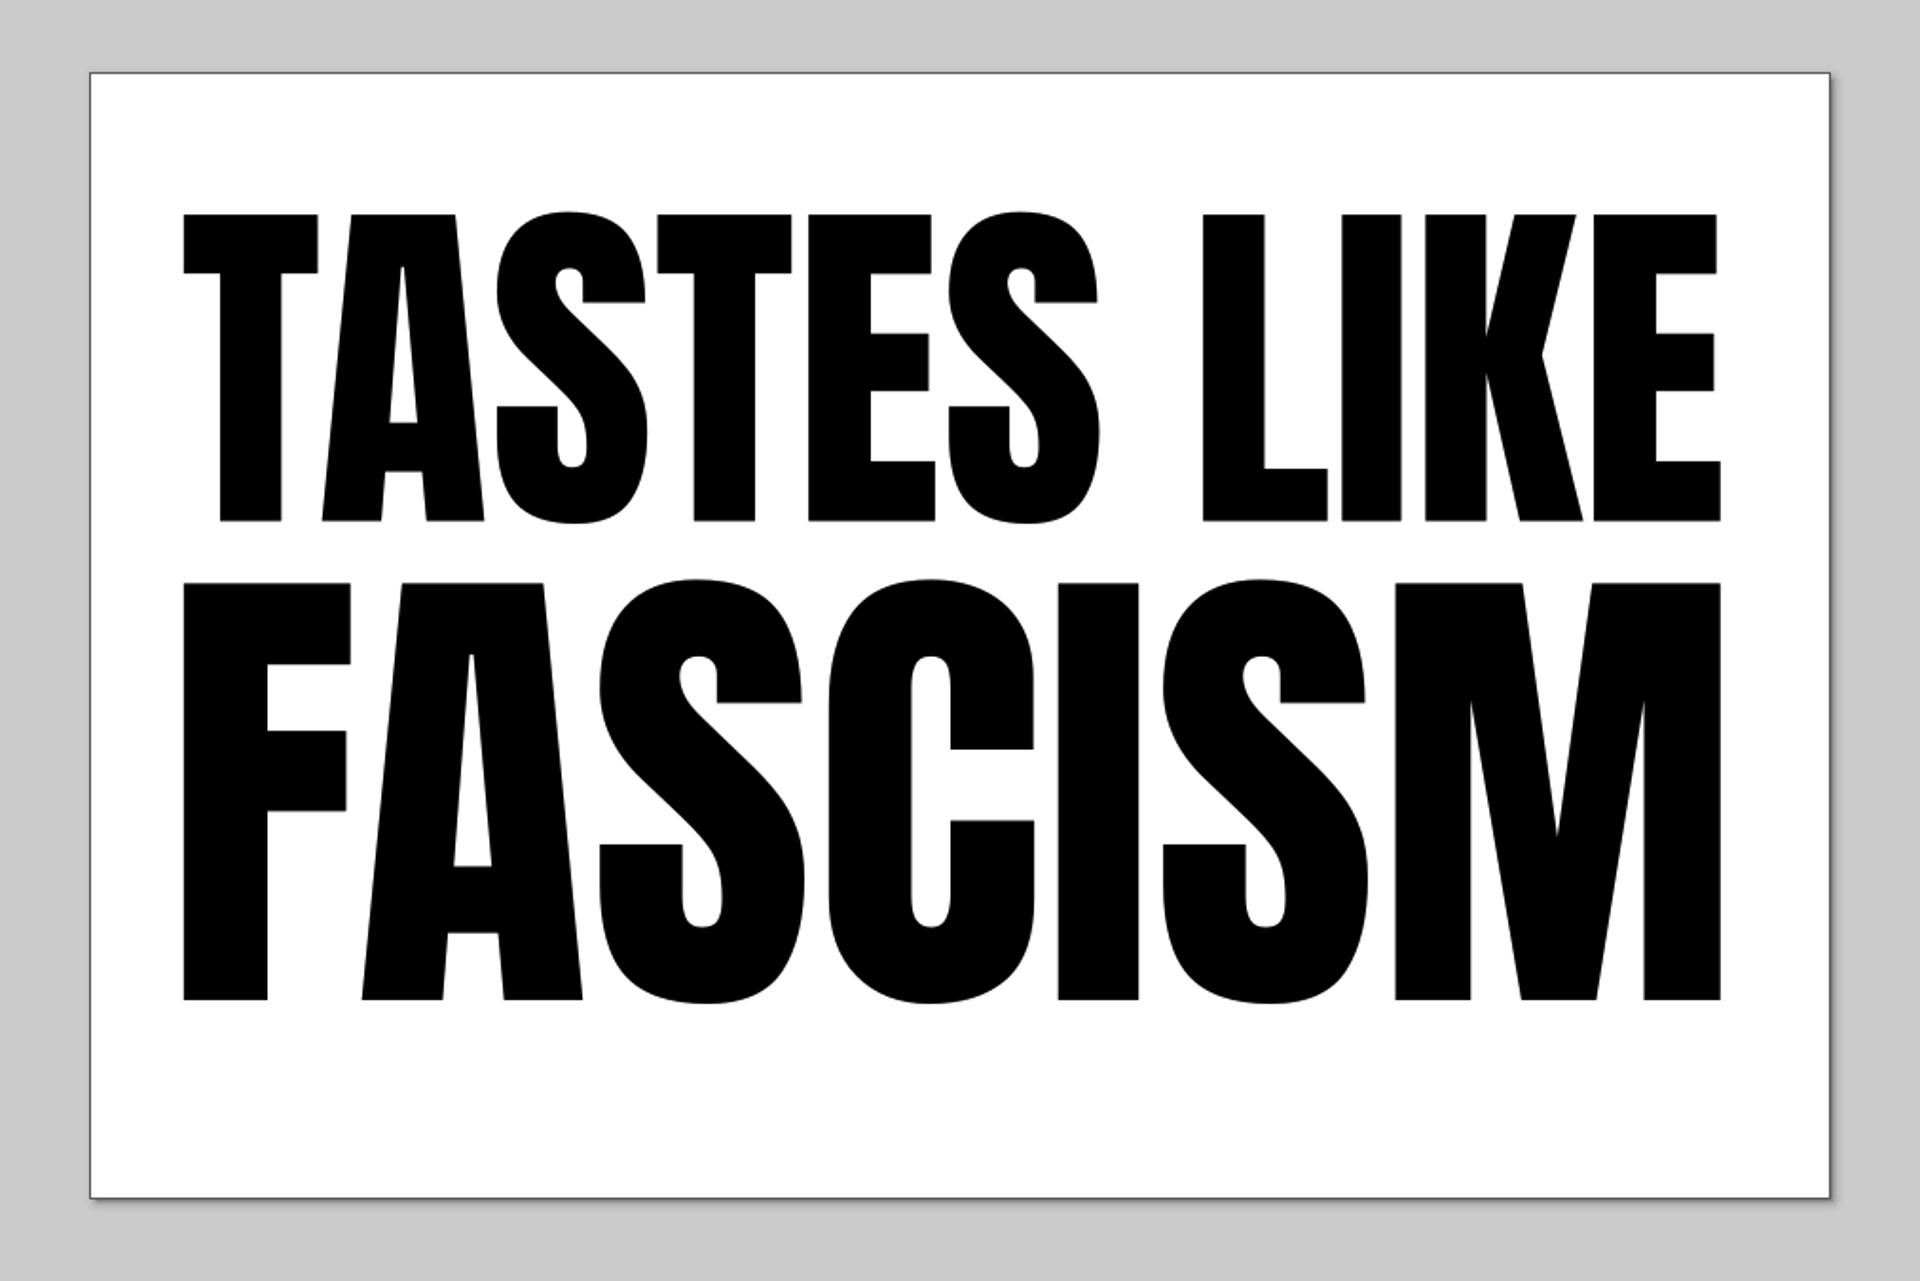
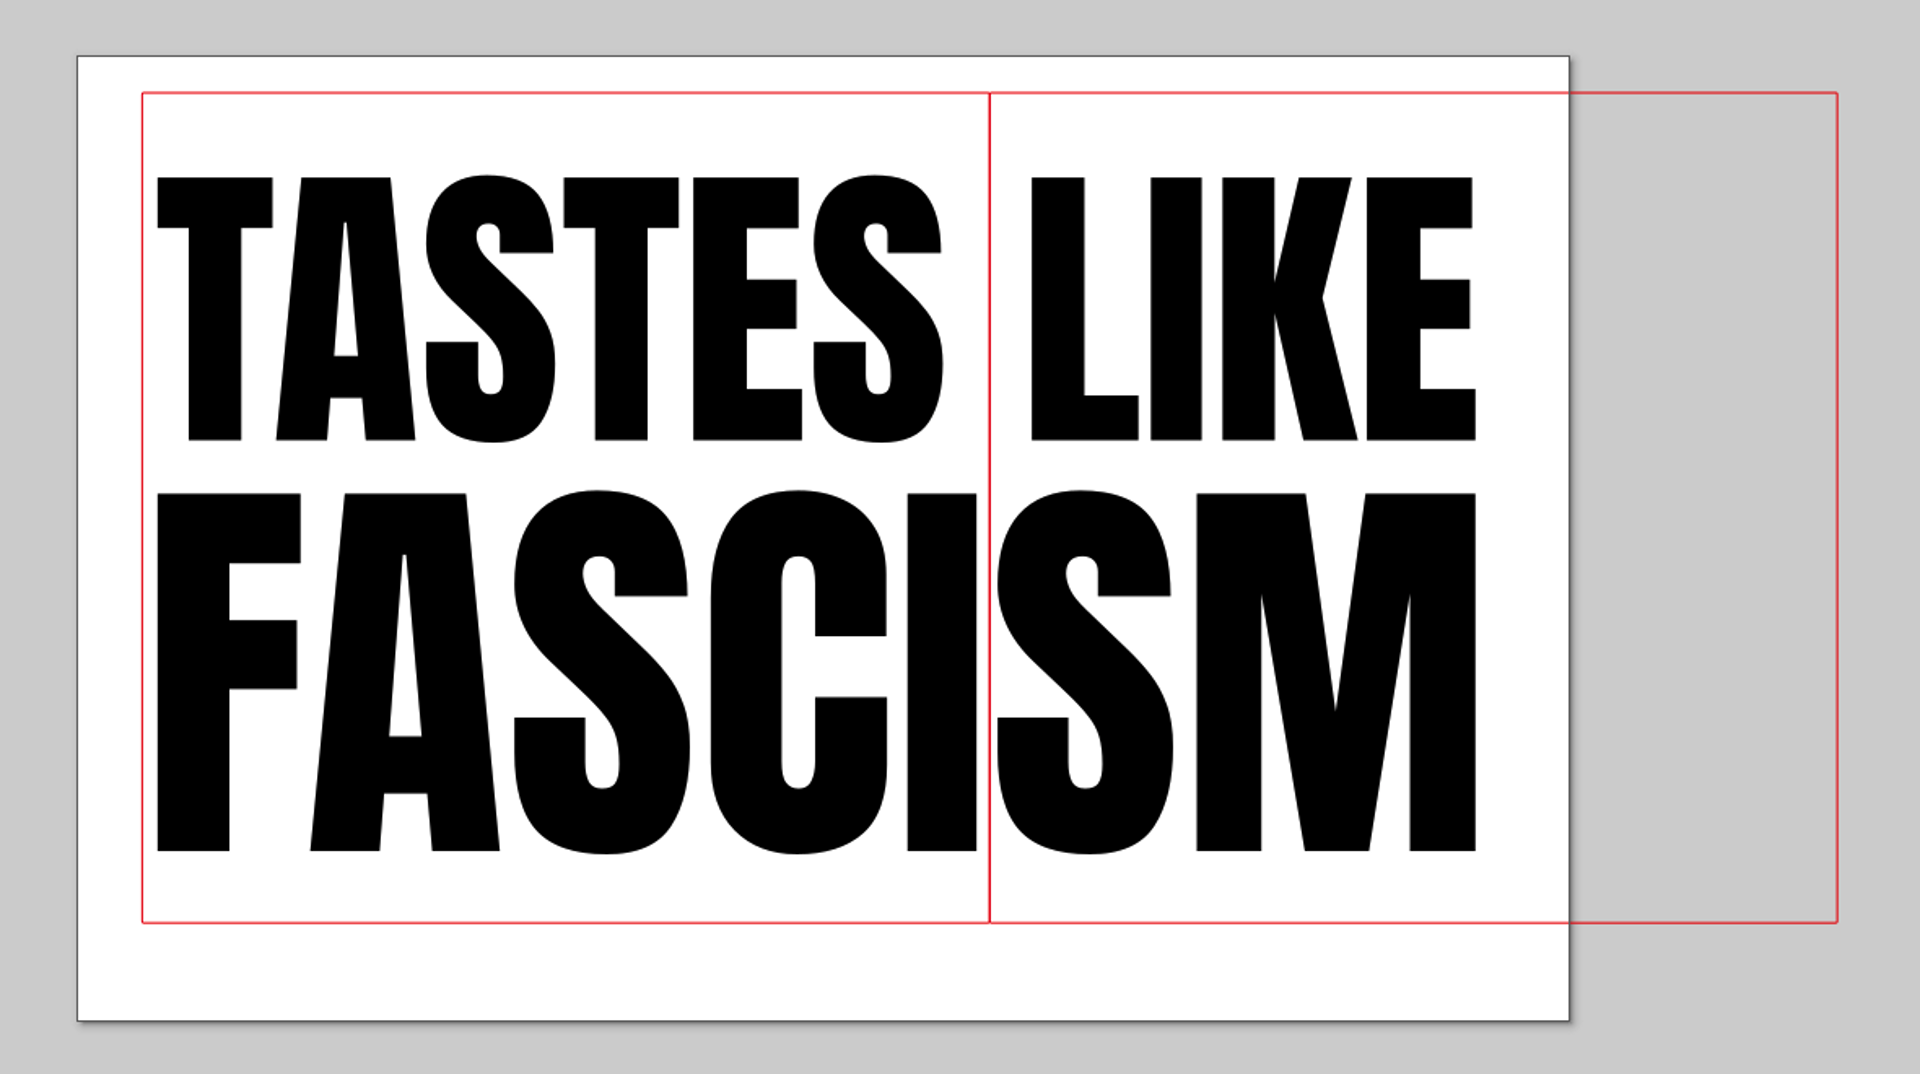
To make the sign I started in Inkscape with an Tabloid (11″x17″) canvas, and typed out the words. My plan was to 3D print the letters and us them for the stencil.
The red squares represent the size of the print bed on my 3D printer. I could not print the whole thing in one go so I broke it into two sections…
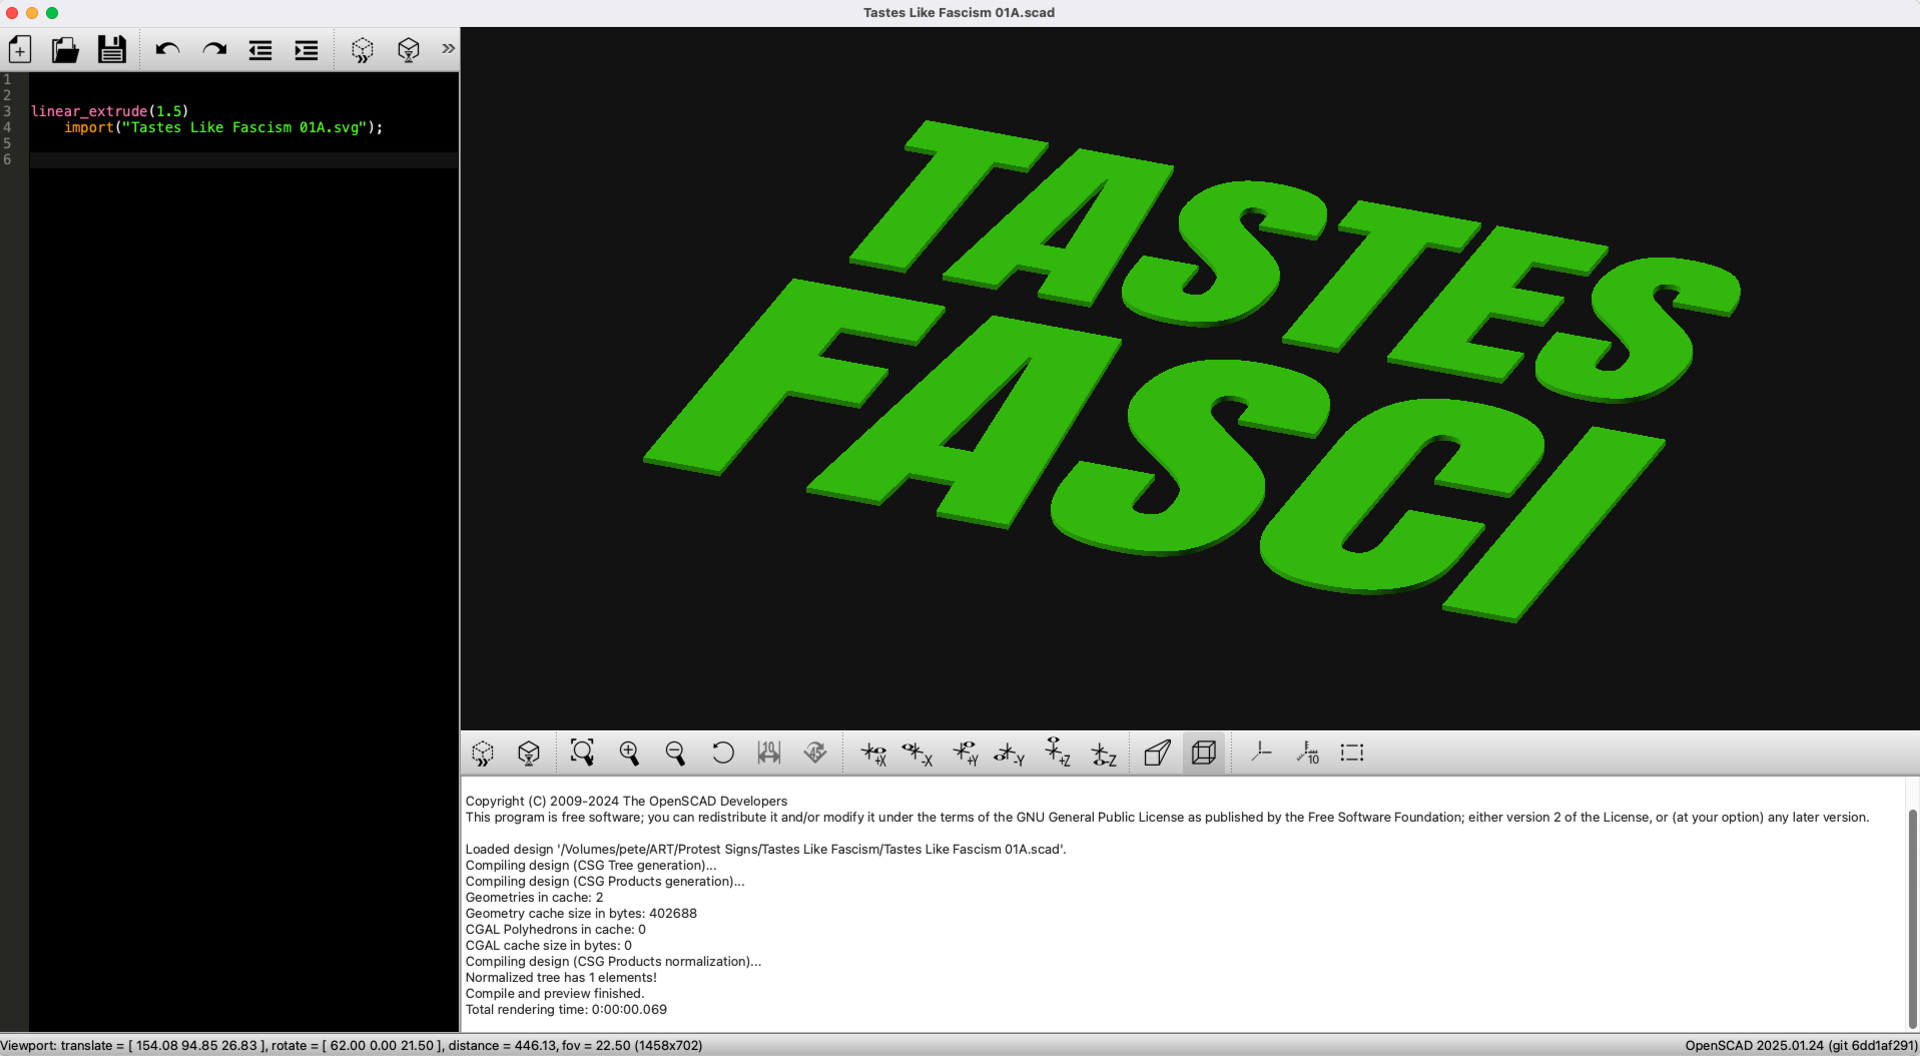
Here’s the first section. I brought the SVG into OpenSCAD and extruded it 1.5mm tall. Once I did that I exported an STL file I could print.
With the letters printed in black filament I put them down on the tabloid size foam core board to act as a stencil. With the letters being 1.5mm tall they had enough weight I didn’t need to worry about the paint blast blowing them away.
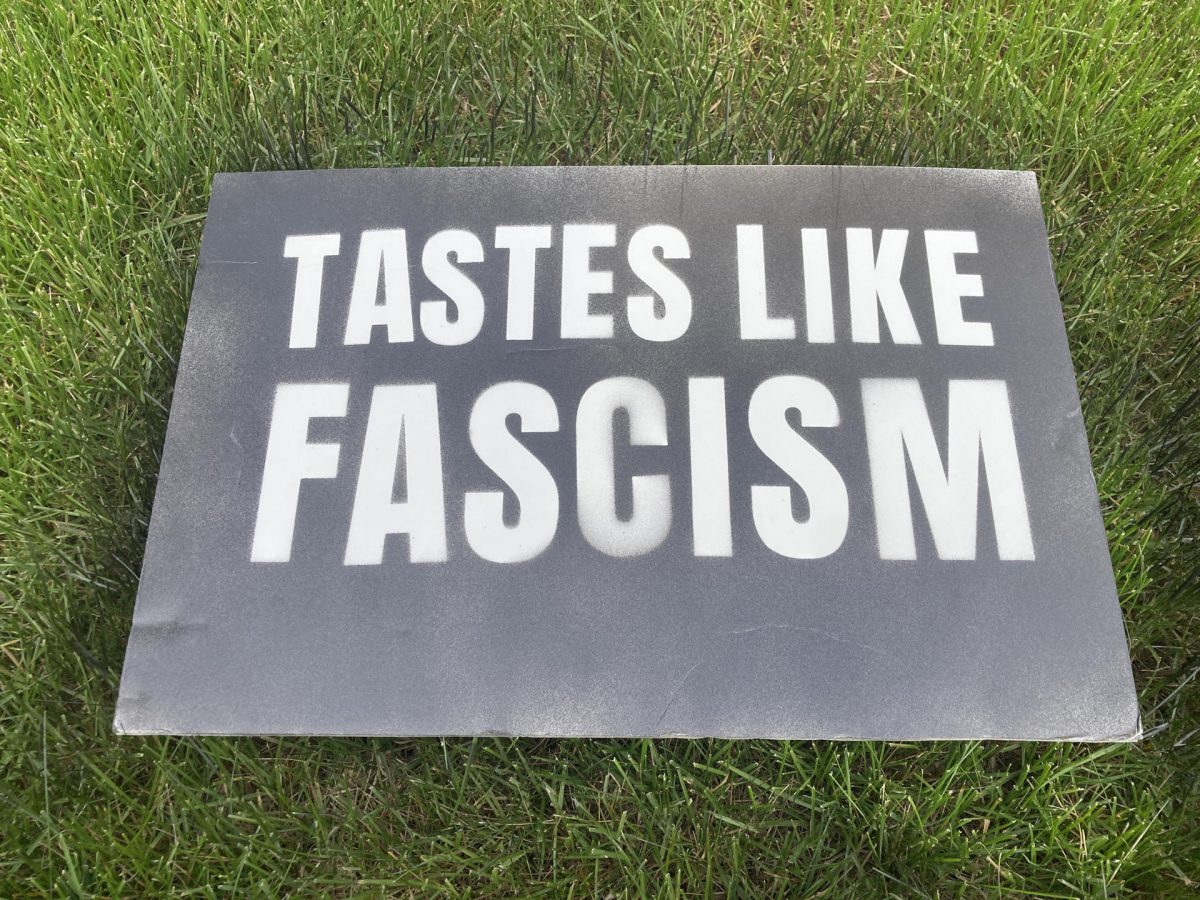
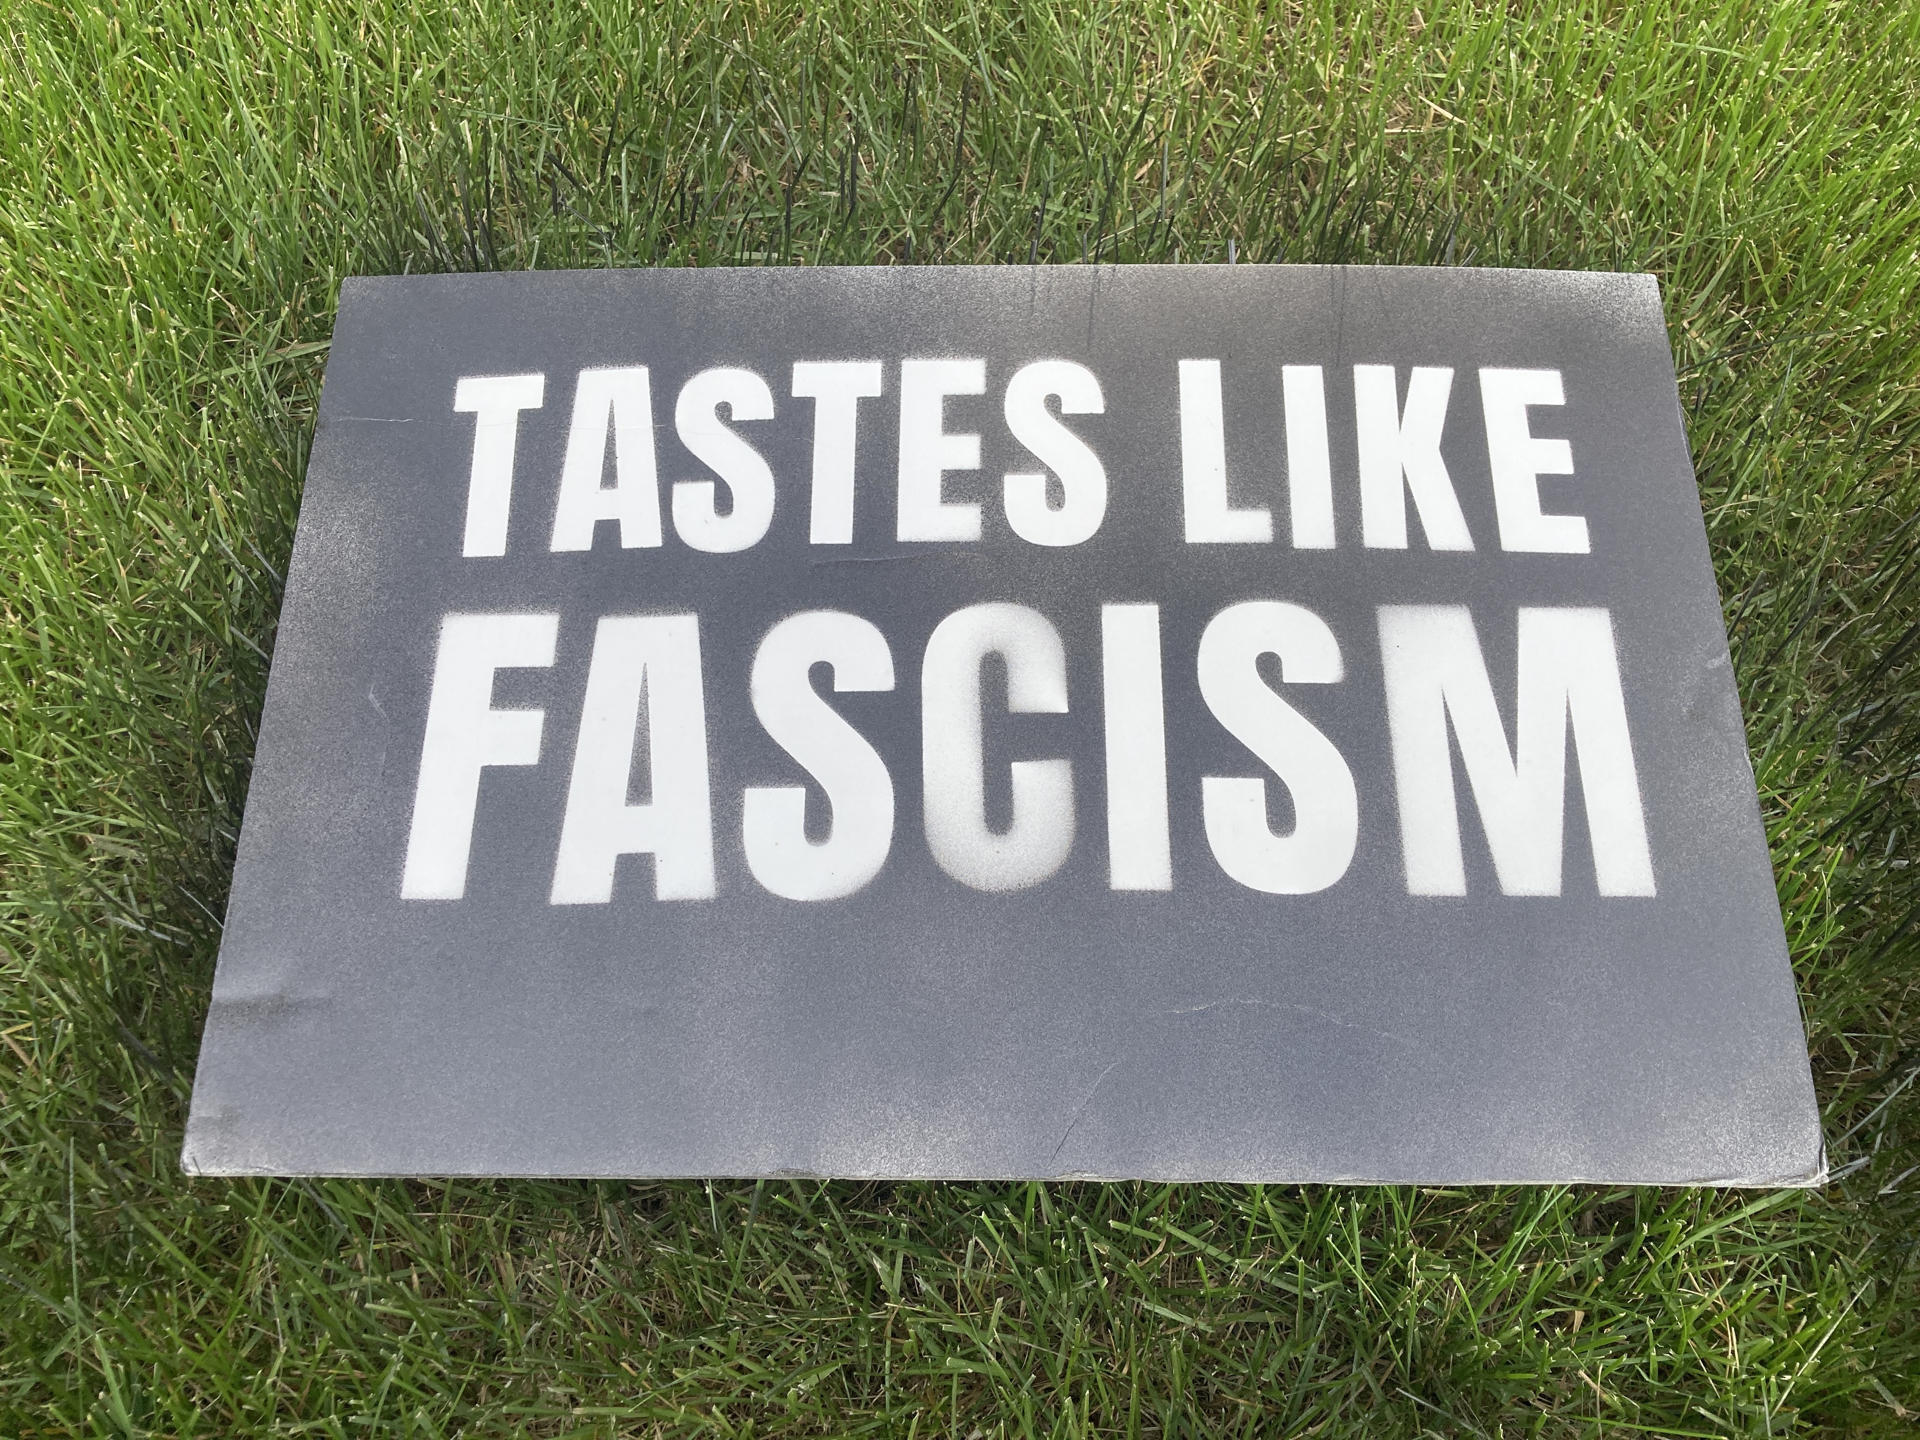
Spray Spray Spray! Paint goes on, letters (in place) stay. I let things dry for a bit…
Then removed the letters. A sign! I did think that it might have been fun to just glue on the 3D printed letters, though that would have added a little more weight to it. Still, ideas for the future… especially with multi-color printing. But again, I wanted to make a sign fast.
For good measure I added a 3D printed handle to the sign. I tweaked a design someone else threw together but I’m working on my own version now.
Over at Brown Dog Gadgets Josh asked for a large sign in the entryway and since we’ve got a large laser cutter (basically 5 foot x 4 foot cutting area) I designed and cut a large wooden sign, stained it all, and then added NeoPixels.
I designed it in Inkscape with finger joints for assembly. The large back piece is the same as the front, just cut without the lettering/logo. I basically made two open boxes that would fit together, sort of like a traditional shoe box where the inside is slightly smaller than the outside. Same here, with the inside being the part that mounts to the wall, and the outside being the cover the slides into place over it.
Here’s the back side glued up and with the NeoPixel strips added. There are just two strips running in parallel along the top and bottom.
The NeoPixel strips connect to a Crazy Circuits Robotics Board running some Arduino code. There’s also a RTC (Real-Time Clock) module so it can turn on and turn off at scheduled times each day. (Which sometimes does not work, so occasionally we have to unplug/replug it.)
I made a few grid lines on the back piece as guides for the mounting hardware. Here it is all lit up and ready for the front cover to be put in place. (You can see the simple fade animation happening. It just repeatedly transitions between colors.)
Here’s the front cover in place! There’s a sheet of light diffusing plastic inside. Actually it’s a bunch of smaller pieces cut up and glued into place as needed wherever there are holes in the front. (It appears I failed to get a photo of this.) You can see a Mini USB cable hanging out the bottom which goes to a 5 volt USB wall wart to provide power.
Here’s a side view showing the thickness. And now for the hack. It did not sit completely flush and sort of tilted a little bit on an angle, perhaps due to warping since it’s suck a large piece of wood.
I ended up drilling a hold and placing a pin (well, a bolt) into the side of the sign to hold the cover in place a bit more securely…
Adding the first pin made the opposite corner pop out a bit. So let’s add another! I colored the bolt heads with a black Sharpie marker so as not to be so distracting since it is silver hardware. Basically we just need to remember to pull out these two pins before removing the cover if we ever need to do any maintenance. It’s been running for four months now, and besides the whole RTC clock not always working right it’s been solid, and it does look nice.
The sign is 1016mm x 508mm x 95mm (or 40″ x 20″ x 3.75″ for you Imperialists!)
We’re growing new grass on the side of our house and wanted something to remind our neighbor not to mow it. Typically I would be 100% in favor of someone else mowing our grass, but it needs to grow more before being cut. Dana asked me to make two signs to put in the lawn, so I did.
I didn’t want to spend a lot of time on it, but I do enjoy making signs so I made them “nice enough” but not too fancy. When I was done Dana saw them and said “Why are they so fancy!?” and I explained that these were not fancy. I did not sand, I did not stain, I did not polyurethane them. Quick and dirty, in my opinion. I just hot glued some wood dowel scraps on the back, though I did sharpen them on the belt sander.
She said she would have just used cardboard and duct tape. I cringe when duct tape is mentioned. This is a gaff tape household, though we do dabble in electrical tape, blue painters tape, Maker Tape™, etc. but NO duct tape.) I told her cardboard would have been destroyed by the rain, and really… these were not fancy signs.
What do you think? Are these scrap wood signs I laser etched and quickly rolled one coat of white ink onto fancy? I didn’t even do any kerning!
I got a message from my daughter asking if I could help her make a sign for an event happening later that day. I said yes, and without much time asked he what it needed to say. She texted me the copy, and I cranked out a design very quickly.
I did ask if it was a tabletop sign or a wall hanging sign, and she said tabletop, so that’s what I made. It’s just two simple pieces that slot together. I think this came together in about 30 minutes total. I did a quick sanding and didn’t really have time to stain it, so I just applied some paste wax to it.
And yeah, you can check out BrewCityWraps on Instagram if you are into wire-wrapped jewelry. I heard back from her during the event saying people liked the sign and they had made some sales. Awesome!
The sign can flat pack, and I threw in a few rubber bands to hold the two piece together. Overall I’m pleased with how it turned out in the time given. Sometimes with larger projects you spend so much time planning you never get around to actually making something, so cranking out a quick one is nice.