Categories
Uncategorized

Aldi Cast Iron Dutch Oven

Aldi Dutch Oven

I picked up this little 2 quart cast iron Dutch oven from Aldi. I think I saw this blog post and knowing how expensive high quality cast iron Dutch ovens are, I figured for $20 USD I’d give it a try. I made this Small Batch Crusty Bread because it was the smallest loaf I could find. (And I was too lazy to do baker’s math for other loafs.)

Bread in Dutch oven

I’m not big on many of the meat recipes you find for a Dutch oven, but I have been making a lot of bread lately, so I thought I would give that a try.

(Note: I did bake in on/in parchment paper, though I pulled it out for the photo.)

Bread

Tiny loaf! This only used 120 grams (1 cup) of flour. I let it rise overnight, about 12 hours, and it’s one of those “no knead” recipes. It turned out pretty good! I may try to double the size for the second attempt.

Bread

I was pleased with the crumb on this loaf. I ended up eating the whole thing in one day, not surprising I guess. I toasted up two pieces for a sandwich at lunch and damn, it was good! I look forward to making more bread and possibly exploring other recipes with this thing.

Categories
Uncategorized

Komelon Tape Measure Sketch

It’s a tape measure… it’s not too exciting. I remember hanging out at Milwaukee Makerspace in 2017 doing something with Maks and he had complained that the tape measures there were all imperial. I got on the mobile and found this Komelon tape measure that had Metric and Imperial measurements and I ordered four of them as they were less than $5 USD each! I think I kept two and gave one to Maks and maybe one to Marcus. (Maks and Marcus both grew up outside the US and were fans of the Metric System.)

The Komelon quickly became my favorite tape measure. I still have both of mine in my shop and use them all the time. We do have a bunch of other tape measures around the house but I’ve had a favorite. We’ve also got Komelons at work, which is nice. It’s also worth noting that Komelon US is located in Waukesha, not far from where I am in Milwaukee.

I really enjoy doing these sketches! I do them with an Apple Pencil on an iPad using Procreate. If you ever want a framed print of any of my sketches get in touch with me and we’ll work something out… Also, check out the Illustration page to see them all!

Categories
Uncategorized

Falk Hammer Sketch

I did this one more than a week ago but forgot to post it! It’s the sketch version of one of the photographs I took of the Falk Hammer last year.

As mentioned in the previous post, this was my dad’s old hammer, which was forged at Falk Corporation, where he worked. It’s a nice hammer. I like it.

Yet another digital sketch done with an Apple Pencil on an iPad using Procreate. (And yes, this might make a really nice three-color relief print.)


Note: This post contains an Affiliate Link. Read More.

Categories
Uncategorized

Pressing Handmade Paper

In a previous post titled Handmade Paper I mentioned my process of pressing the paper I make:

Once the sheets are fully dry that’s when I press them. I put each piece between a sheet of 3mm thick Baltic Birch plywood and then put the stack between two steel plates in a hydraulic press. (Here’s a press similar to the one I have.)

At least one person has asked about this so I figured providing a bit more information might be helpful. I’ll try to outline the things I use and the process below.

The mould and deckle I use makes sheets of paper that are just shy of 7″ x 7″. I make the paper, let it dry, and then peel all the pieces off the couching sheets. I then place each sheet between a piece of 3mm thick Baltic Birch plywood. (The pieces of wood are 8″ x 12″ so the paper fits with some room to spare.) I then place the stack of wood (with the paper between each sheet) between two 12″ x 12″ steel plates.

Here’s all the stuff:

This whole “sandwich” goes into the hydraulic press, and I crank it down hard. I let it sit for at least half a day, though it’s usually a full day, and if I remember I’ll go crank the press tighter if possible. After time has passed I remove all the paper and marvel at how flat and smooth it is.

The things you need (besides a hydraulic press) are the paper, which should be just dried, sheets of wood, and two pieces of steel.

The steel goes on the bottom, then a piece of wood, then the paper…

Repeat the process of stacking wood with paper in between each piece…

End with one piece of wood on top of the last piece of paper, and then put the other piece of steel on top of all that.

Stick the whole thing into the hydraulic press and crank it down! Wait a while (a few hours) and then come back and try to crank it down even further. I tend to make thick paper because it does get compressed down a bit thinner in this pressing process.

This is DIY handmade paper made with junk I have in my workshop, there’s no professional equipment or methods at work here. Still, I get some good, flat, smooth pieces. Not all of them, but most of them for sure. If I can find new ways to refine and improve the process I’ll let you know.


Note: This post contains an Affiliate Link. Read More.

Categories
Uncategorized

Light Tracing Box

Back in the 1990s I built my own small light box. It was constructed from cardboard and had aluminum foil lining the inside along with a short fluorescent tube that was still probably 18″ long. I had a sheet of plastic for the top surface with a piece of vellum spray glued to the back. It totally worked. For a few minutes I considered building a new one using a flexible LED strip but then I looked online and realized I should just buy one.

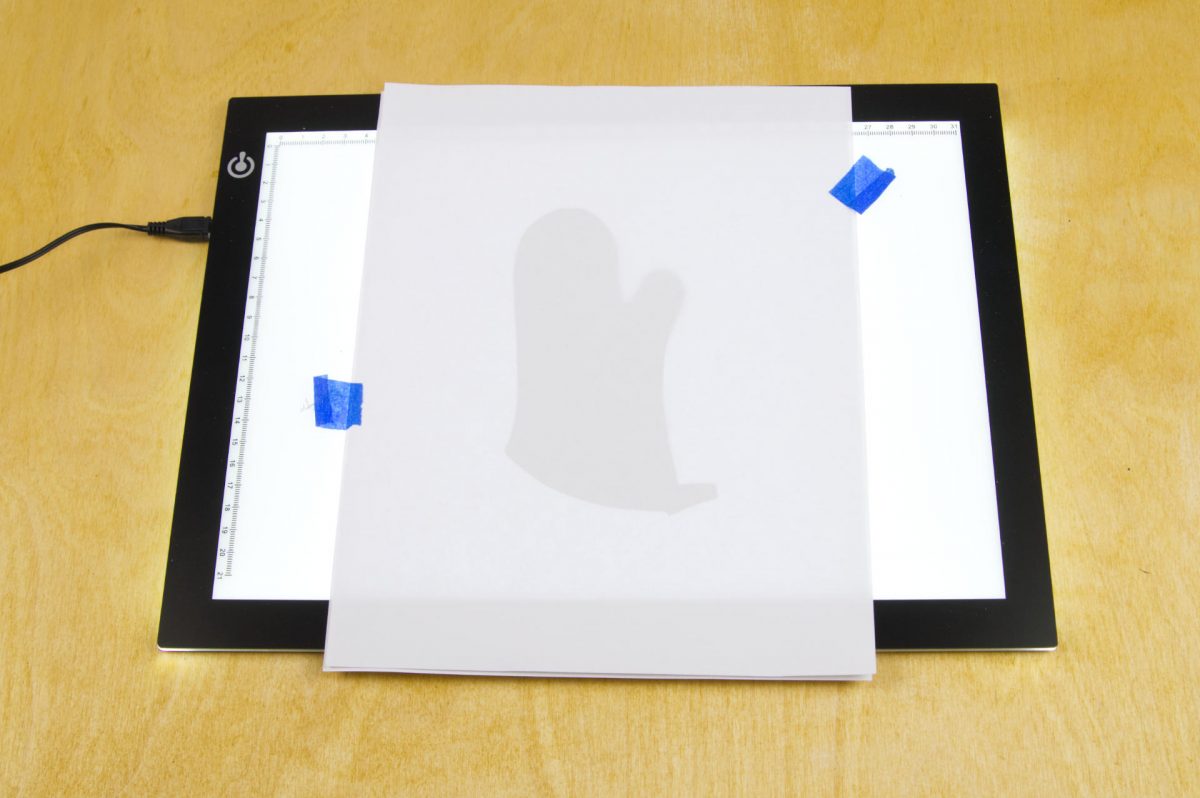
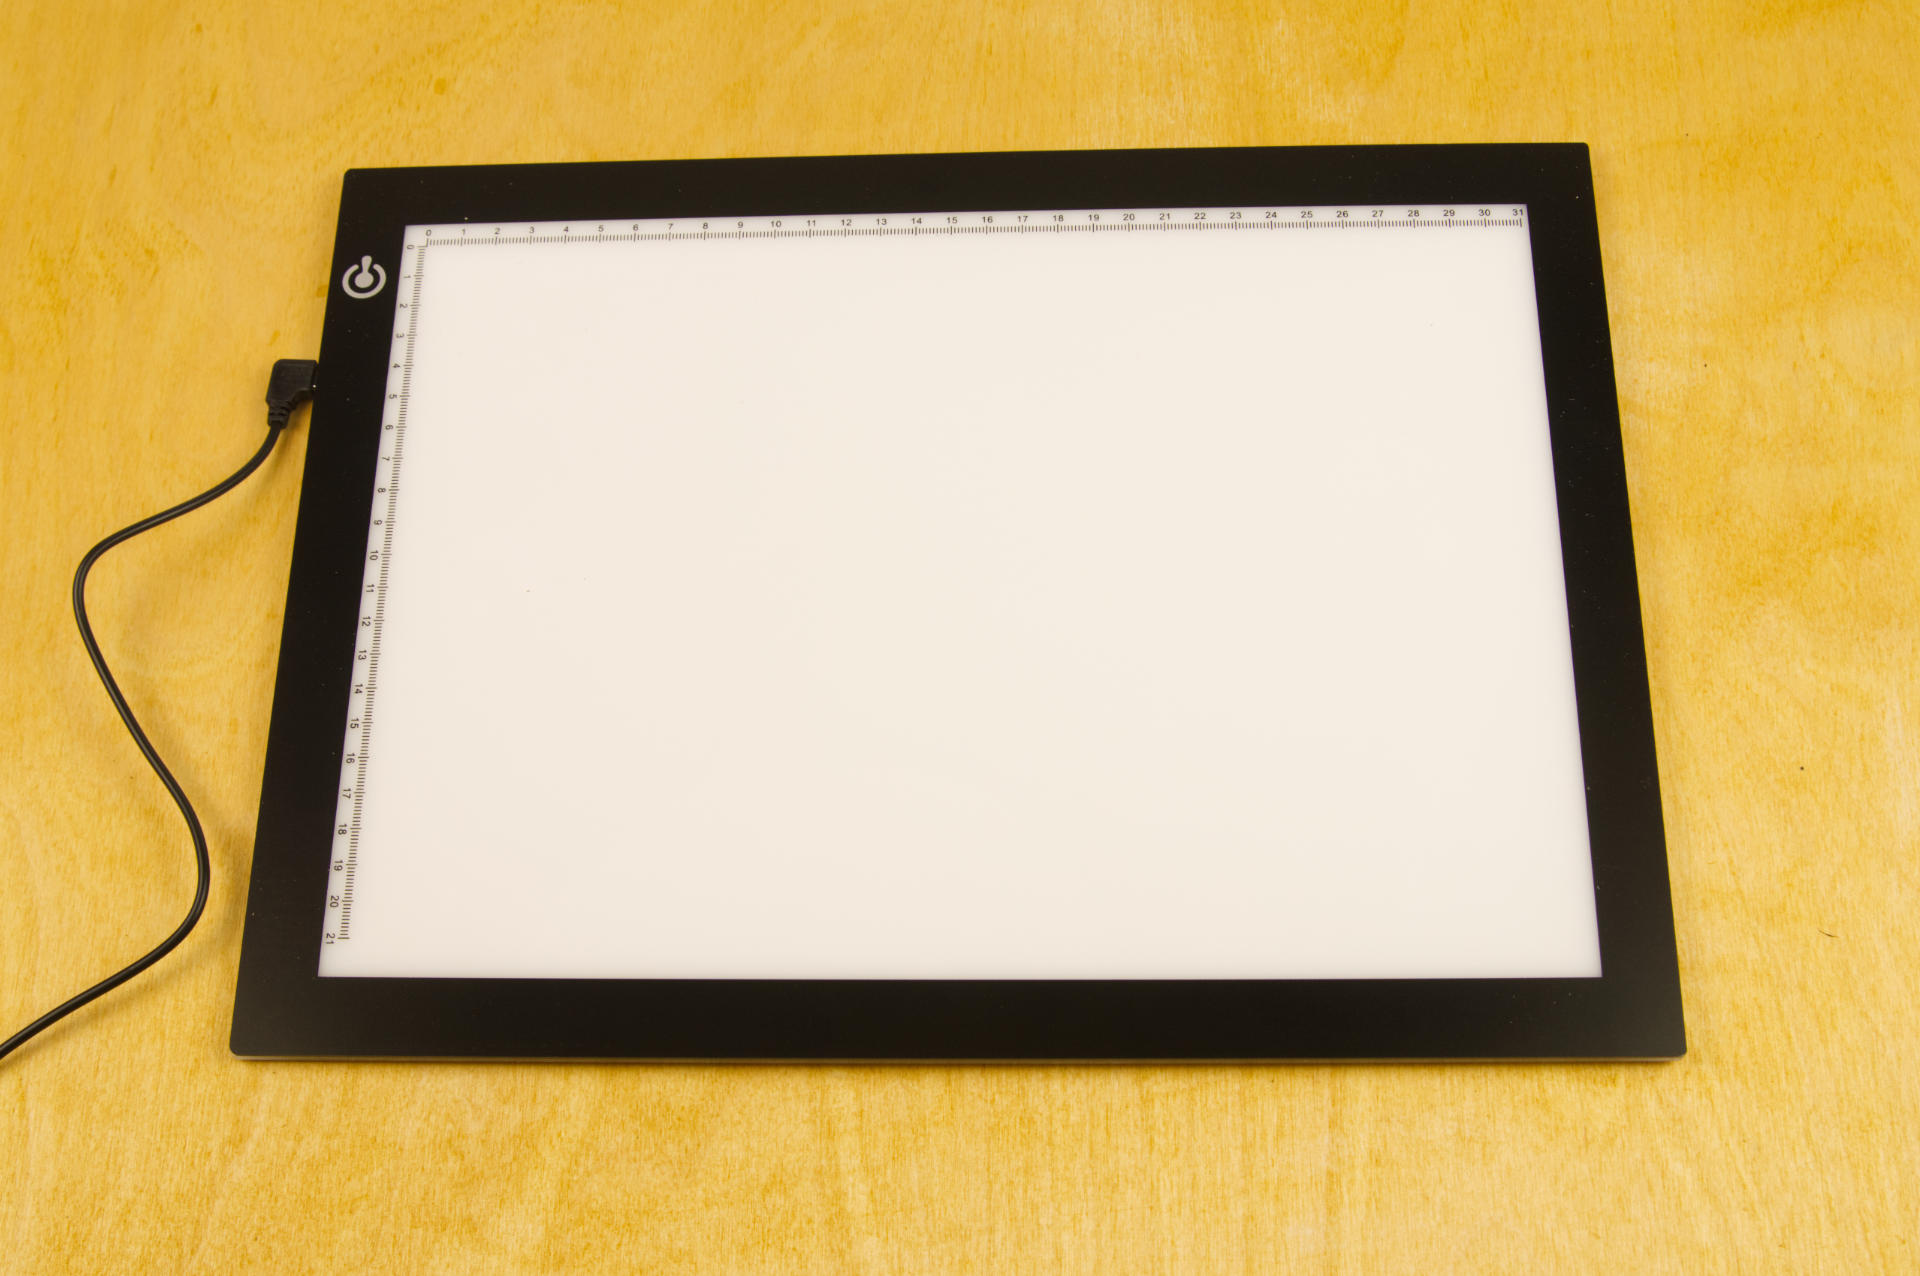
I grabbed this LitEnergy A4 Light Tracing Box for around $16 USD, and it works well enough. I mean, just look at this description:

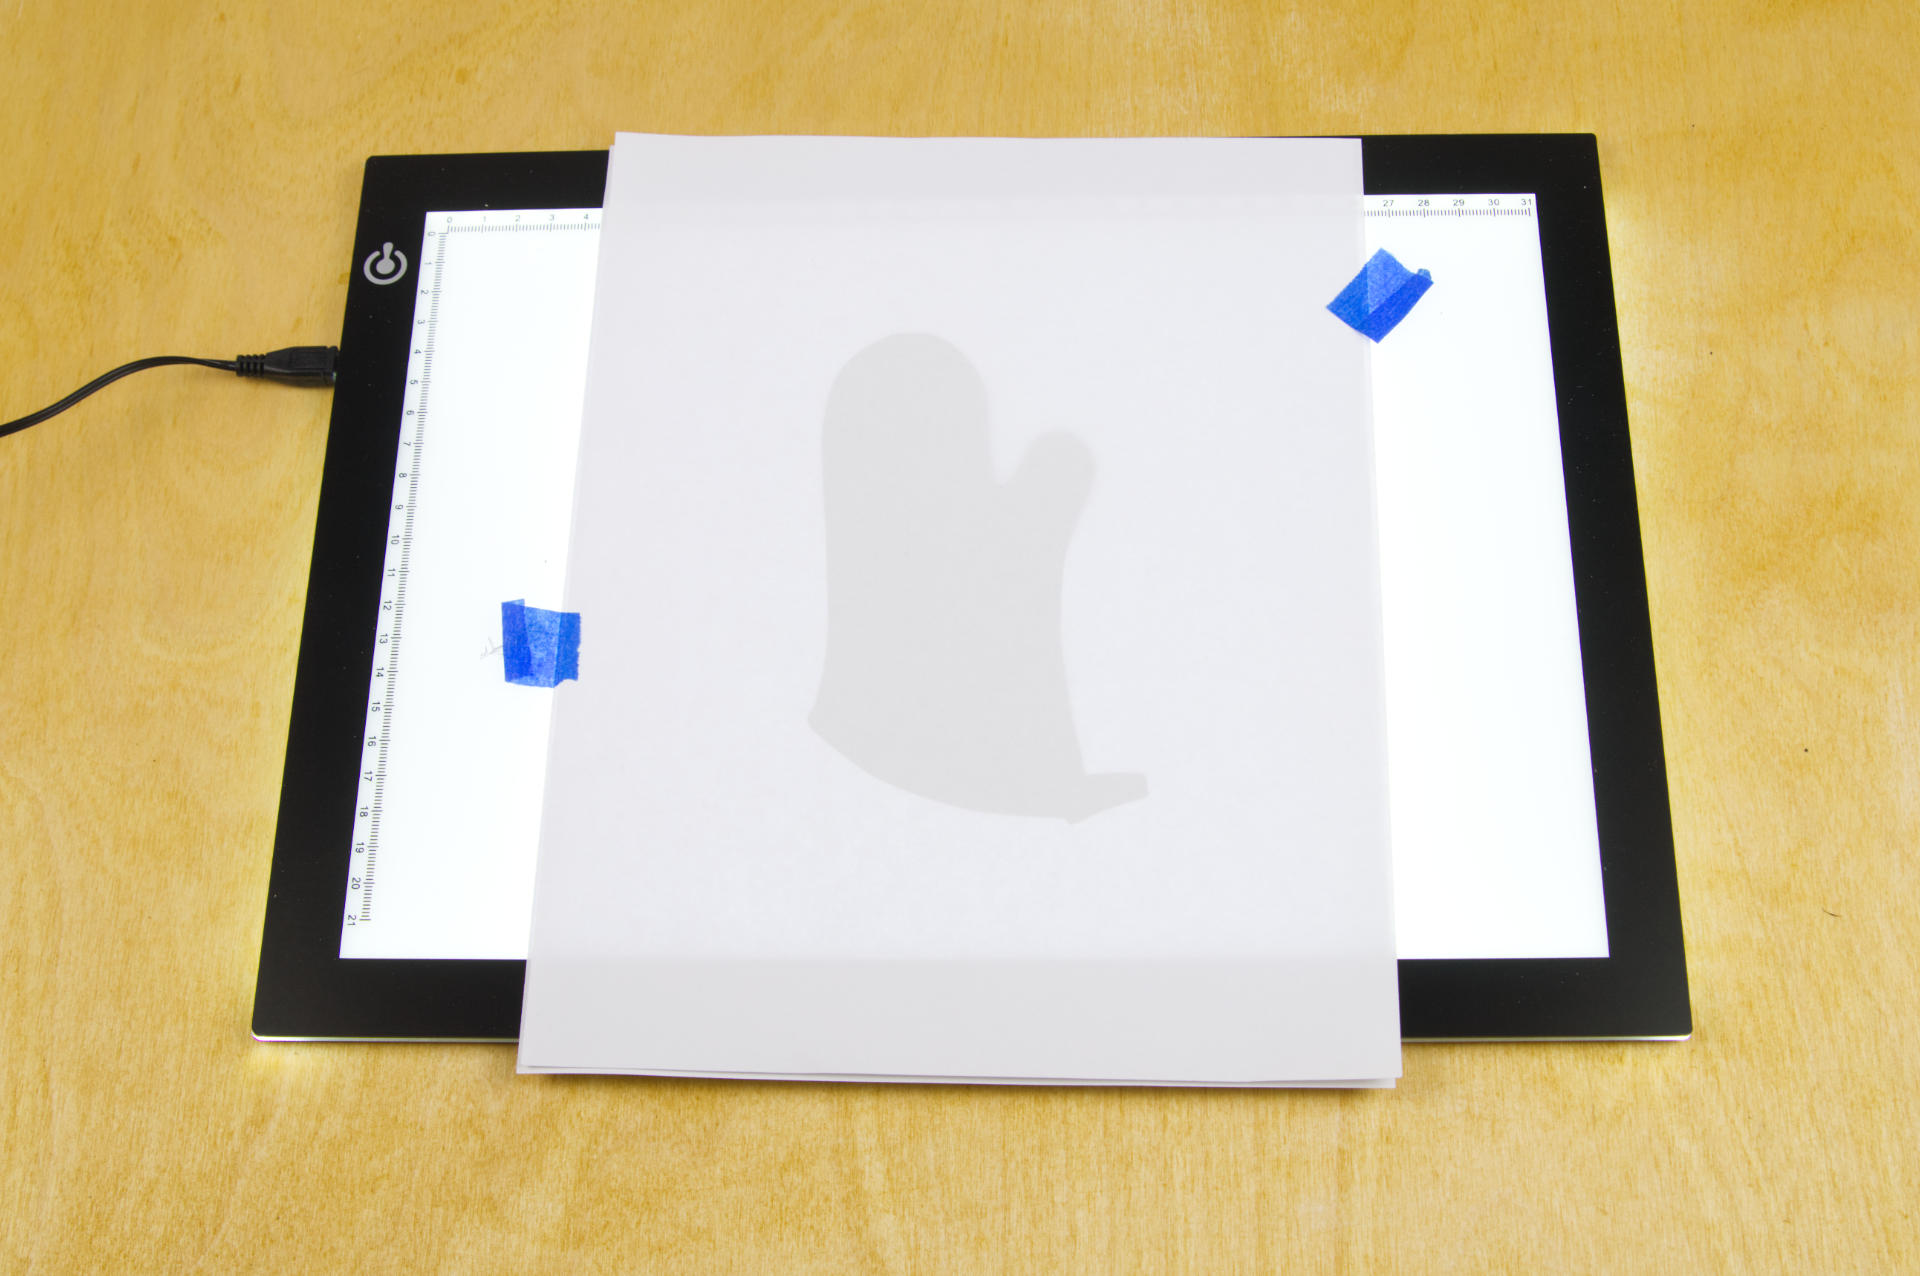
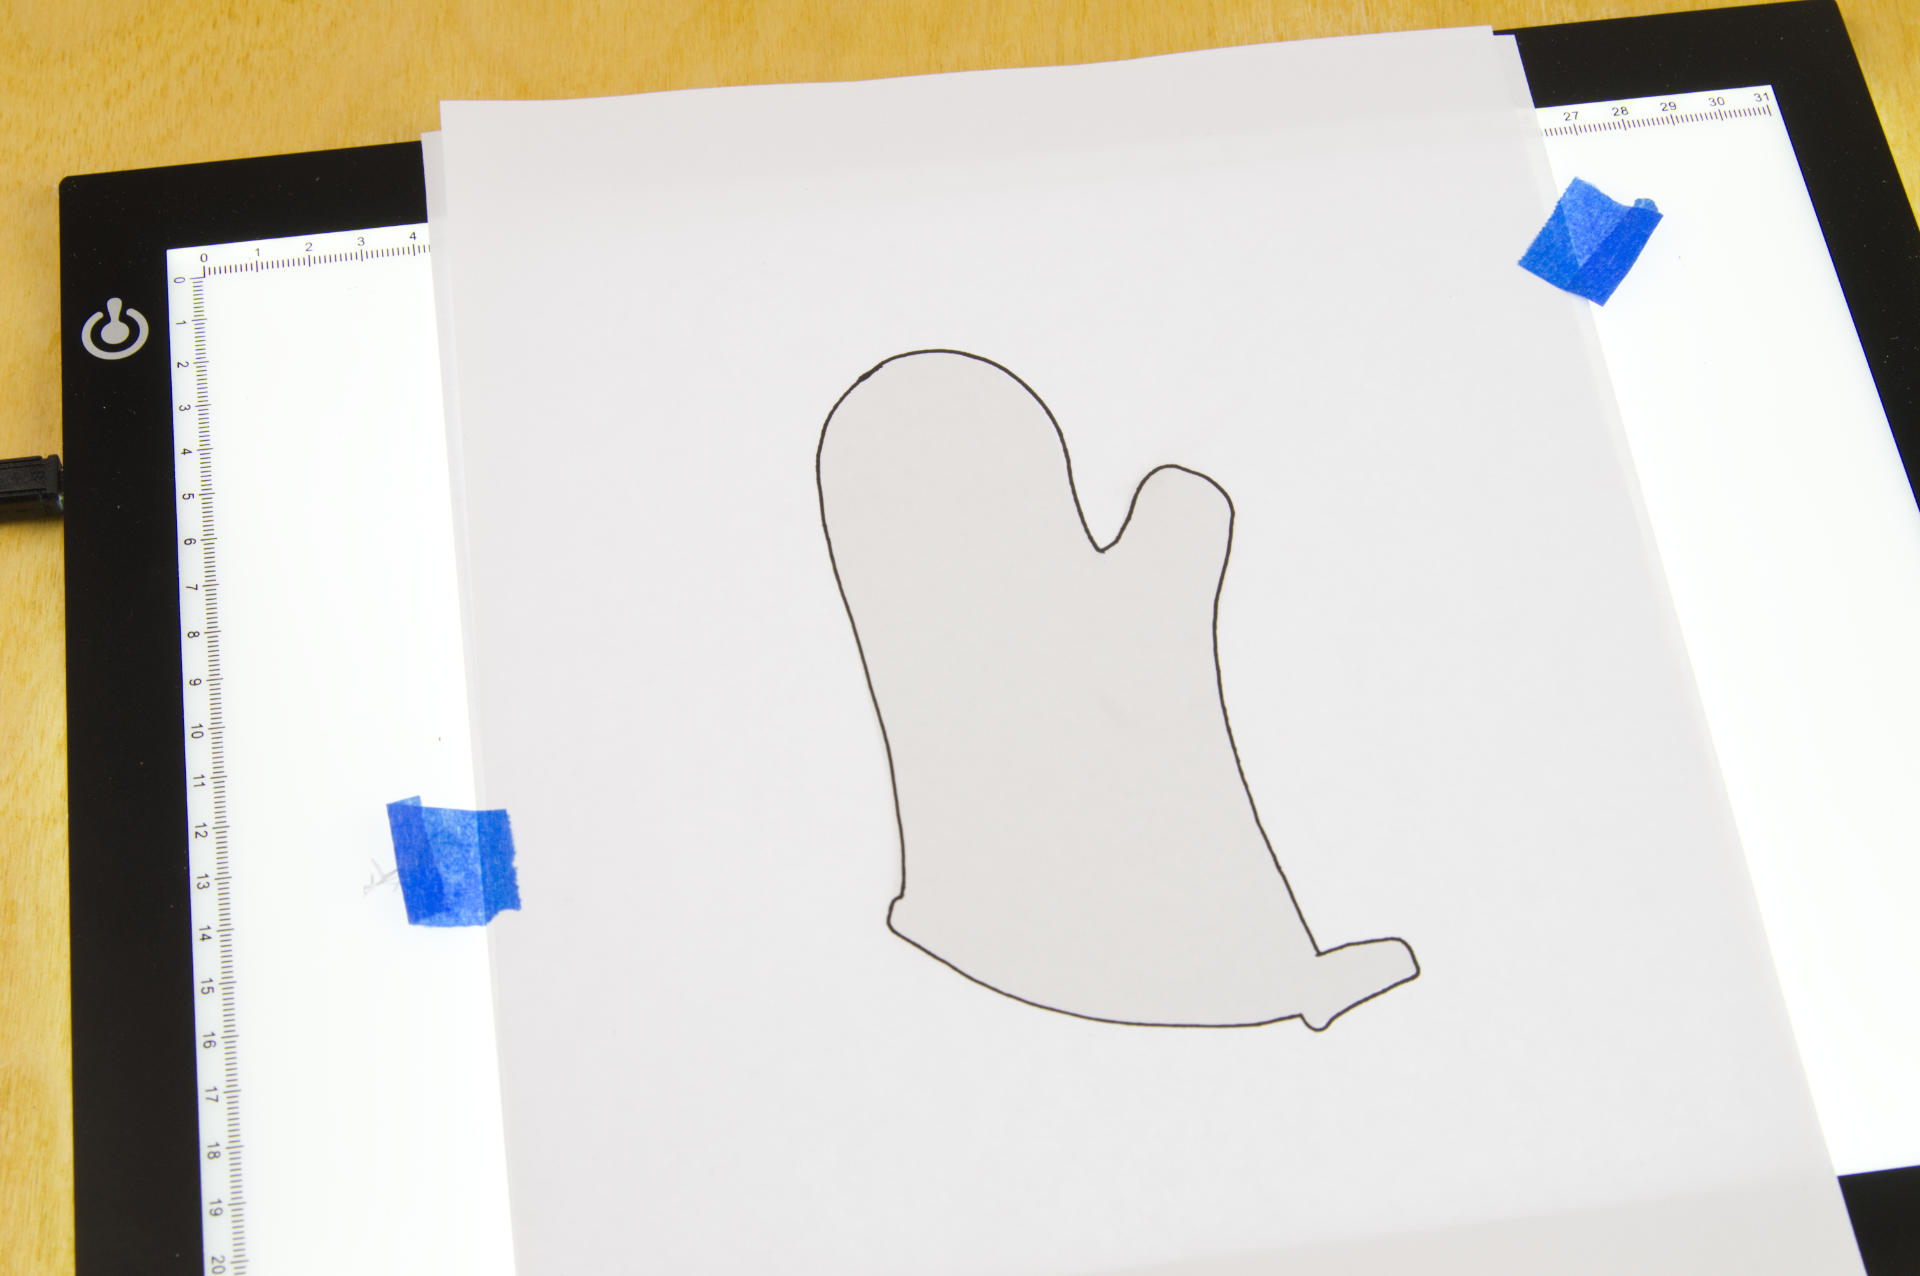
This tracing light pad is a sleek light-up pad, the light from the pad through the paper clearly illuminates the images, which make tracing images become easy.

Right? It works for a sheet of A4 paper (210mm x 297mm or 8.25″ x 11.75″) and the “Visual Work Area” is 304.8 x 228.6mm (9″ x 12″) which means a piece of 8.5″ x 11″ US Letter sized paper works great as well. (Calling it a “box” is a little silly though.)

The device itself is 360.68mm x 269.24mm x 5.0mm (14.2″ x 10.6″ x 0.2″) so it’s super thin and obviously pretty lightweight. That’s all good, and the only thing that bothers me is the brightness control.

Stepless Brightness Control from 0-100 % with memory function allows you to adjust illumination freely and get the same brightness the next time you turn it on.

– Adjustable Brightness — simply keep pressing the touch switch for several second until you get the desired brightness which you want.

– Memory Feature — smart memory the brightness of your last use.

When you press the power button once it turns the unit on. Press and hold it after that and it cycles up the brightness to the brightest setting and then dims it back down to the lowest setting. So to get the brightest setting you need to recognize what is the brightest and release the button at that time. It’s not the greatest. I’d prefer 5 or 10 brightness steps so you could tap the button X number of times to get what you want.

It does seem to remember the last setting you used, so as long as you only tap the power button once to power it on and don’t accidentally touch it while tracing (because it’s not a physical button but a touch control) all is good.

I always use the brightest setting but I also use 24 lb (90 GSM) paper so maybe my paper is just a little thick and more difficult to see through.

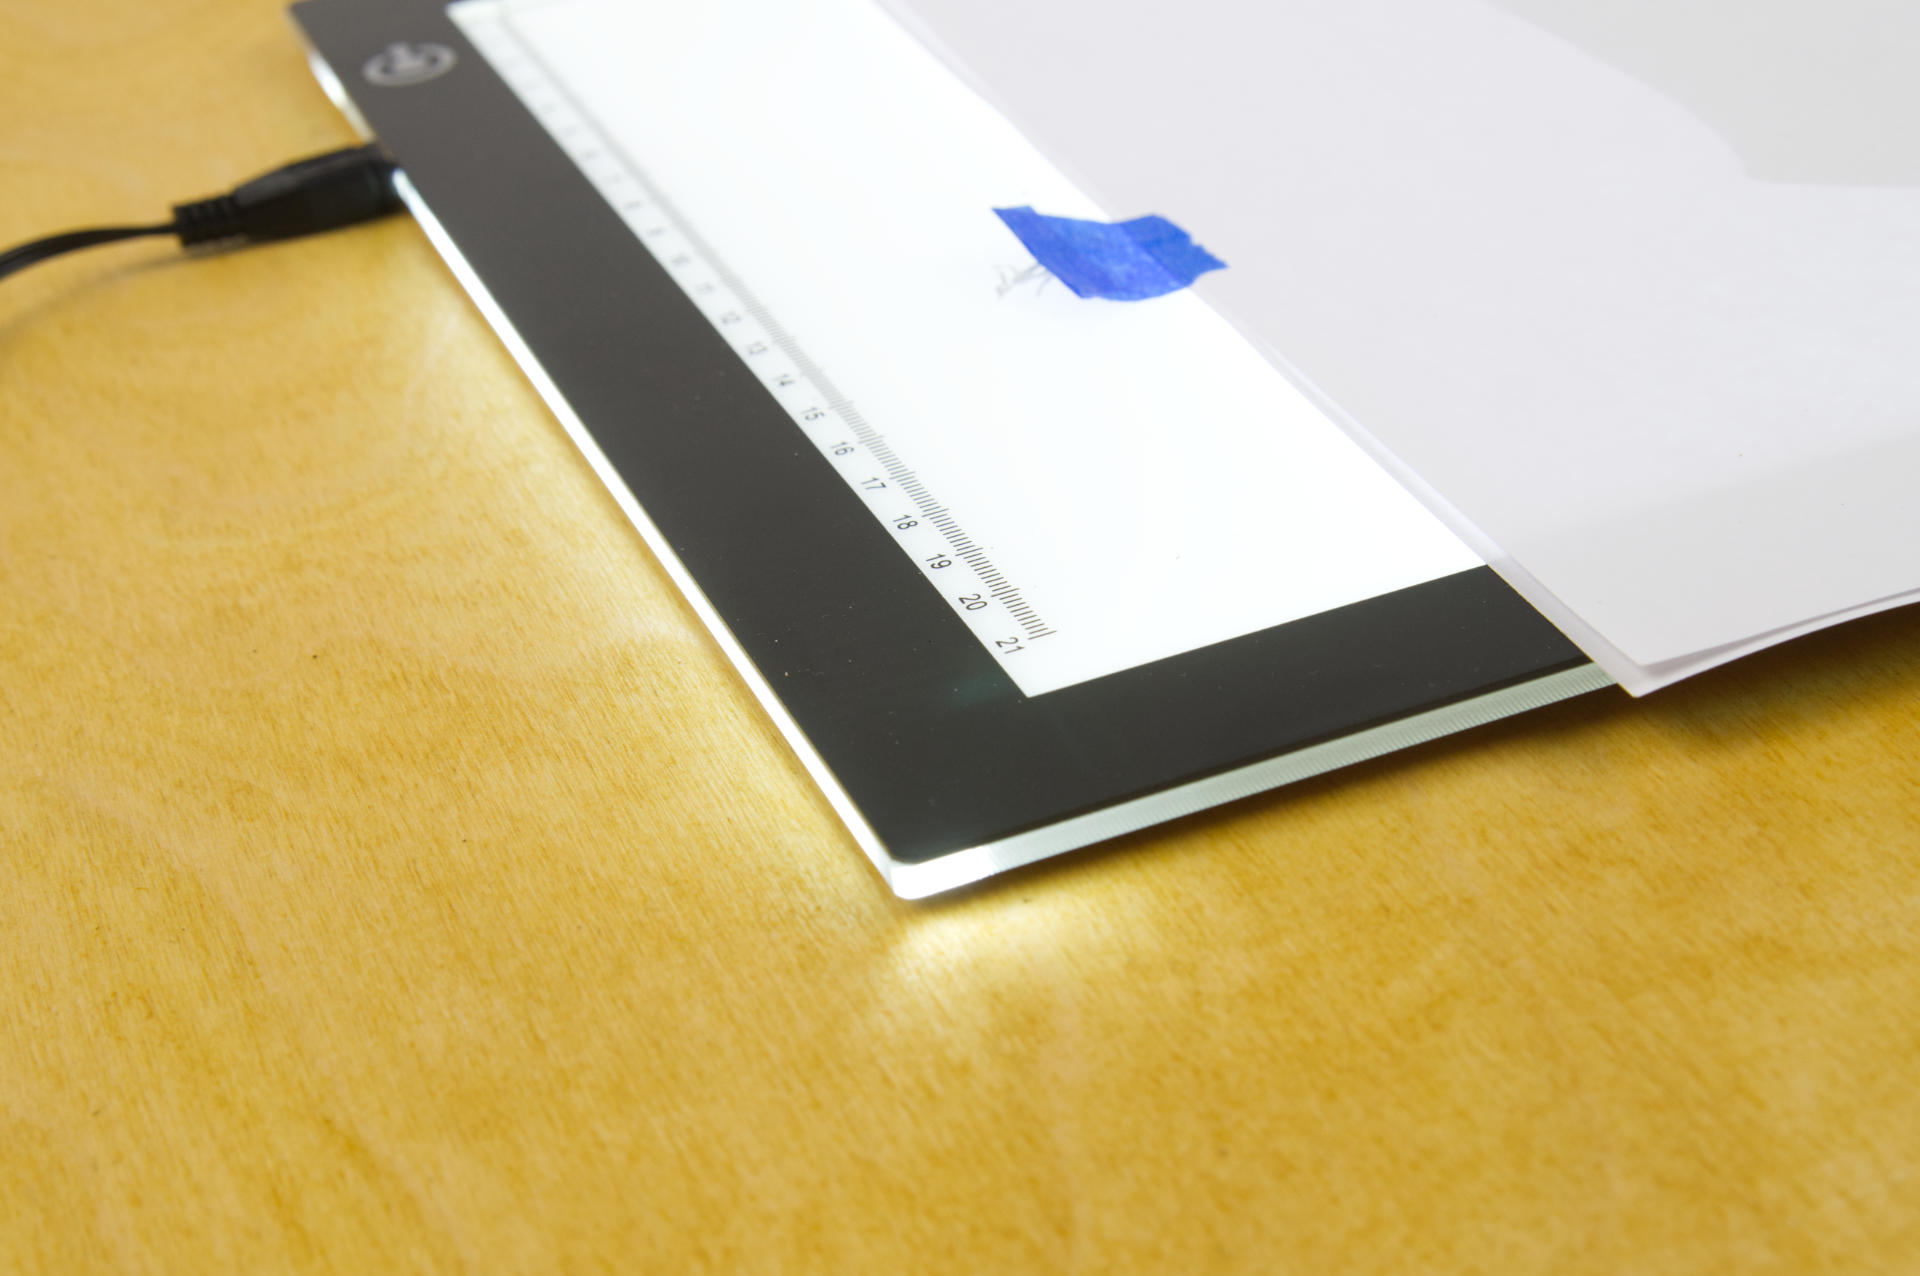
Some of the comments I’ve seen for it say things like “Works only when plugged in” and “It has to remain plugged in to use it” and, wow, no shit… you’ve purchased a device that needs power and does not have an internal battery. Some people complained the cord was too short. It’s a standard Micro USB cable, so you can get a longer one or you can use a power bank, or even plug it into a laptop for powering it (somewhat) portably. I’m surprised no one complained they can’t use it in the rain.

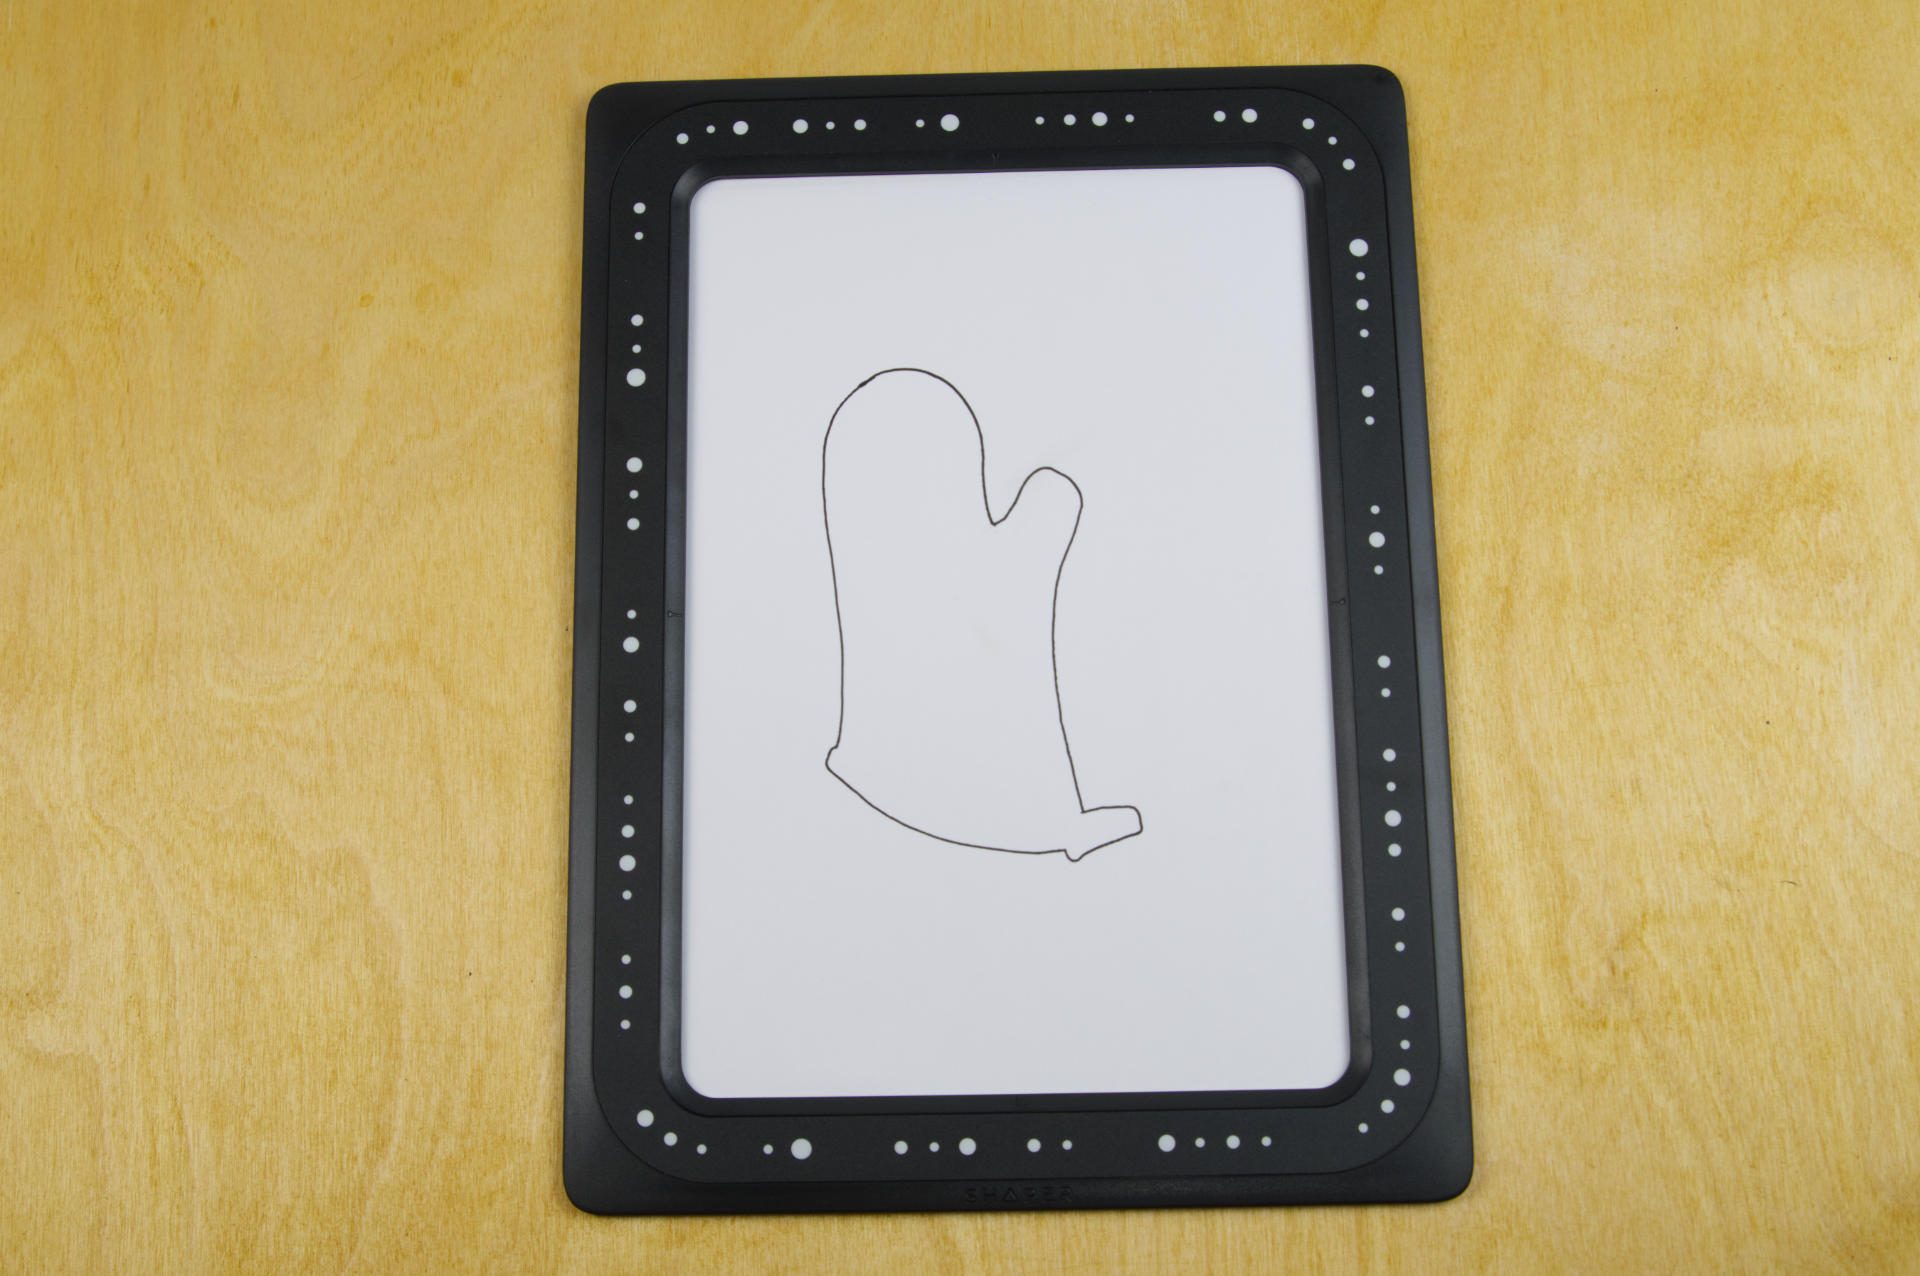
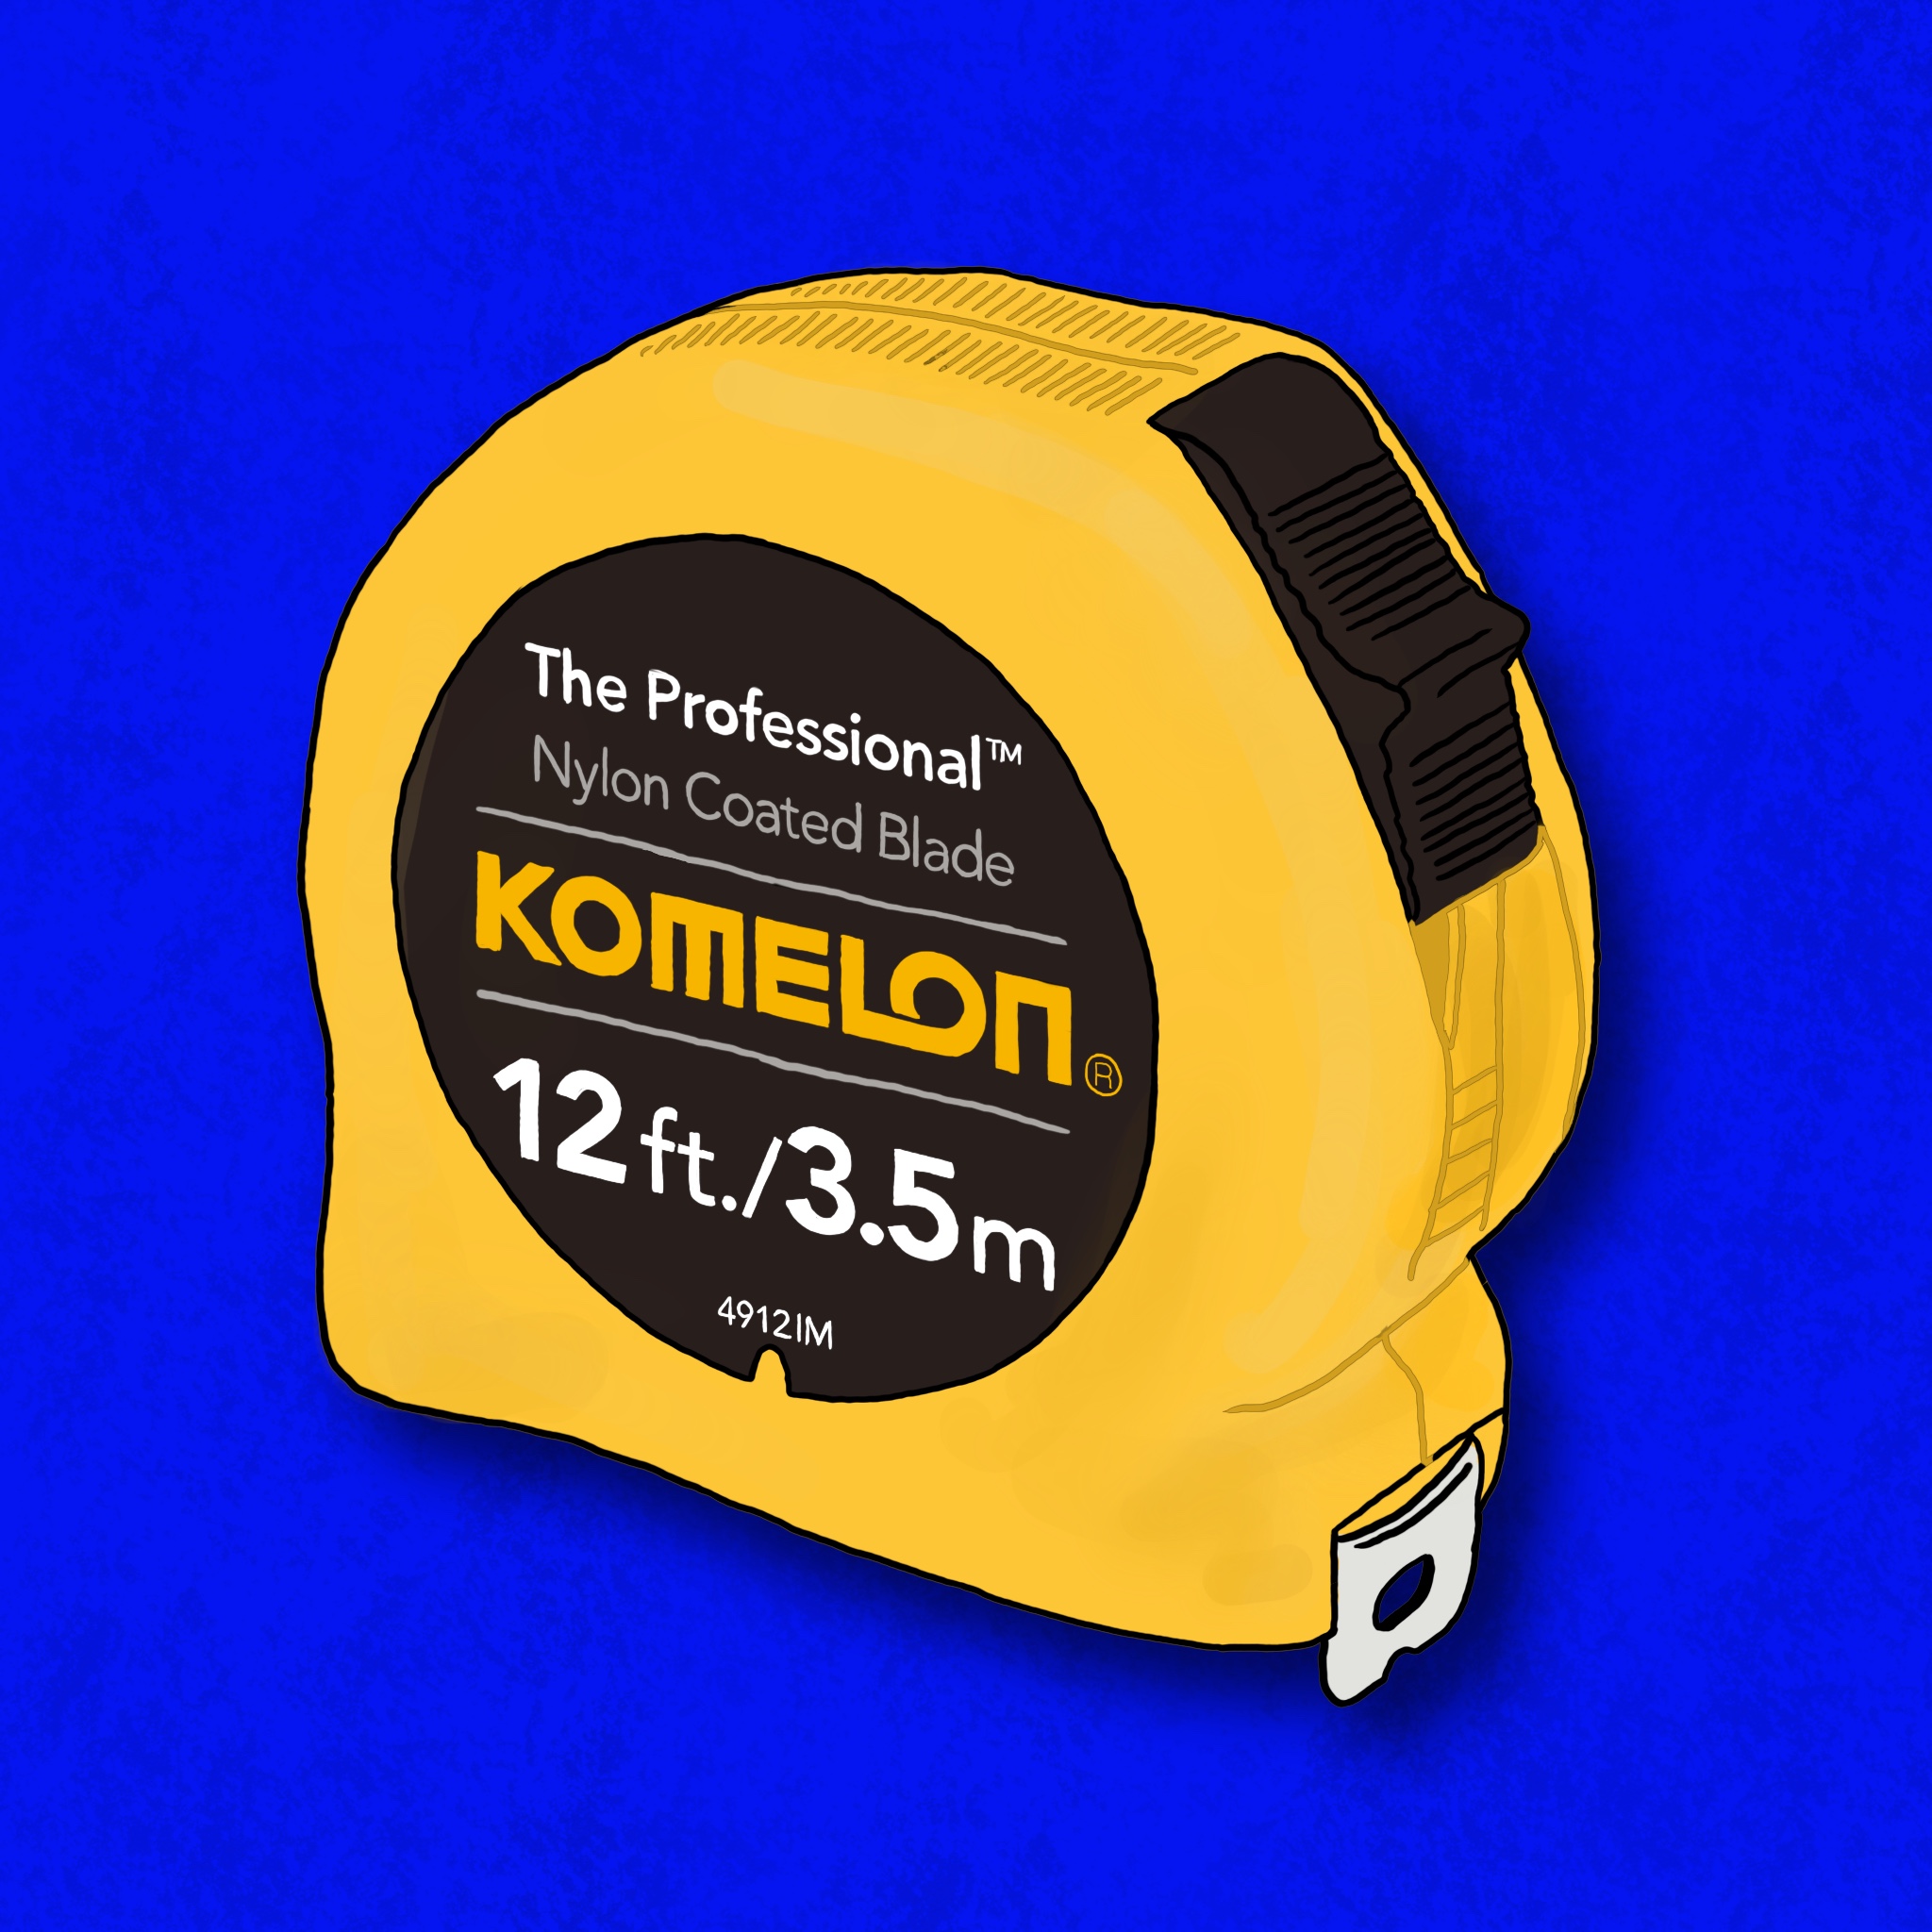
As for the stuff I trace, I take those drawings and digitize them with the Shaper Trace to get digital vector files.


Note: This post contains an Affiliate Link. Read More.