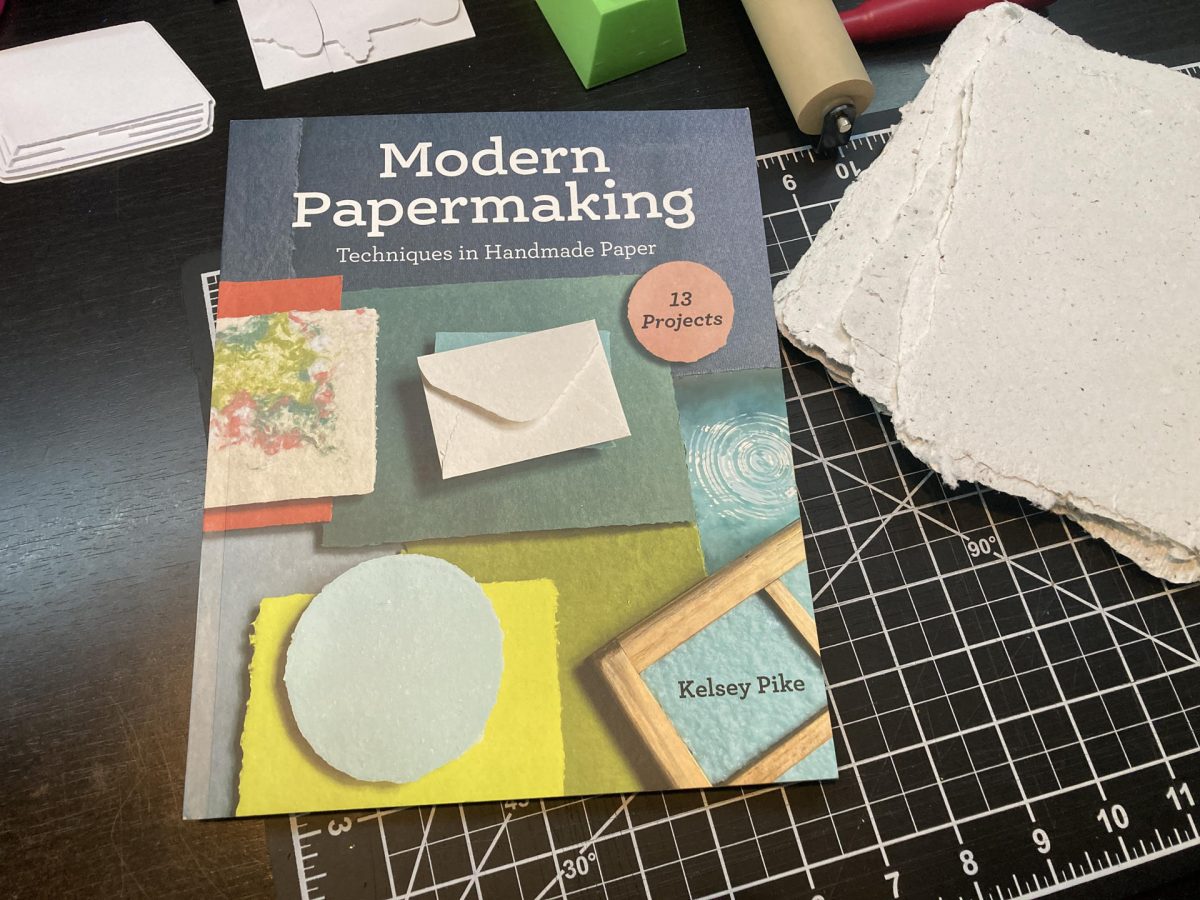
In a previous post titled Handmade Paper I mentioned my process of pressing the paper I make:
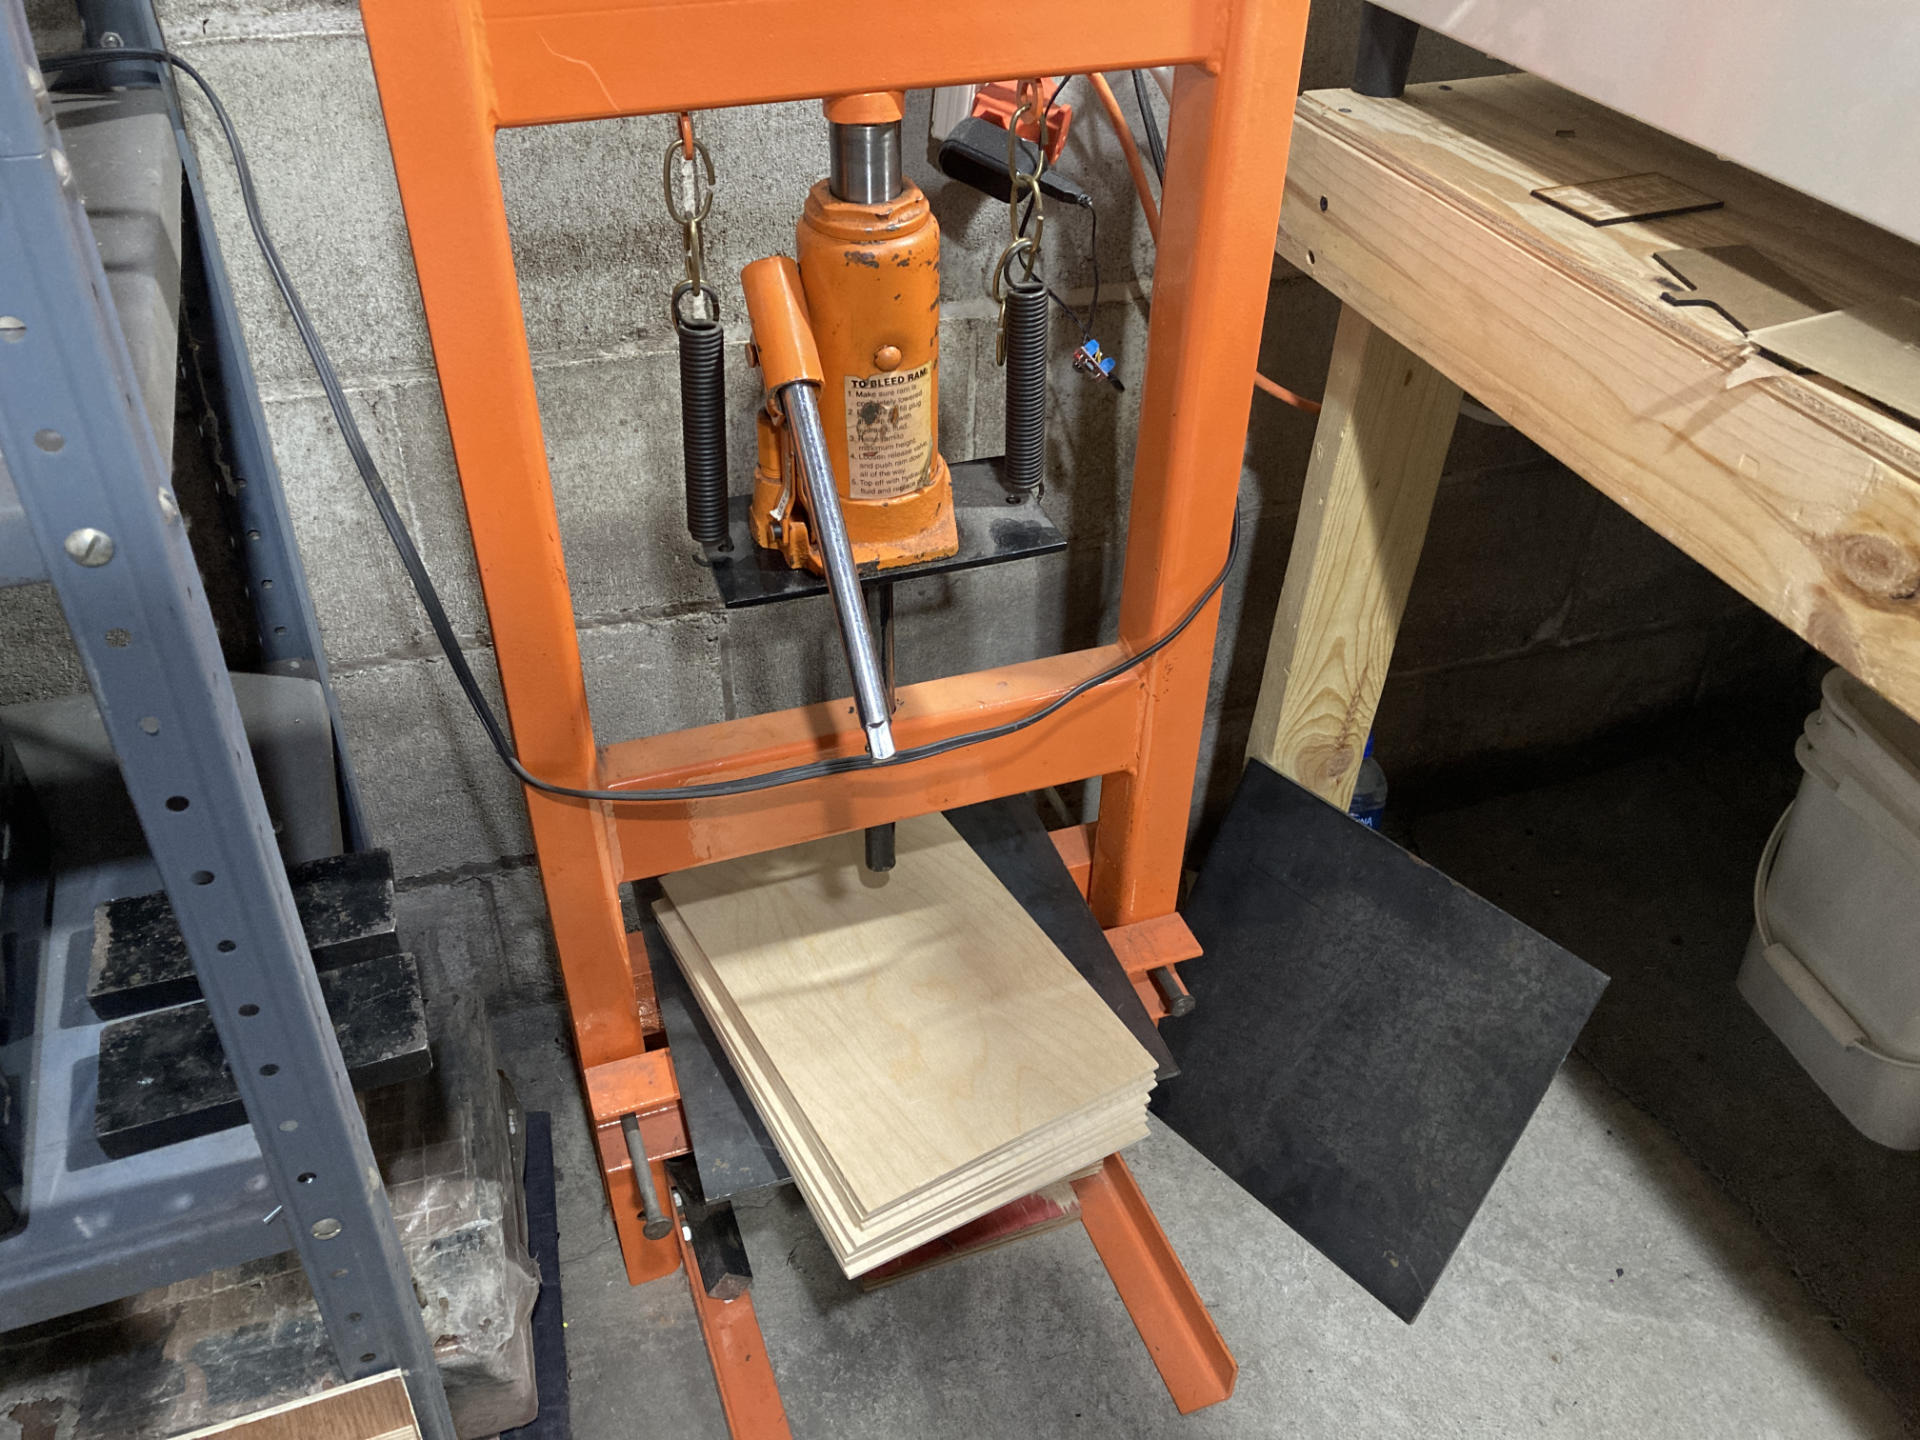
Once the sheets are fully dry that’s when I press them. I put each piece between a sheet of 3mm thick Baltic Birch plywood and then put the stack between two steel plates in a hydraulic press. (Here’s a press similar to the one I have.)
At least one person has asked about this so I figured providing a bit more information might be helpful. I’ll try to outline the things I use and the process below.
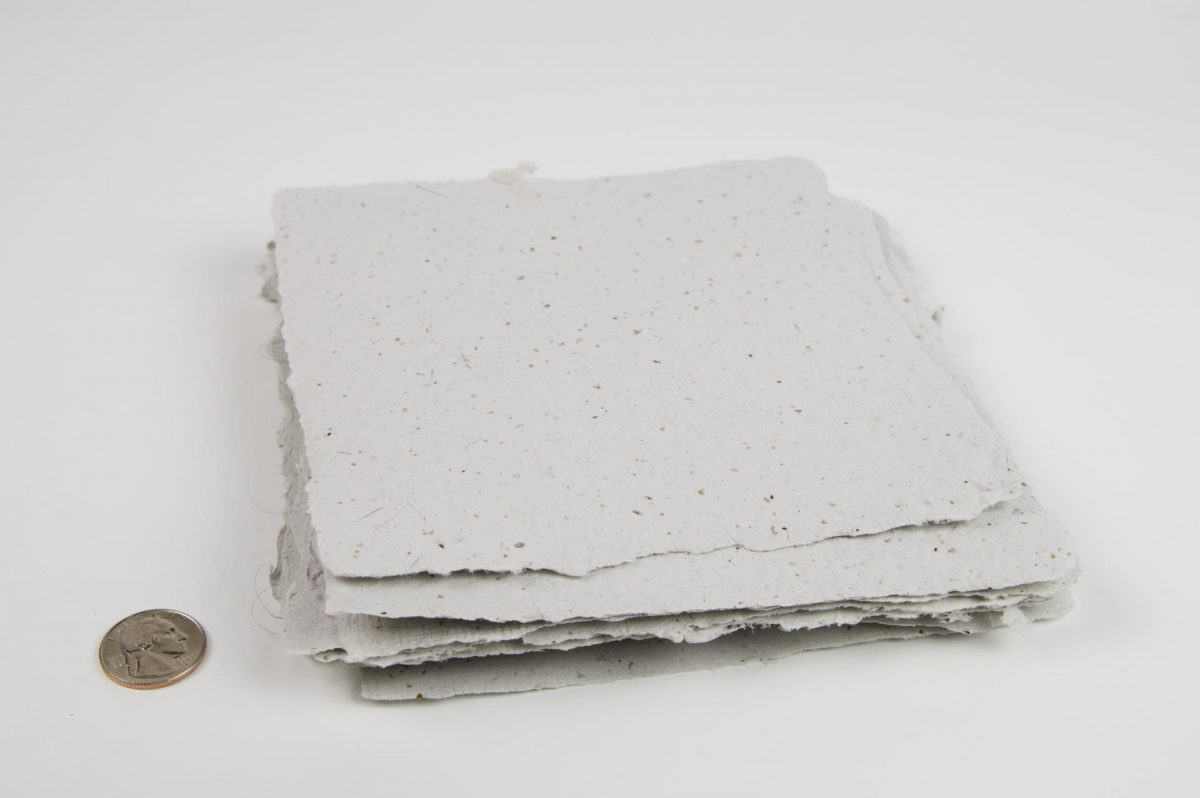
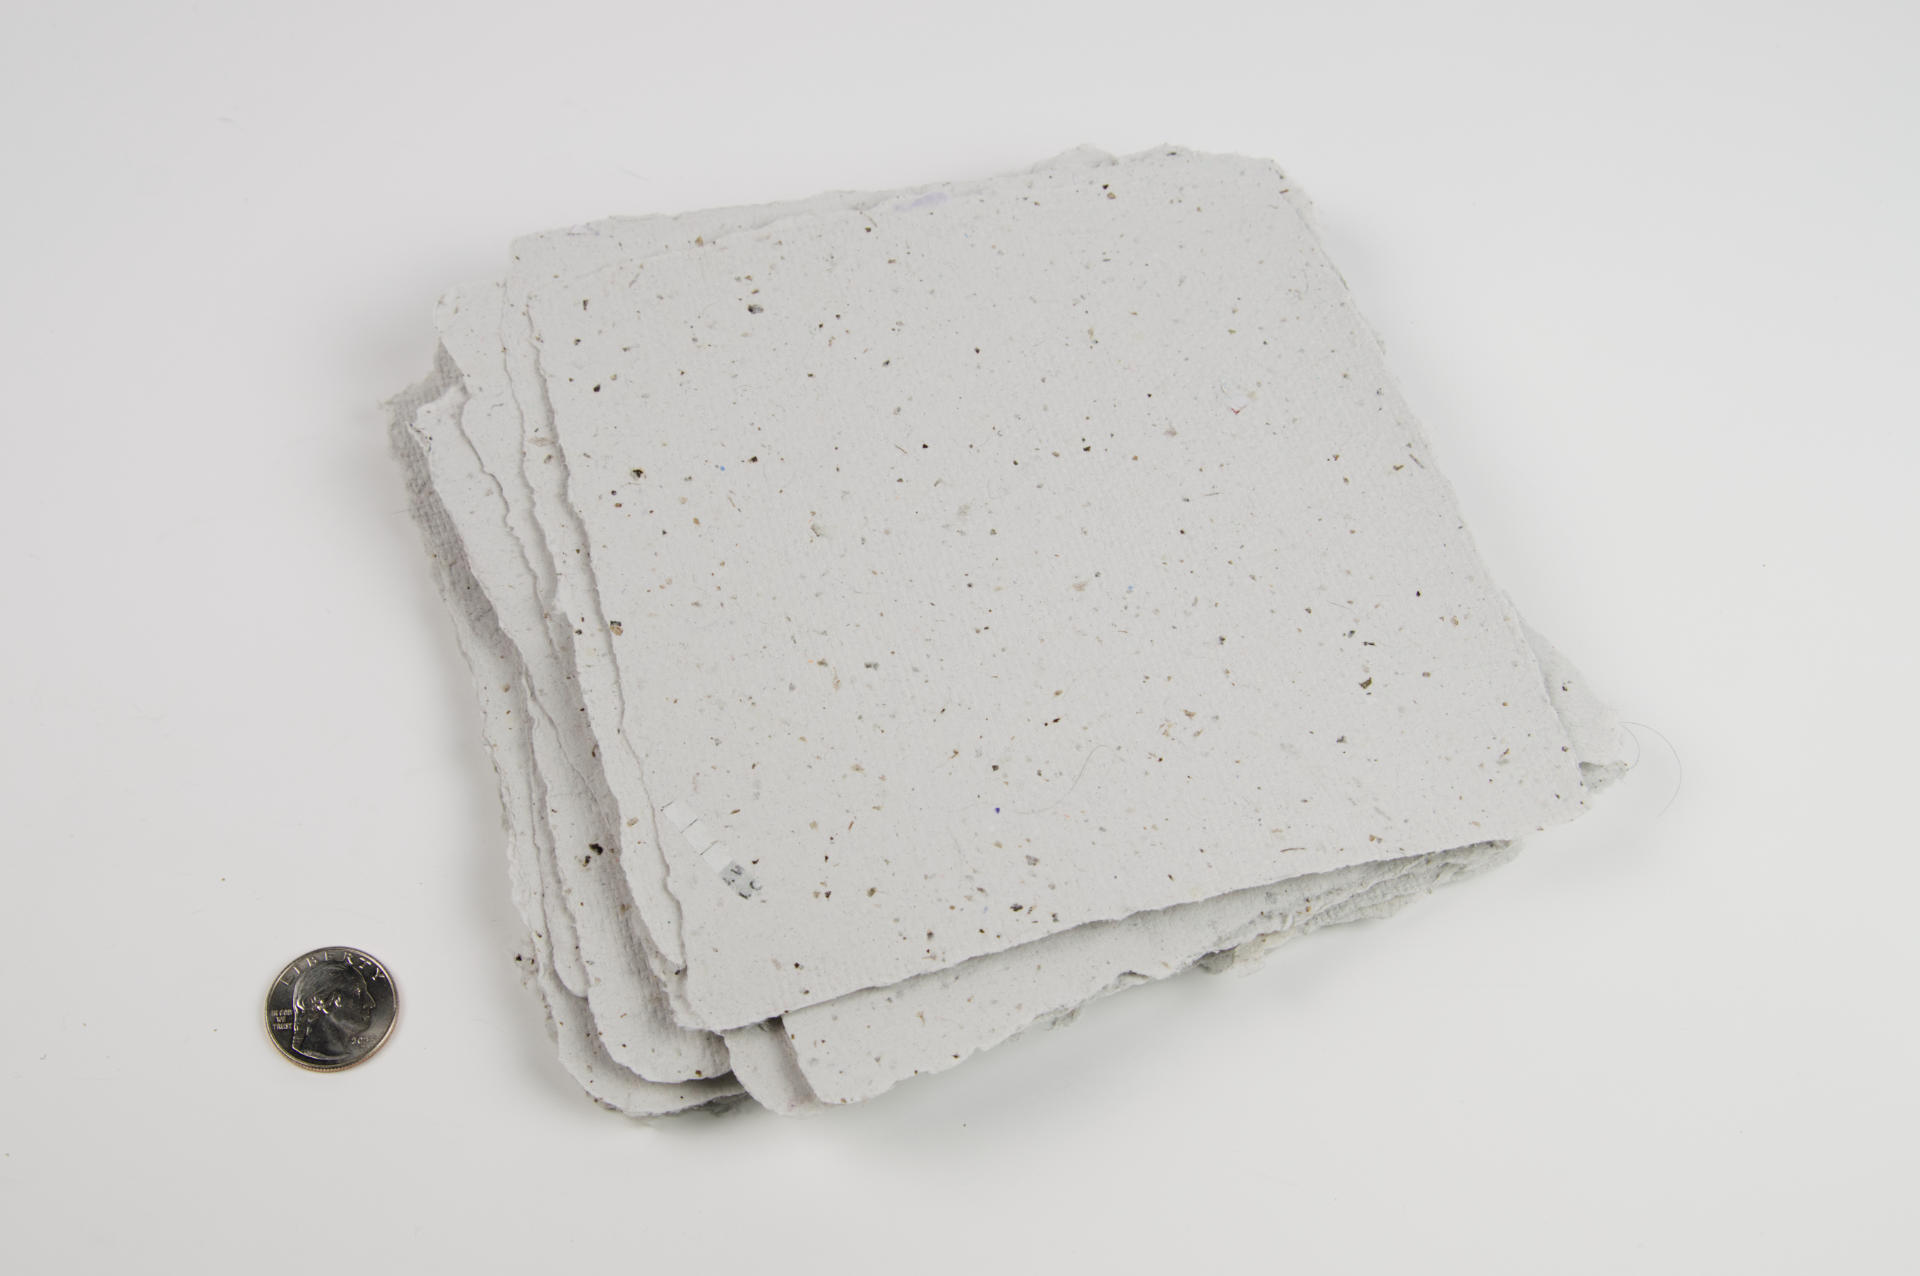
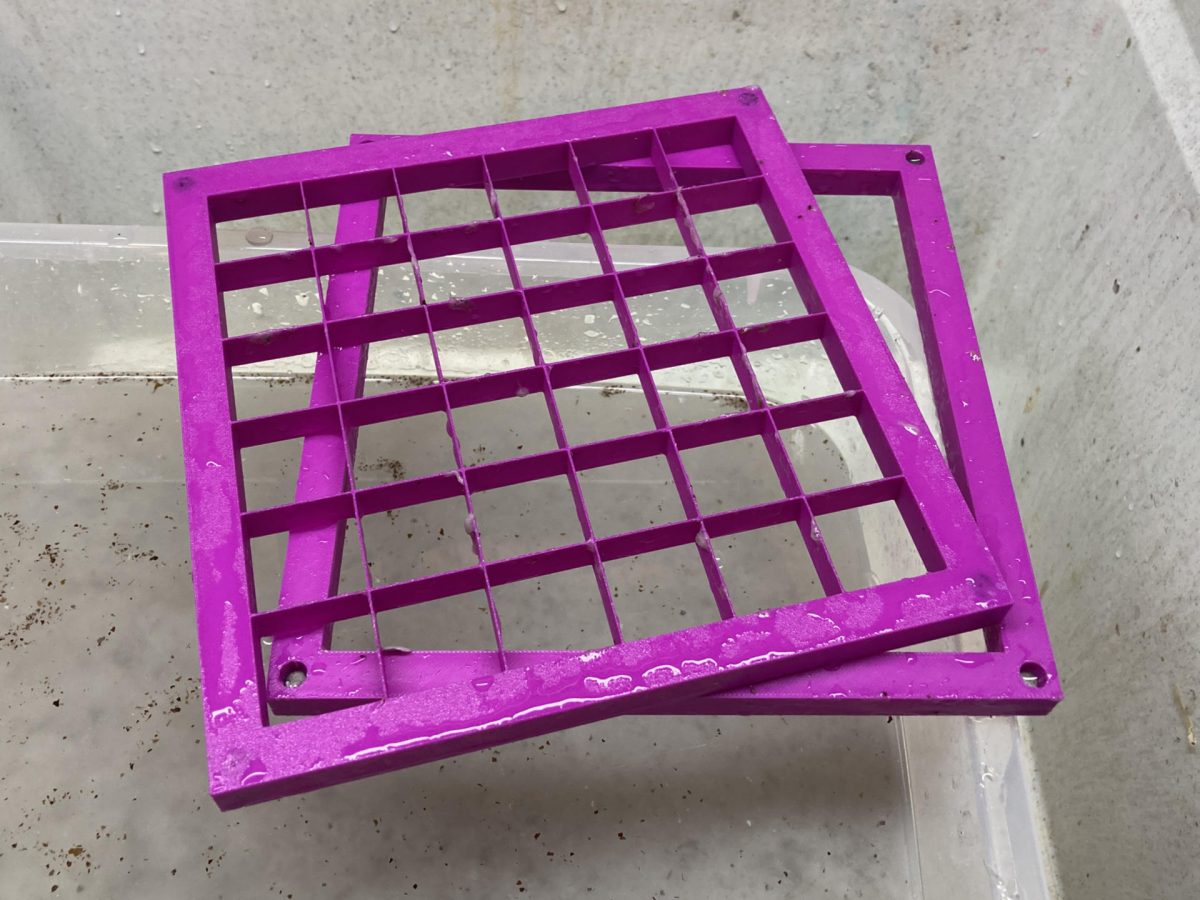
The mould and deckle I use makes sheets of paper that are just shy of 7″ x 7″. I make the paper, let it dry, and then peel all the pieces off the couching sheets. I then place each sheet between a piece of 3mm thick Baltic Birch plywood. (The pieces of wood are 8″ x 12″ so the paper fits with some room to spare.) I then place the stack of wood (with the paper between each sheet) between two 12″ x 12″ steel plates.
Here’s all the stuff:
- 8″ x 12″ x 1/8″ Baltic Birch Plywood (9 pieces needed)
- 12″ x 12″ x 1/4″ Steel Plates (2 pieces needed)
- Hydraulic 6 Ton H-Frame Shop Press (Or whatever press you have)
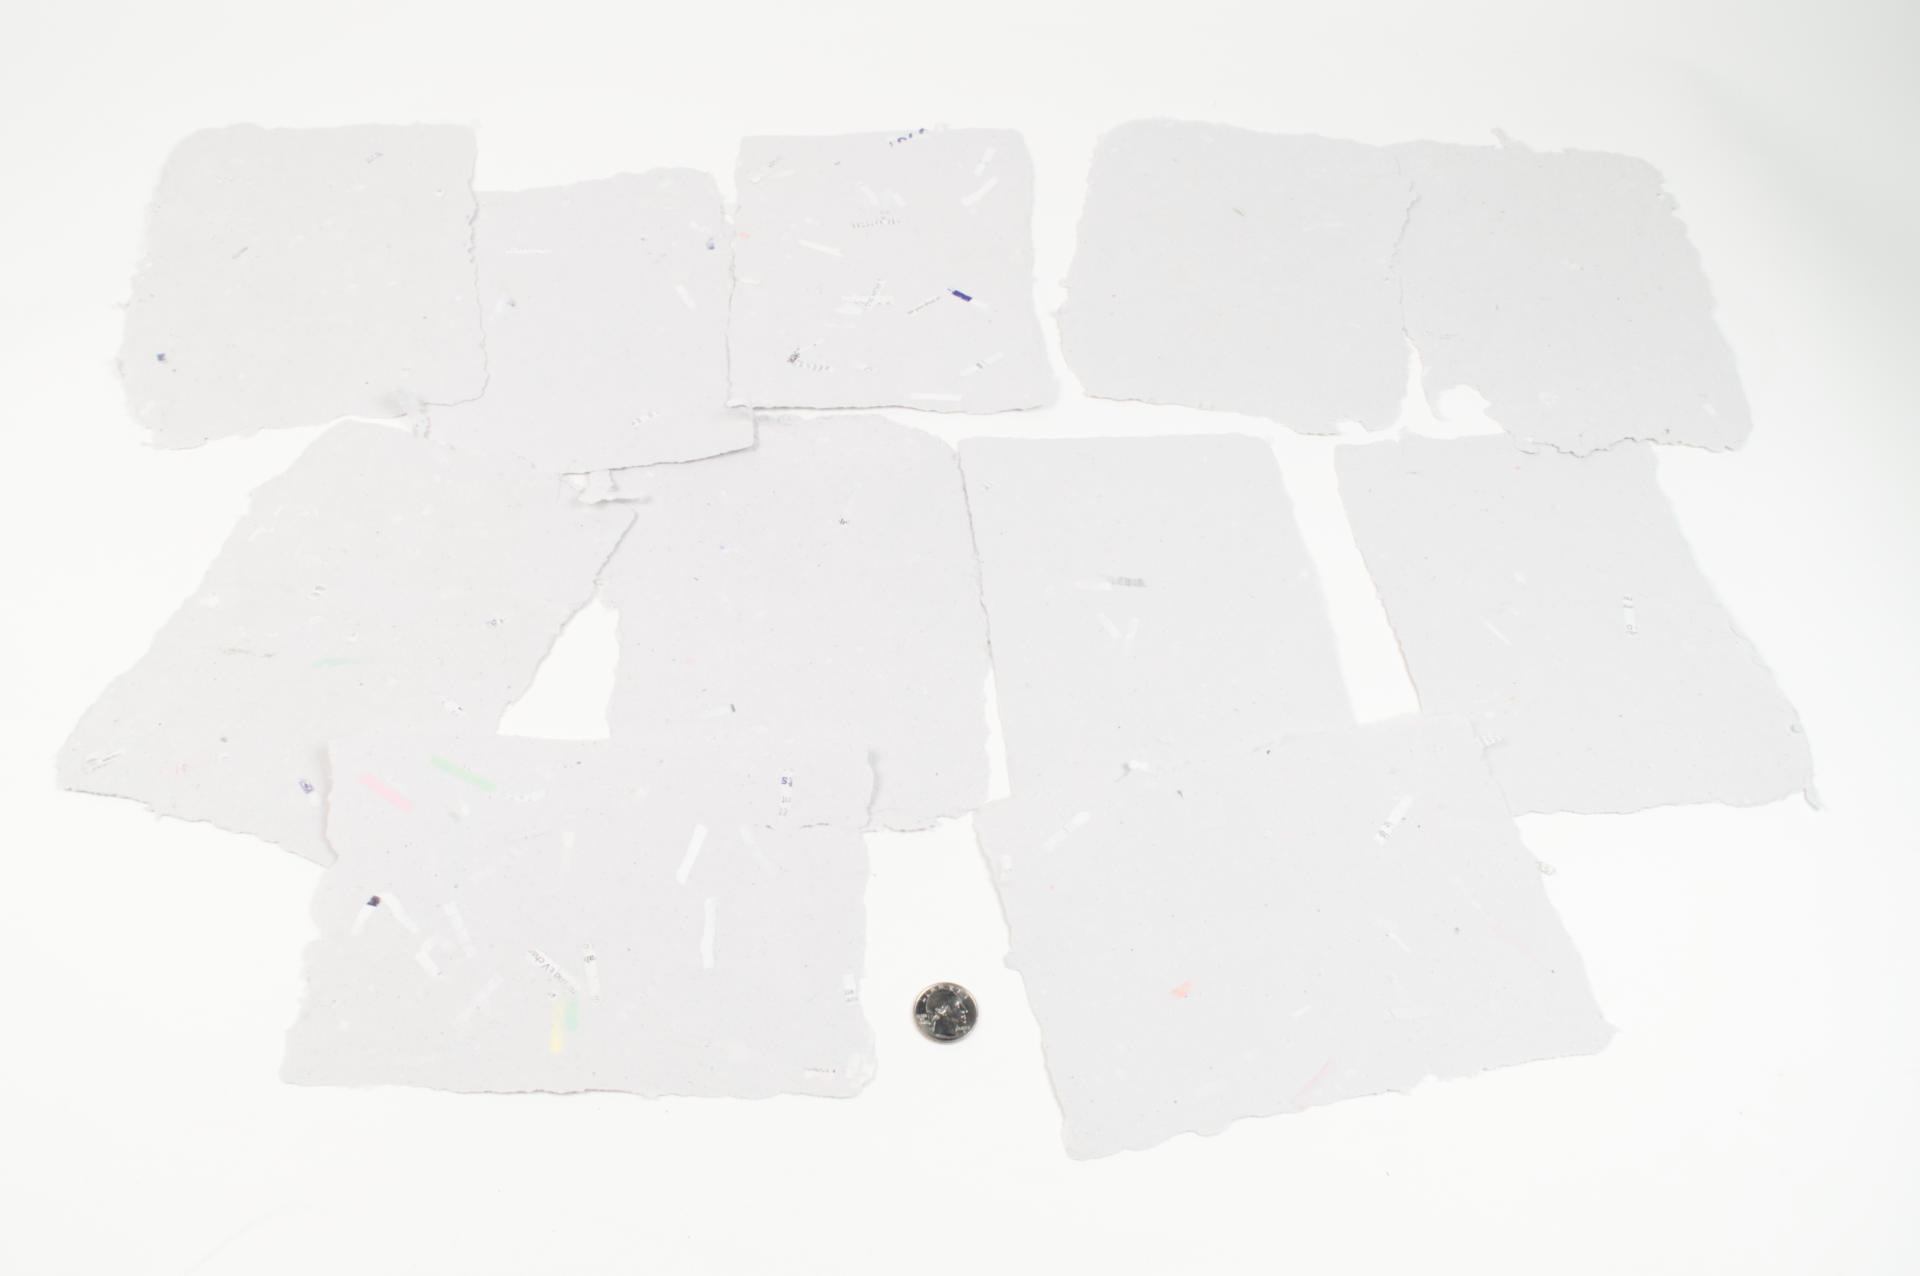
- Handmade Paper! (8 sheets at a time)

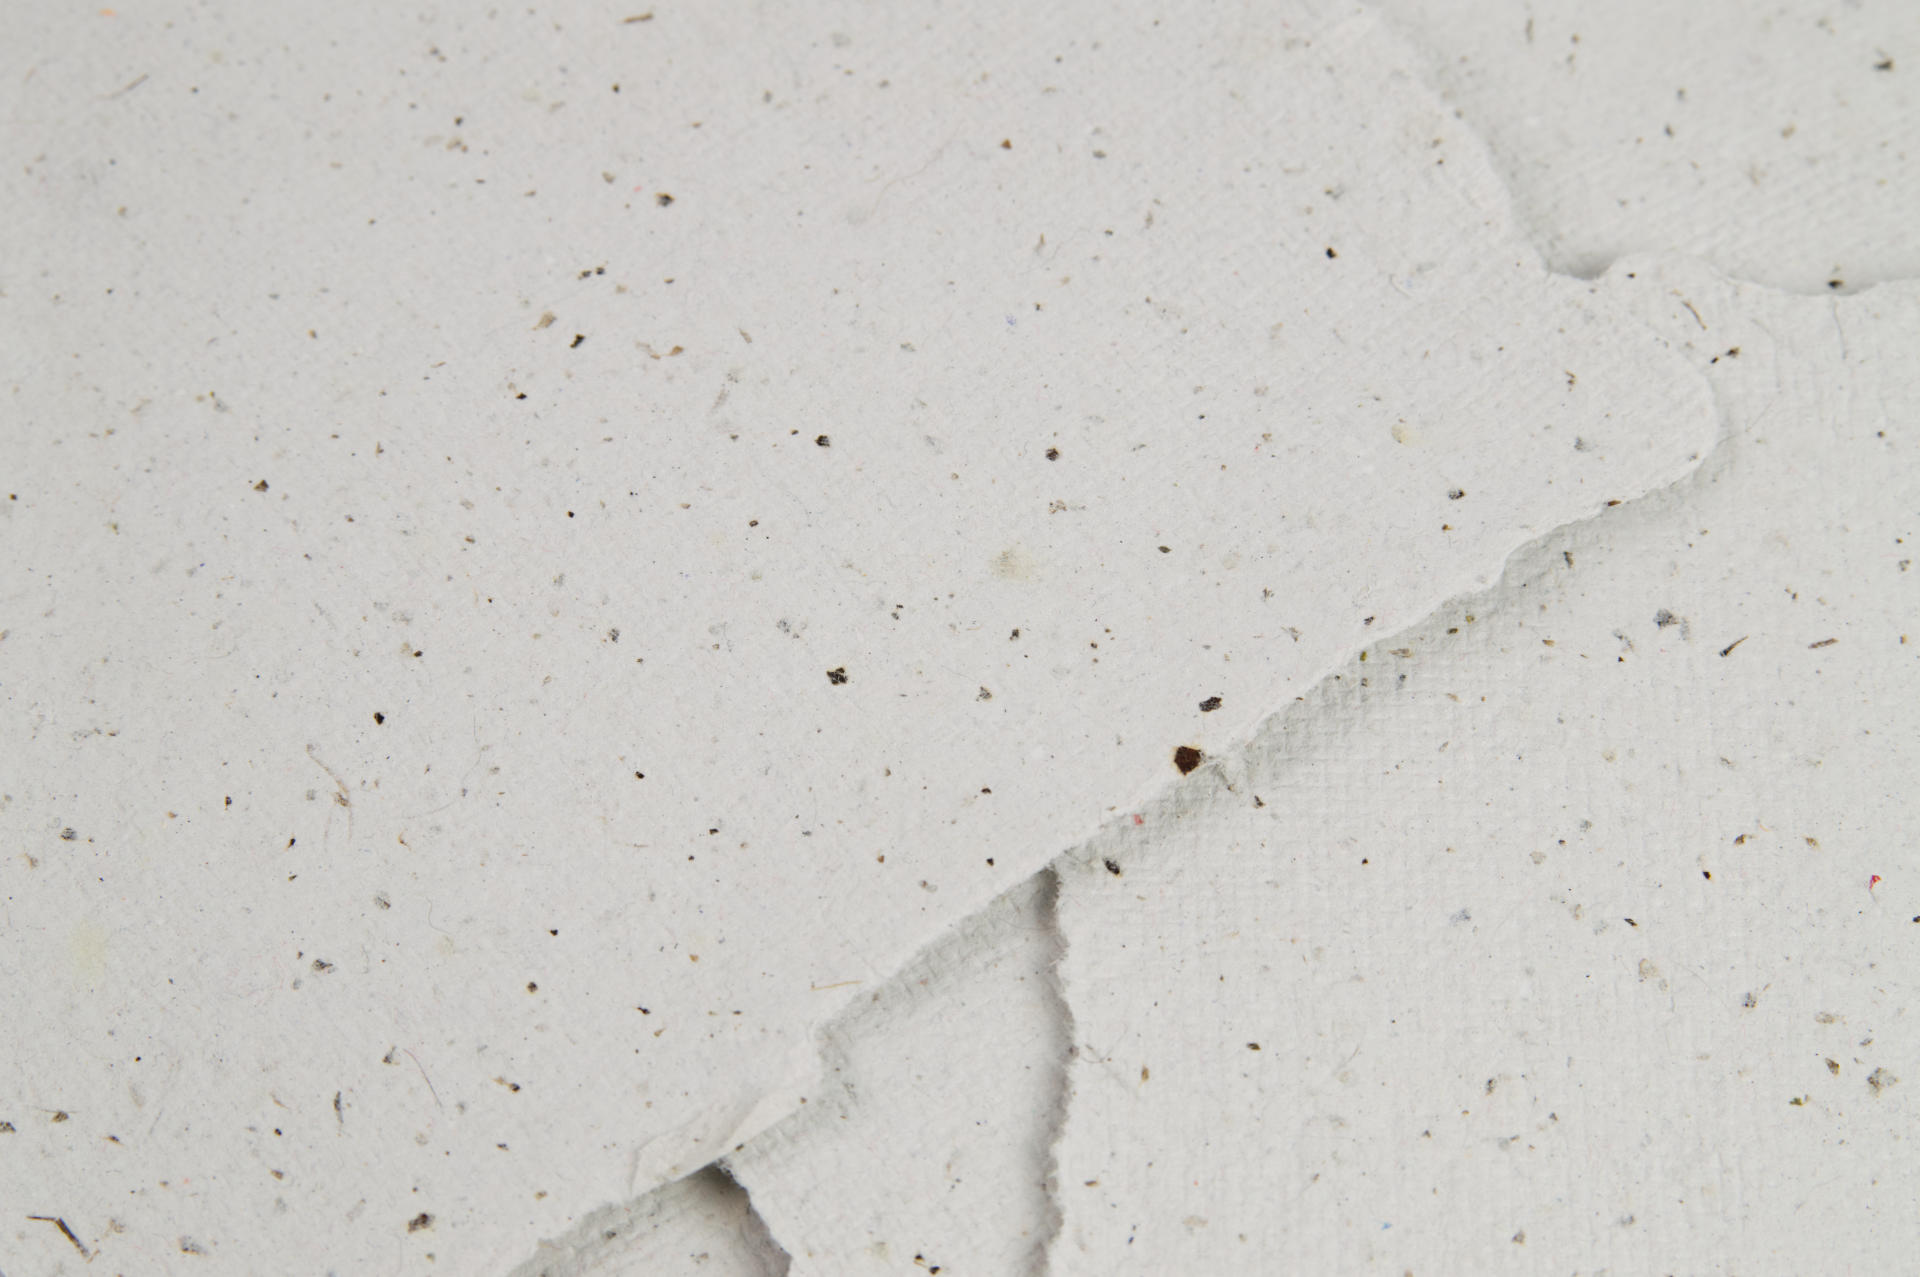
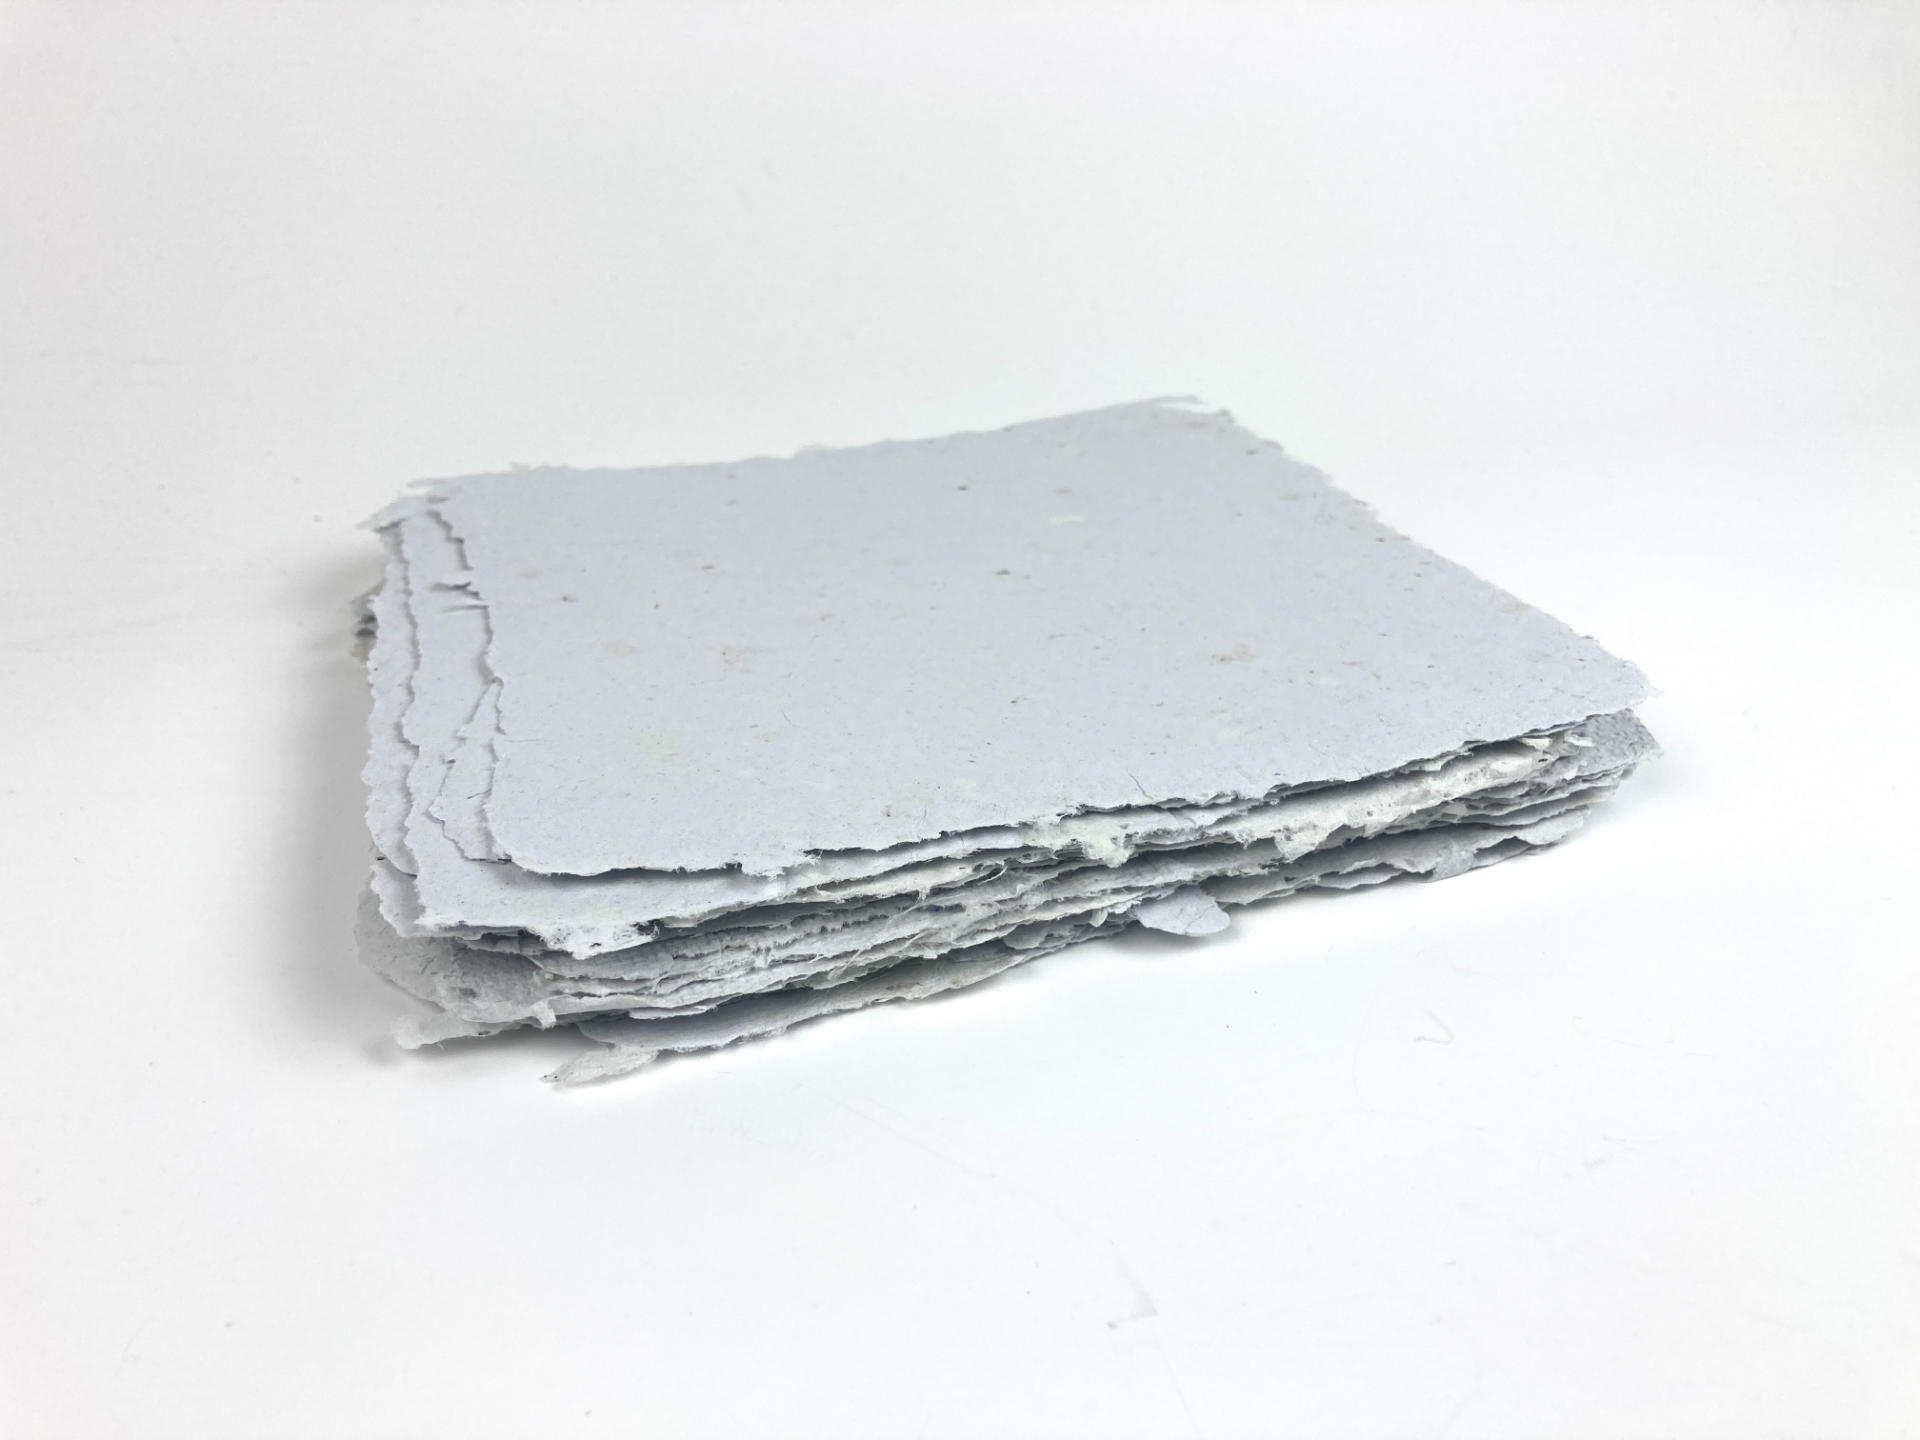
This whole “sandwich” goes into the hydraulic press, and I crank it down hard. I let it sit for at least half a day, though it’s usually a full day, and if I remember I’ll go crank the press tighter if possible. After time has passed I remove all the paper and marvel at how flat and smooth it is.

The things you need (besides a hydraulic press) are the paper, which should be just dried, sheets of wood, and two pieces of steel.
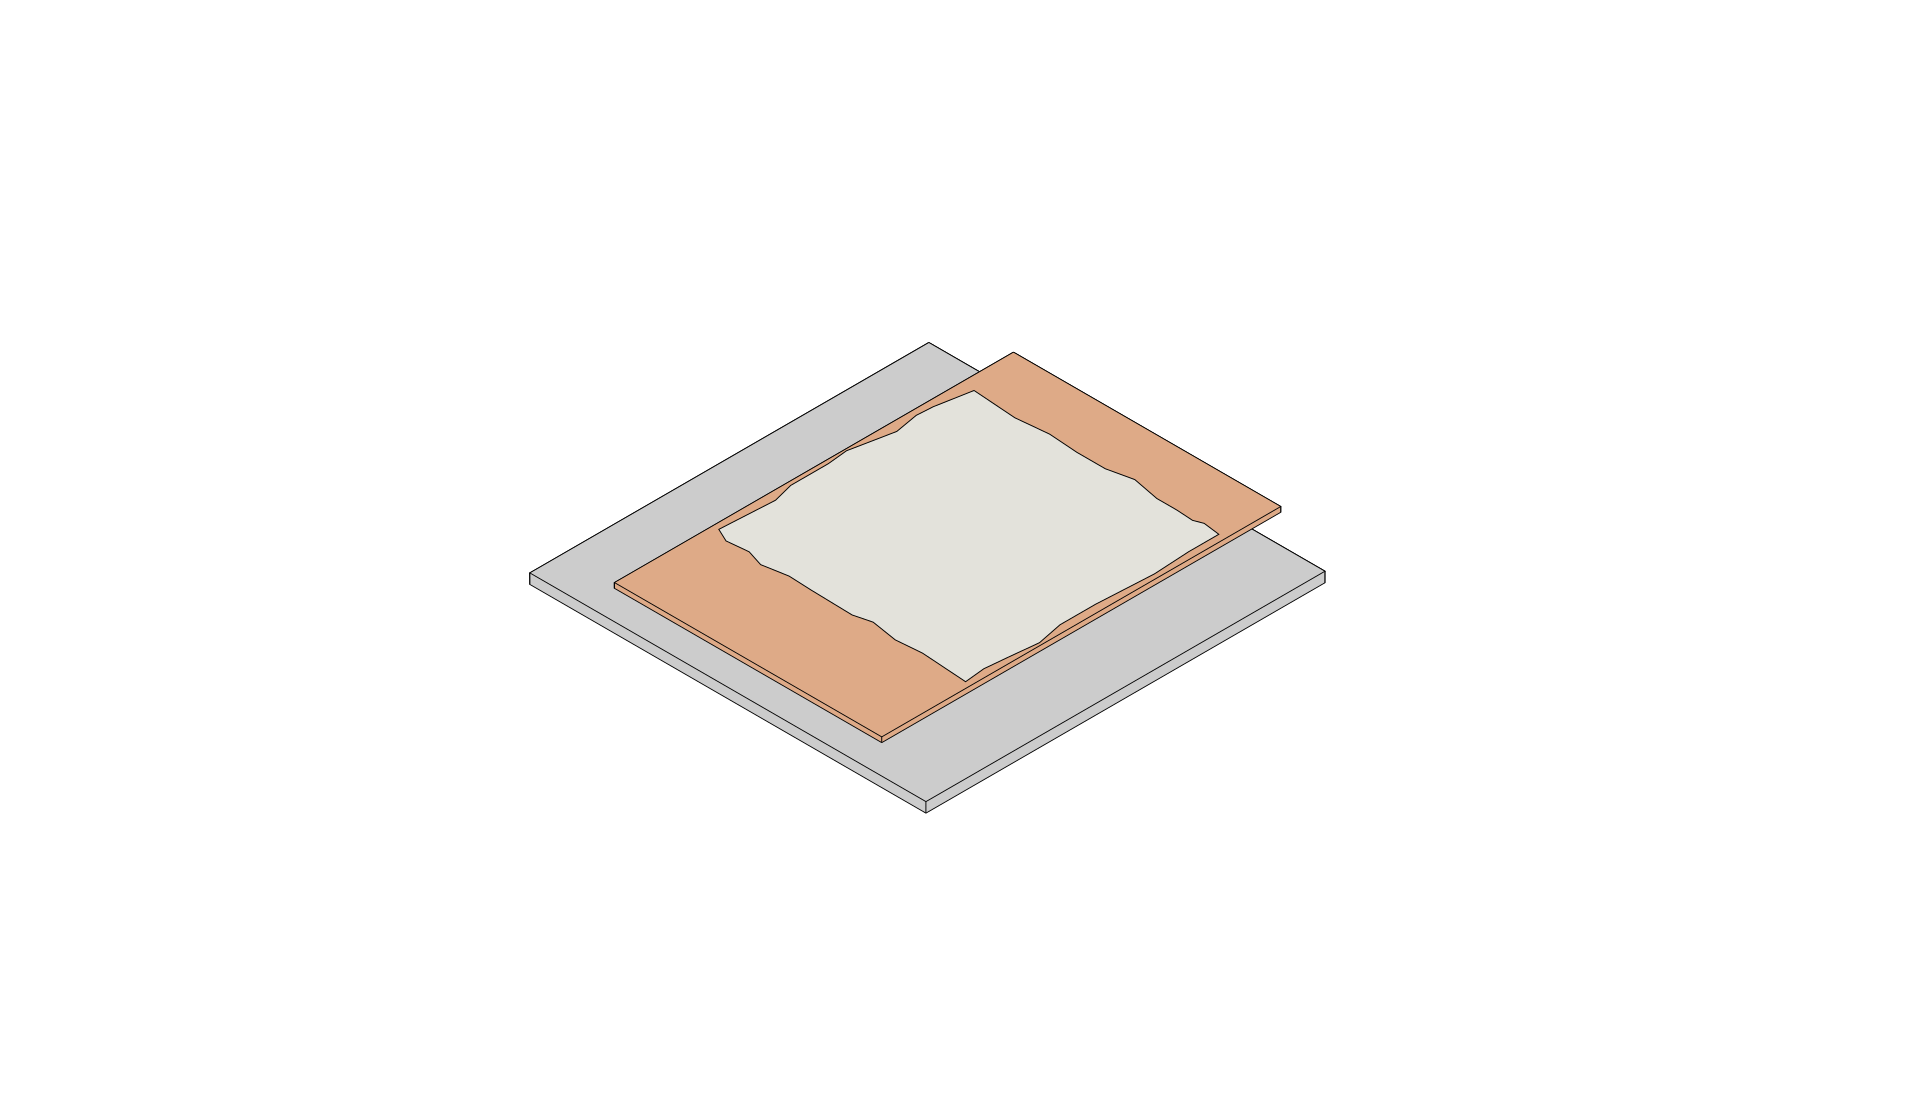
The steel goes on the bottom, then a piece of wood, then the paper…
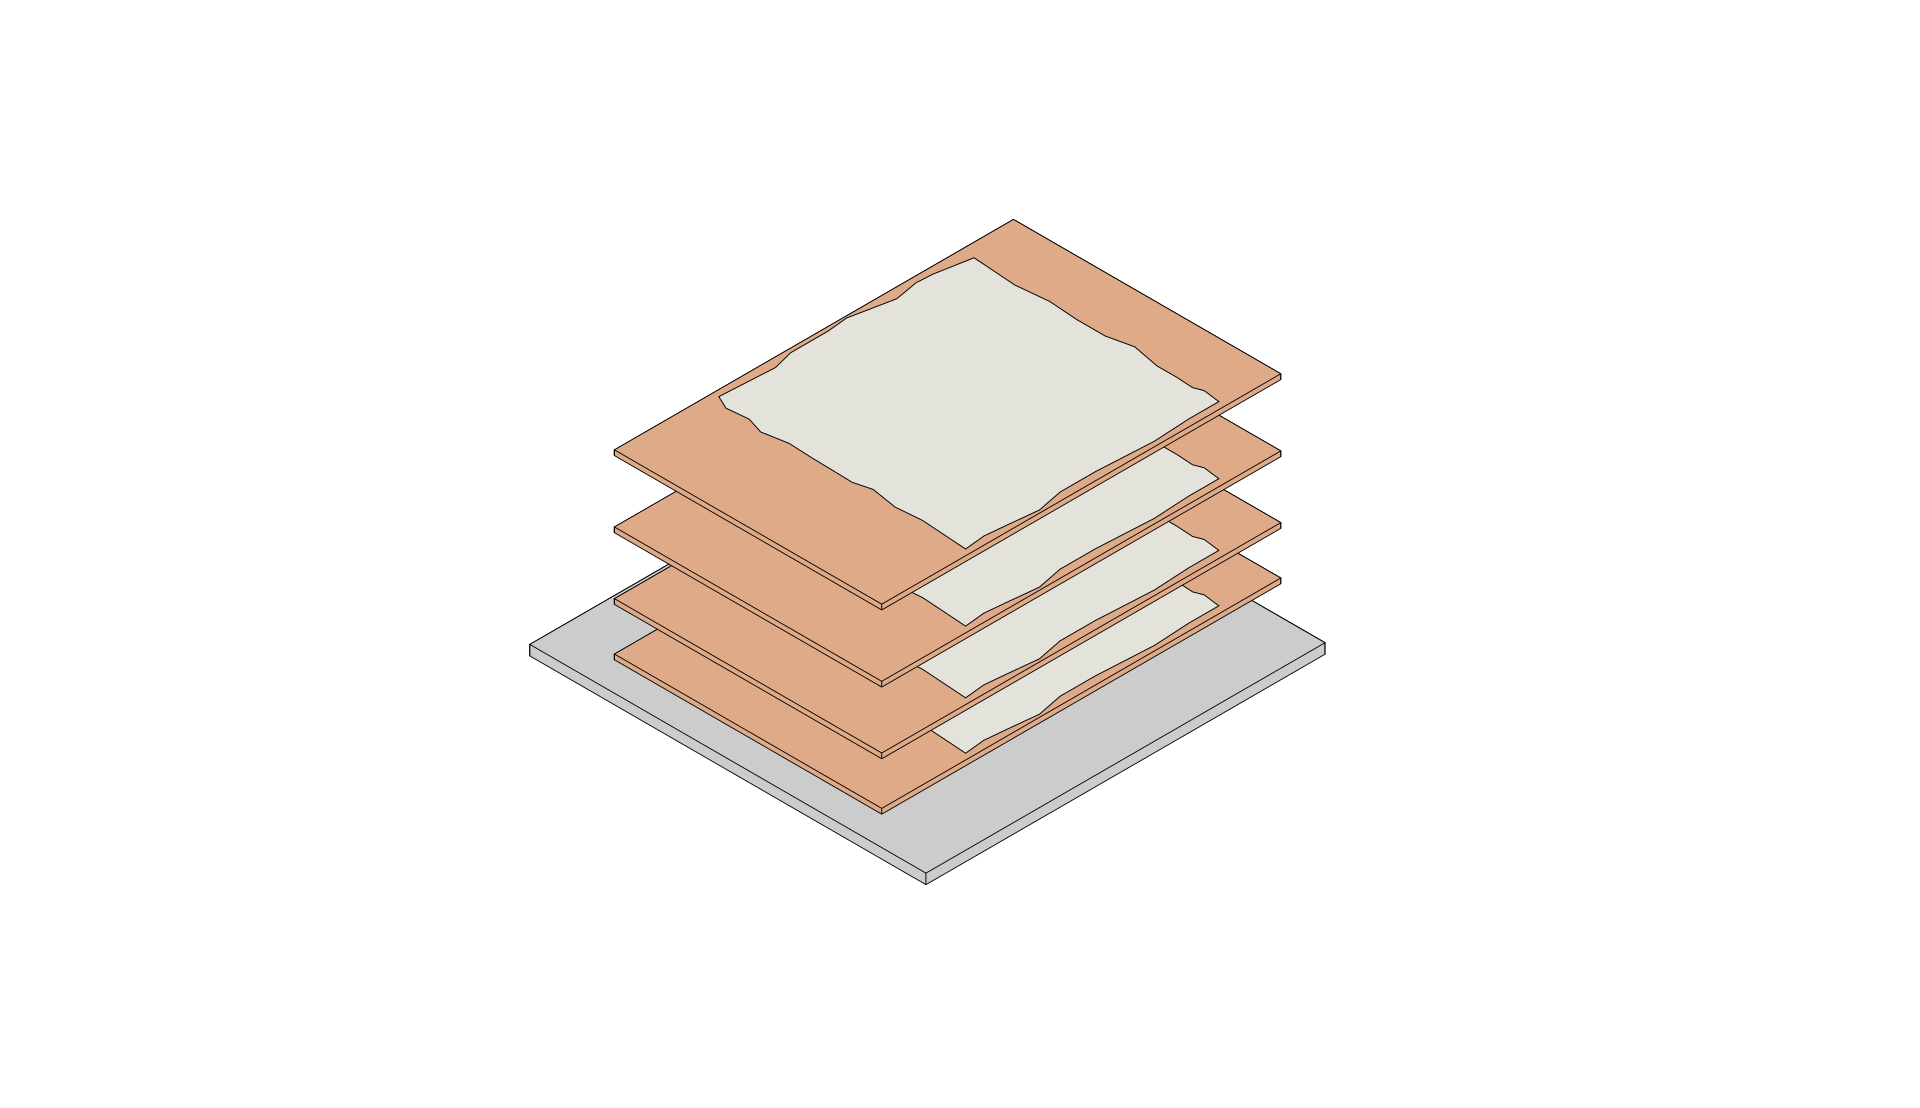
Repeat the process of stacking wood with paper in between each piece…
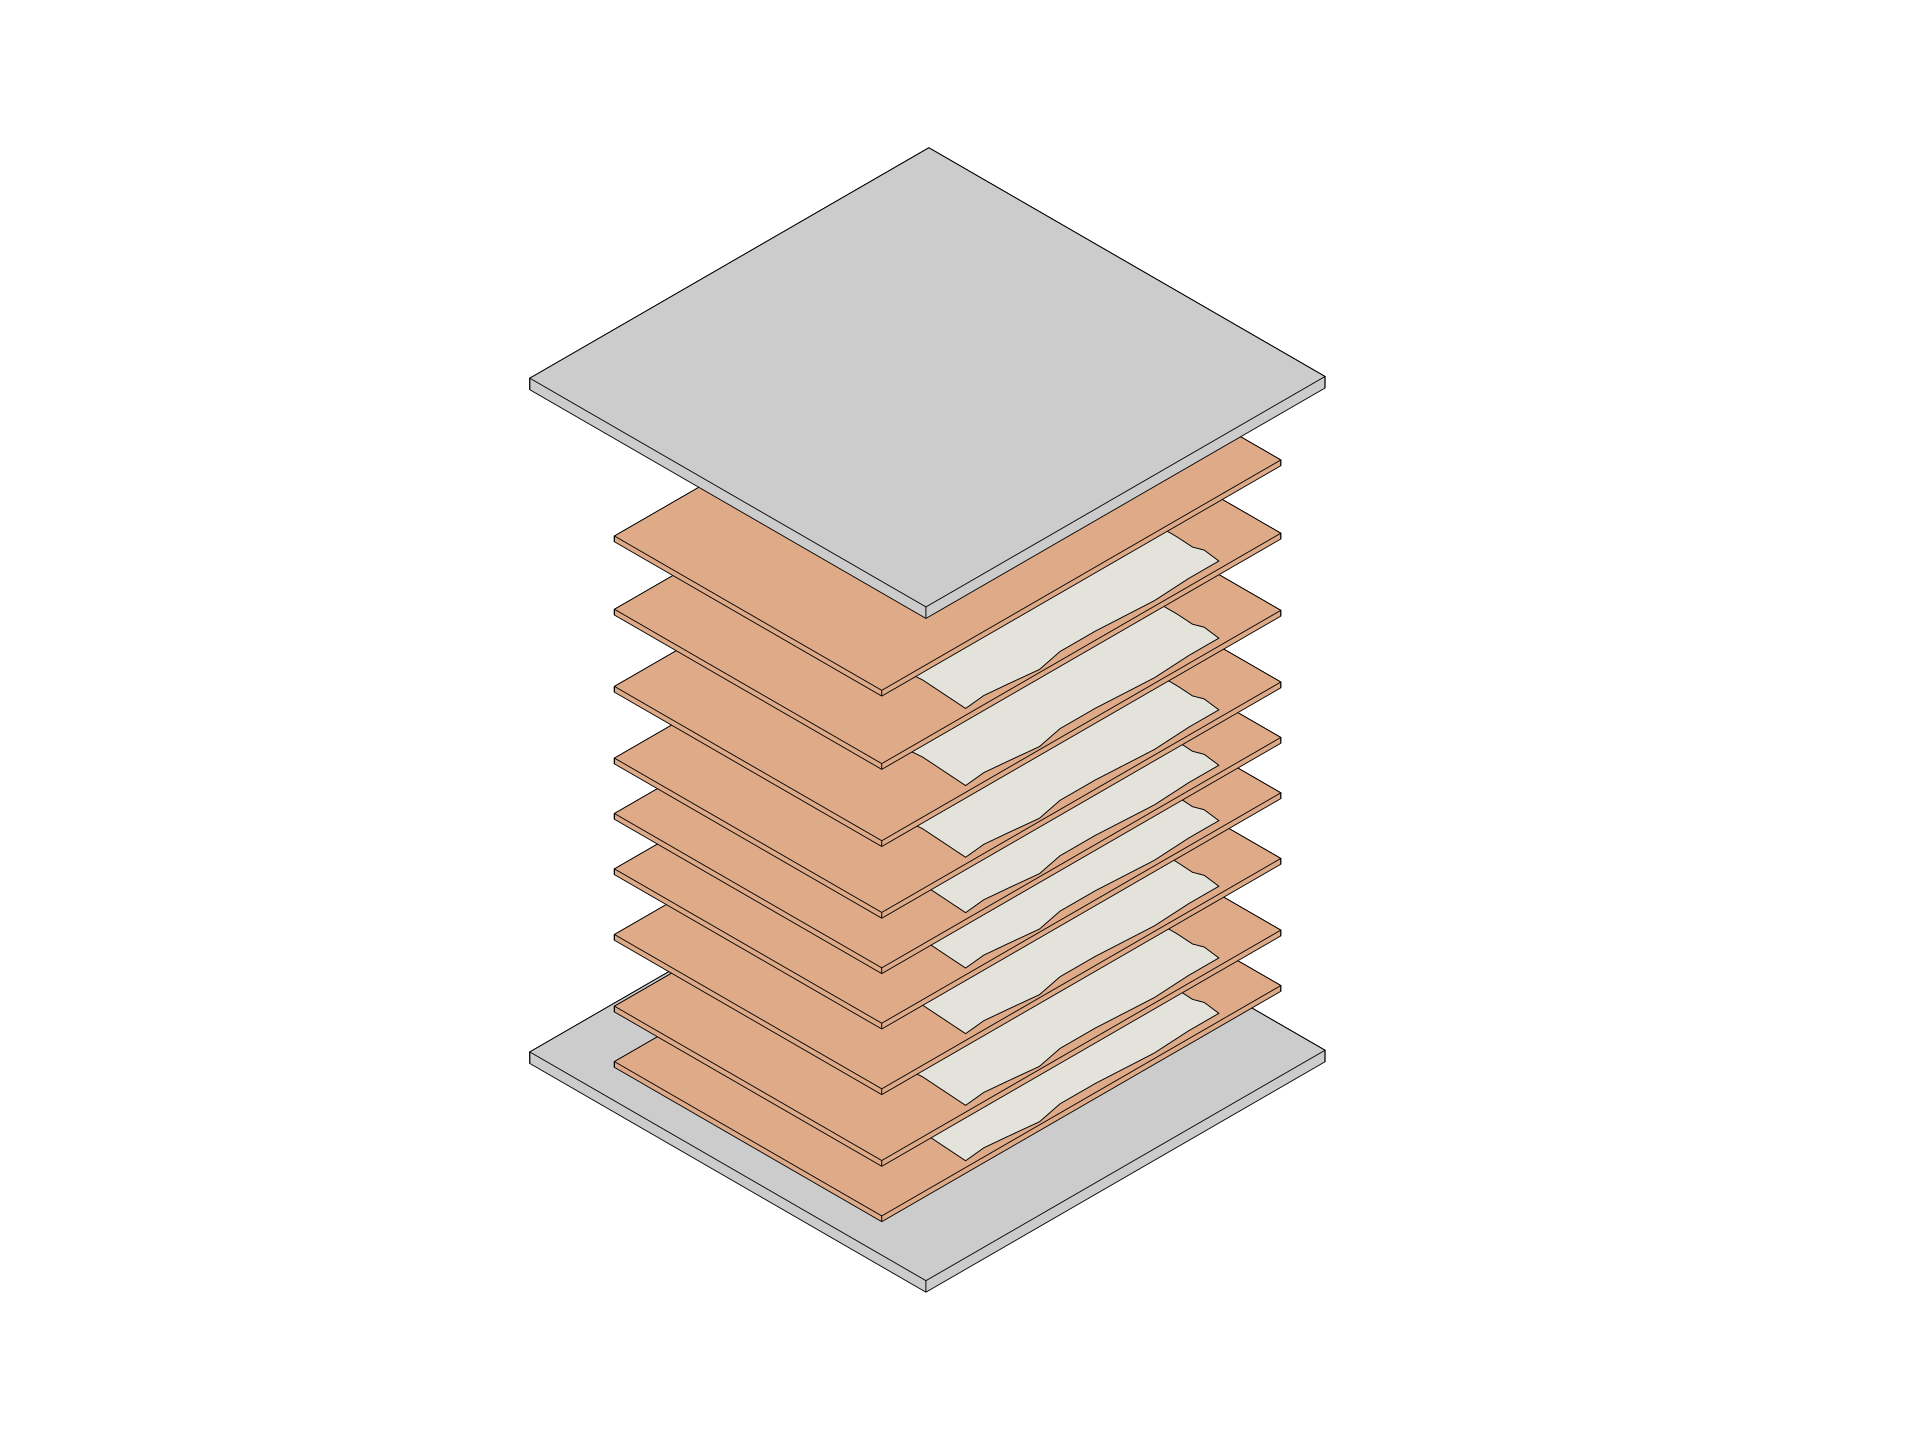
End with one piece of wood on top of the last piece of paper, and then put the other piece of steel on top of all that.

Stick the whole thing into the hydraulic press and crank it down! Wait a while (a few hours) and then come back and try to crank it down even further. I tend to make thick paper because it does get compressed down a bit thinner in this pressing process.
This is DIY handmade paper made with junk I have in my workshop, there’s no professional equipment or methods at work here. Still, I get some good, flat, smooth pieces. Not all of them, but most of them for sure. If I can find new ways to refine and improve the process I’ll let you know.
Note: This post contains an Affiliate Link. Read More.