Categories
Uncategorized

Game Show Buzzer System V3

Game Show Buzzer System

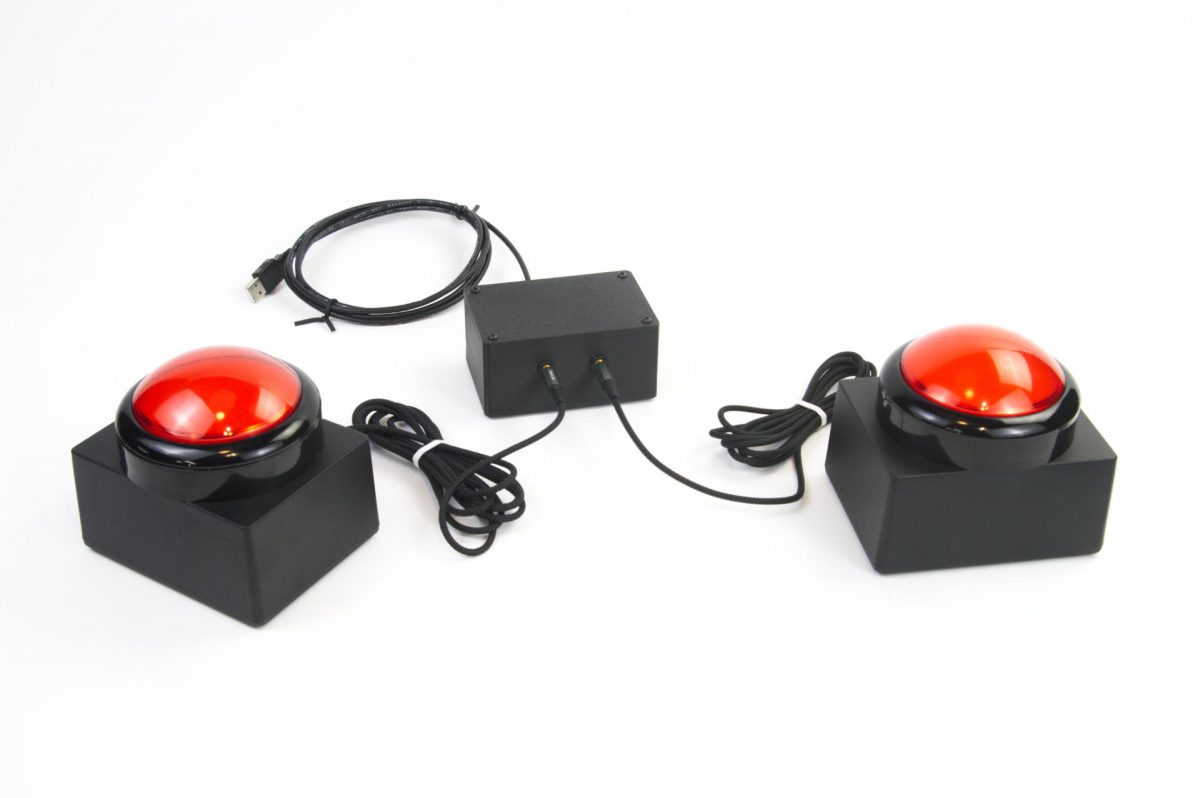
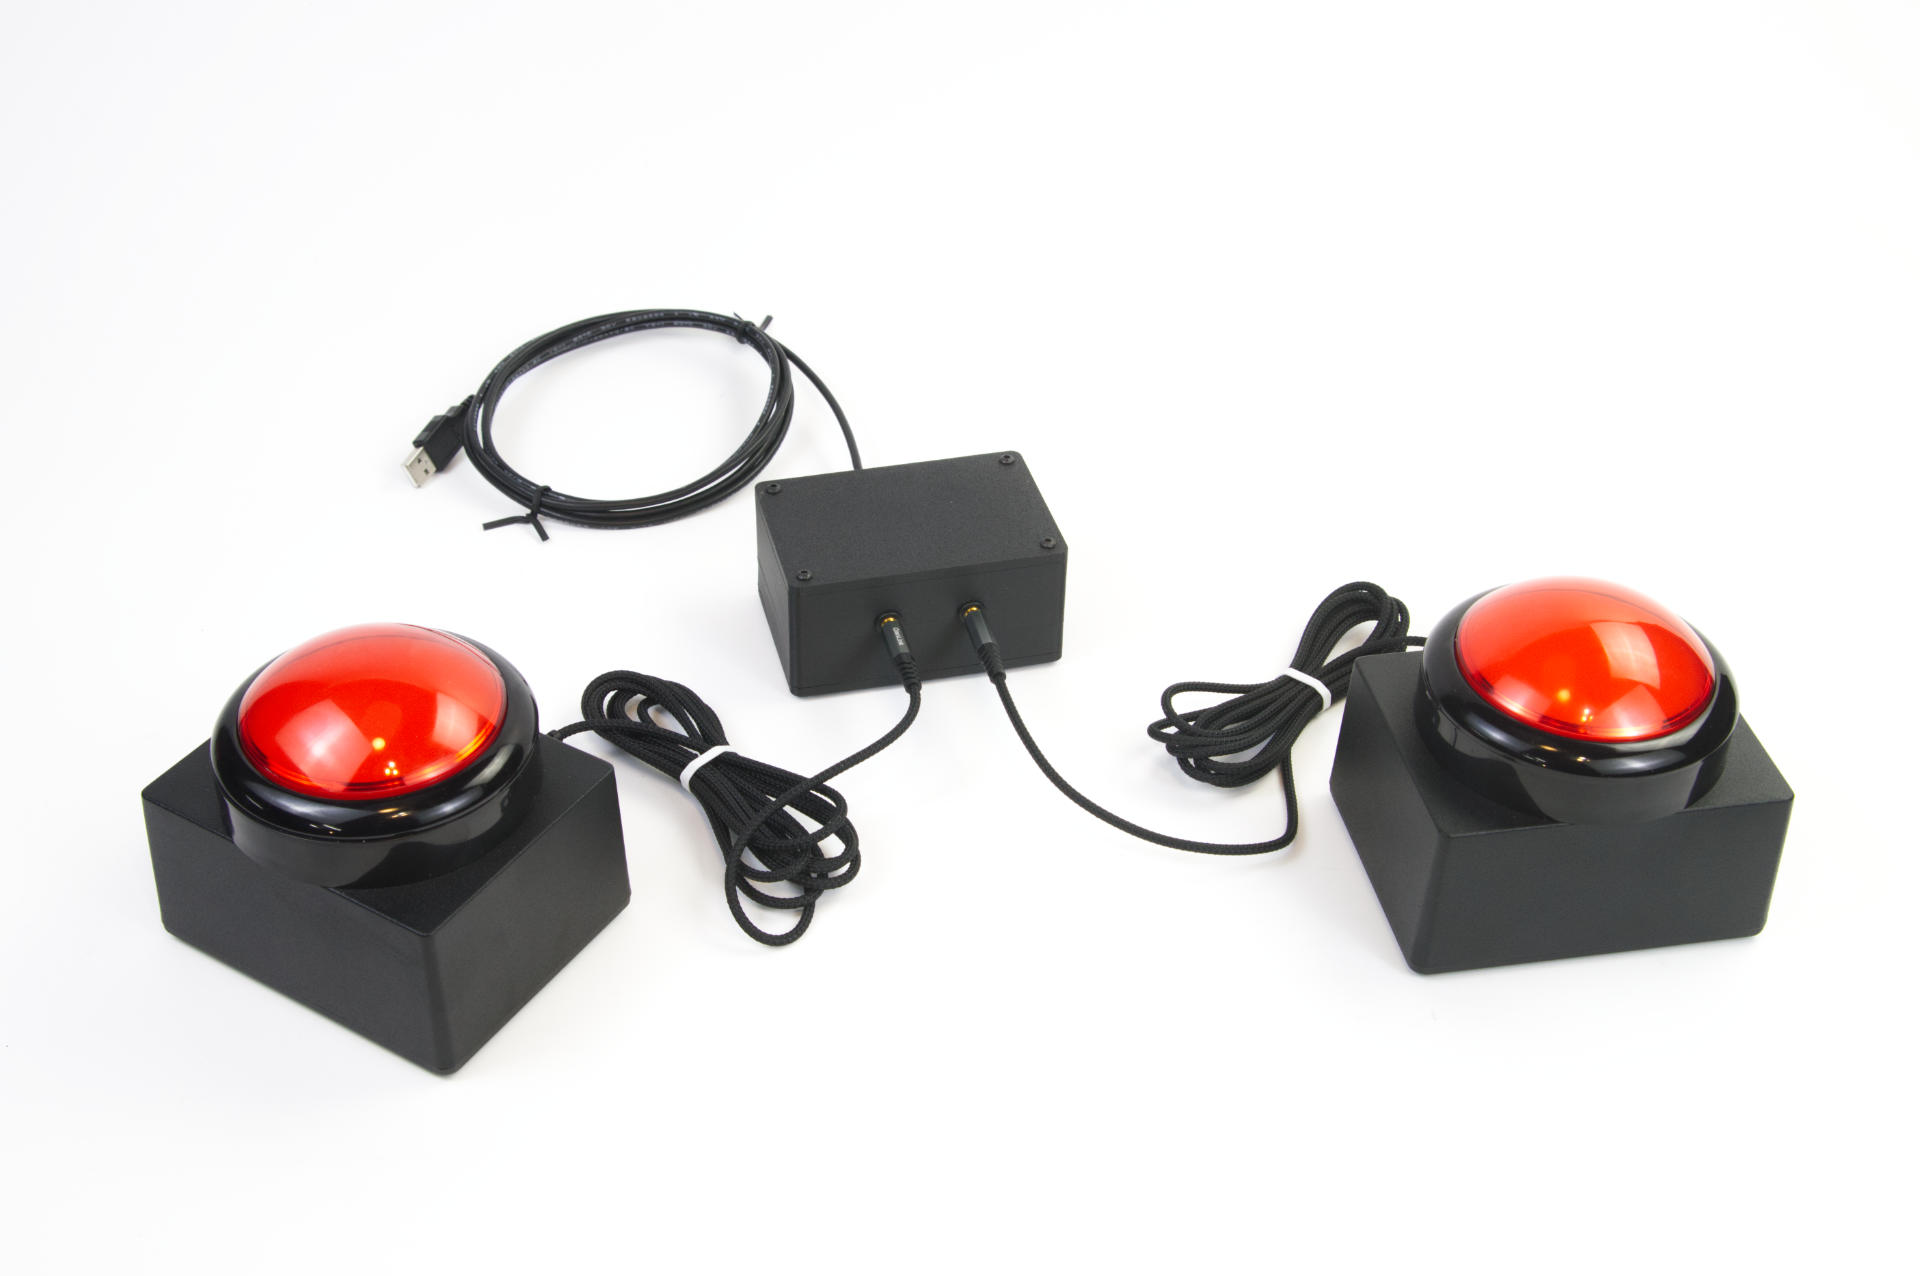
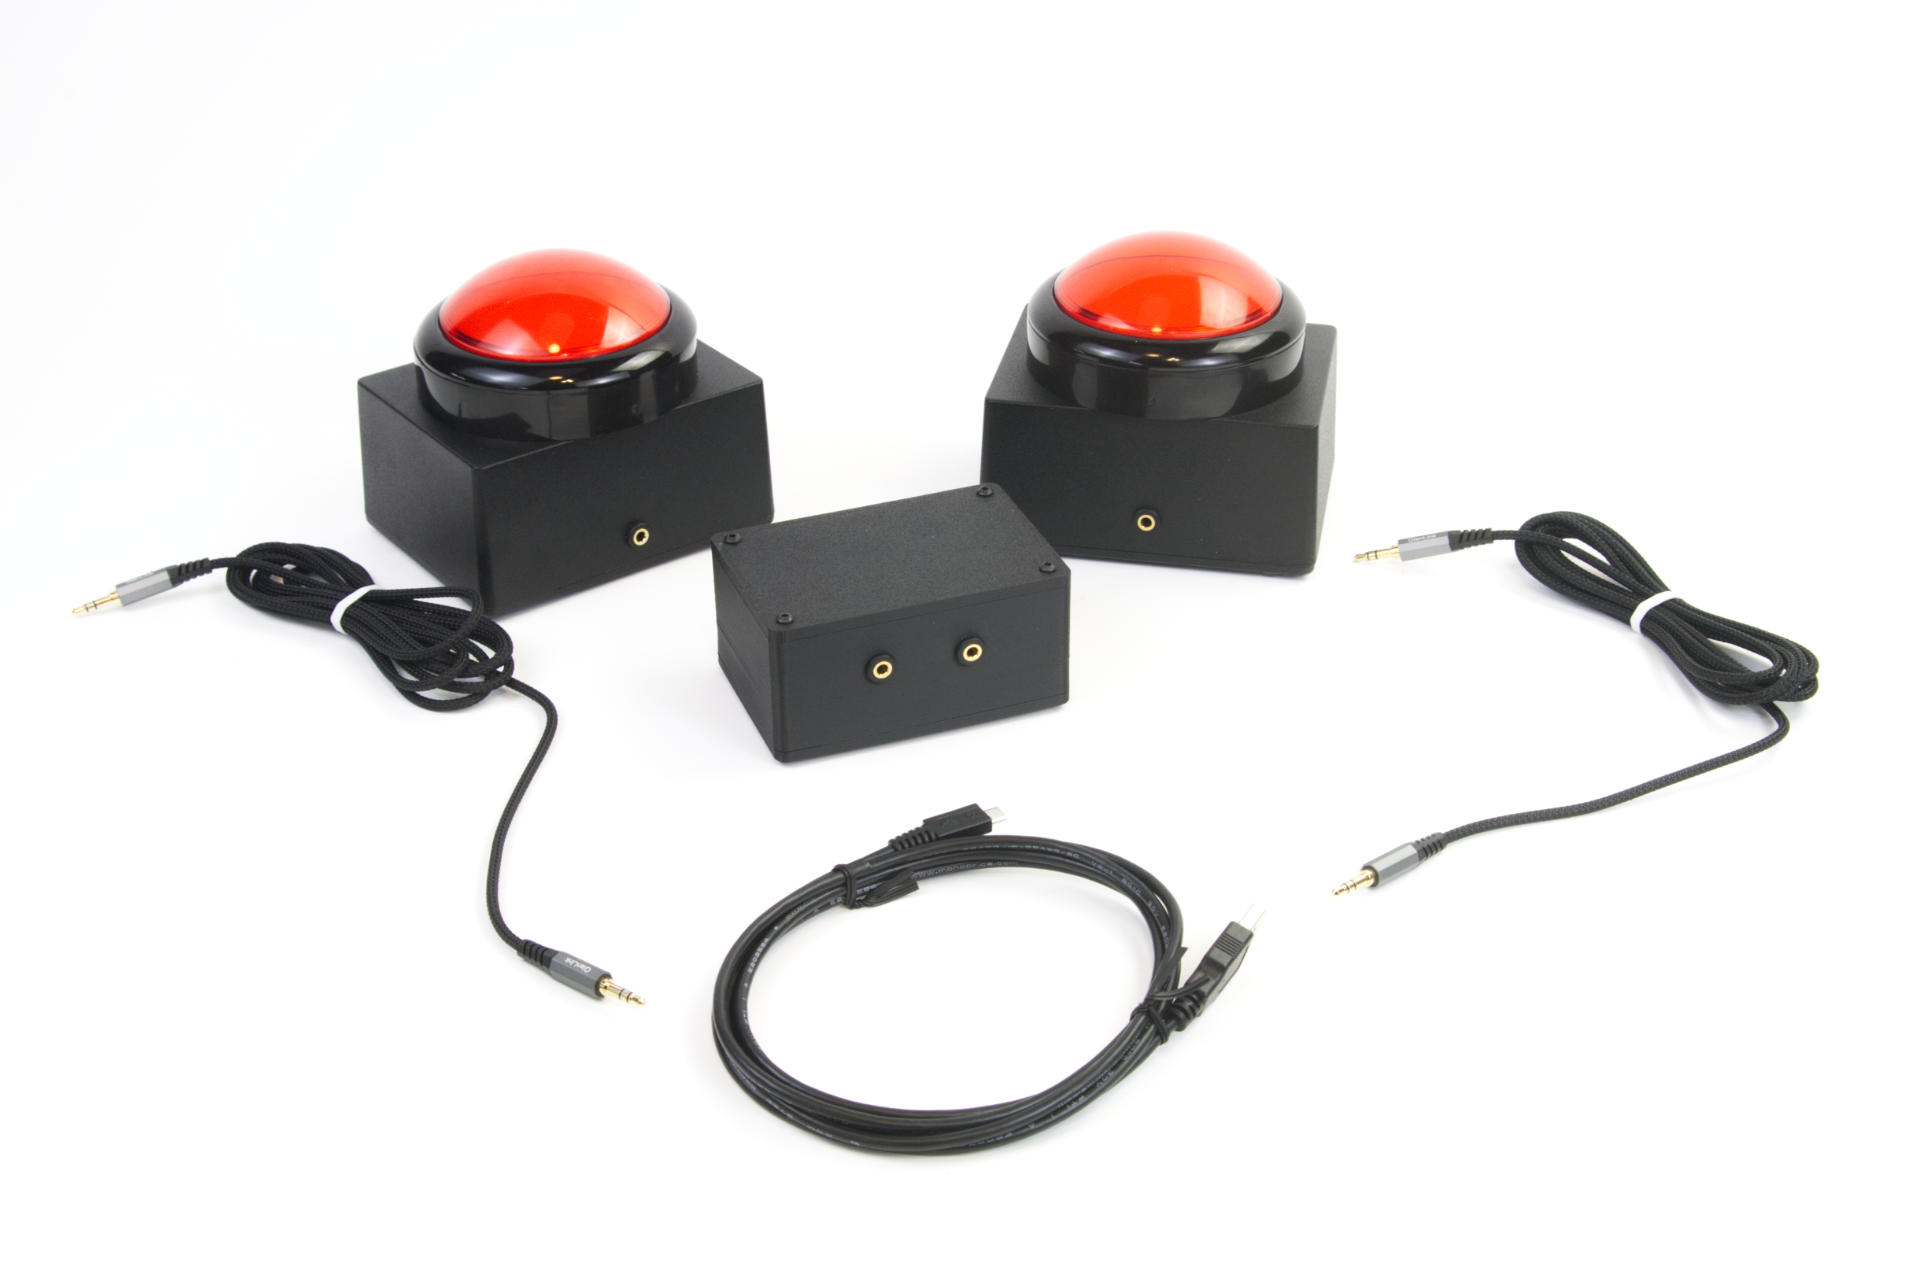
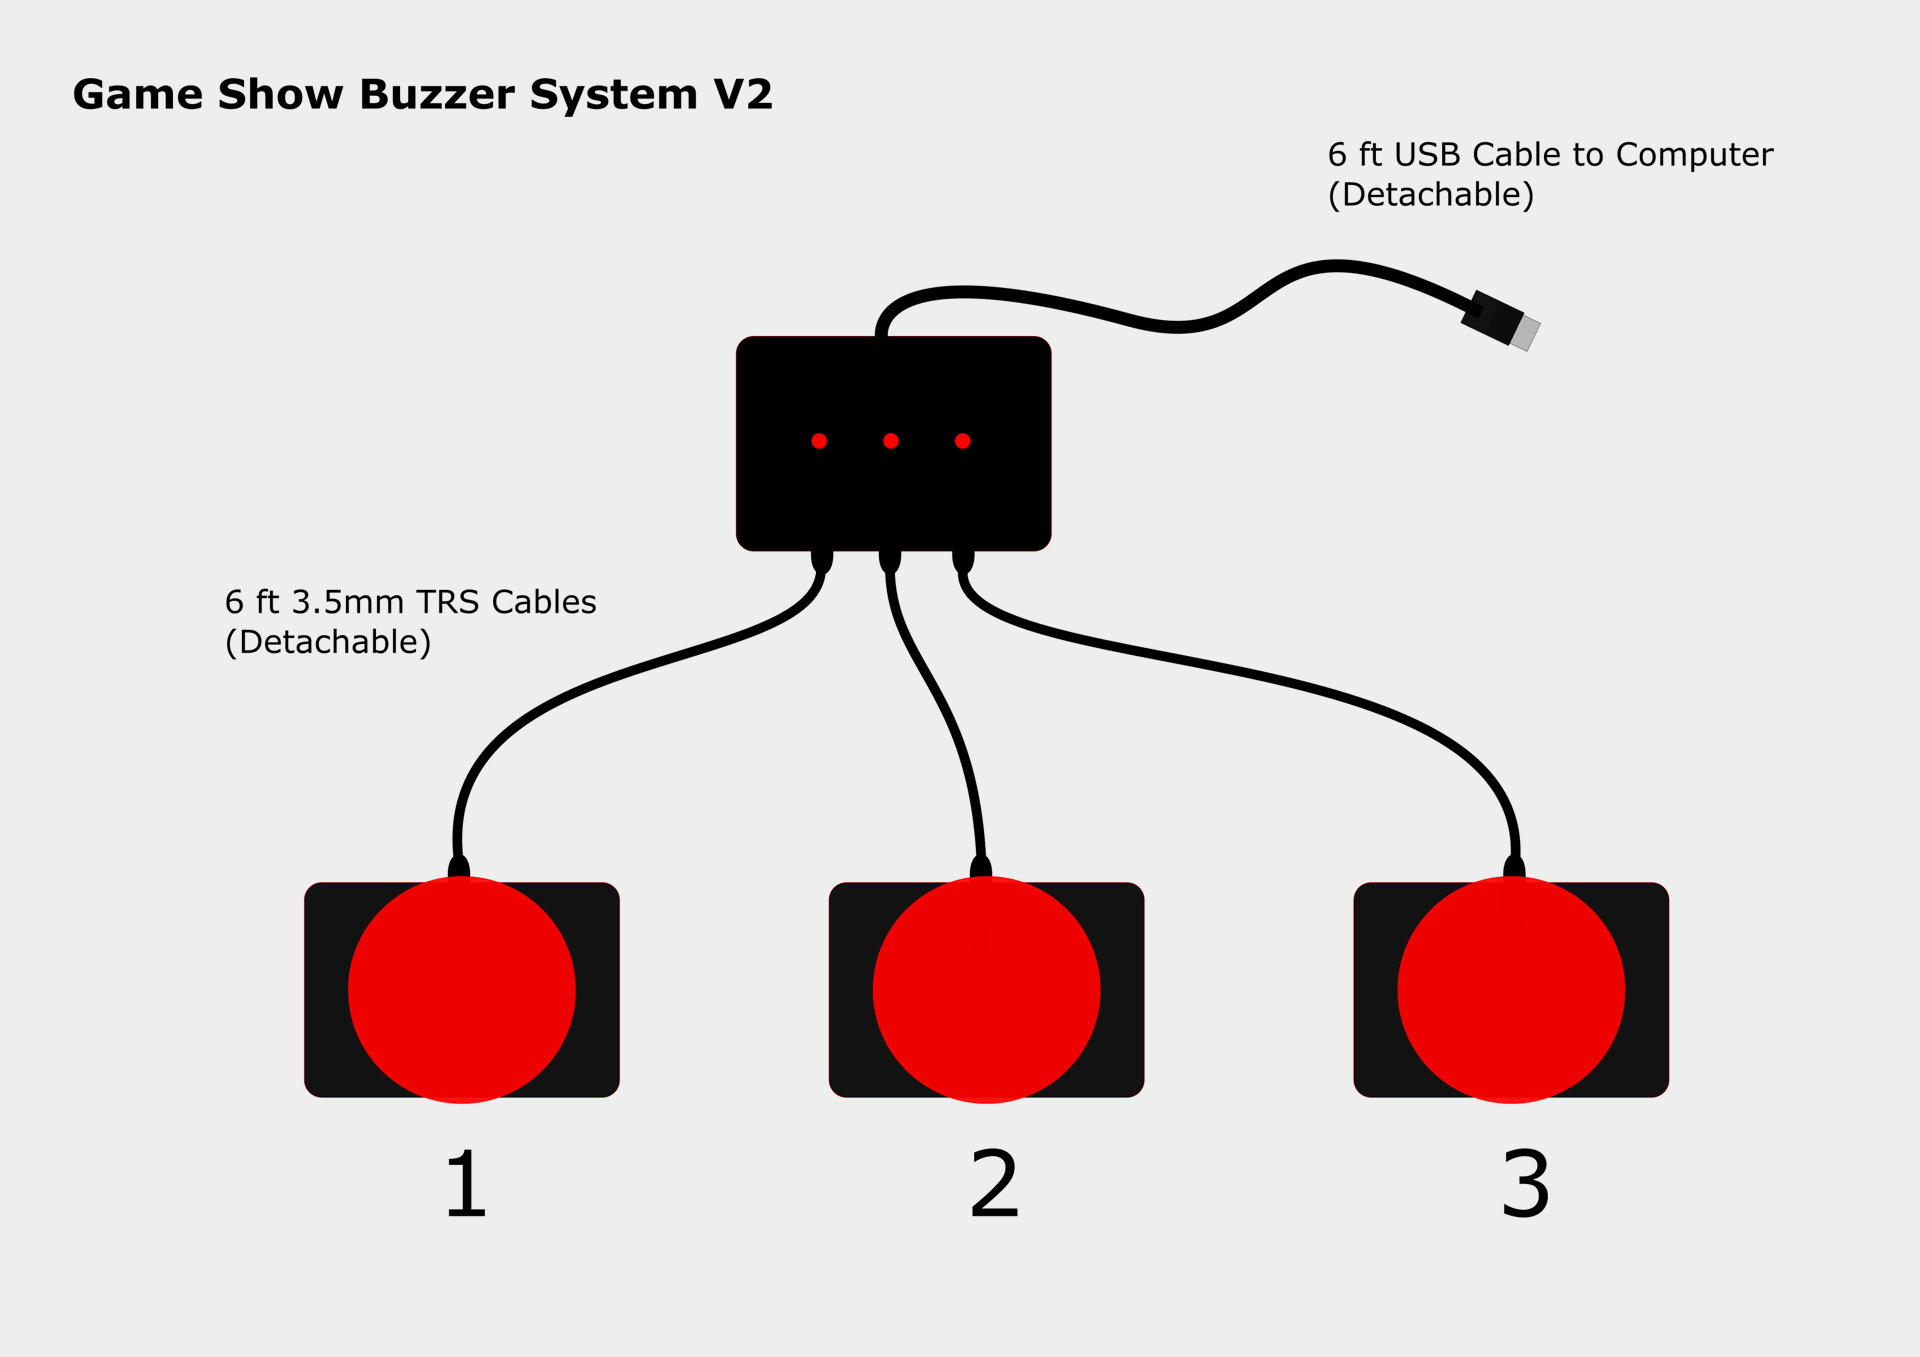
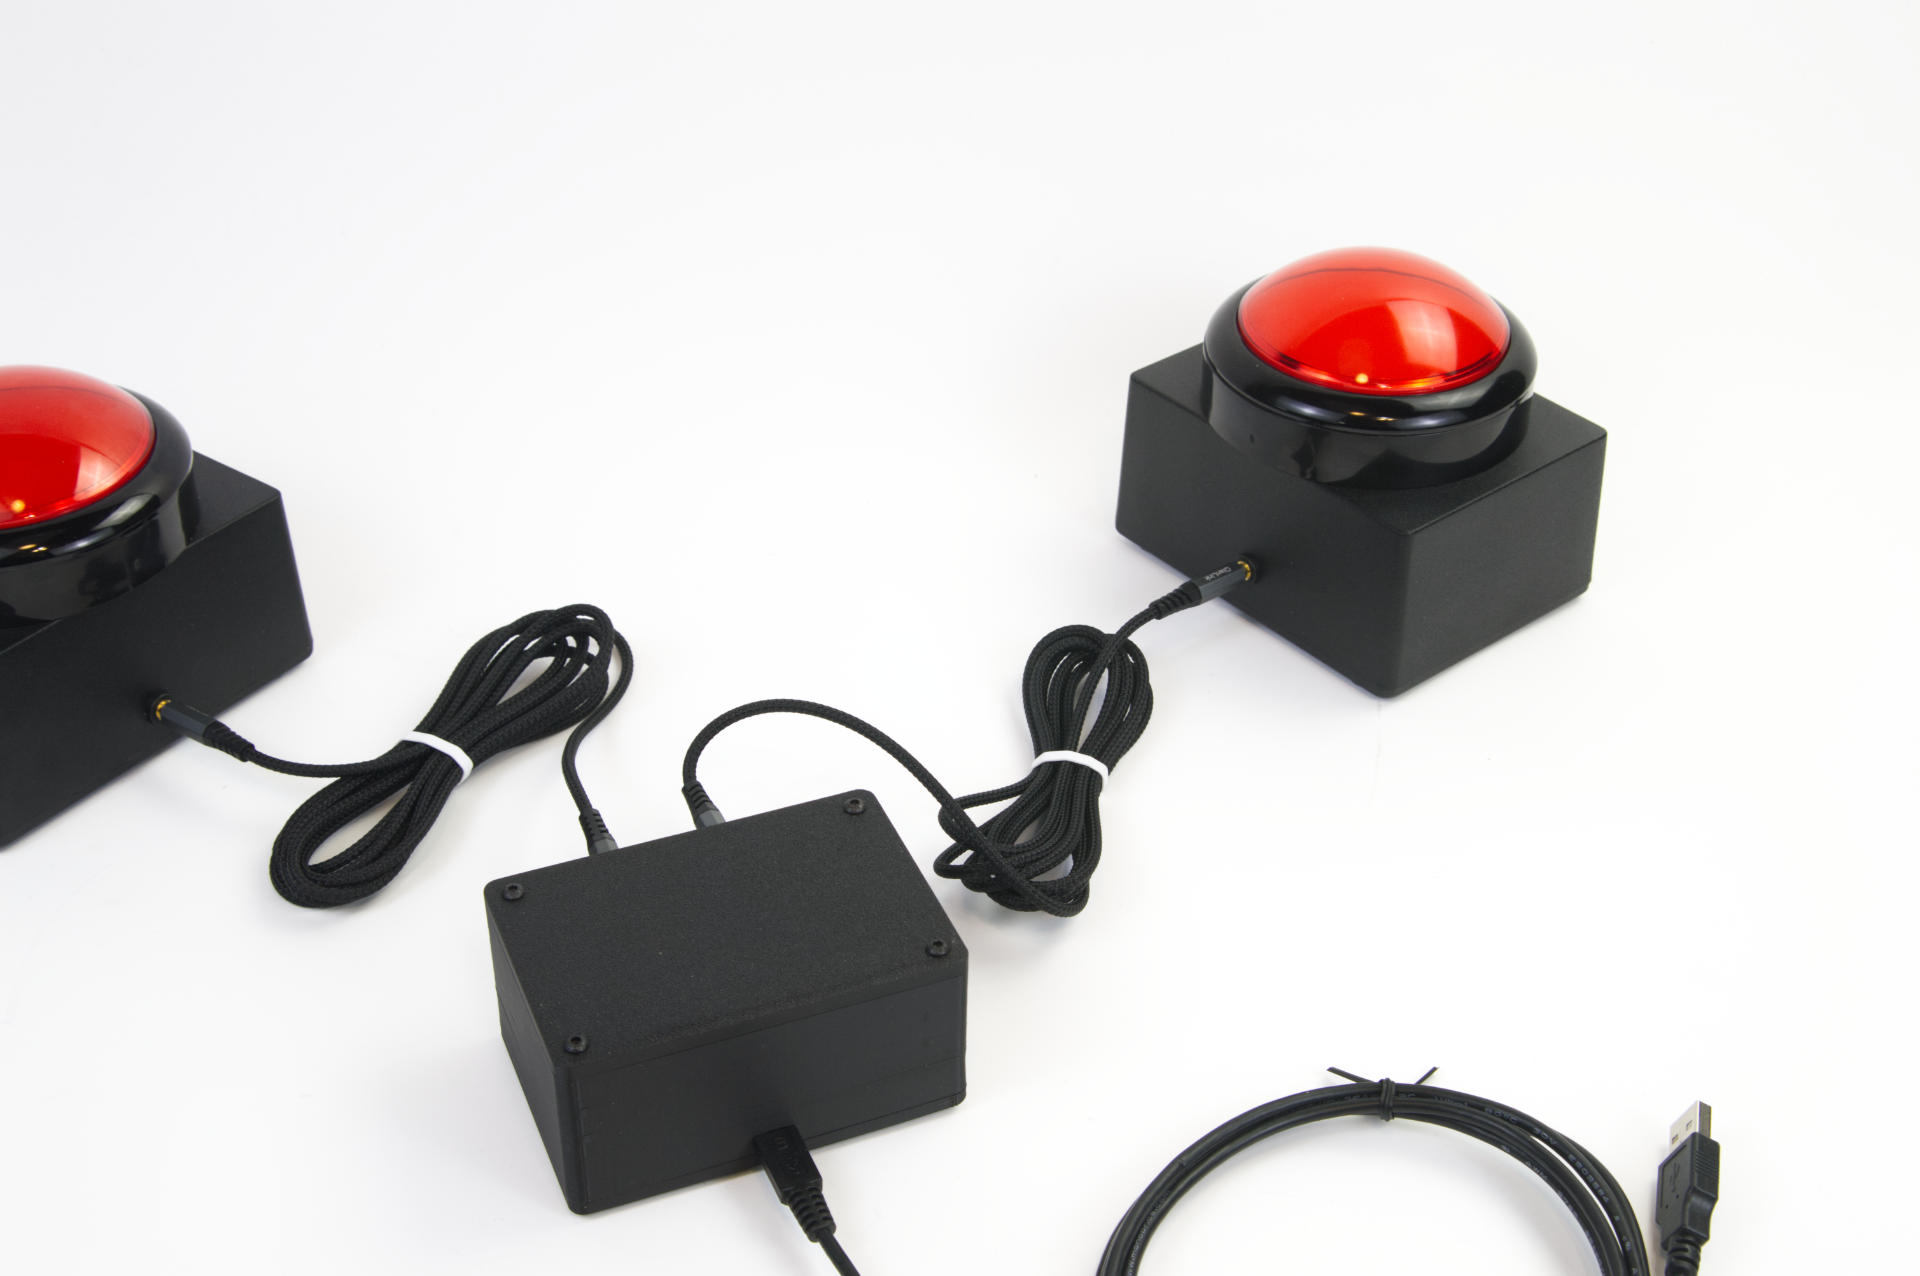
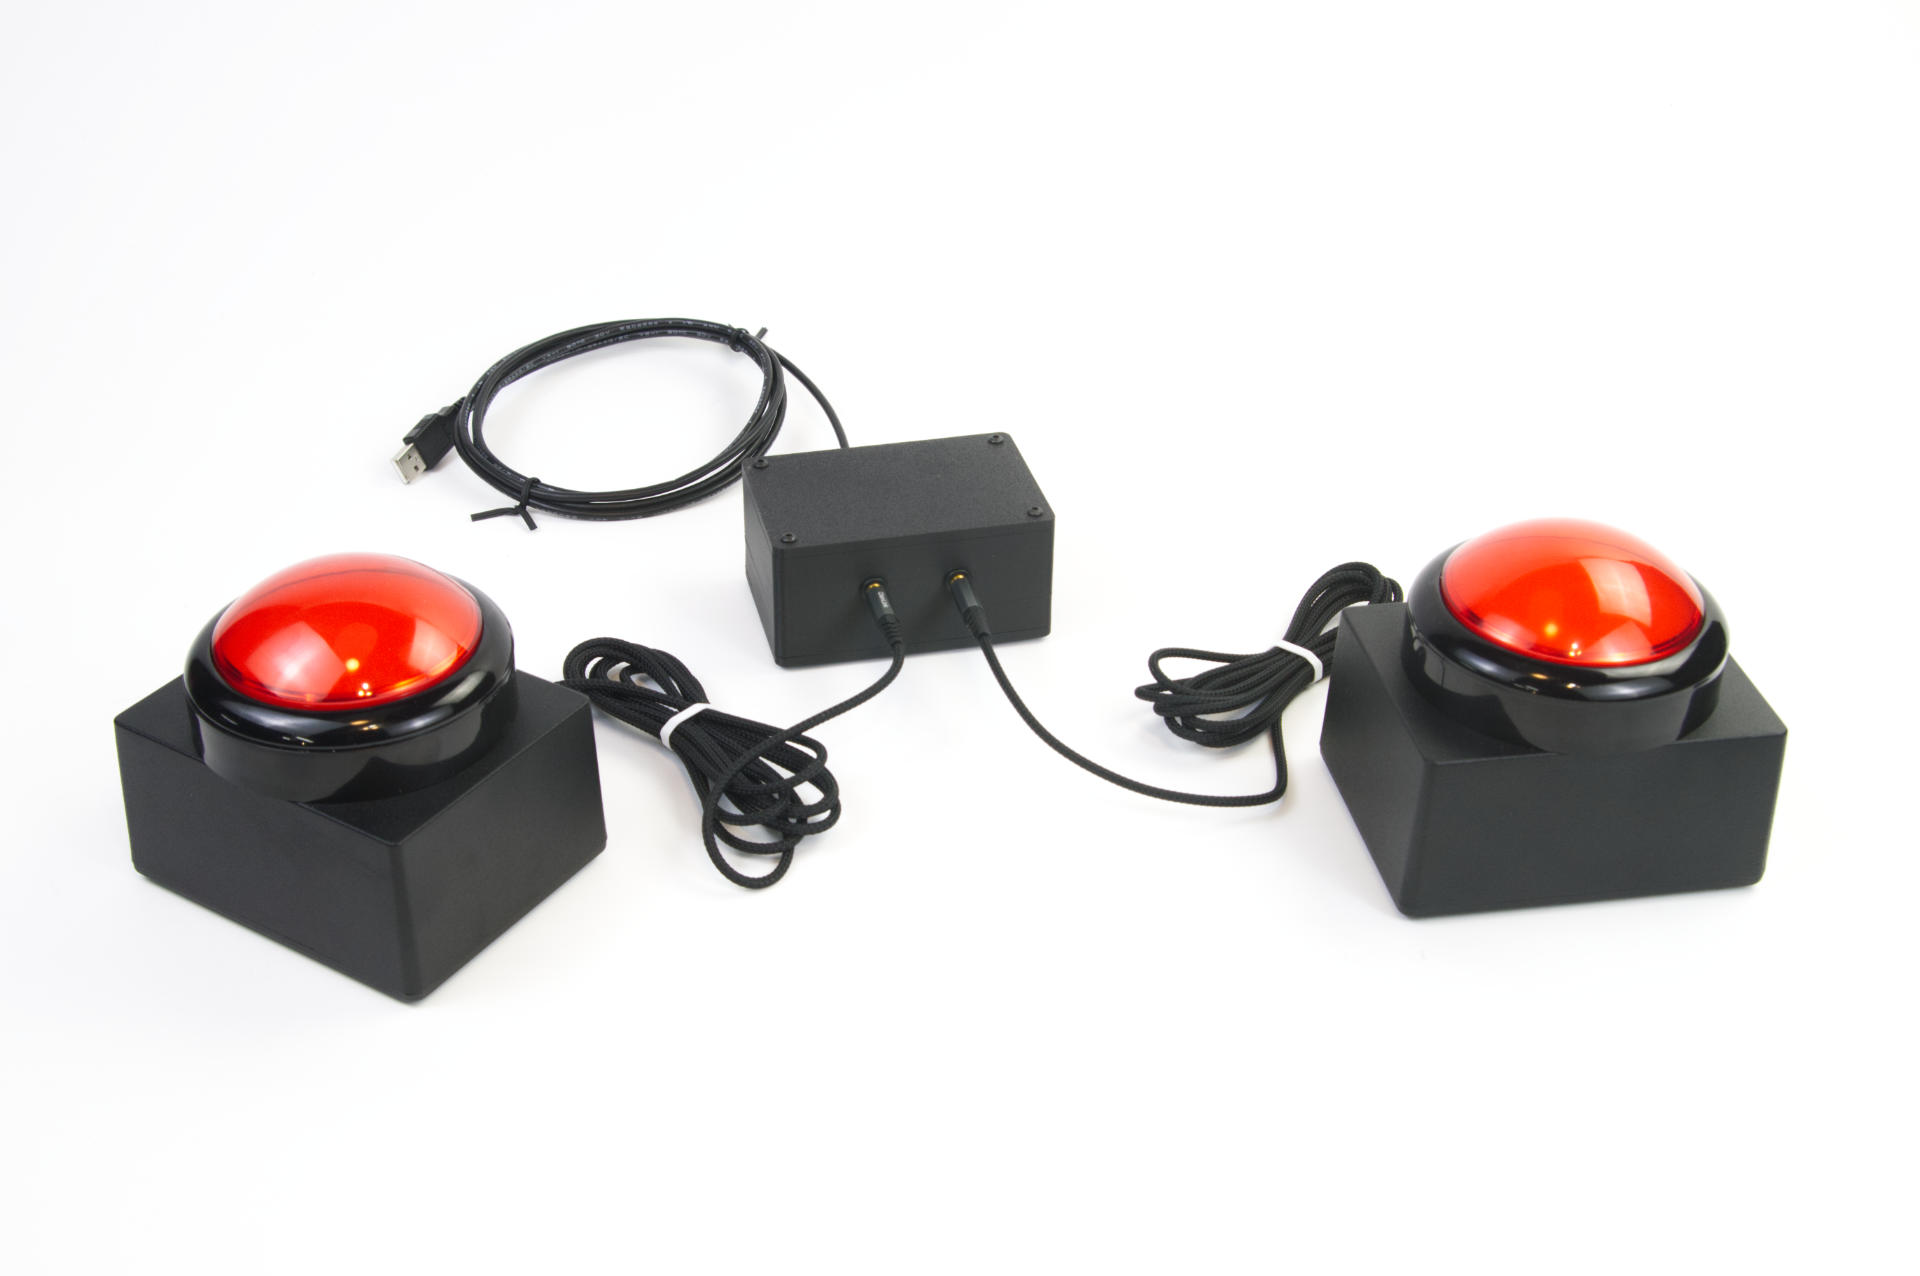
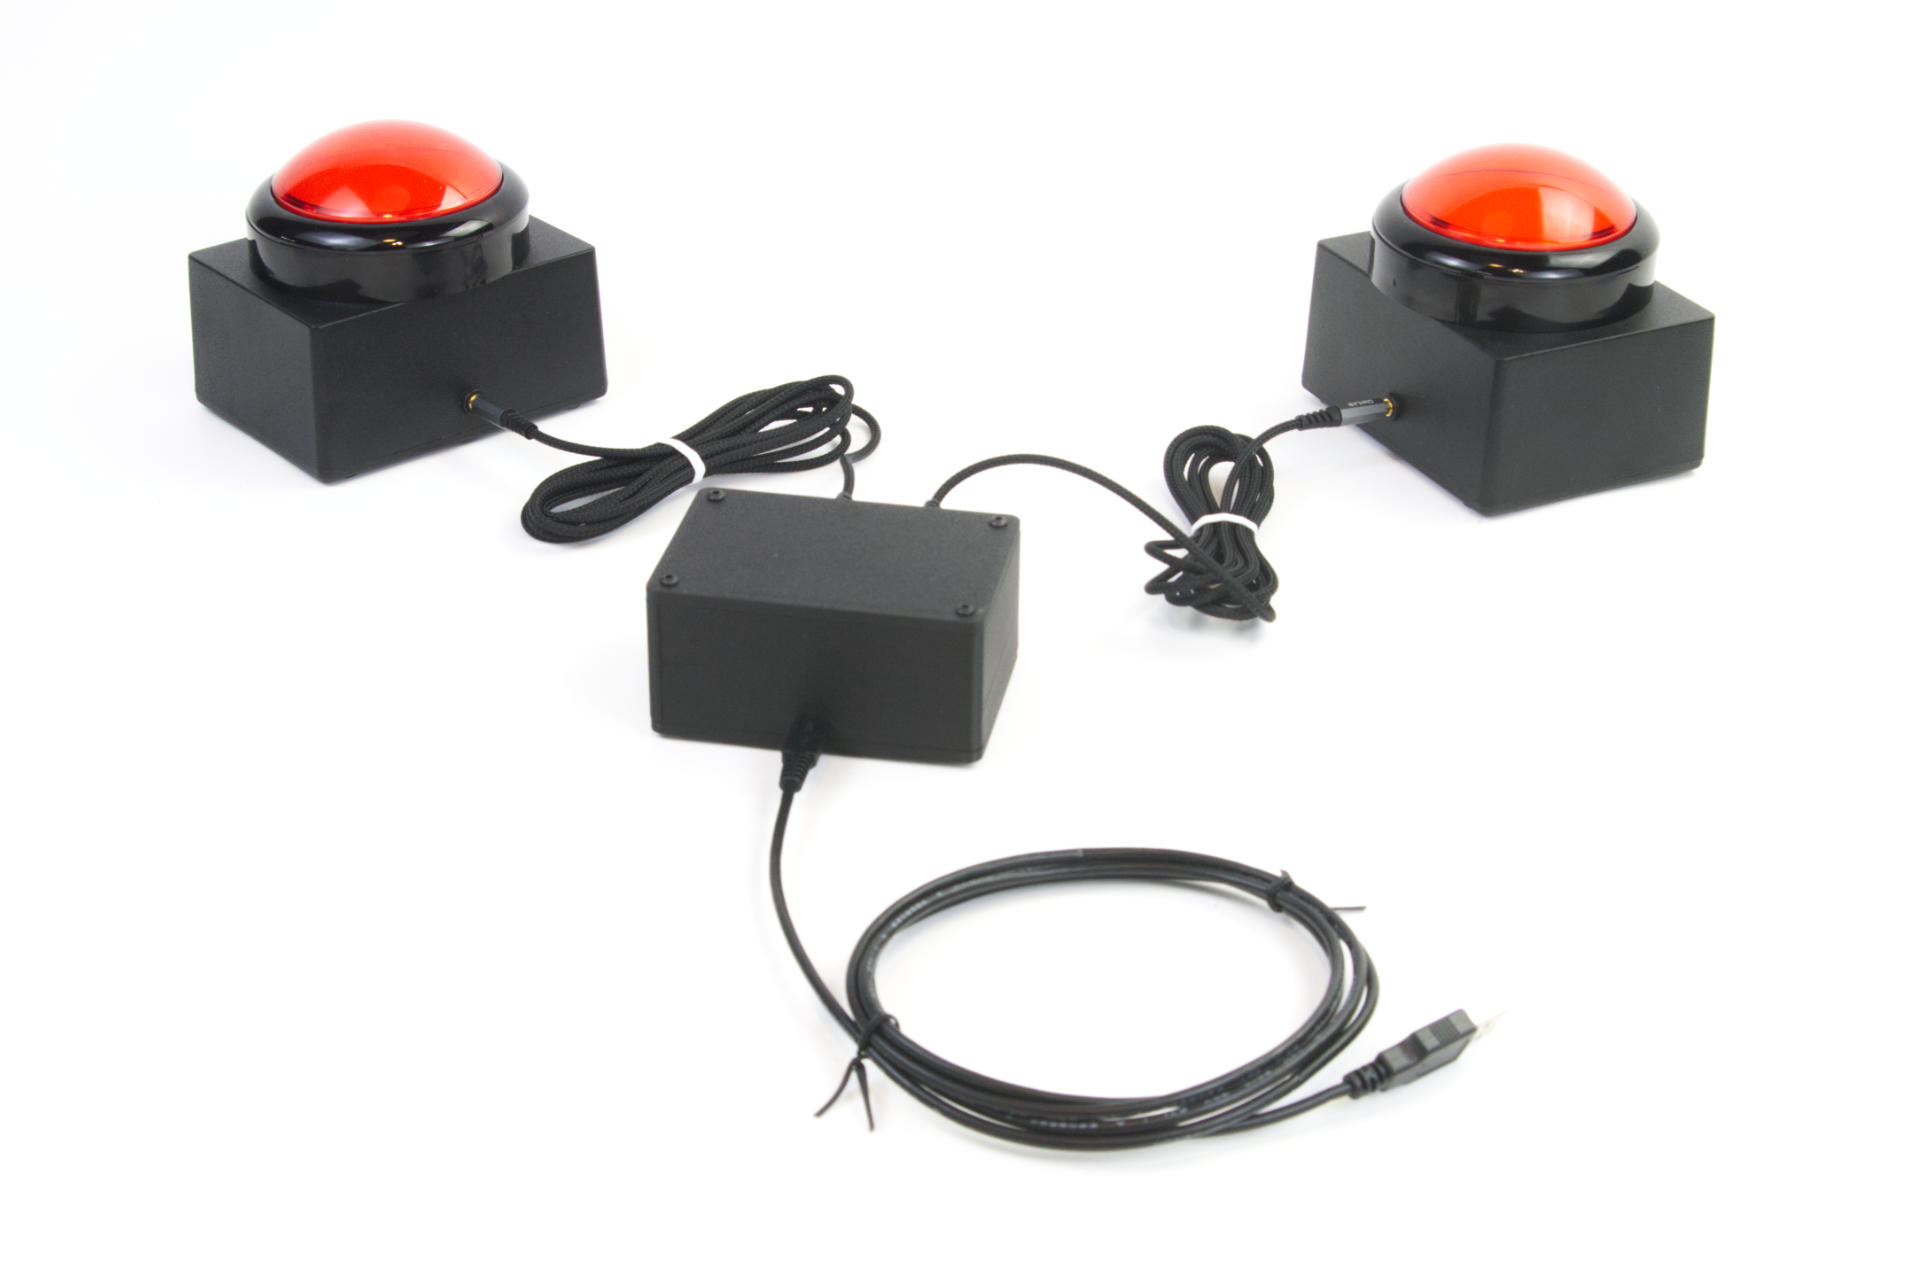
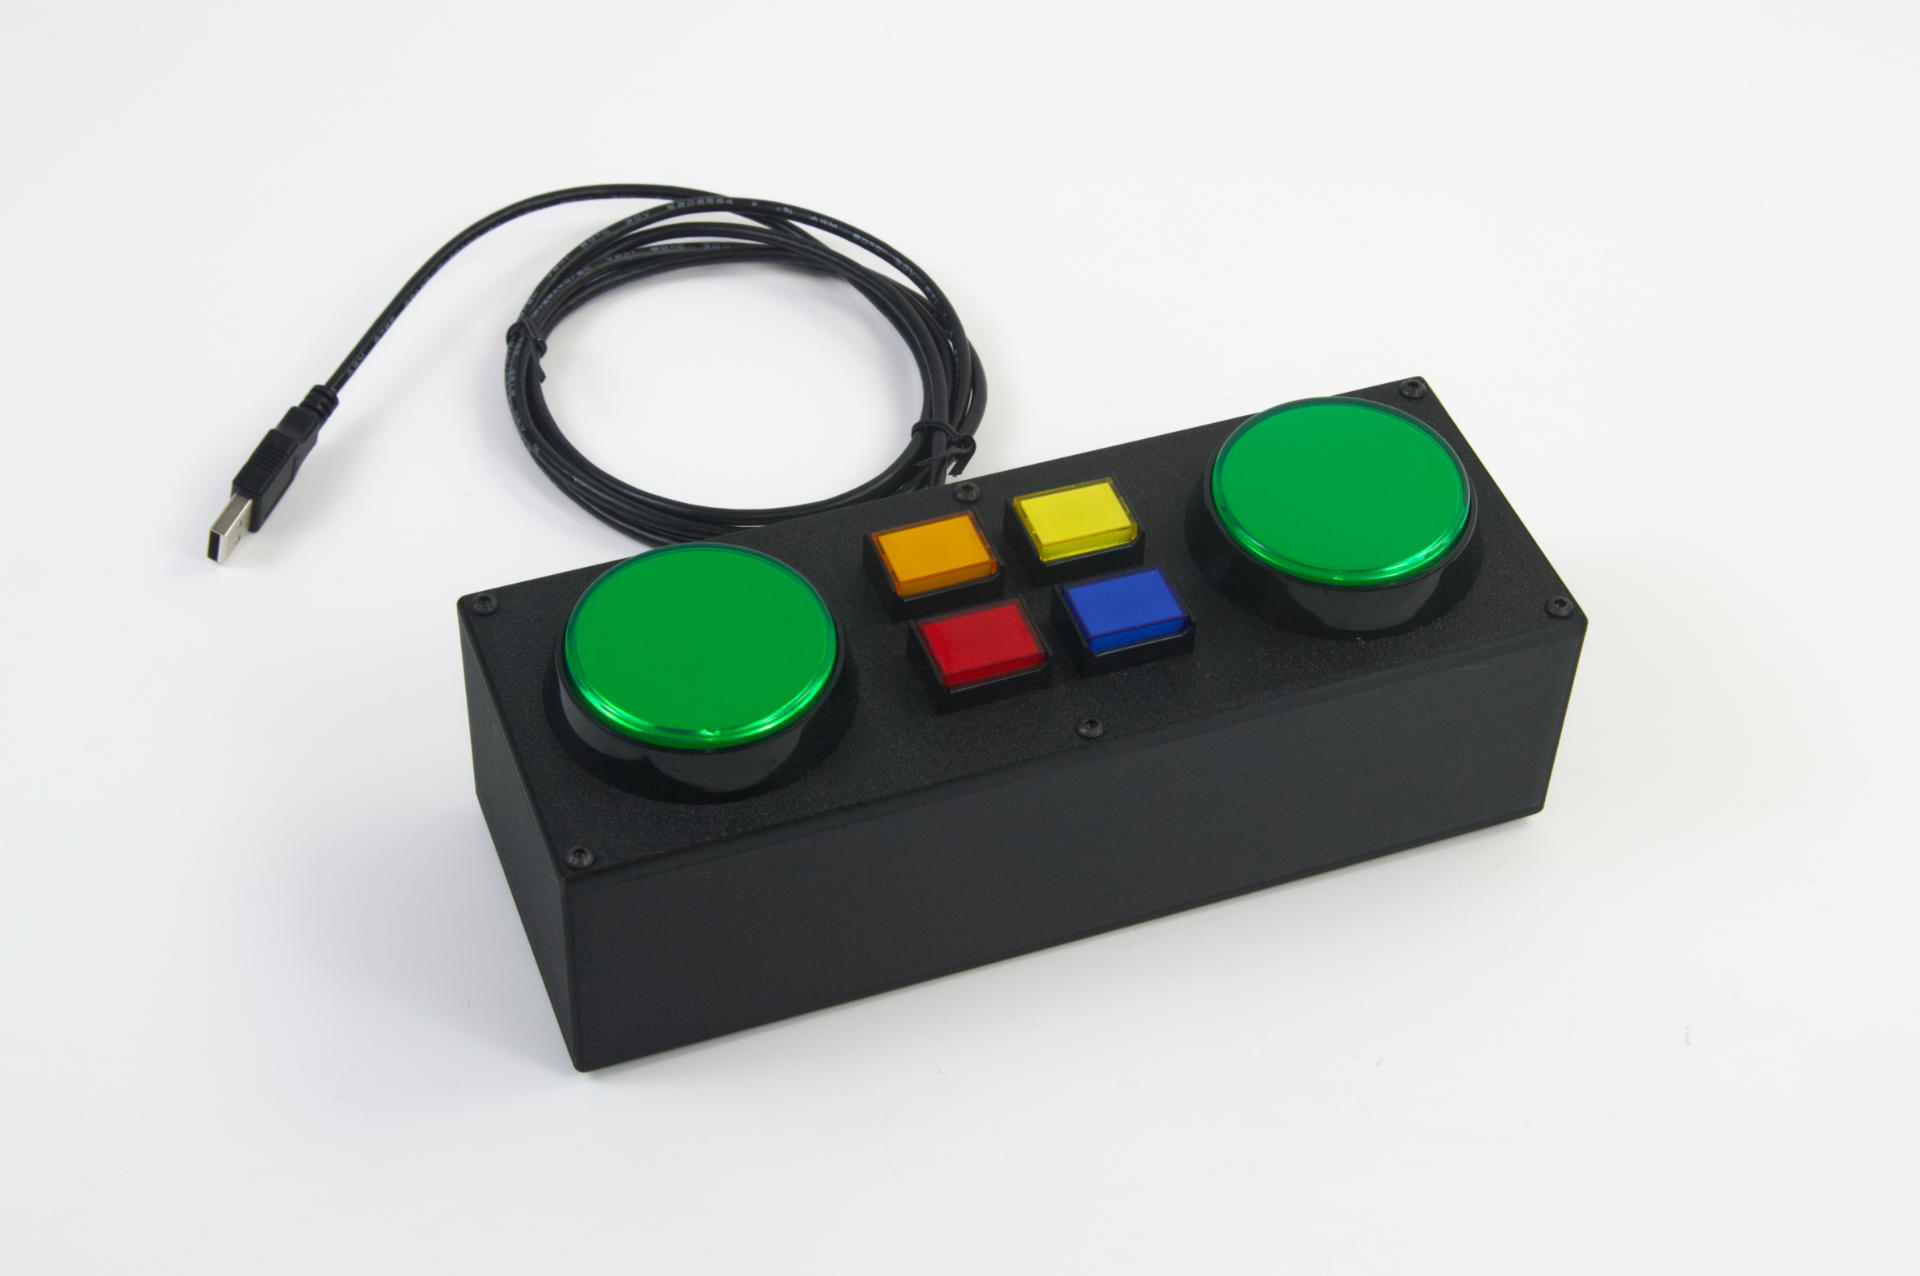
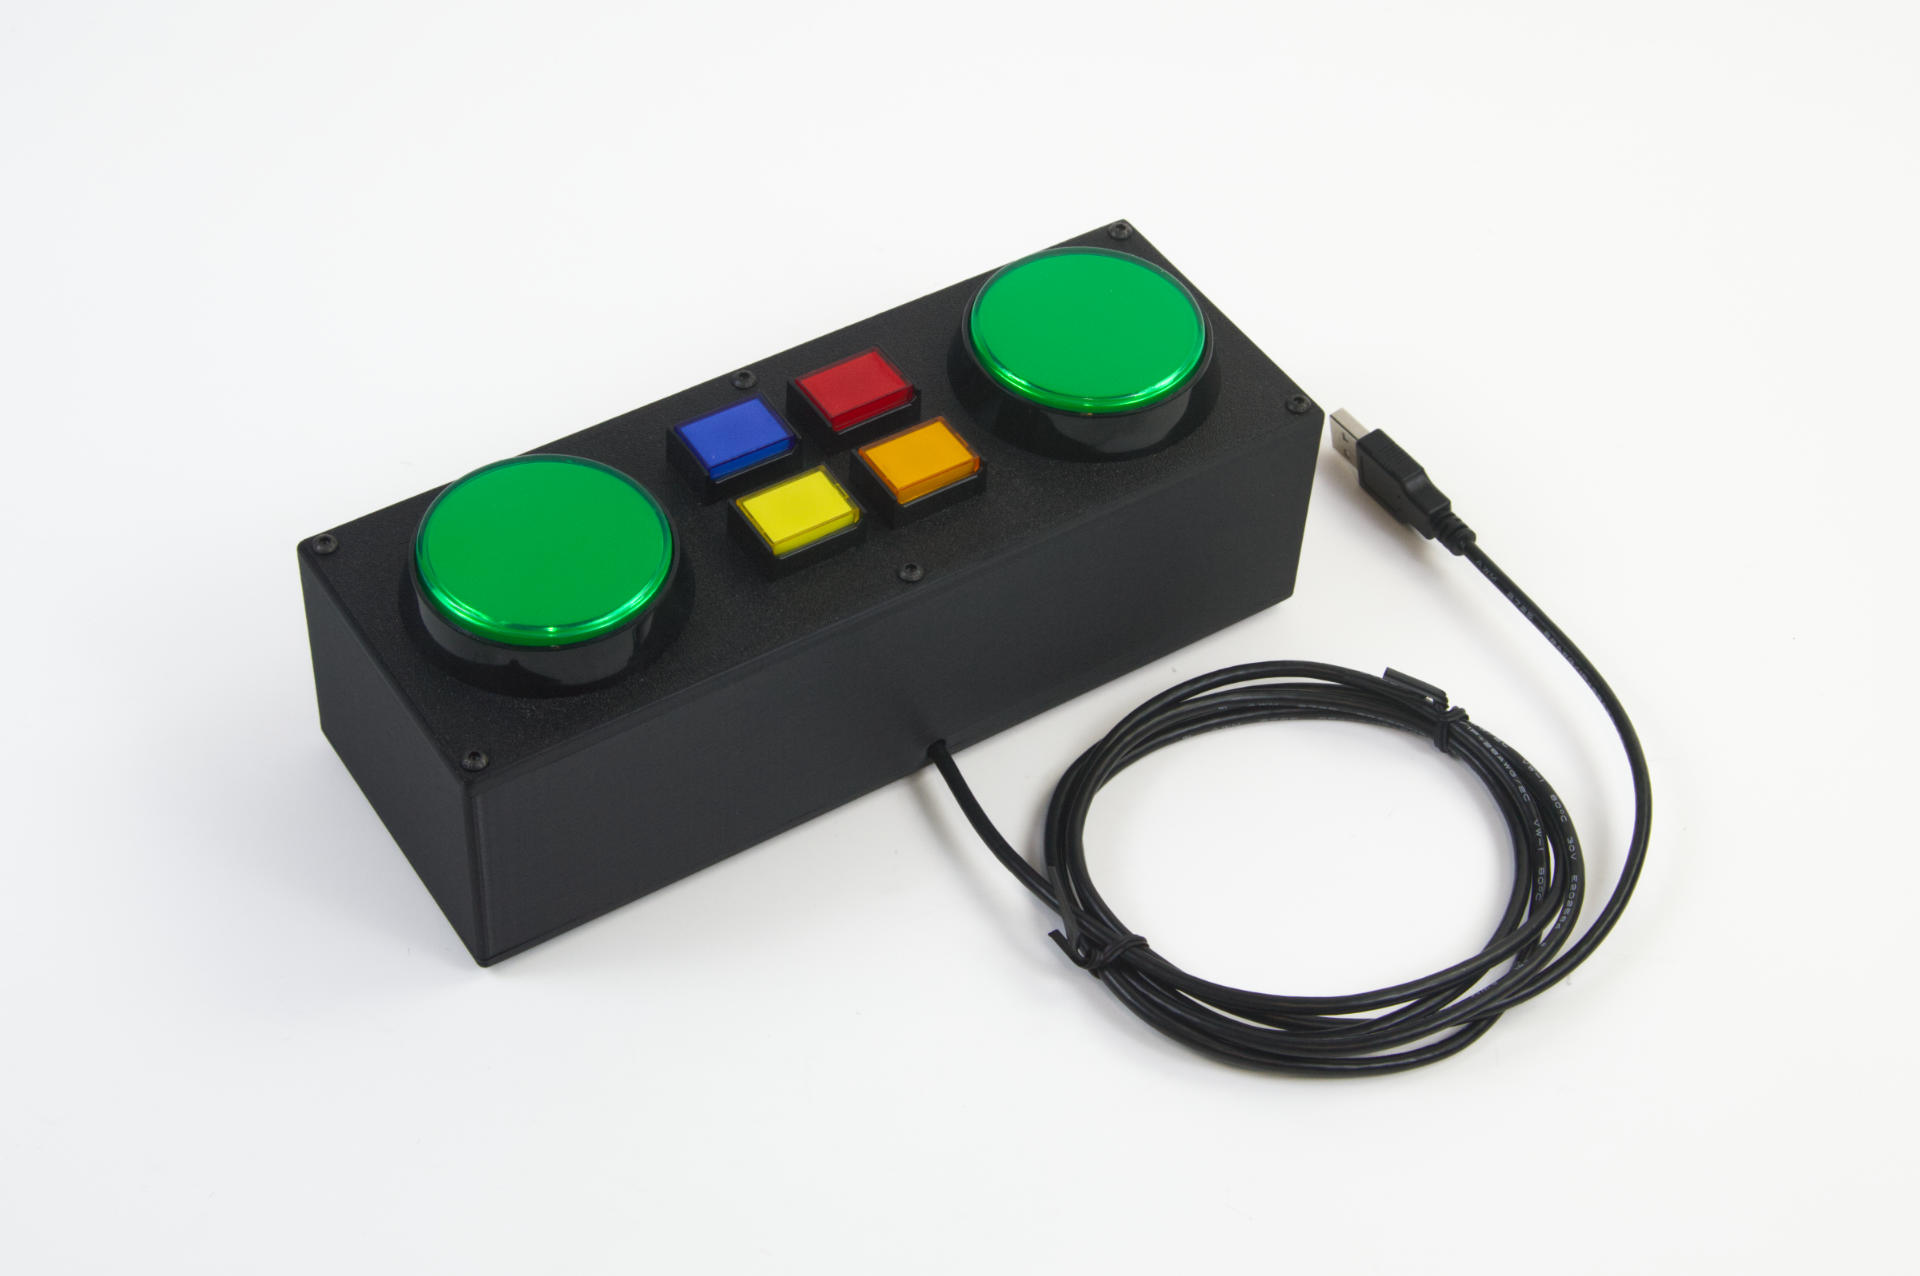
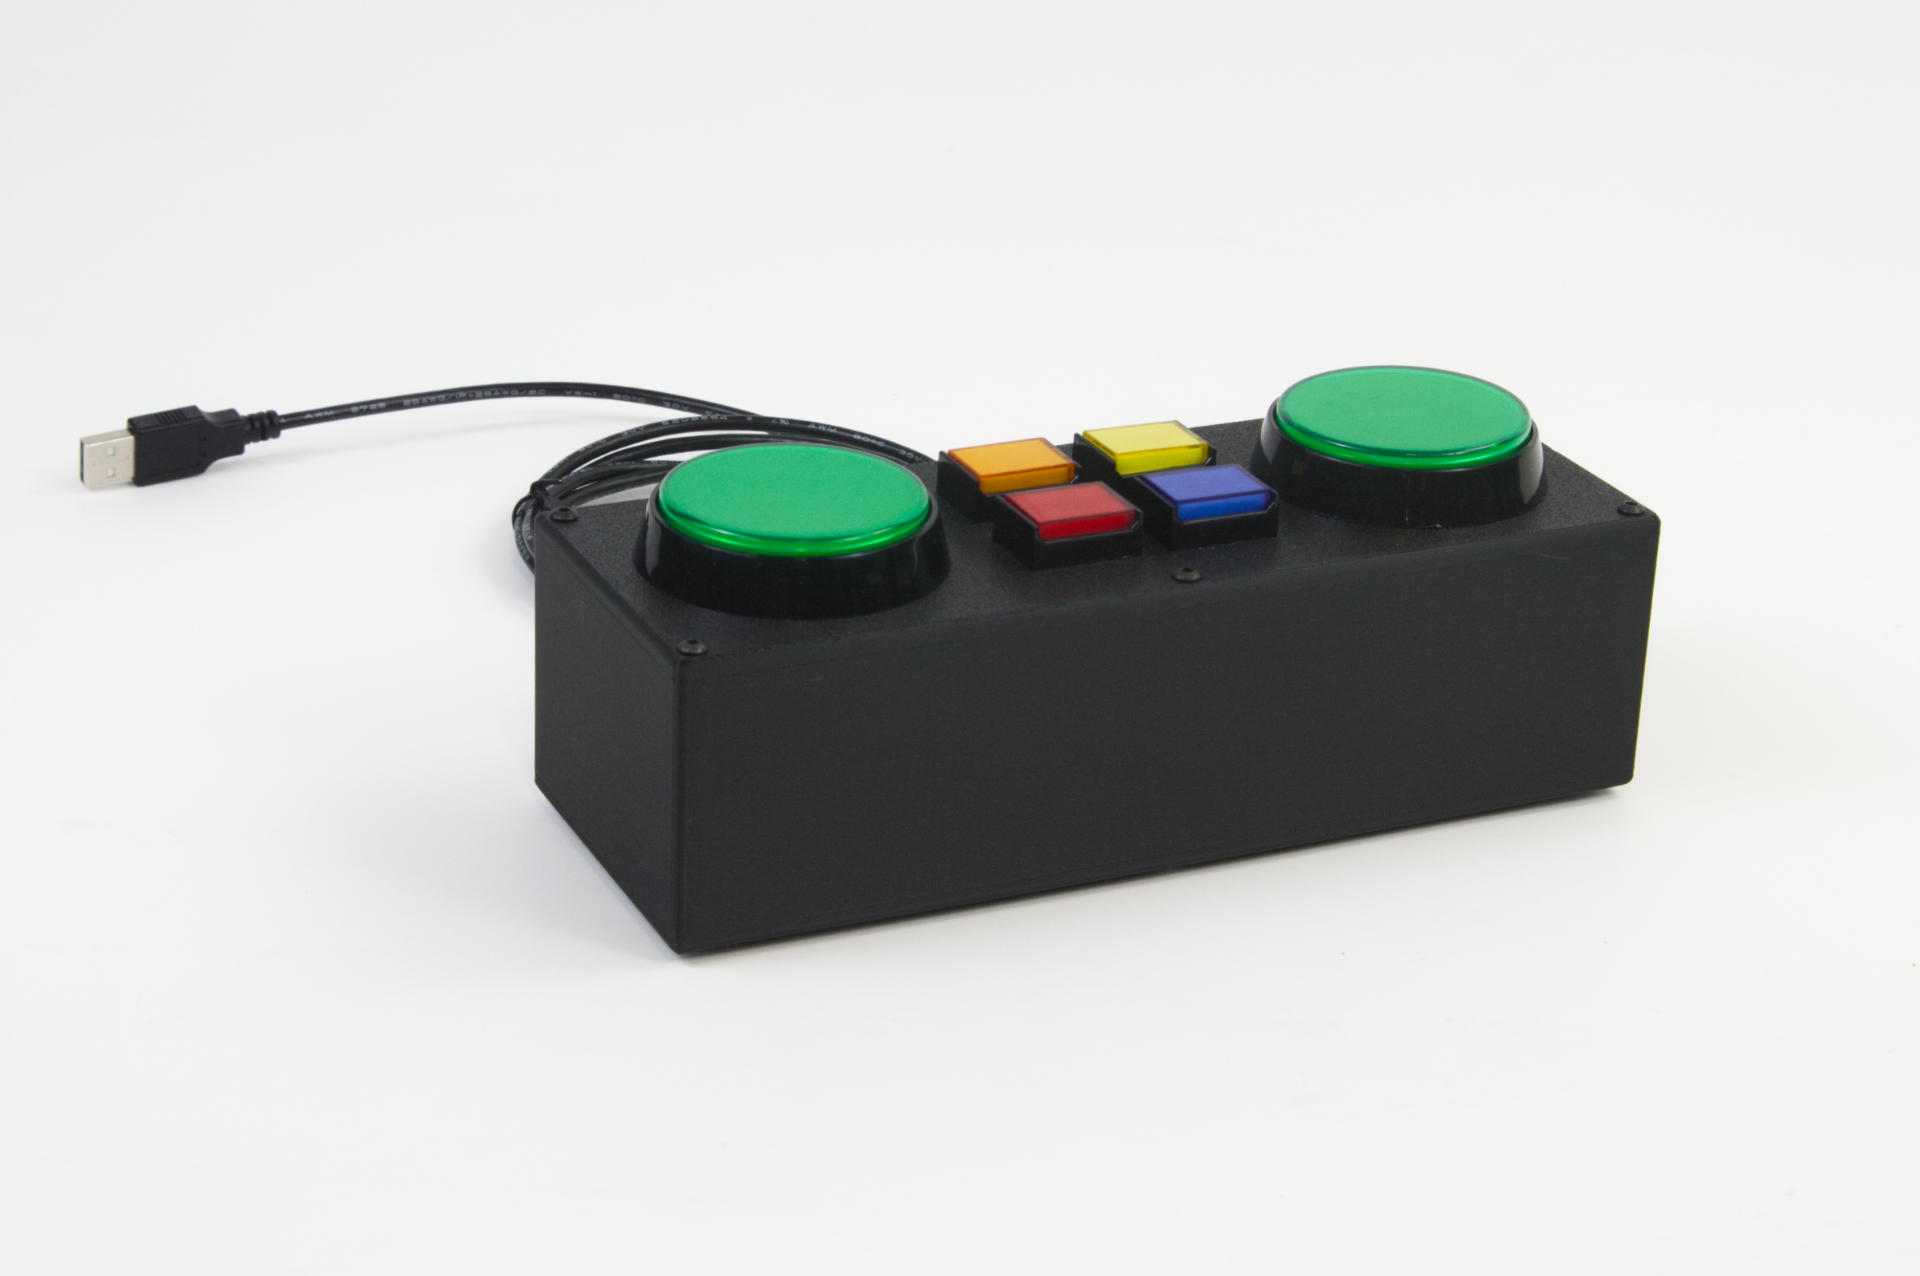
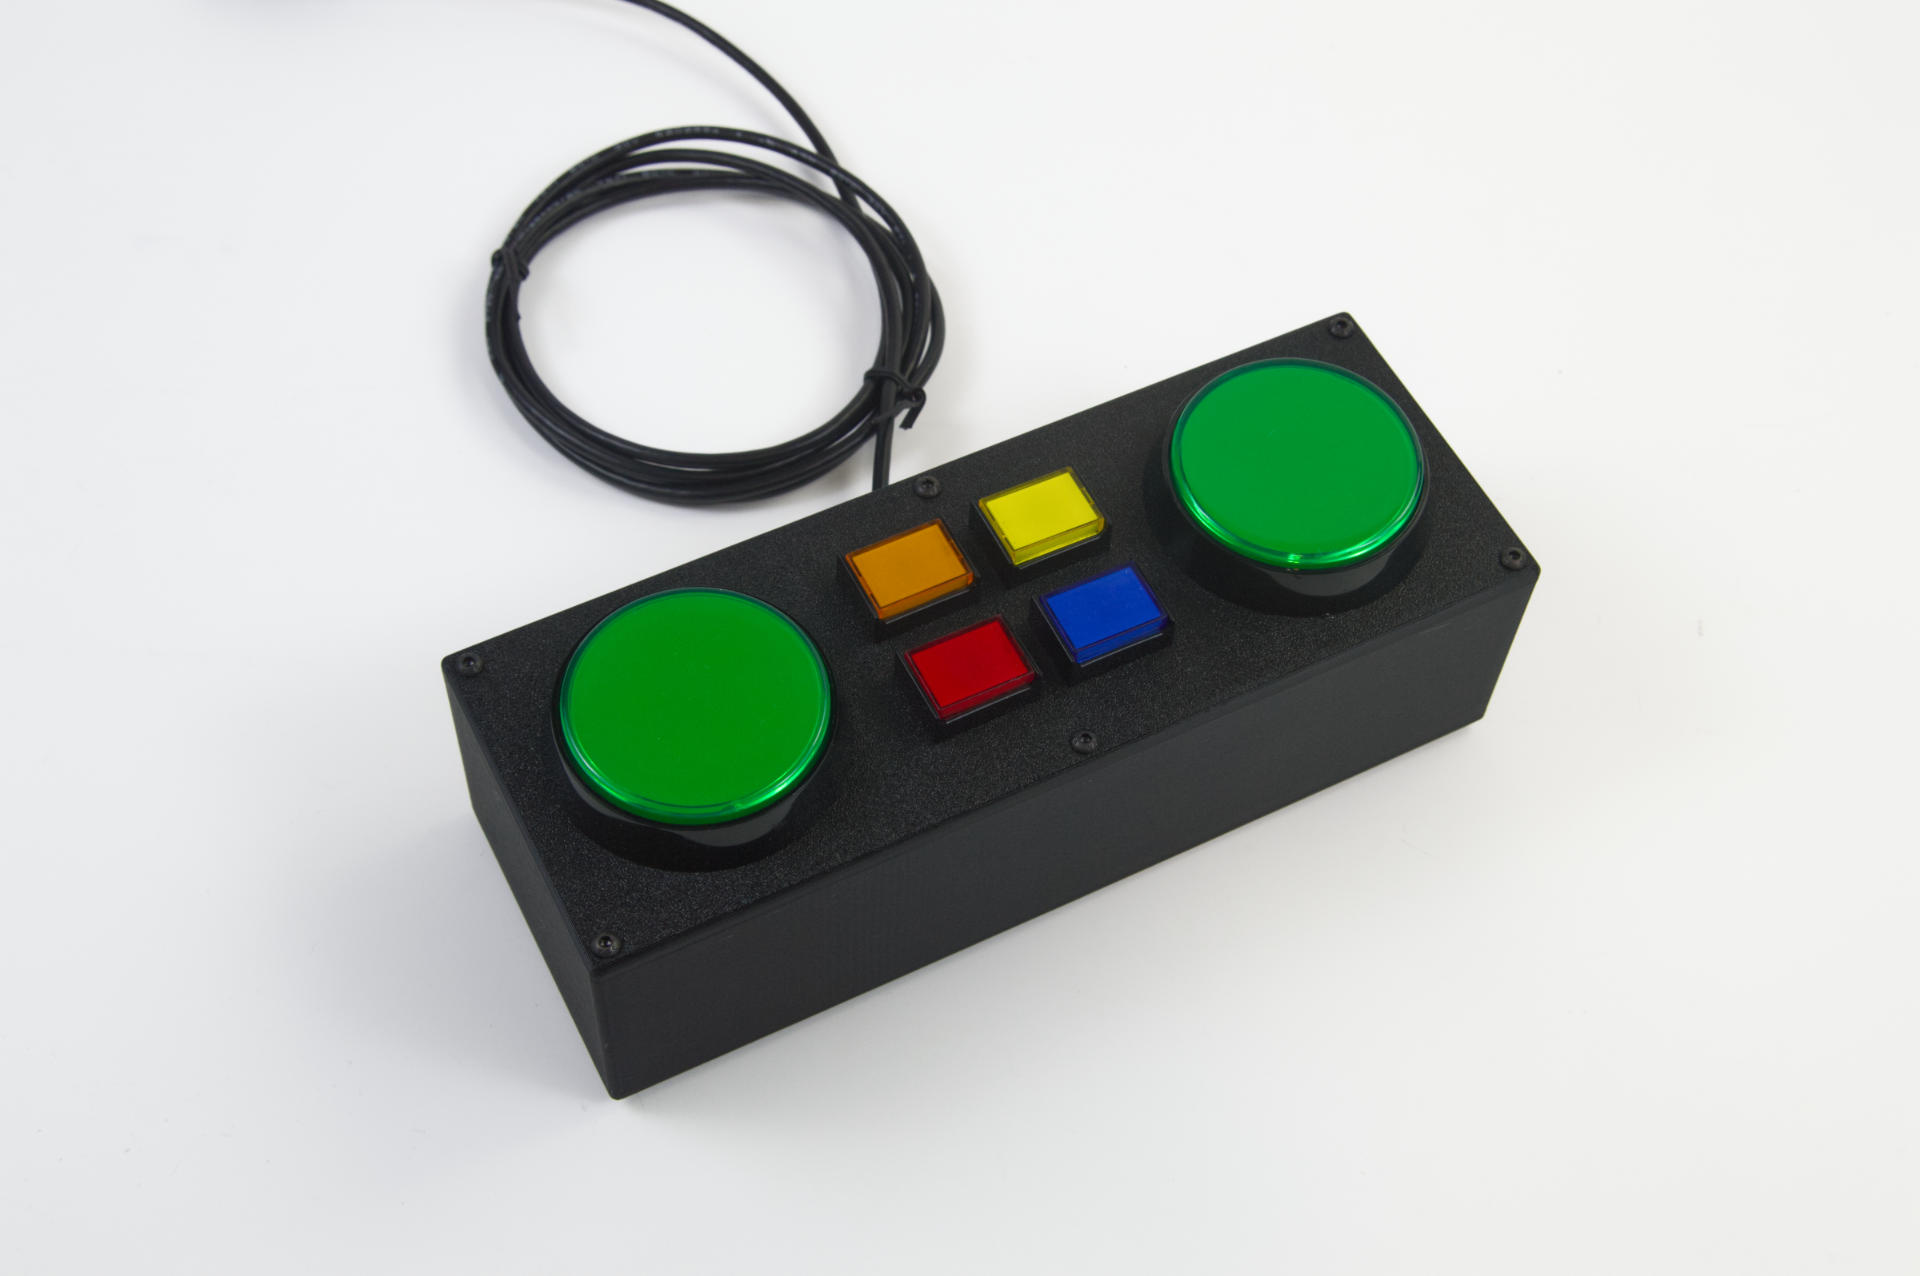
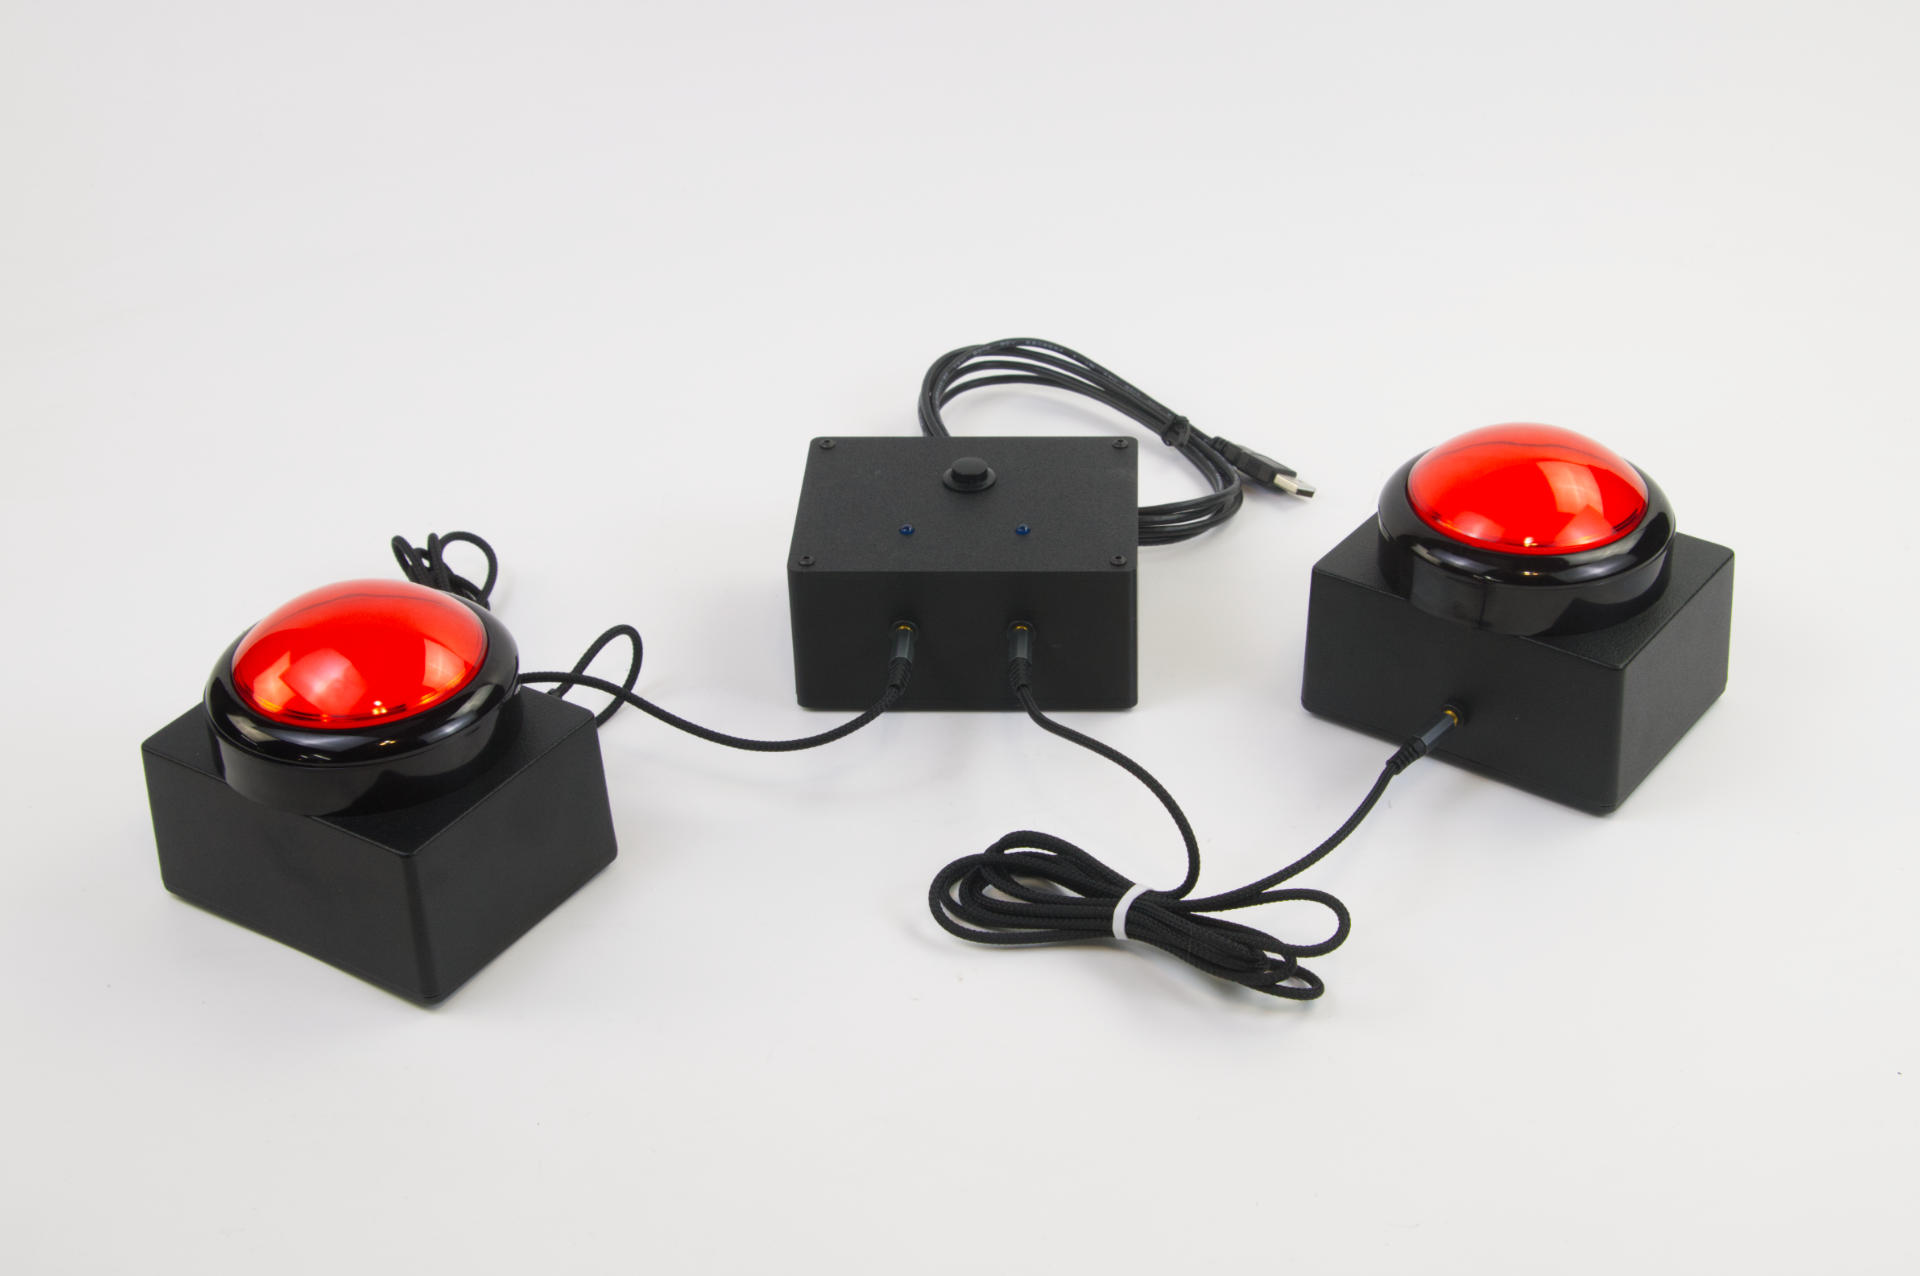
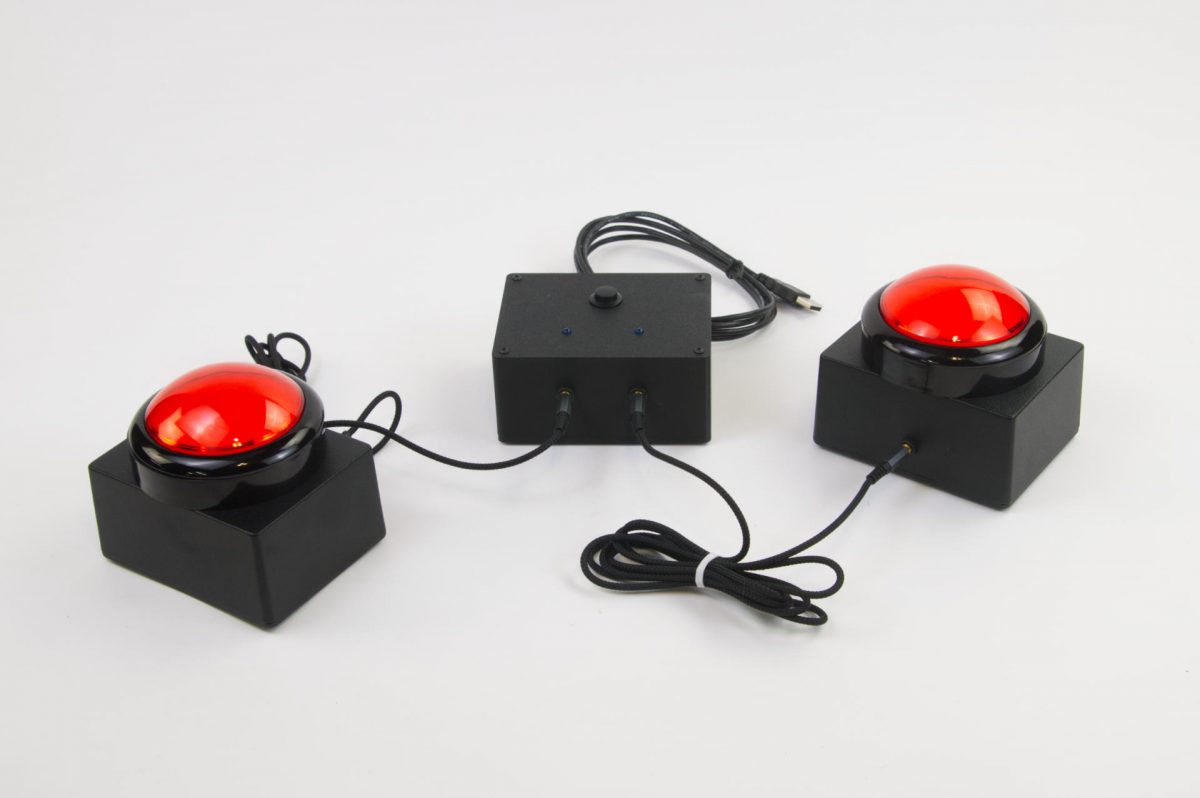
I built Game Show Buzzer System V2 earlier this year, and I had someone who wanted basically the same thing, so this is Game Show Buzzer System V3 with a few very minor tweaks. I’ve added LEDs into the control box so the host can see which player buzzed in.

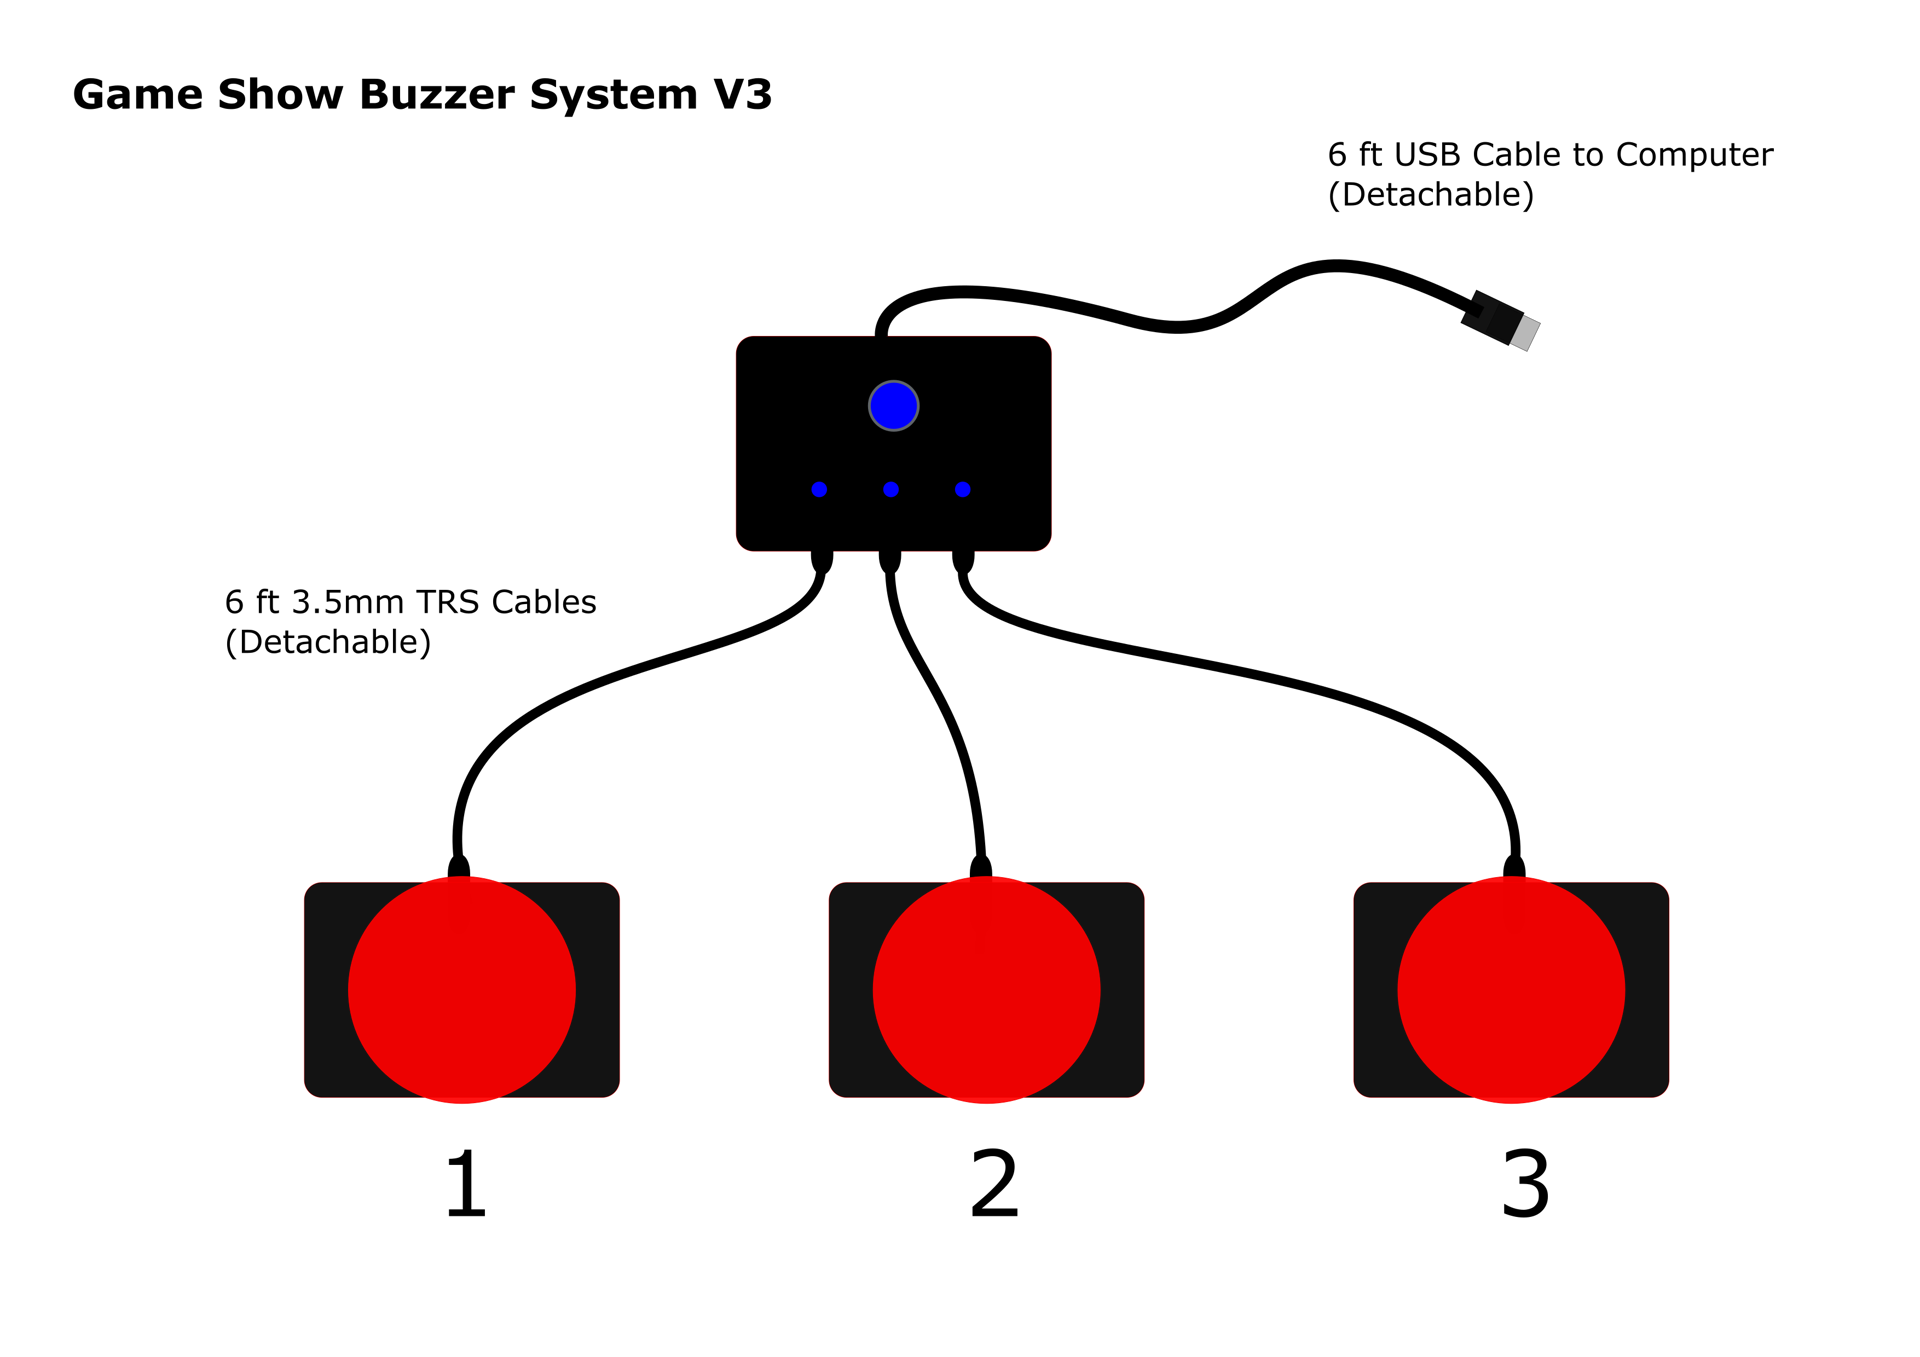
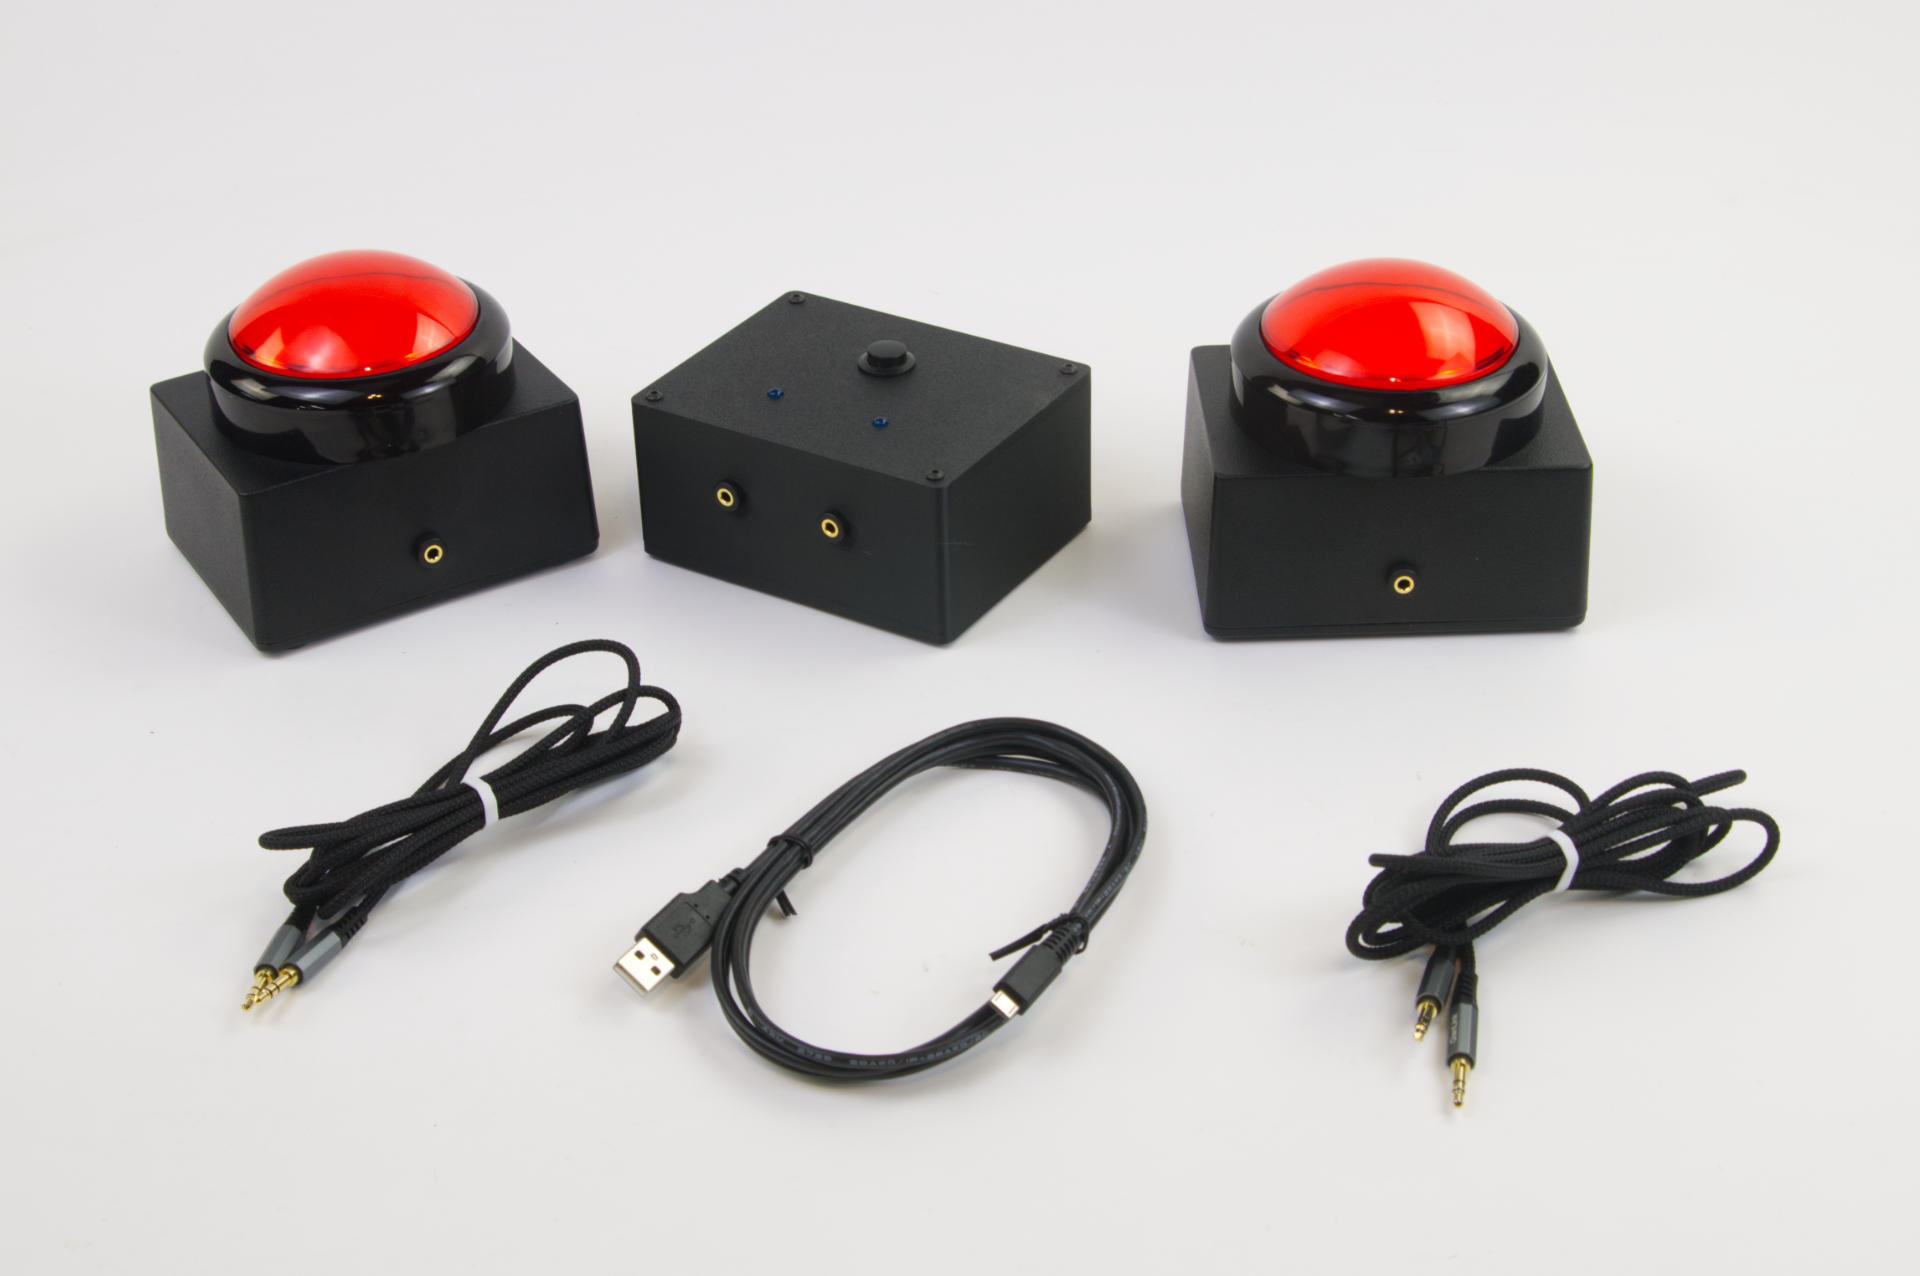
Once again the control box plugs into a computer via USB and can send keys, keystrokes, USB MIDI data, or serial data. Each button plugs into the control box using a TRS cable. We used 6 foot but you could easily get 10 foot or longer if needed.
Game Show Buzzer System

For this one the client will be using Resolume VJ Software & Media Server and each button is set to send a different MIDI noteOn signal to trigger a video to play. Like any game show if you hit your buzzer first you get to answer the question! In discussing functionality I explained how we usually have a “lock out” time before another button press will be recognized. The client thought a three second delay would be fine…

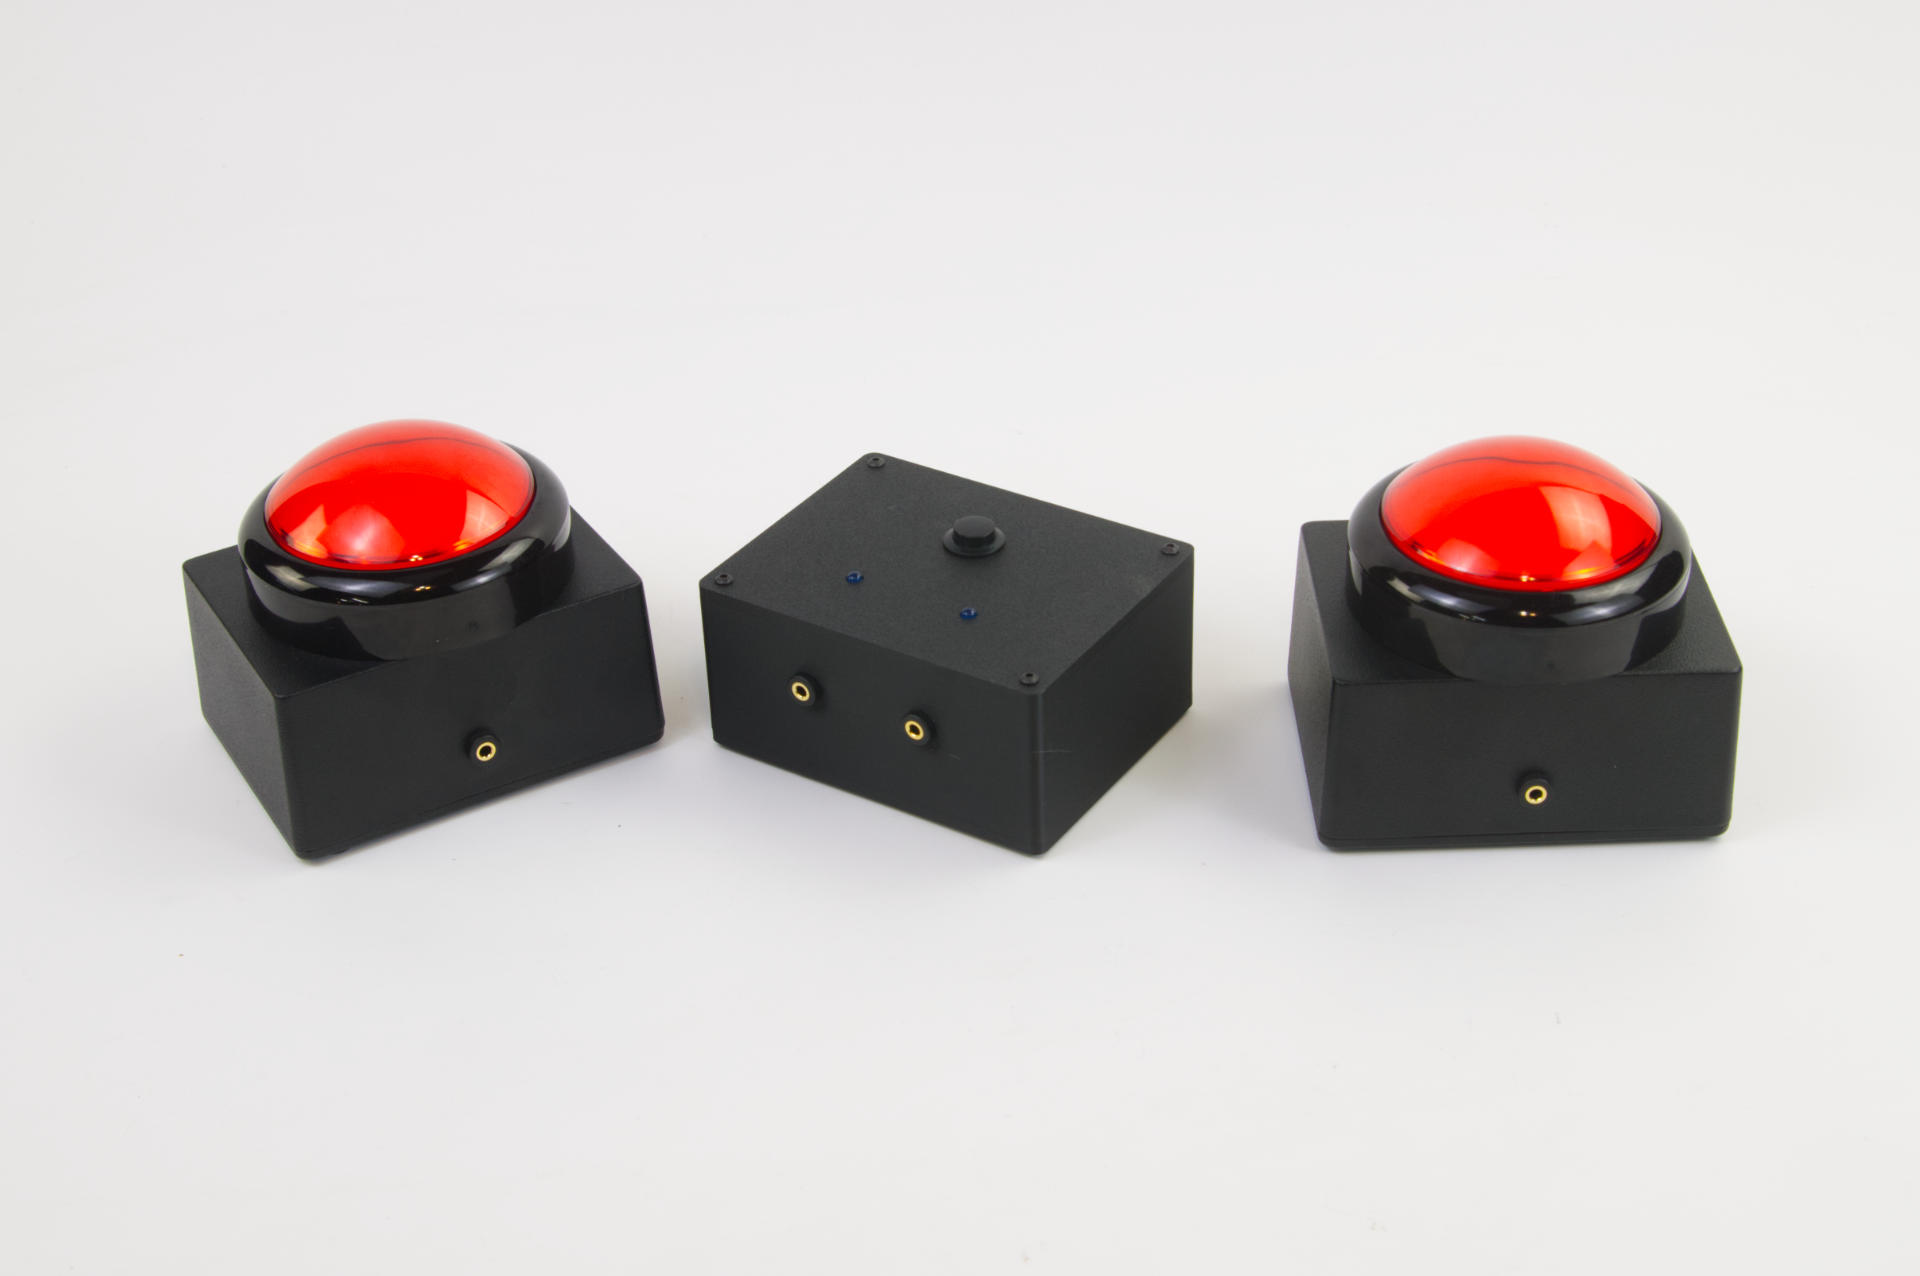
But! I mentioned we could always adjust that in the firmware later if needed… Also, I added a reset button directly on the control box. This would allow the “host” to press the button to end the lockout period. This is sort of a future-proofing feature.
Game Show Buzzer System

I think if I were building a deluxe version I would add a control to set the lockout time… something like what I did for the Tradeshow Video Player Controller perhaps. But also, am I getting ahead of myself? Since I haven’t built it yet I will say “No” but then…
Game Show Buzzer System

Also, this could be used as a standalone system without a computer. It’s less exciting, as there is no sound or video triggered when the button is pressed, but as a bare-bones quiz game system, it would work fine. If you do want sounds it would be trivial to plug into a computer via USB and use QLab or LeMIDI for those.

I started working on a four button version of this, but now I’m thinking I might want to just build the deluxe version and hope that someone might want to purchase it in the future.

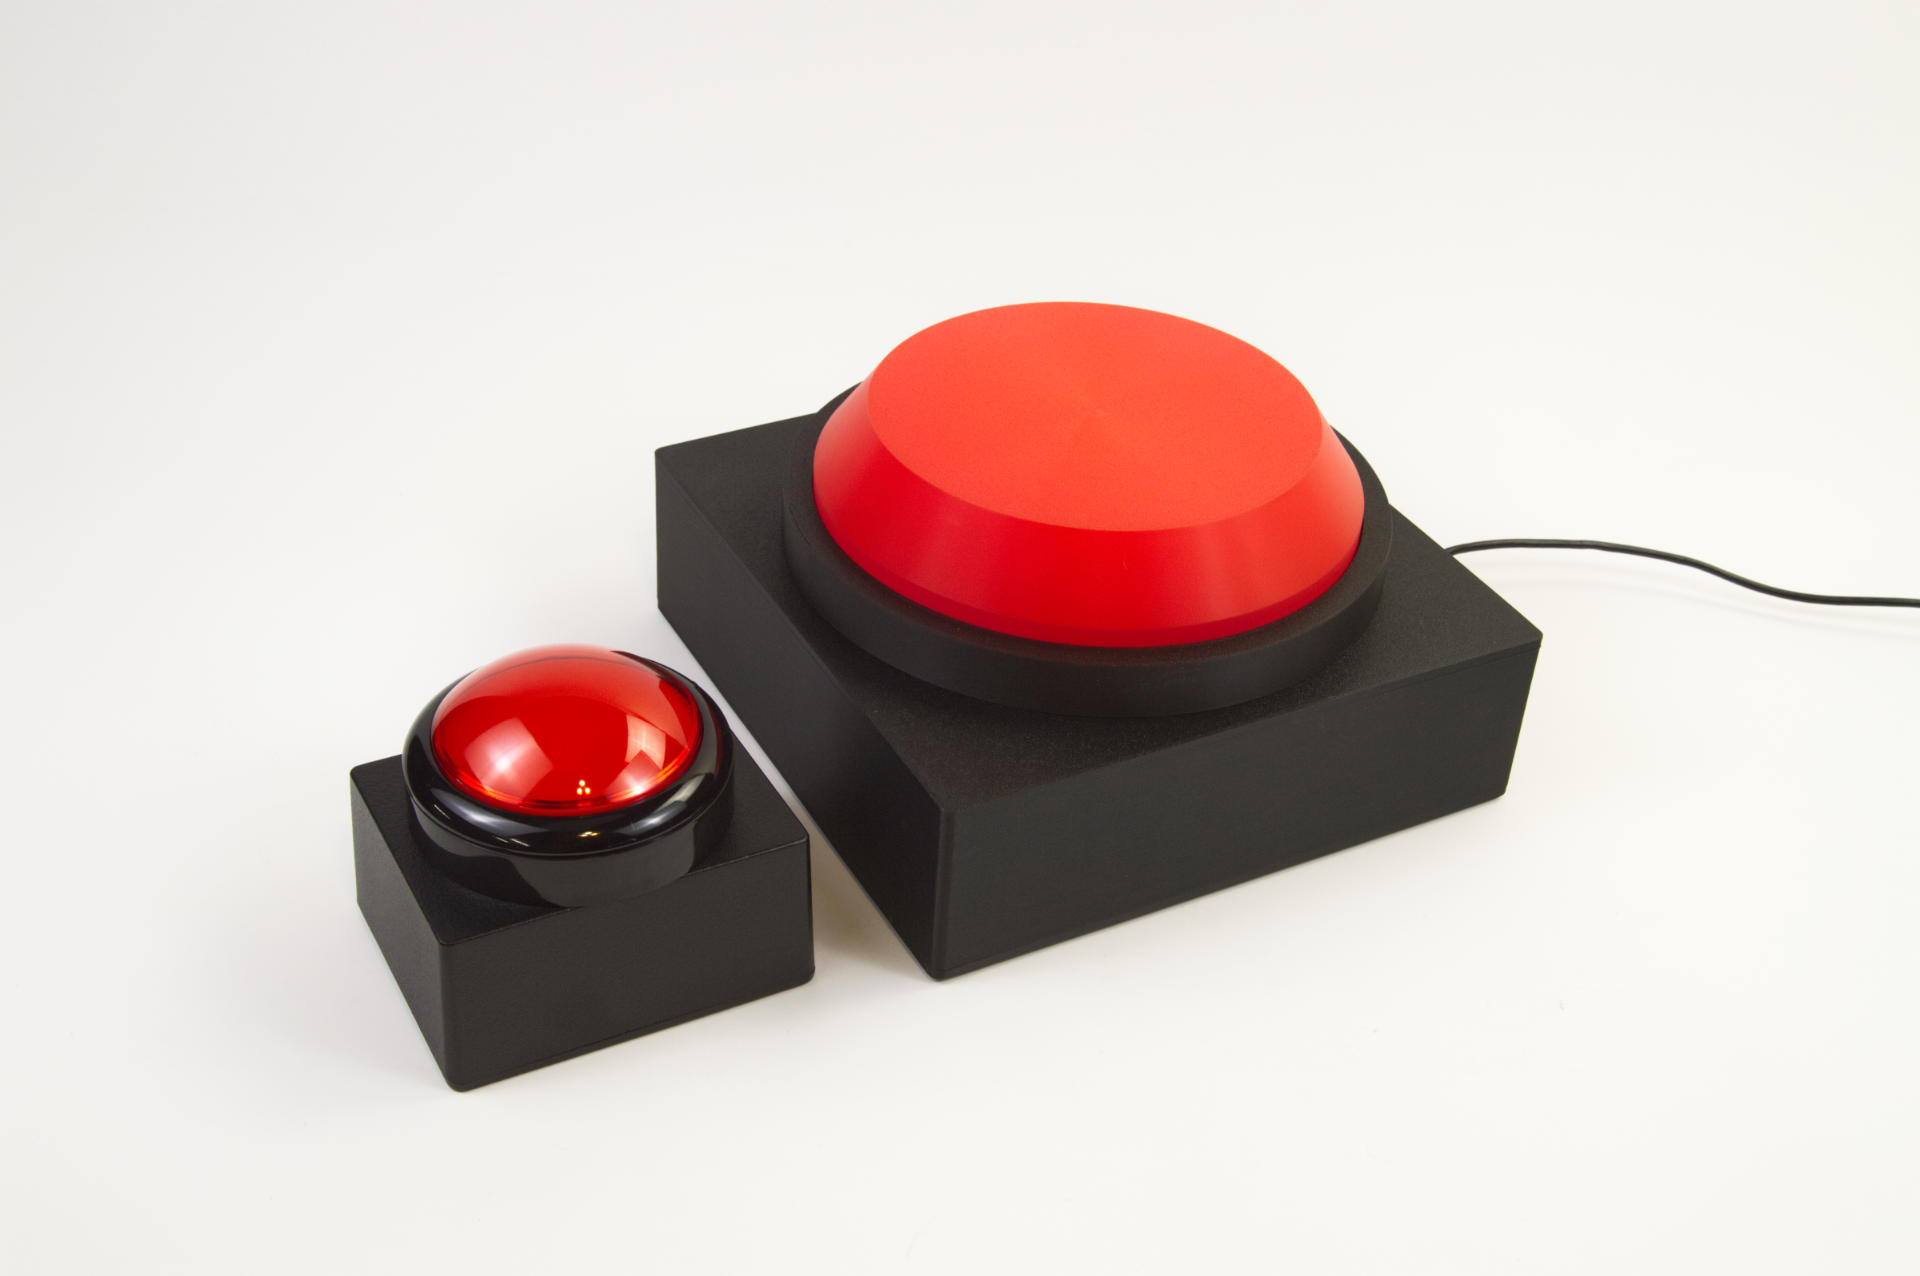
I’m also considering different button options, as these are nice and big but they’re also fairly expensive. We could use The Button or any other button for triggering things. (But yeah, people certainly like hitting that big button!)

Categories
Uncategorized

Giant USB Button

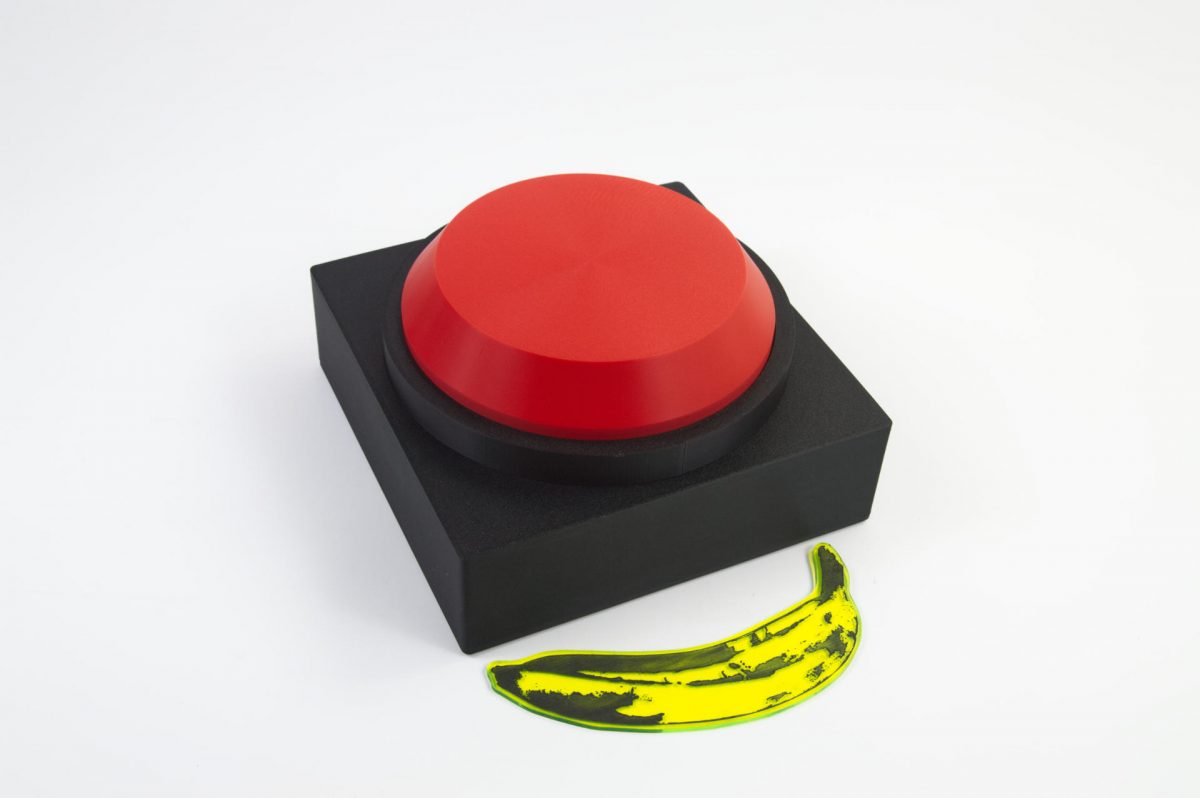
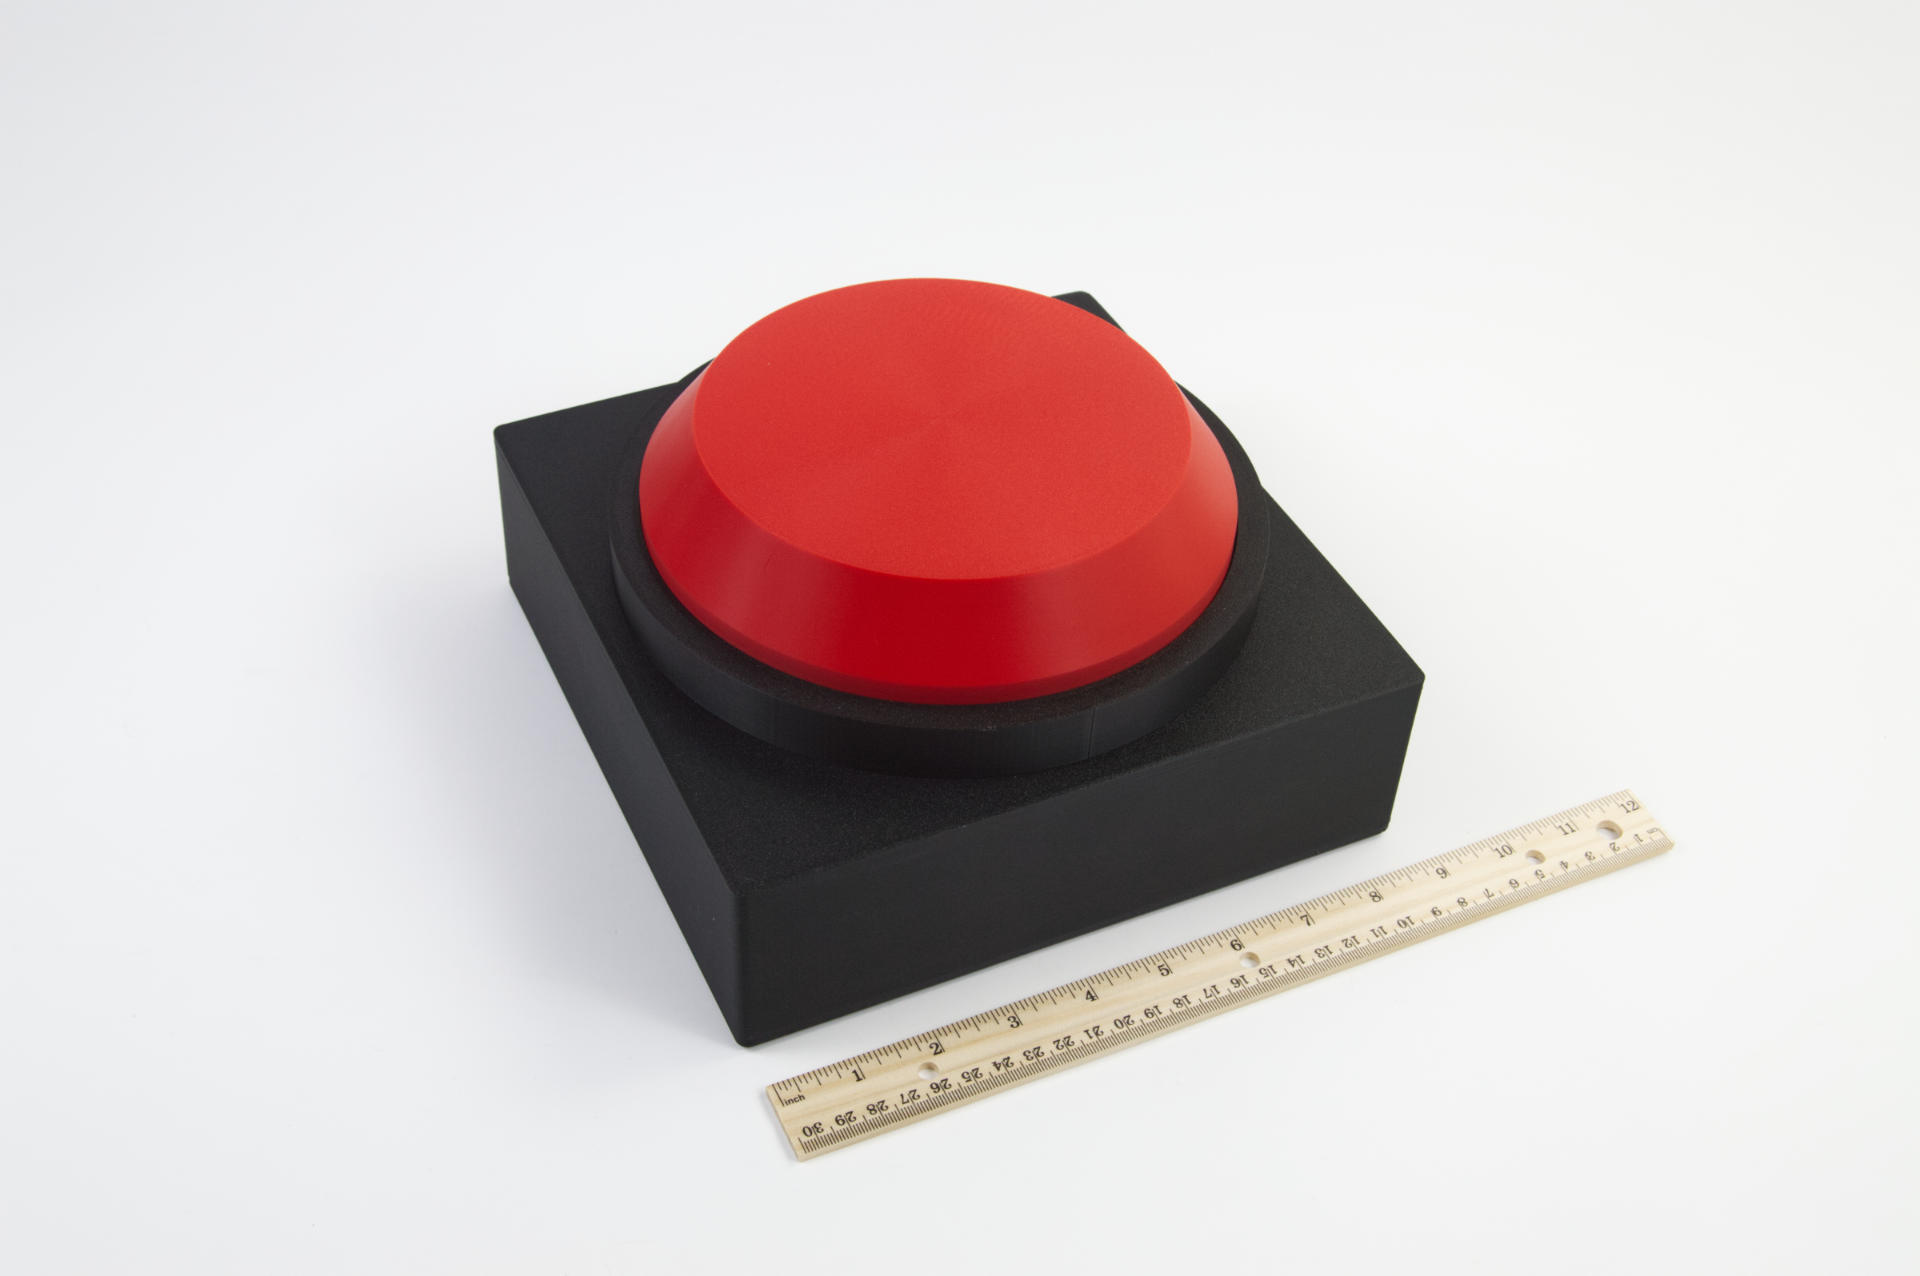
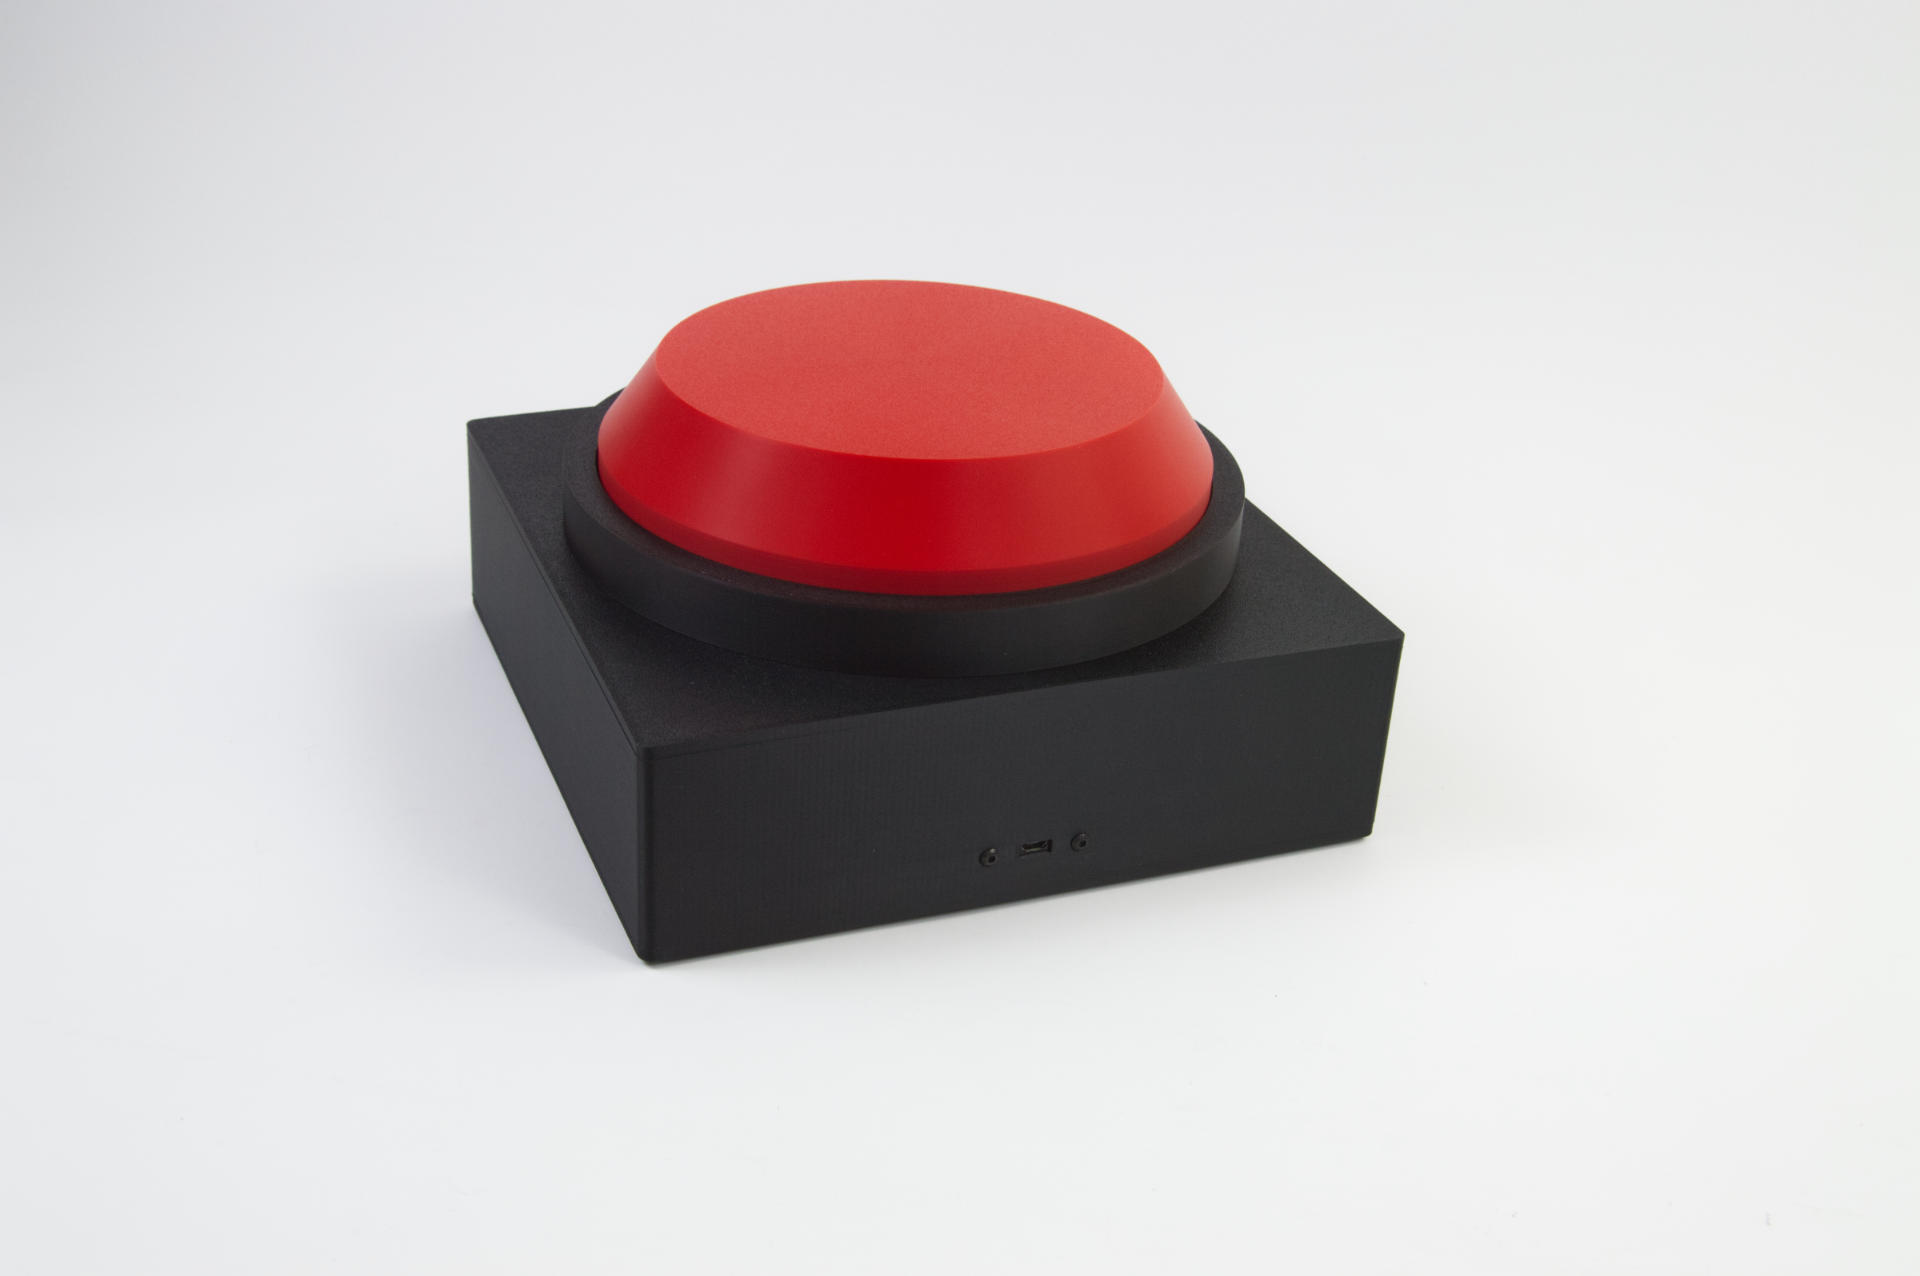
Look, I’m just going to come out and say it… this Giant USB Button is probably too big! It’s 228.6mm x 228.6mm x 120mm (which is 9″x9″ x 4.725″). The thing is, when someone asks me to build something for them, and it seems interesting, I can’t really say no. And I did say “no” this time, but mainly due to the tight deadline. I said I would need about twice as much time as requested and luckily the client came back with “We can do that!” So I got to work…

I didn’t want to screw around with a laser cut enclosure this time, and they basically wanted the Big Button I normally make, but… embiggened. I made this the very close to maximum size I could using my Bambu Lab P1S printer.

So 9″ square (or 228.6mm square) was the size, and the client liked it. I had almost done a button this large about 6 years ago. I gave the client a very high estimate, explaining the custom fabrication that would be needed for a clear acrylic dome, and they were almost on board with it, but luckily passed. It’s years later, printers have improved, and this client was okay with what I suggested.

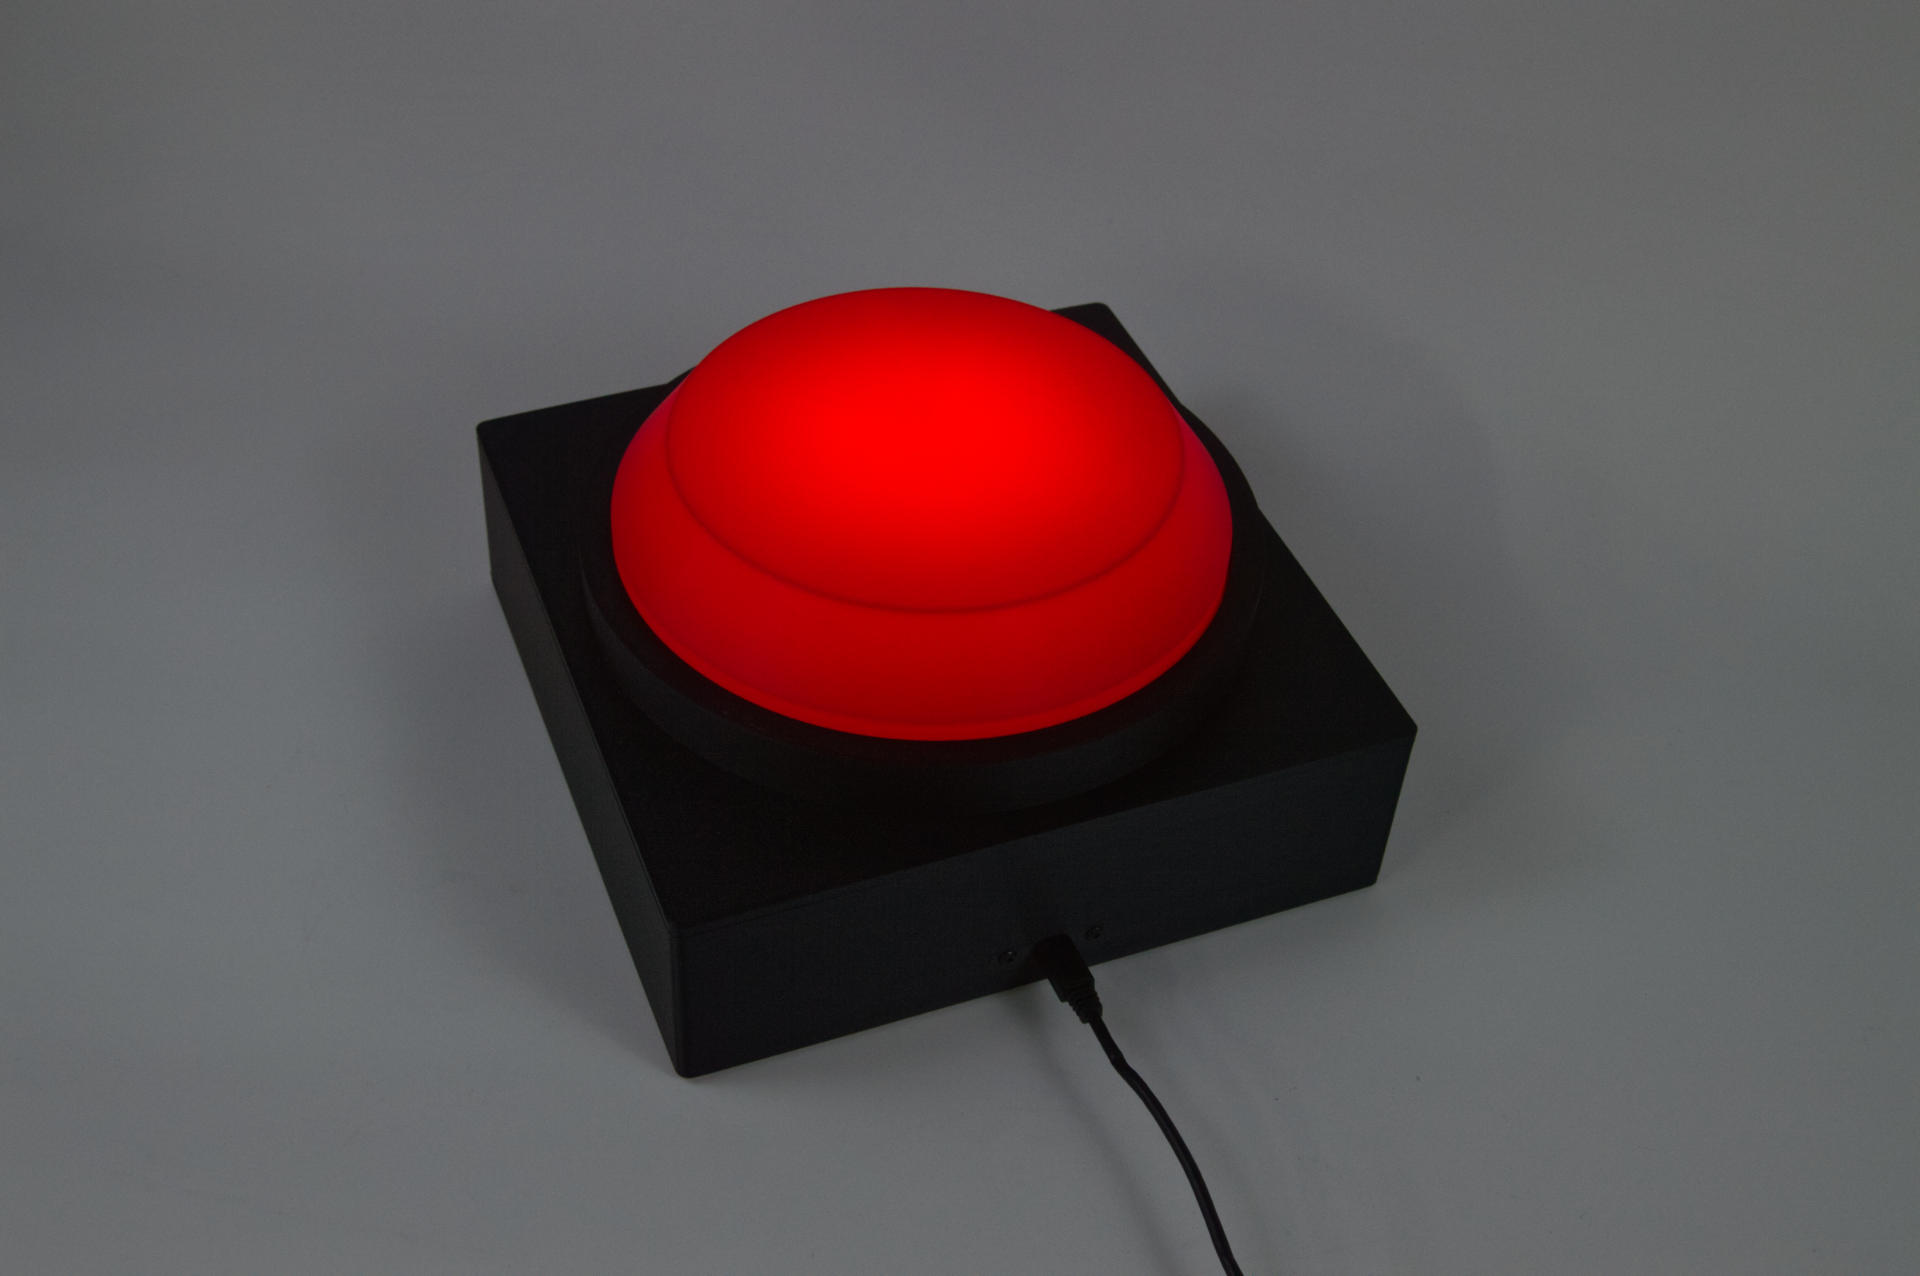
There’s a large NeoPixel Ring from Adafruit on the inside because of course it has to light up.

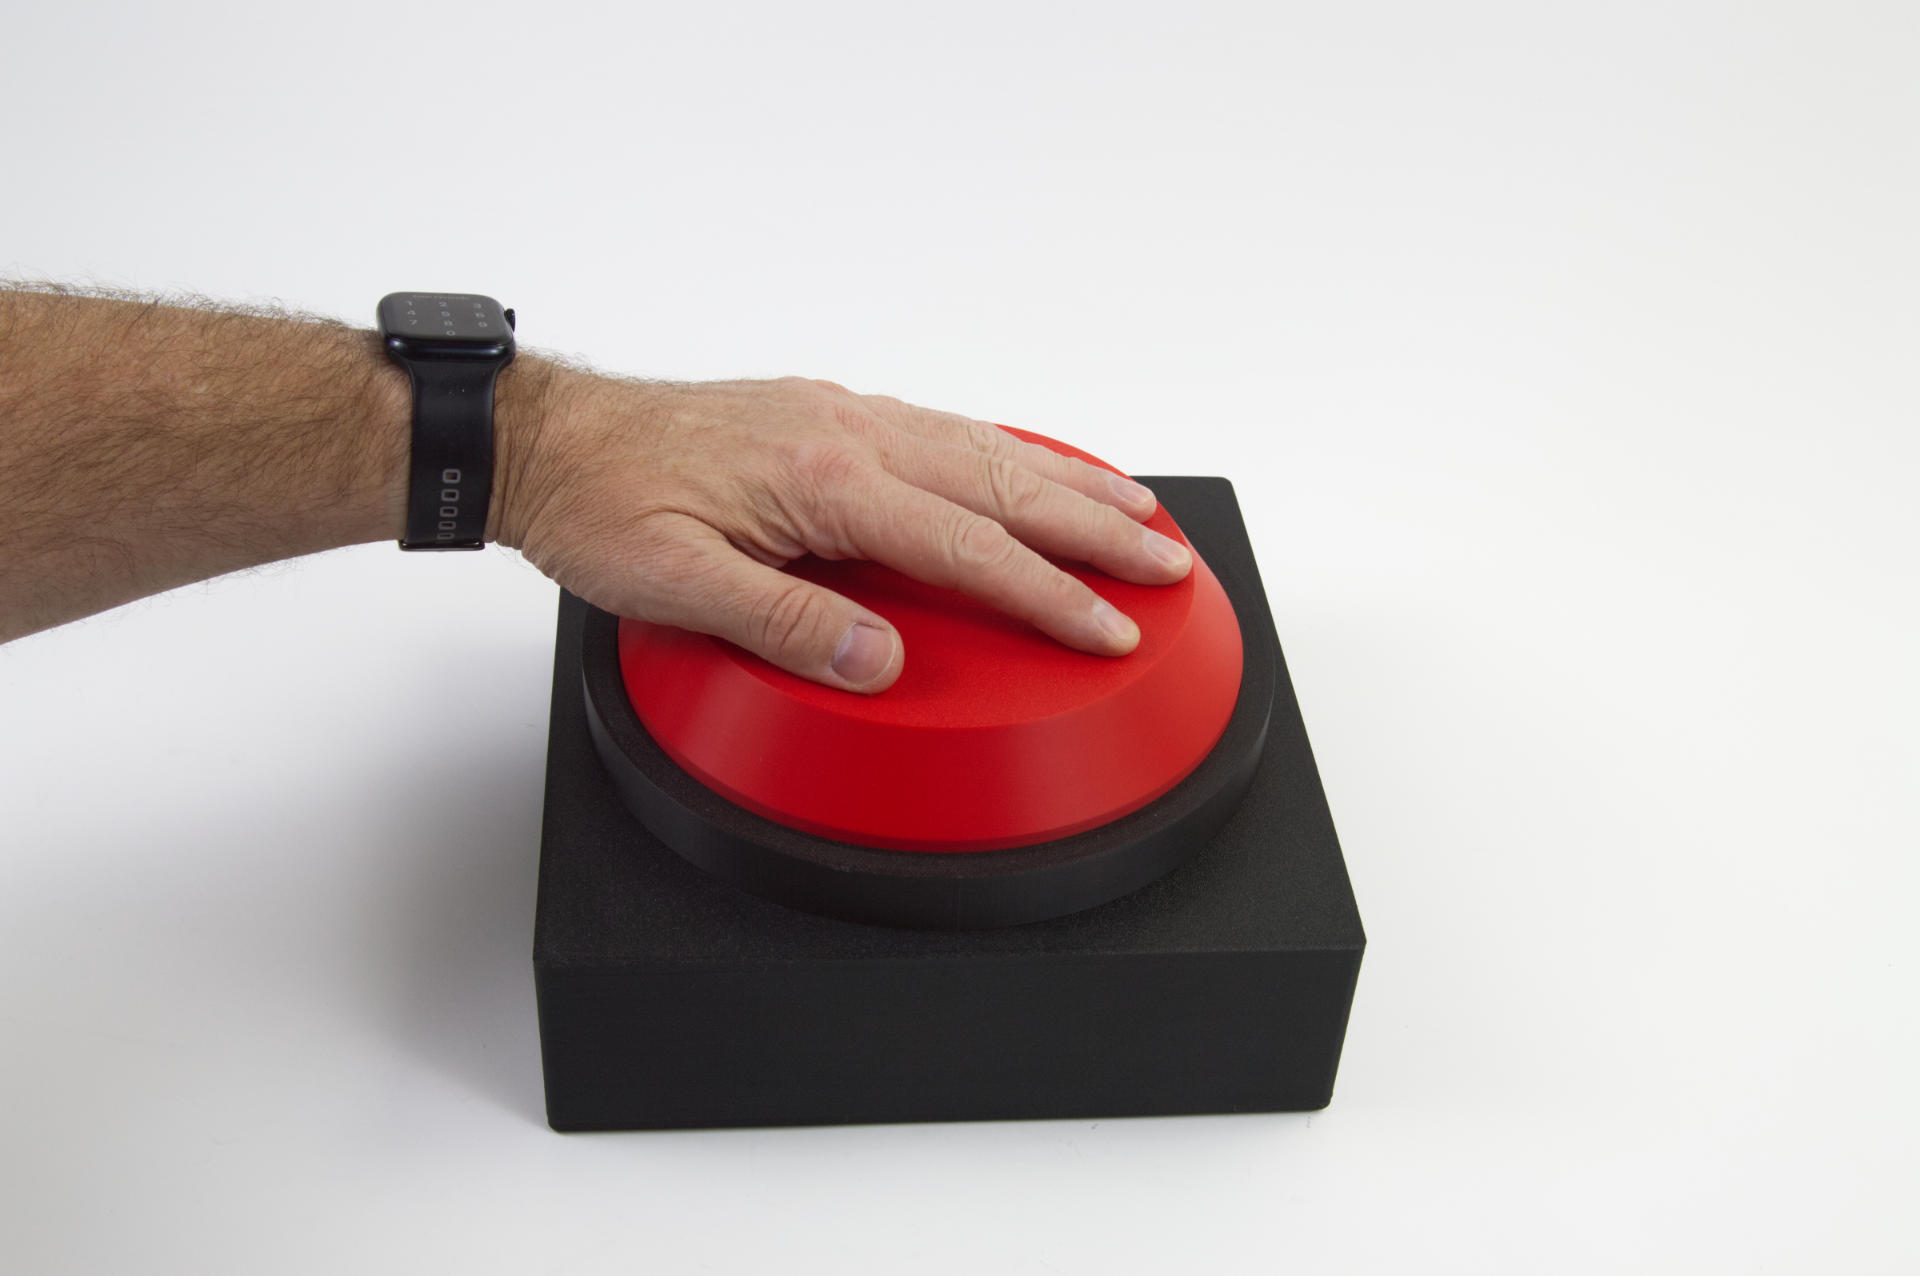
Here is my normal human hand for scale. This Giant USB Button just seems ridiculously large. It’s too large! It’s like what, is AndrĂ© the Giant pressing it? (No, because he’s dead.)

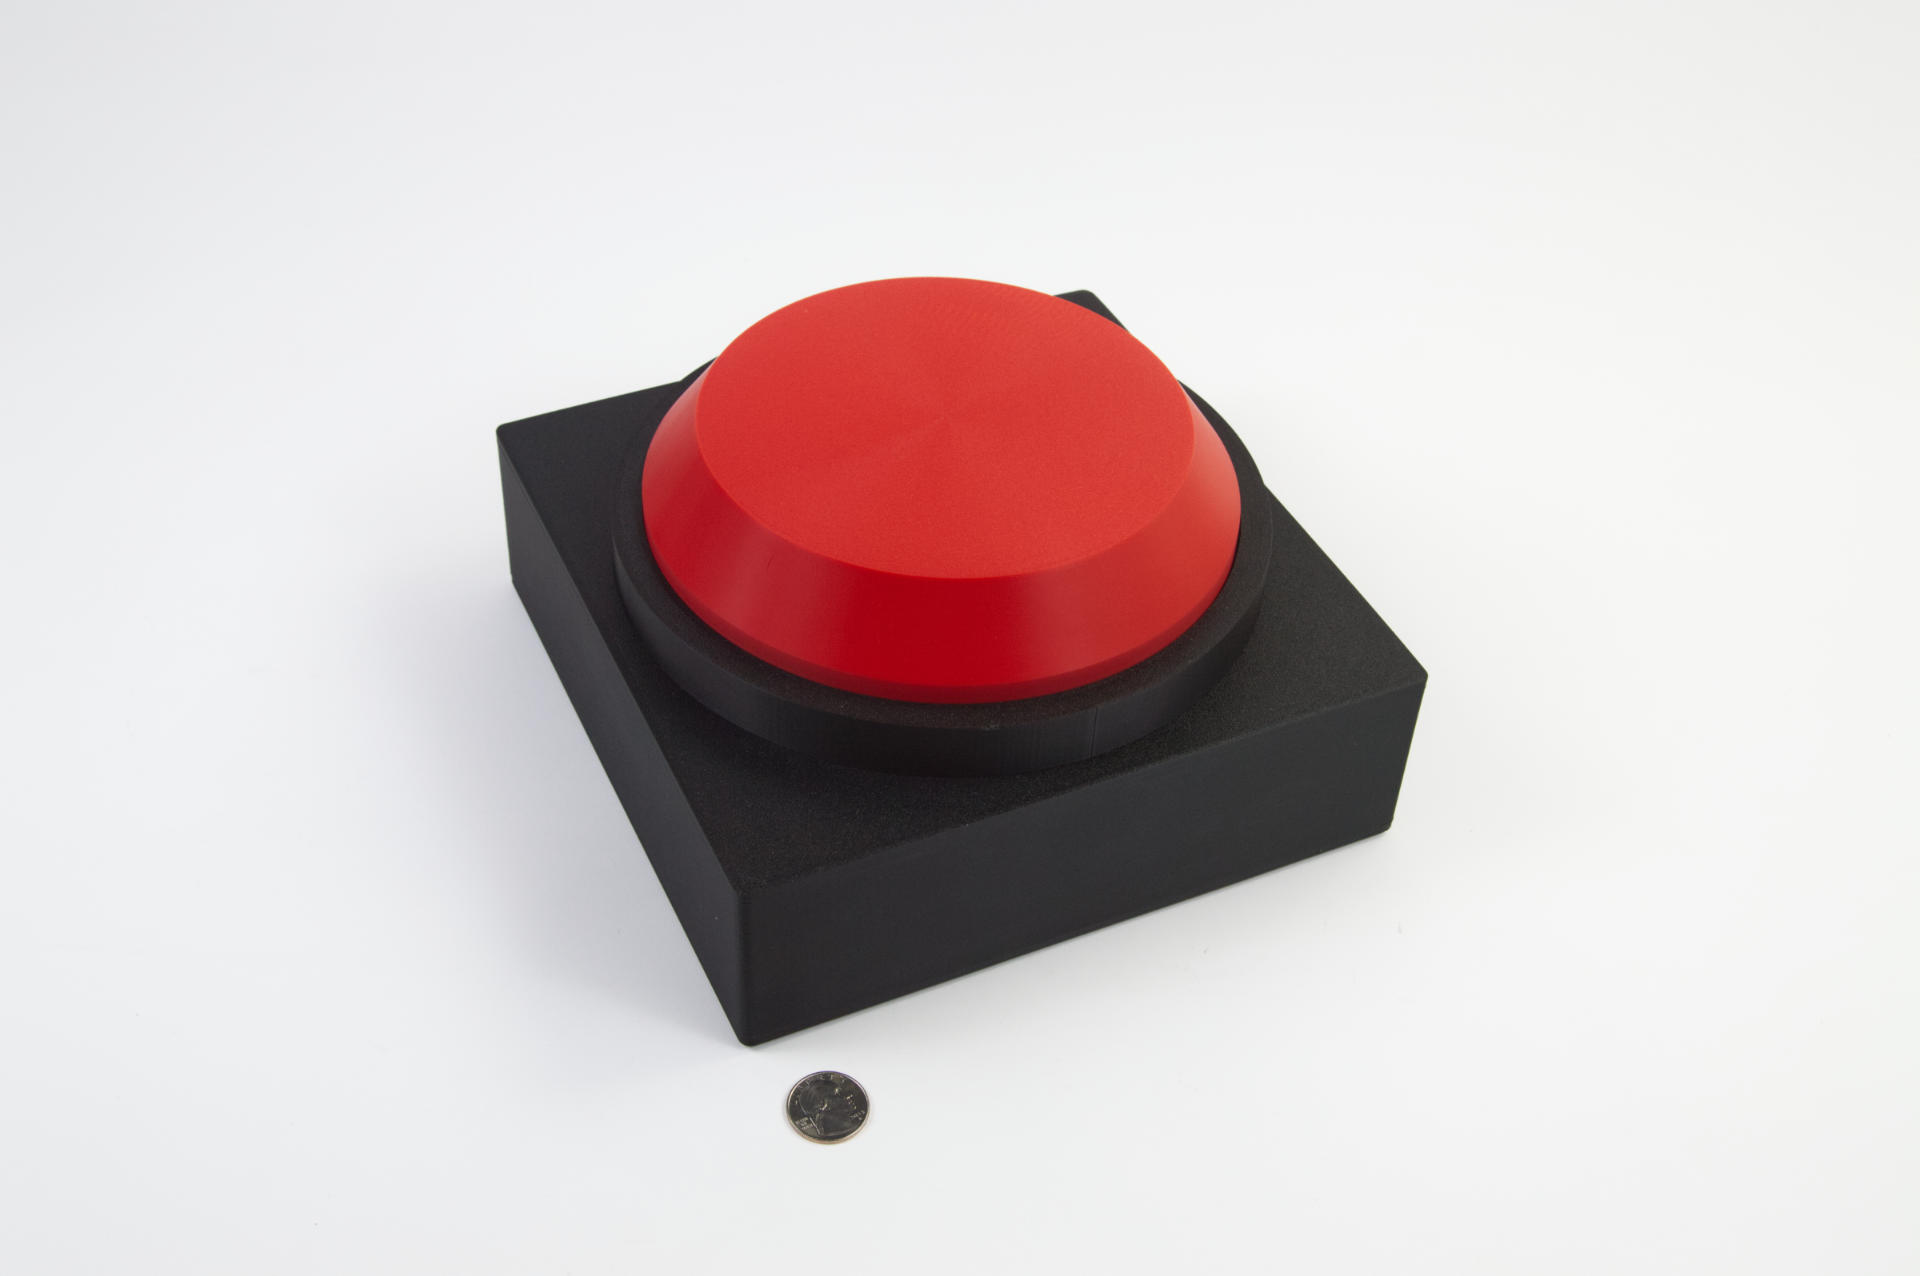
Here is the Giant USB Button with a US quarter for scale. The US quarter is that tiny little round thing in the lower left corner.

There is a normal sized USB cable that plugs into the Giant USB Button and allows it to send commands to a computer. I don’t know what the client is using it for because I always forget to ask that question. I’m usually so focused on the project and getting everything to look good and function properly I never ask what it’s for!

Overall I am really pleased with how this thing came out. I had to but a box large enough to ship it since the boxes I usually use are way too small to fit a Giant USB Button. Oh, I also designed it to be parametric. which is handy because I got all the fitting right with a version that was probably half the size. I also made an even smaller version to experiment with different methods of closing the circuit. Again, I had fun with this one.

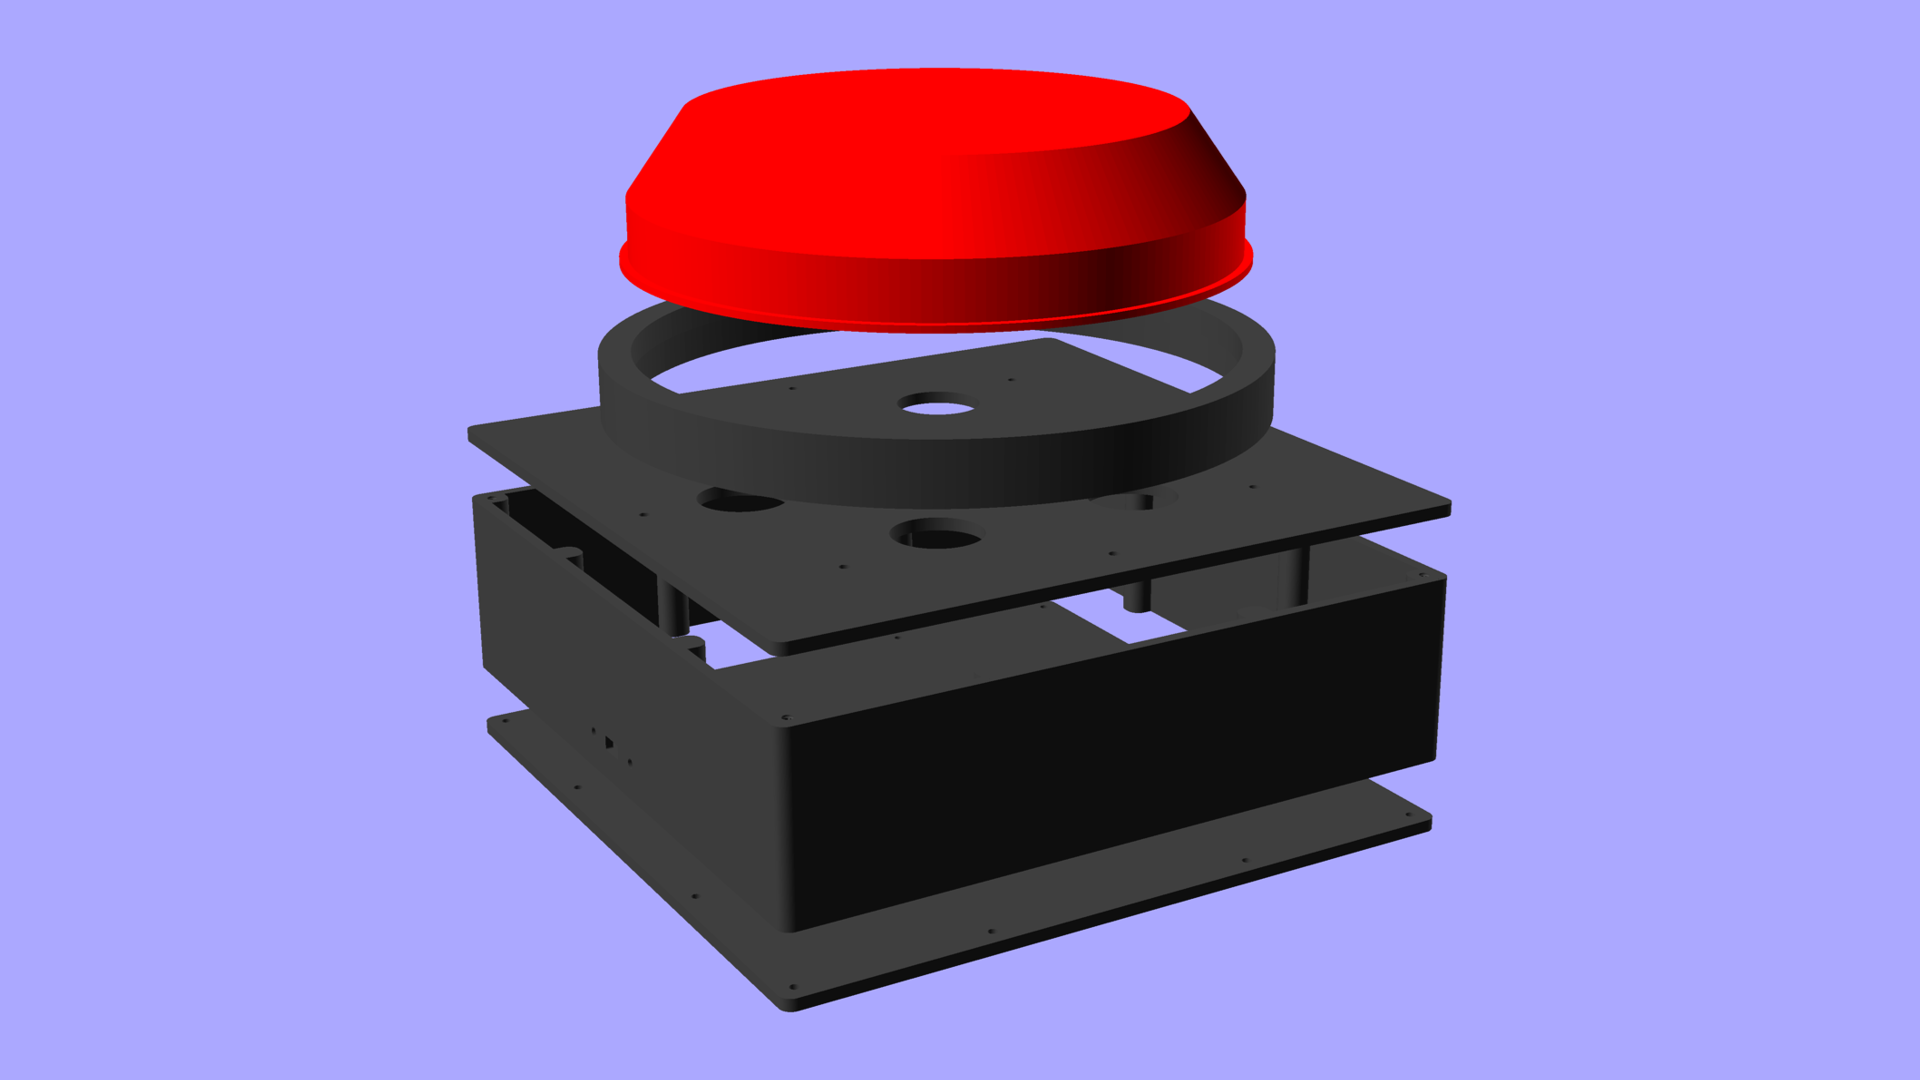
Finally, here’s an exploded view of the parts, except I forgot one piece! The original design used a piece of clear laser cut acrylic but I ended up swapping it out for a 3D printed gridded disk to save on weight. Anyway, this is most of the 3D printed parts of the Giant USB Button. (I didn’t include the electronics so you can use your imagination for that part.)

Categories
Uncategorized

Game Show Buzzer System V2

A set of game show buzzers

The name “Game Show Buzzer System V2” is a misnomer but I’m gonna go with it… See, I’ve built more than one “Game Show Buzzer” type of system since the original post but they were not documented here for various reasons… Anyway, this is a system I designed quite a while ago but just recently had someone actually want, so I built it.

A set of game show buzzers

See, typically I sell one (or more) of the Big USB Buttons or even these Survey Says Buttons, but this system doesn’t use multiple individual self-contained buttons, but a control box you can plug multiple buttons into. This specific system has just two buttons but the original design had either three or four, though doing up to six (or even eight) buttons would be trivial.

A set of game show buzzers

The control box plugs into a computer via USB and can send keys, keystrokes, USB MIDI data, or serial data. Each button plugs into the control box using a TRS cable. (That’s a 3.5mm Stereo Cable for you non-nerds in the crowd.) The TRS cable has three connections (Tip, Ring, and Sleeve) which is perfect for a button and LED.

A set of game show buzzers

The trick is in the code… meaning the programming is whatever is needed. For this specific build we did a USB MIDI noteOn for each button, followed by a five second lockout so no button could be pressed for five seconds. I’ve done systems where the “host” (using the control box) can reset the system, say for instance if the person/team who buzzes in first gets the quiz answer wrong, so that another team can try to buzz in and answer. Lots of possibilities, again, the magic is in the code.

A set of game show buzzers

I’ve built enough of these that I really should formalize things and come up with a system where you can choose the components and features and then place an order… It’s still sort of a custom thing (code always is anyway) but I think I have it down enough that a base system is in order.

A set of game show buzzers

Anyway, this was another fun project, though it was a bit rushed (got it built and programmed in a matter of days before it needed to ship) so there are a few small improvements I’ll be making next time.

Categories
Uncategorized

Custom Lighting Controller

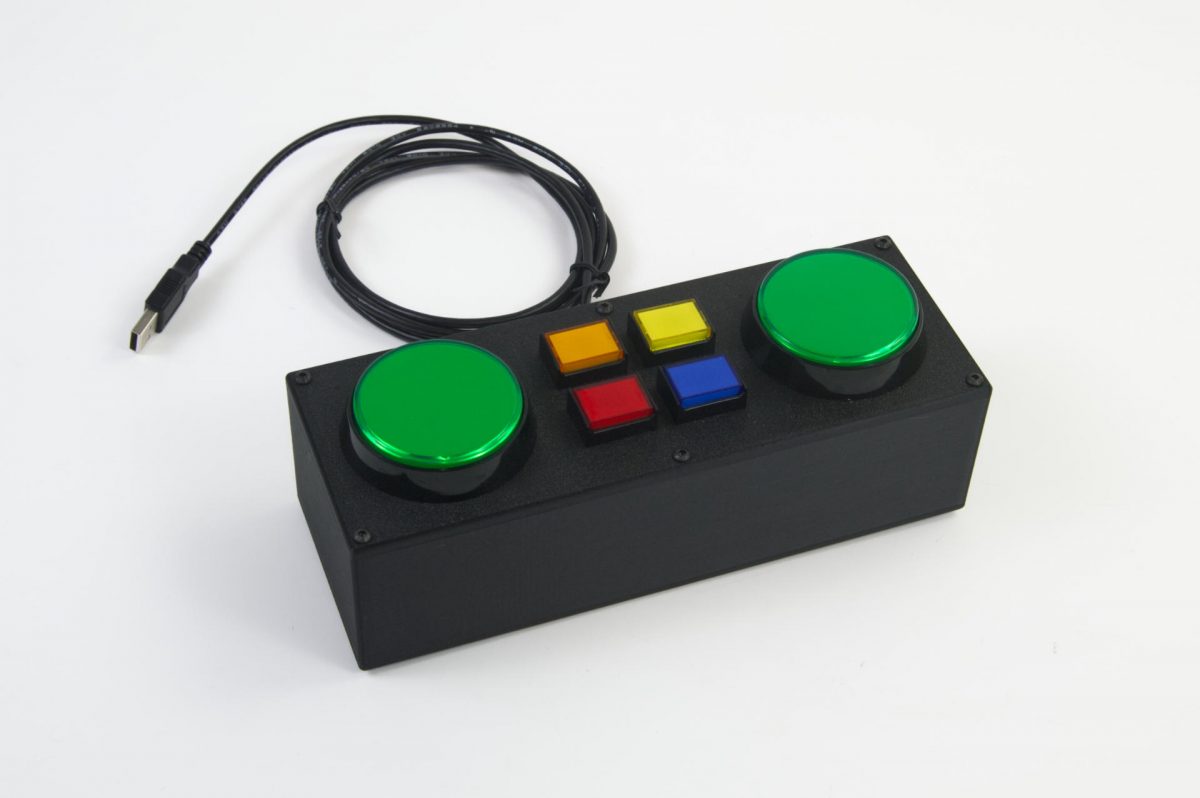
I was contacted by someone wanting a custom controller to work with the lighting control software they used. The controller would be programmed as a USB MIDI device and it just needed to send noteOn data to the software. I build controllers so how could I say no?

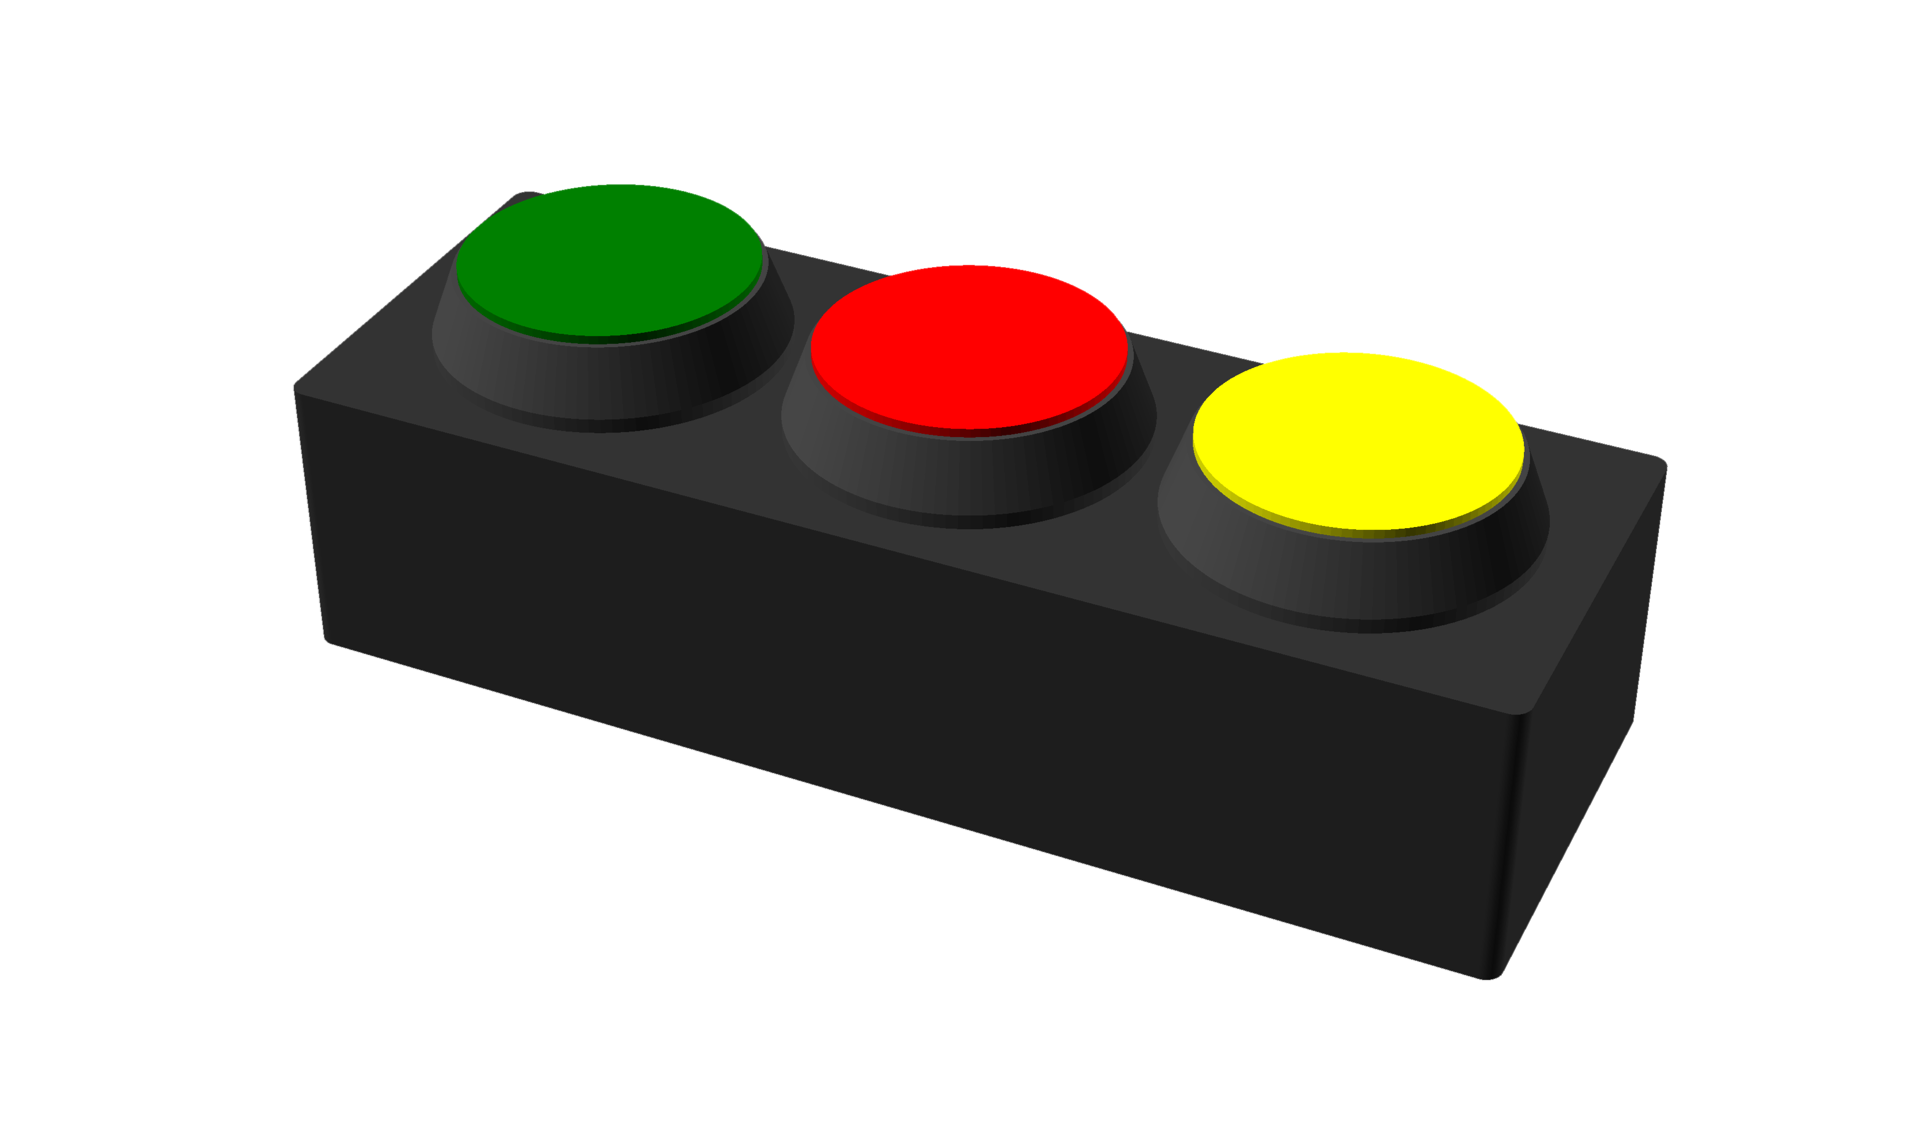
This was the first sketch based on our discussion, which had three 60mm diameter buttons. After some back and forth the client asked about adding more/smaller buttons, so we came up with this…

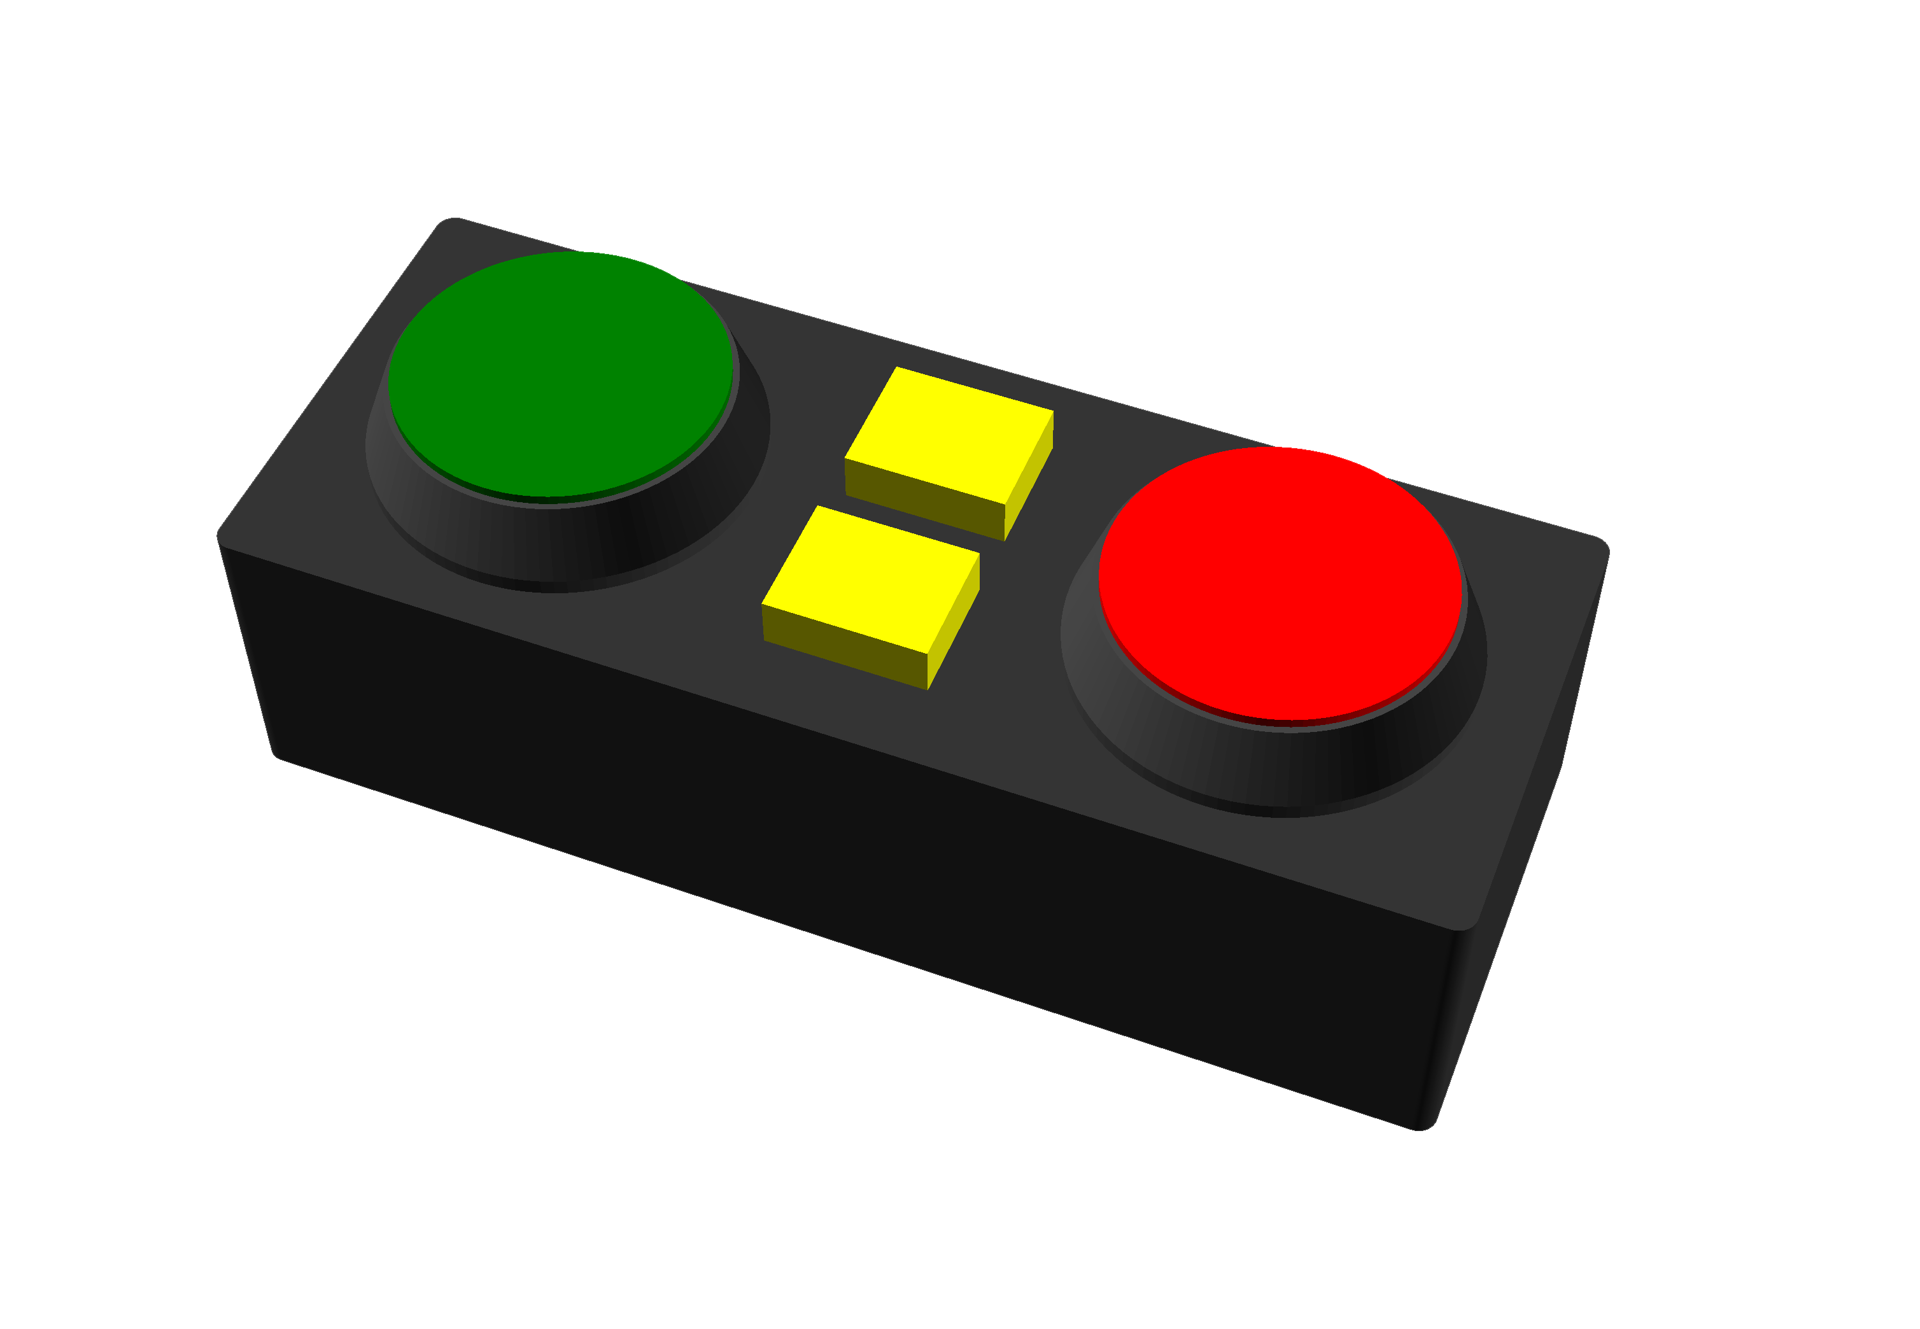
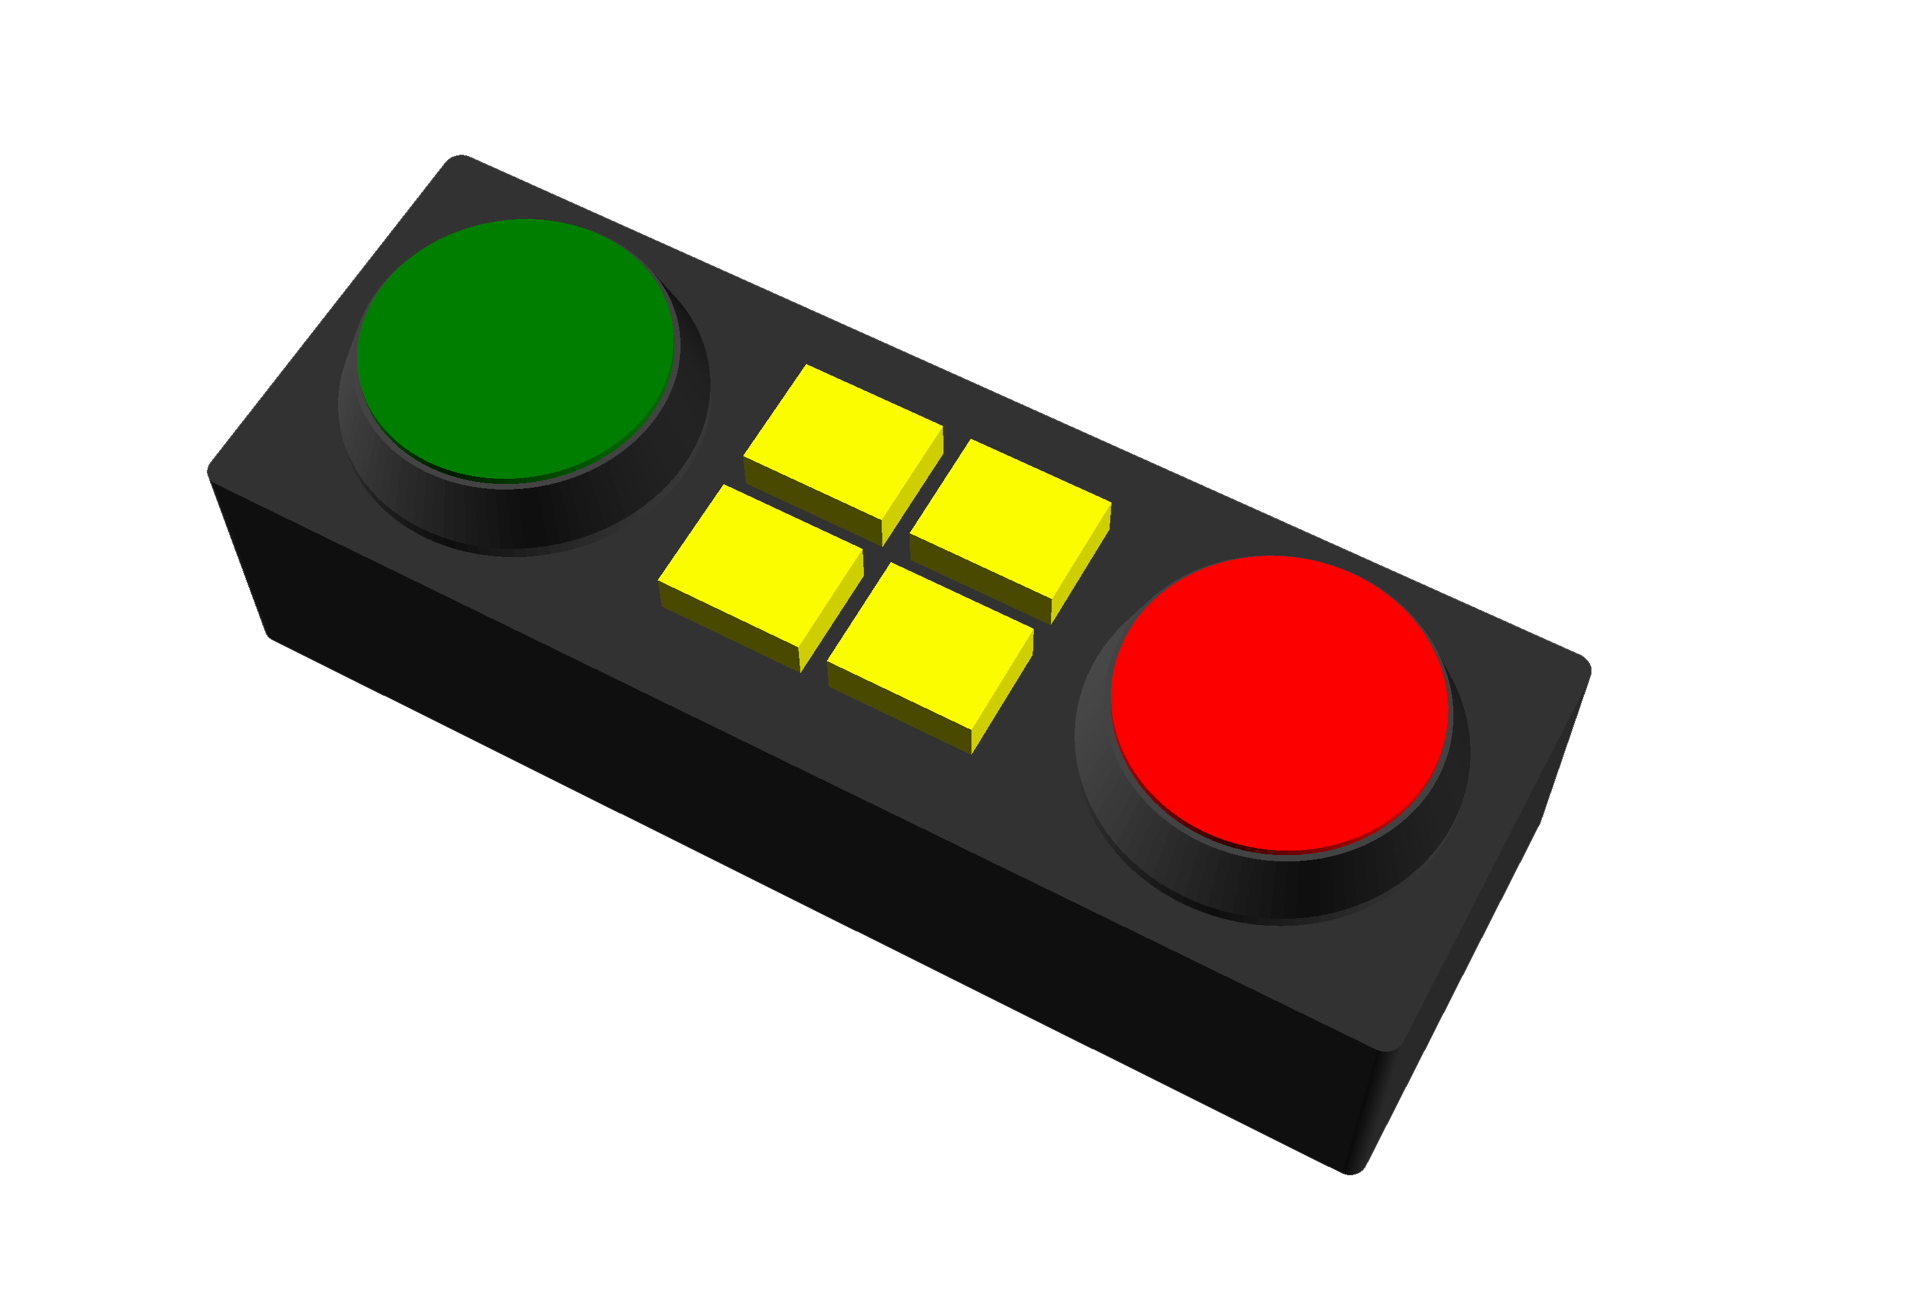
But they wanted to see a four button version as well as two buttons. These quick and dirty renders were mainly to show the spacing of things. Once we agreed on what it would consist of, I got to work. (I should note that sometimes I do 2D sketches in Inkscape for the client to see, and on occasion I do the sketches directly in OpenSCAD.)

For these projects I design the enclosure in OpenSCAD and try to make things parametric so it’s simple for me to change the dimensions of things if needed. I’ve got my own OpenSCAD library I use for this, and I continually tweak it to be exactly what I need…

I’ve found this to be what works best. I get the whole reusing of code, and I do that! In the past I’ve tried to use code that other people have written but usually hit a wall when I need to do something weird or something they didn’t anticipate. This way I know all the code and what it does and how to change it easily.

I should note that this isn’t your standard computer code that can do terrible things or compromise security if you do something wrong… it just renders a 3D object.

Anyway, the controller turned out well, the client was happy, and even sent me a thank you email once they got it and started using it. I really do like doing these custom projects, and I know that sometimes I may not charge enough but I am definitely learning things along the way and perfecting my process… and there’s some value in that for me, so I’m good with it.

As always, if you need some custom built MIDI or USB controller, get in touch!

Categories
Uncategorized

Mouse Click Space Controller

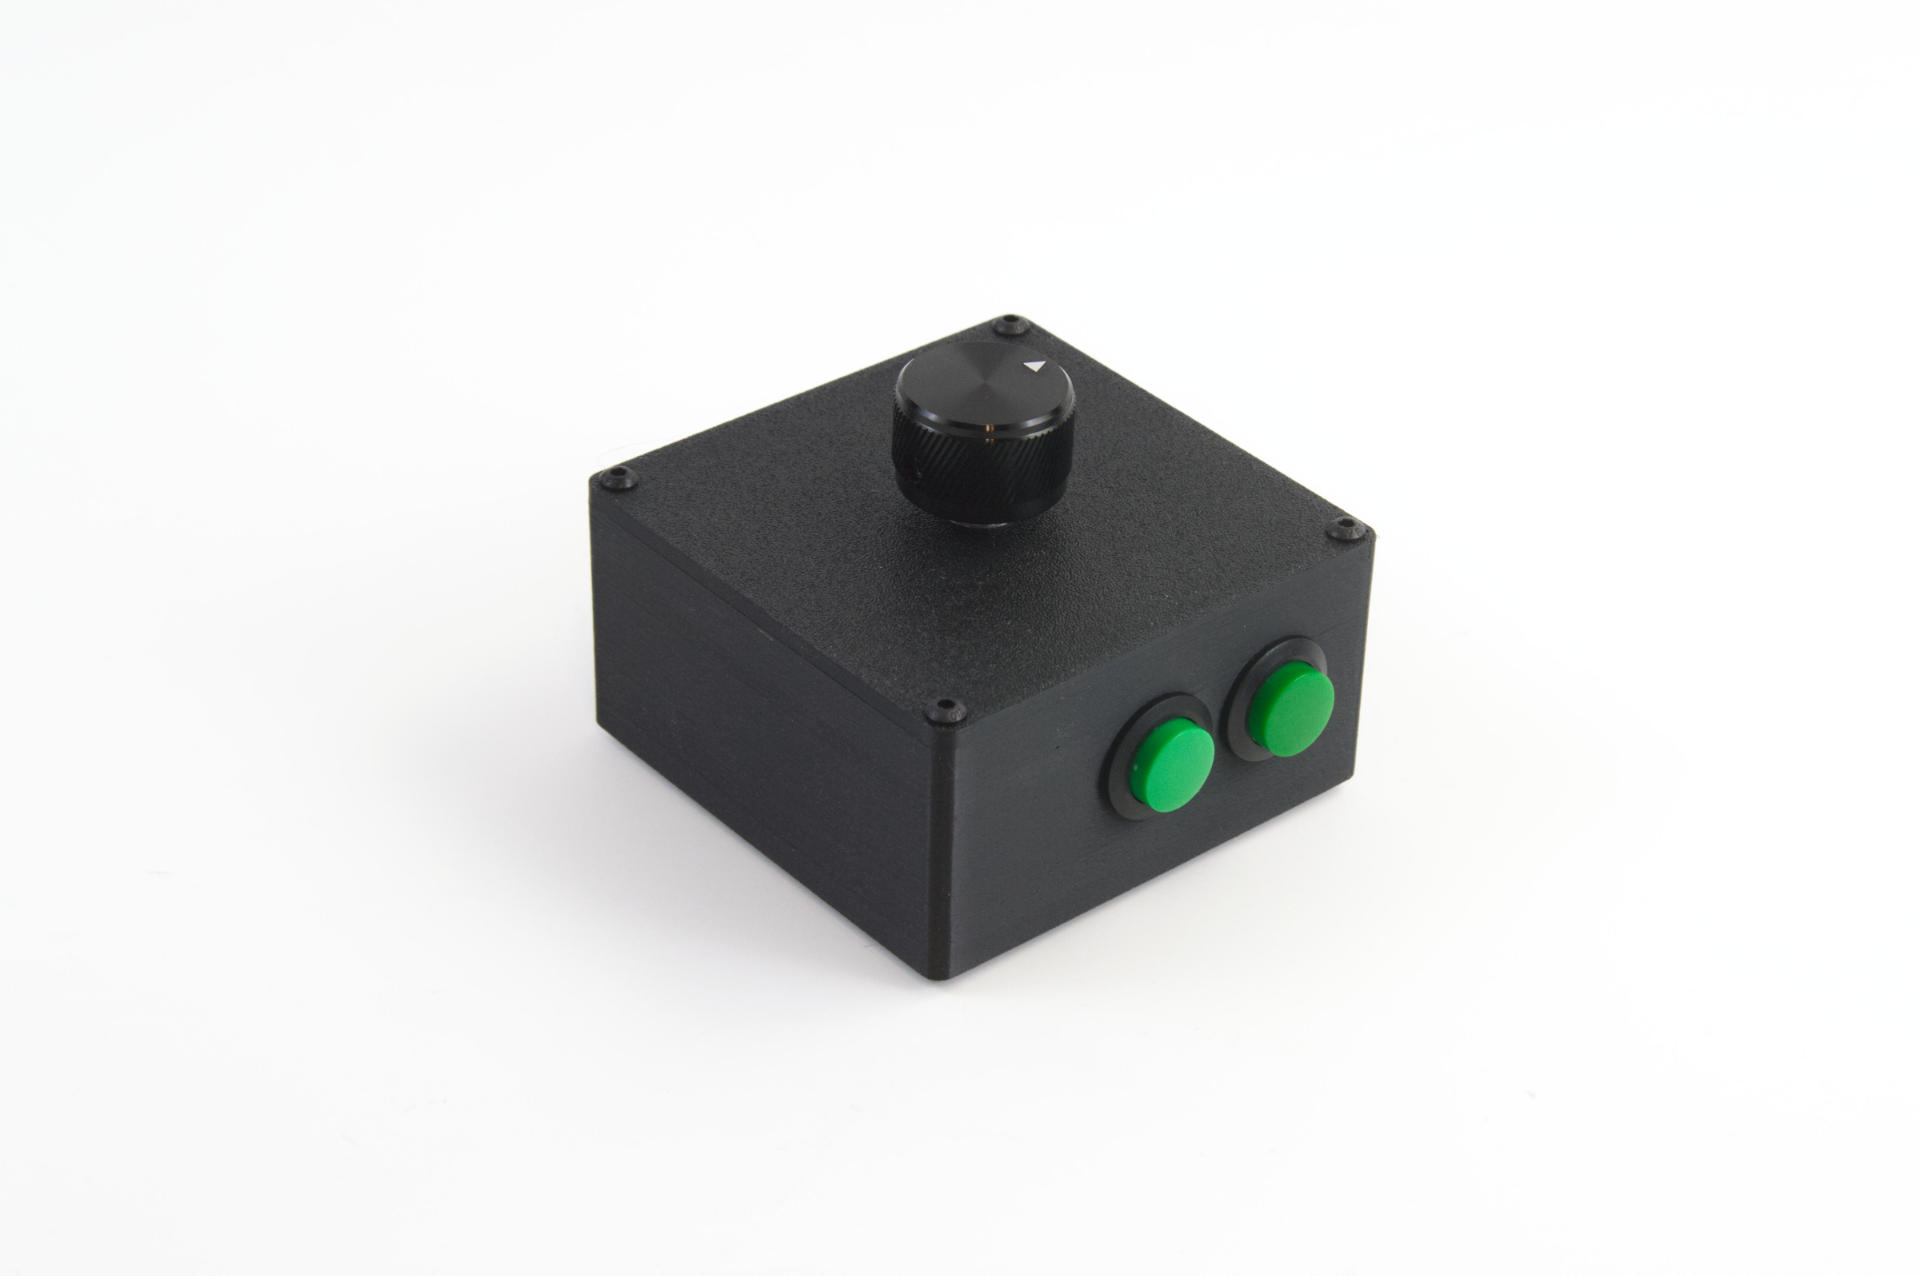
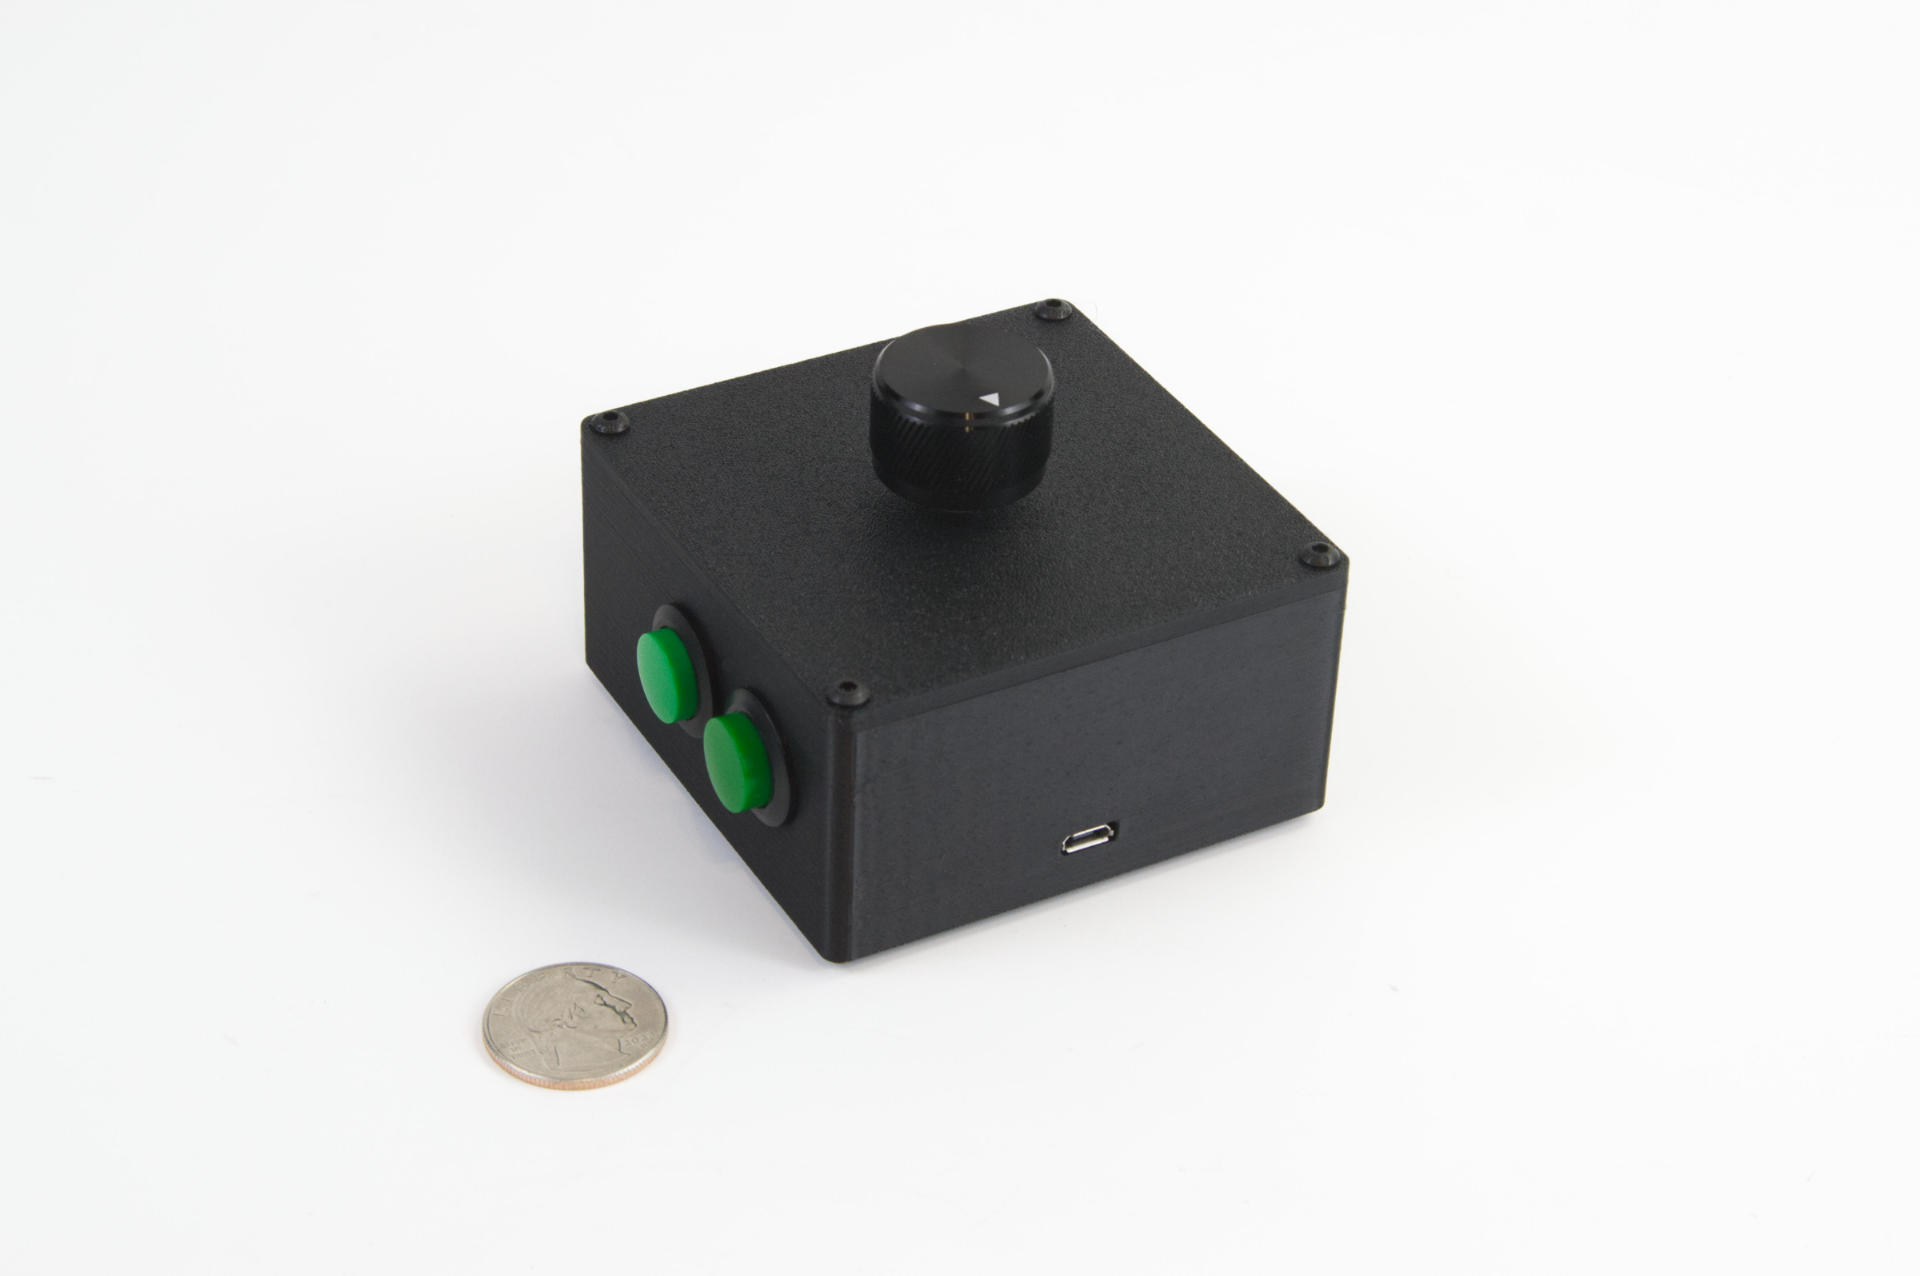
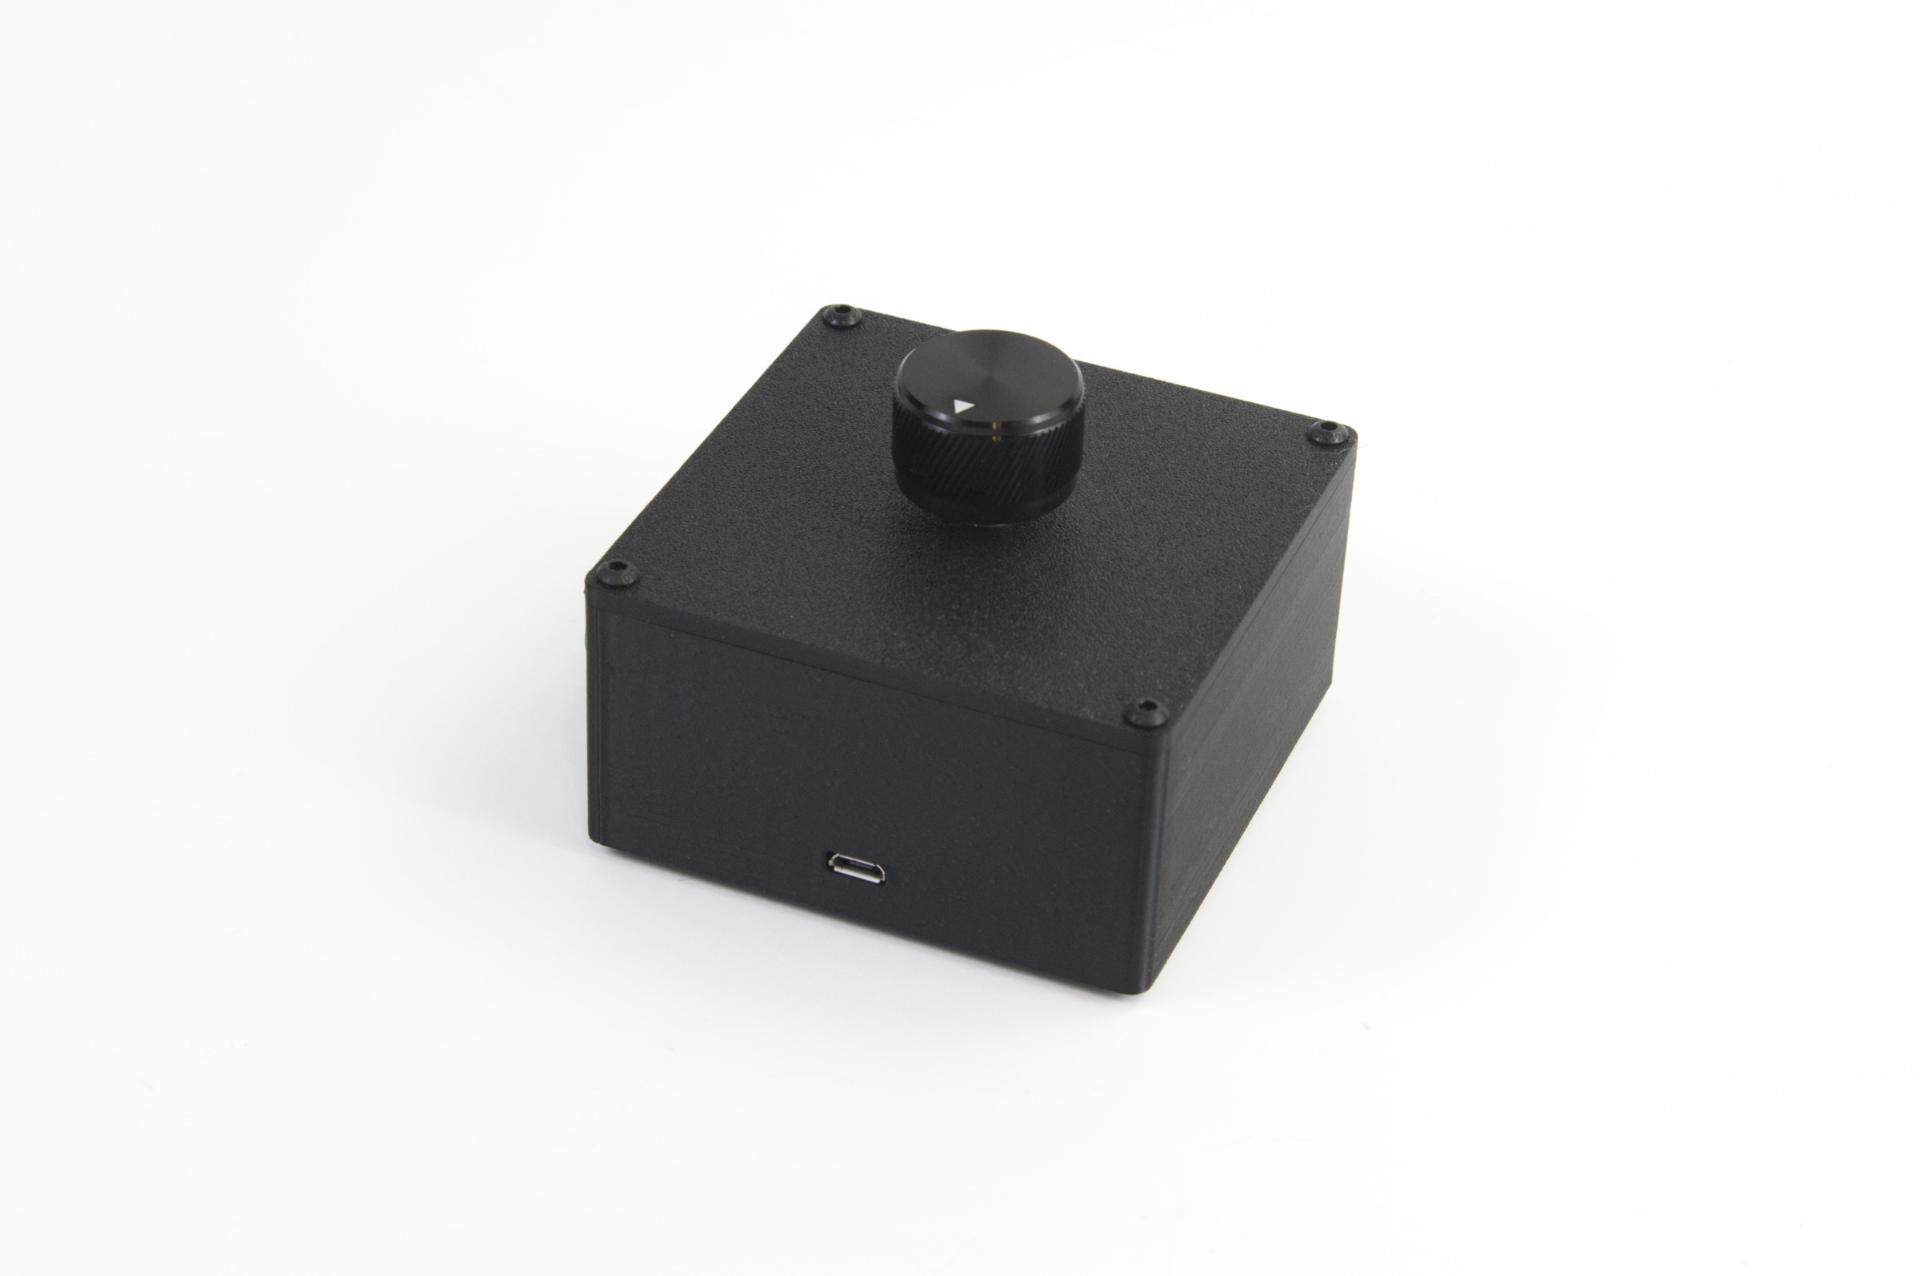
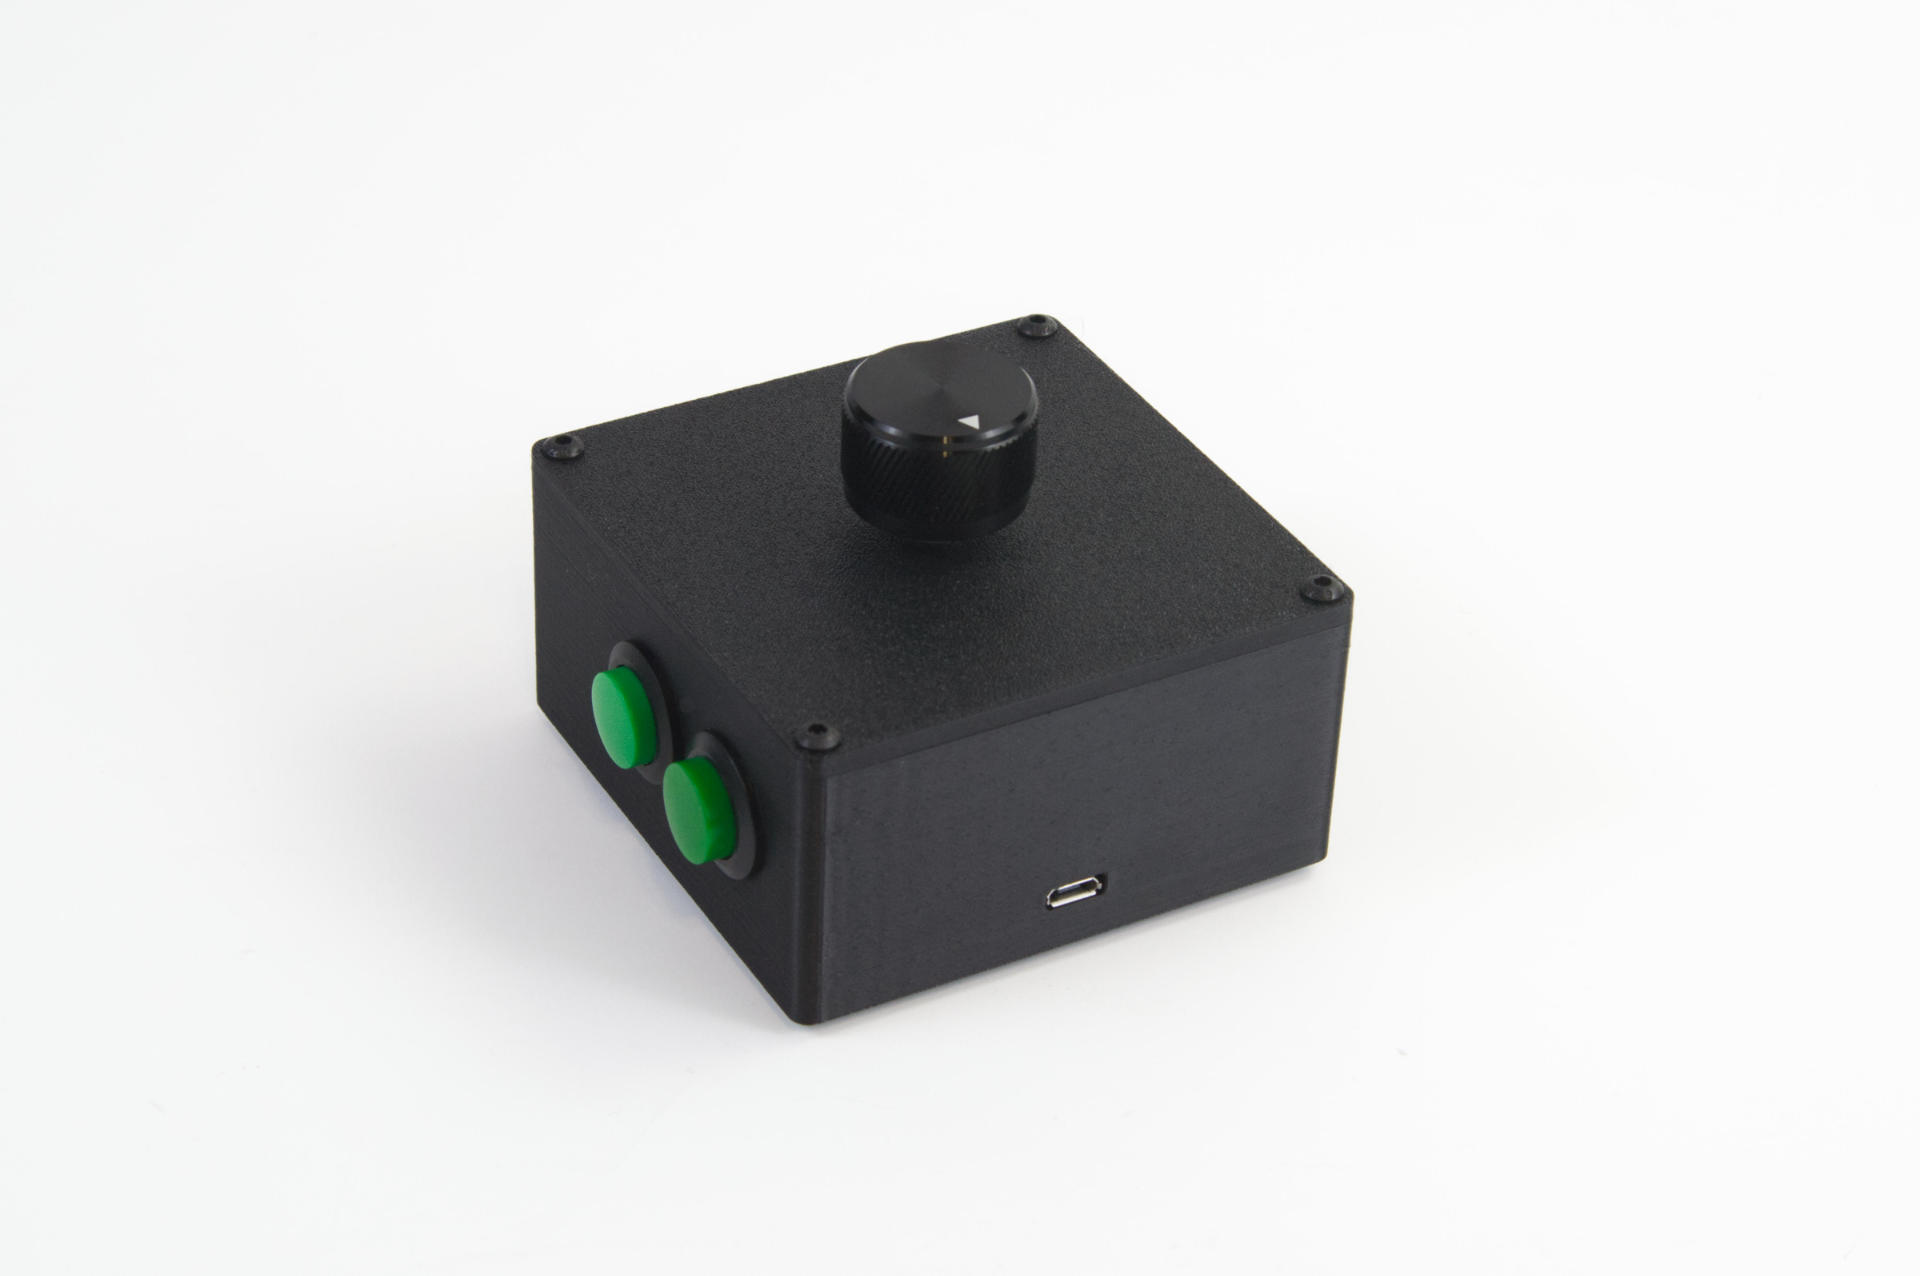
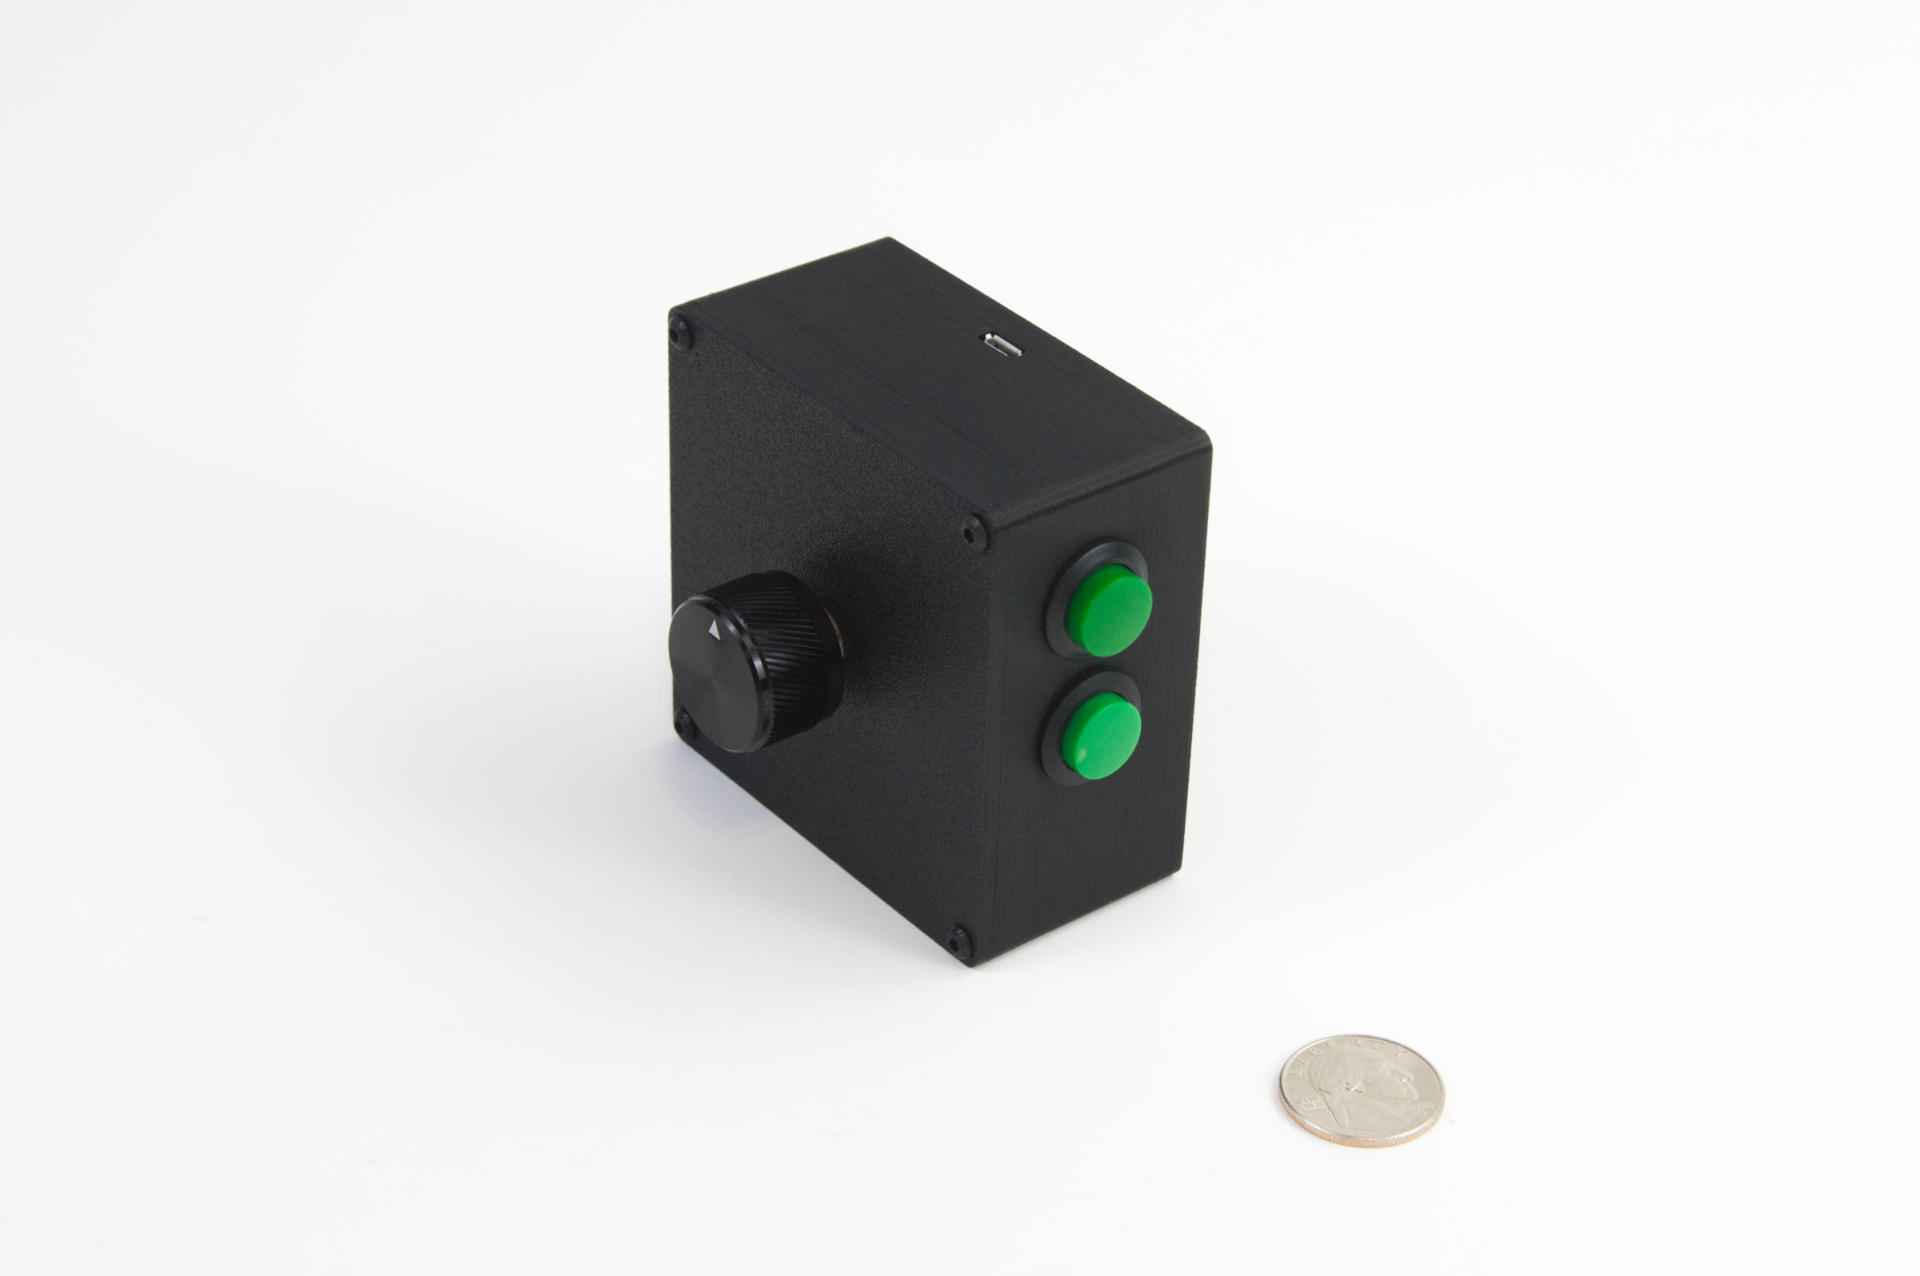
Someone who got one of my S1D Controllers and was using it with MAME got in touch with me and wanted a version with a few buttons added on. They said the knob programmed as a mouse scroll wheel was working great, but wished it also had a left and right mouse button so (based on a provided sketch) I adjusted the case, added two buttons, programmed the knob/button to send a space character, and that was it.

I’m glad I rewrite all my OpenSCAD code for generating enclosures a while back as that made things a bit easier, but honestly I can already think of some improvements, and may end up rewriting it all again in the future…

You can find out more about the S1D Controller on this wiki page. And yes, I did in fact create a wiki for all the products I’ve created, which you can find at codex.2xlnetworks.net. It also has links to custom projects a few guides, and other things. I want it to serve as a support site for the products I build.

Etsy has worked quite well for me, but I also want a separate space, and not necessarily a separate shop, so this was a good compromise and allows me to easily update things, add new stuff, etc. All the classic wiki jazz. (It’s sometimes hard to believe I’ve been using wikis for close to 25 years!)