Categories
Uncategorized

Custom Lighting Controller

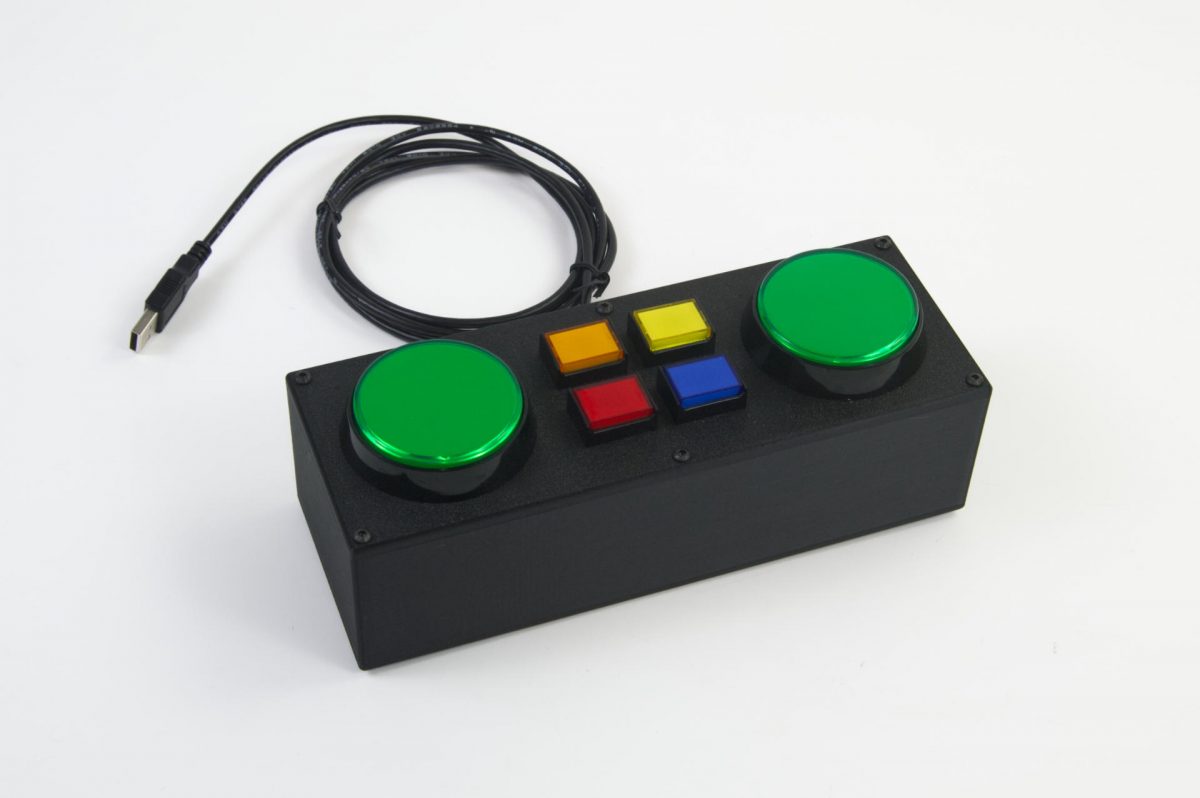
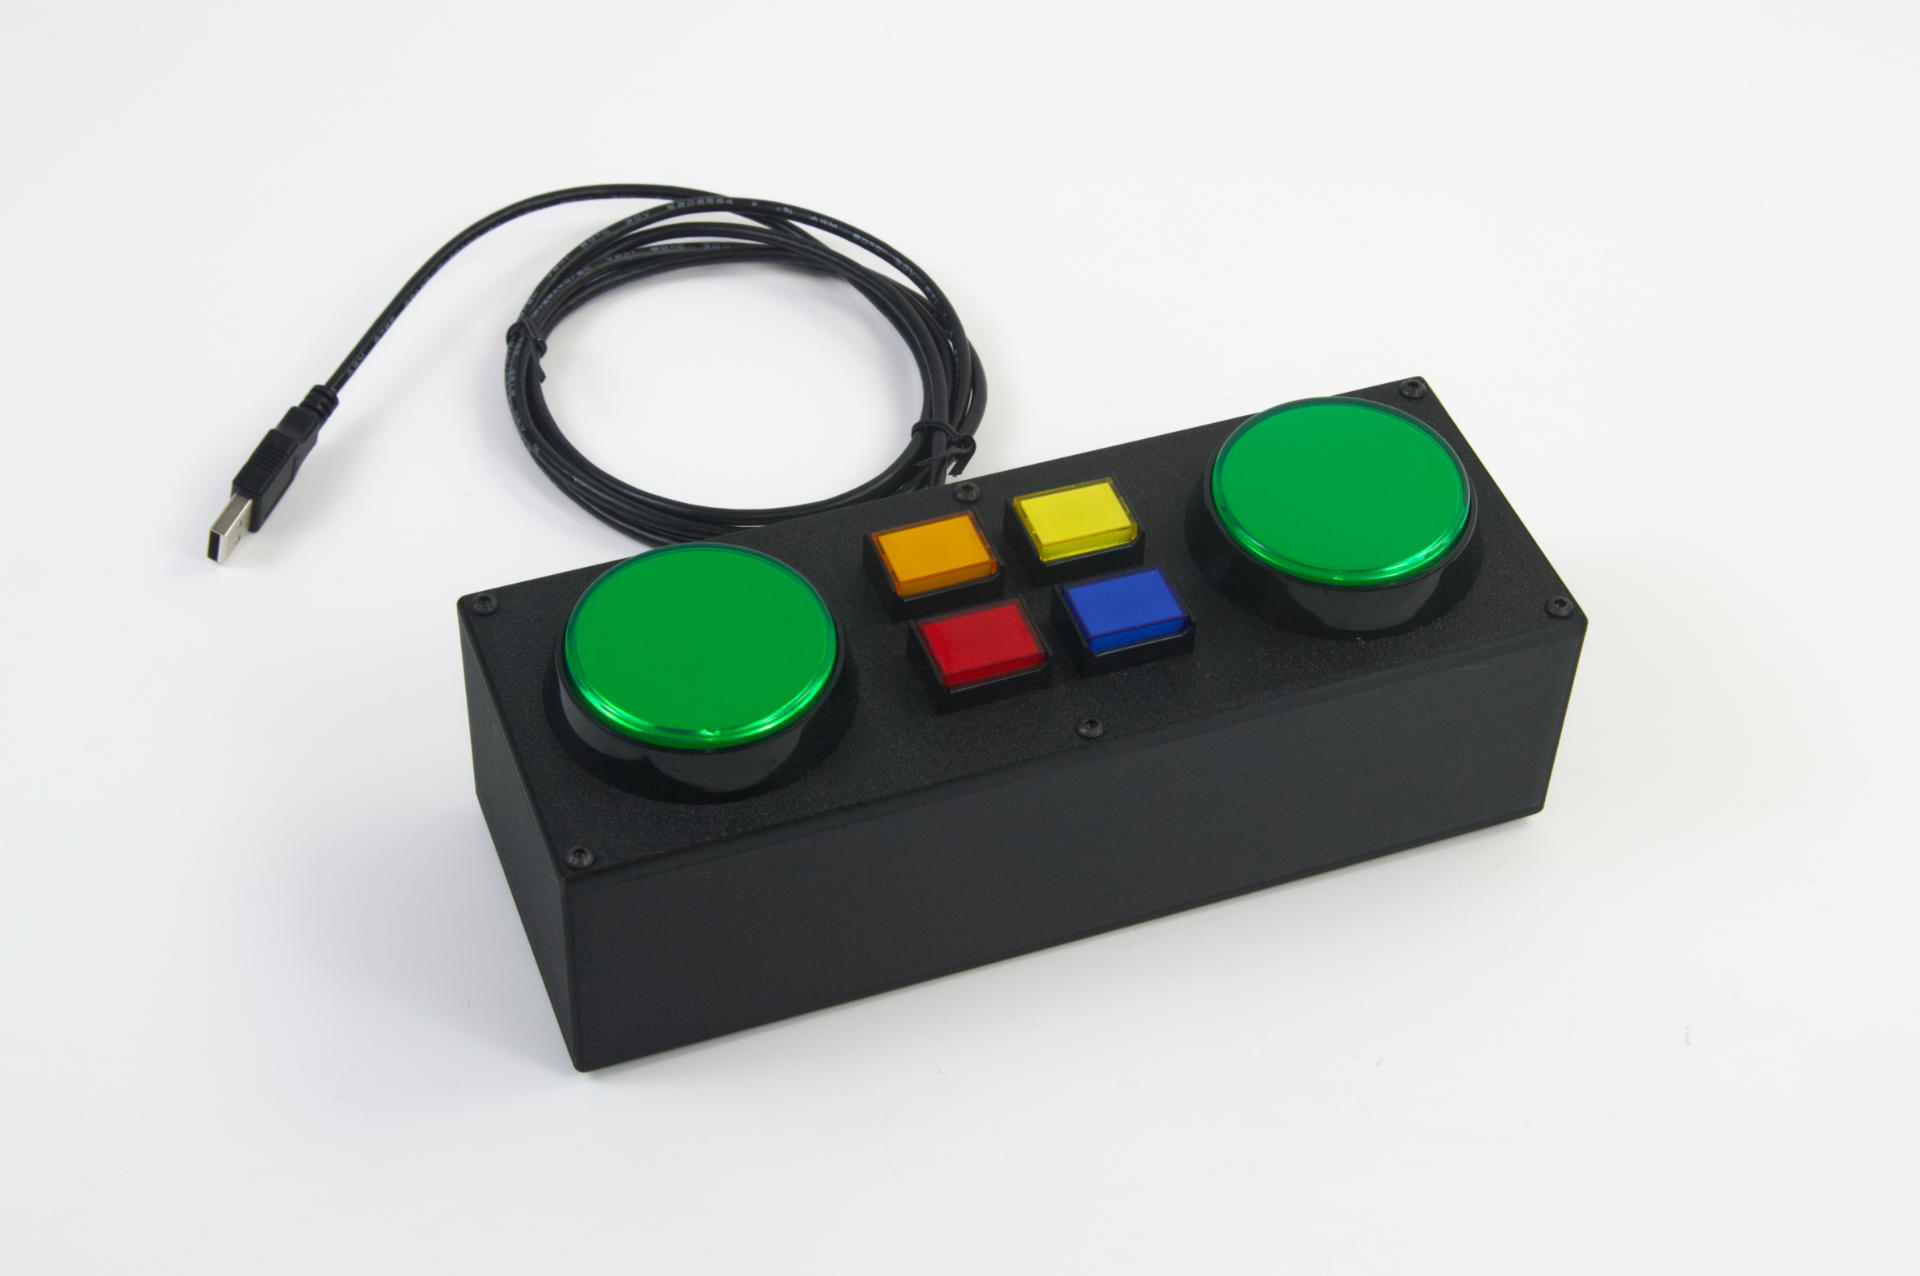
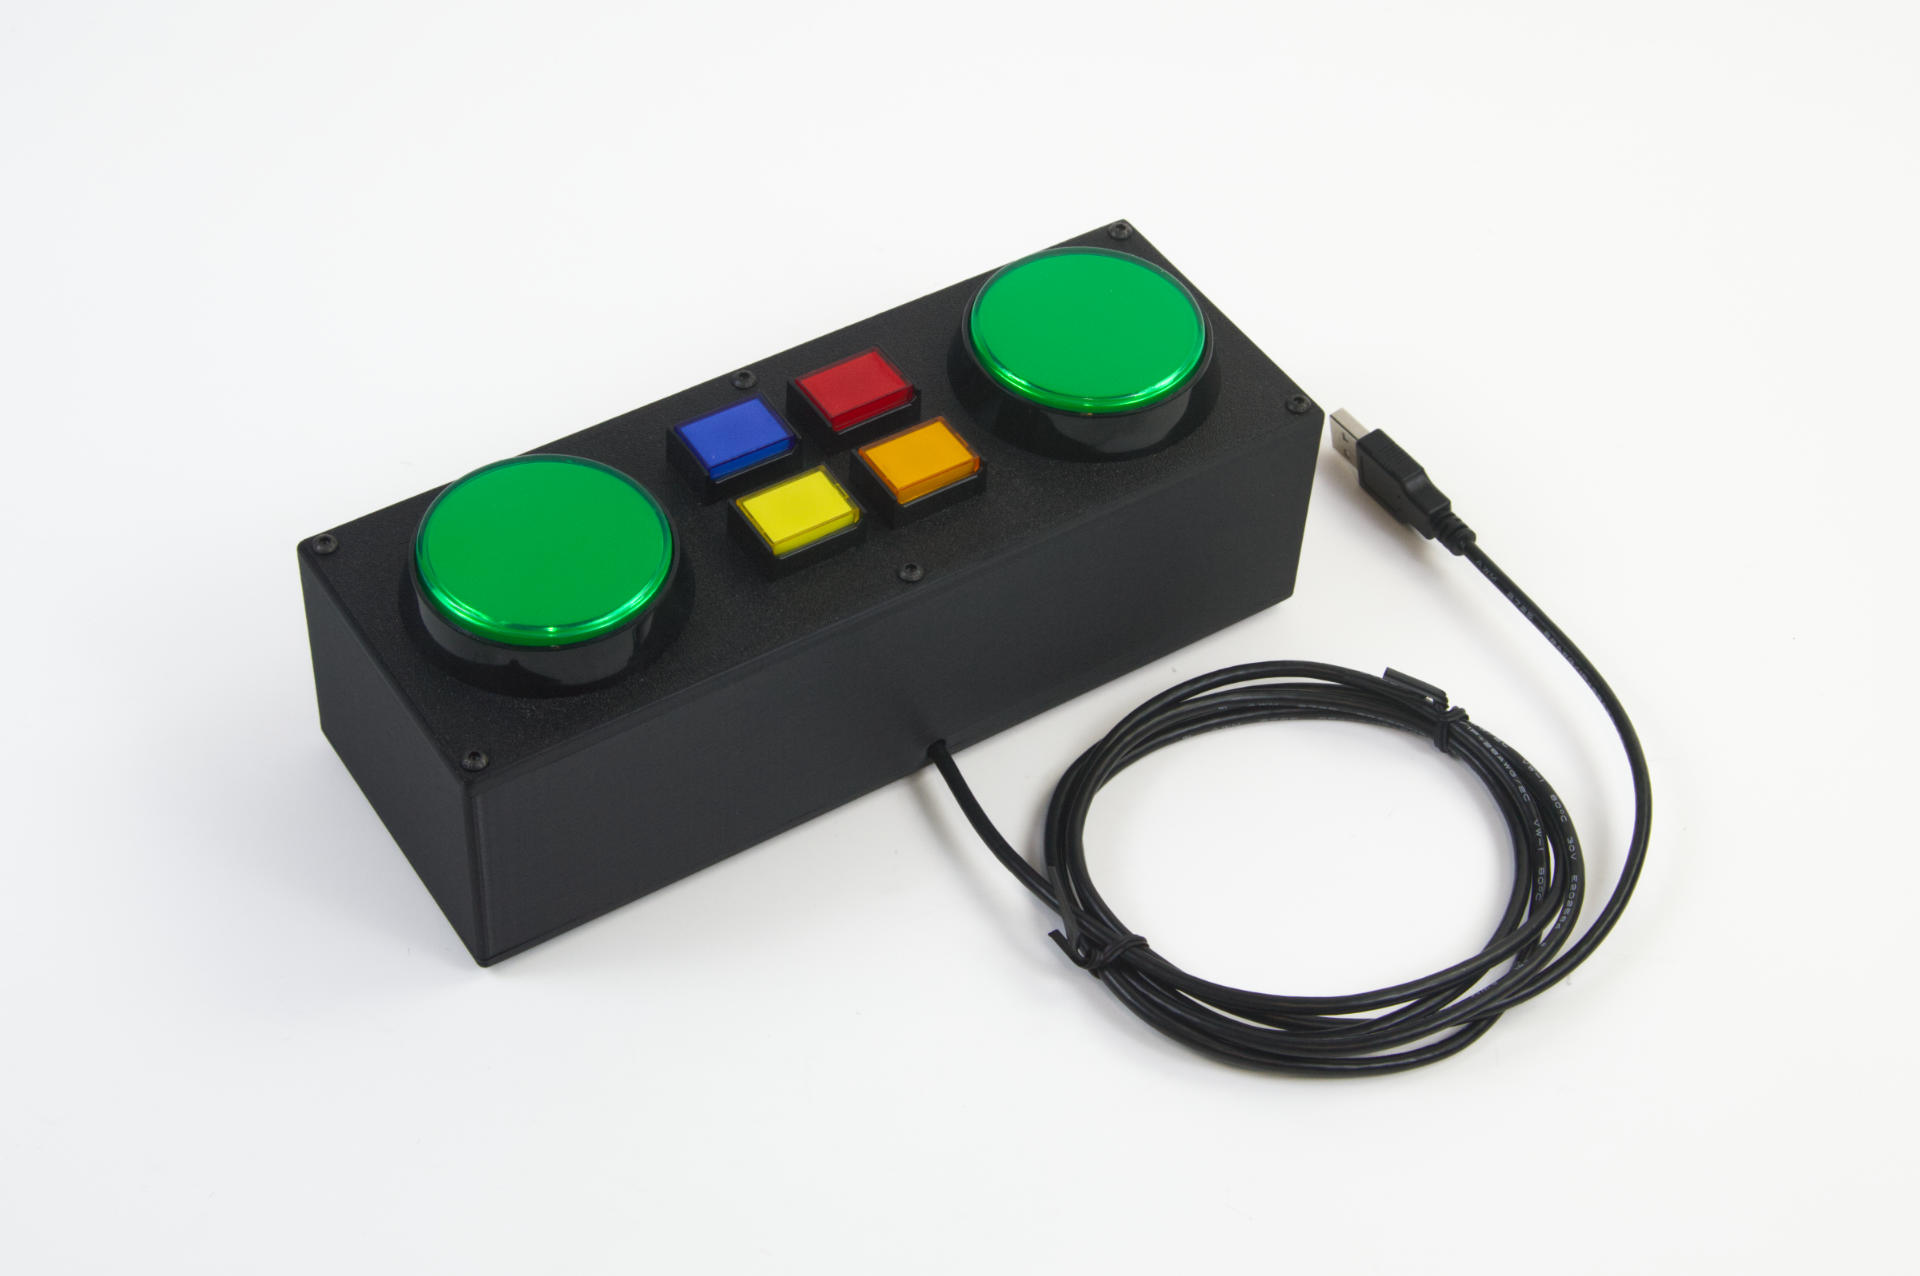
I was contacted by someone wanting a custom controller to work with the lighting control software they used. The controller would be programmed as a USB MIDI device and it just needed to send noteOn data to the software. I build controllers so how could I say no?
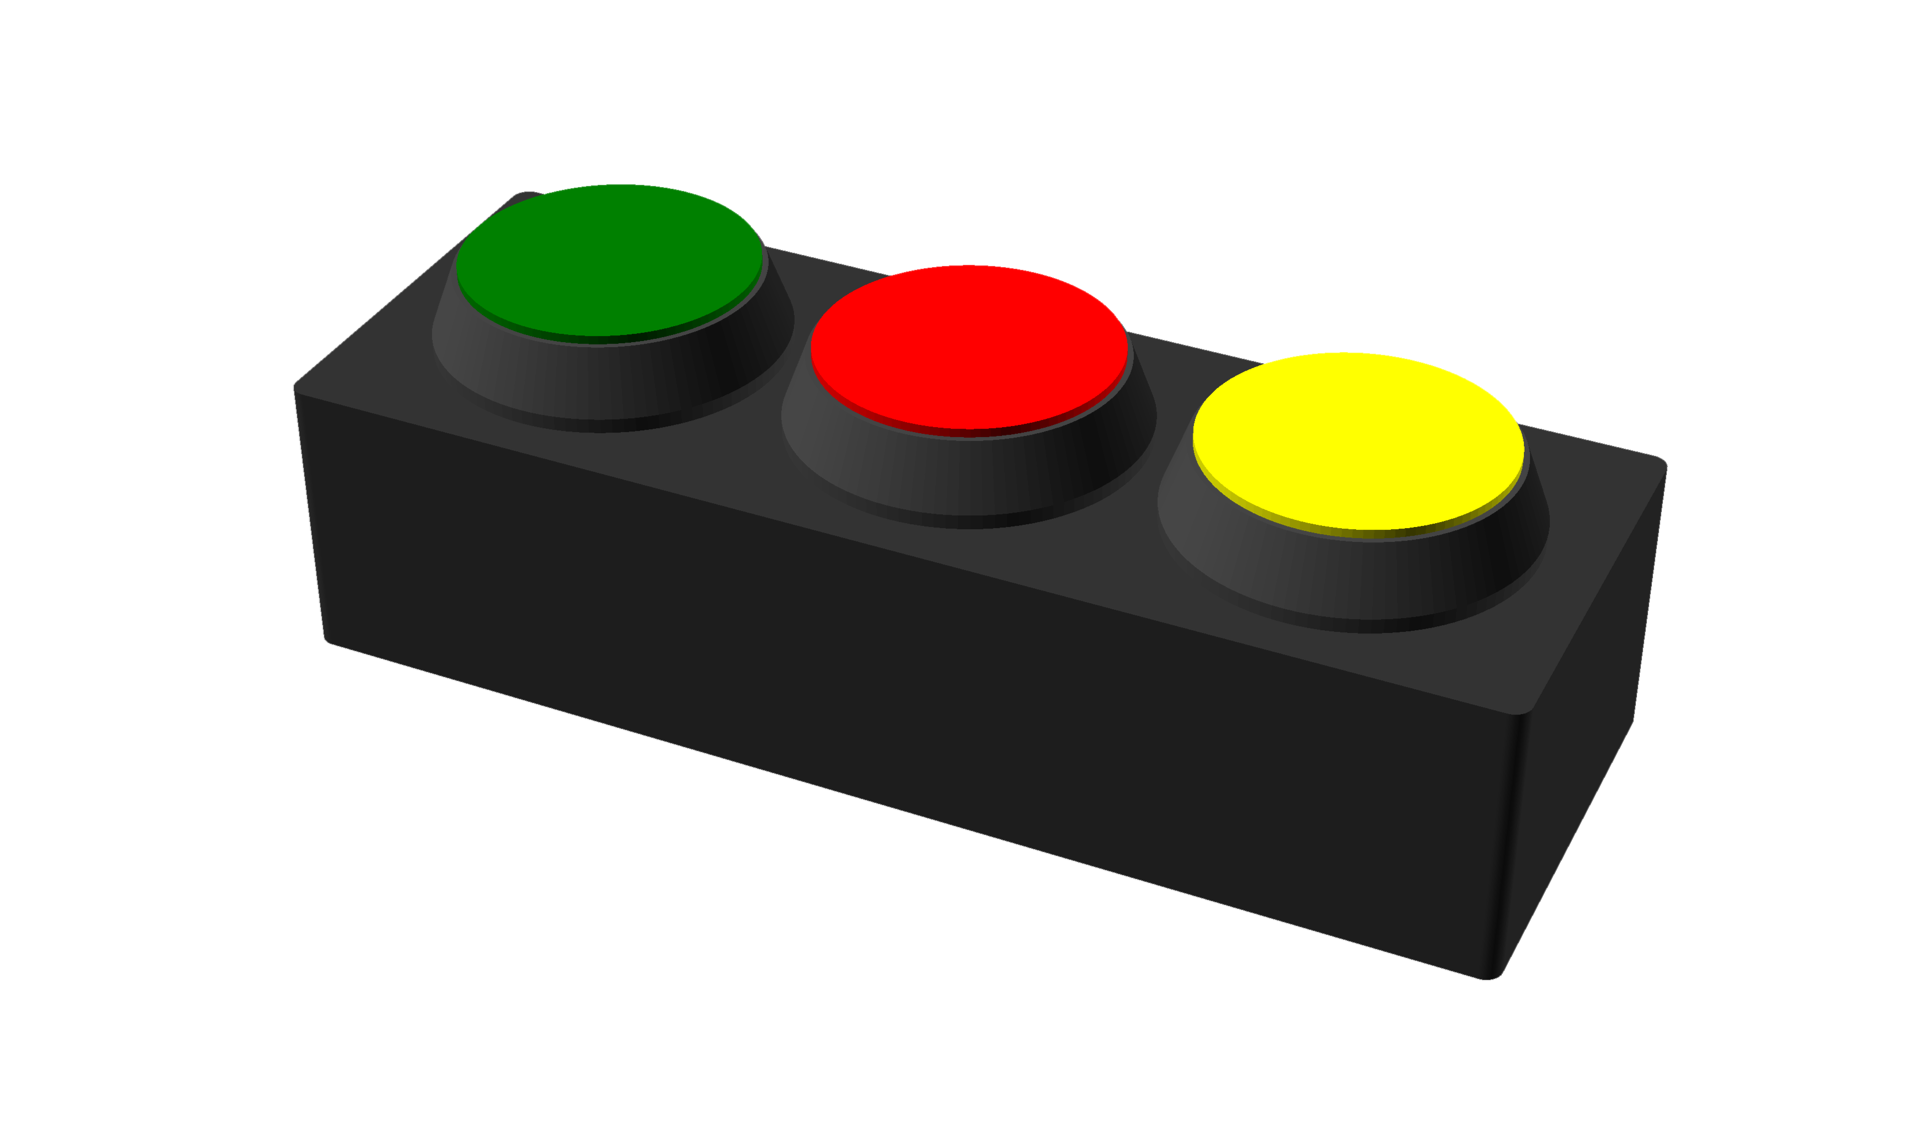
This was the first sketch based on our discussion, which had three 60mm diameter buttons. After some back and forth the client asked about adding more/smaller buttons, so we came up with this…
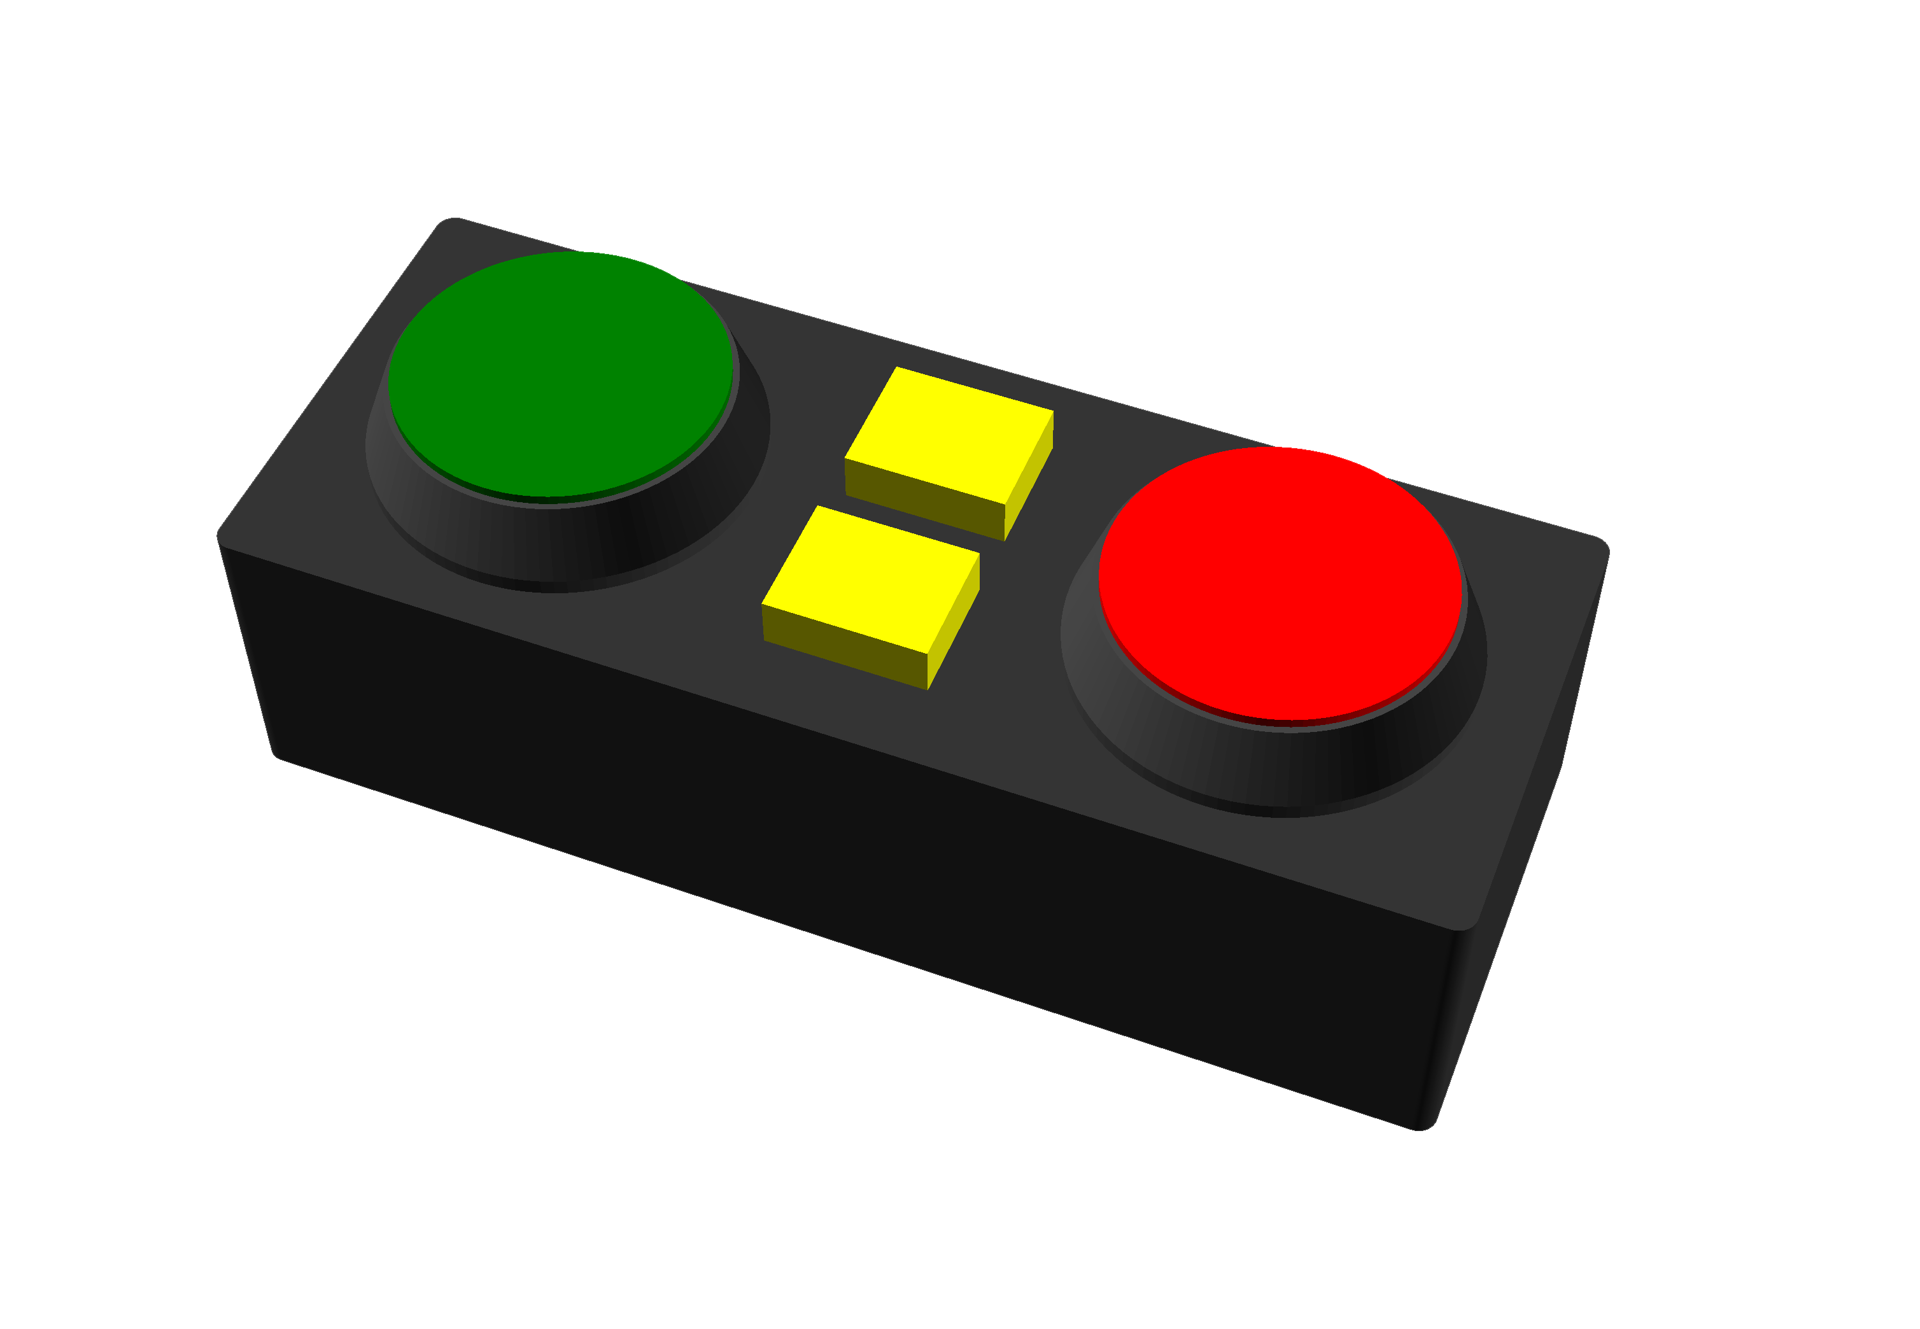
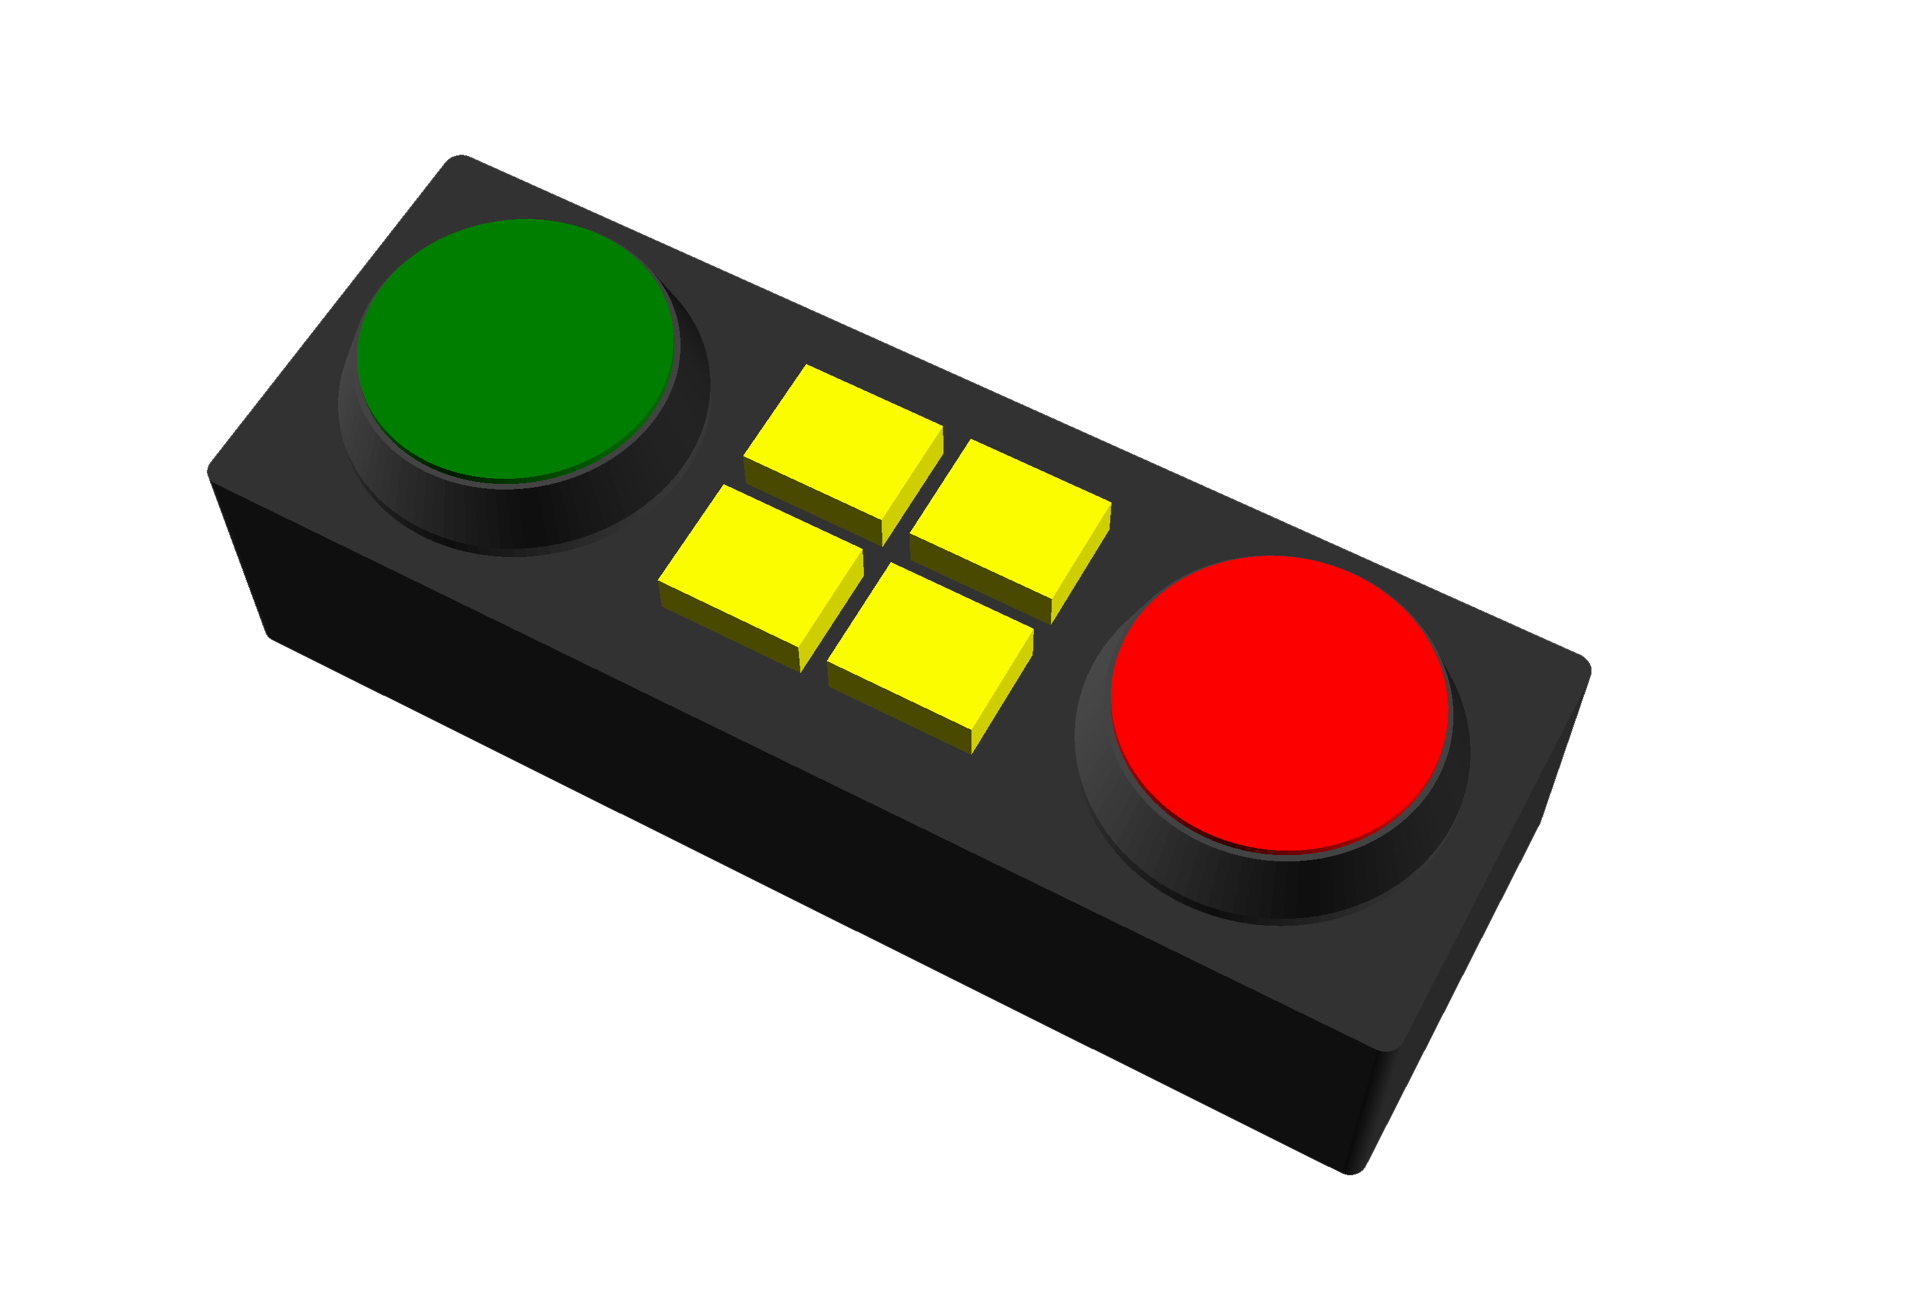
But they wanted to see a four button version as well as two buttons. These quick and dirty renders were mainly to show the spacing of things. Once we agreed on what it would consist of, I got to work. (I should note that sometimes I do 2D sketches in Inkscape for the client to see, and on occasion I do the sketches directly in OpenSCAD.)
For these projects I design the enclosure in OpenSCAD and try to make things parametric so it’s simple for me to change the dimensions of things if needed. I’ve got my own OpenSCAD library I use for this, and I continually tweak it to be exactly what I need…

I’ve found this to be what works best. I get the whole reusing of code, and I do that! In the past I’ve tried to use code that other people have written but usually hit a wall when I need to do something weird or something they didn’t anticipate. This way I know all the code and what it does and how to change it easily.
I should note that this isn’t your standard computer code that can do terrible things or compromise security if you do something wrong… it just renders a 3D object.
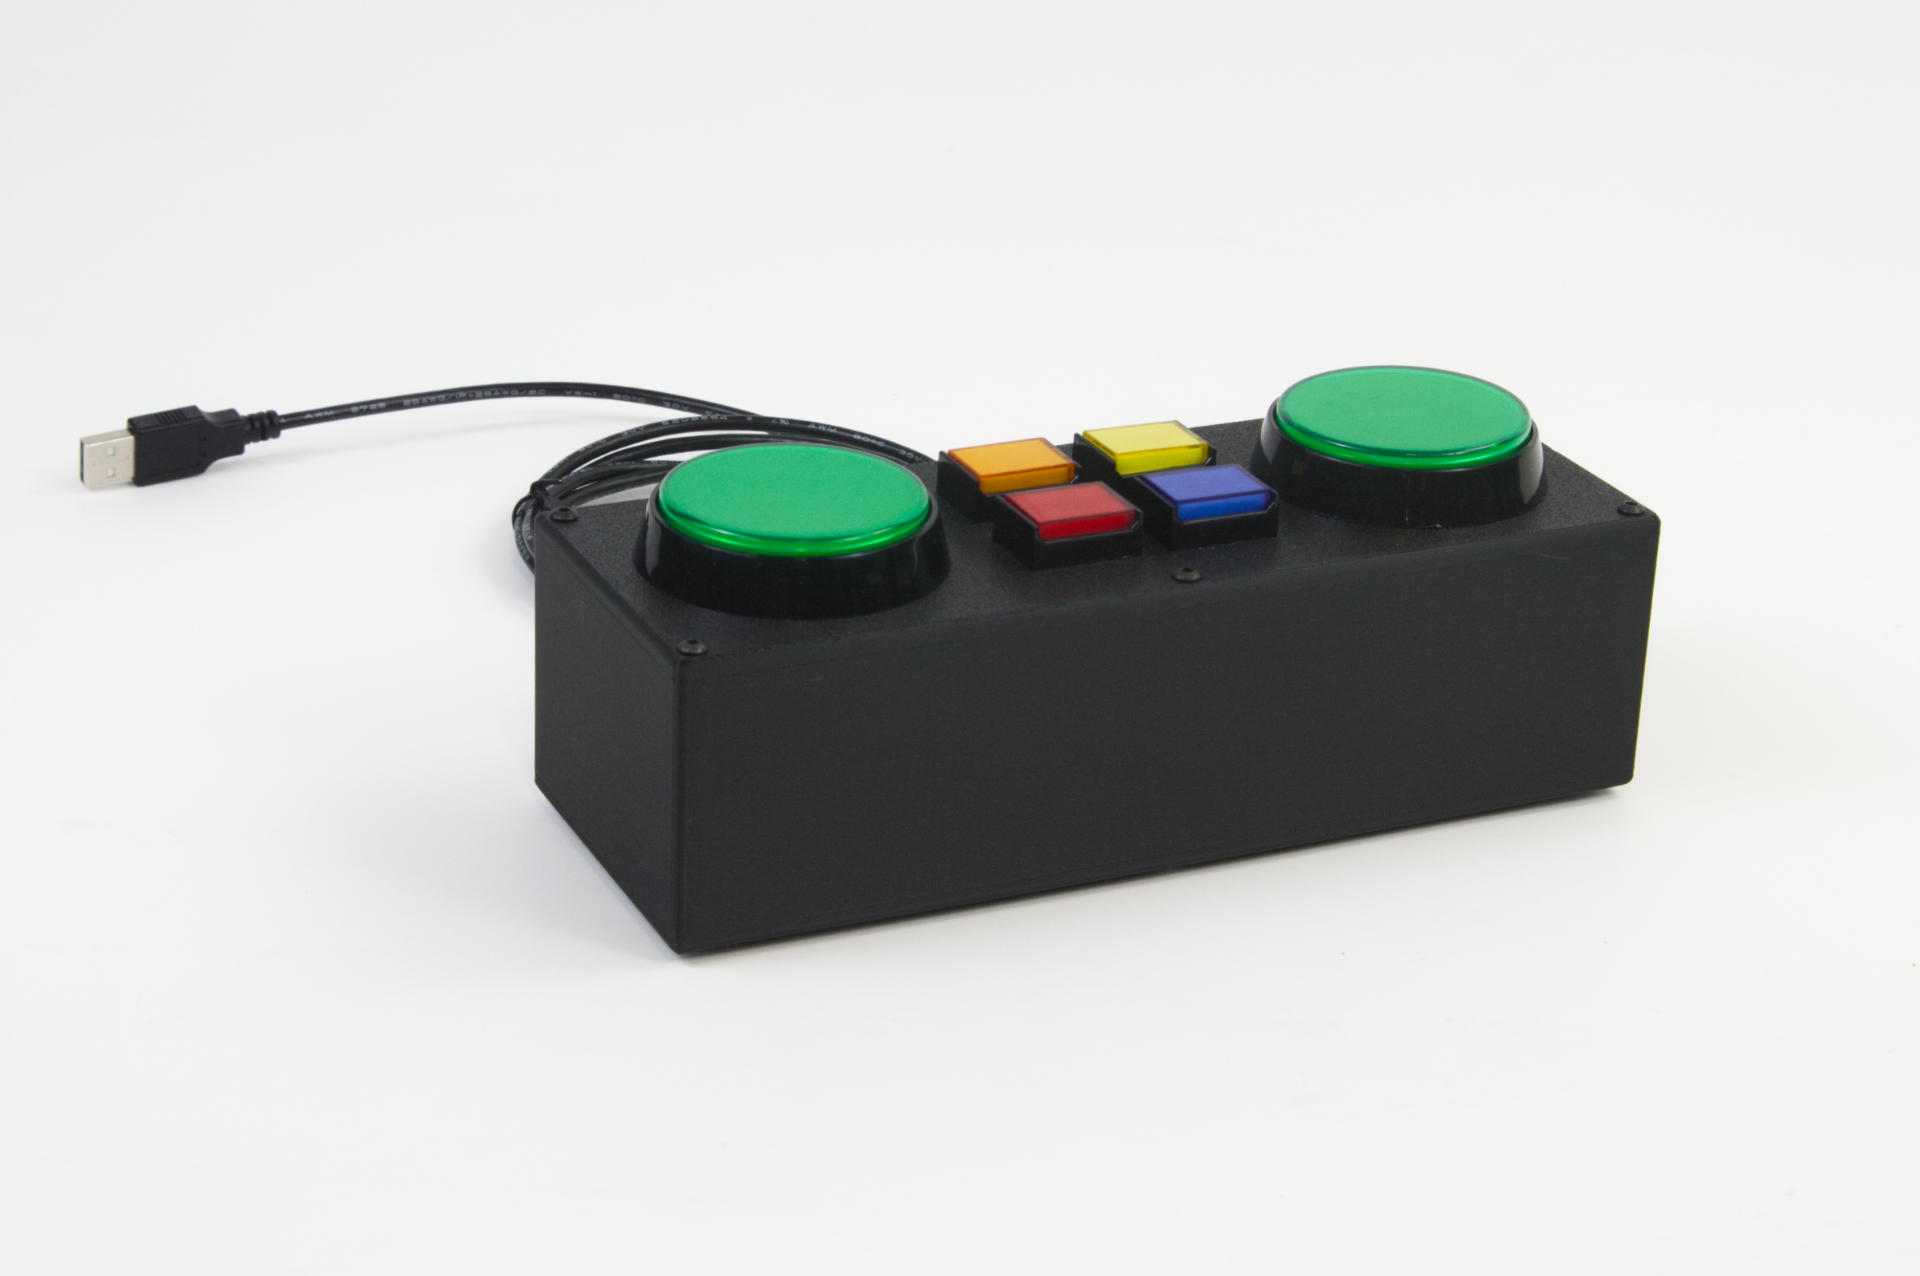
Anyway, the controller turned out well, the client was happy, and even sent me a thank you email once they got it and started using it. I really do like doing these custom projects, and I know that sometimes I may not charge enough but I am definitely learning things along the way and perfecting my process… and there’s some value in that for me, so I’m good with it.
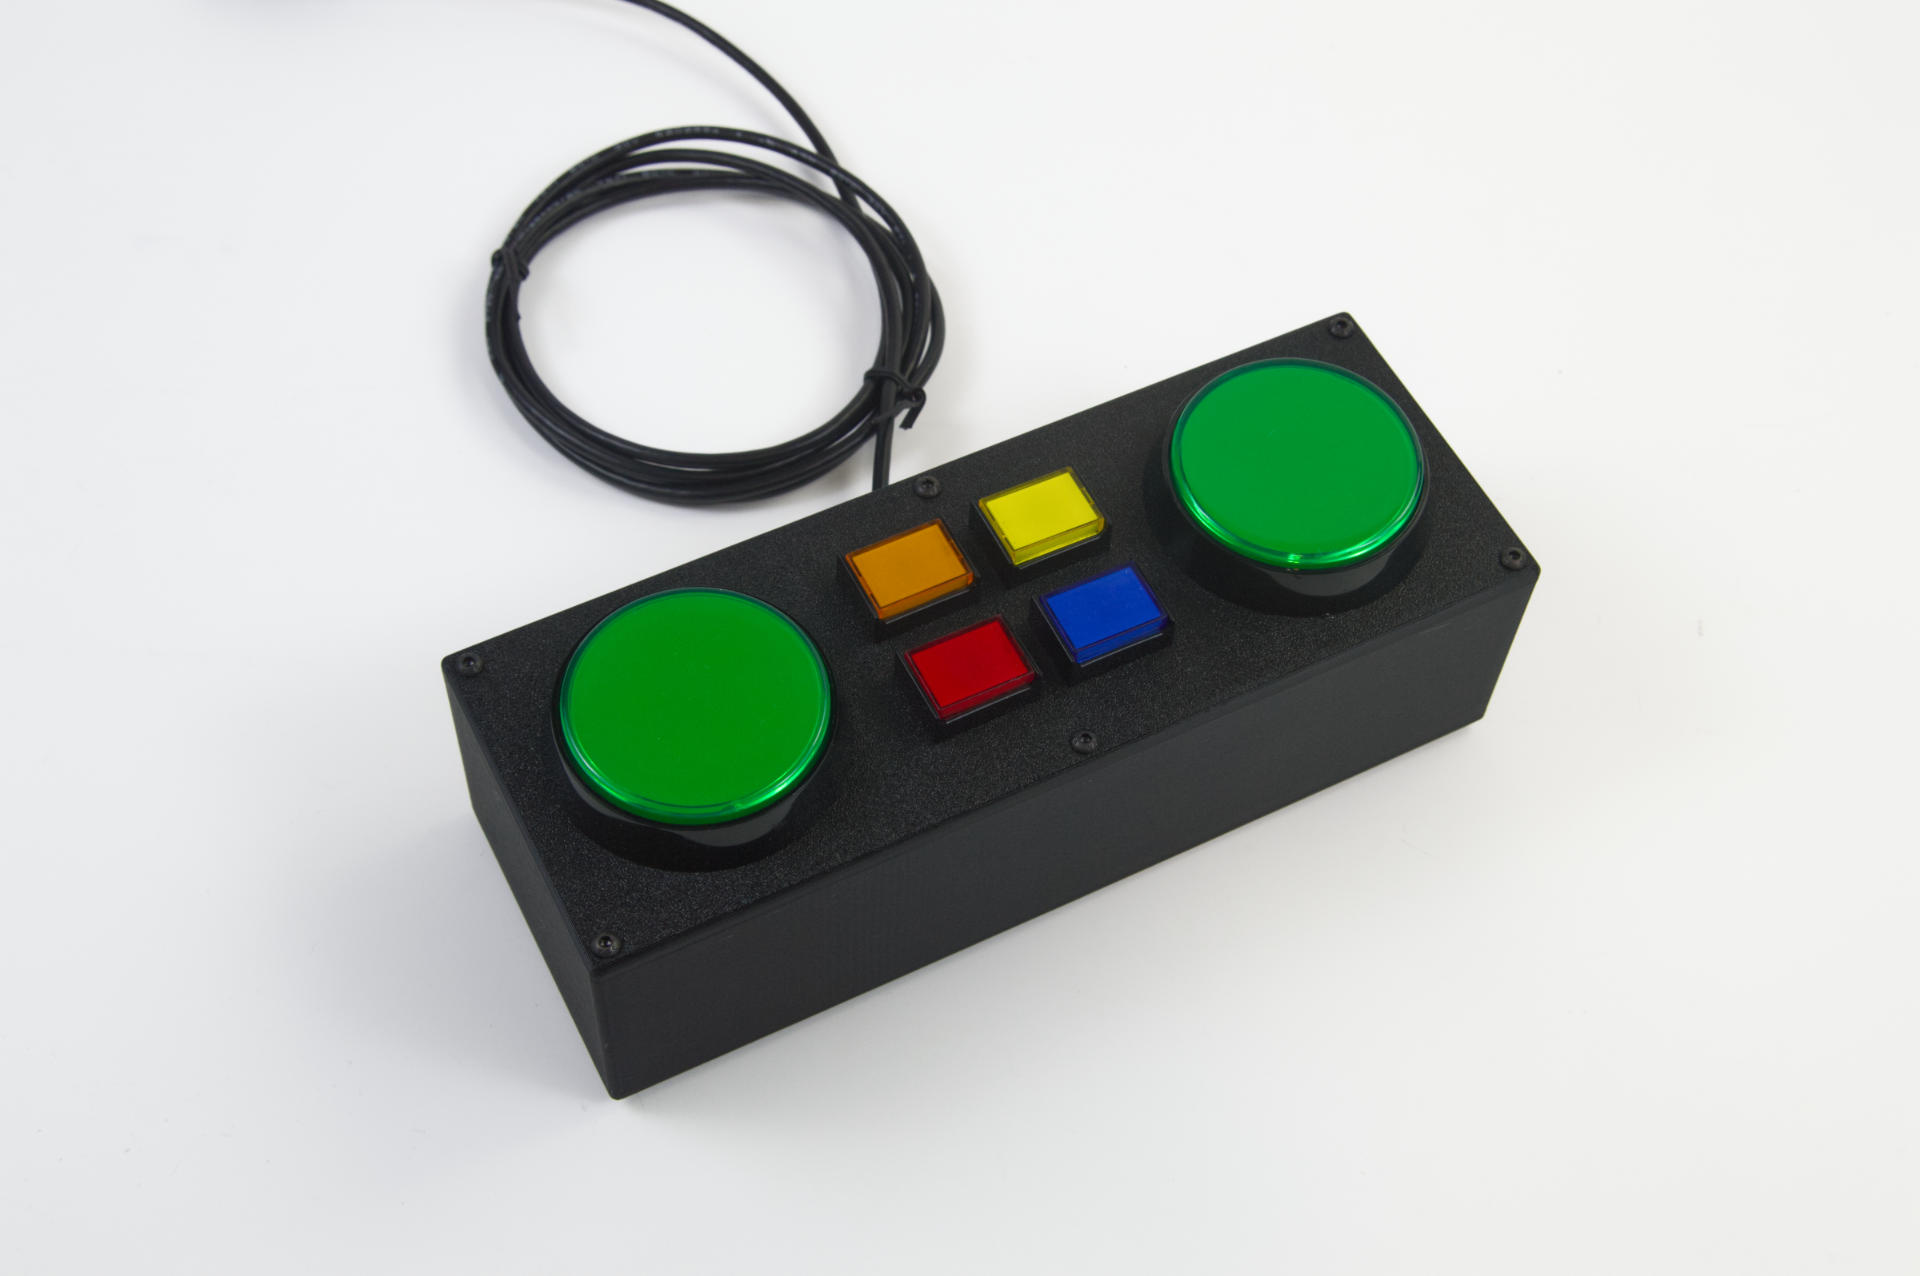
As always, if you need some custom built MIDI or USB controller, get in touch!
Categories
Uncategorized

Mouse Click Space Controller

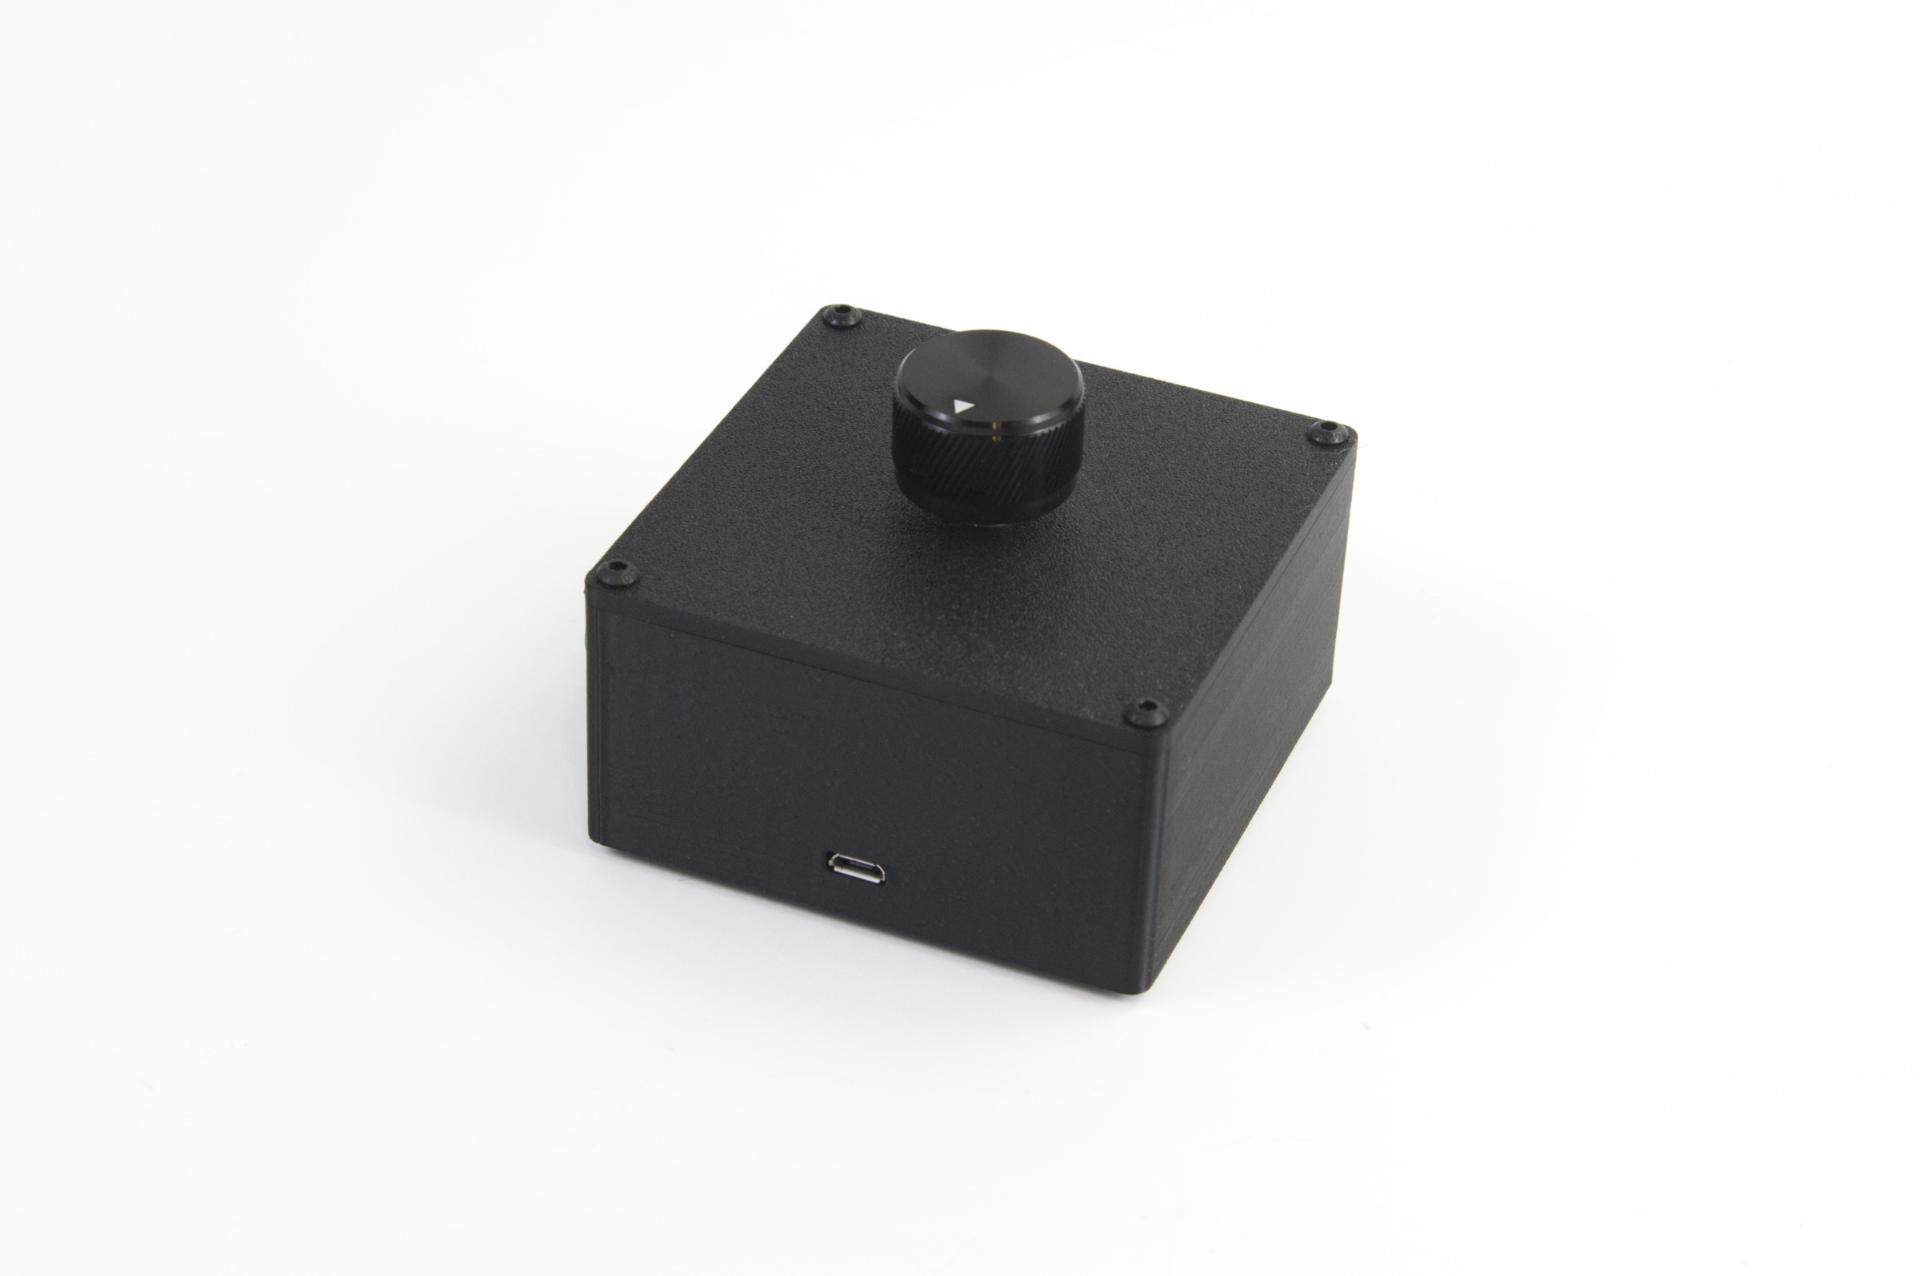
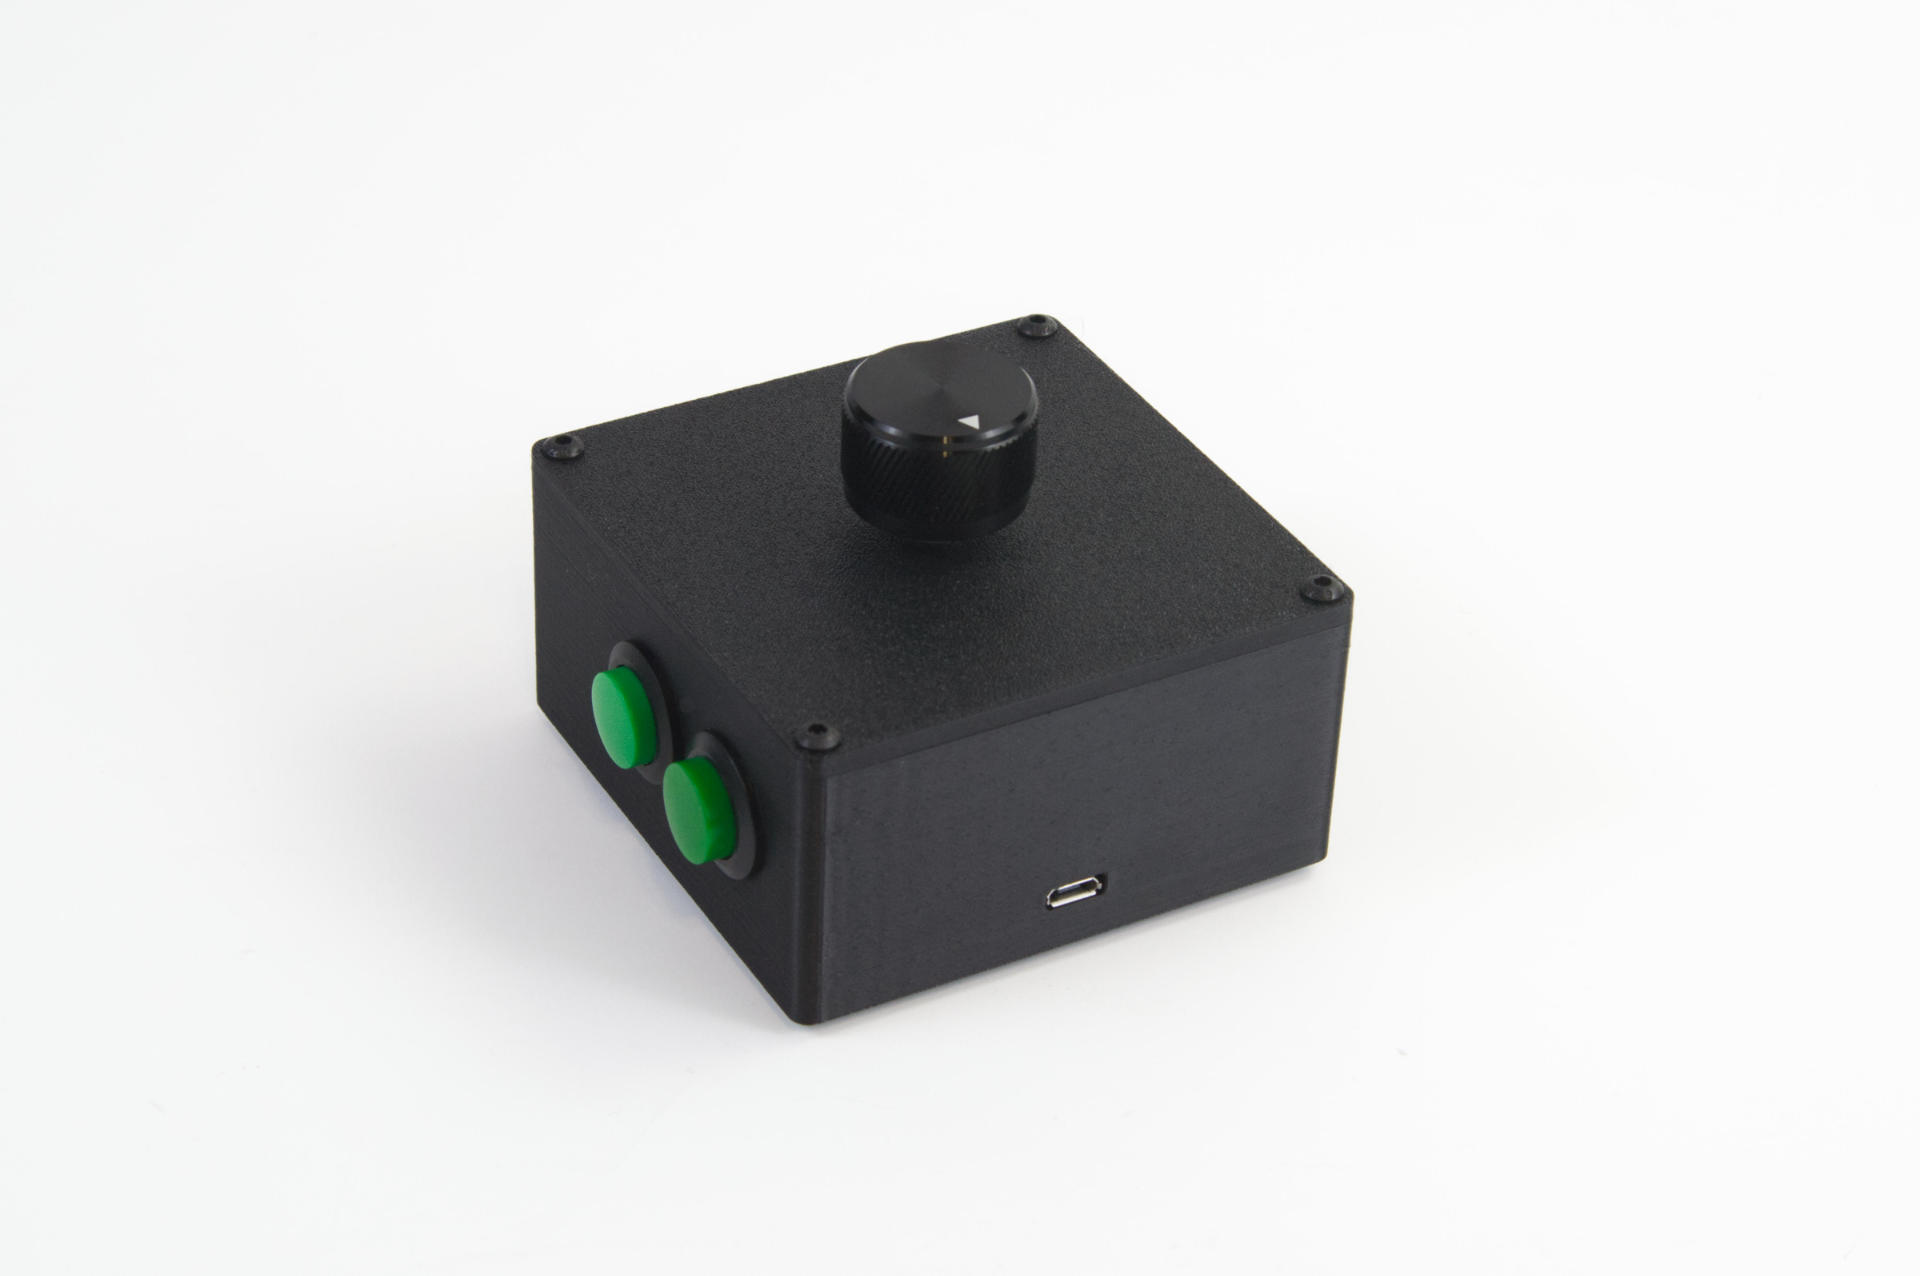
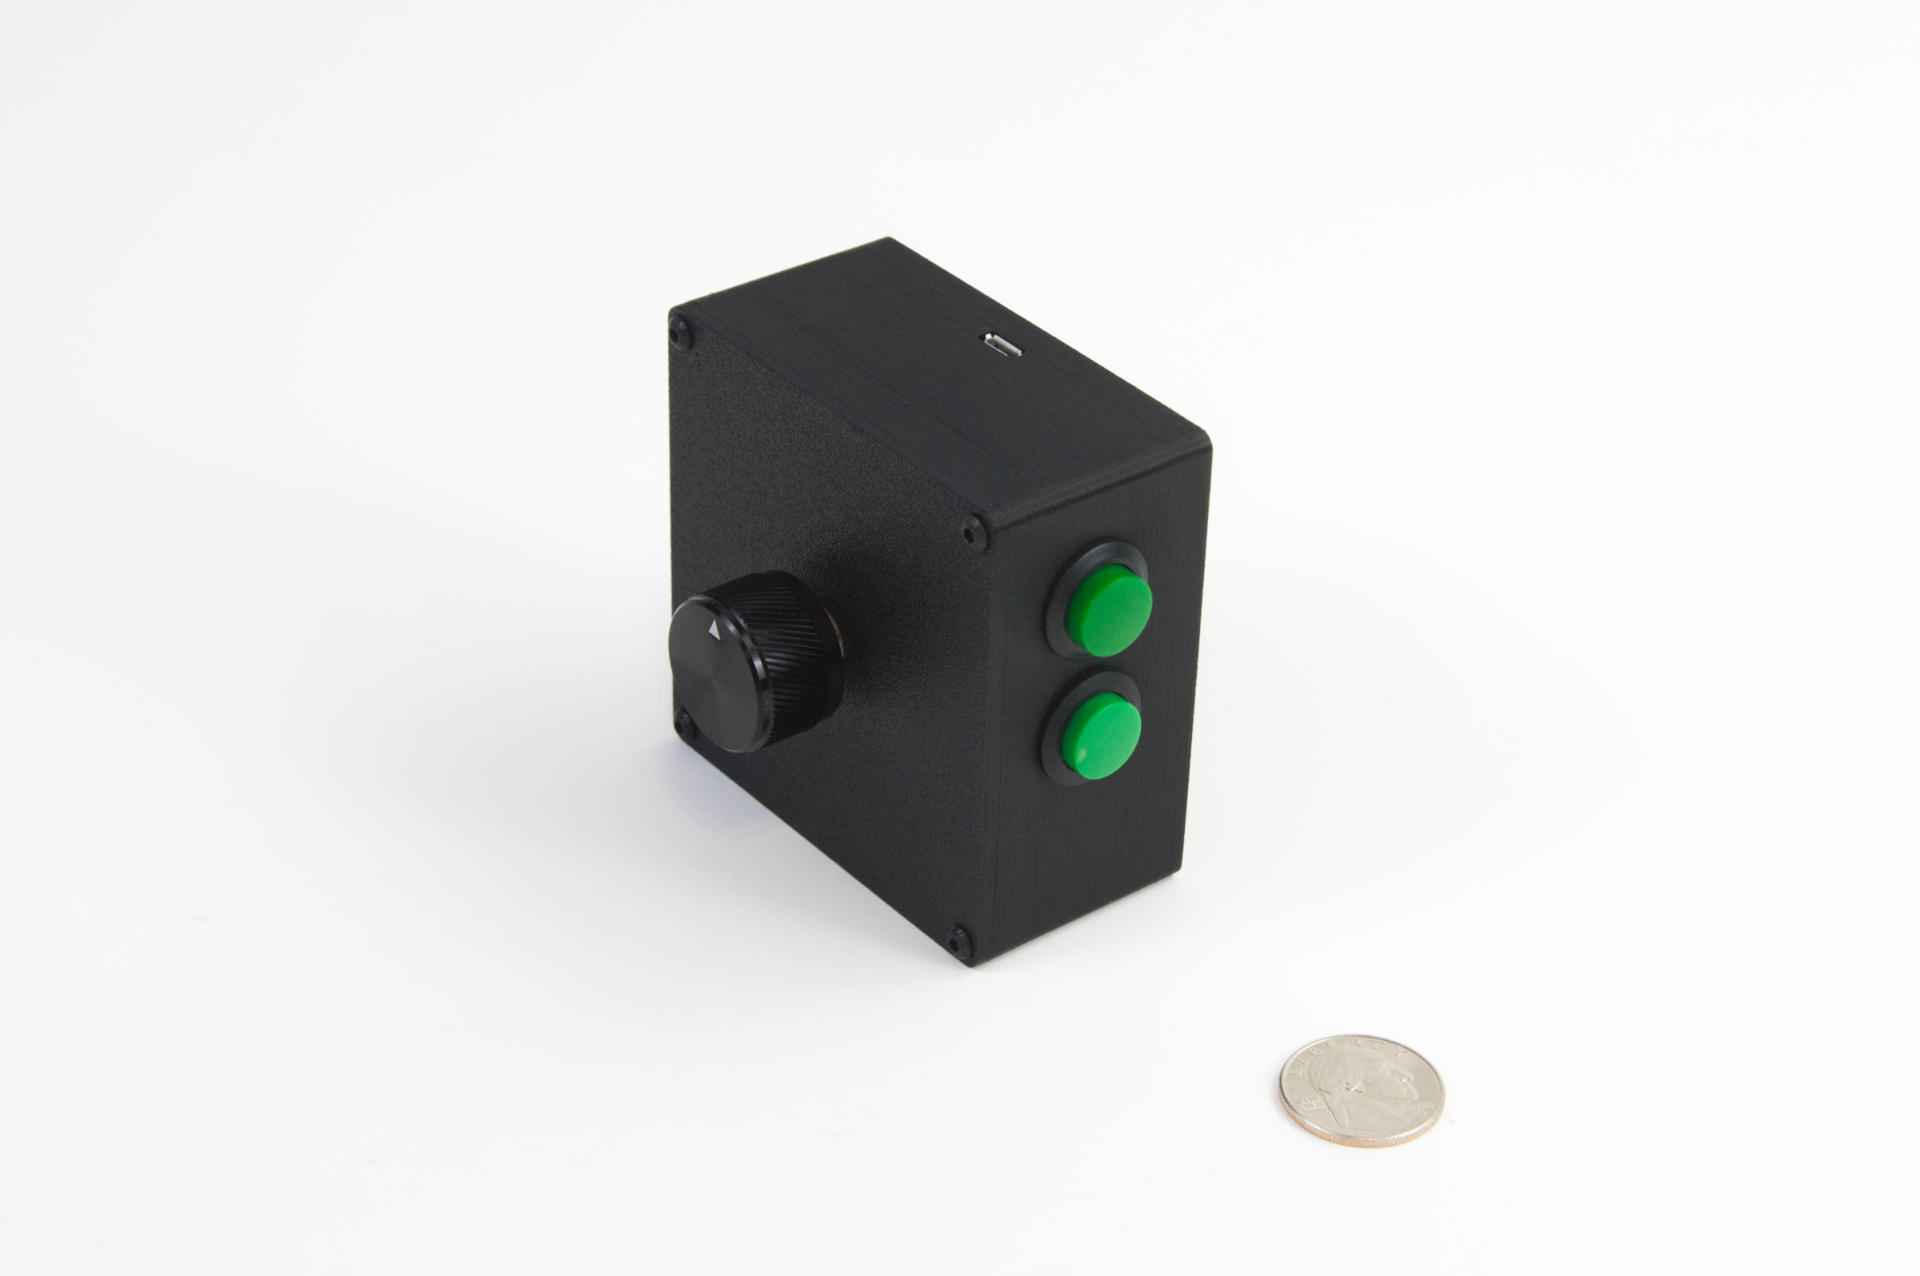
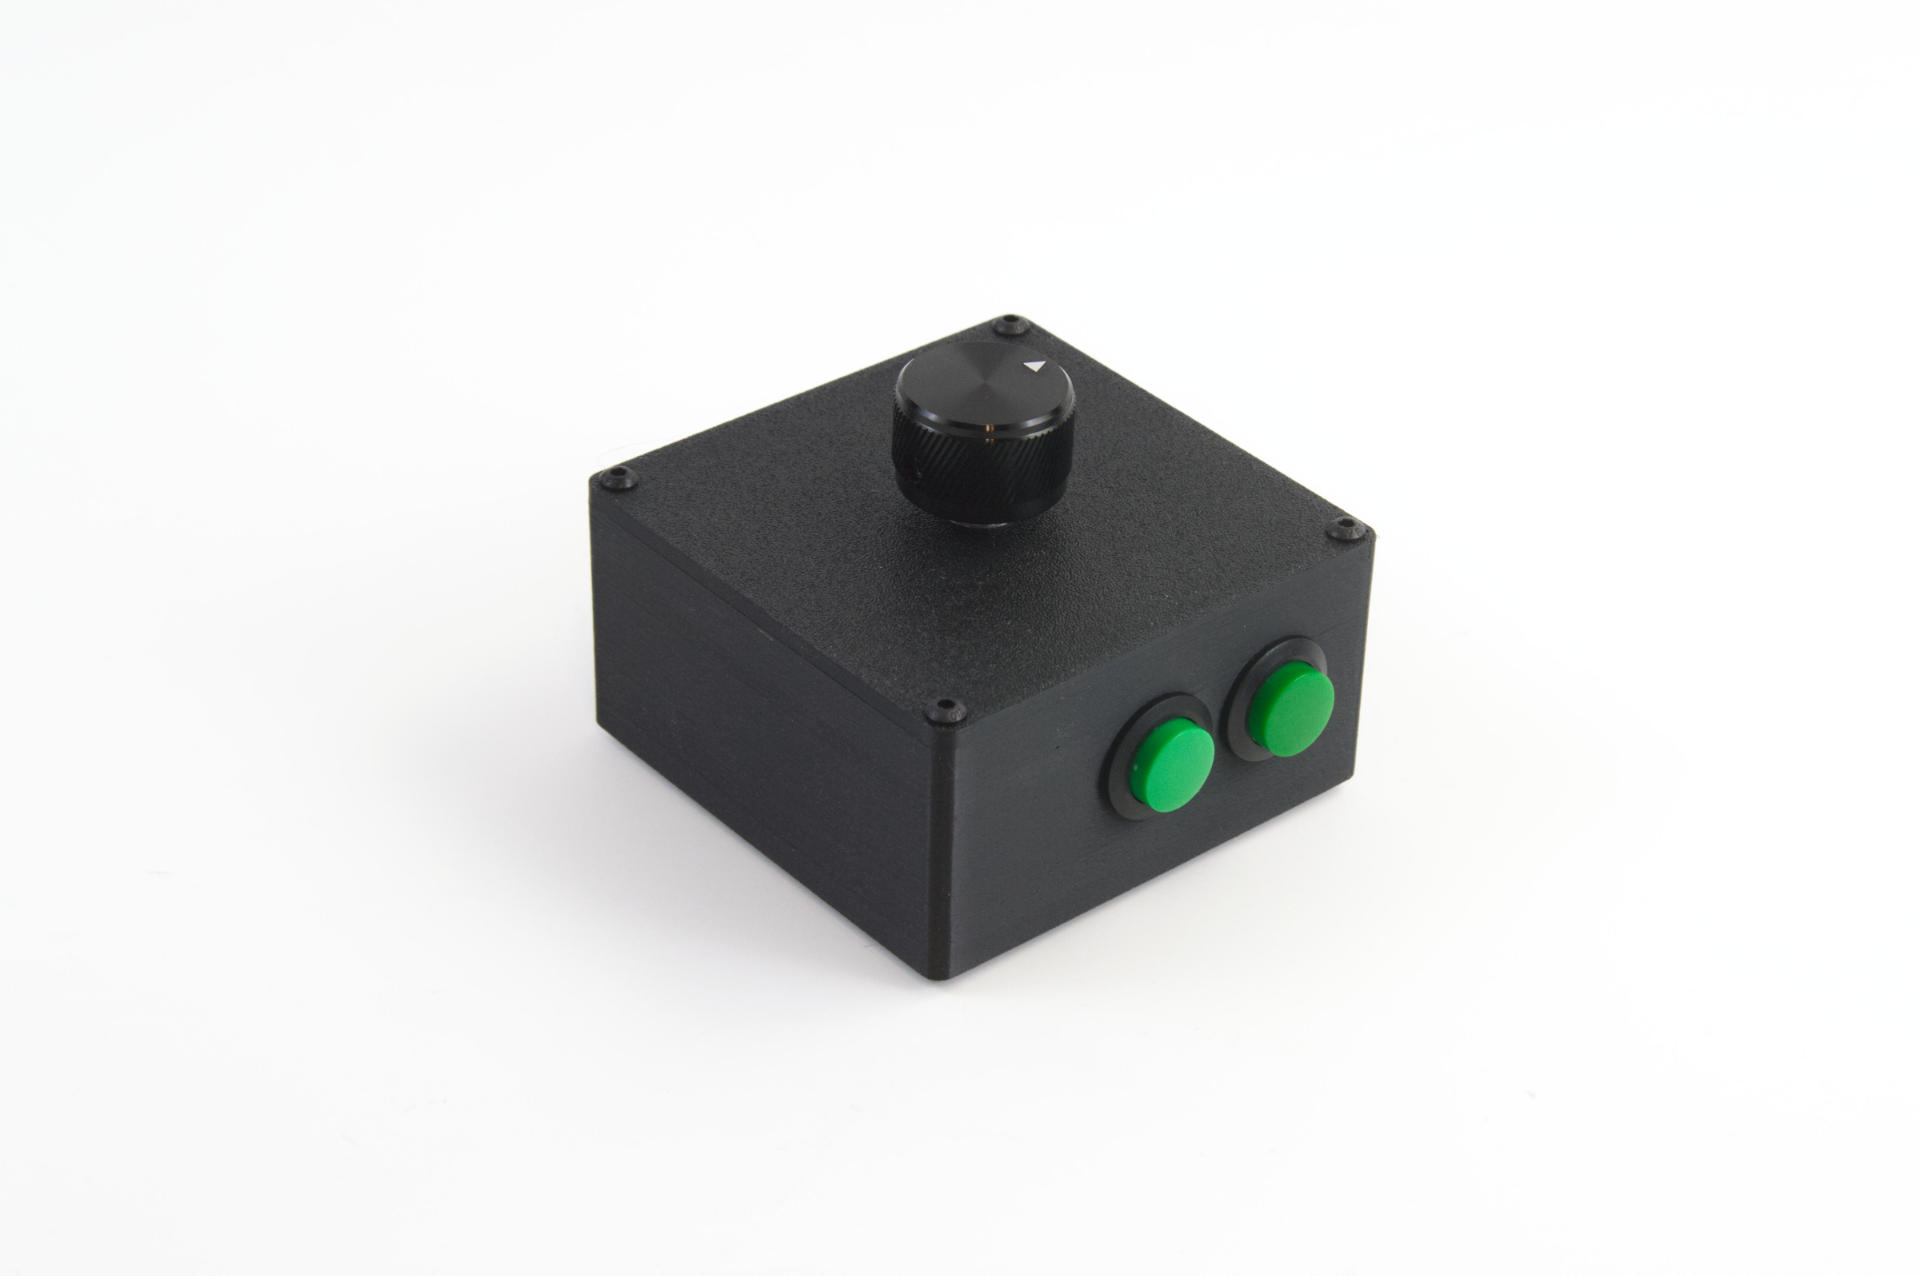
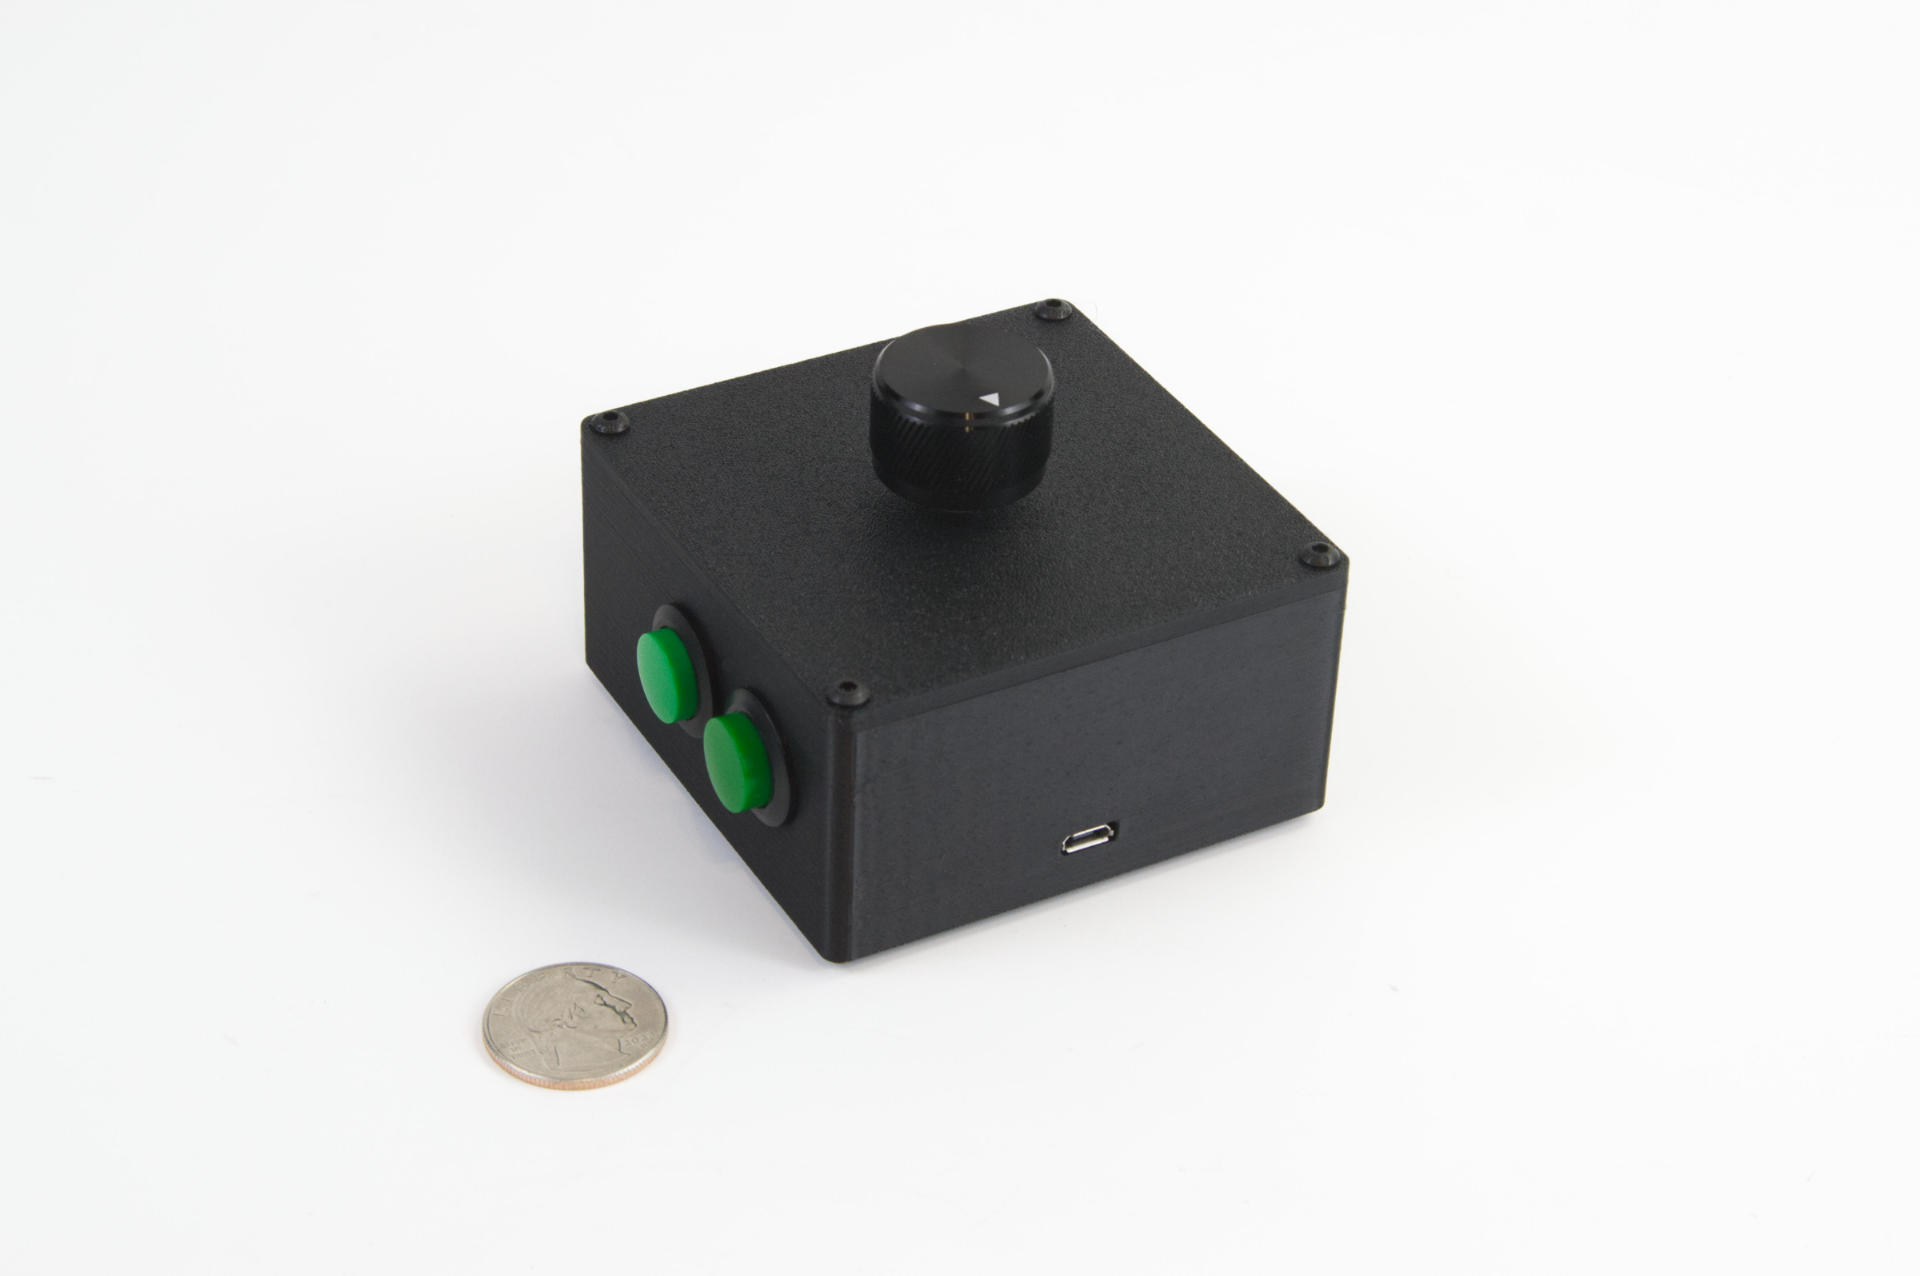
Someone who got one of my S1D Controllers and was using it with MAME got in touch with me and wanted a version with a few buttons added on. They said the knob programmed as a mouse scroll wheel was working great, but wished it also had a left and right mouse button so (based on a provided sketch) I adjusted the case, added two buttons, programmed the knob/button to send a space character, and that was it.

I’m glad I rewrite all my OpenSCAD code for generating enclosures a while back as that made things a bit easier, but honestly I can already think of some improvements, and may end up rewriting it all again in the future…

You can find out more about the S1D Controller on this wiki page. And yes, I did in fact create a wiki for all the products I’ve created, which you can find at codex.2xlnetworks.net. It also has links to custom projects a few guides, and other things. I want it to serve as a support site for the products I build.

Etsy has worked quite well for me, but I also want a separate space, and not necessarily a separate shop, so this was a good compromise and allows me to easily update things, add new stuff, etc. All the classic wiki jazz. (It’s sometimes hard to believe I’ve been using wikis for close to 25 years!)

Categories
Uncategorized

Simple USB Switching Device

I recently sold a USB controller to a large company and then the Experiential Marketing Team there had a few calls with me about what they wanted to do next, which was build a “very large” controller. I gave them a huge quote (because it would have been a huge project involving custom fabrication) and they eventually got back to me saying they found someone local who would do the fabrication, but wondered if I could still do the programming part of it. I said “Of course!” and we got going…

As we talked through the project I realized that if I just sent them a microcontroller with a bunch of bare wires it may not be the best experience for them, so I offered to build a prototype/testing unit that would be fully functional, and then also provide the “bare wire” version they could install into the custom fabricated unit they were having built.

One of the people asked if they should have a backup in case of failure, and of course that’s always a good idea so I said I would throw in a spare as well.

Projects like this tend to be pretty easy for me. I’ve got my own OpenSCAD library to easily create the enclosure with the holes I need, and I can easily add new holes as needed. I can choose to print the top lid integrated or separately (and attach with hardware) and I tend to do the lid separately now because it means faster printing, less support material, and I can easily iterate when needed.

The electronics for most controllers I build is the same, so if I don’t have code that does what someone wants, it’s fairly simple for me to rewrite existing code to do what is needed. I test things on macOS and Windows for every project, and Linux if that is needed. (It is sometimes, but it’s rare most of the time.)

Anyway, a project like this is actually pretty fun for me, which is why I keep doing them. I can get away with not charging a ton because I have my system down really well to produce what people want.

Categories
Uncategorized

Three Button Tradeshow Video Player Controller

Custom USB Controller for trade show video playback

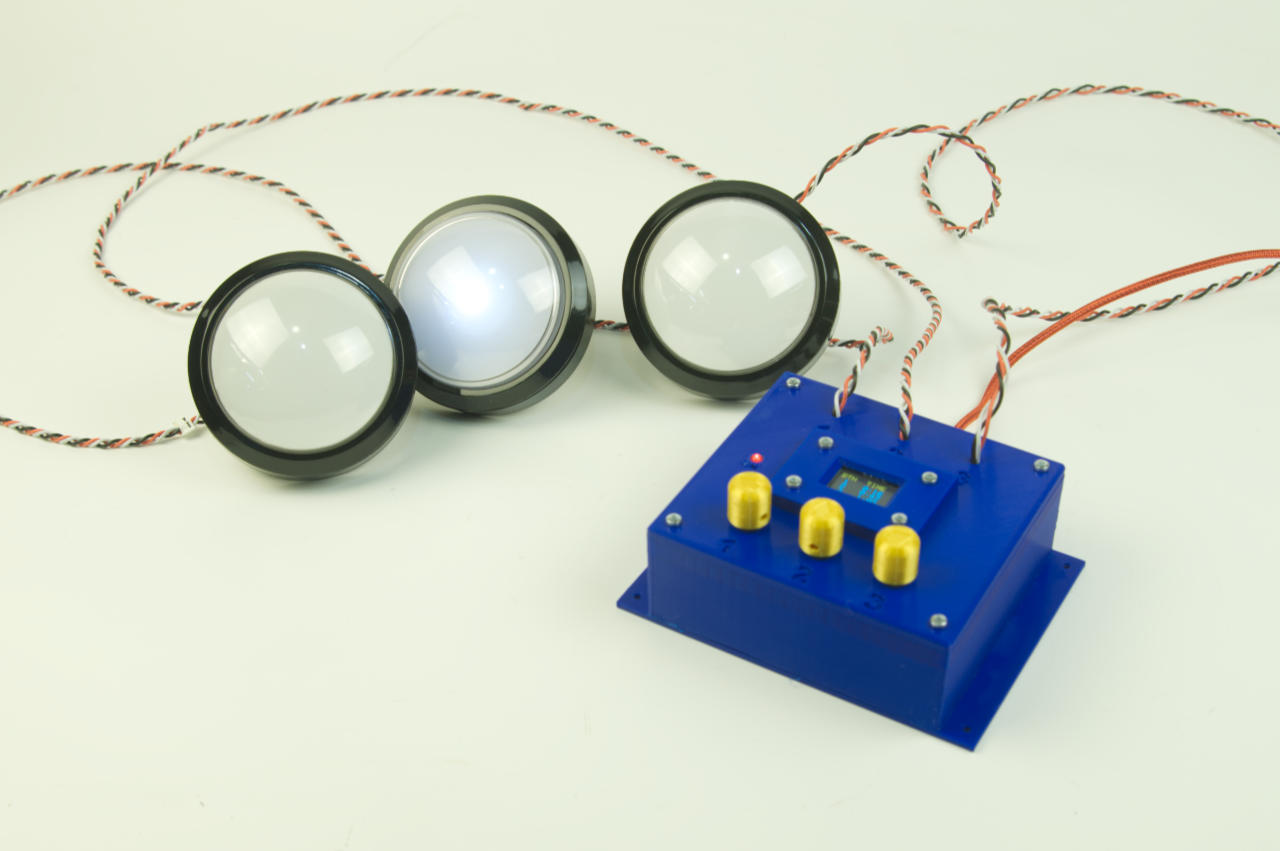
I was contacted by a trade show company about helping with a project on a tight deadline. At first it seemed as though they had a solution but just needed some hardware or some advice, but I did a call with the software developers and it seemed like the quickest (and most solid) plan was to create a drop-in replacement for what they were working on (and were stuck on) that would do exactly what was required.

Custom USB Controller for trade show video playback

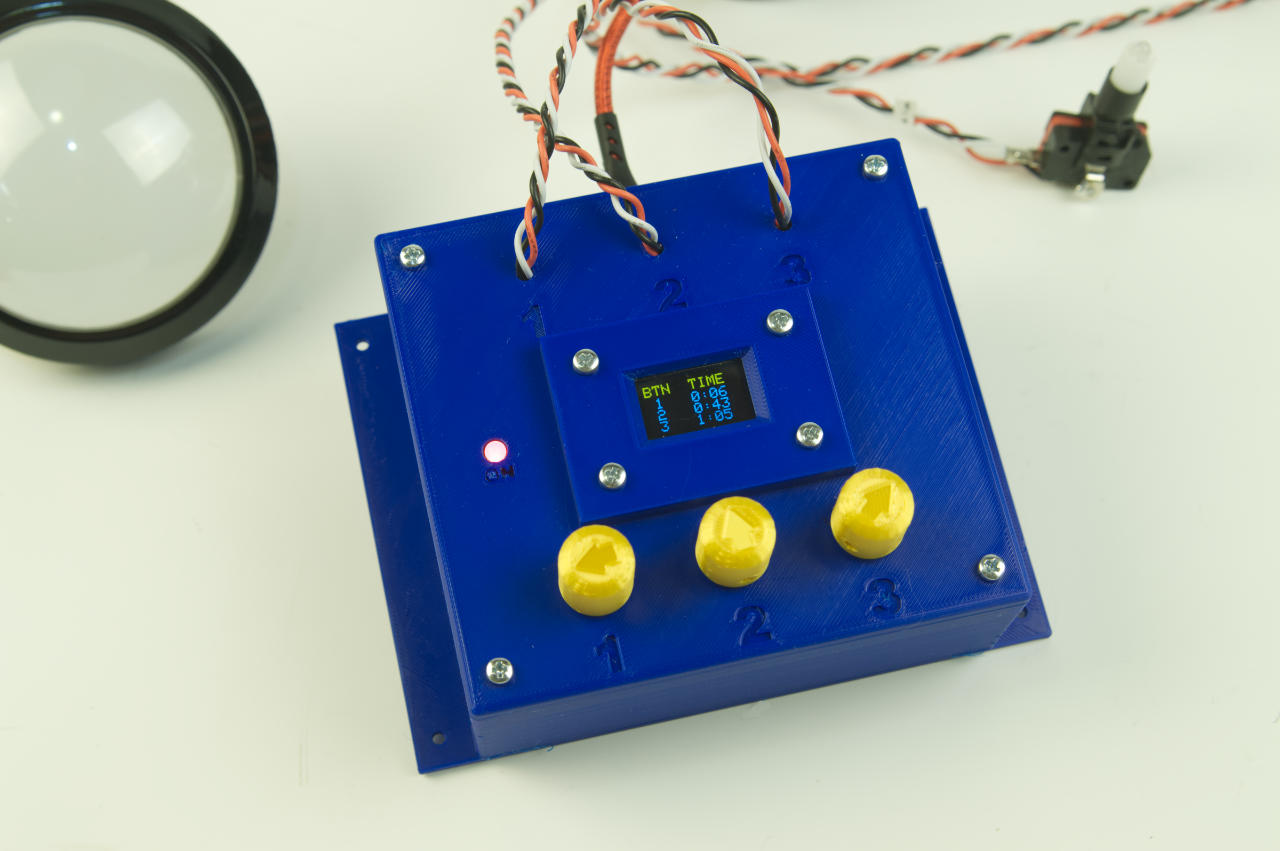
One of the requirements was for each button to be lit a specific amount of time to match the length of video playback for each button. Since we didn’t yet know the lengths of the video, and I had to ship this across the country, I suggested an easy method of setting the time for each button to be lit. This would allow them to dial in (literally) the timing once they had the videos completed.

Custom USB Controller for trade show video playback

We did know that the videos would be under 75 seconds. Just to be safe I set the timers to go up to 90 seconds (1 minute, 30 seconds, to be precise.) The controller plugs into a computer via USB and sends commands that the custom software needs to play the appropriate video.

Cabinet

There are a lot of details I didn’t know, but it seemed like I had enough to do my part. They sent me a rendering of a cabinet the controller would live in (which I’ve replicated in the simple sketch above). When I was building museum exhibits much of my work lived inside of cabinets and was never seen by the public, only technicians… that doesn’t mean things shouldn’t look nice.

Custom USB Controller for trade show video playback

There’s a small OLED display in the controller which shows the time that corresponds to each button, and can be adjusted by the appropriate dial. The dials are 3D printed because I forgot to pocket out the back of the lid where the potentiometers are placed. There’s a few compromises that were made due to this being a rush job. (I completed this build in under a week, using only parts I had in my shop at the time.)

Custom USB Controller for trade show video playback

For other controllers I’ve used TRS jack and cables to connect the buttons, or on occasion, Cat5 cables and connectors. Both are nice because they are easy to obtain in any length, and trade show companies usually have a bunch in their inventory.

Custom USB Controller for trade show video playback

The bottom of the enclosure has four mounting holes, and I included screws to allow it to be attached inside the cabinet. Alternately, VHB or hook & loop could be used to attach it.

As always, if you need a device you can check out raster.etsy.com for some of the more popular stock items I make, but if you need something custom just get in touch.

Categories
Uncategorized

USB Footswitch

I made a USB Footswitch. Someone got in touch with me and wanted a button that could work with QLab and that they could easily trigger with their foot. I designed and printed an enclosure and I made it pretty darn solid. I’ve stood on it and it hasn’t broken yet.

You can find this USB Footswitch on Etsy if you want or need one. It can be programmed to do pretty much anything you could do with a computer keyboard, and it can alternately work as a USB MIDI device. Which, as long as you need only one button, might be useful!

Here’s a shoe for scale. It’s a shoe that belongs to my wife. I asked her if I could borrow a shoe and she didn’t even want to know what I was using it for. Anyway, it shows how you might trigger the button with your foot.

There’s a port for a Micro USB cable, and you’ll get a 6 foot USB cable with it. You could use a 10 or 15 foot cable if you have one, or use a pair of USB over Ethernet if you want to go even further. Maybe your computer is in another room, or another part of the building. Maybe it’s in the control room and you’re in the booth. I don’t know.

Those rubber feet on the bottom should prevent it from sliding around. It’s also fairly heavy for its size, so that should help it from sliding around. Stay put, footswitch!

Here’s a computerized rendering of the device. I model everything I 3D print using OpenSCAD because I love it.