
When I created the PCBs for my Learn to Solder kit I was going for quick and dirty and cheap, and I achieved those goals, but for better PCBs it would make sense to tin them. Tinning the boards puts a thin layer of tin over the copper, which helps prevent oxidation, which can make soldering more difficult.
For a Learn to Solder kit the last thing you want is something that’s difficult to solder. (Or maybe you do want that, so it’s a challenge!) Anyway, for the PCBs I made I was able to easily scrub them with some steel wool before using, and didn’t really see much oxidation when we used them, but take a look at the photo above and you’ll see the condition of the copper just a few weeks after I made some of the boards. The one in the middle is the exception, because it has been tinned.
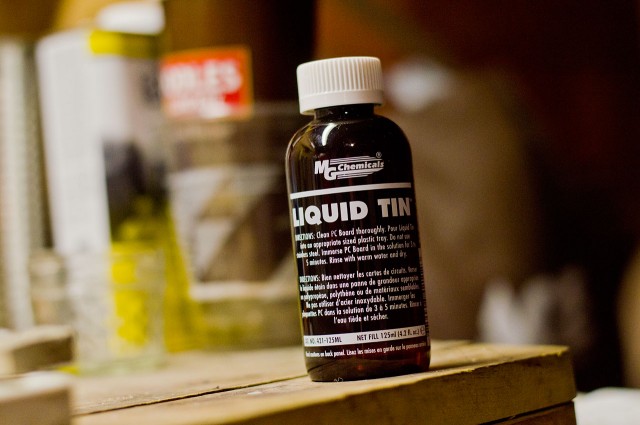
Just like etching, there are a number of ways to tin a PCB, and since I haven’t done it before I chose to go with the easy/expensive option. MG Chemicals has something called 421 Liquid Tin in a 125 ml Bottle. At $15 a pop it’s more expensive than other methods, but doesn’t involve heating chemical solutions, or mixing up a bunch of chemical. Don’t worry though, this stuff is still pretty dangerous, as the label on the back of the bottle will warn you.

Warnings aside, it was dead simple to use. I just put some in a plastic container with my PCB and a few minutes later it was all tinned!
This isn’t something I would have done to all of the PCBs in my Learn to Solder kit, mainly because one of the goals was to make the kits as cheaply as possible. I will be exploring the use of tinned PCBs for some future projects, some of which are more at the intersection of art and electronics, where aesthetics and how the final piece looks really matter.