
I’ve made a lot of laser cut enclosures over the years. I typically make them out of 3mm or 6mm Baltic Birch plywood, and sometimes I even mix the two sizes, which is fun because you need to remember which tabs need 3mm and which need 6mm.
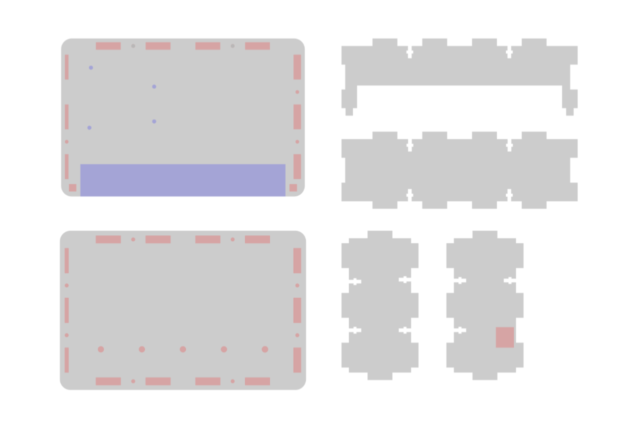
As much as I’ve made a lot of enclosures, I still occasionally screw up, or get things not quite right the first time. Typically I design the entire enclosure in software and then cut things out. If I’m smart I’ll first cut it using cardboard to prototype how it all goes together. Cardboard isn’t always the correct thickness, but it can often get you close enough and reveal flaws in your design that you can correct before you start cutting wood.
One of my recent discoveries is that if your cardboard is too thick you can squish it in the hydraulic press and it’ll stay pretty squished. There’s a little bounce back, but it’ll be thinner than it was originally.

2 replies on “Enclosure Prototyping”
I always love reading what you’re doing.
How do account for laser kerf? Any idea of the thickness to off set for? I’ve always had a small gap.
-Bill
Bill, laser kerf is pretty small, so I typically just let it happen without having to account for it. Though since I’ve started using LightBurn <https://lightburnsoftware.com/> I use the built-in kerf feature that let’s you offset or inset objects to allow for kerf, which is great because you can dial things in if they are a bit too tight or too loose.
Also, with wood it’s always a lot more inconsistent than acrylic, so if you got just a little tight then you can sand things until you get a perfect fit.