
Heads up, kids! I’ll be at Maker Faire Detroit on July 27th & 28th, 2013, mainly to take part in the Power Racing Series, but I’m sure I’ll find time to check out the faire as well.
Milwaukee’s Team will be represented by great new crew this time around, including Audrey, Tony, and Chris, as well as Sean (our veteran) and myself. We’re hoping to bring 3 cars to the race… well, 3 working cars, hopefully. We’ll probably return with no working cars.

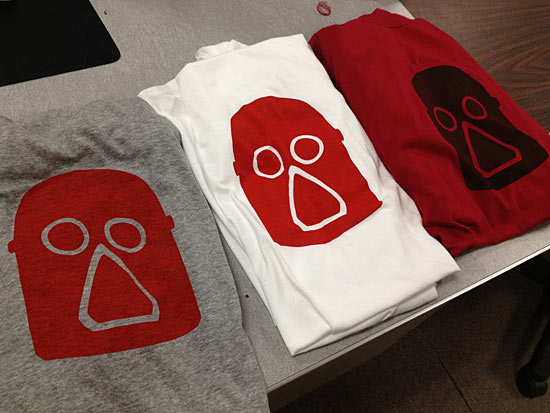
Special thanks to Mike Massie who worked on the racing team logo. He got it about 95% of the way there, and I supplied the last 5% (mainly by messing with the files he gave me.) So this year our team will have spiffy shirts, and to make them even more obnoxious moxilicious noticeable, I’ve dyed them all sorts of crazy colors. You should be able to find us.

Anyway, join us at Maker Faire Detroit on Saturday and Sunday at 1:00pm for the races. It’s pretty entertaining. There will probably be fire.


![annular[8]](http://rasterweb.net/raster/wp-content/uploads/2013/06/annular011.jpg "annular[8]")
![annular[8]](http://rasterweb.net/raster/wp-content/uploads/2013/06/annular009.jpg "annular[8]")
